Have you designed and built your own speaker system?

Of various hobbies that I’ve had, home audio was my first major and sustaining past-time.

I started reading and learning about home audio in the early 1990’s from periodicals such as Stereo Review, Audio and later, Sound&Vision and Home Theater. With the the purchase of a Yorx sound system that came with some nice full frequency speakers, I started swapping transducers and eventually began my hobby of building speaker enclosures. The first ‘sub’ was made from a 5 gallon paint bucket and a 6.5” Redline driver along with full range RadioShack drivers installed in the satellites constructed of oak laminate particle board. I had decided the best bang for the buck was a subwoofer/satellite speaker system.

By the mid 1990’s, I designed and built a dual mid-bass satellite enclosure that really looked nice but the pair was never realized. Around this time, I found suppliers for high quality woofers, tweeters, capacitors, inductors and resistor components. Component brands that were used in ready-made, mid to high-end speaker systems such as Audax, Vifa and Morel were available and inexpensive. Inspired by some of the designs I read about in the periodicals, I designed and built a new pair of satellite speakers.

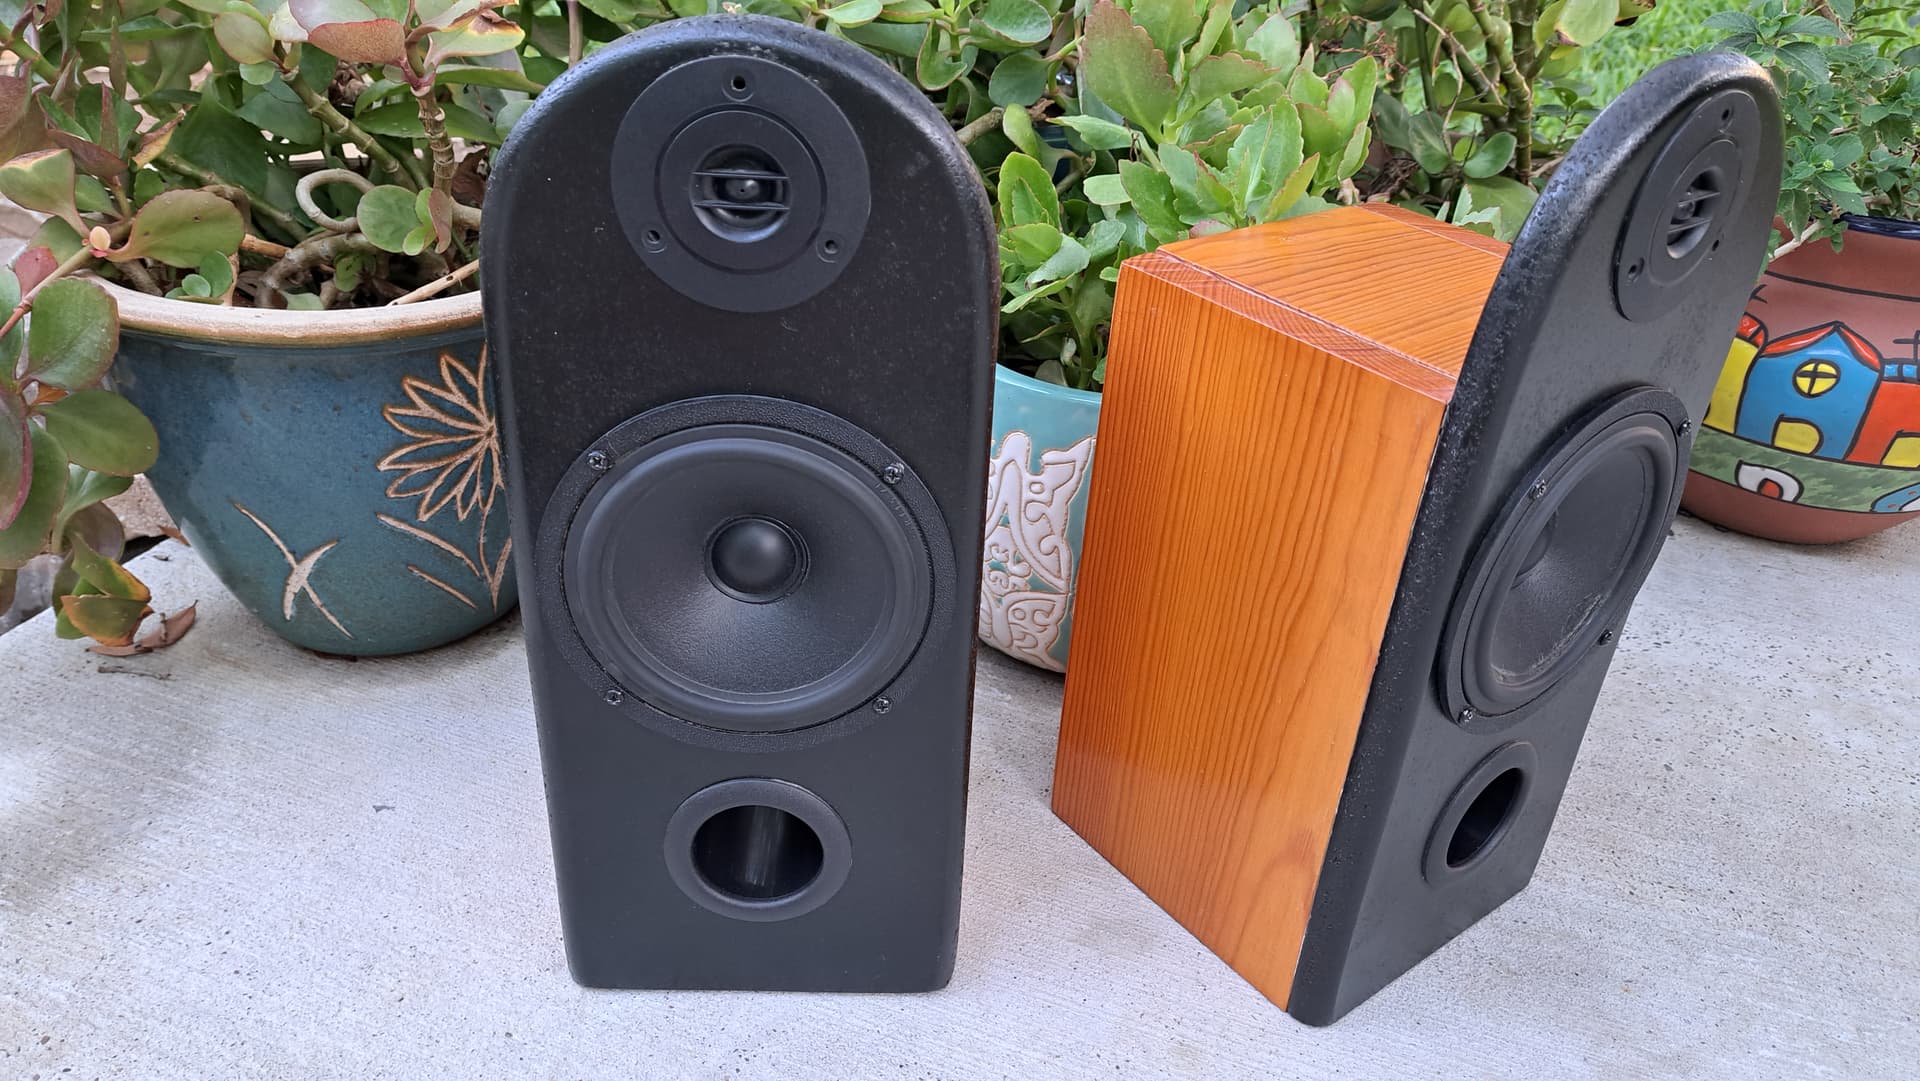
The new pair took some planning and coordination. I needed a router for the baffle and fortunately, a high school friend’s dad had an awesome workshop. The Audax tweeters and Vifa mid-basses were ordered and I even designed my own 2nd order tweeter crossovers. I had experience with burning out tweeters on commercial speakers so I wanted a steeper roll-off to protect these at their designated low end. Of course, what bookshelf speaker would be complete without a matching set of stands? I made those, too!

I certainly heard a better quality of sound, neutral in the mids and spacious in the highs! I was quite proud of them and even made side-by-side comparisons to similar sized models at a few specialty stores in town. Paradigm Atoms were one of the comparisons that I recall making.

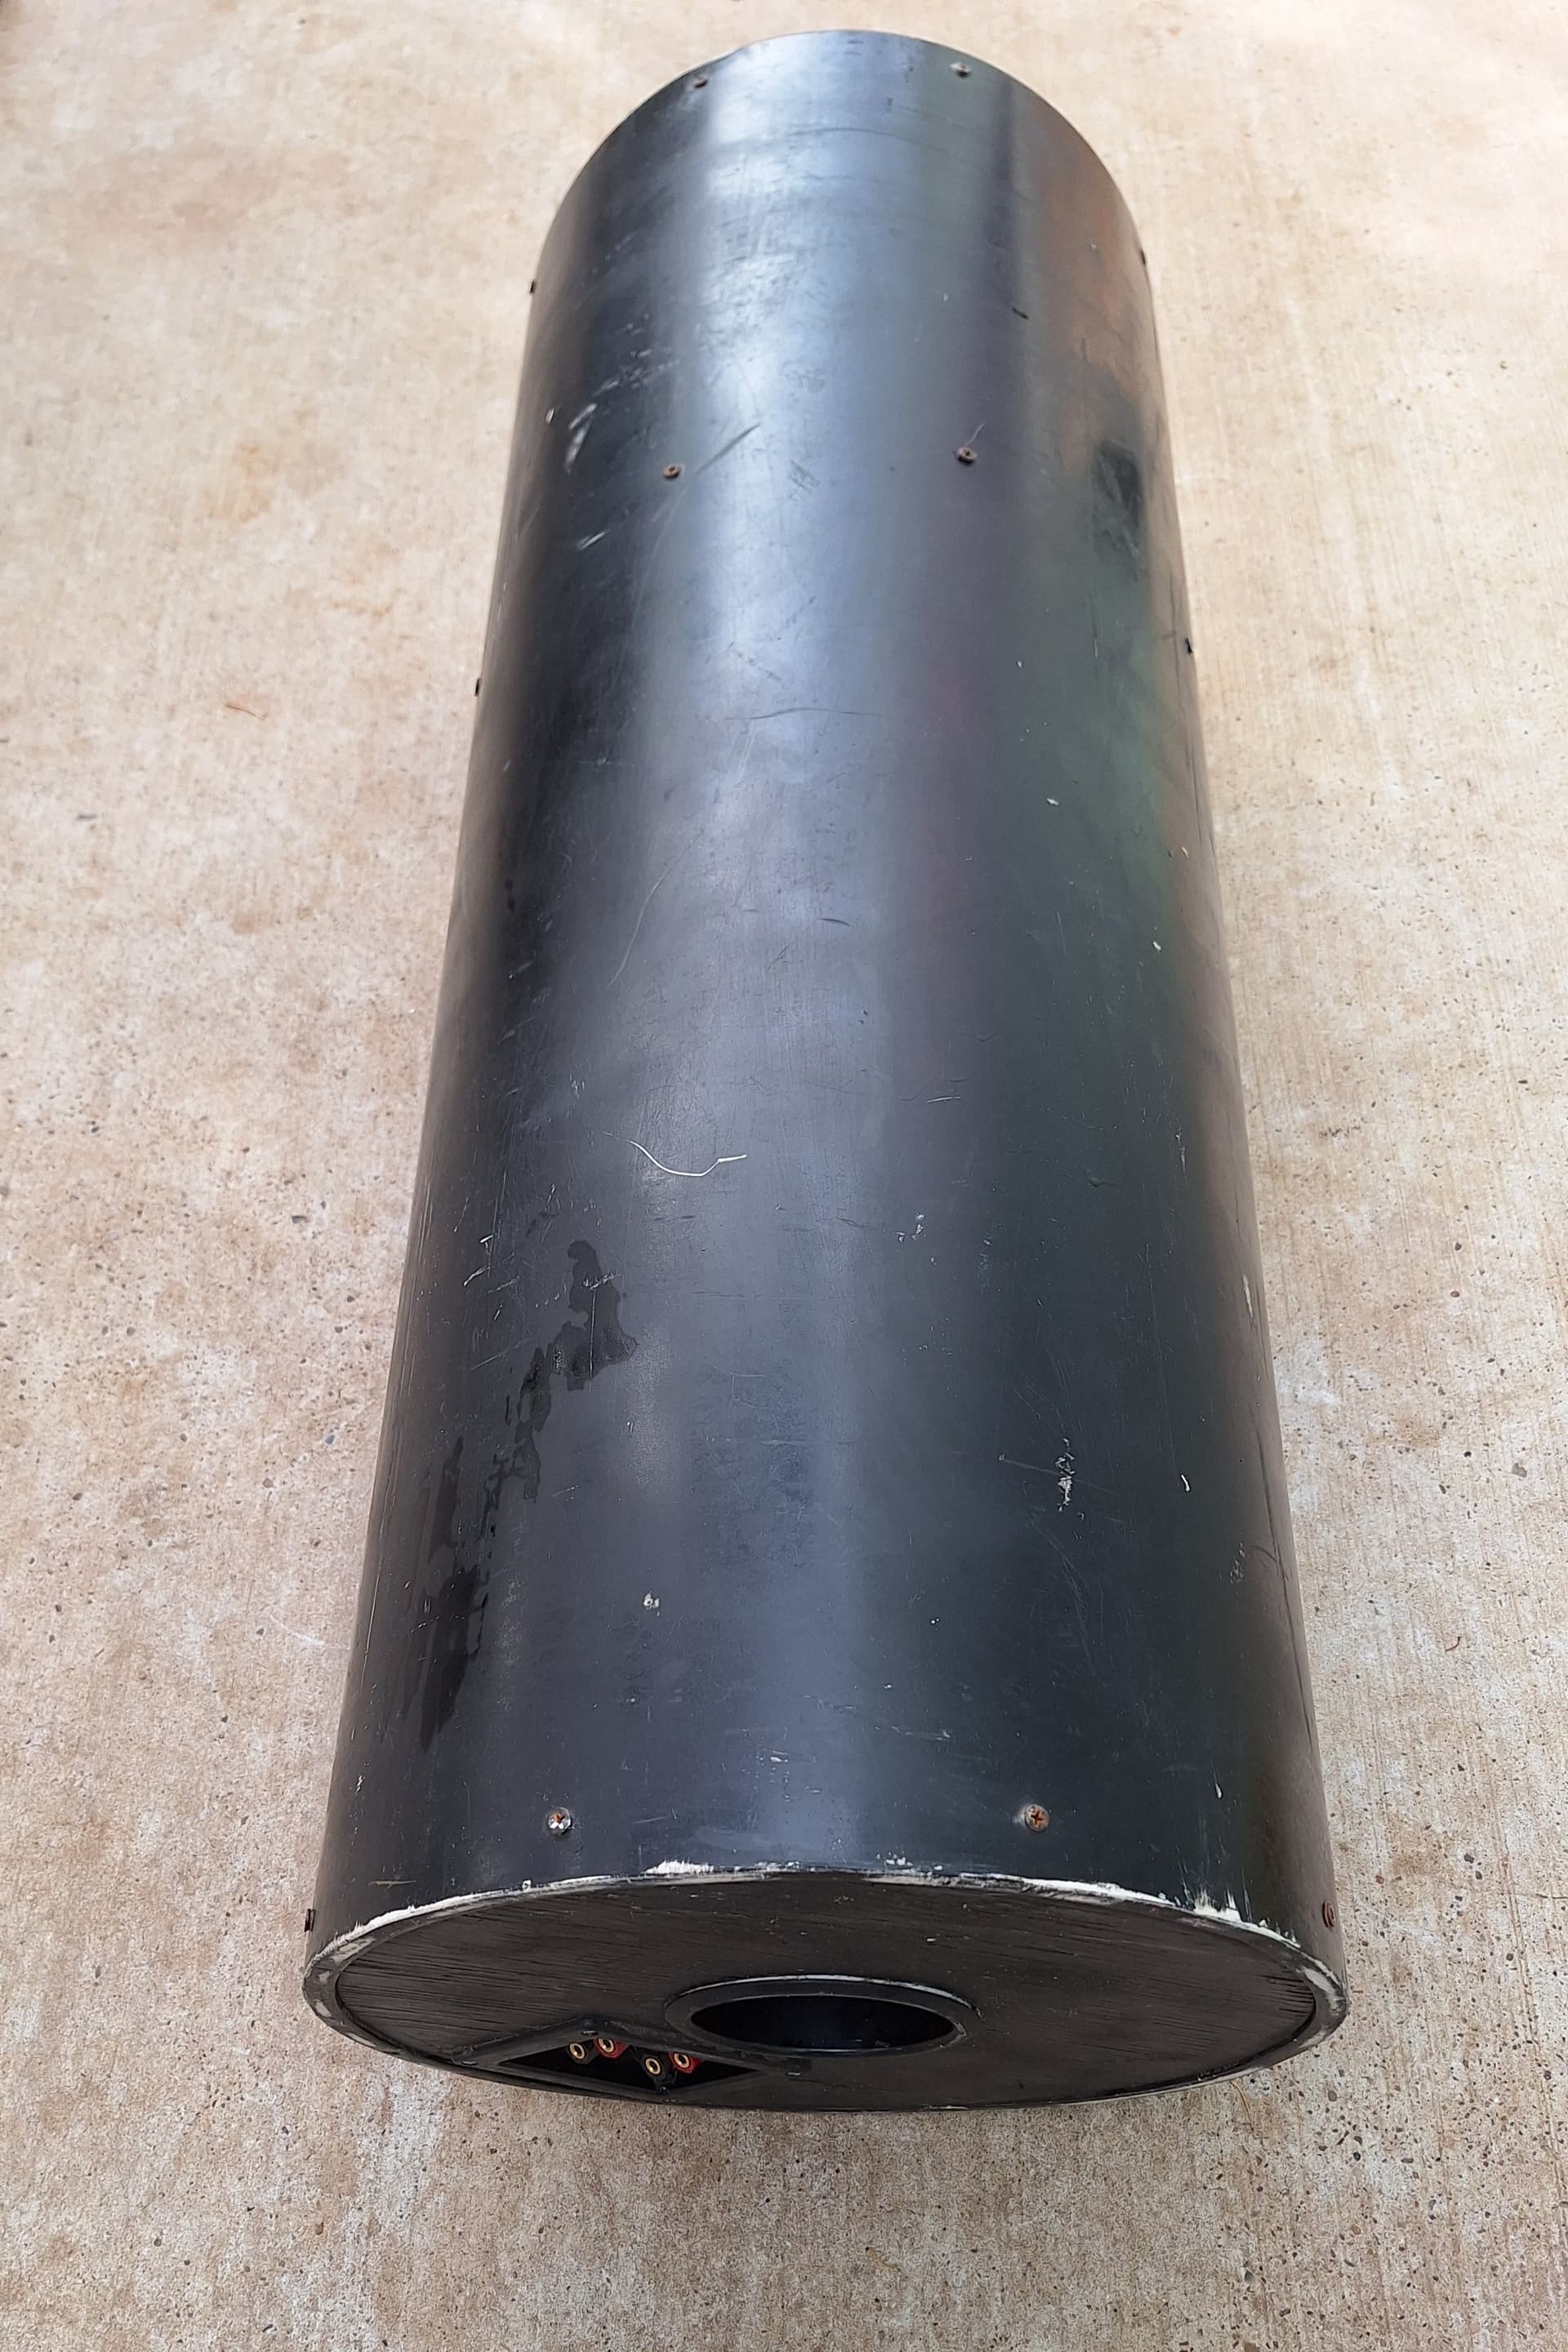
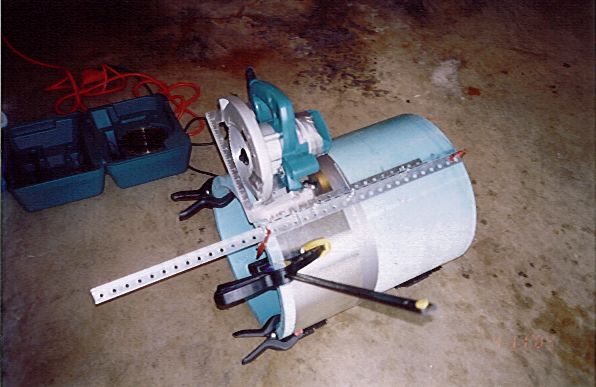
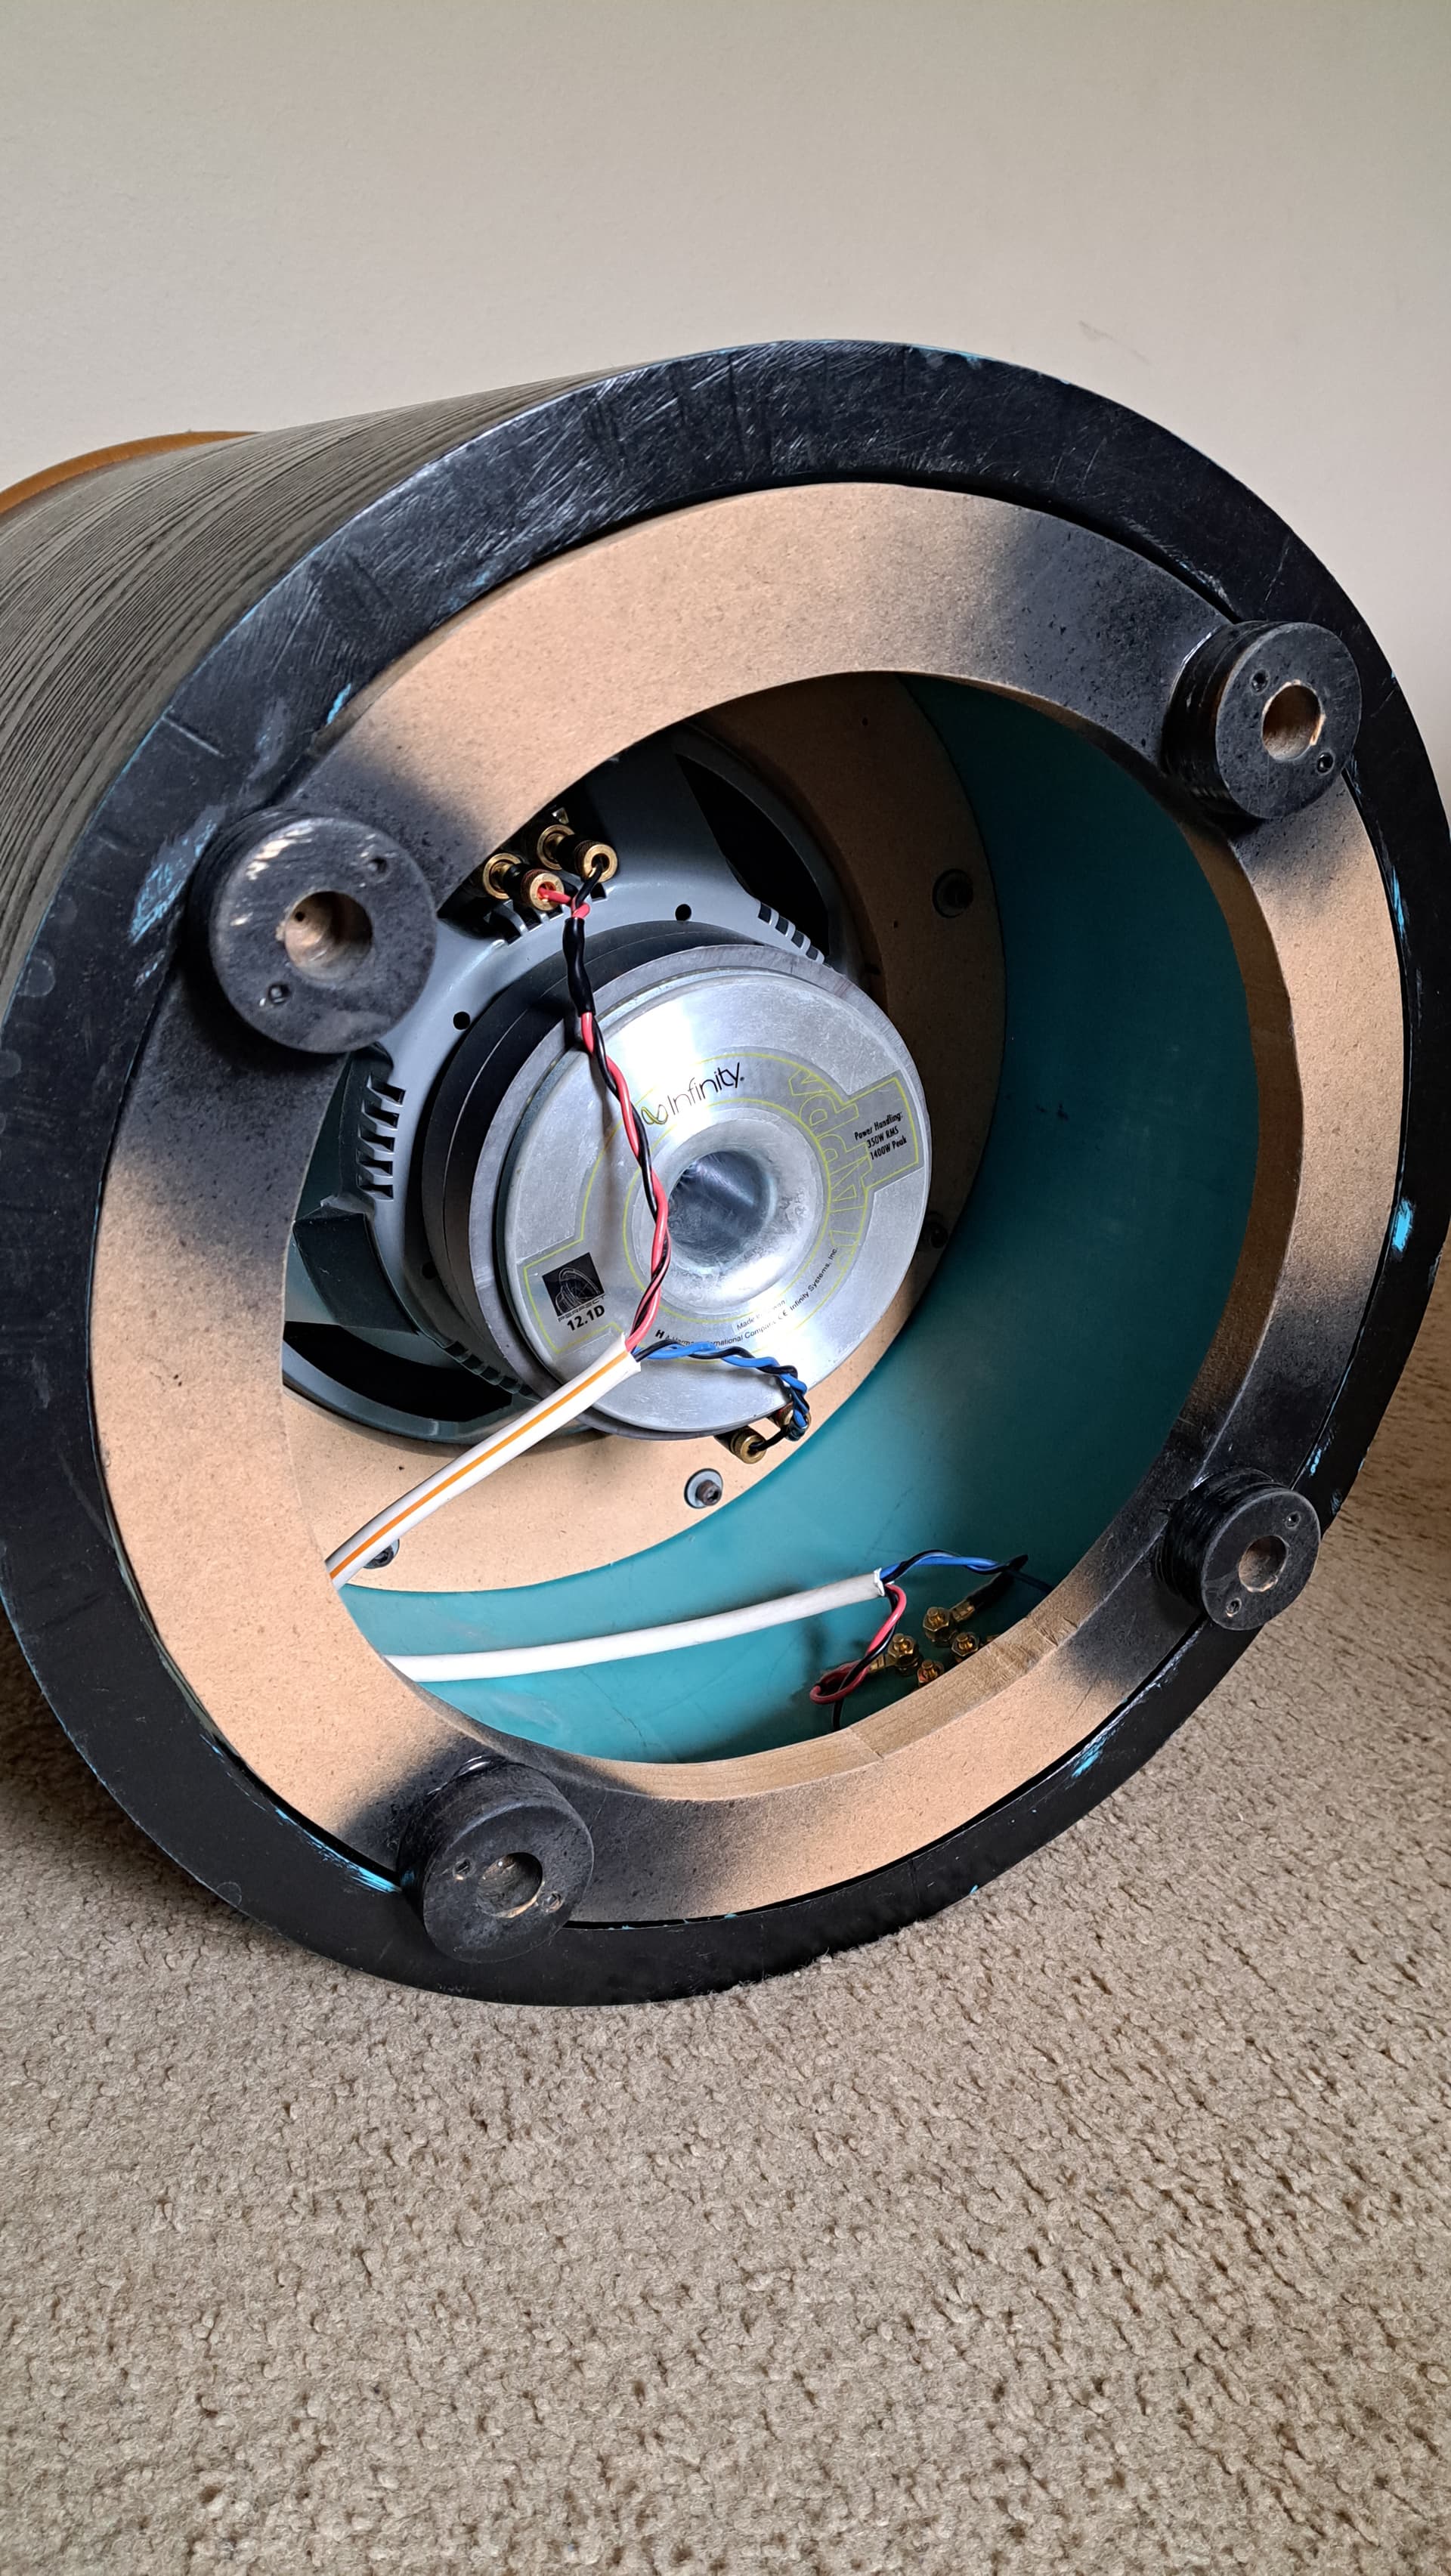
In 2003, I developed a new design (really to match my satellites) and decided to build the new system around an Infinity Kappa Perfect 12.1, DVC subwoofer. The driver has an aluminum cone, butyl rubber surround, a cast metal frame, a vented voice coil and rated to play down to 20 Hz at audible levels. Substantial! The enclosure is principally a 16” diameter PVC pipe with an internal structure affixed to mount the heavy transducer. The following photos demonstrate the construction:

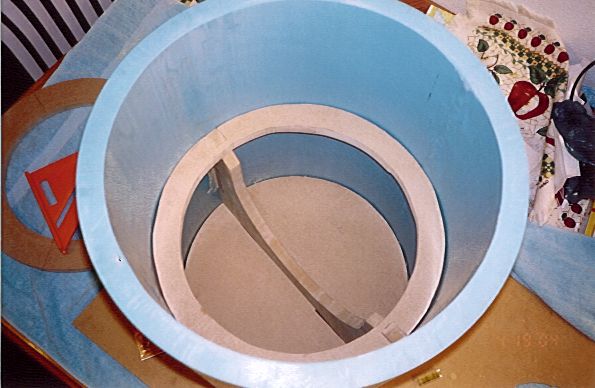
With fairly basic tools, I needed to cut as precisely as possible. I created a plunge cut jig for the thick and heavy enclosure material.
infinity project technique

The next step was to affix an internal end cap that would serve as the ‘foundation’ for the substructure. The next part resembles a brace, typical of box designs to eliminate panel vibration, but in fact, it is a spacer. This spacer is inserted in the end cap and held in place with Liquid Nails.
infinity project brace

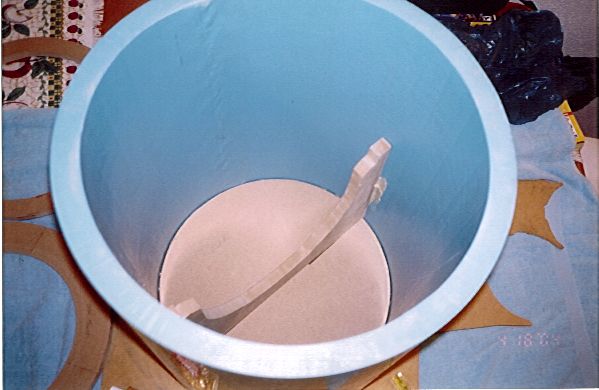
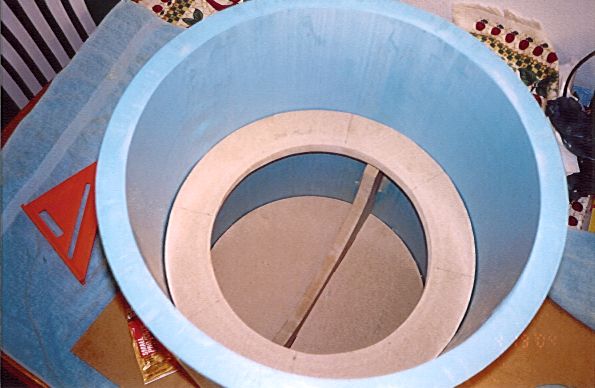
The next integral part is used to mount the speaker baffle assembly and is held in place with Liquid Nails.
infinity project baffle anchor

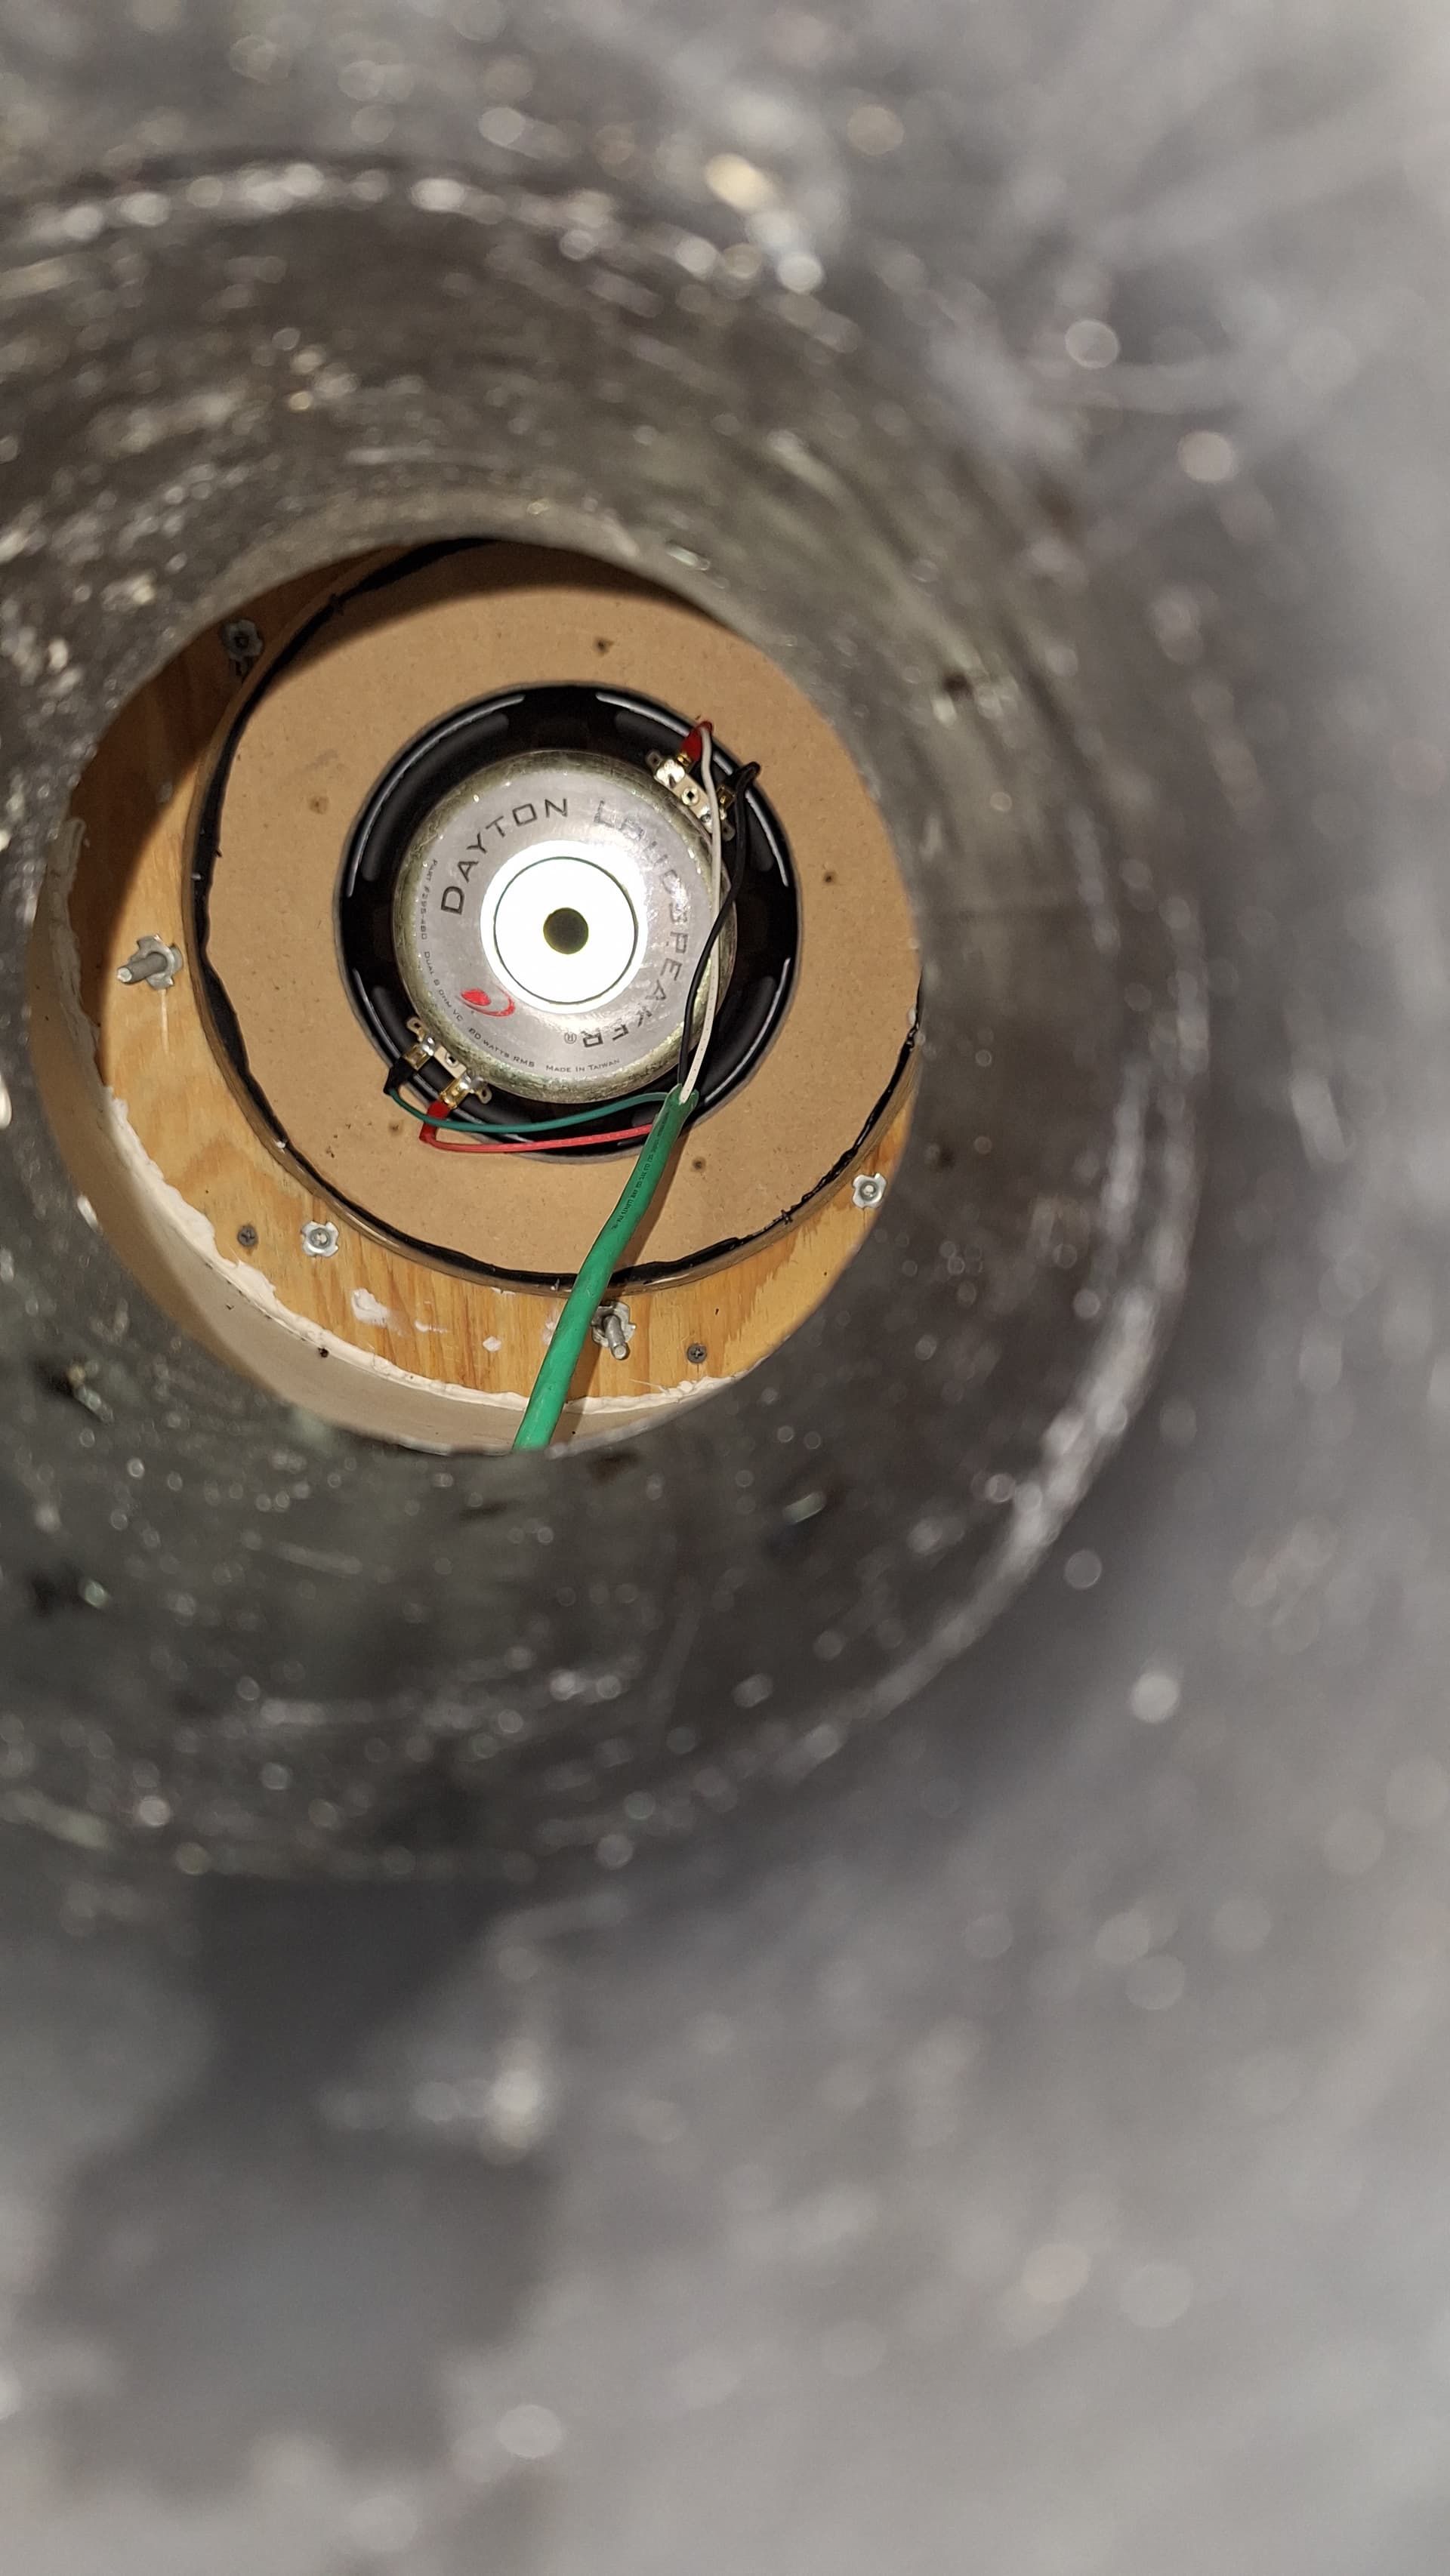
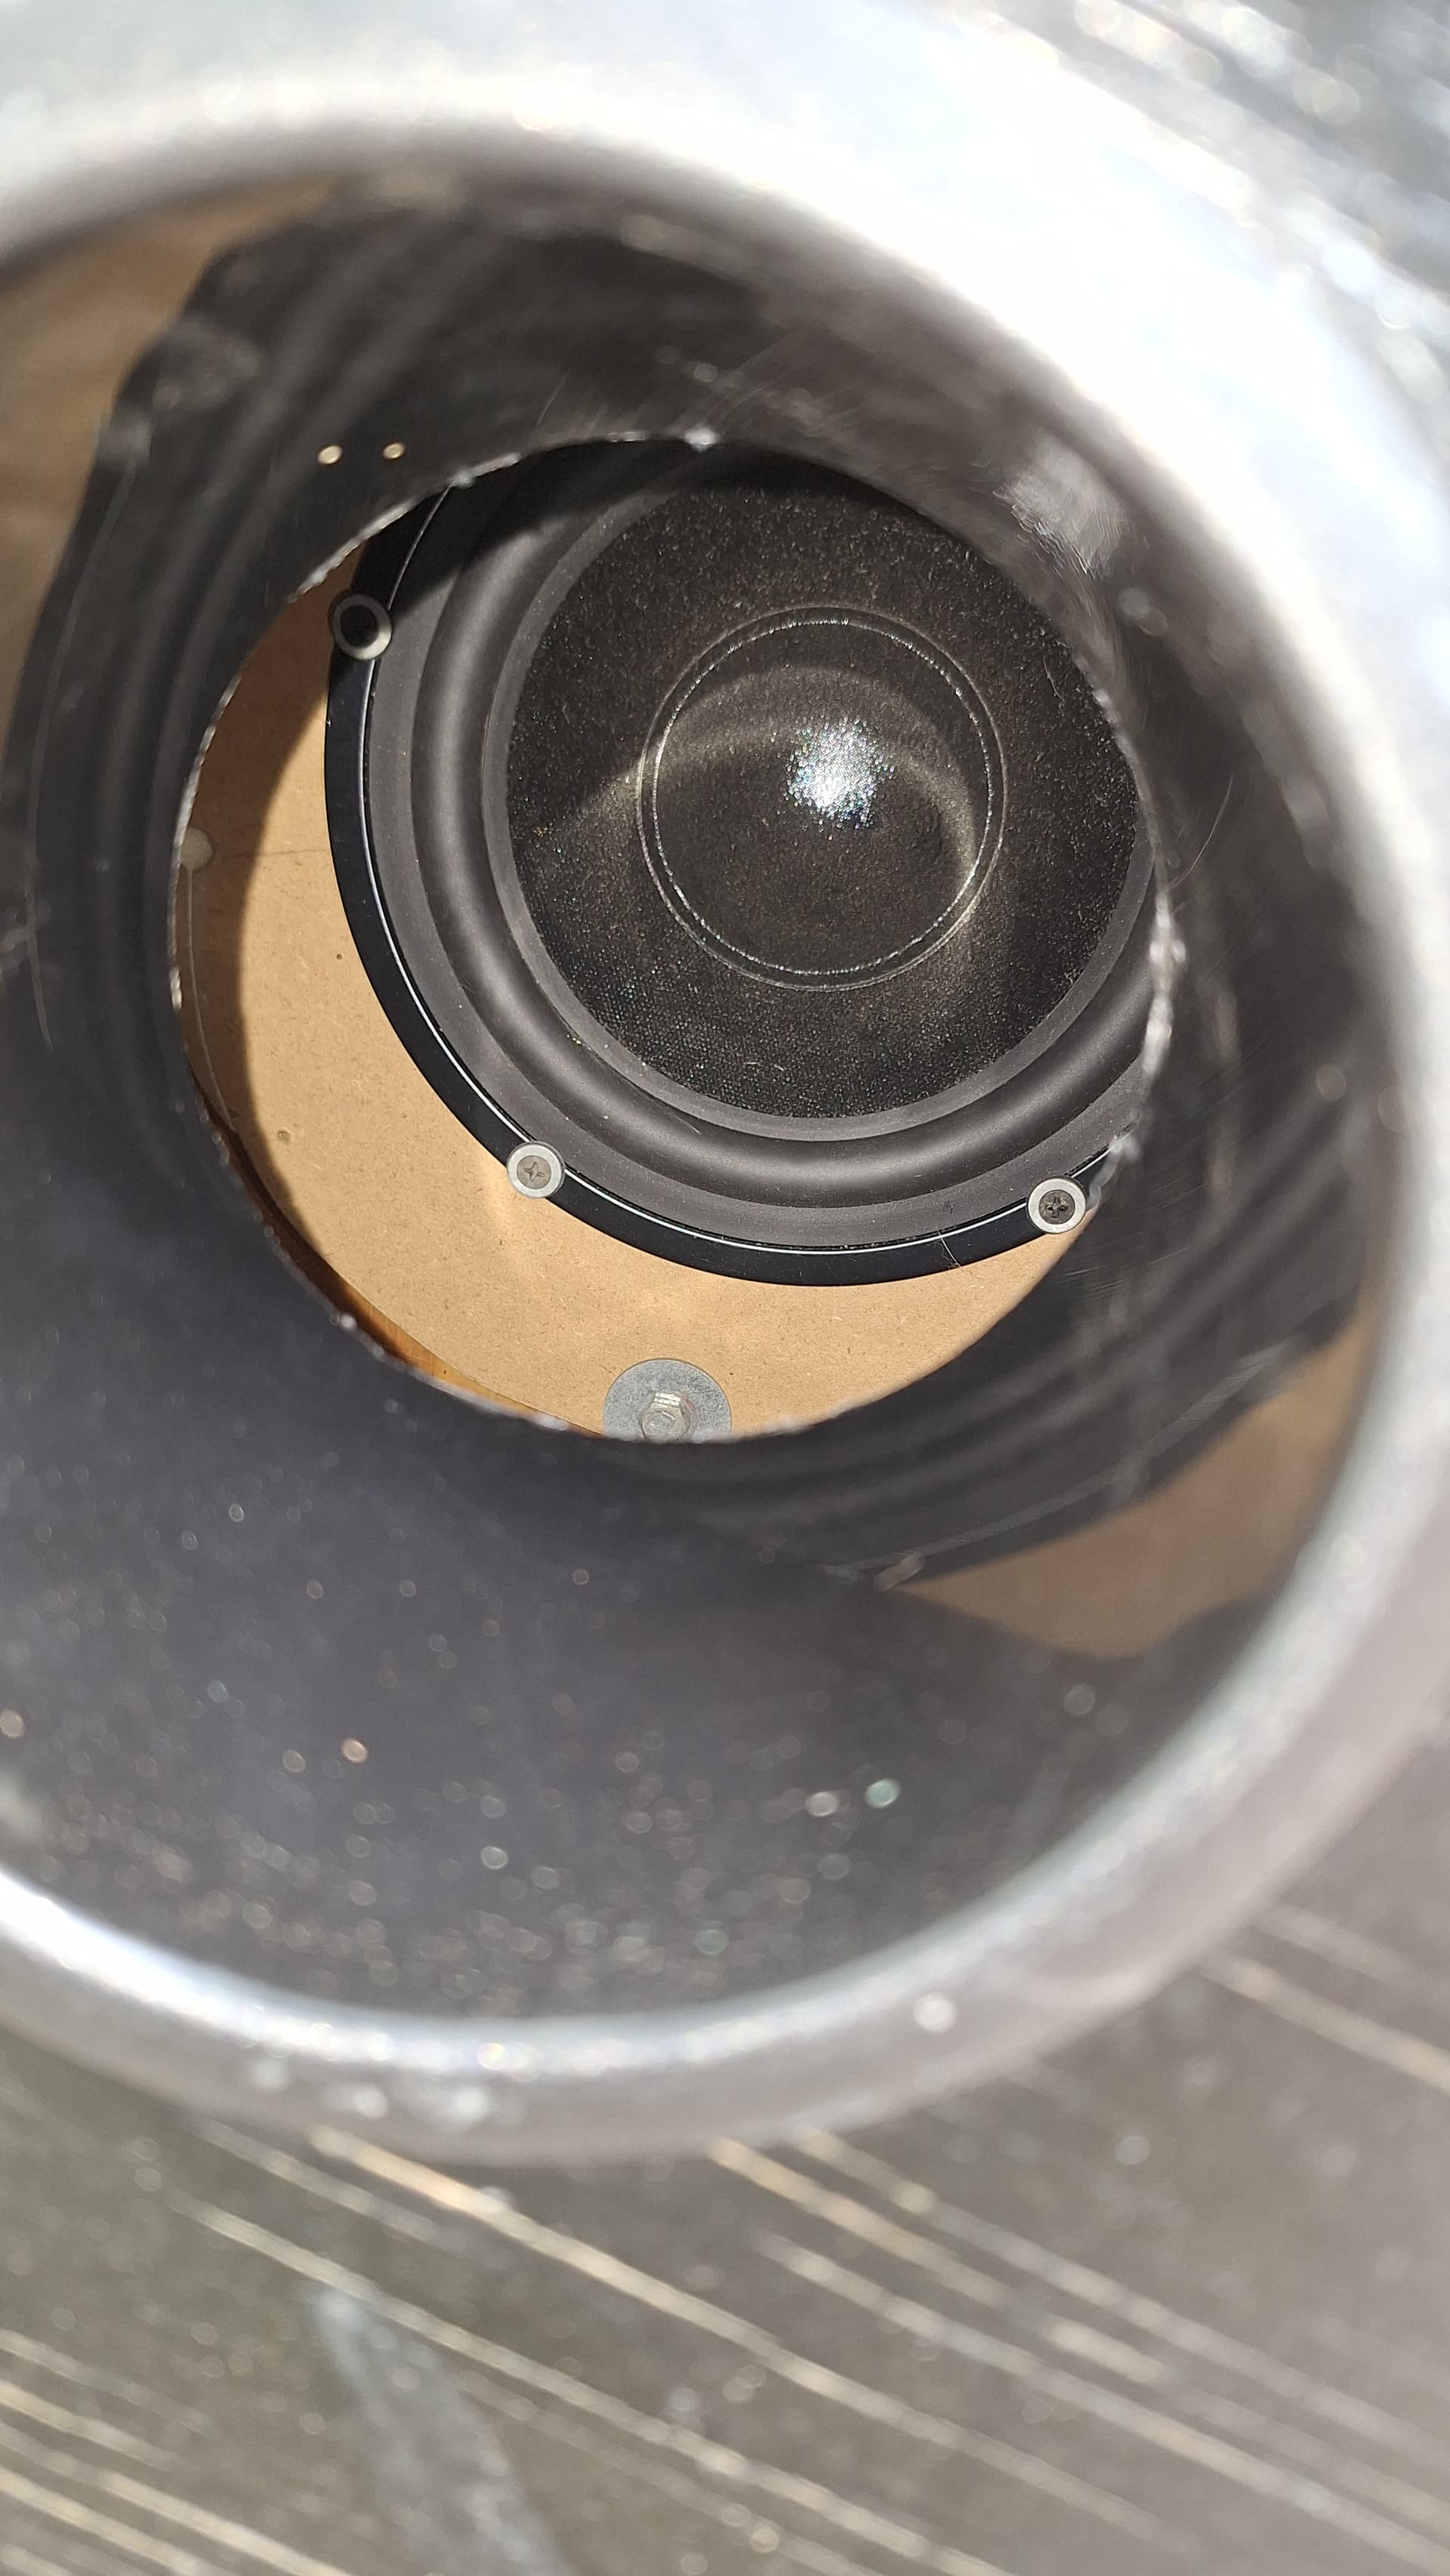
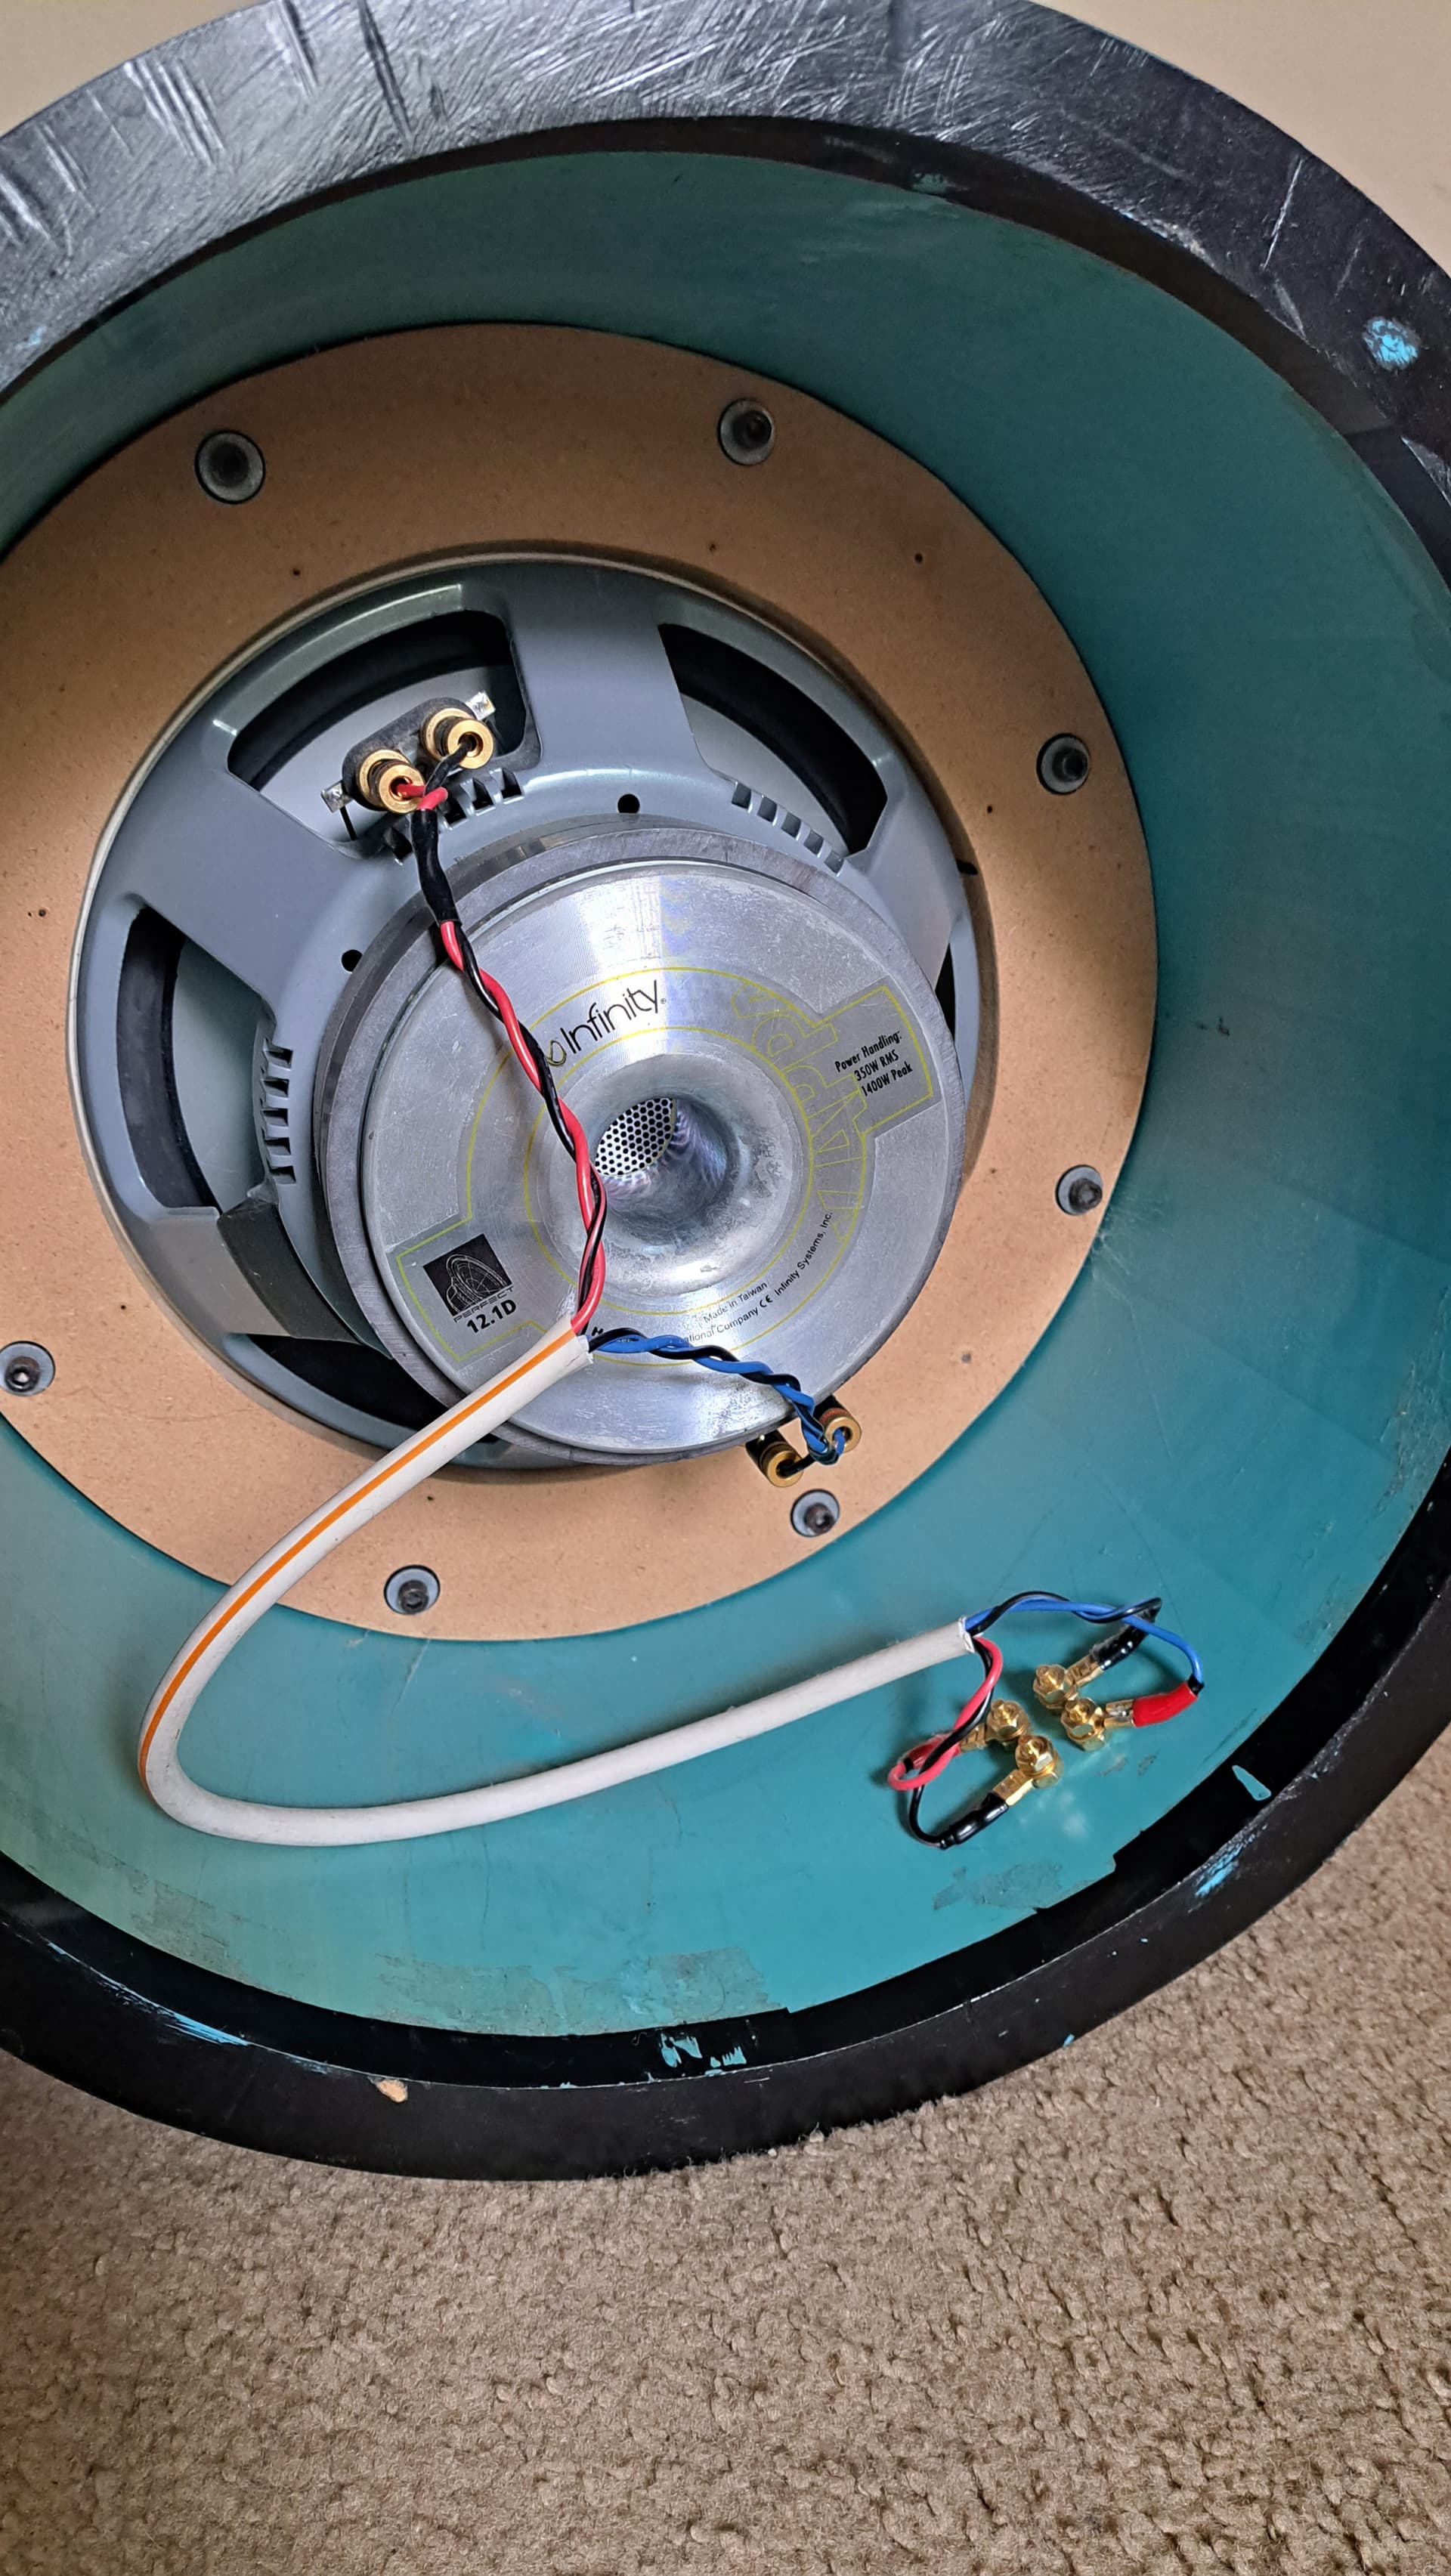
The baffle, below, is the board that a speaker is mounted to and I originally was going to orient the driver with the magnet inside the enclosure. That presented a few challenges such as cable routing, driver access, installation, etc.
infinity project baffle

The baffle and speaker is more of an assembly that is then bolted to the inner structure.

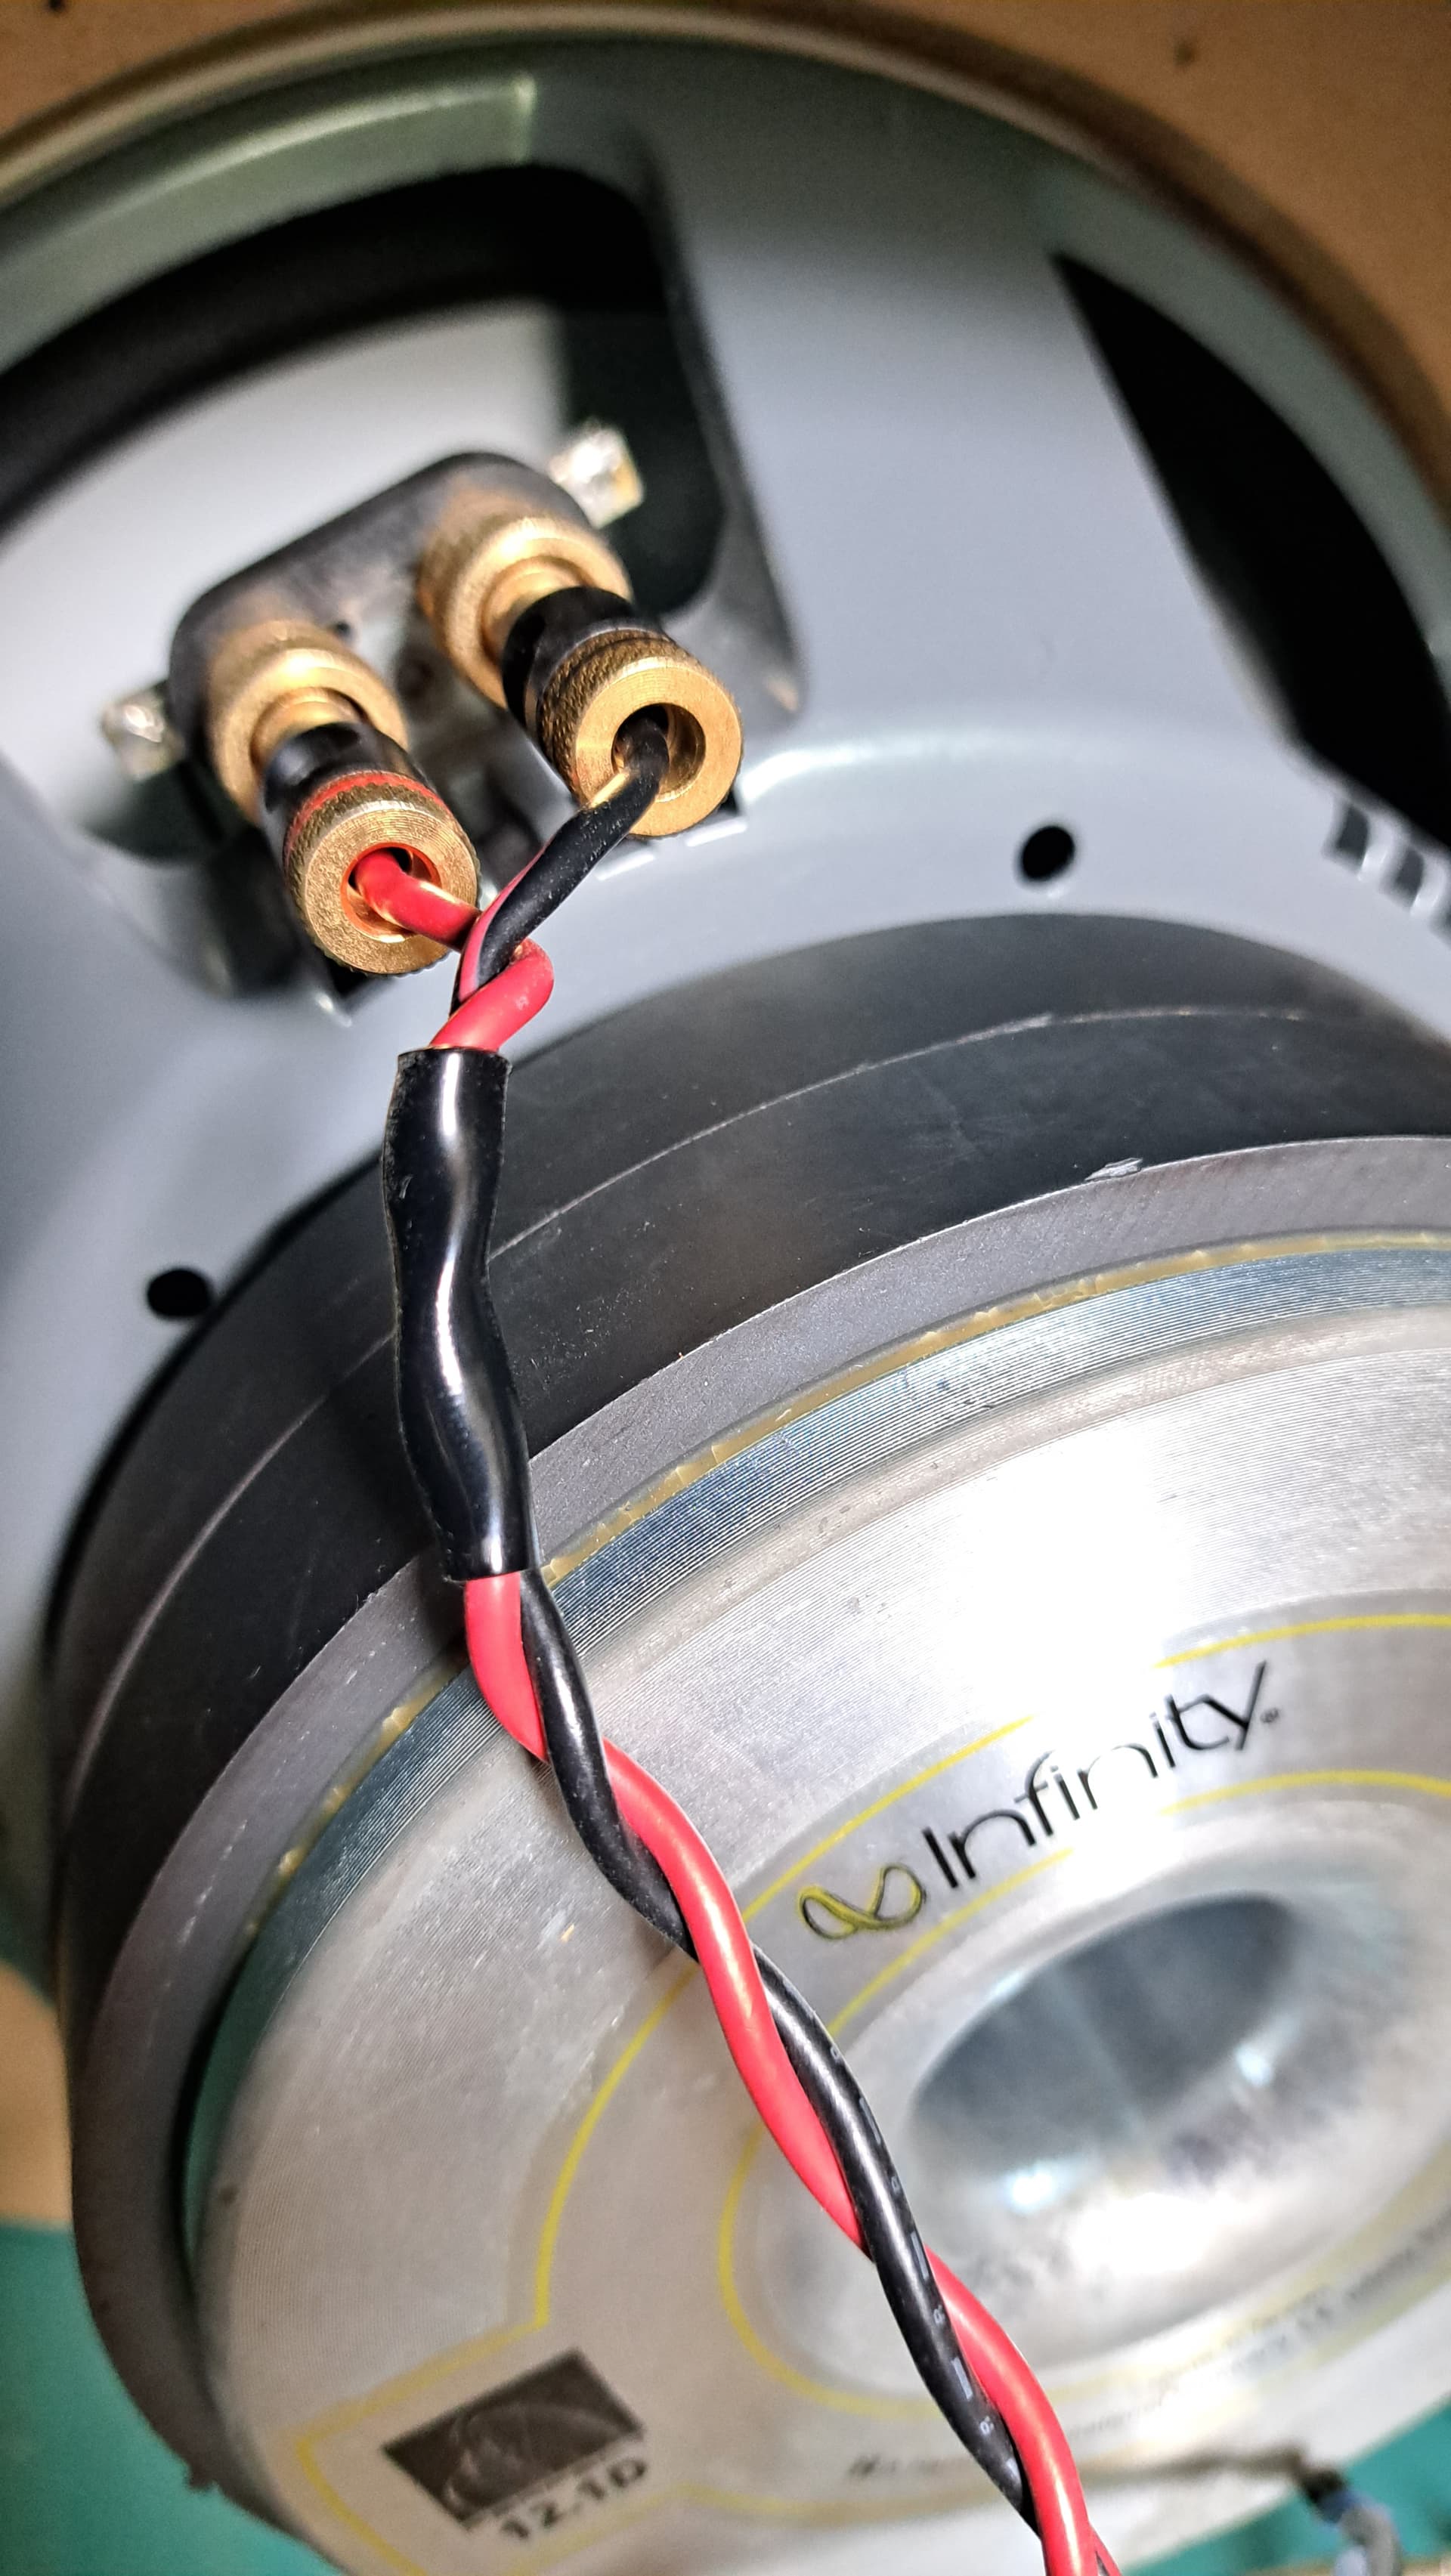
With this design, the wires and driver are out of sight as well as protected from dust settling into the ‘motor’ so a reversed orientation works well. Also, I find the interesting part of this woofer to be the magnet and frame and, why hide those nice banana terminals?


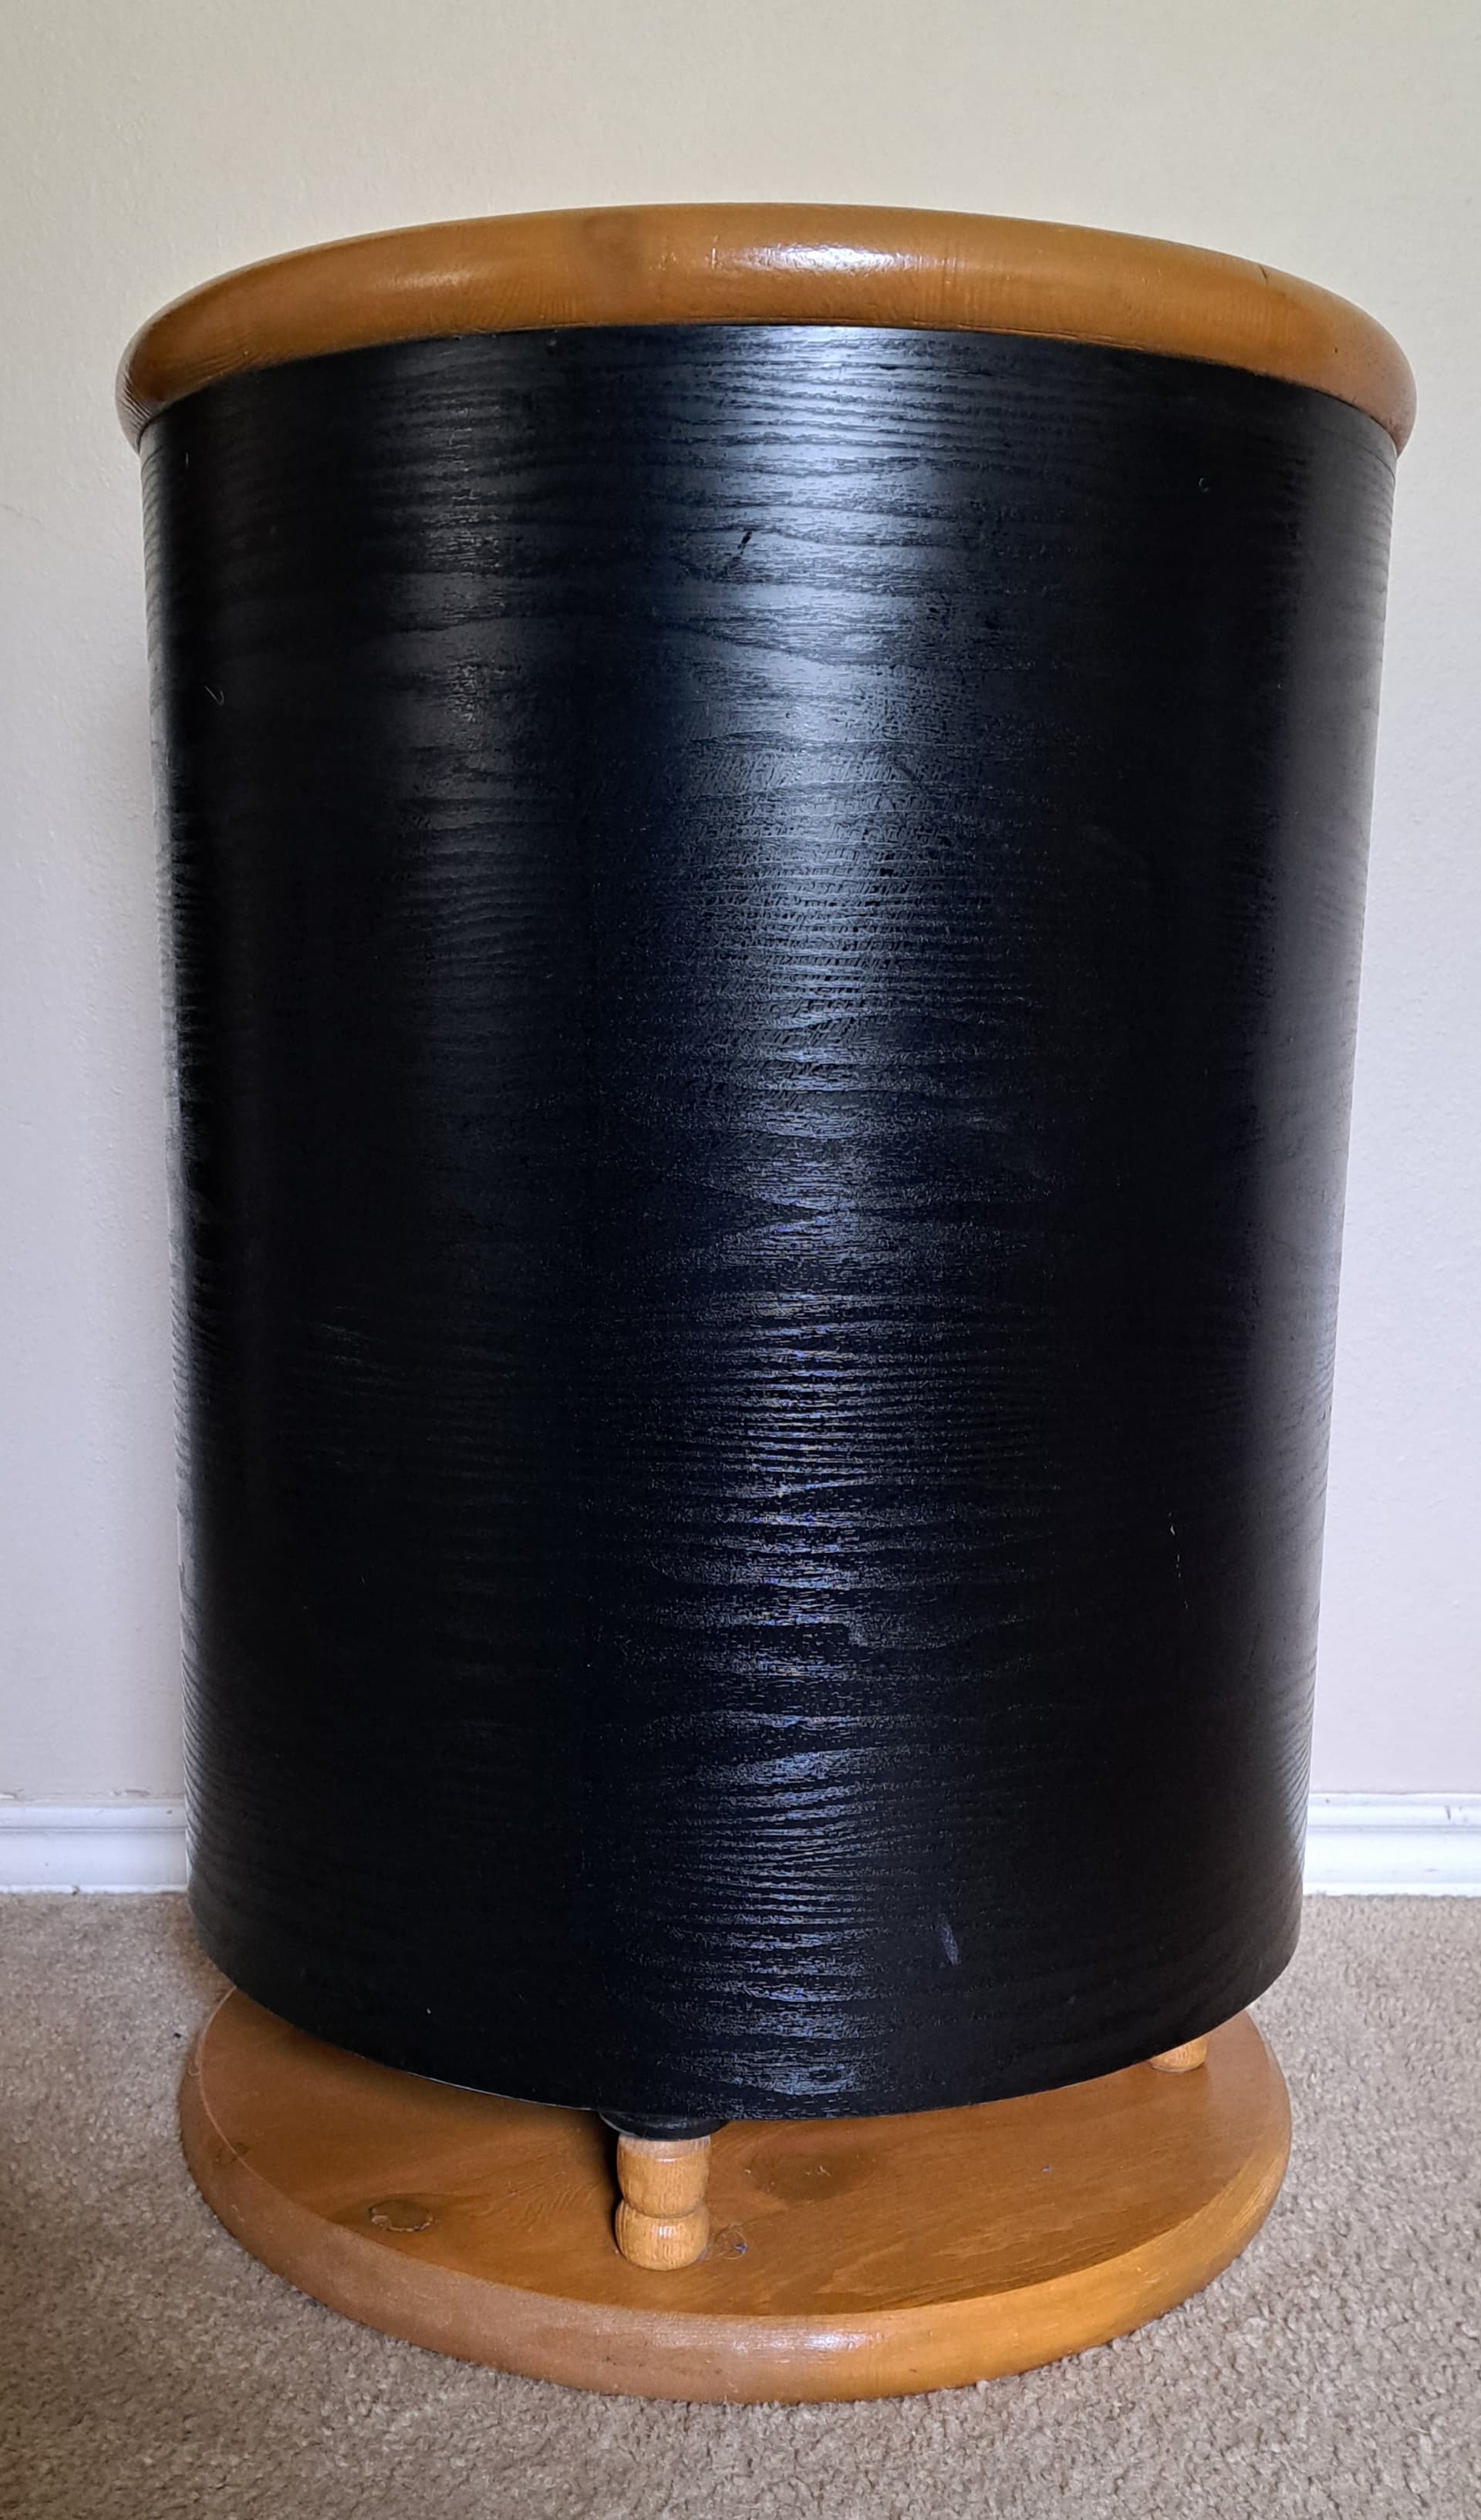
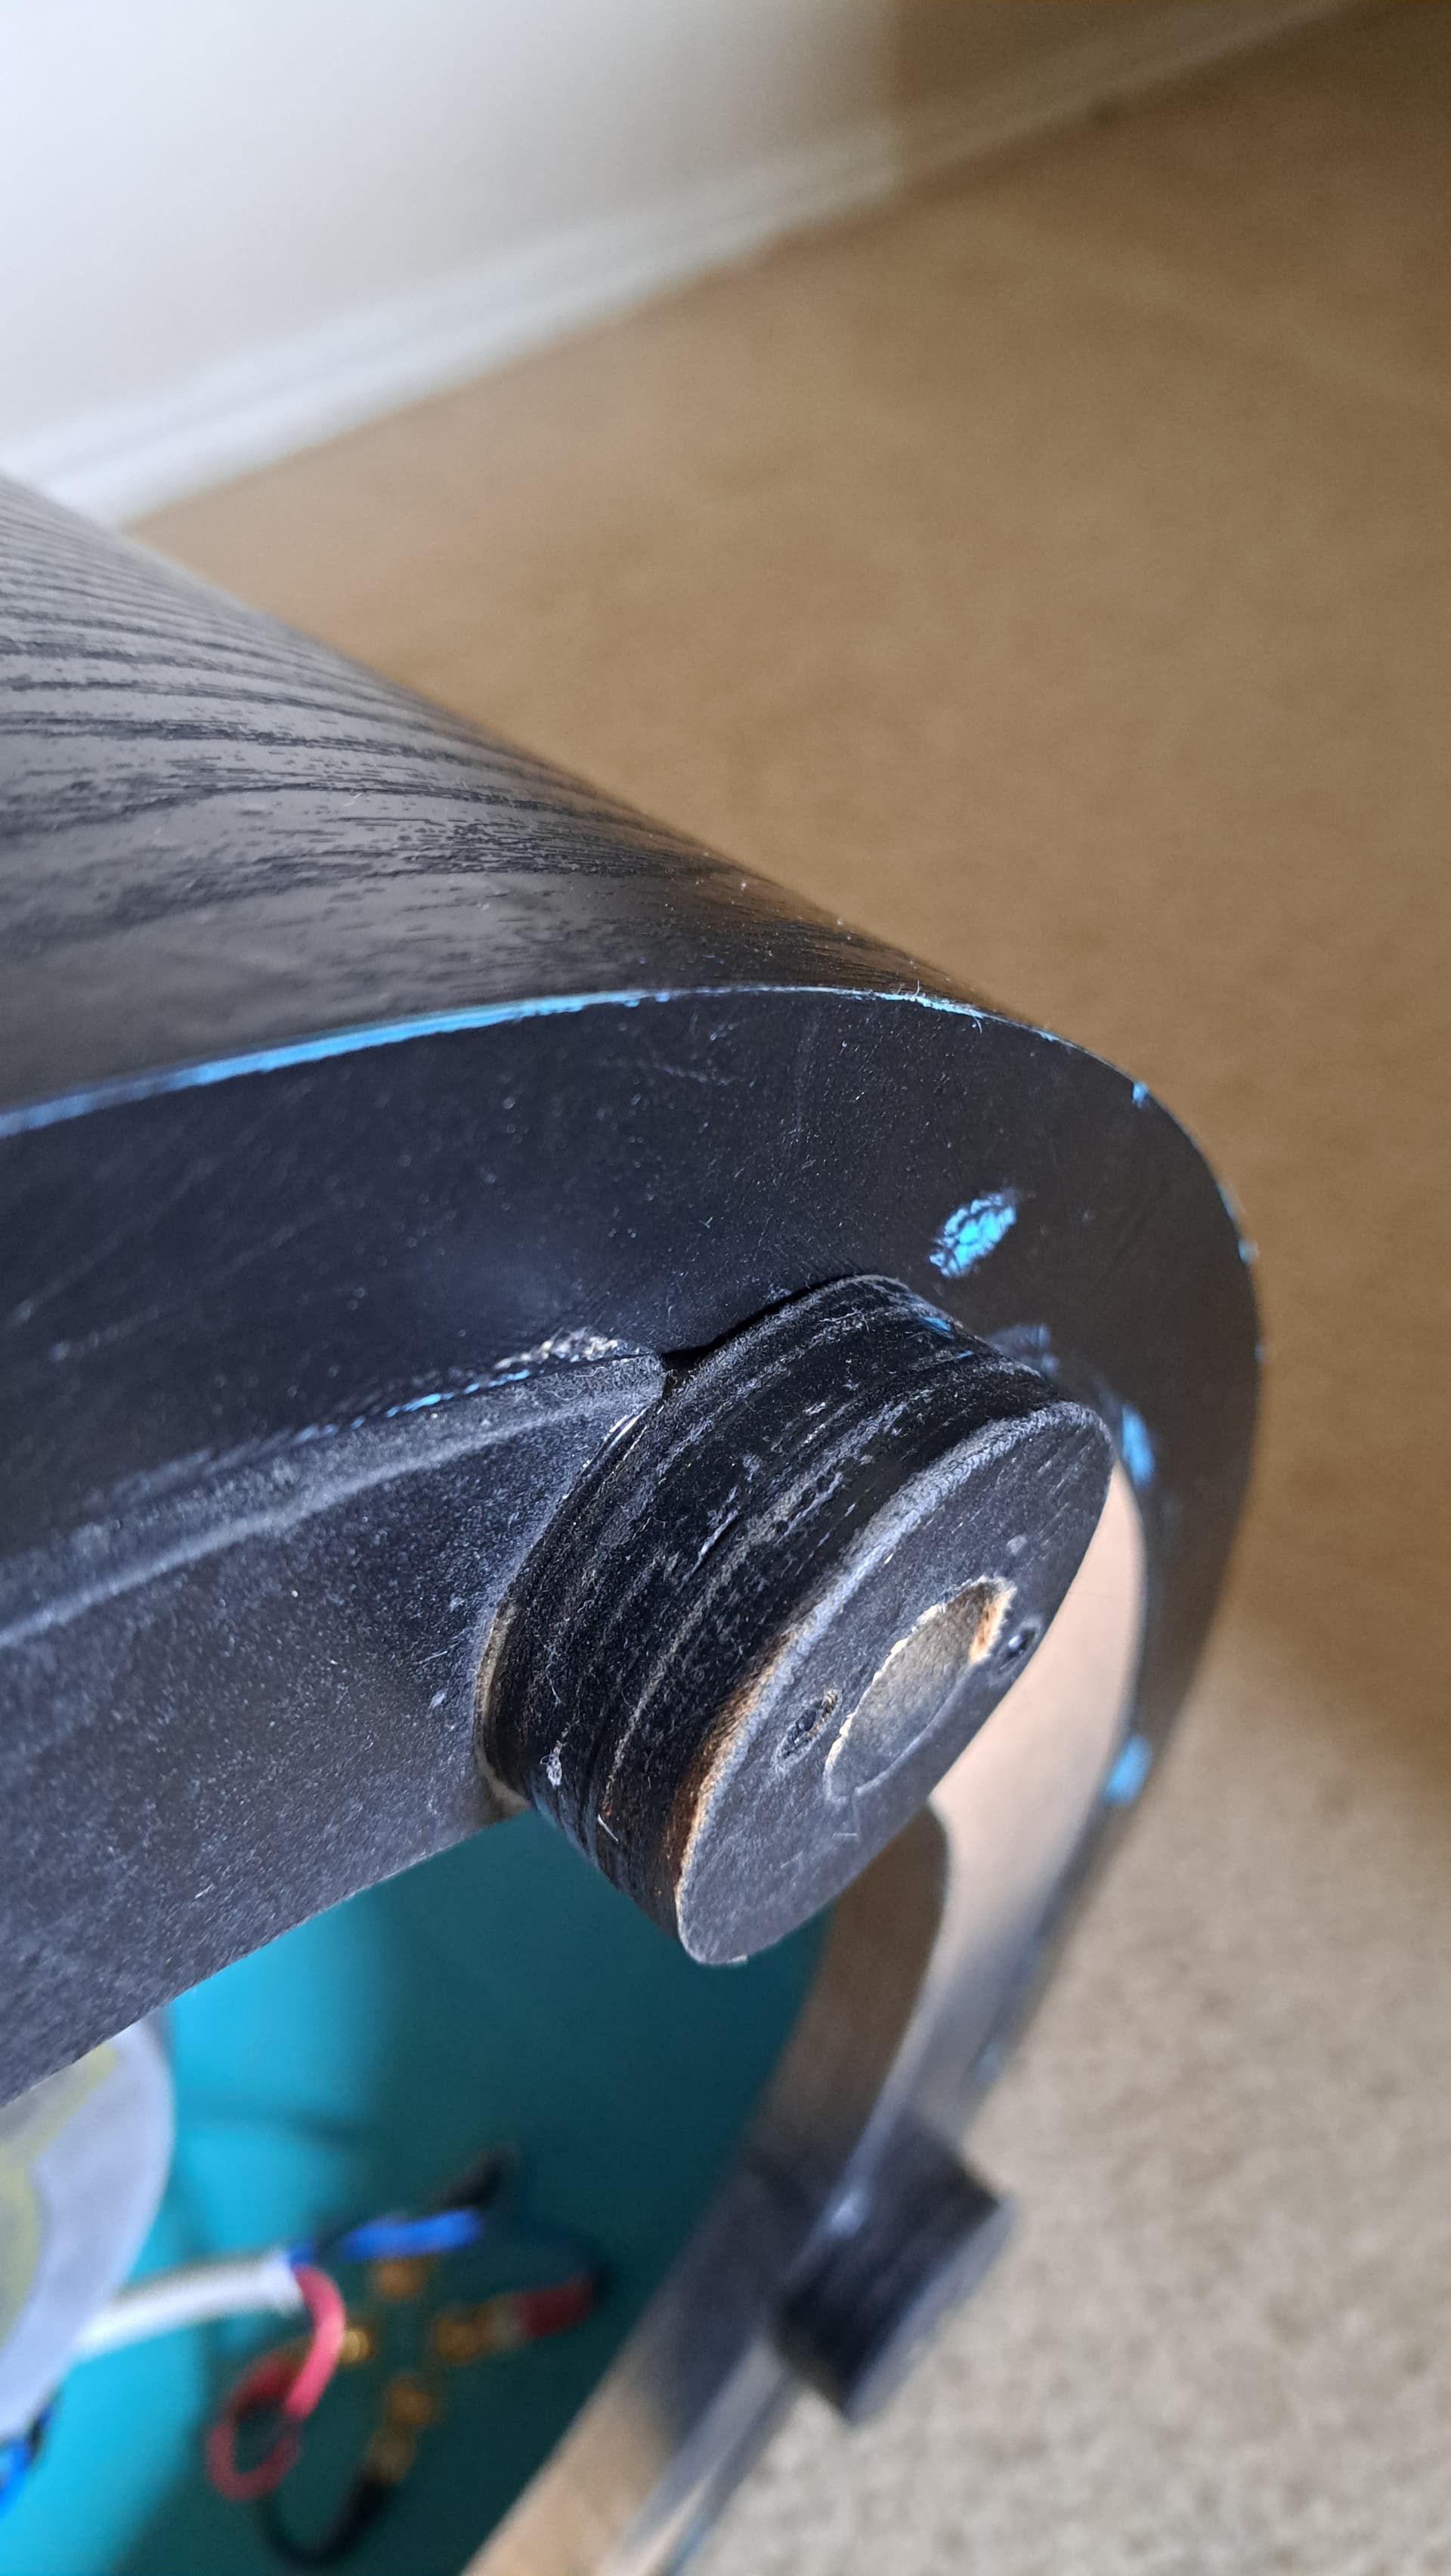
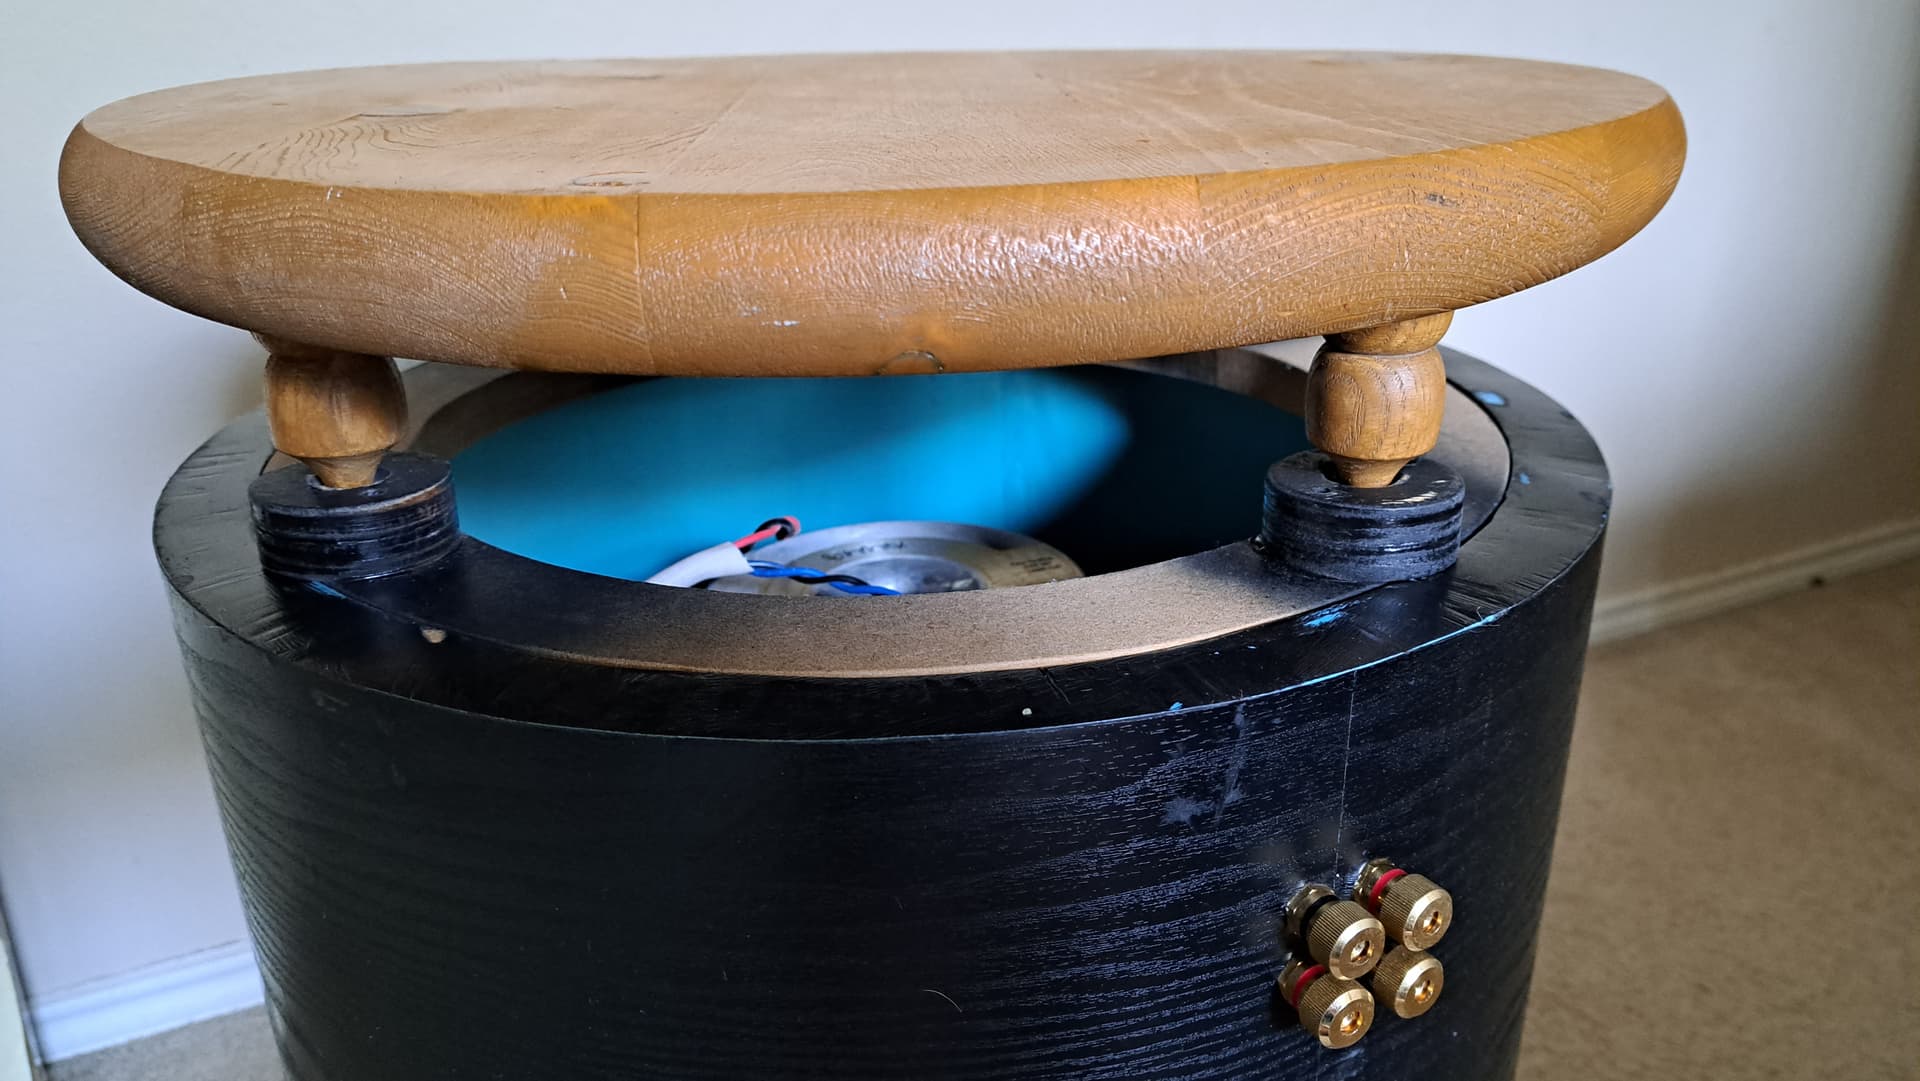
Considering the weight of this sub woofer system, 90 plus pounds, a stand needed to be substantial, sonically enhancing and aesthetically appealing. The whole speaker rests on ‘donuts’ attached to a ring that fits to the inner diameter of the pipe.


Two pine rounds are a perfect fit for the top and bottom, the system being oriented bottom-up in photo below. No matter what surface I place the sub on, carpet or floor, the gap is consistent and the sound flows into the room without being absorbed. I bought some carpet spikes but it is easier to move this behemoth without them.

The final product,

1 Thank

Reserved

Very nice and well thought out execution!
You are running the system in a Bi-Amp configuration?
What range does the sub run at and power levels?

@Muto Thank you!
The system is bi-amped with the crossover set at 80 Hz. I power the sub with an old analog 5.1 Yamaha receiver. If I understand the manual correctly, the power should be up to 150 watts/ch at each 4 ohm voice coil so 300 watts.
This is what the manual says:

Dynamic Power per Channel
(by IHF Dynamic Headroom measuring
method) 8/6/4/2 ohms
[U.S.A. and Canada models]
…100/120/150/175W

The 96 dB at 2.83 volts sensitivity of the sub helps take advantage of almost every watt pumped by the amp.

I haven’t made a speaker but I watched this video with great interest:

2 Thanks

Kewl!

I dabbled with making box speakers, had some good speaker-design books to help out, but you’d need actual speaker spex like Fs, Q, etc., to be able to run the numbers.

I made one pair for someone but never got around to making the second set for myself.

Had the old 15" woofers from Rat Shack’s Mach One speakers, which were pretty good as long as they had enough air behind 'em.

Had some nice horn midranges and bullet-type tweeters.

Used to like the typische Motorola piezo tweeters (same element, assload of different fronts) that were around, but those sounded harsh and peaky, despite being way more efficient.

Still got my set of the above, as well as probably half of Parts Express’s inventory from back in the day. Chaska, Minnesota? Scary if I still remember where they were located…

Aw, man, now I remember… Only had enough particle-board to build his set, and wanted to do up mine in actual plywood. PB back then would crumble if you looked at it wrong.

Not any home audio boxes. I’ve built a few car boxes. A few out of MDF and a handful fiberglass.

The one in my first gen s10 blazer I made to sit inside where the factory spare (donut) sits and holds a small 10 inch woofer. After I put 33s on it the tiny factory spare was worthless anyways. The amp is mounted to the back of the box and the factory carpet cover hides it all.

Thank you LB!
I know about those and they seemed to be for outdoor venues. Harsh!
There was a company that called their midrange drivers ‘squawkers’. LOL!

If my kids were continuing with my interests, 3D printing is how we’d construct speakers. That’s an awesome project!

1 Thank

It’s inspiring to see what is possible! 3D printing really is an awesome resource. Makes me think I need to get one.

I’m glad to have rediscovered his YT channel–I know I have seen some of his other builds but I never subscribed to the channel and I’d forgotten it entirely.

Once, I thought I should make some money with my hobby and joined a small car audio shop. For the owner, I built an Orion brand 12" box design for his SUV. I’m thinking it was an S10 Blazer?! I built it out of particle board not knowing about MDF! :face_with_peeking_eye: It was a slotted bandpass design and it sounded amazing… but there was the port panel wildly oscillating. I
thought it would fall apart! The owner didn’t care, finished it off with padded vinyl and used it as a demo.

There is a local “shop” that build custom “fiberglass” boxes. They build a frame, stretch flannel over, and soak it with resin. They then just sand and bondo a thick layer before painting.
The box looks great if it’s never used. First time one is turned on the paint cracks all to crap from the flex. I’ve rebuilt about 3 over the years and they don’t use any fiberglass mat to stregthen things at all. I’ve also seen them use OSB as the inside struts instead of wood and the stuff had turned to just chips over about a year of use. I personally don’t like using mdf as uprights because I think the stuff flexes too much when cut into strips.
They are the only shop in town and his normal wannabe ganster buyers seem to be happy with crappy flexing boxes. Most of them would be happy putting a sub in a cardboard box if it’s painted and makes their car rattle all the bolts out of it.

Yeah, the typical pop-bottle bass. One note like blowing across a glass bottle…

Sounds familiar :thinking: :sweat_smile:
I was so impressed, even till this day, that on one 1991 winter morning, a clean, flat dark green painted Nova with closed, dark tinted windows, crossed my path emanating the deepest, cleanest bass without a single rattle from hood to rear license plate! For an old car, really any car, it was a feat and I had a lot of respect for the owner because he wasn’t sharing all the noise that some bass heads impose on external sonic victims!
In an article of Stereo Review, that laid out each type of subwoofer configuration (bass reflex, isobaric, bandpass) and enclosure geometries, I was convinced a tube was the most rigid, sonically neutral choice for subwoofers. Can you tell? :wink: I searched for that copy in my magazine stacks, now recycled, and online with no luck. It played such a pivotal role in my designs.

Have you ever checked out Decware — He has some interesting stuff – In 2006 I bought some modified Fostex drivers for my horns – Big improvement over stock drivers

1 Thank

Cool! I’ll look at their offerings.

This is an interesting read also — I don’t think thw wife is still selling kits though

1 Thank

I still want to build a set of these (below). I want to see if i can levitate them magnetically off of the wall (unlikely).

Great build and cheap and easy. No bass though so the sub is still needed

If those sound as good as Magnepan speakers, I would build some too! They have such airy, 3D sound.