It’s my intention to build a light for this challenge, and I decided if I announced it, maybe it would light a fire under my butt.
I haven’t started building yet but I’m in the process of looking for materials.
Link to Contest:
It’s my intention to build a light for this challenge, and I decided if I announced it, maybe it would light a fire under my butt.
I haven’t started building yet but I’m in the process of looking for materials.
Link to Contest:
Good luck ![]()
Good Luck!
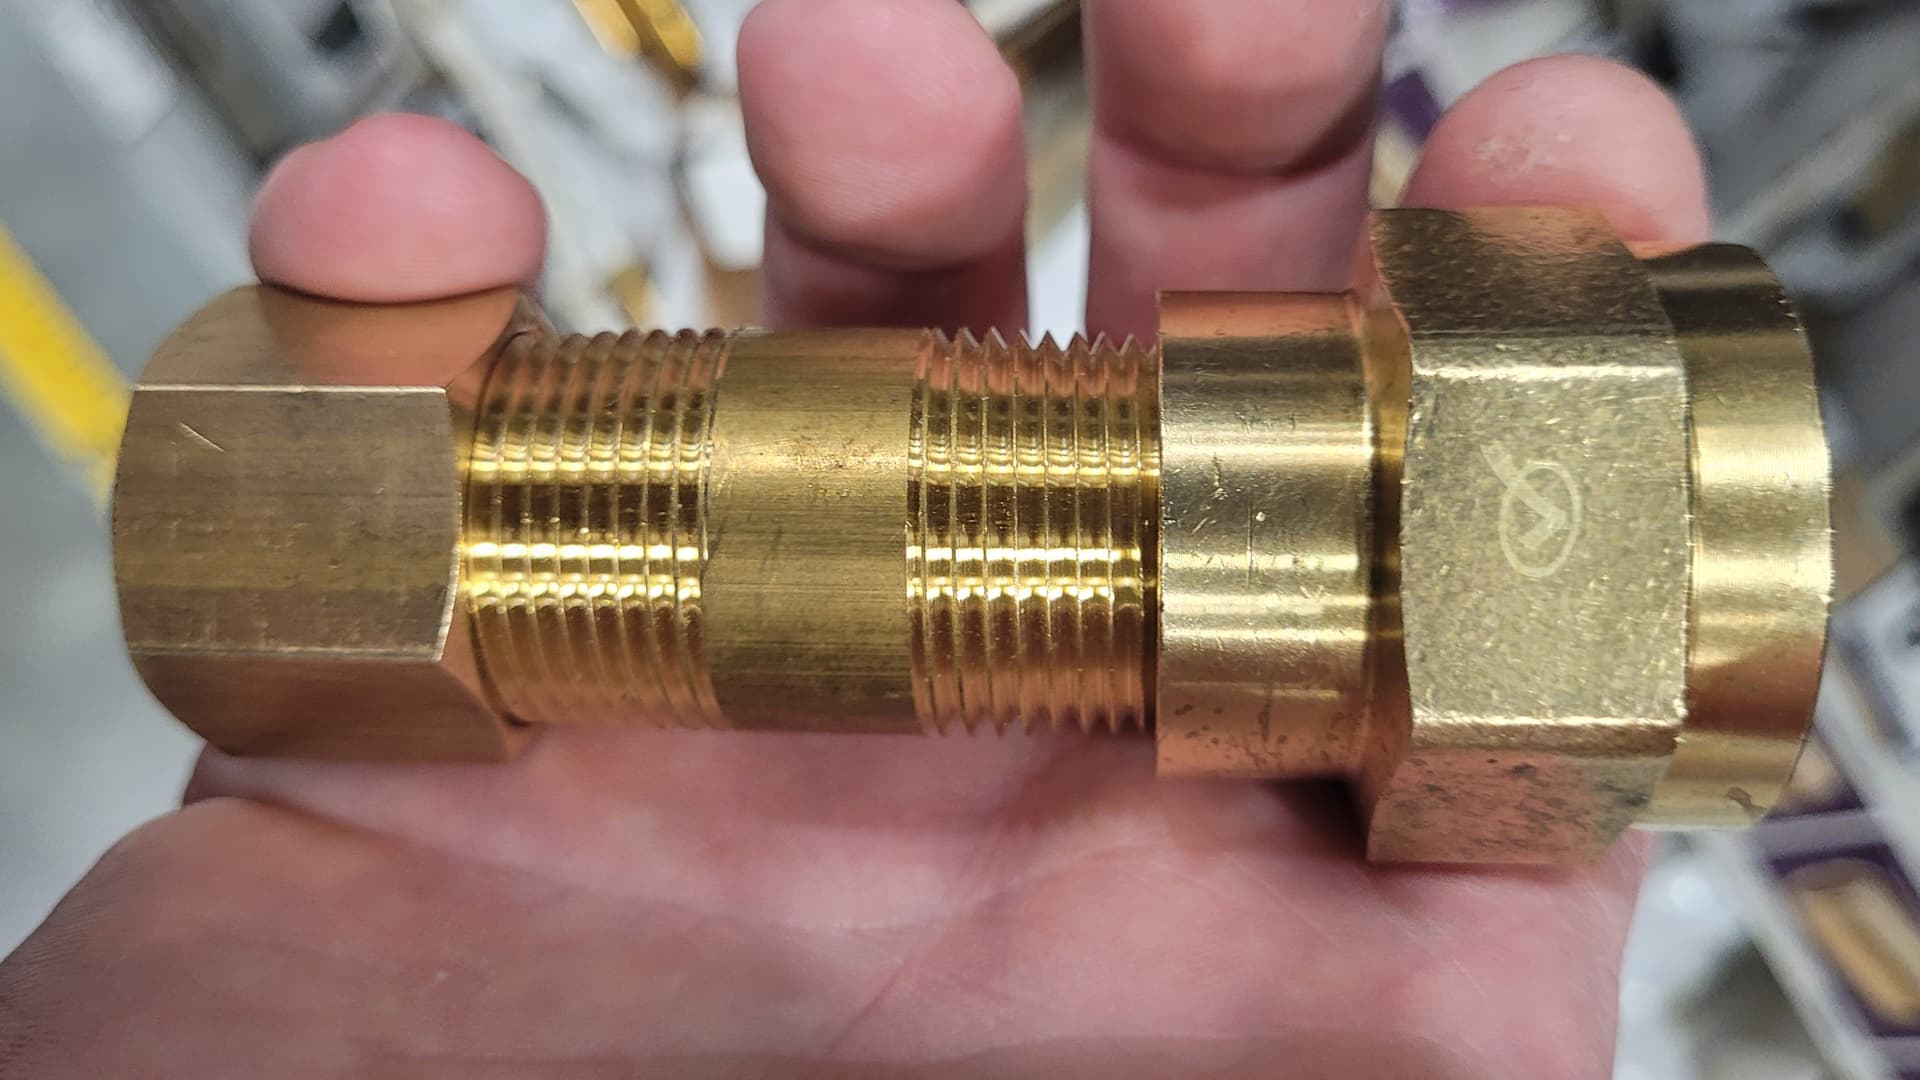
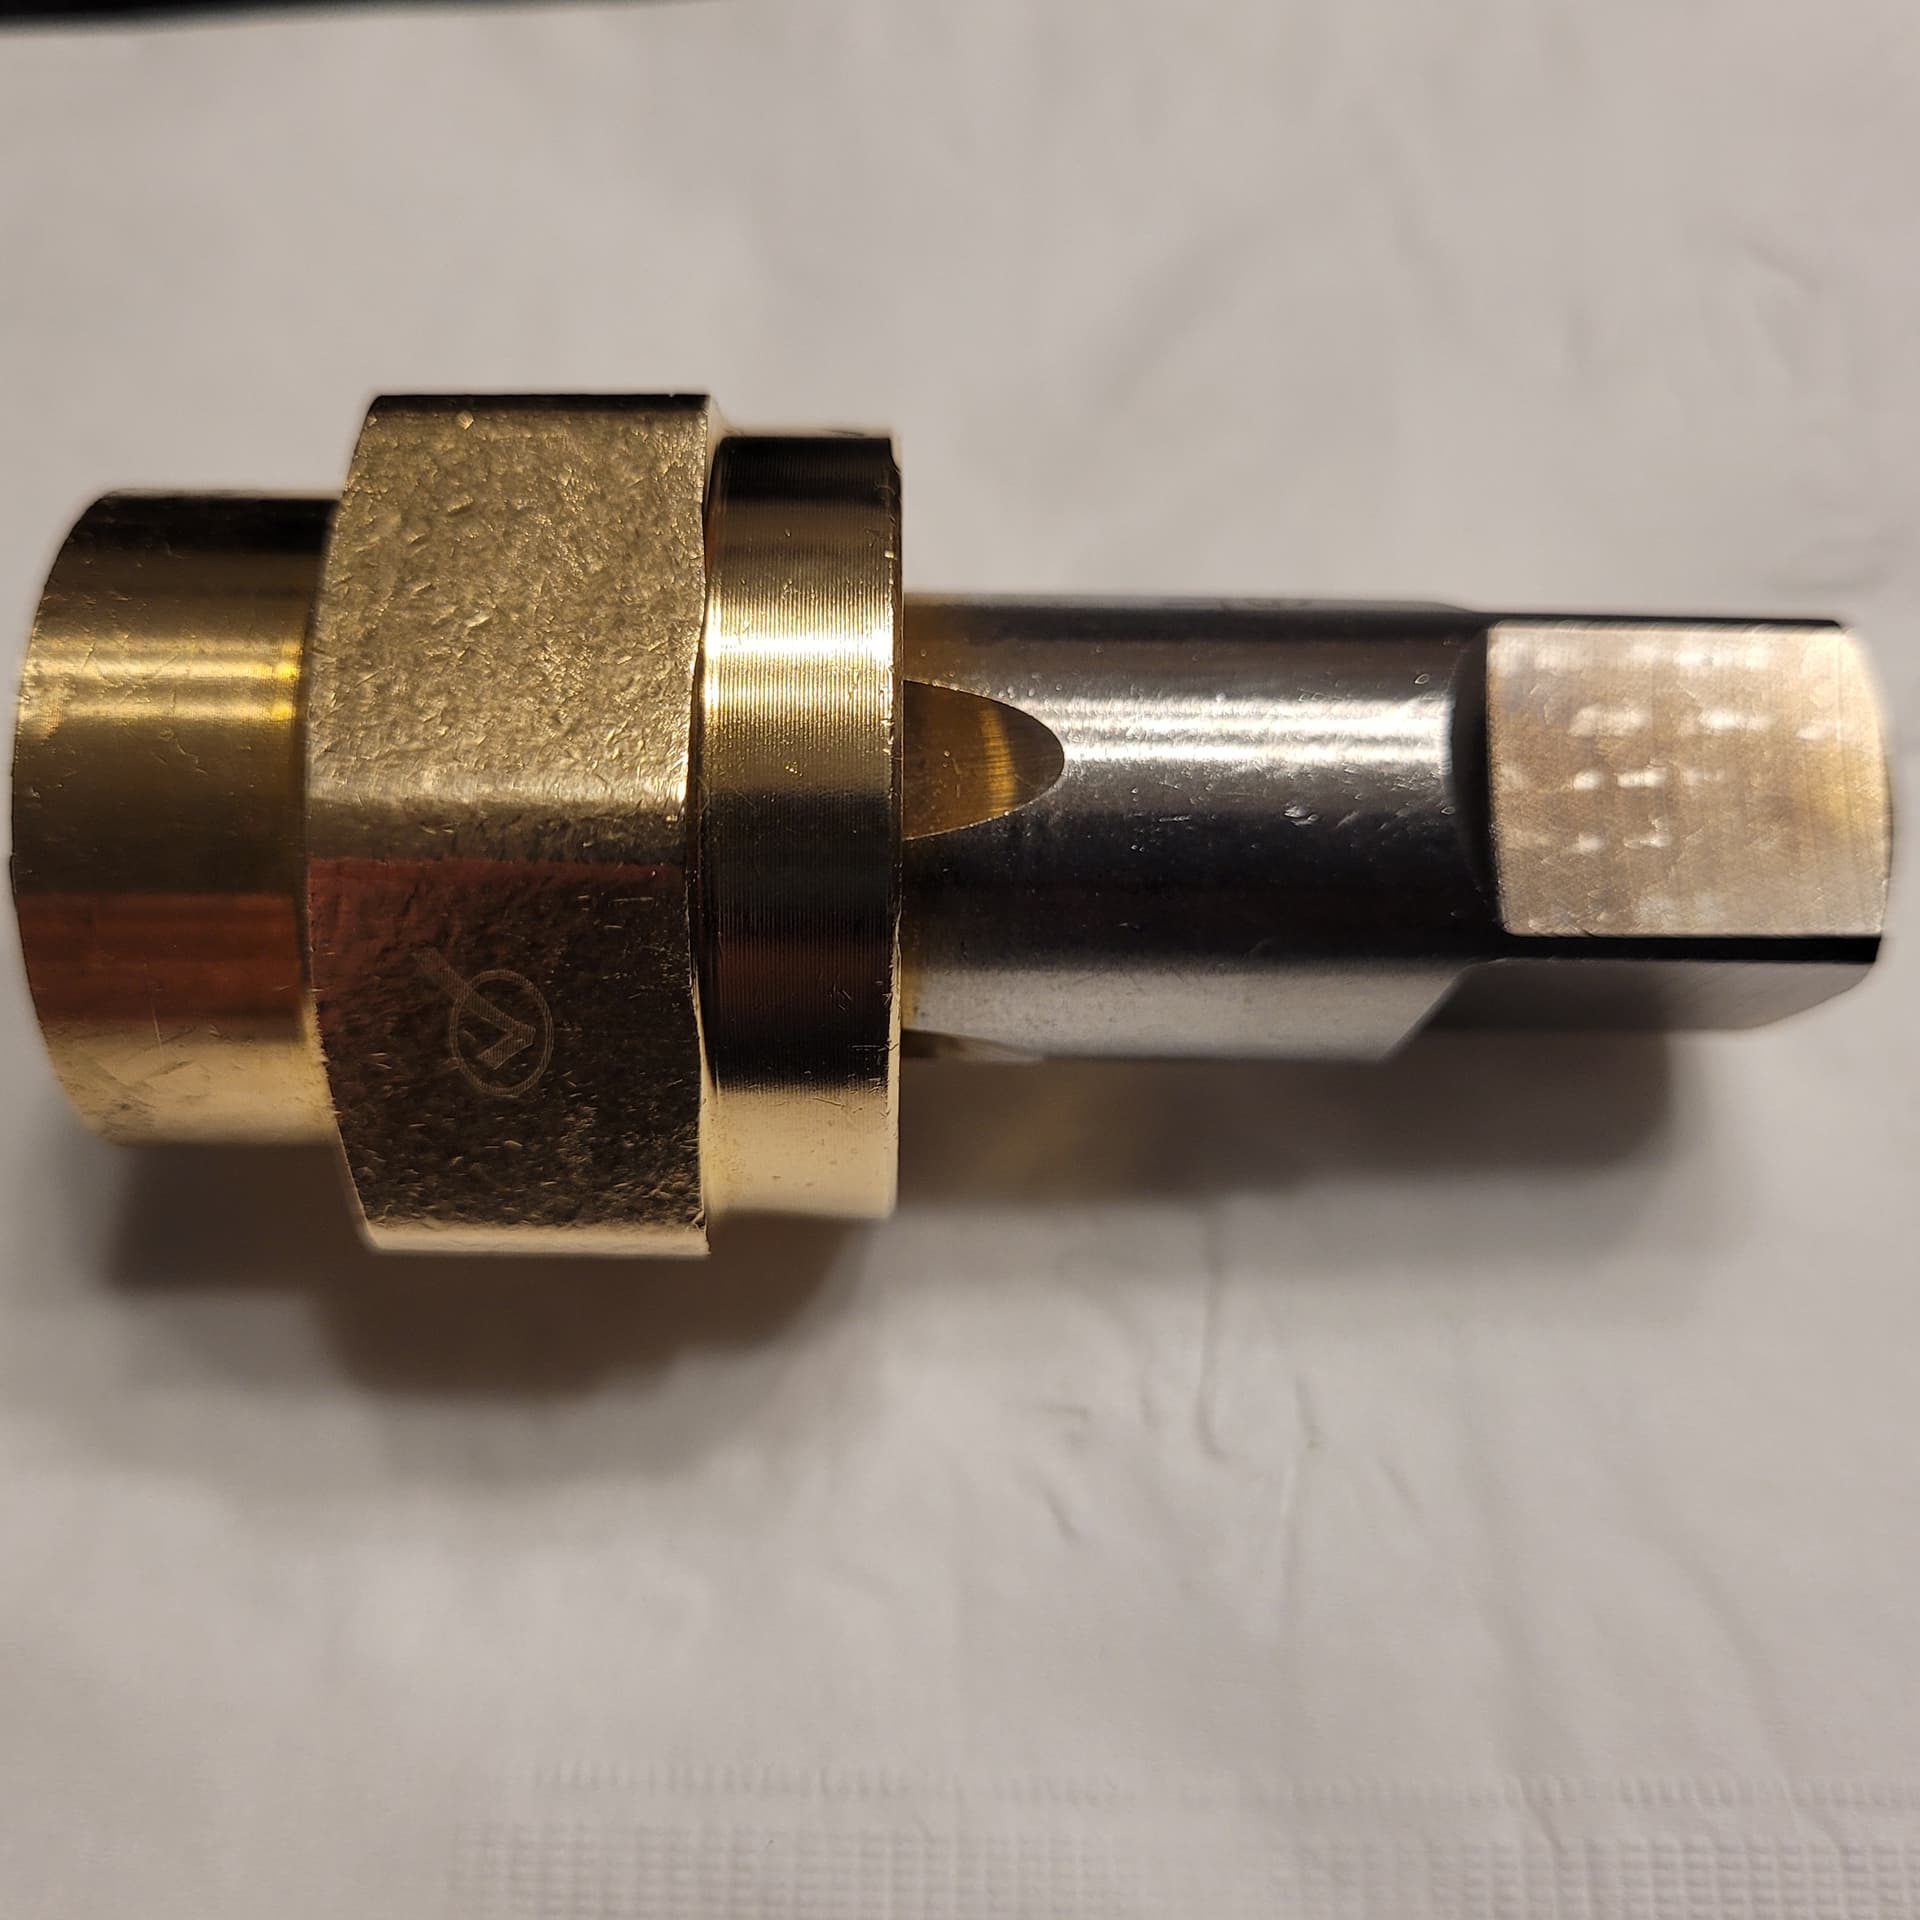
So I found a few pieces of Brass @ Lowes that I think I can use to build my light.
Seeing some of the other projects I’m feeling a little unprepared for this challenge…
It’s my first ever entry, so here goes nothing!
If you need any help i am your man, i built something similar a few years back.
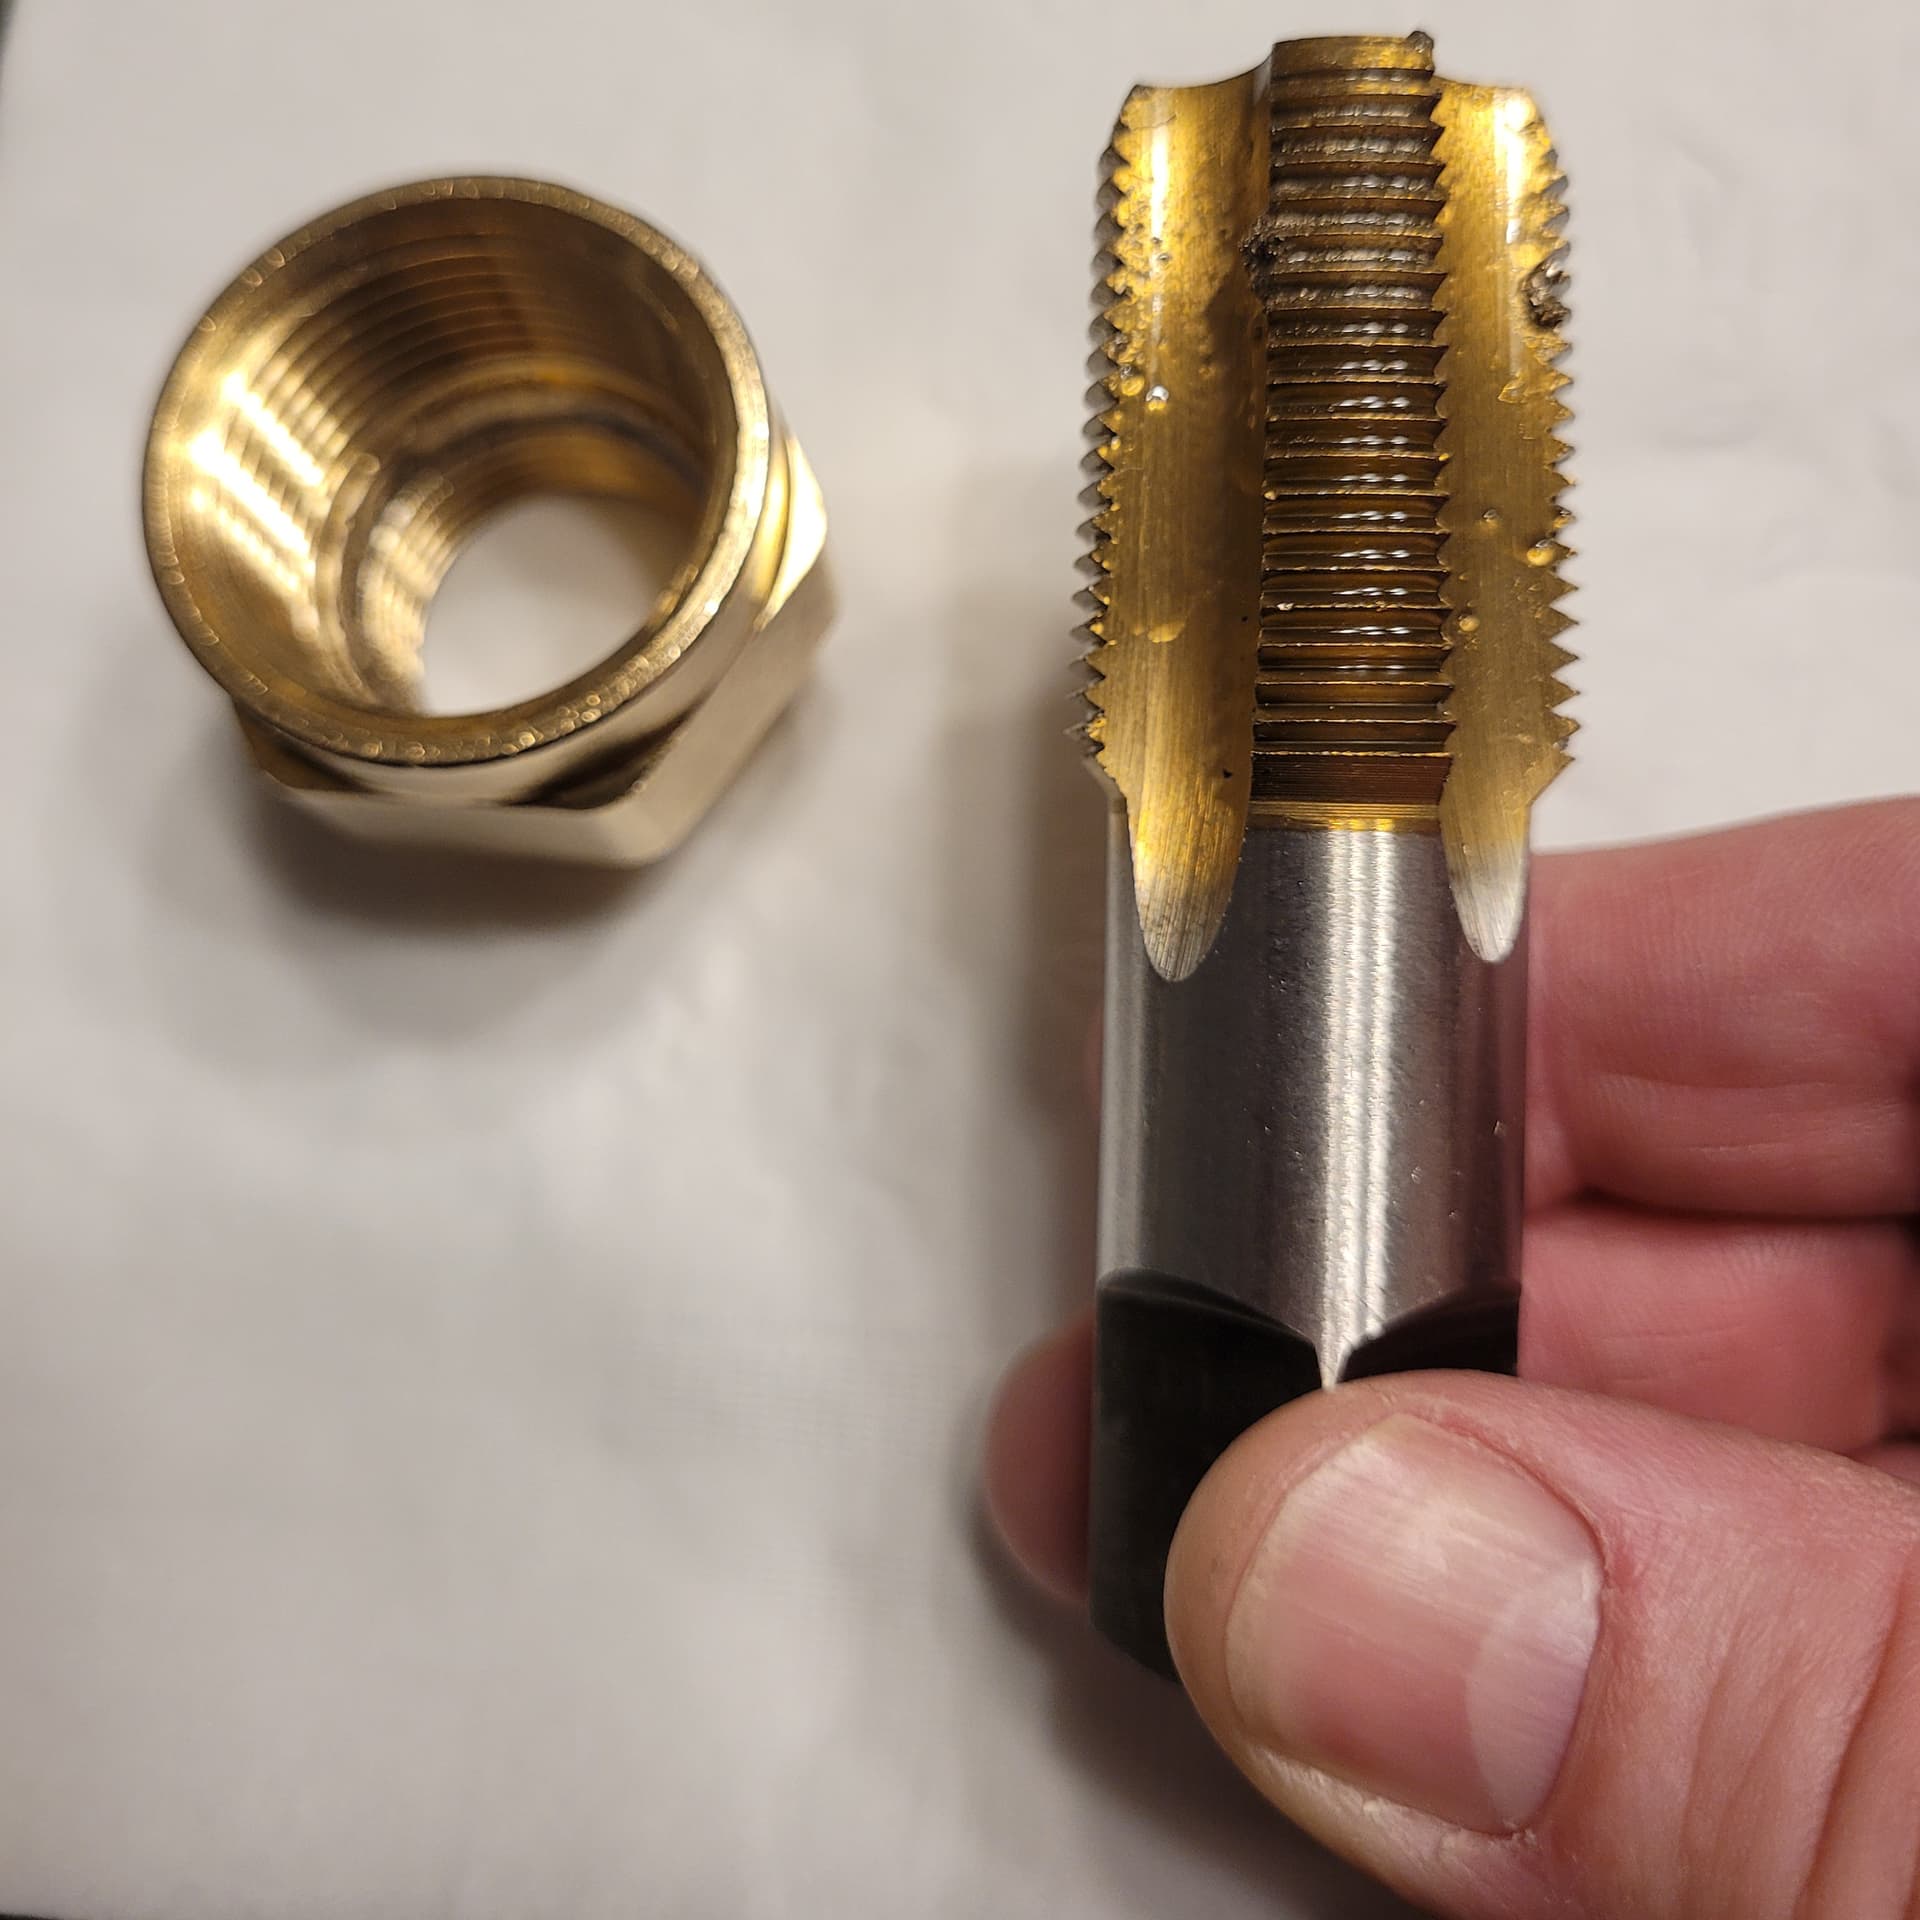
So far my biggest issue had been trying to navigate all the different thread standards.
FIP/MIP
NPT(MPT/FPT)
BSPT
NSP
Tapered vs Strait Threaded.
And places like HomeDepot mislabel MPT as MIP on a bunch of the fittings they Sell.
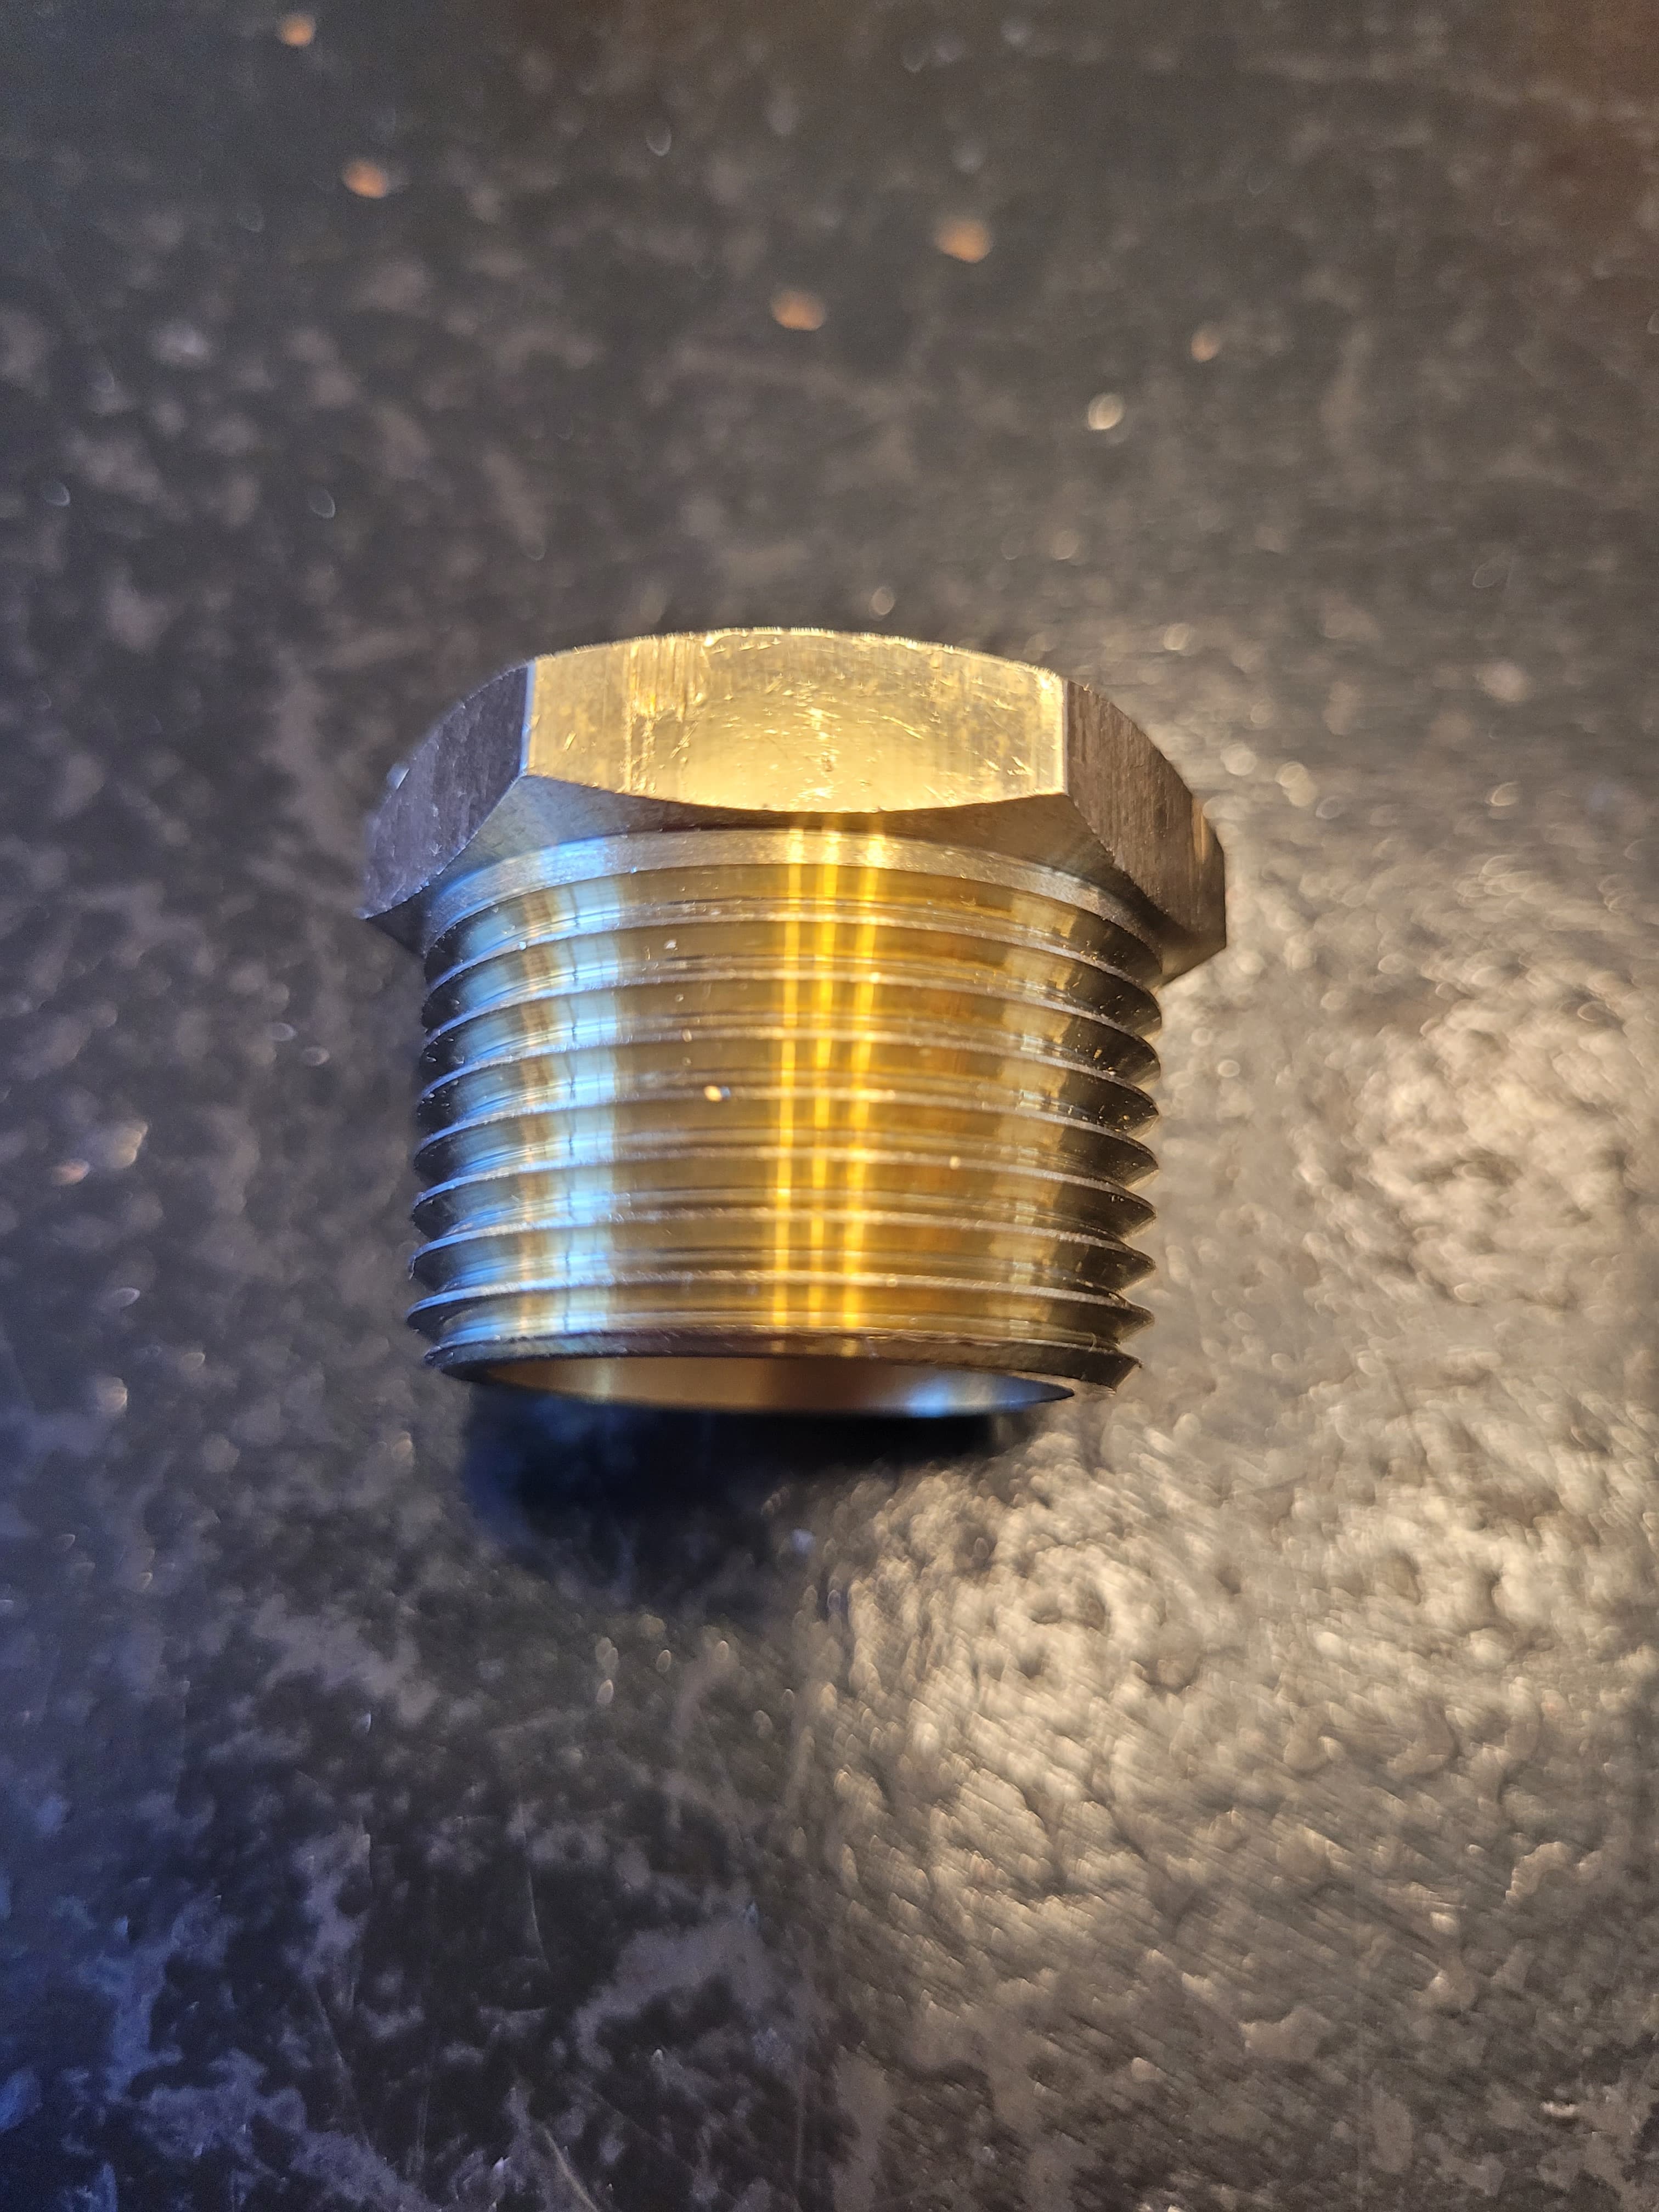
I picked up a few more pieces from Ace Hardware last night and I think after some modifications it will work.
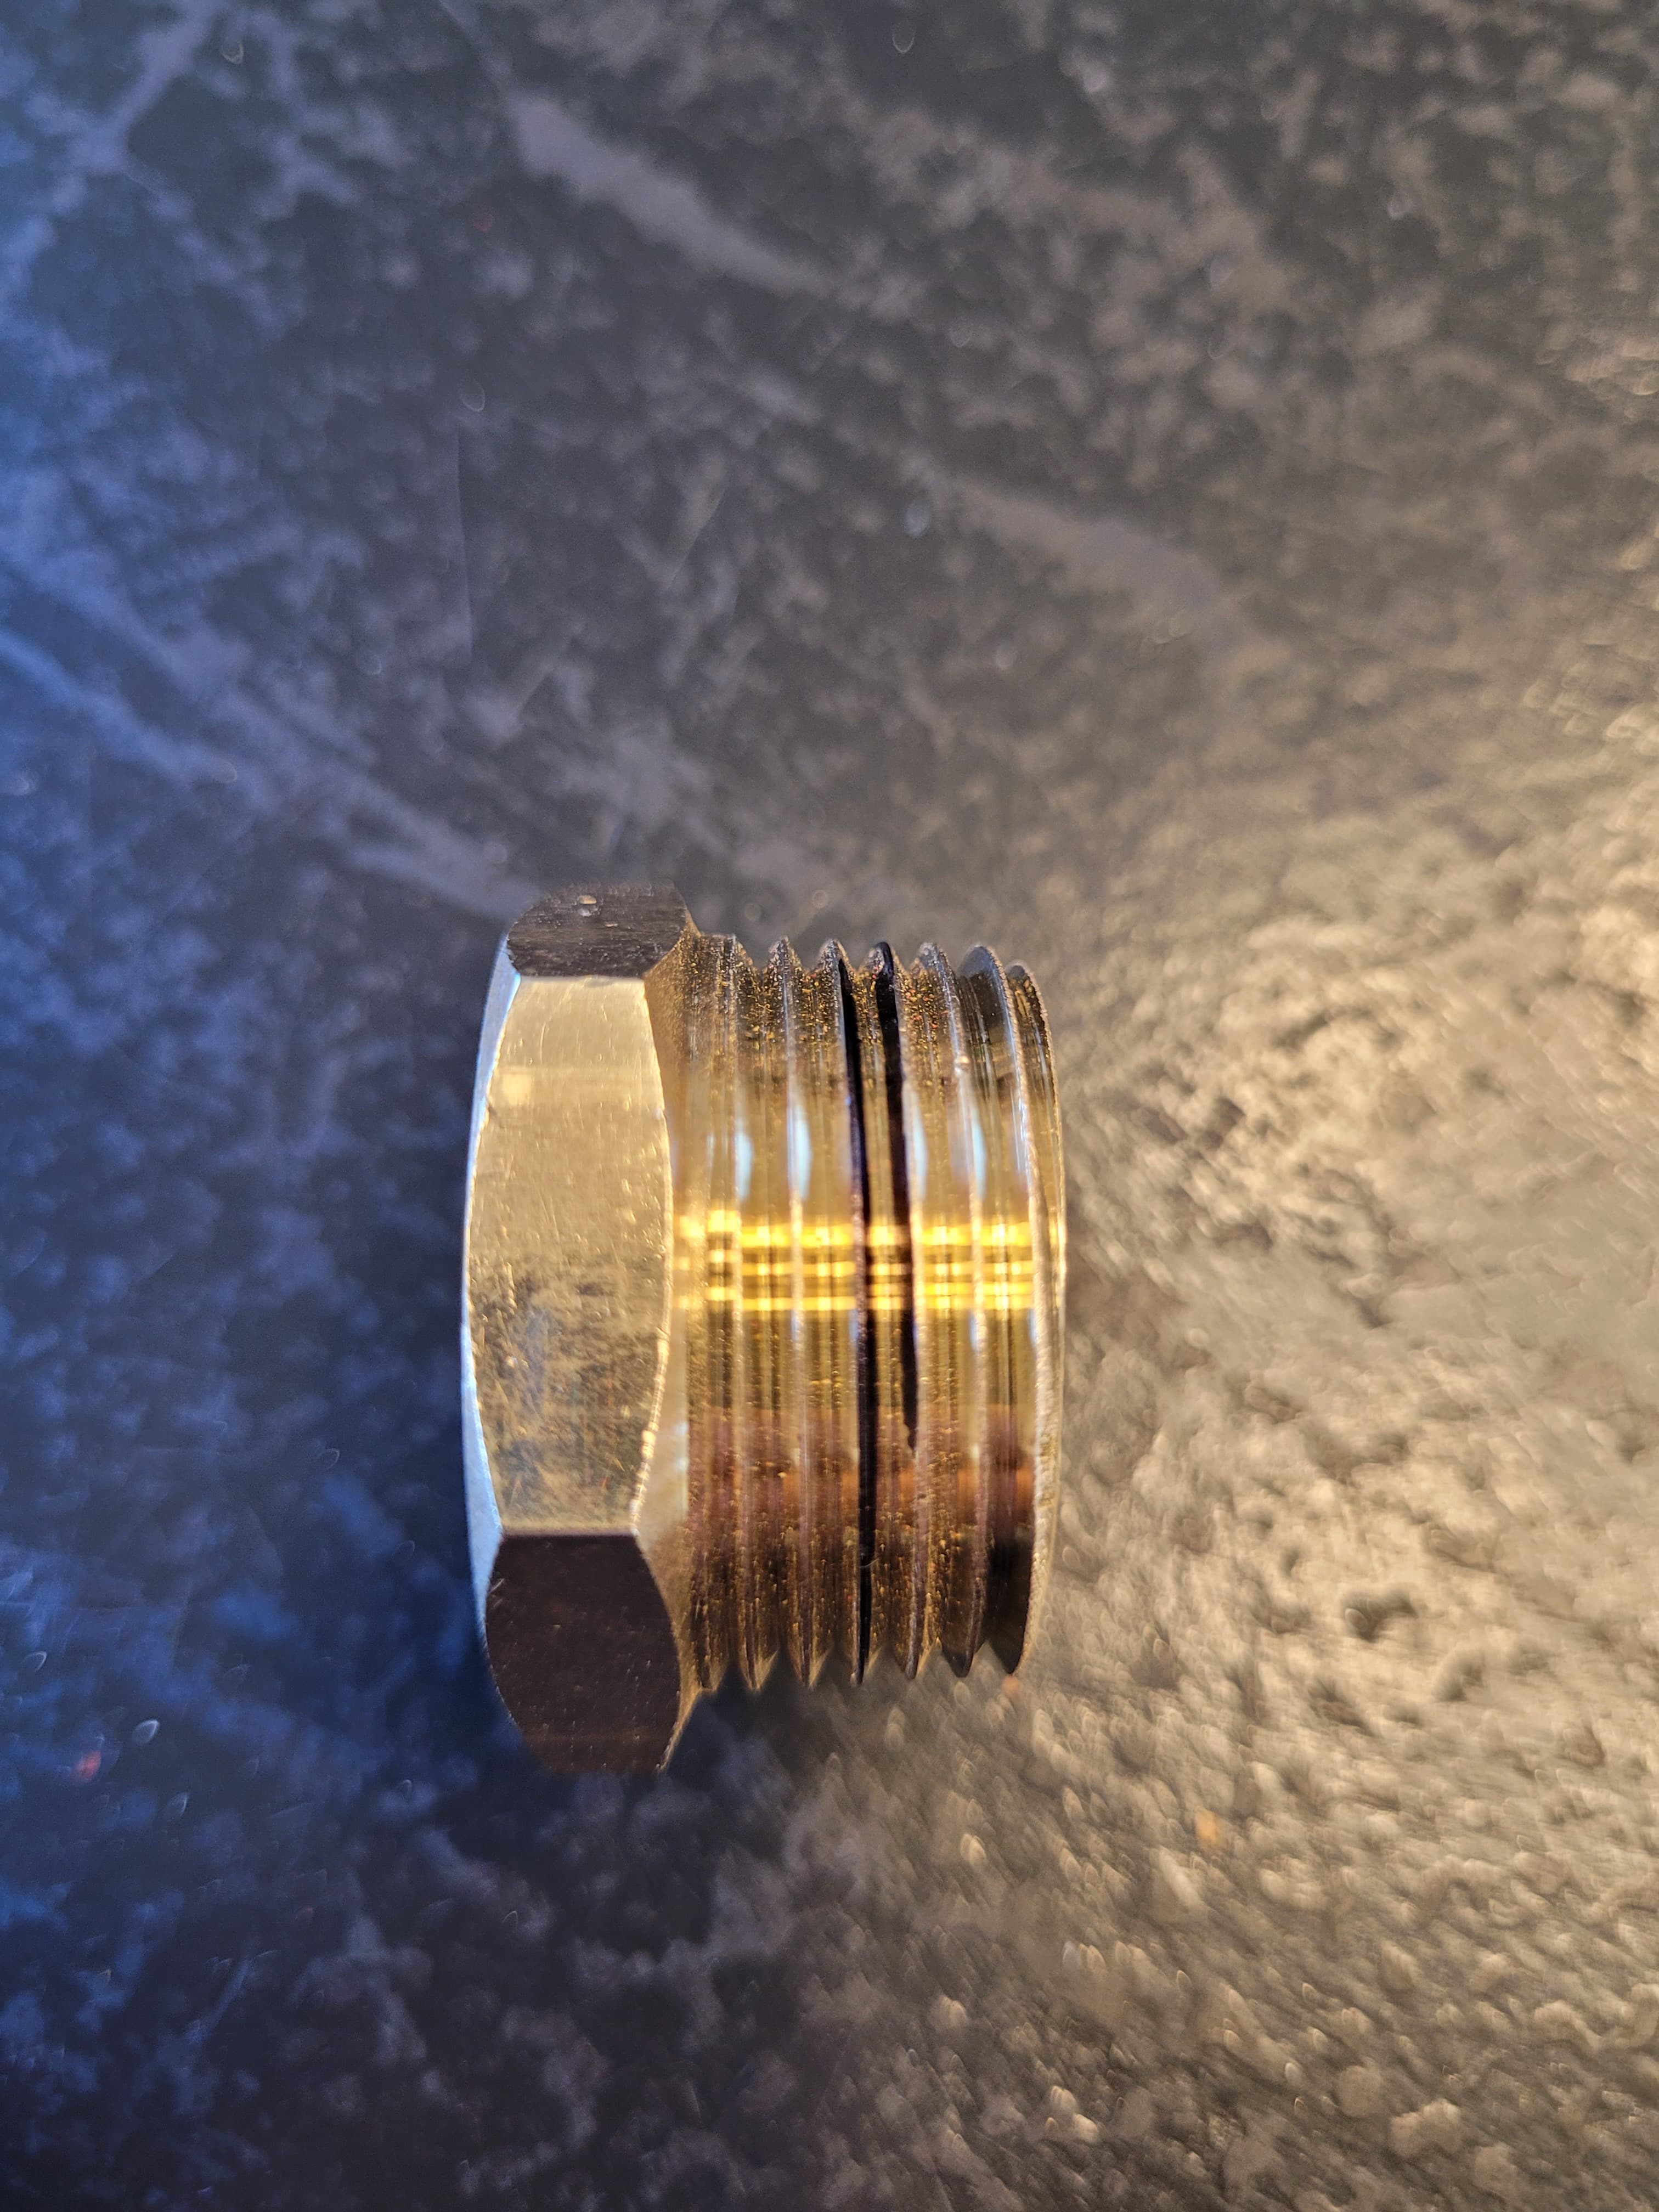
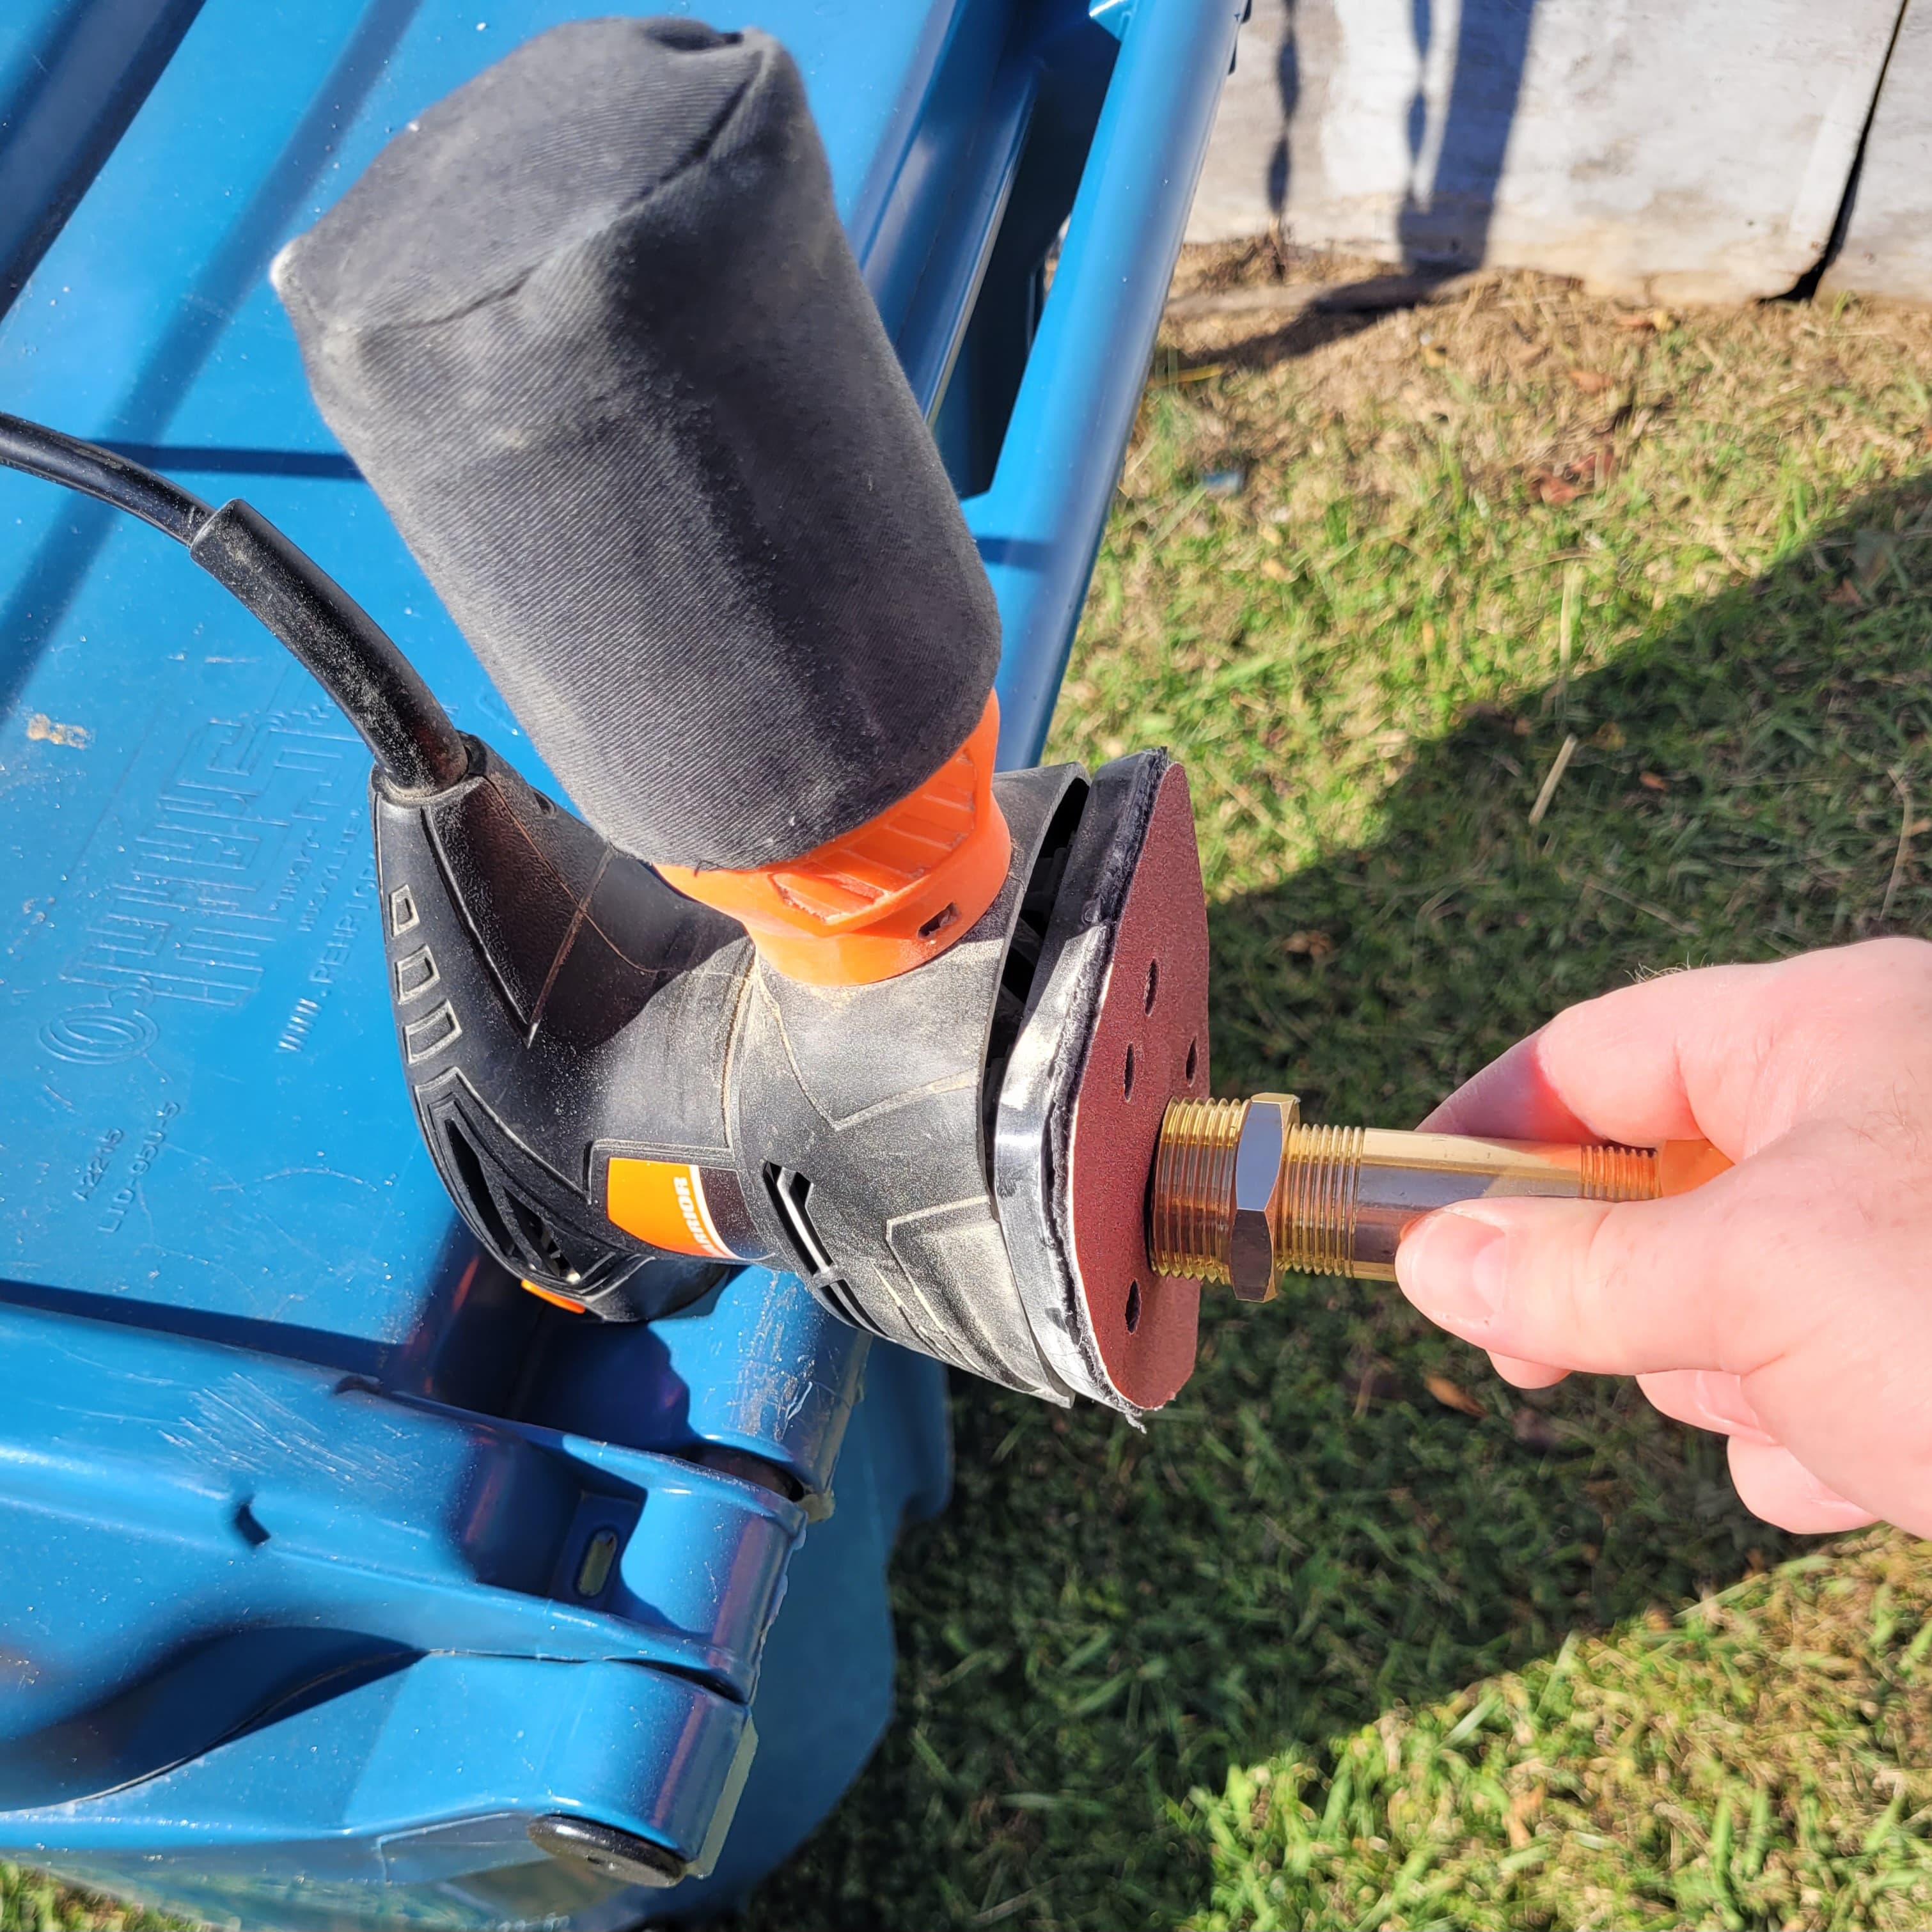
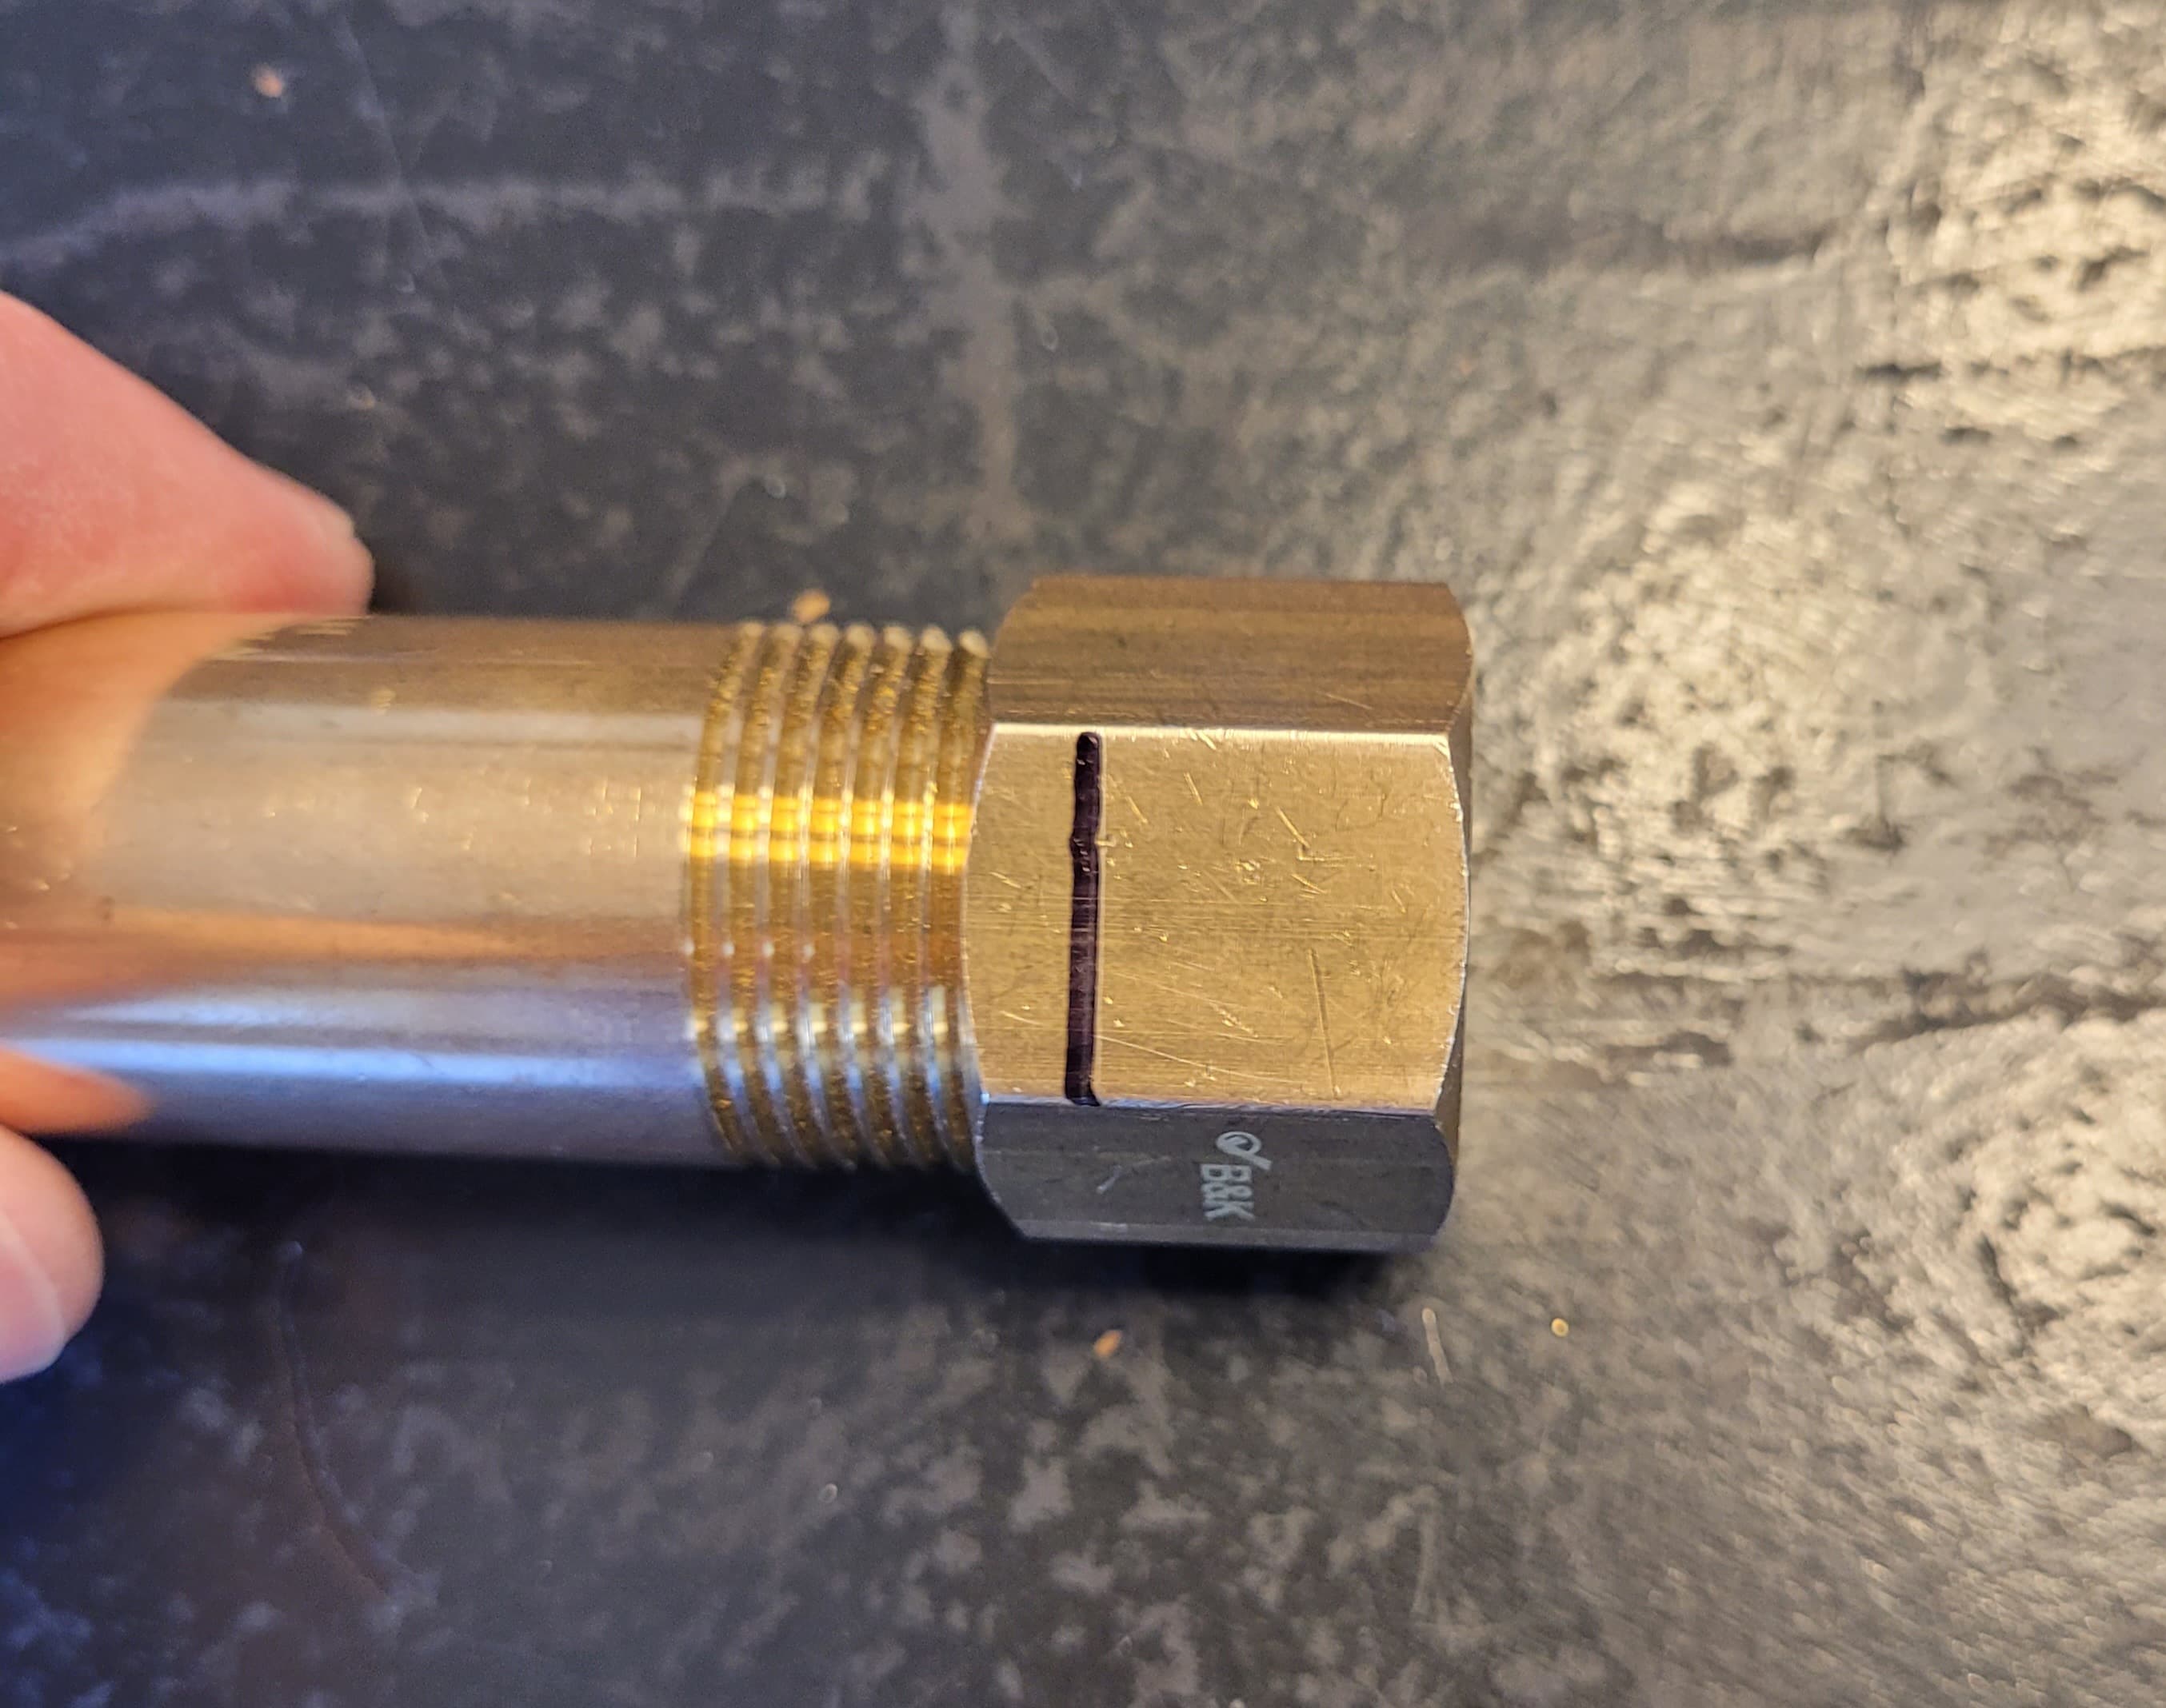
So my idea was that I could grind down the lip and thread the plug in backwards to make a shelf for the MCPCB.
Because both threads are Tapered and I’m trying to screw the plug in backwards it’s not going so well…
I see a lot of solder in your future. ![]()
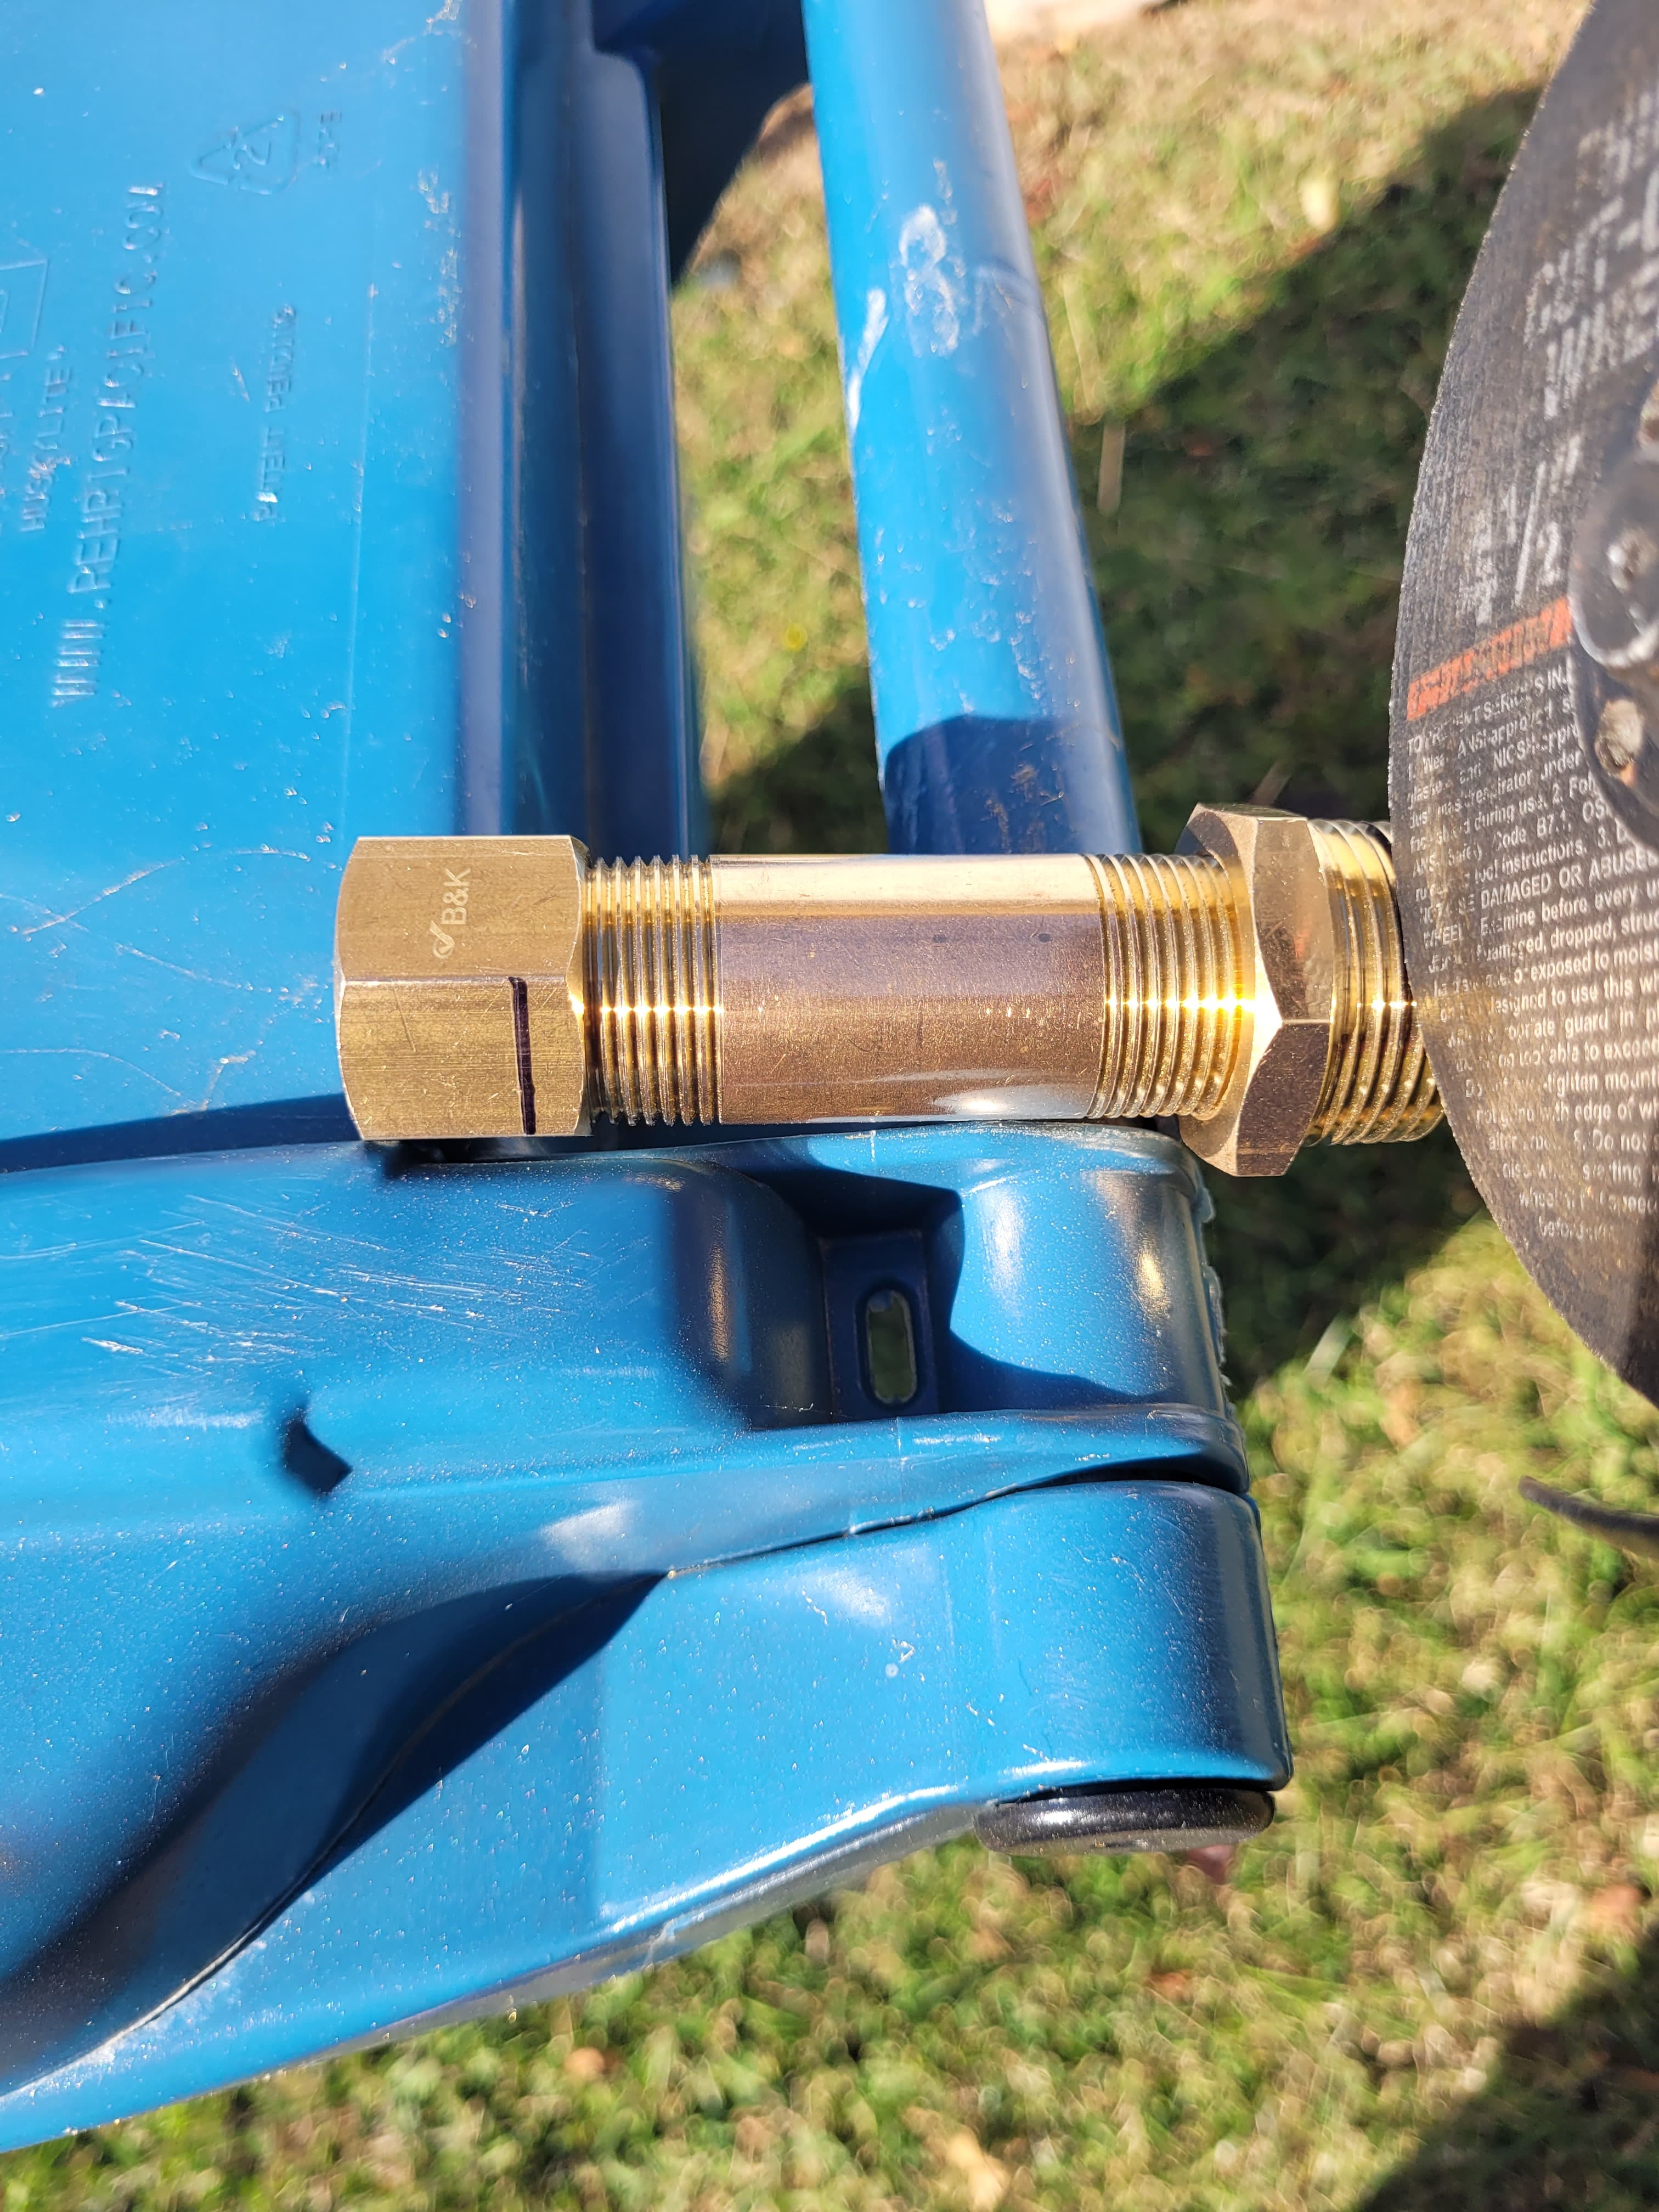
Brass is pretty soft so I’m sure you can persuade the fittings to get in position (and stay there forever lol). If you drill the hole(s) for the wire routing and mcpcb fixation, you have extra leverage points. You can tweak on those holes with needle nose pliers or …
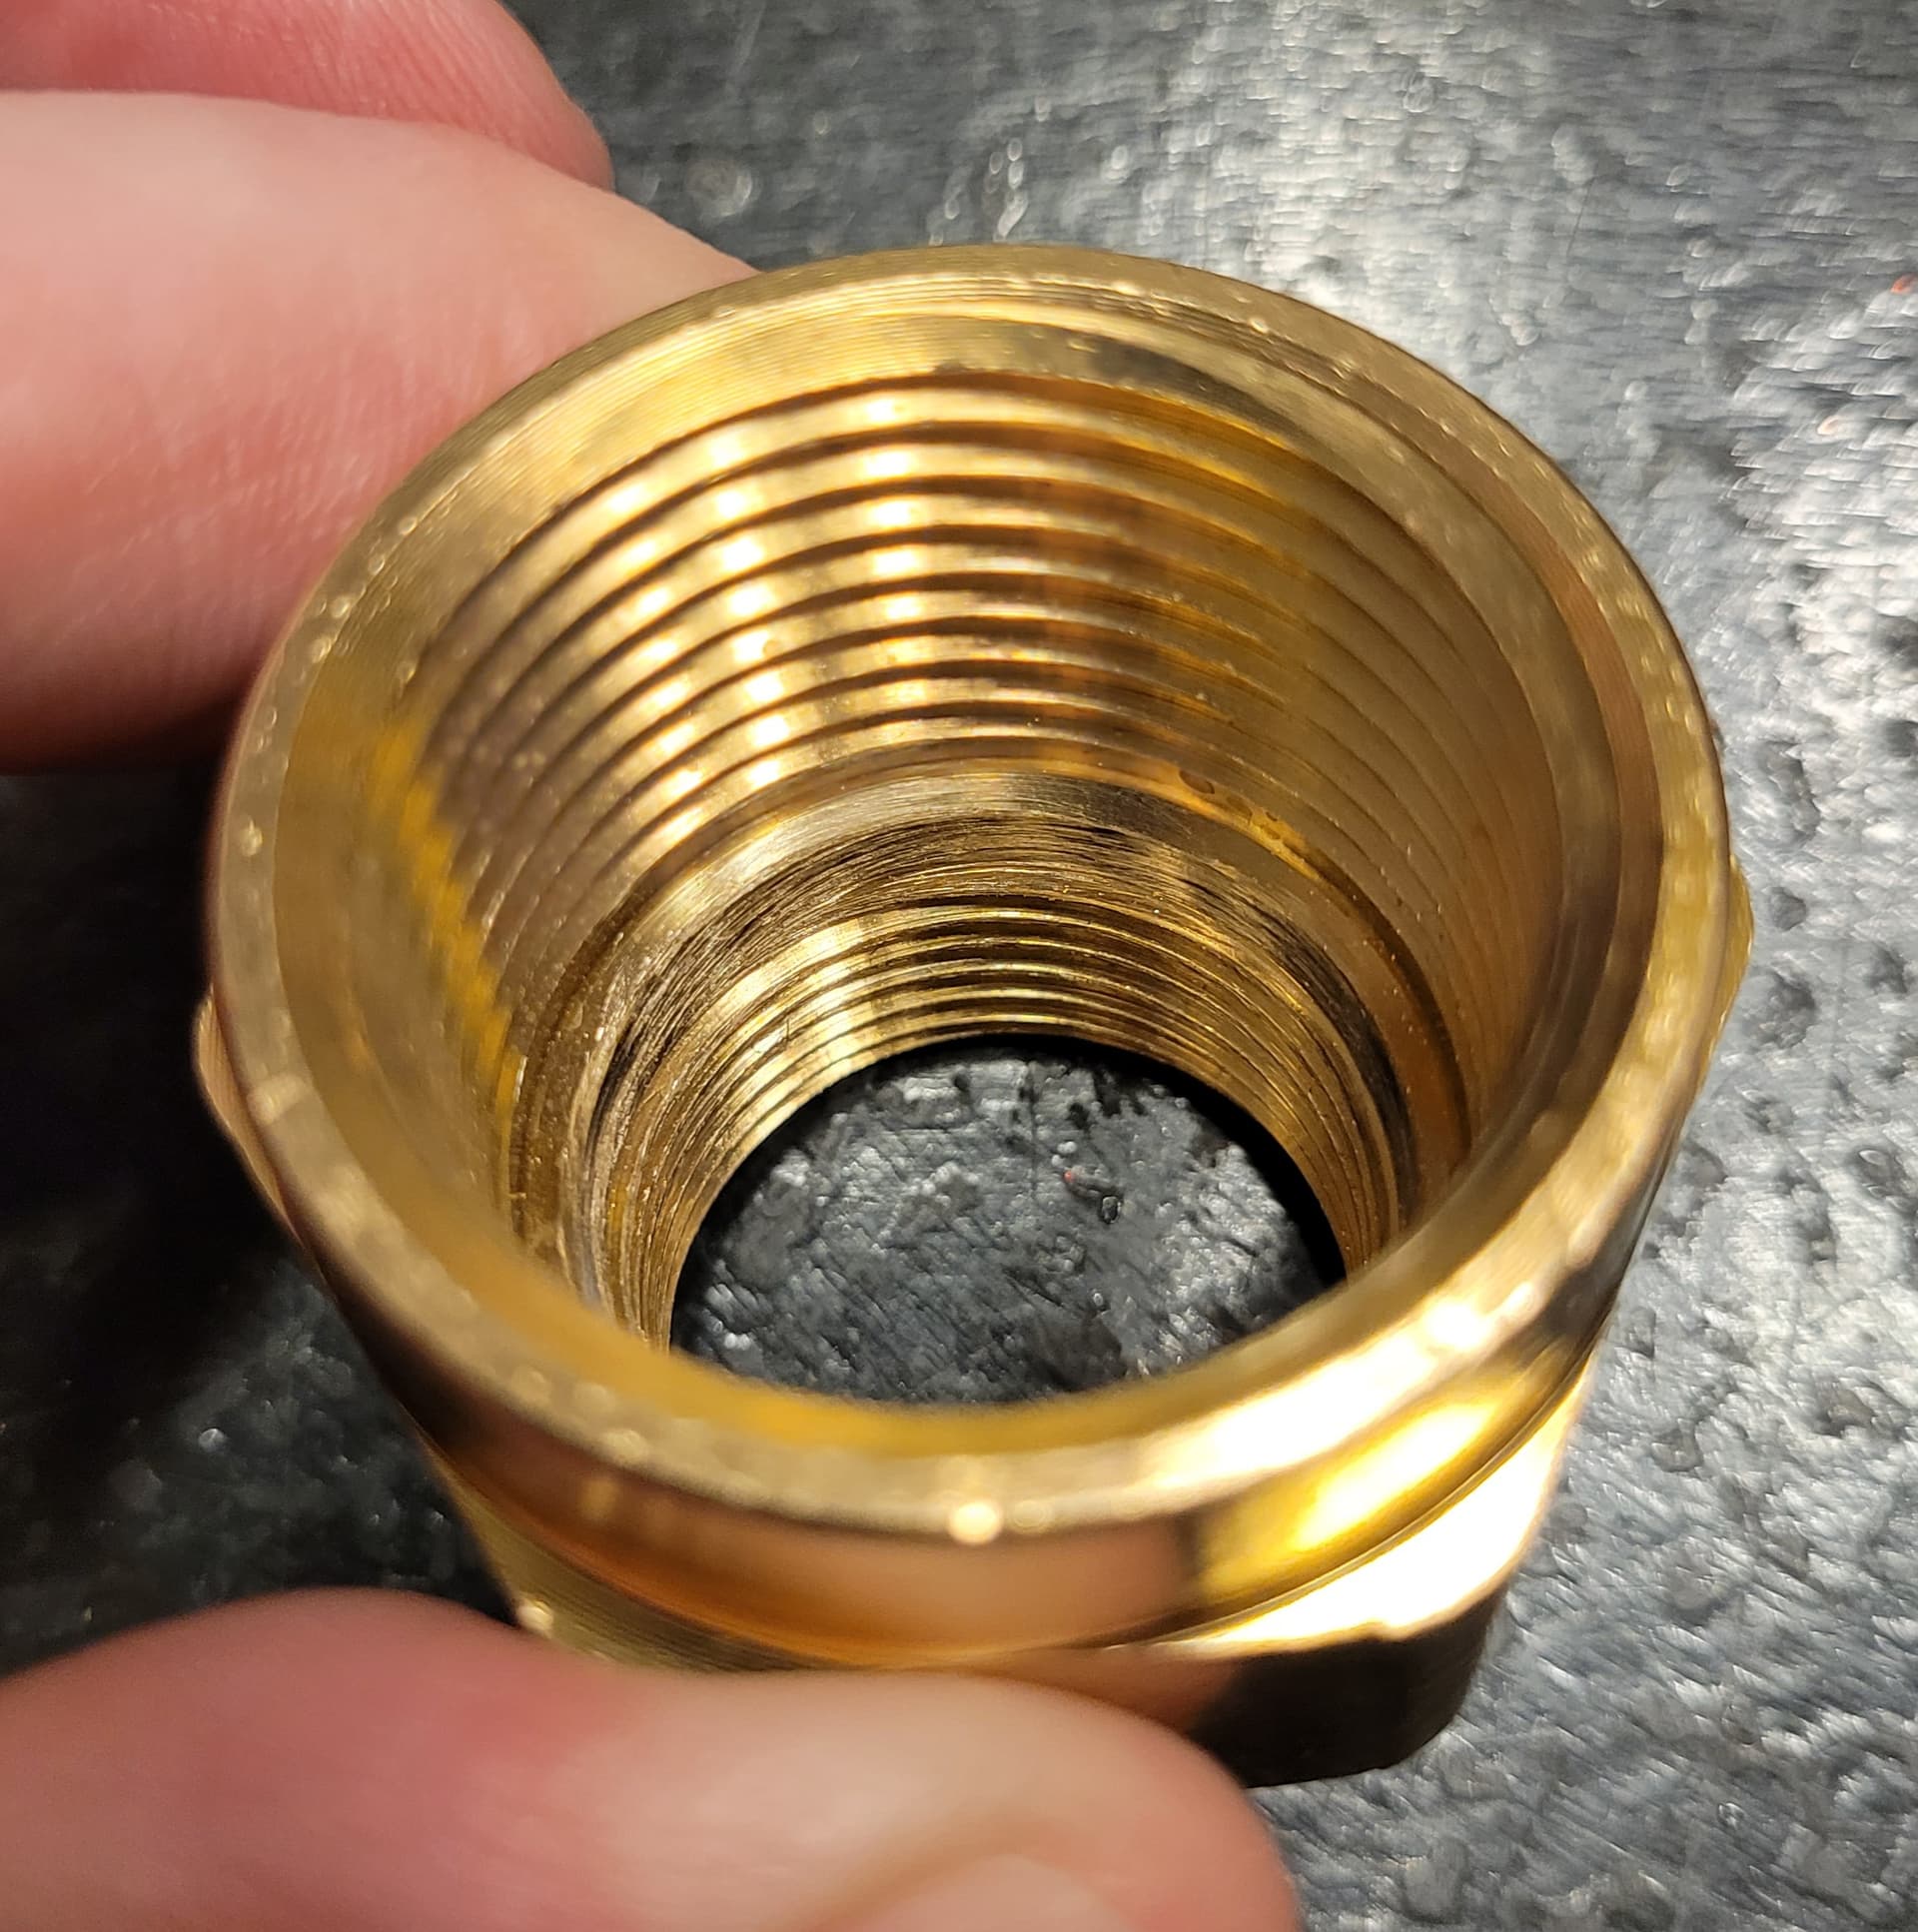
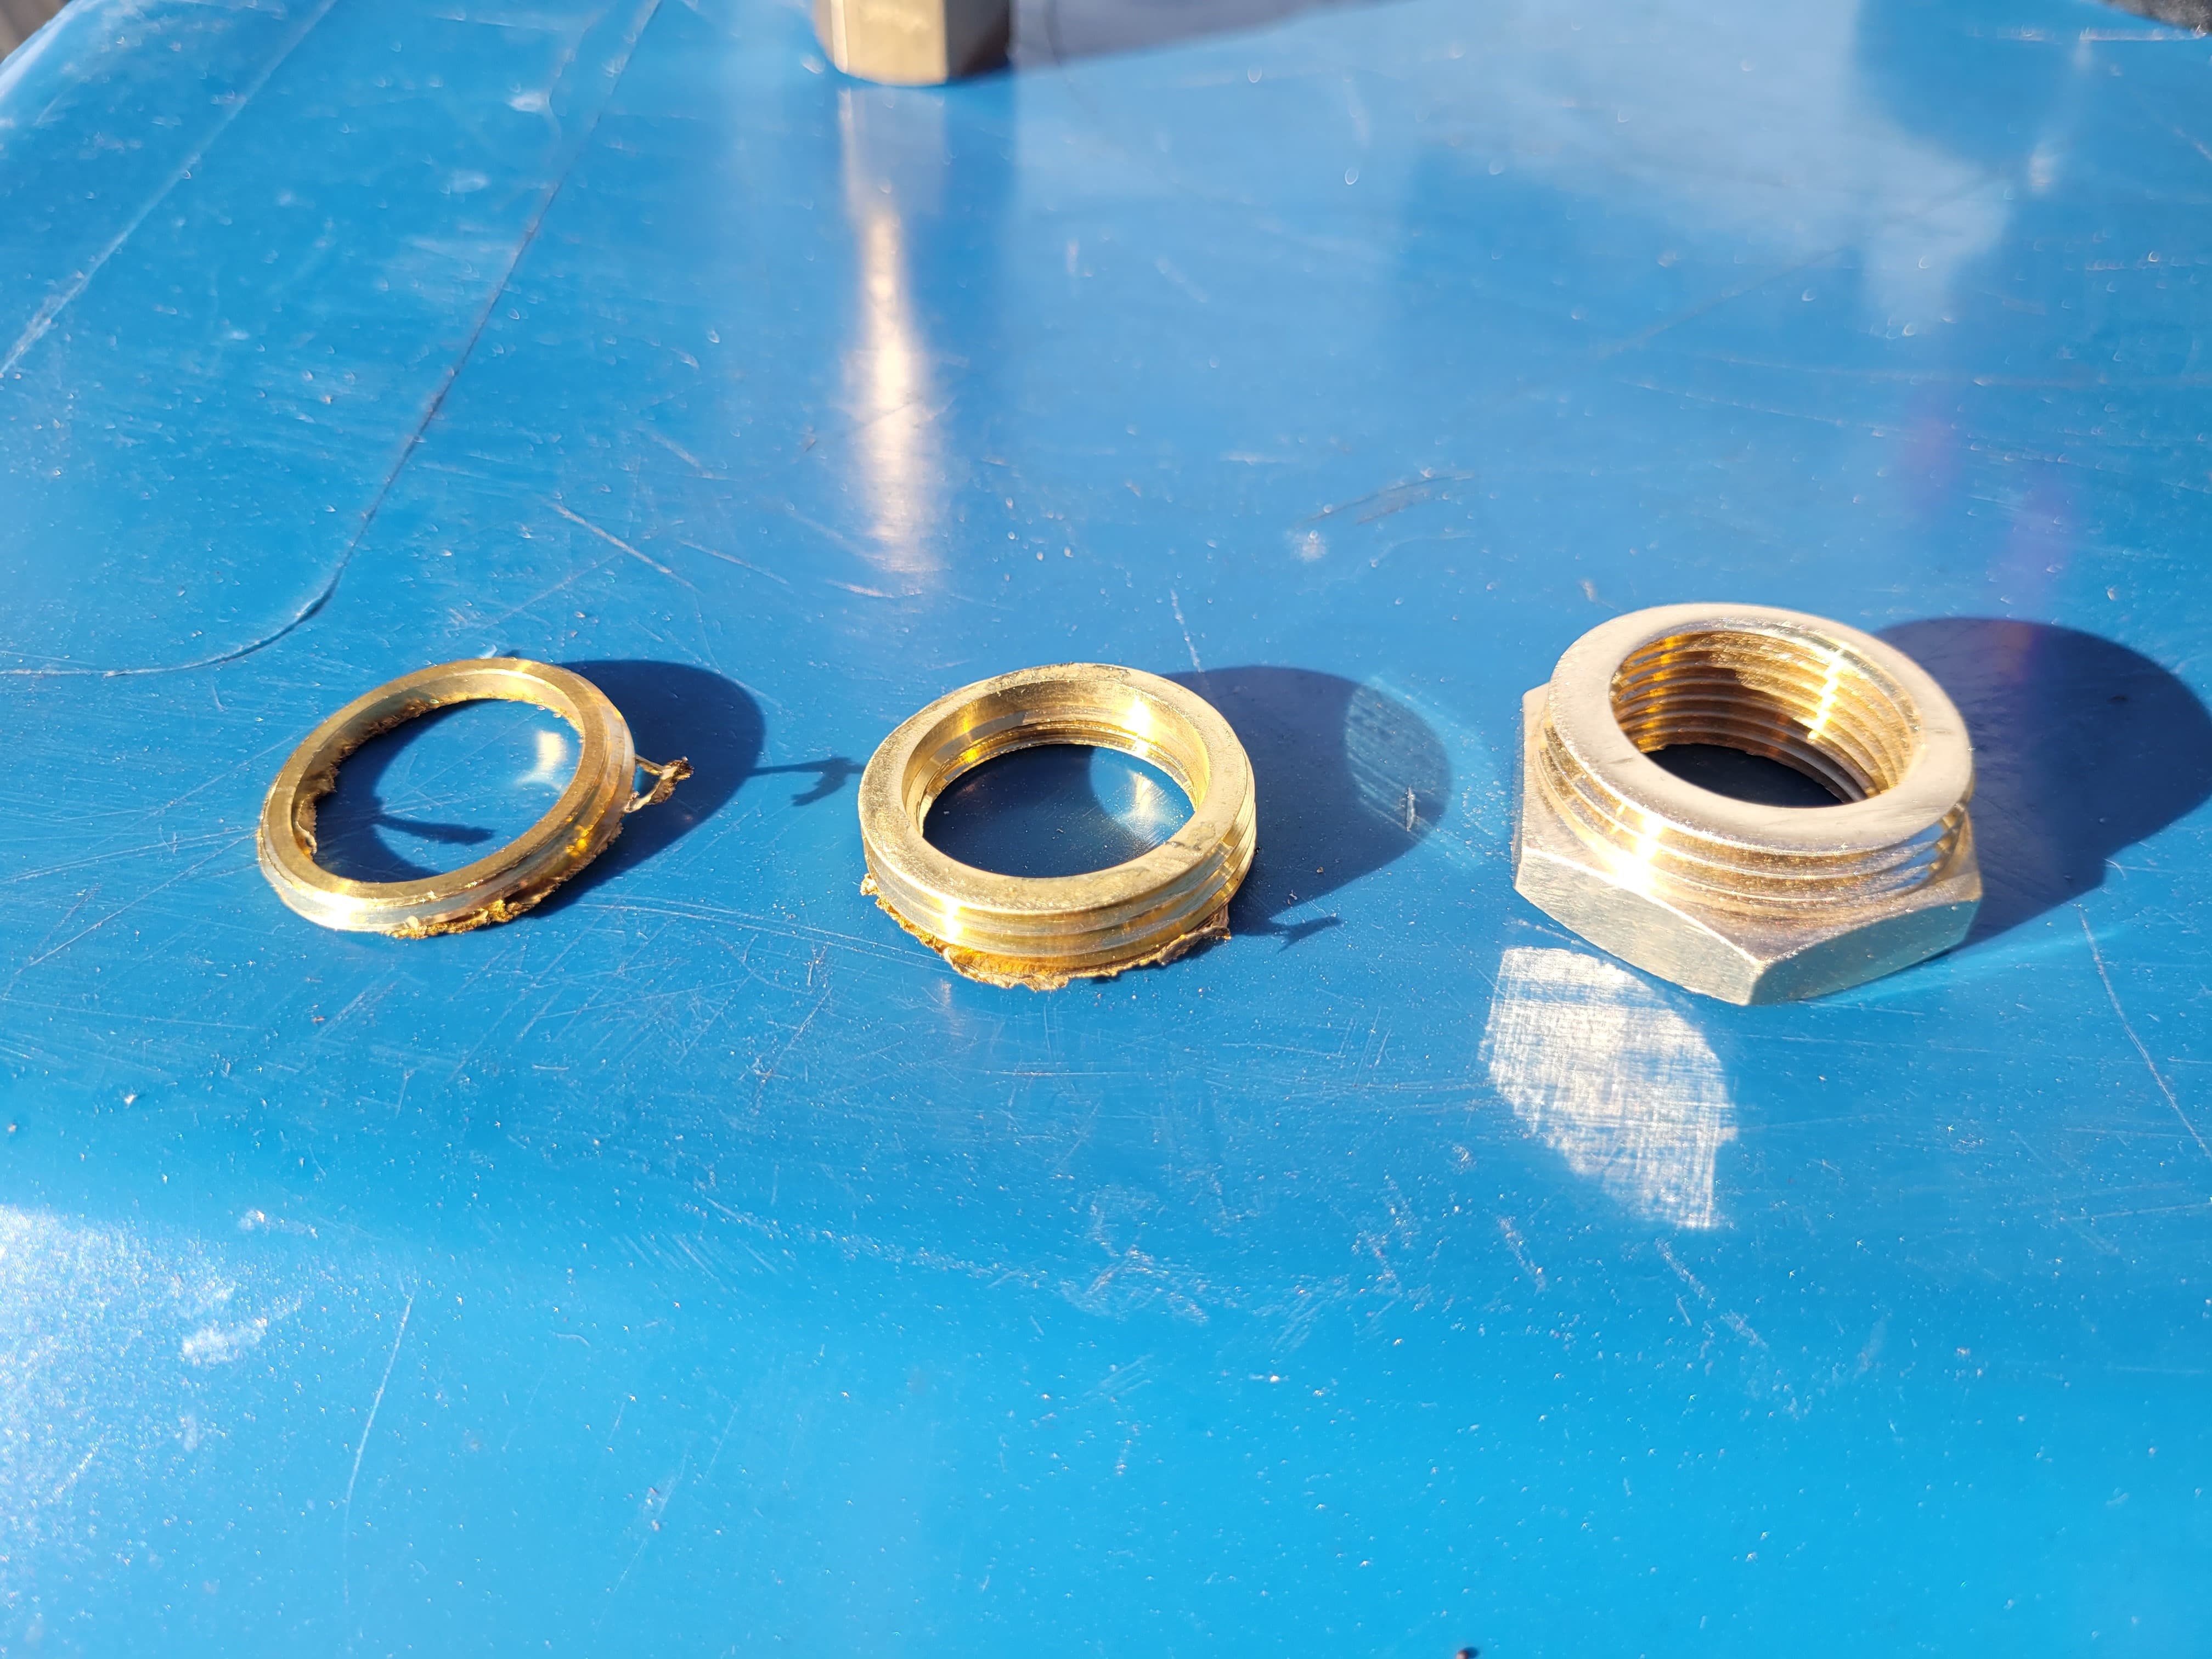
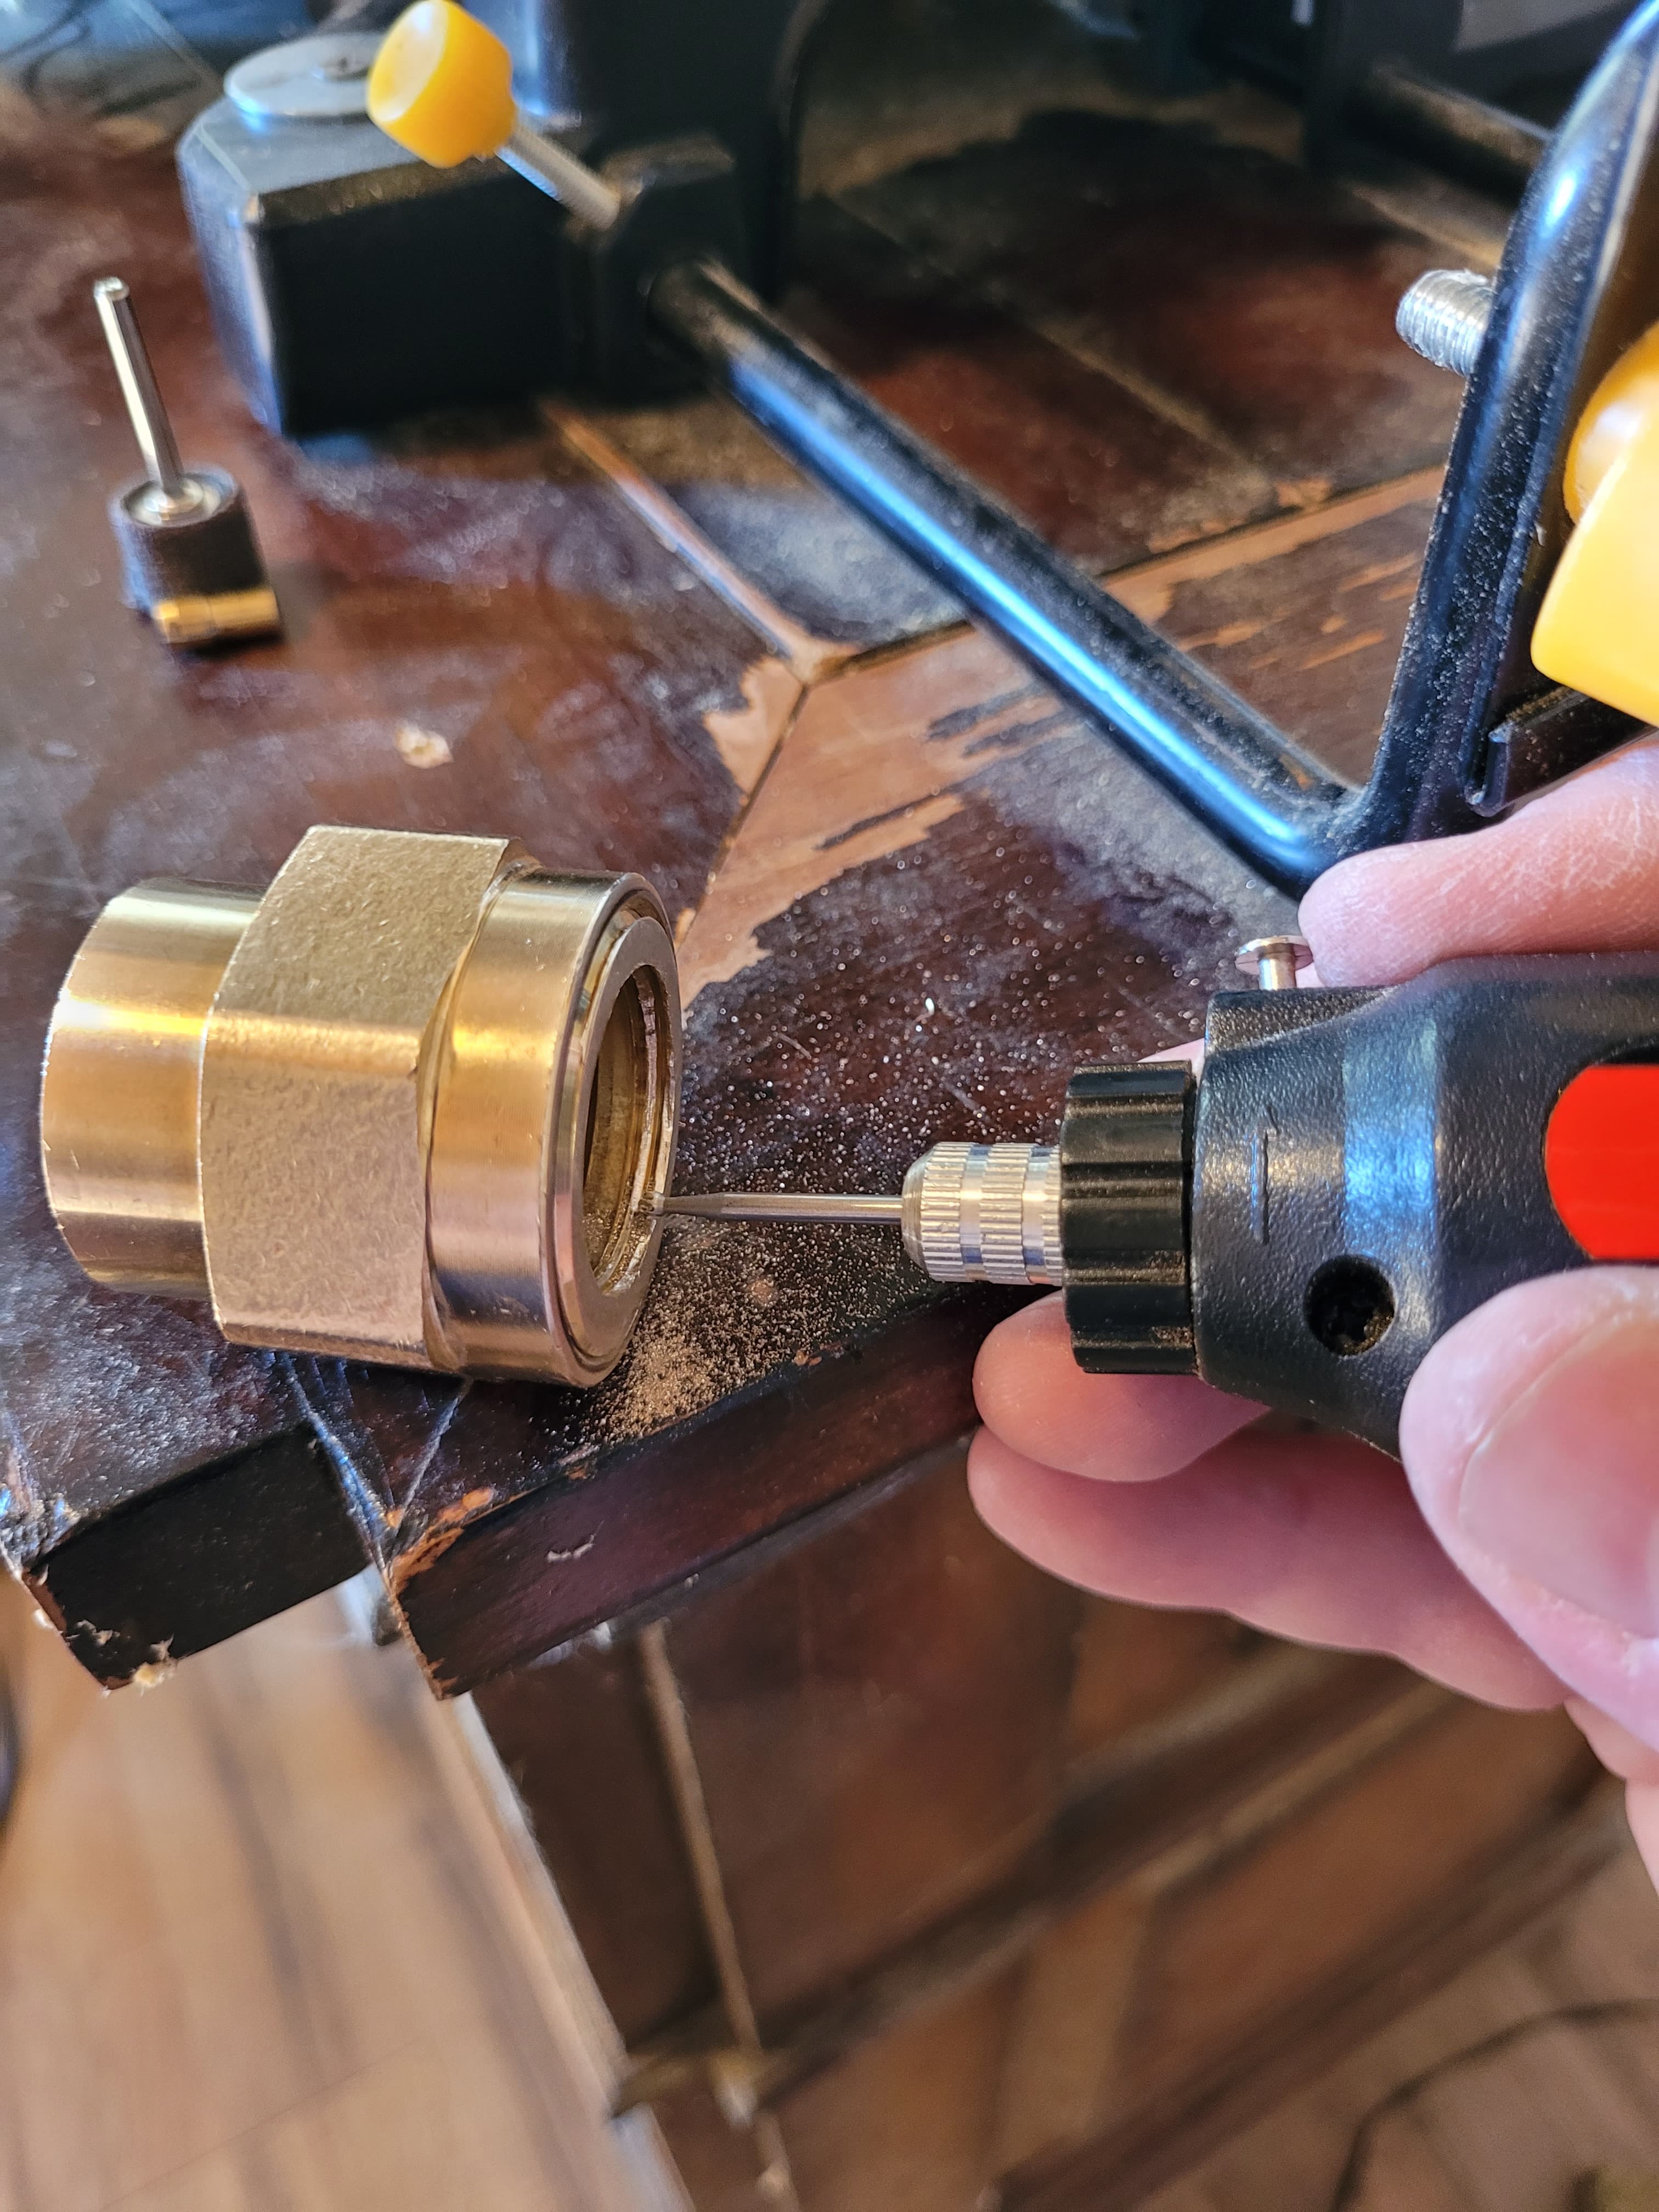
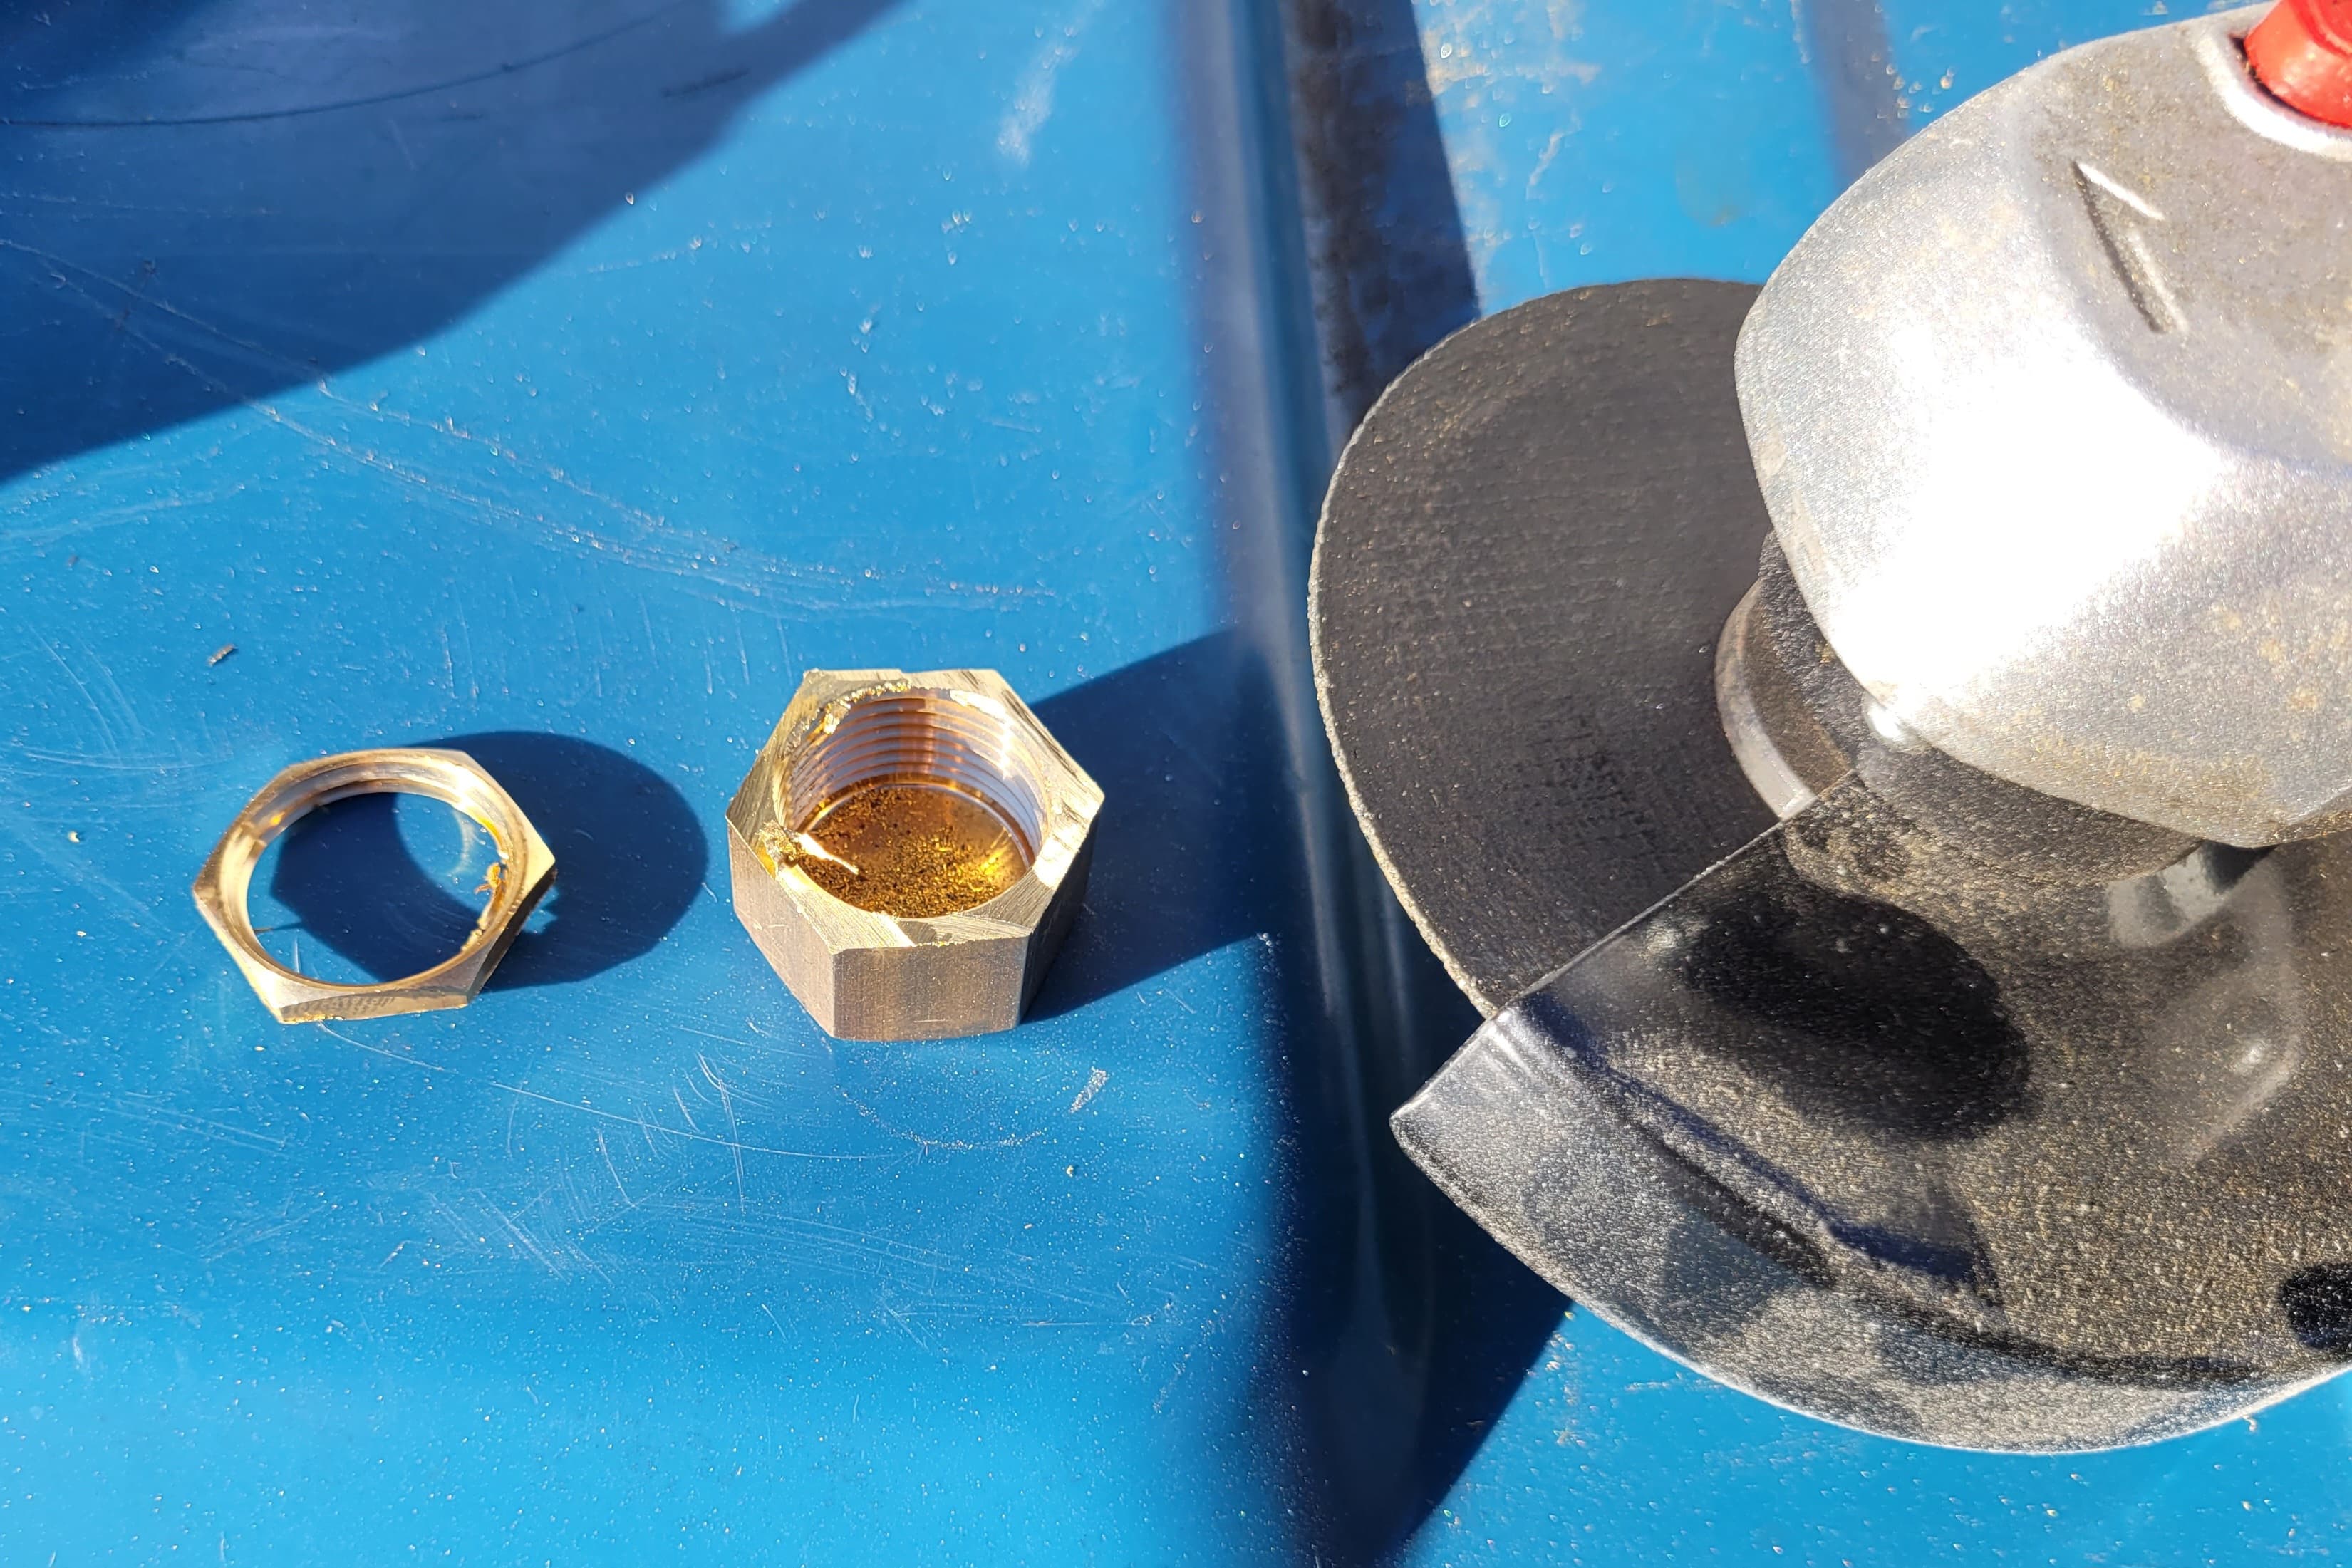
I gave up on grinding and sanding to try to make the “Pill” fit.
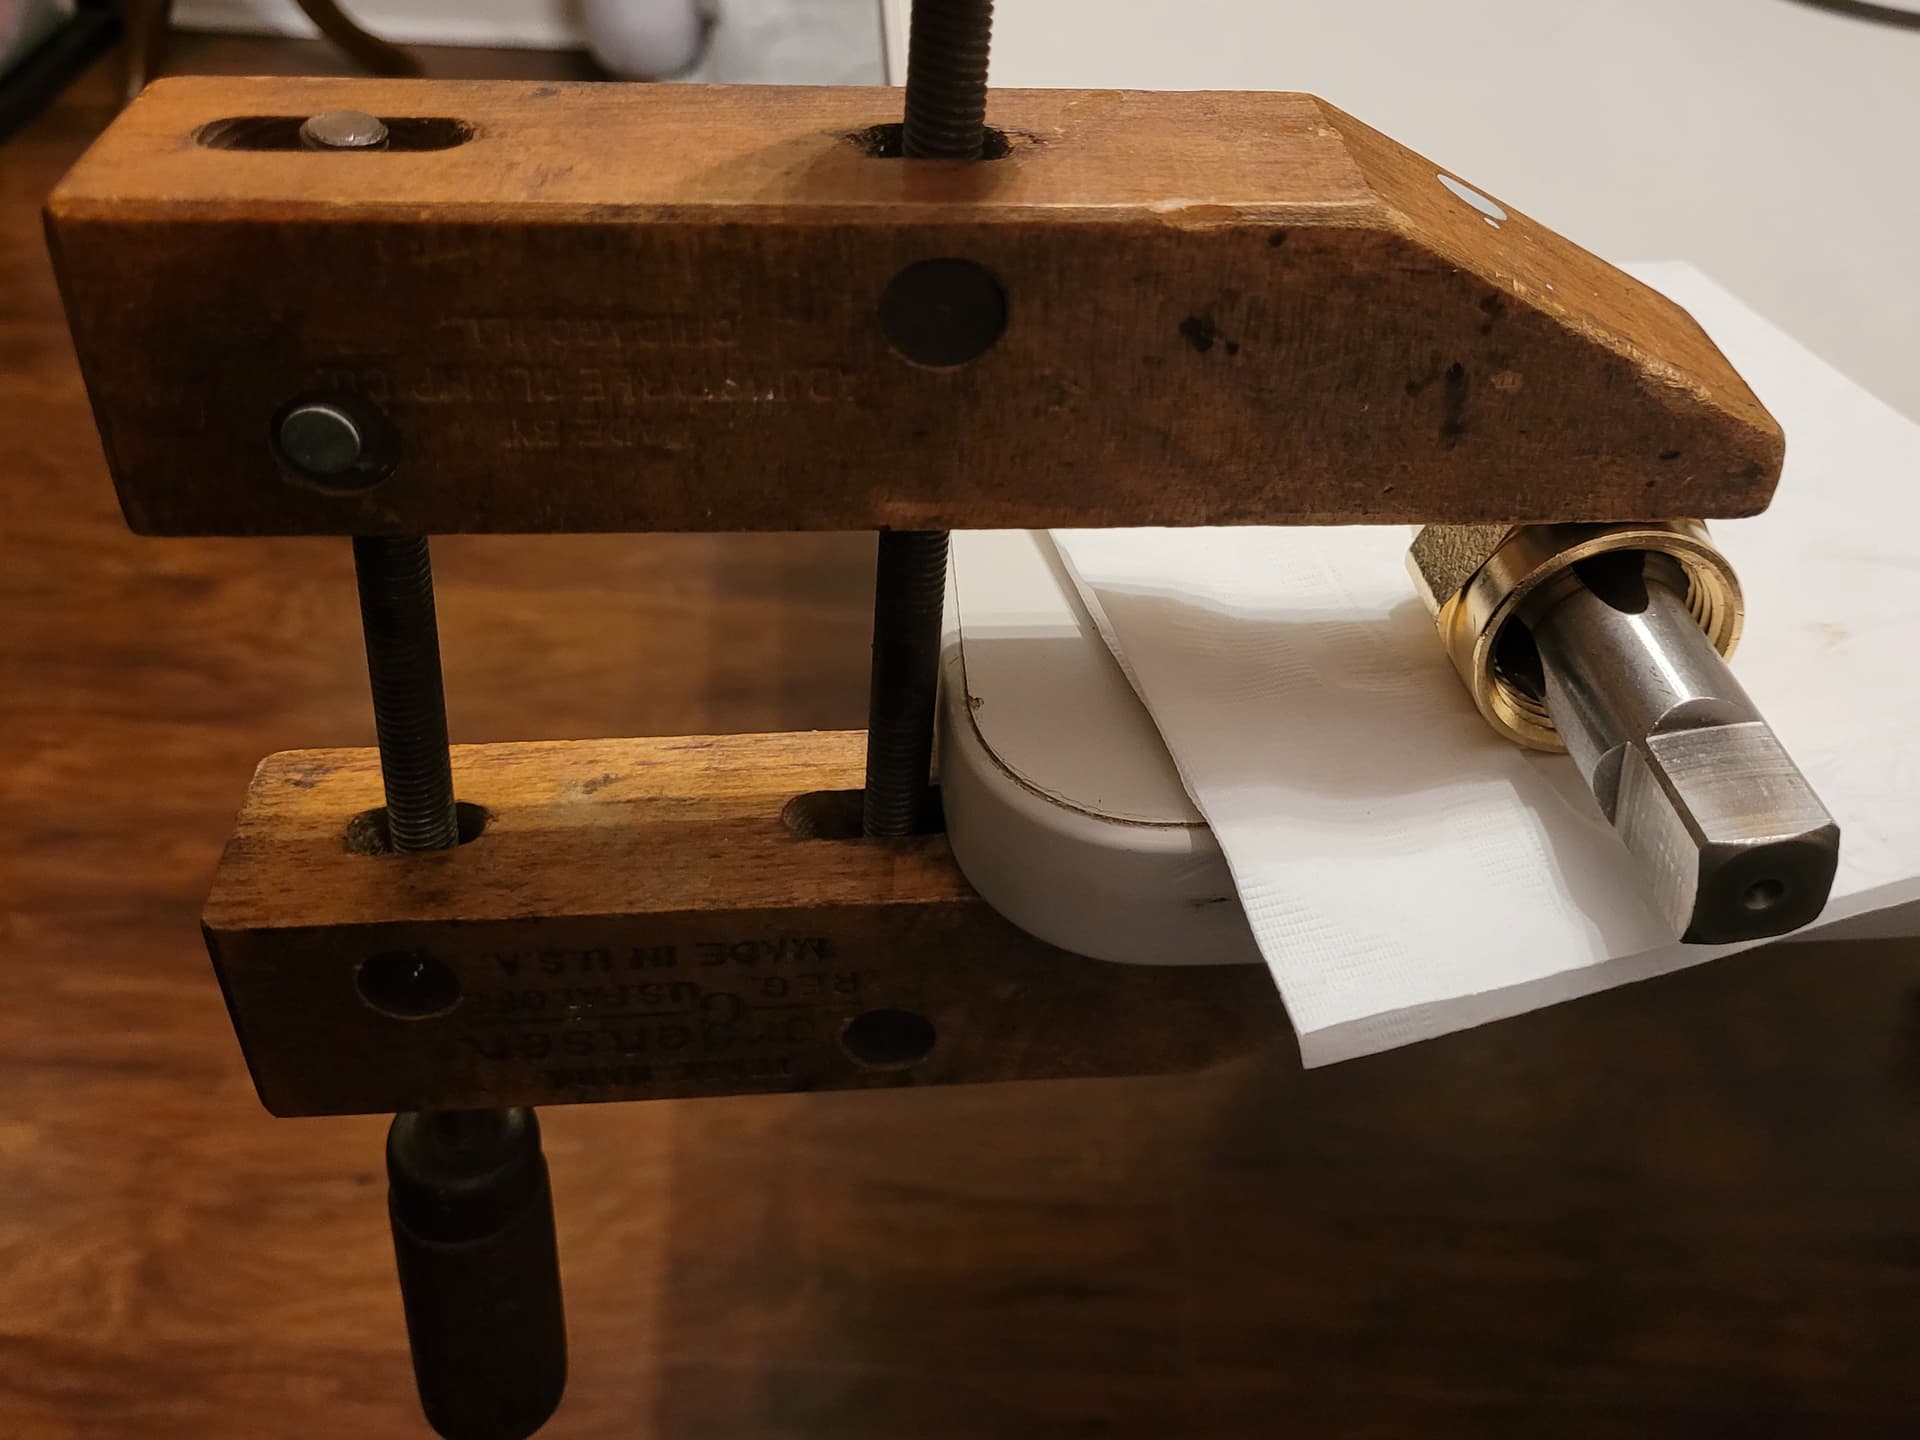
So, I decided to pickup a Tap so my “Pill” could be screwed in, as I originally intended.
I don’t have a Vise so I made my own:
That’s a big tap what is it a M20?, you should defiantly earn points for your DIY vice good work!
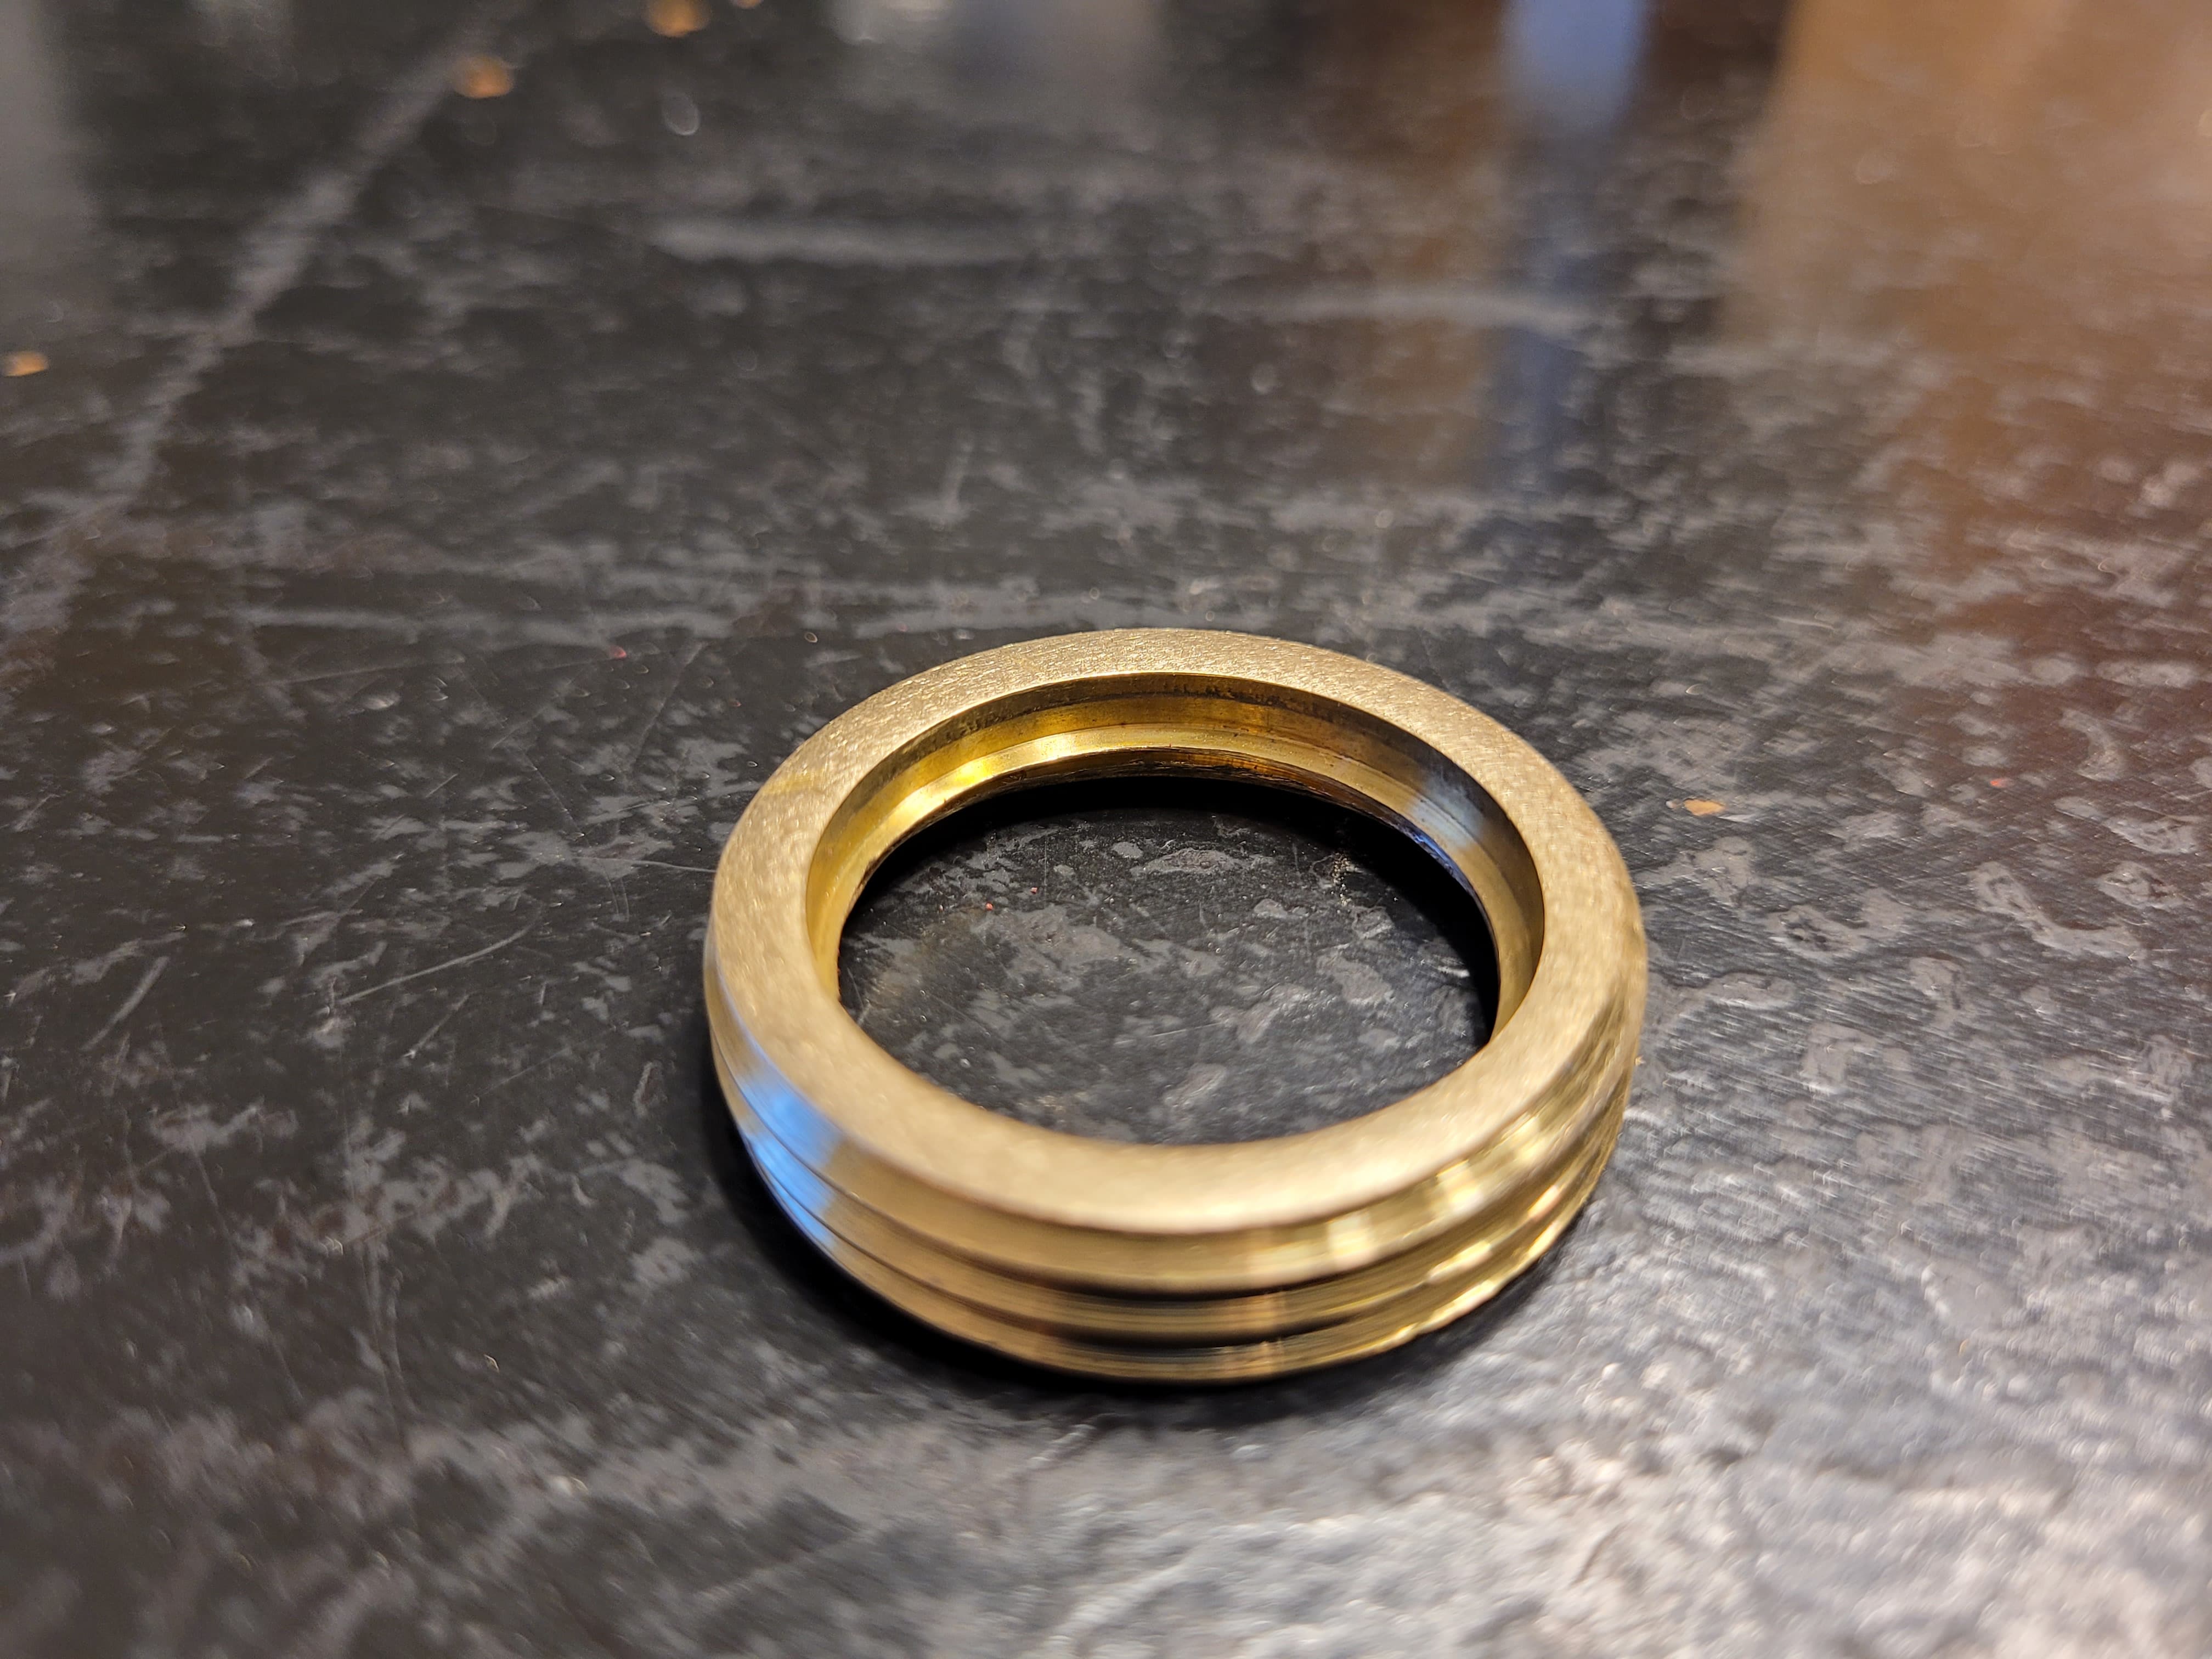
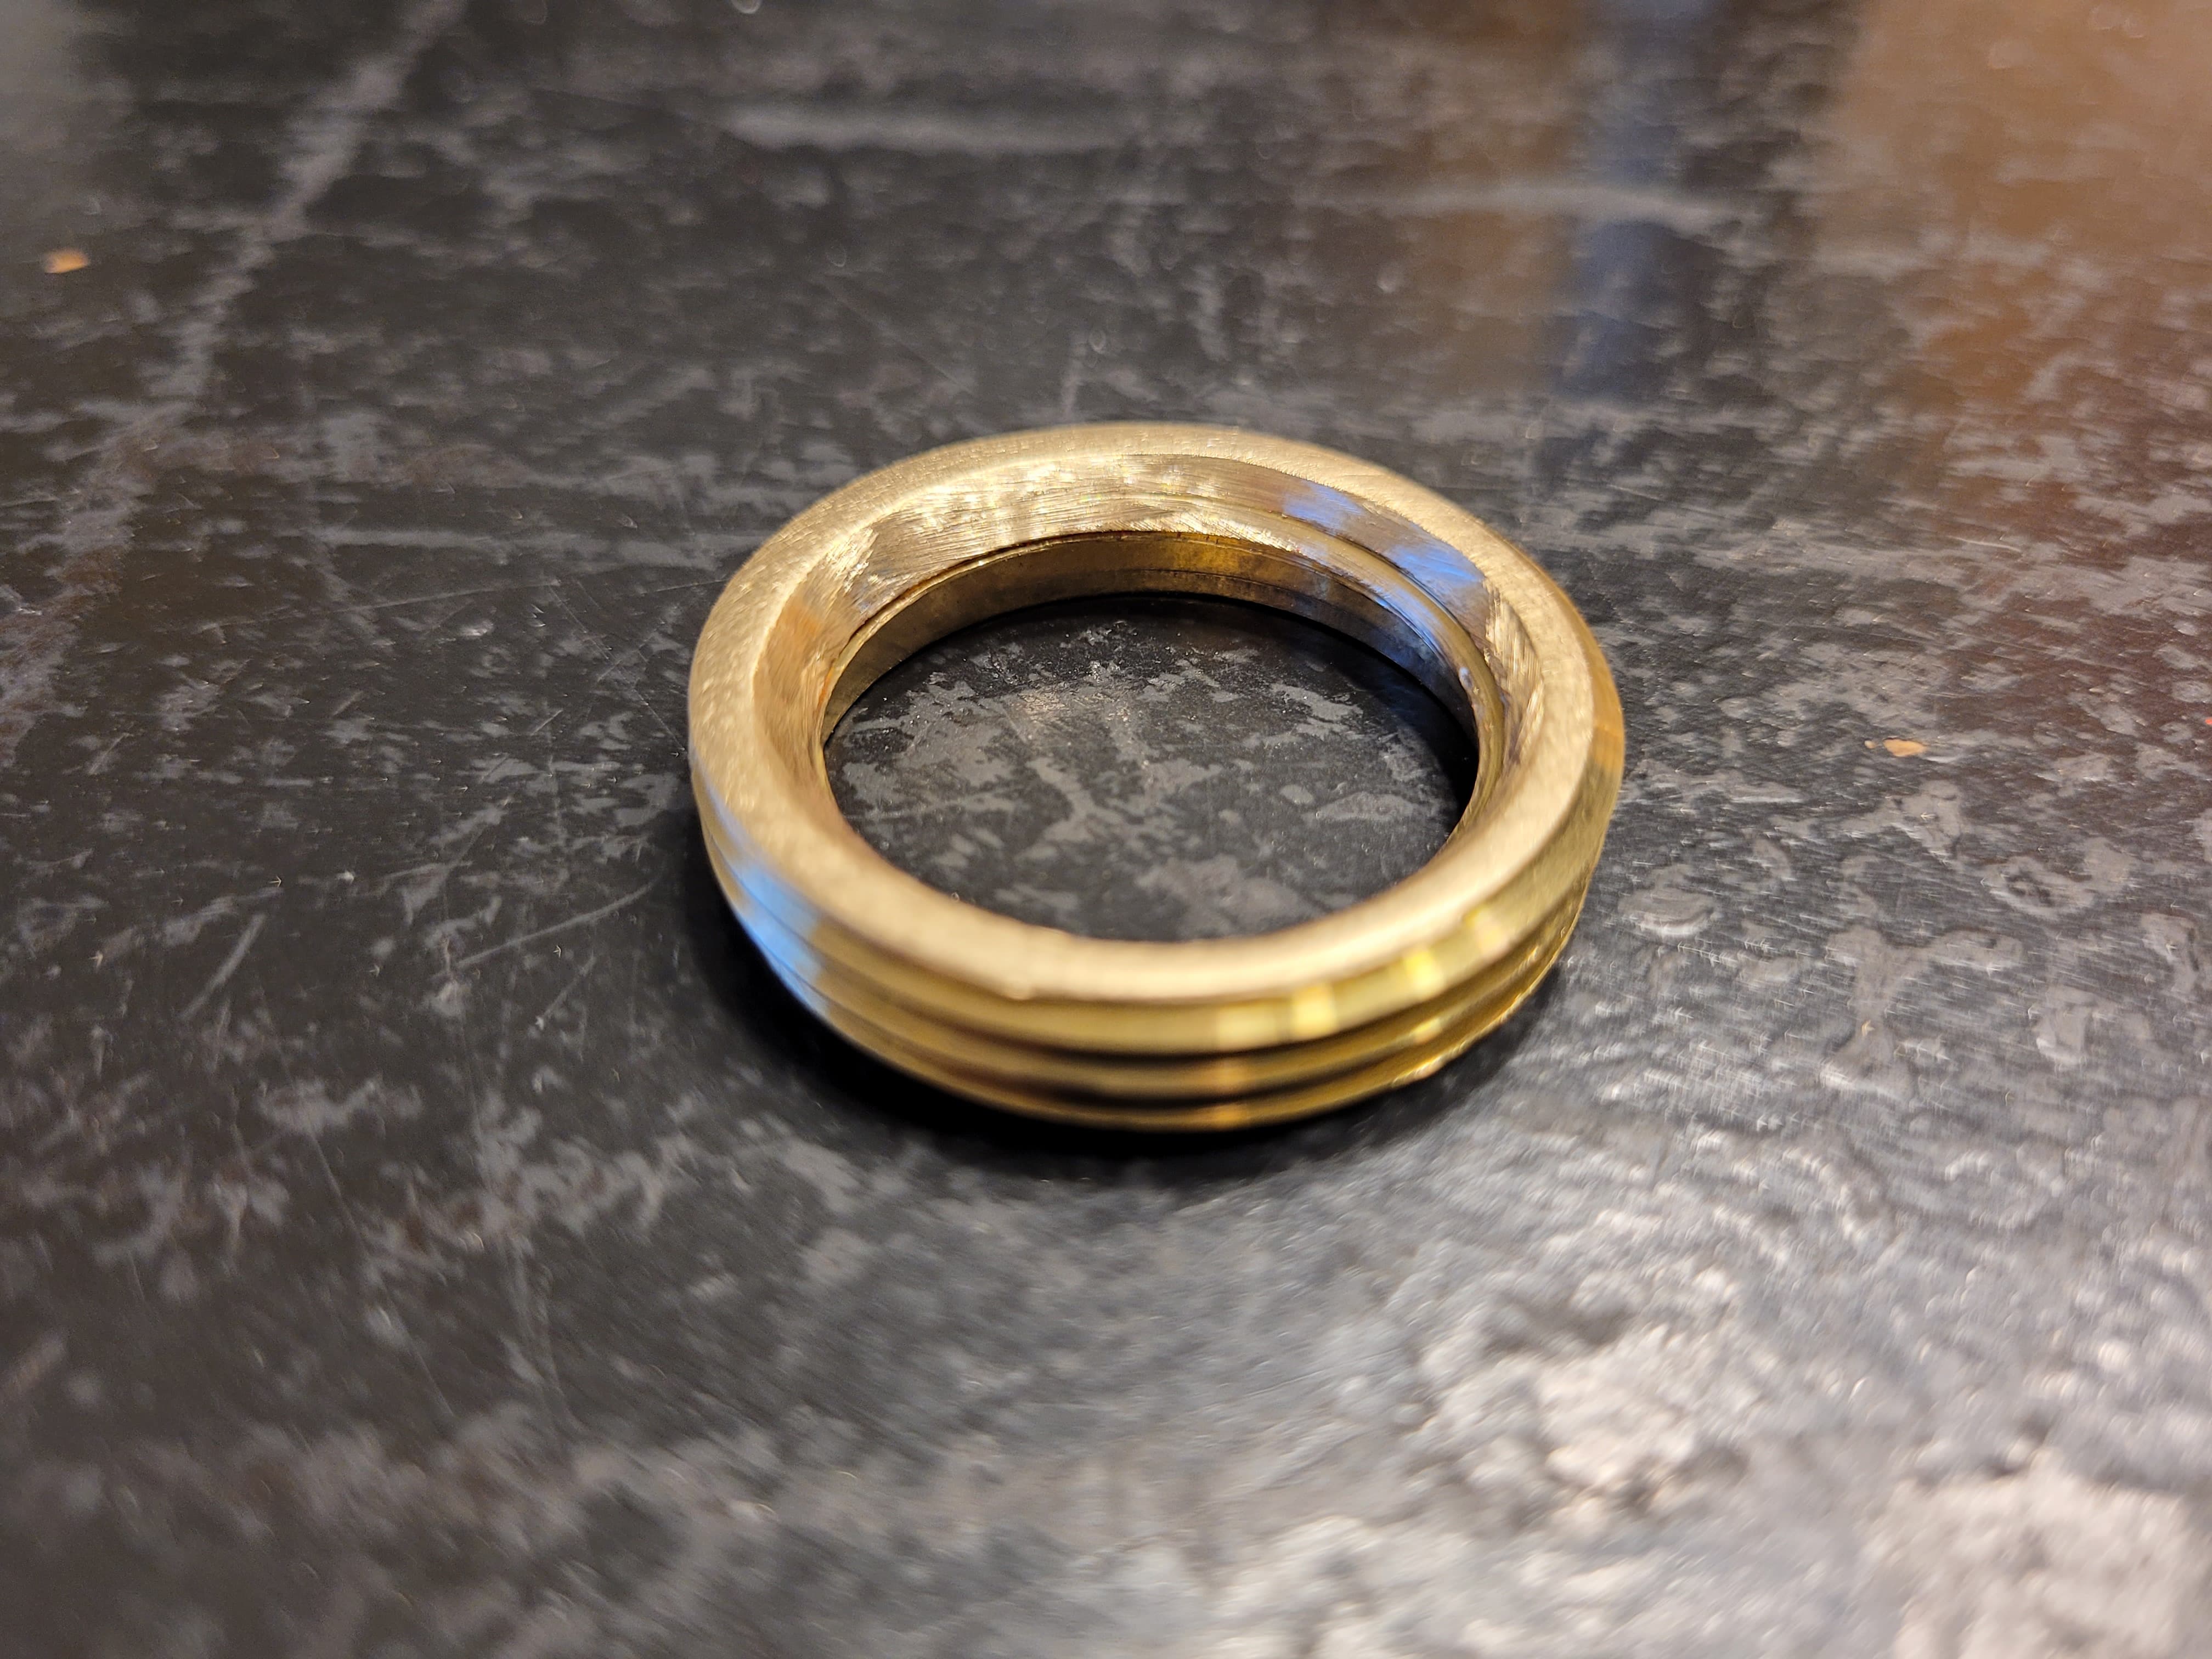
It’s a 3/4 in. NPT(National Pipe Taper) cause, 'Merica.
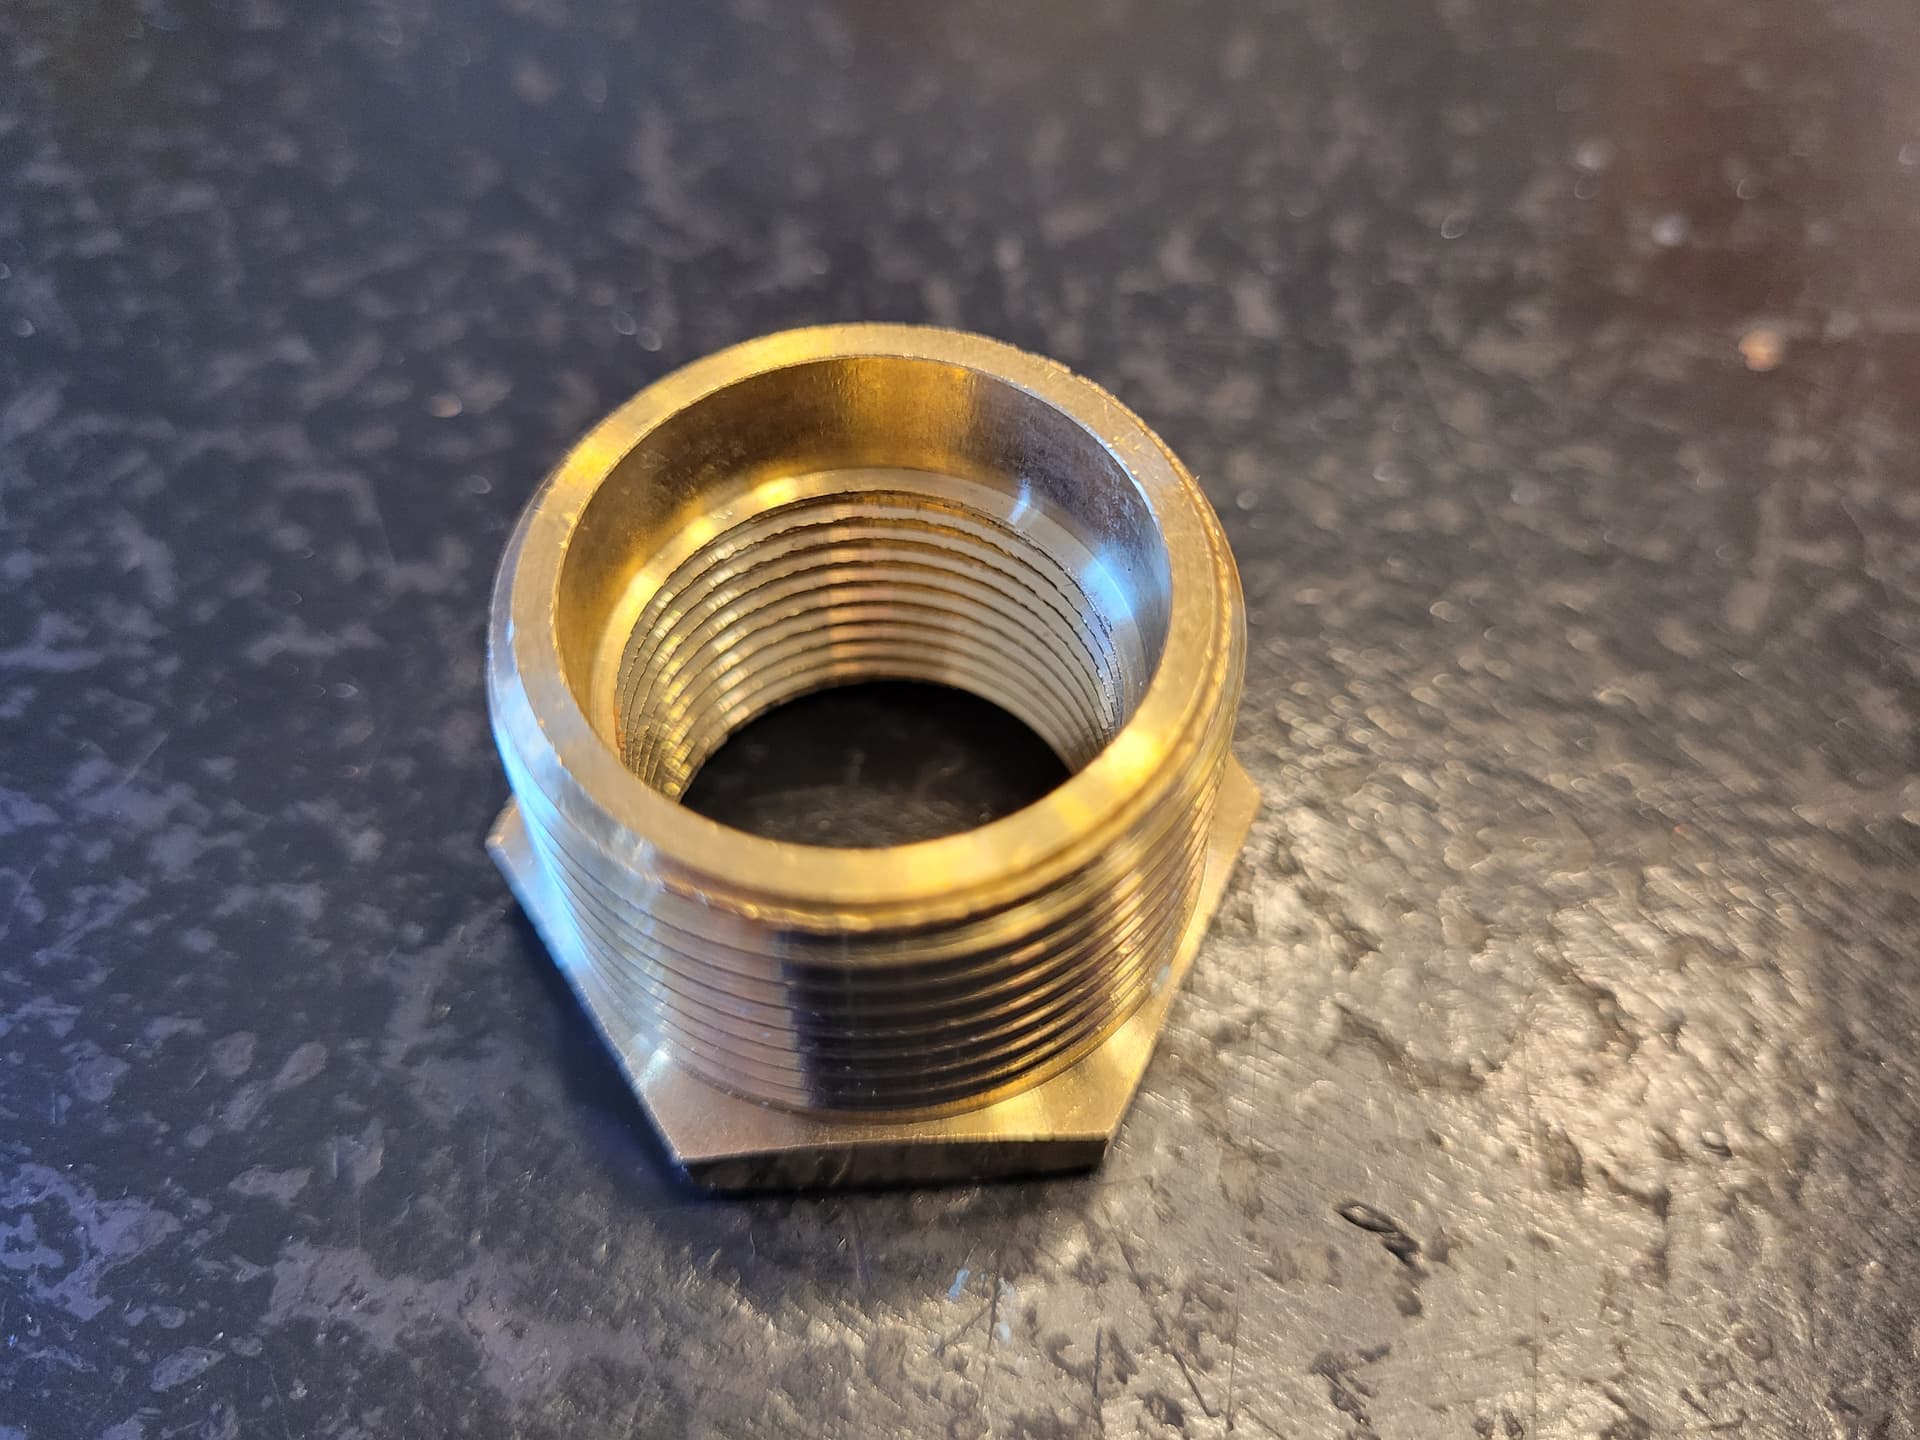
It’s the same thread pattern that was already there but since it’s tapered, I needed to make the narrow side wider for the “Pill” to fit.
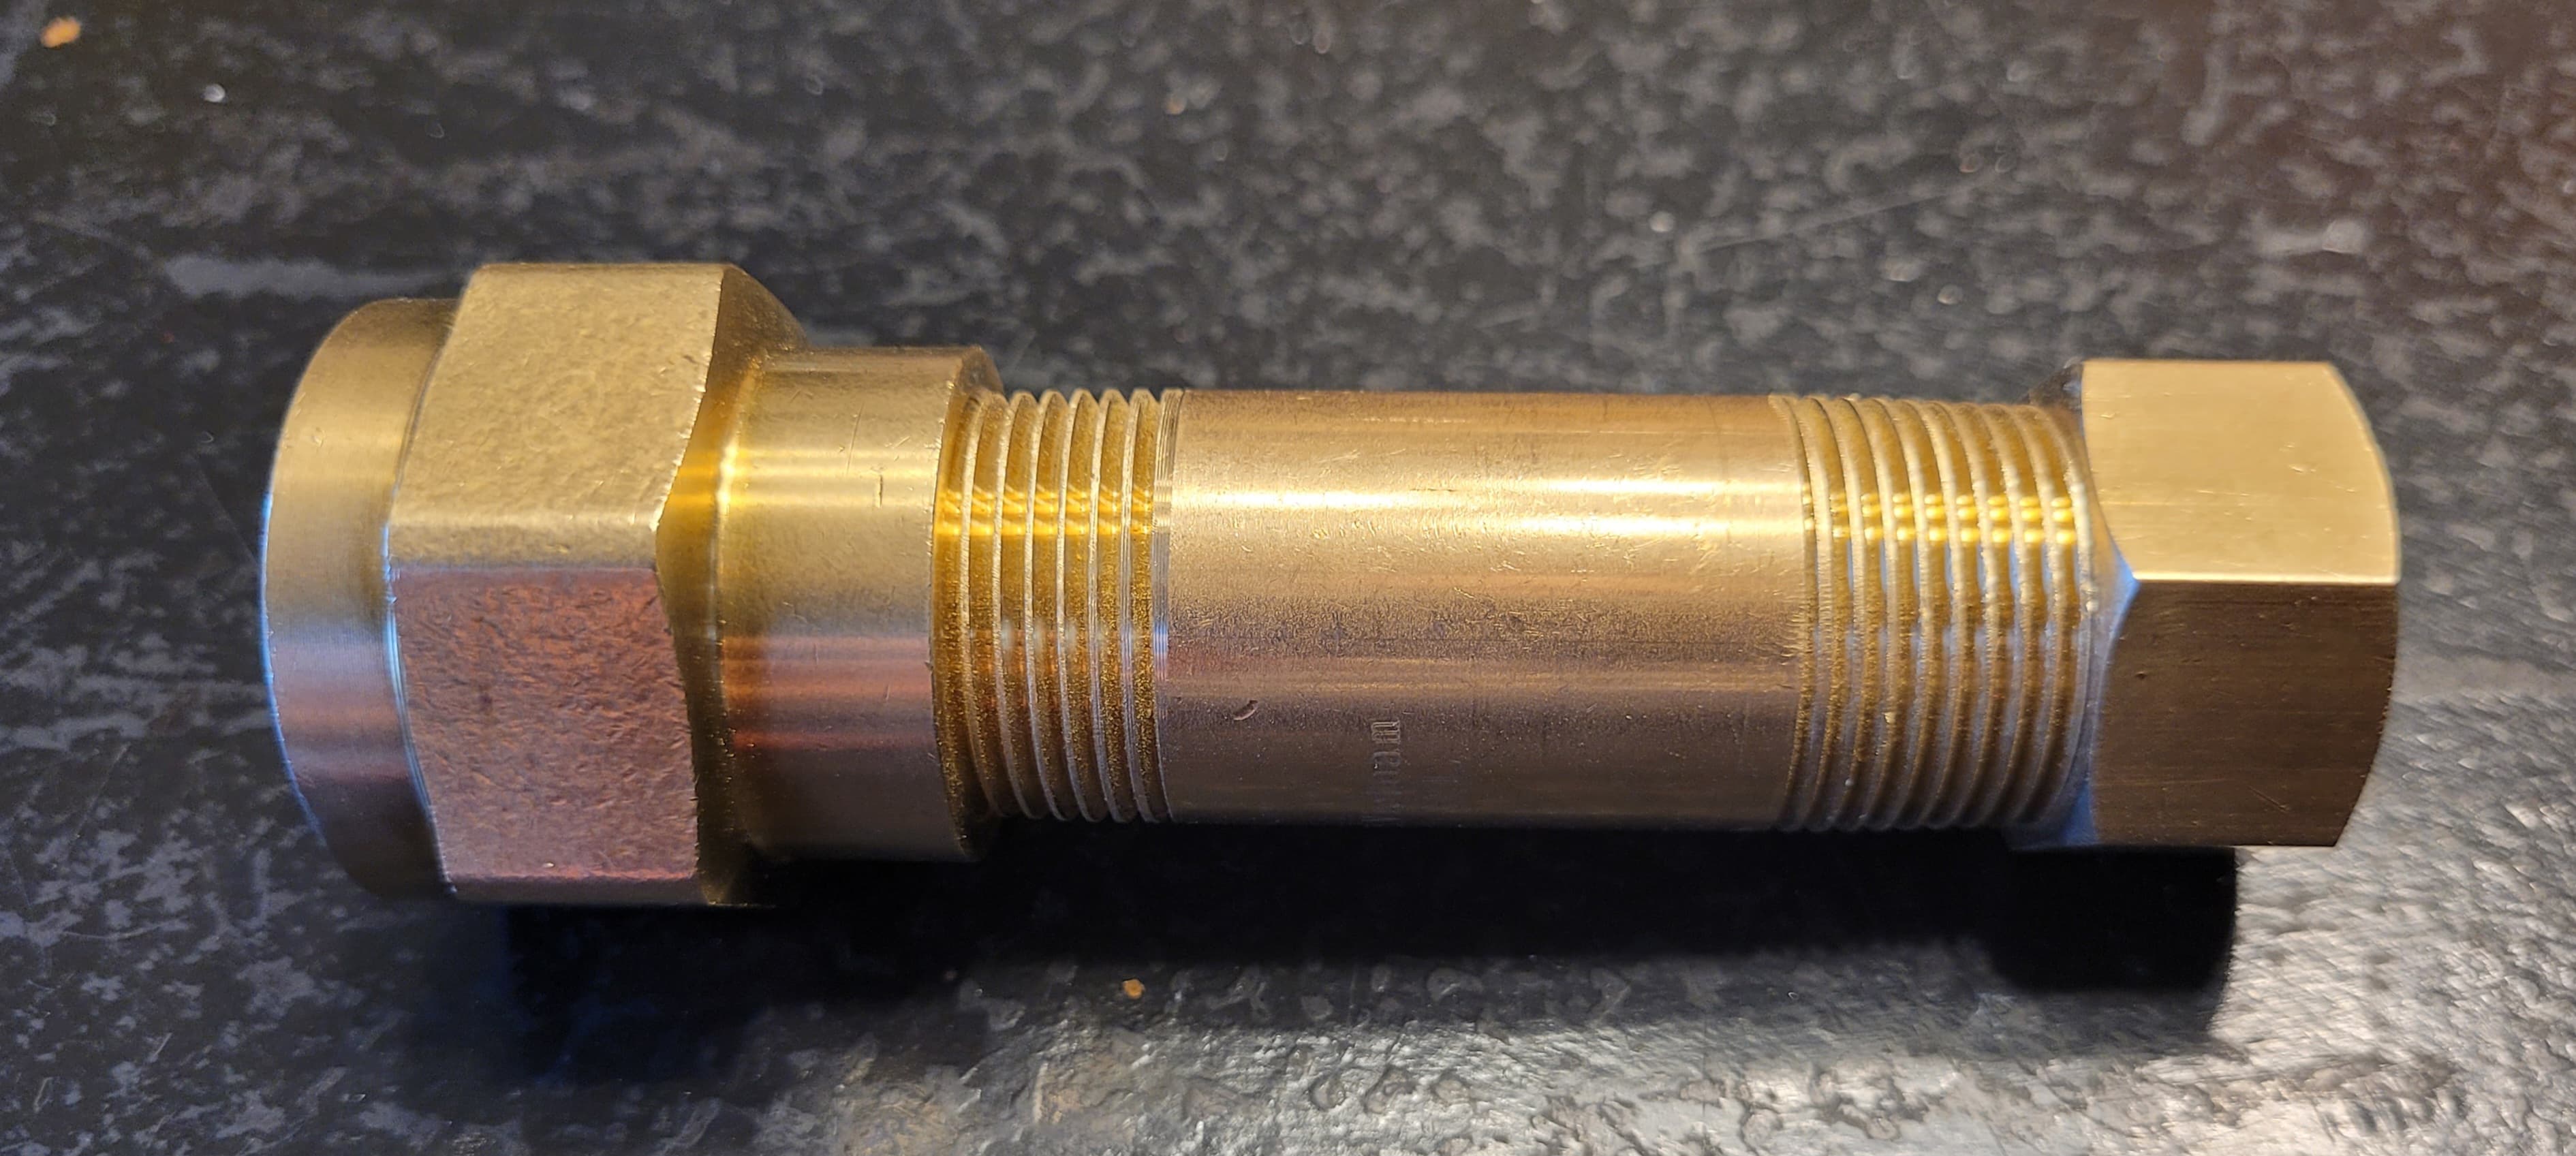
I did lots of Cutting and Shaping today.
Bezel before:
Bezel in-between:
Bezel after:
I trimmed the tailcap to better match the Hex on the Head.
Tailcap before:
Tailcap in-between:
Tailcap after:
I still have some more work to do on both the Bezel and the tailcap but they are now pretty close to were I want them.
![]()
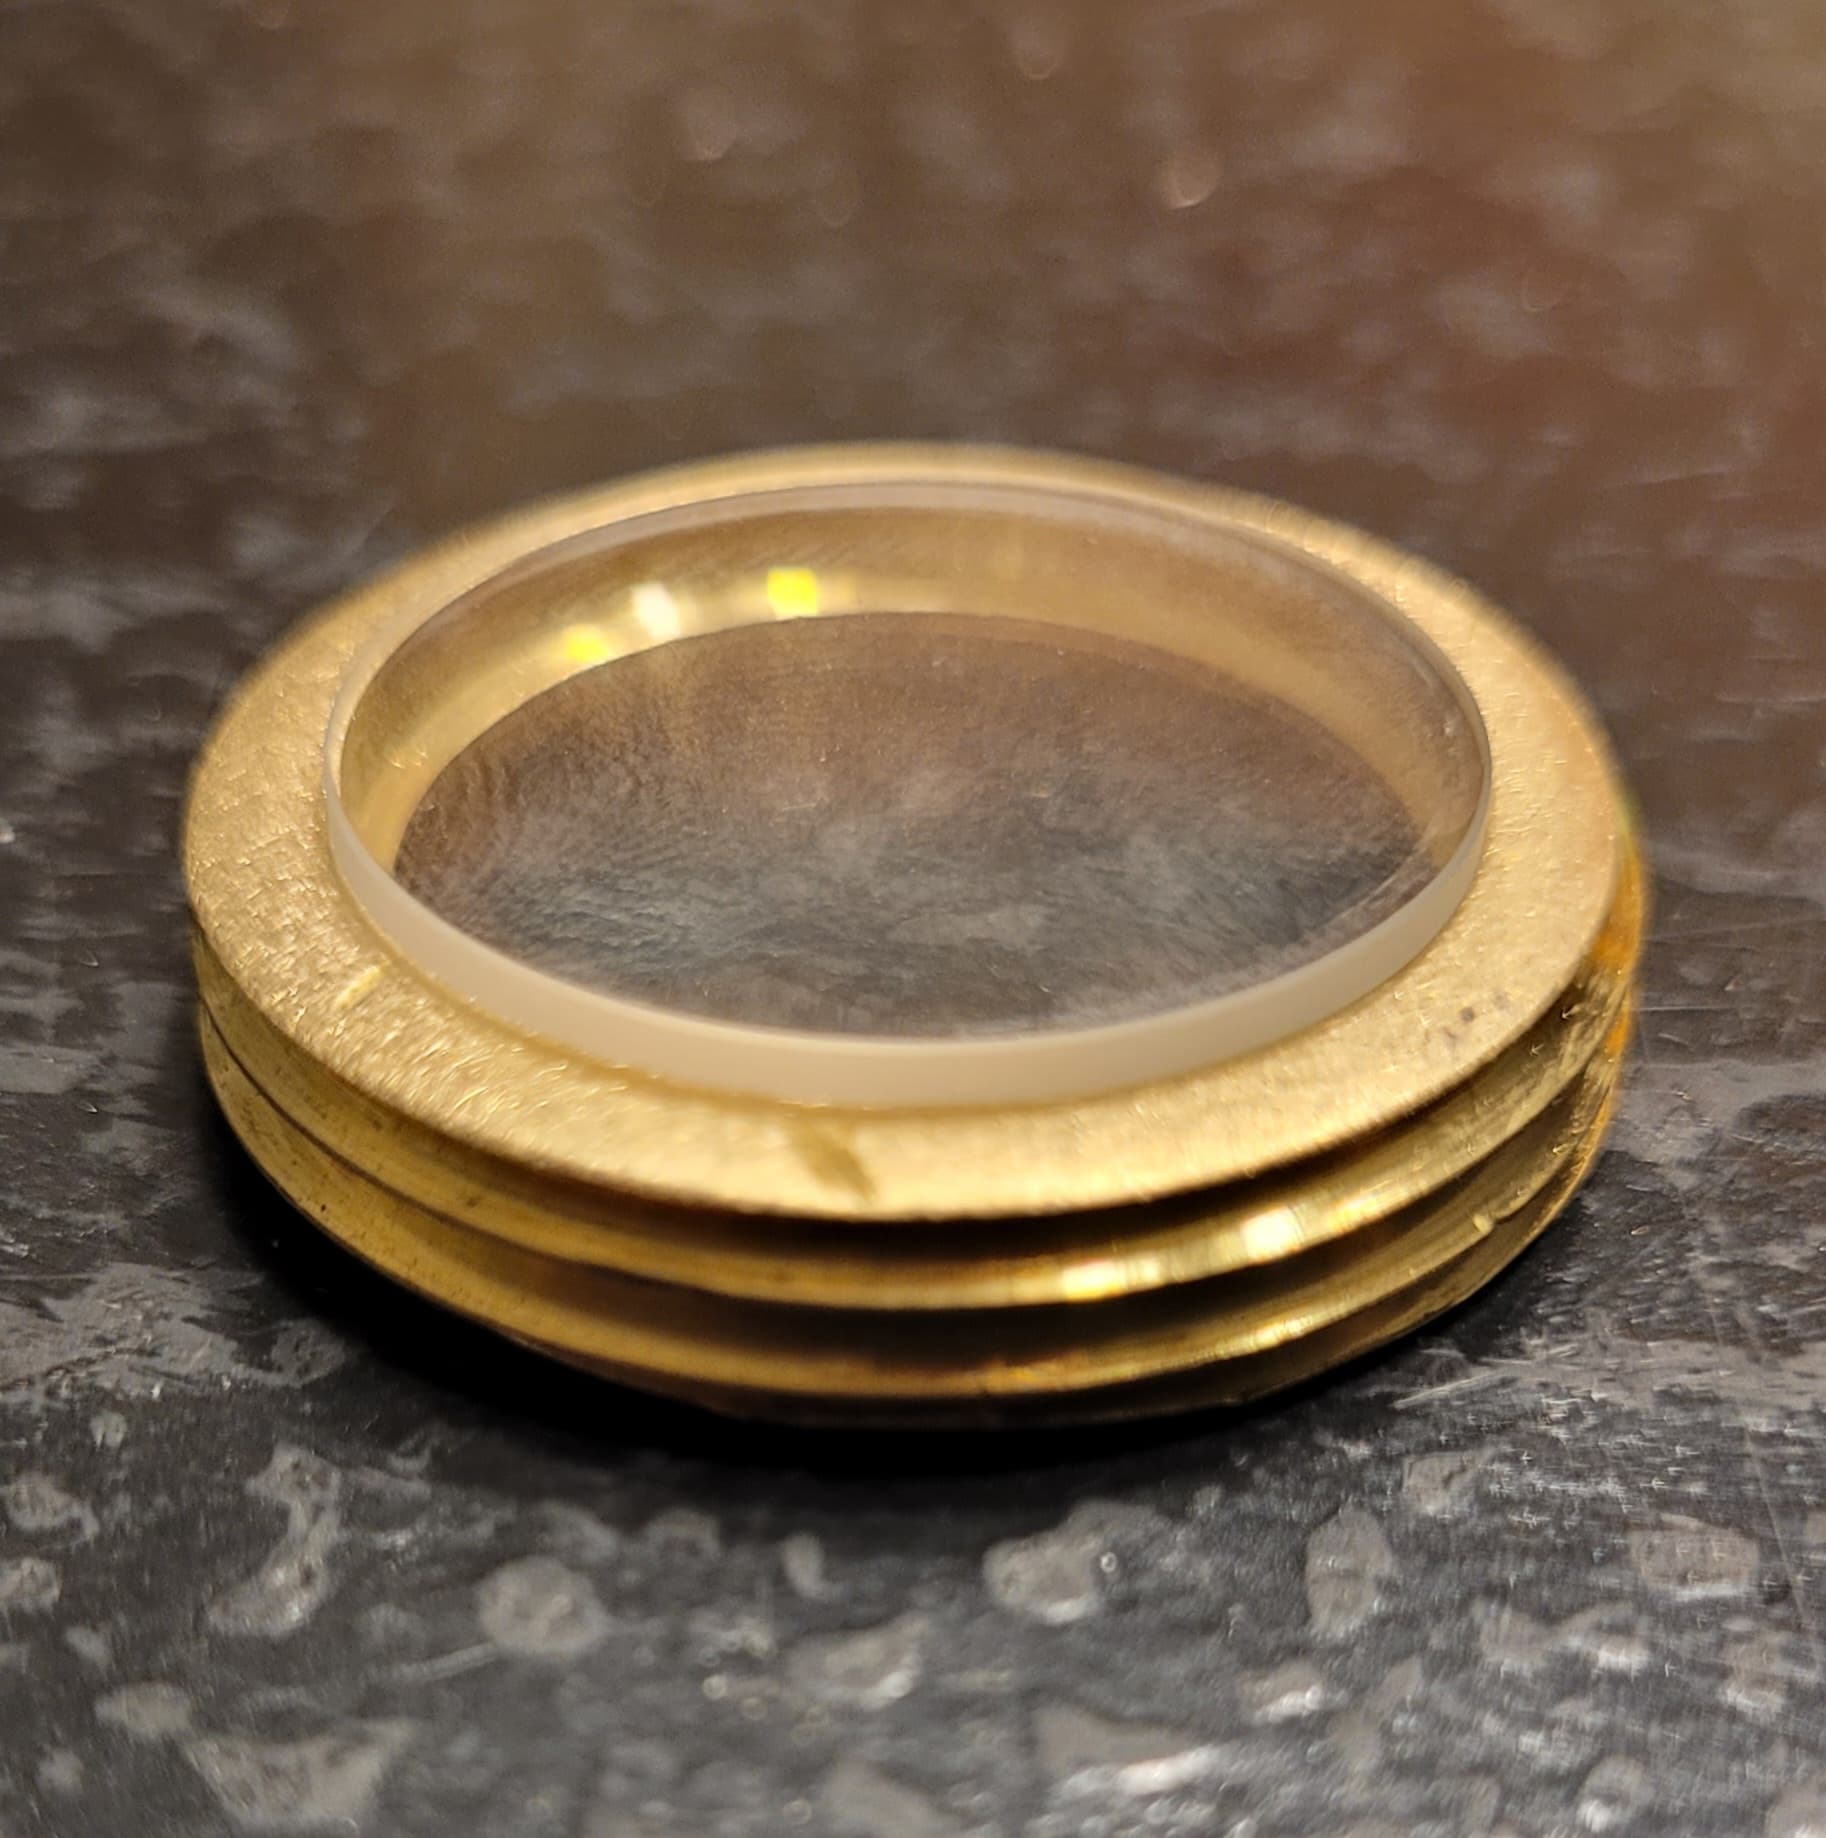
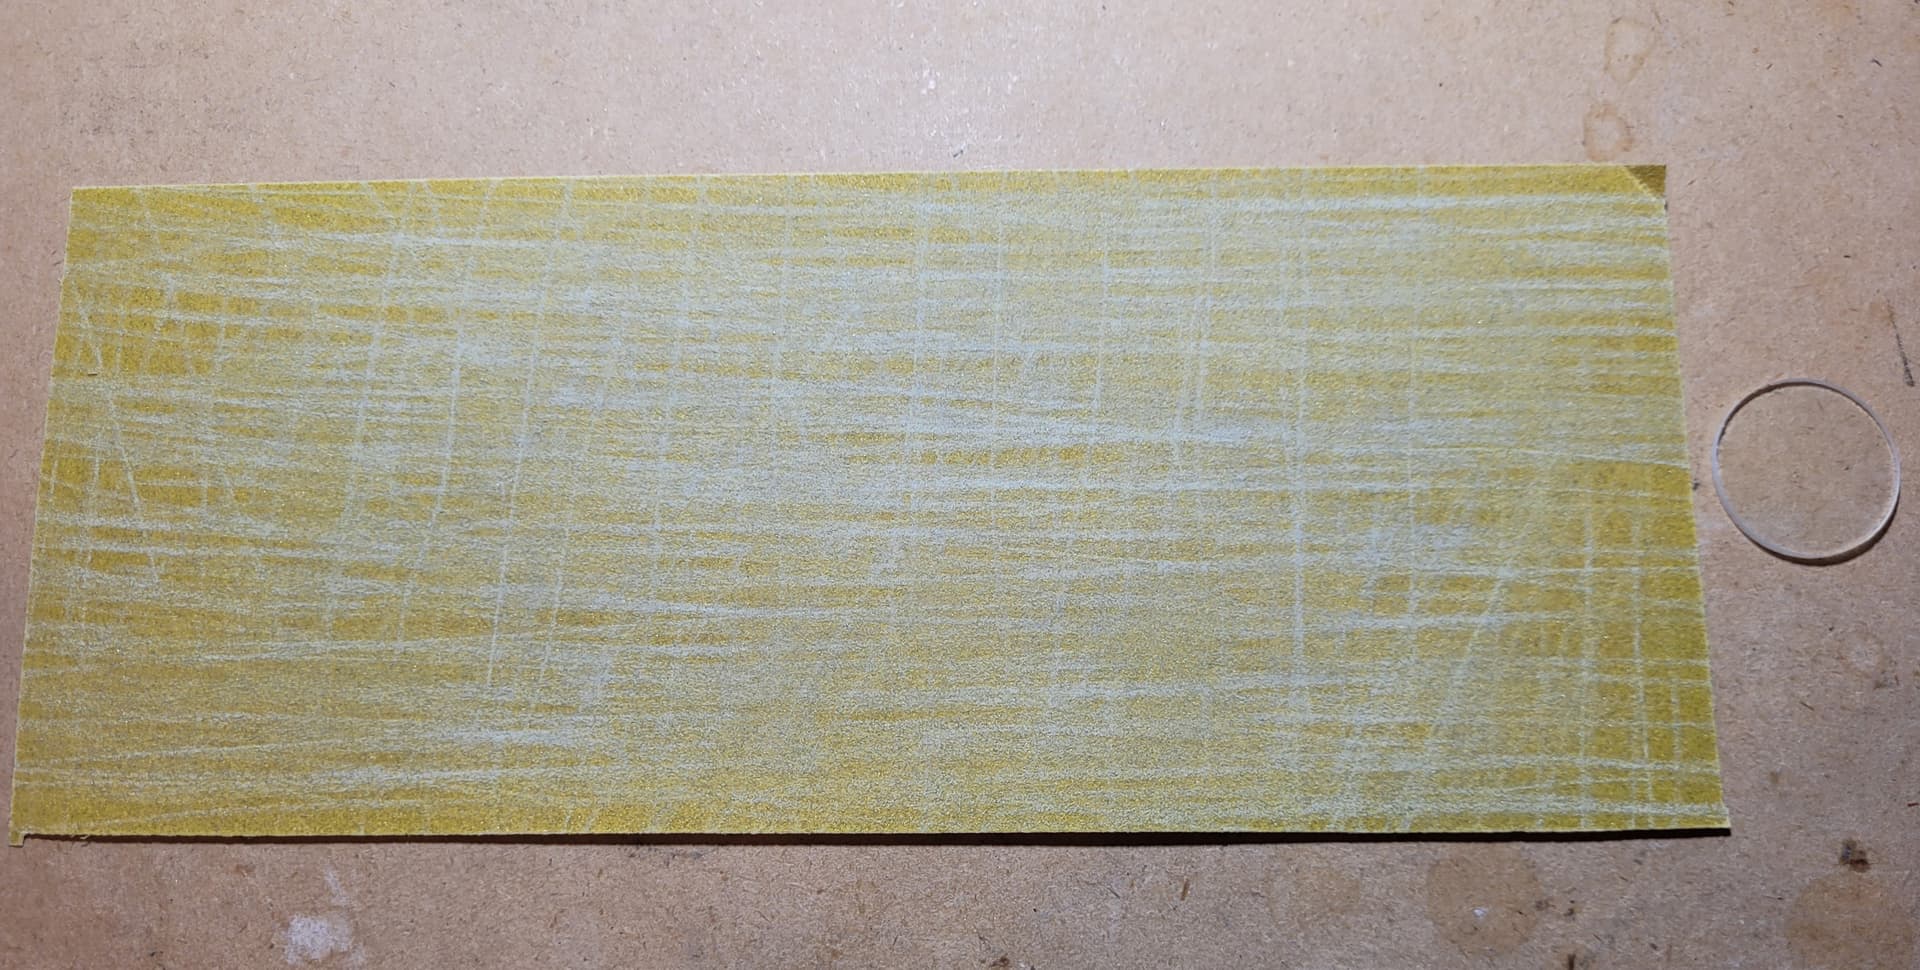
I needed a 25mm Lens for this build and I could only find that in 1 place and I was nervous it wouldn’t be here in time.
The next closest size I could find was 25.5mm.
I figured it shouldn’t be to hard to sand a little off the edge.
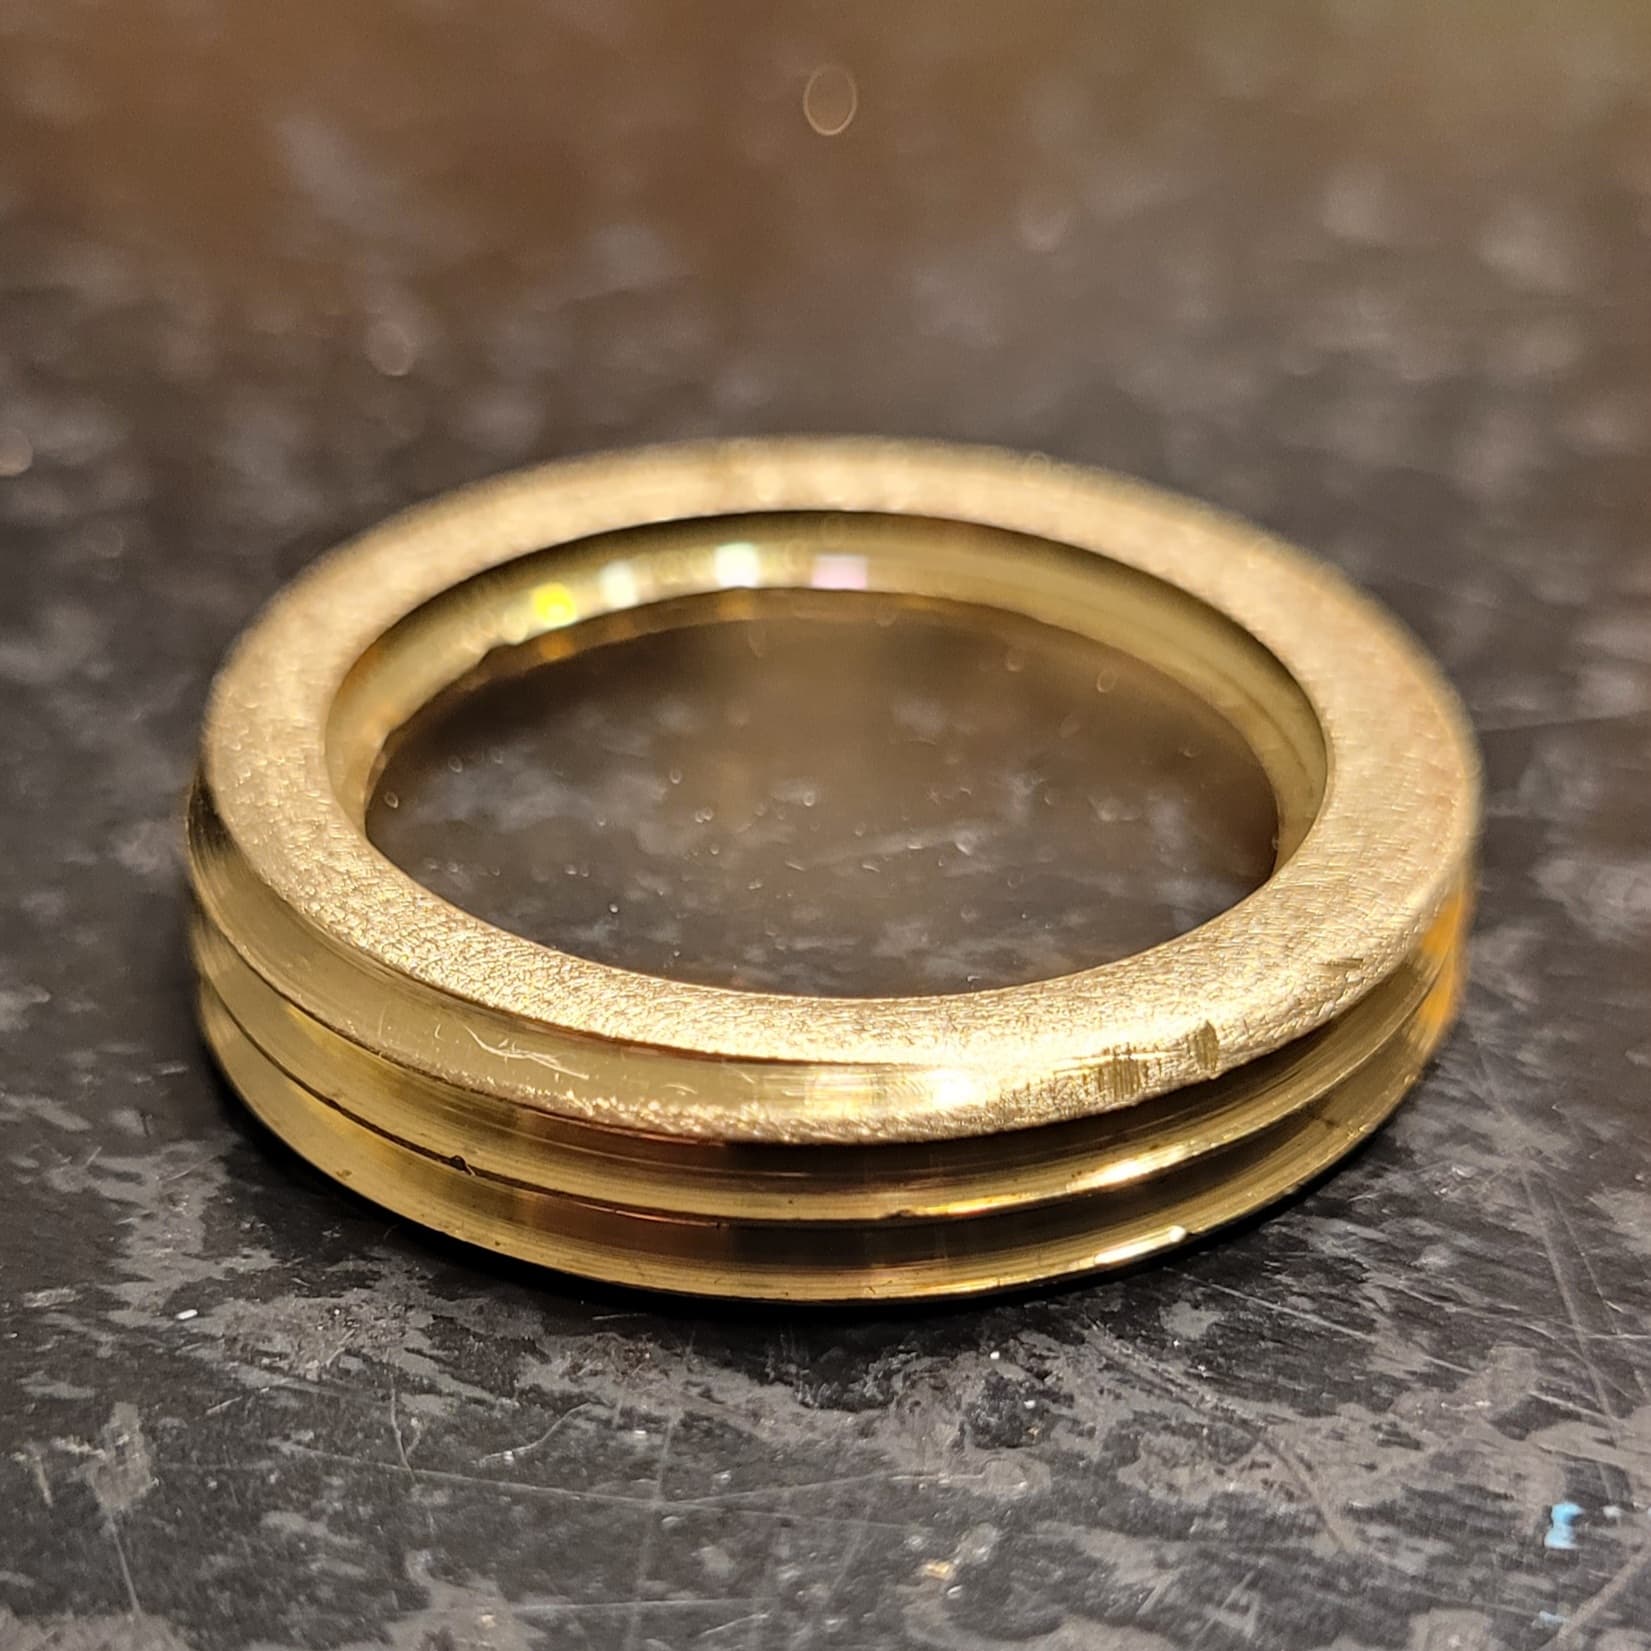
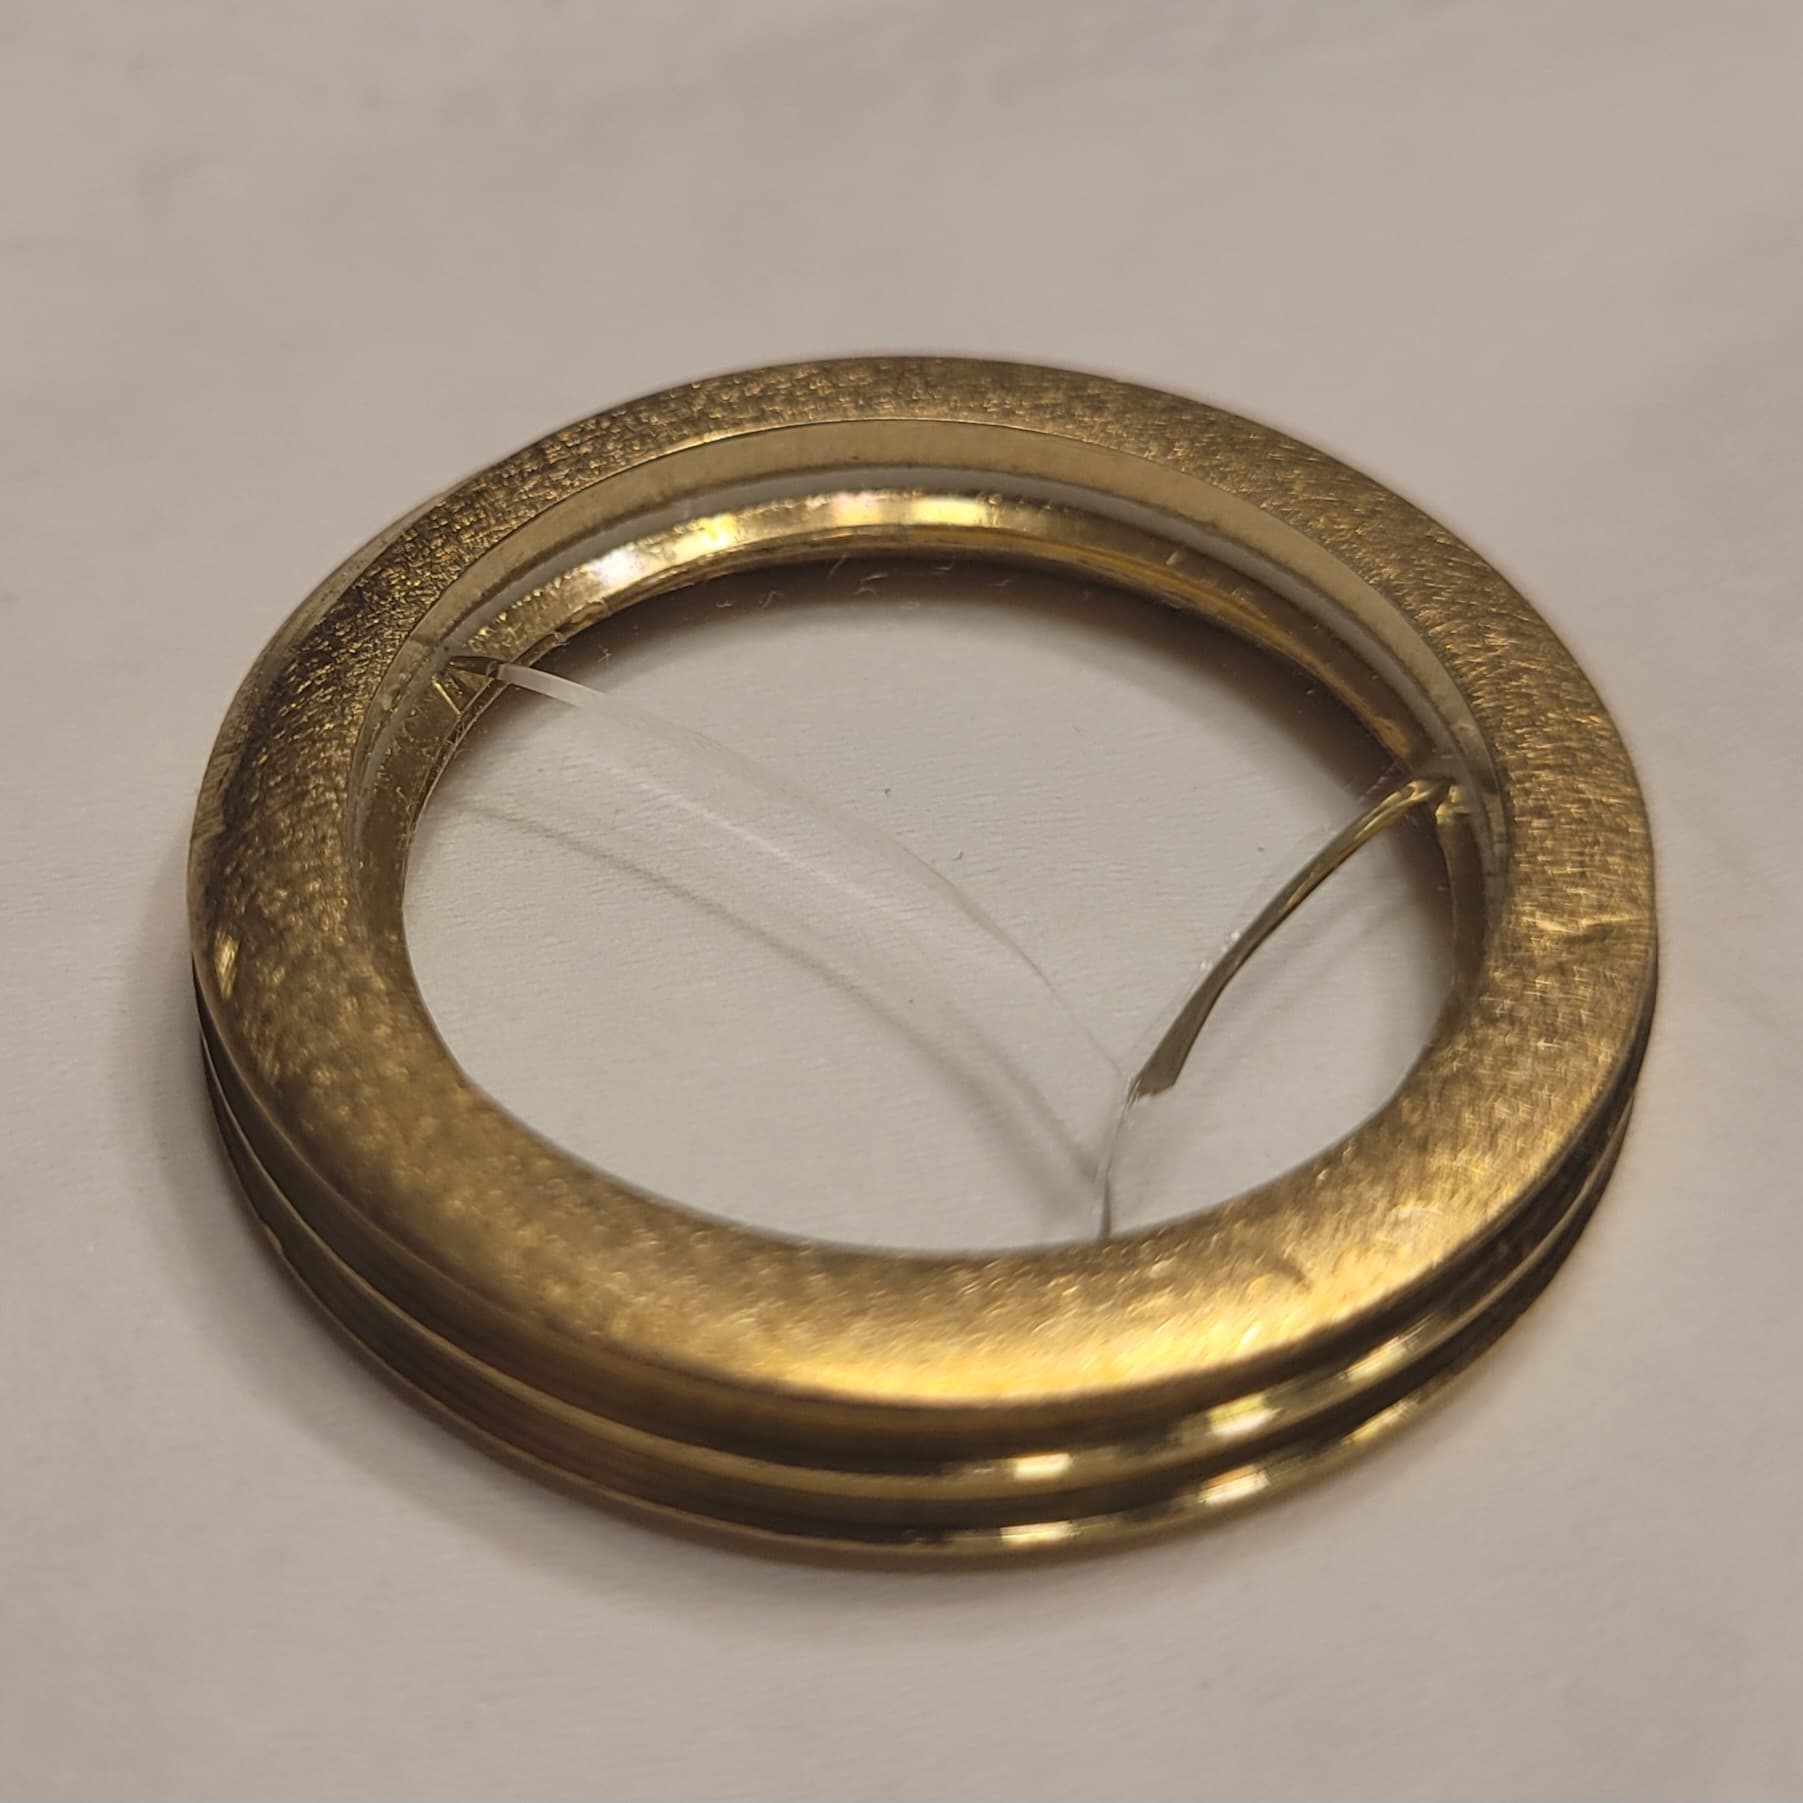
Before:
1 sheet of sandpaper later:
It fits:
Looks like a promising start. ![]()
I didn’t know that glass lenses could be sanded smaller with sandpaper. I have to try that, it could be useful for me.
It took longer than I expected to sand off roughly 1/4mm.
I used 230 grit sand paper.
The trick is to rotate the glass as you drag it along the sandpaper so you don’t cause a flat spot.
![]()
It’s so appealing to watch a masterpiece being raised from a scratch ![]()
We really admire your work, thanks INeedMoreLumens.