Hello,
I decided to put a TIR optic in a Maglite Solitare. I am also using a Nichia 219 and this light will be made for a 10440 Li-ion.
Here's the build thread:
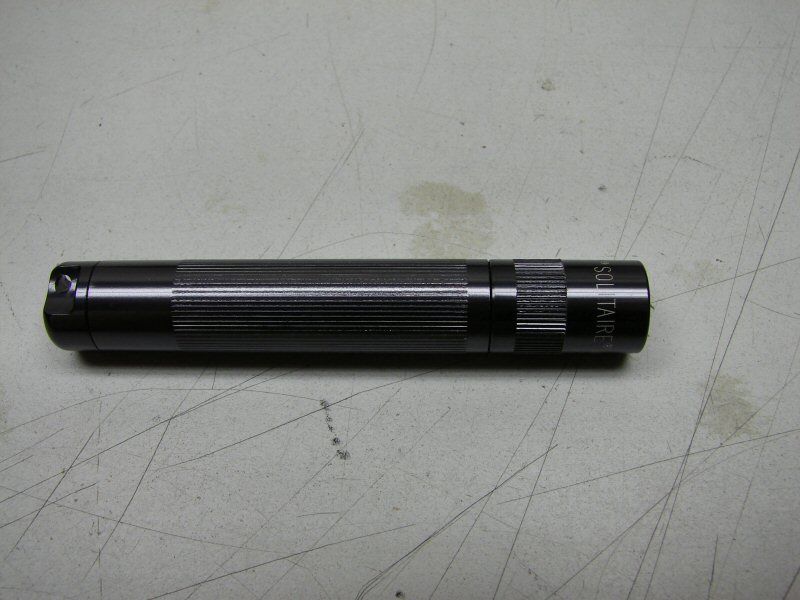
I start with a stock Solitare and tear it down, to do some mods.
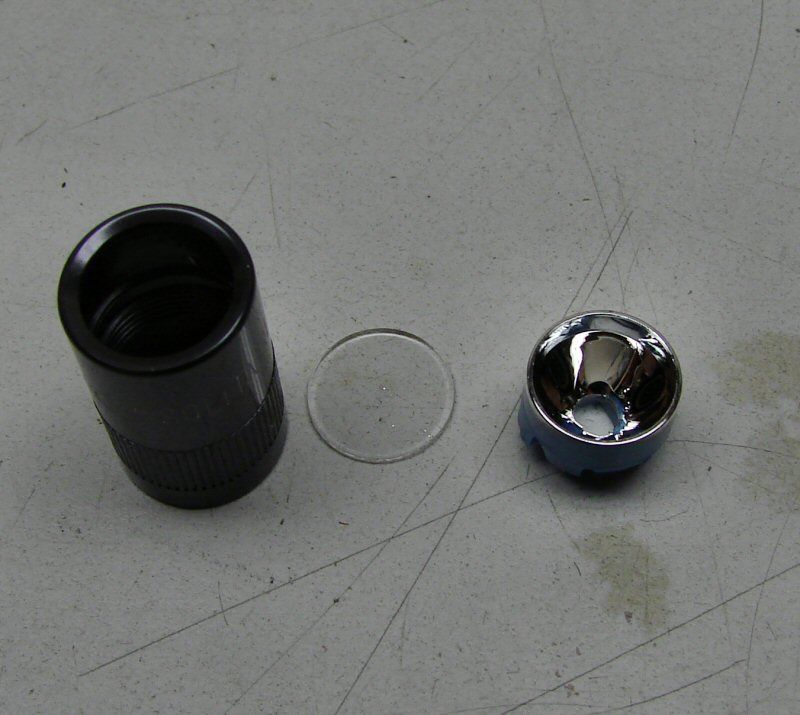
The first thing to do, is remove the stock reflector and lens. Now I have a time getting these out. They never will just pull out, so I have to do some massaging.
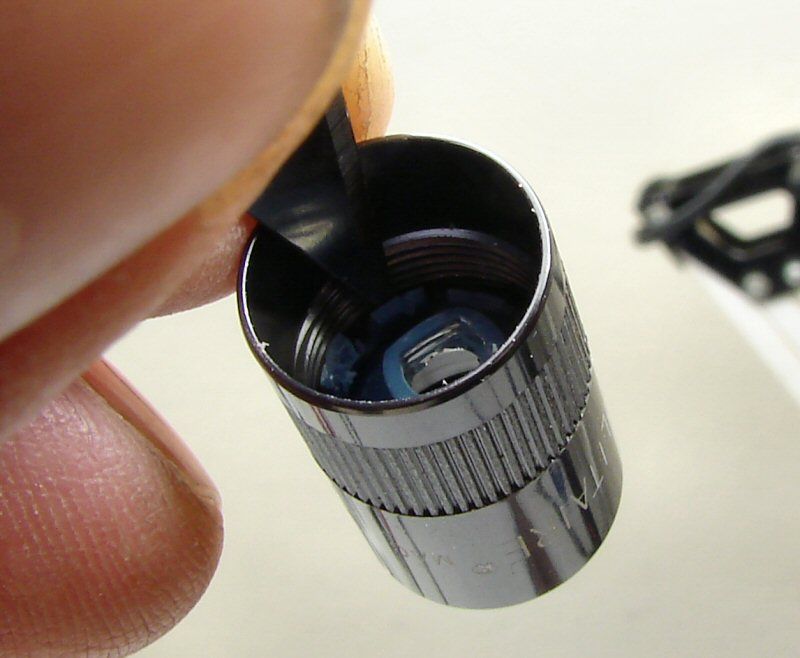
I take an exacto knife and pry out all the locking tabs on the bottom of the reflector. Then I just use a pair of needle nosed pliers to pull the reflector out. The lens just drops out after that and I leave the O ring in place.
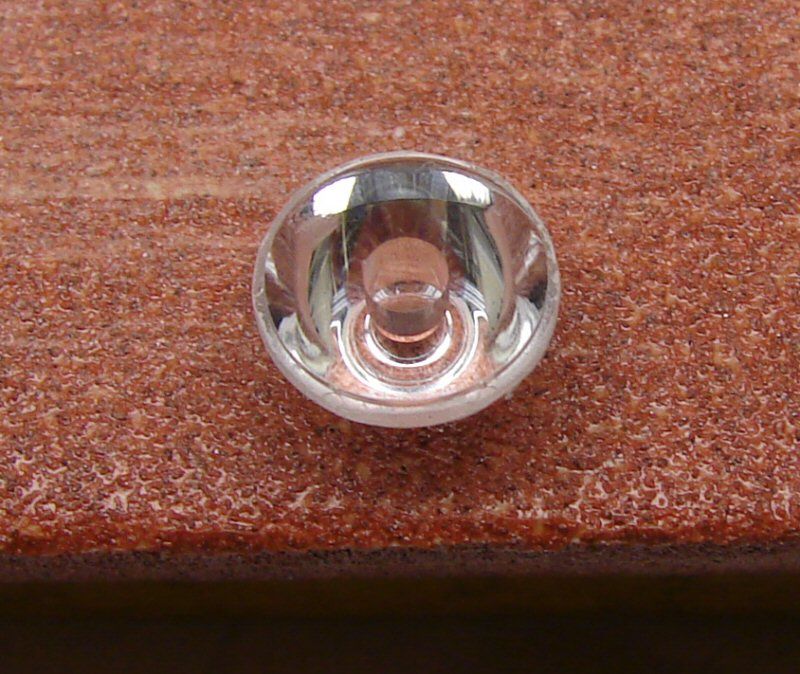
The TIR optic came from CNQG. It is a 11.8mm diameter TIR optic and it is plastic, even though the CNQG description states glass. They call all of them glass, but it's a normal TIR plastic optic. It is listed as a 20 degree optic. 11.8mm is too big to fit into the Mag head, so I use a sanding block to remove material from the large outer diameter, till it fits in.
That's a poor shot, it's really not torn up as it looks.
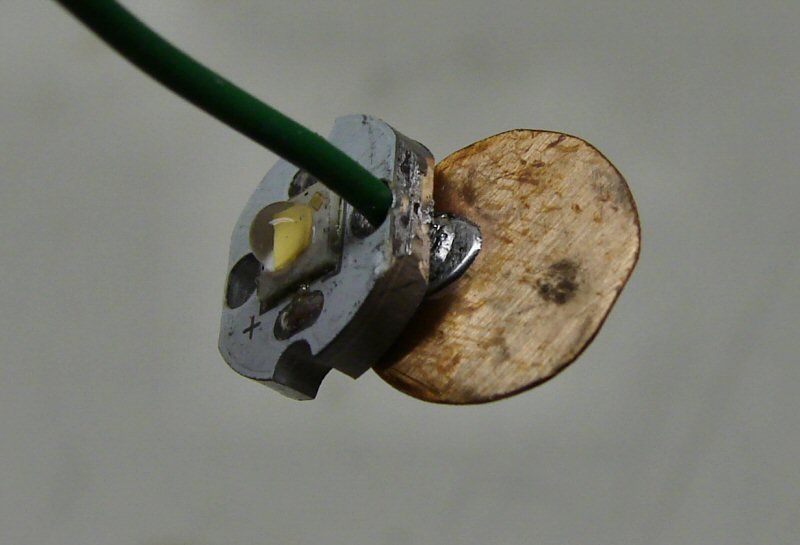
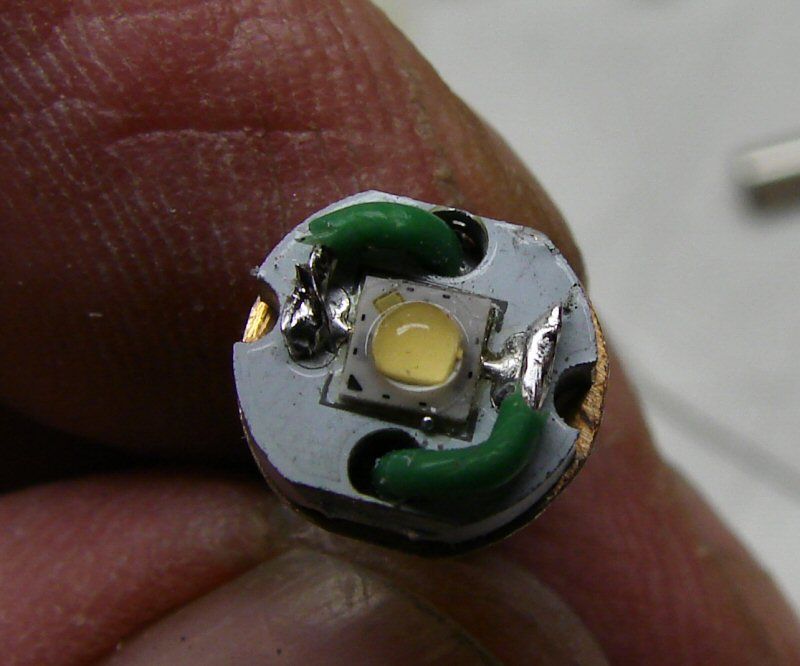
The next thing is making the Nichia fit into the light. I am making this light just like the 2AA lights, where you twist the head to turn on and turn off the light. Here I have cut a piece of .008" copper sheet, to back up the Star. The star is 10mm dia and so is the copper. I have soldered the ground wire directly to the copper, as the copper will be ground.
Here's how it fits together. I still need to make the positive connection.
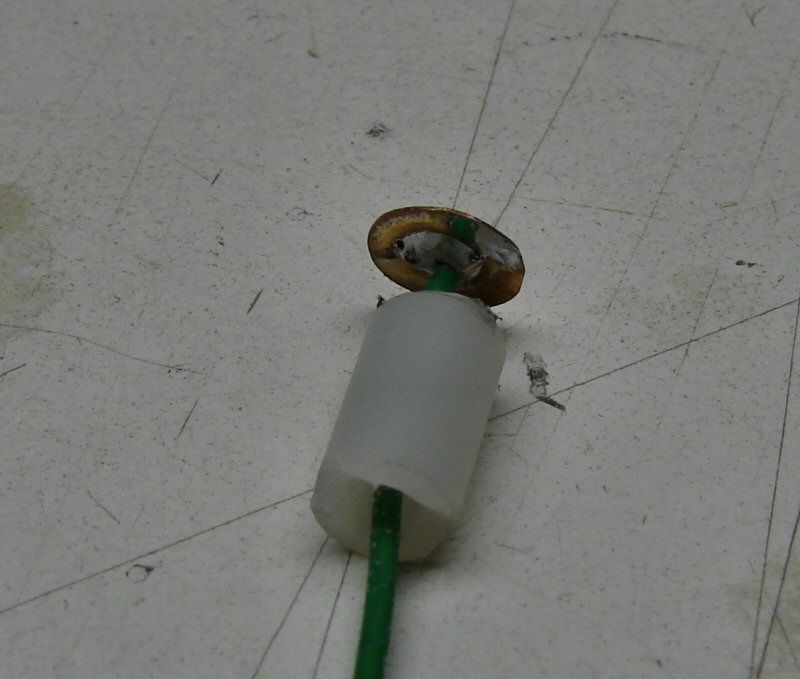
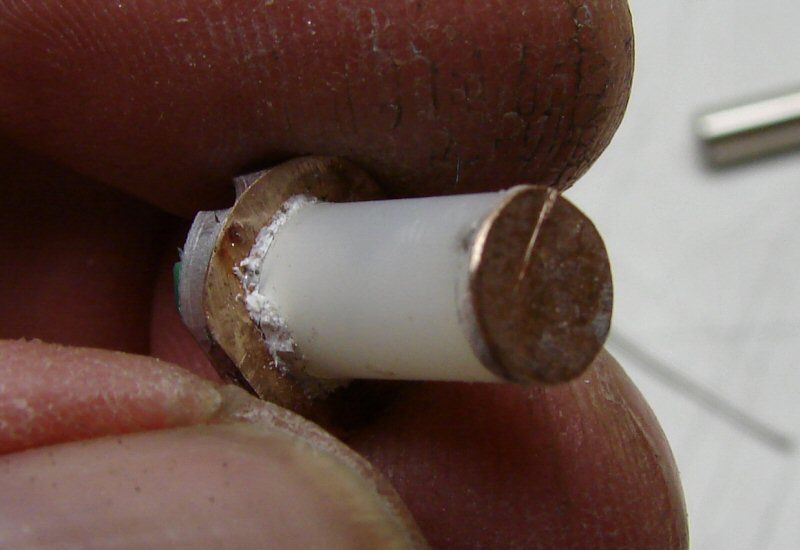
The positive connection consists of a piece of plastic tube, that will sit down in the top of the body, just as the original contact did. On one end is another piece of .008" copper sheet in the form of the positive contact. I have soldered the wire to it and the wire goes thru the center. This plastic tube is hard tube and it is 1/4" in OD and 3/16" ID. This fits down into the top of the body, but the top of the body has to also be drilled to take this plastic tube. I used the next size up from 1/4" to drill the body. The plastic is also notched so the positive wire will go under it and up into the hole for the emitter star. The notch gives the room for the wire to fit there. I just used a file for that notch.
You could use smaller tube, that would fit the stock hole, so you didn't have to drill (open up the hole in), the top of the body. I didn't have any smaller tube, so I used what I had.
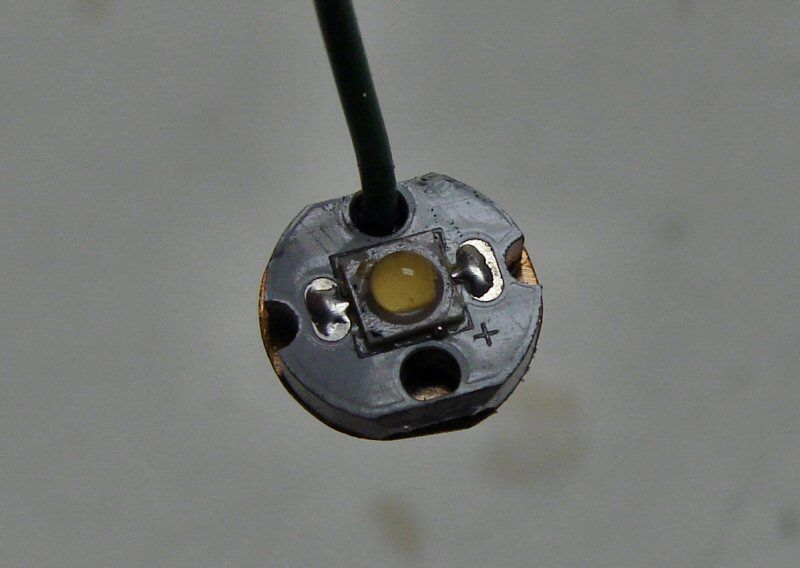
Here's the top of the "pill" with the wires in place.
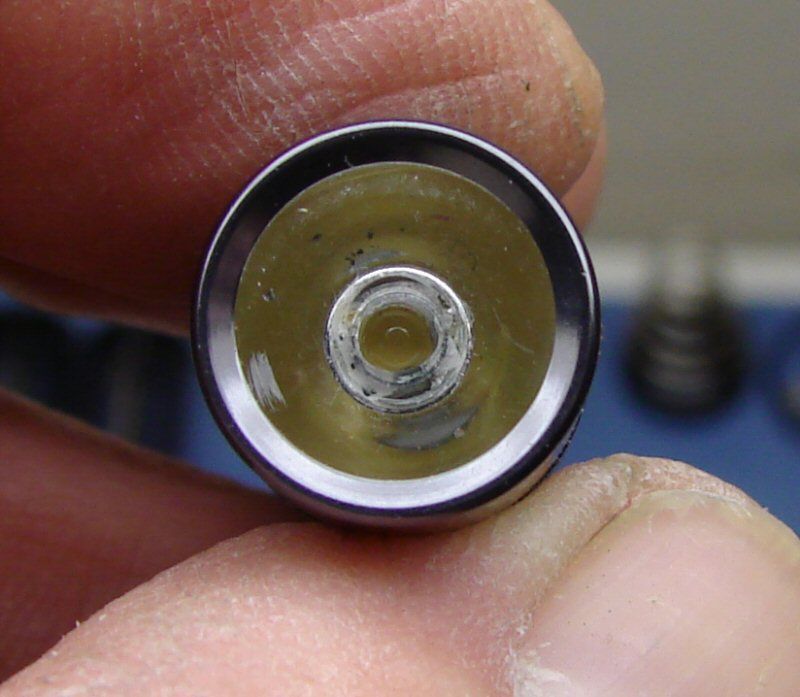
Here's the bottom. You should be able to see how it works now. The larger copper ring touches against the body, making the negative contact. The center post touches against the battery positive, making the positive connection. As the head is turned out, the whole thing moves upward, due to the spring pressure on the battery and that breaks contact on the negative ring. When the head is turned in, the ring makes contact with the body and the light turns on.
The length of this positive contact post has to be exact and I am guessing a little with this first one. I went by the stock dimensions of an unprotected 10440, but I actually messed up and went too long. It is 11mm long right now and it needed to be no more than 10mm max. I Guess I need to stop this late night work (yawn). Anyhow, I feel the proper dimension would be better at 9mm for an unprotected 10440 and 7mm for a protected 10440.
I used Arctic Thermal Adhesive, to hold the tube to the copper plates at both ends. I actually filled the tube up with it, to help make it a better hold.
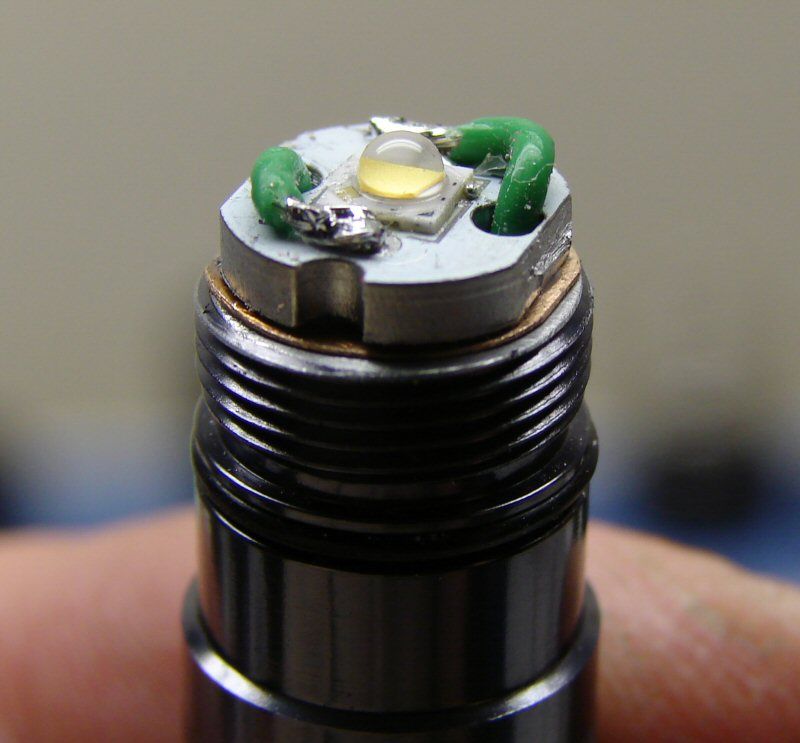
You can see how the copper contact plate (negative) will touch the top of the body, to make contact.
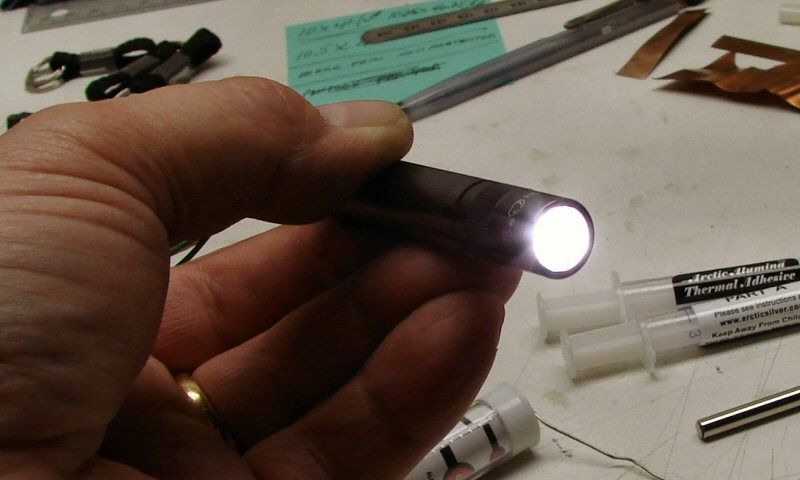
I am testing with two AAA Alkalines and a piece of wire to ground it. It works! I have the wrong camera out here with me and the photos do not do justice, since I can't do manual settings, so here's a couple meager shots on automatic settings. It is brighter than the photos show and I can't wait to see how bright it will be with a 10440.
That's about it. I feel many of you could do this mod if you have a little patience. It's not horribly hard, it just takes some time and patience.
Match, the light will be on it's way to you soon, so you can check it out. Have fun and let us know how it works with a Li-Ion.
 , I have 3 or 4 more to make if people want 'em.
