You can scavenge a boost driver from any cr123 primary suitable budget light (perhaps even from AA lights). I used one from the BLF-mini light (=Trustfire mini-01) but any cr123 light will do, like this one, that one leaves you with a nice spare host too (with cool logo ). Or try out any boost driver in your spare driver box, until you find one that does the job. The boosting is relatively efficient and you get a fairly nice current because the out-voltage is not that much higher than the in-voltage.
I have 2 AHorton glass aspherics that fit the Solarforce.
Can I program a boost driver with modes that I want? Or can I easily control that 700mA power output level? Don’t think I have any in my bin, not even sure what makes a driver a boost driver, lol.
I got a sample pack of Rosco filter gels (free, find a theatrical supplier, they’re little 1” x 1.5” samples) and experimented; some of those work tolerably well to block some of the excess blue while passing the UV.
These are NOT to protect your eyes, in fact the opposite, by blocking the visible blue, your pupils will open up and you’ll get more UV exposure. A word to the wise.
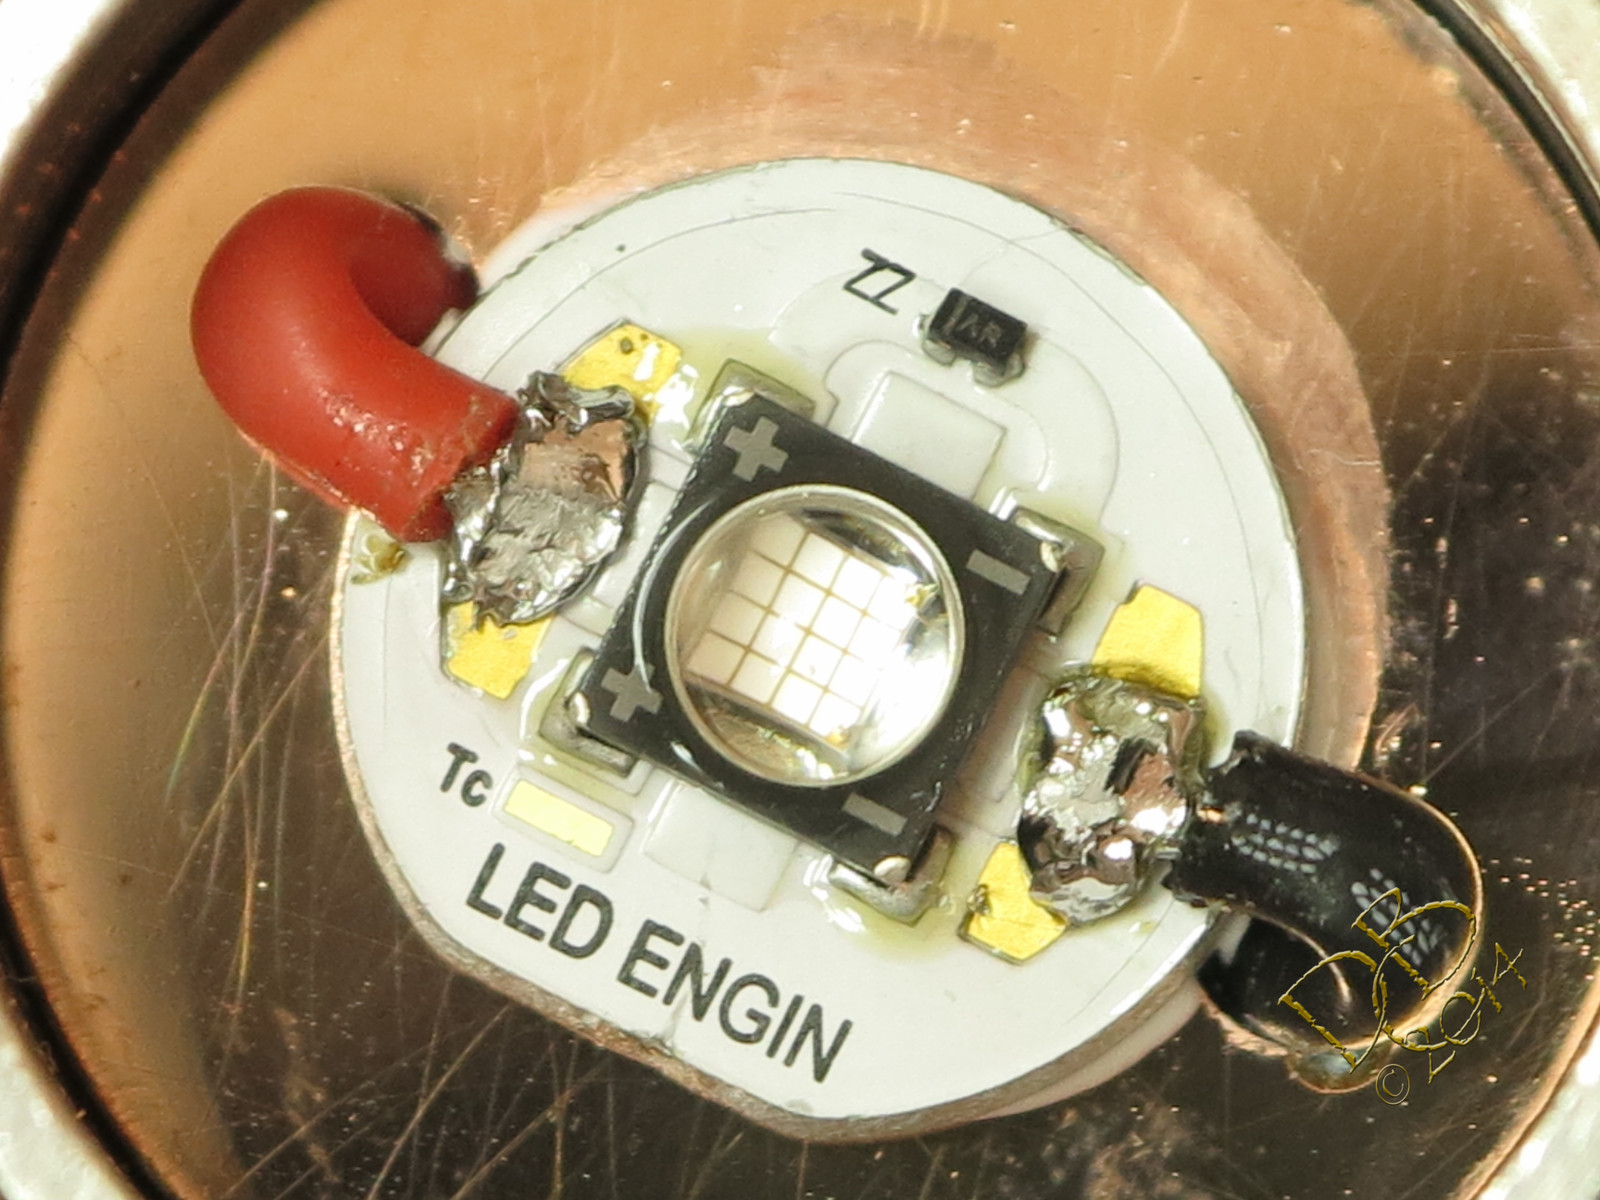
This emitter is bad to the bone! I got it today, ordered it yesterday afternoon.
I used a copper shell from Mattaus, coupled with a copper spacer from Richard. I filled the center hole in the top of the spacer with a brass plug, re-flowed in. Then I drilled 2 small holes on an angle on either side of where the 11mm star would sit. These came out inside the central hole just perfectly (got lucky).
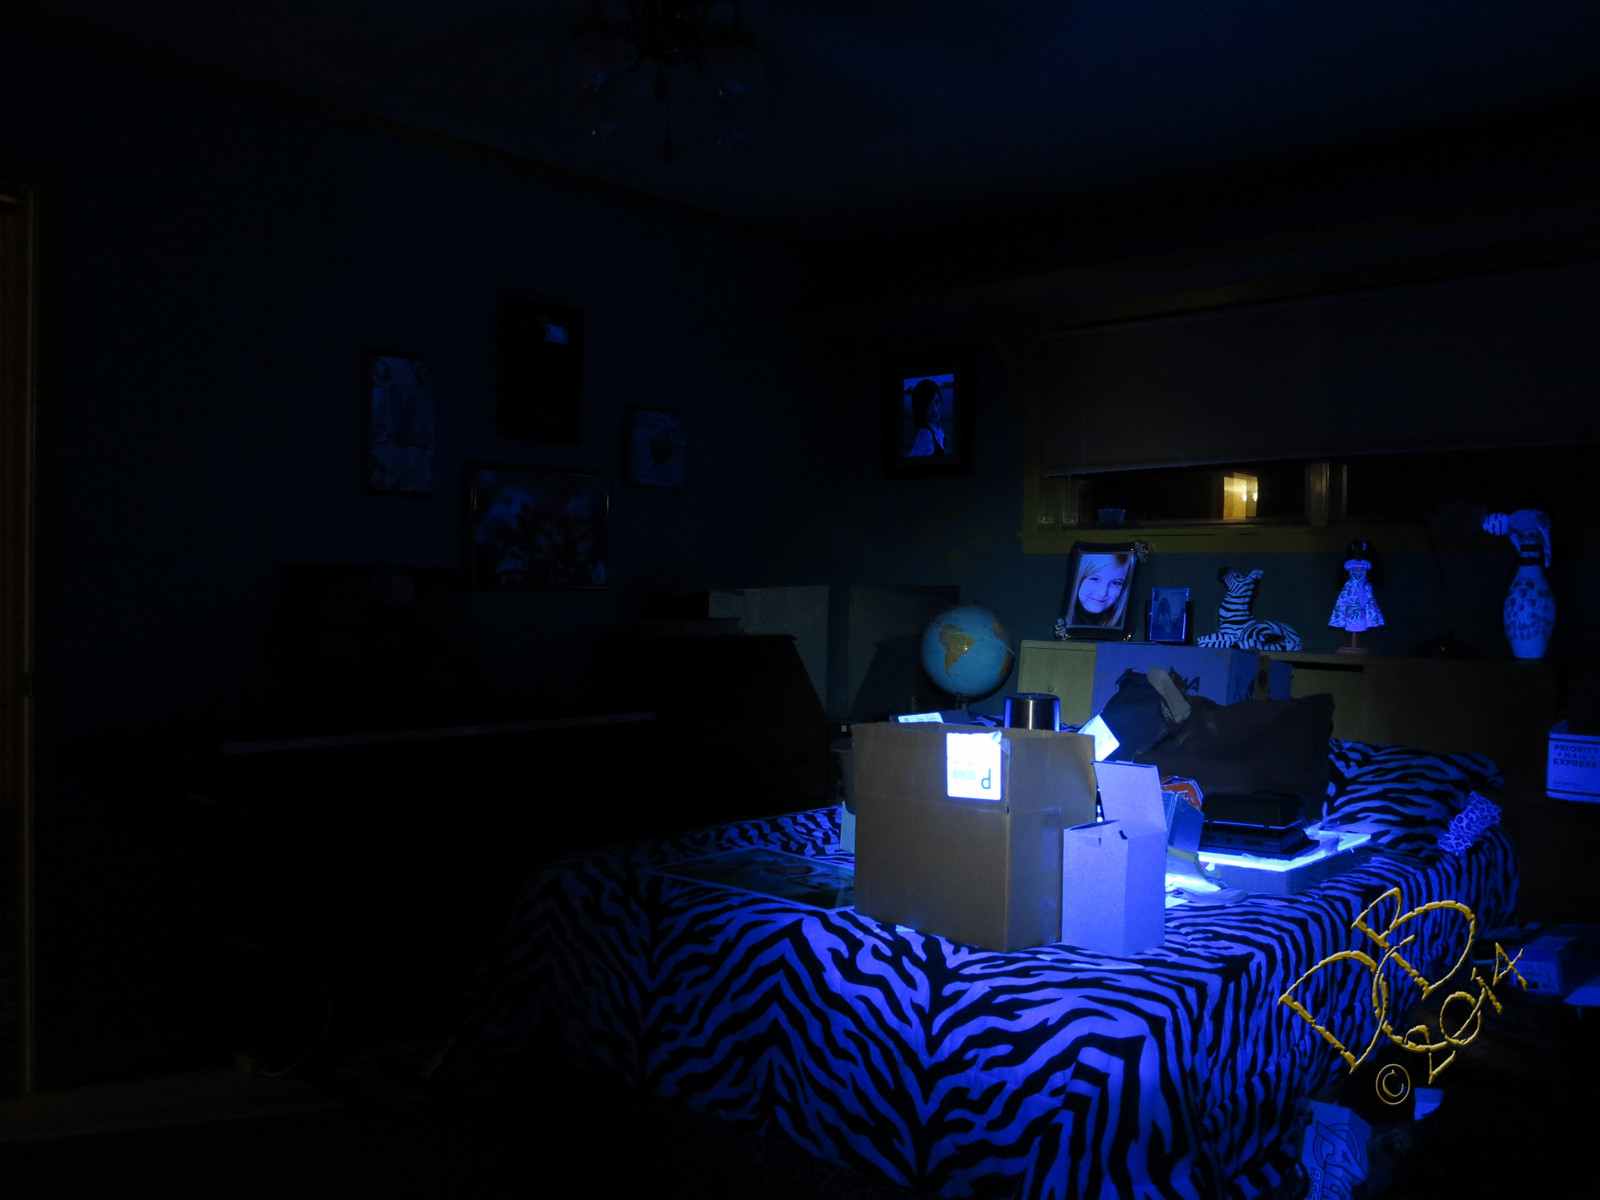
I cut a narrow strip of sheet brass and soldered it inside the driver compartment to raise the Qlite some for clearance. And stripped all but 2 of the chips off a stock Qlite for a measured 780mA. When everything was fitted together I filed, sanded and polished the top of the copper spacer. With a copper mirror finish surrounding the mule UV emitter, it puts out a wide and bright 365nm UV that’s like having an old school blacklight in a room. Far and away better than the P-60 drop-in I had before.
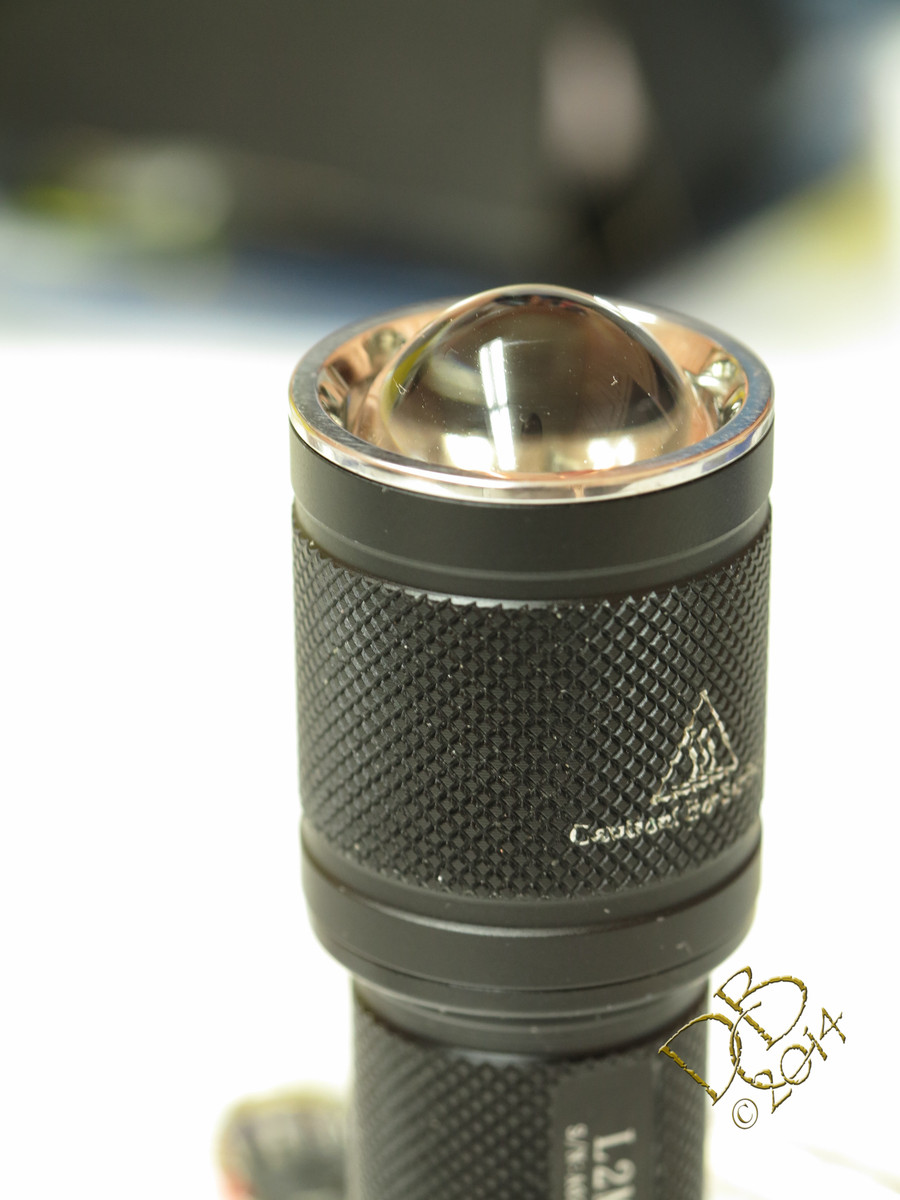
With this copper shell firmly embedded in the head of a Solarforce L2m shorty that has a SS crenelated bezel and tail cap, it’s a very compact little UV powerhouse. Still set up with 3 modes, although I have no idea why anything other than high would be used.
My daughter’s room, with the ceiling fan lights on. (Don’t ask, she thought the blue walls and yellow trim would be a pleasant sunshiny day)
And with the UV light covered by the AHorton lens…
The way the L2m shorty and all the other pieces, mattaus copper shell, rmm copper spacer, AHorton aspheric from illumn.com, the focus isn’t a sqare die but at the point the round wide angle would start to square it up. Almost perfect for general usage. As a mule with no aspheric it is room filling, too much so. So this works out pretty cool. Please don’t ask me to add up the total cost of the components, I don’t wanna know.
Mine just arrived and I was wondering if at 4.1 volts one could just put it on a decent heat sink and hook it up to a 18650 Battery and direct drive it ? If it was any other LED i would have already done it but this one is a little spendy so i tough ti would ask first
thanks
Awesome light, like you I dont concern myself with what builds cost anymore, they cost what they cost- the price of fun. No reason to get flustered over money, you cant take it with you may as well have fun with it while you still can.
Bribo, do you think the emitter will self limit to 1A in direct drive? I’d be worried about it way overdriving and fying on the spot. That’s the way my luck runs, at the cost of this emitter I was very careful to run this one within spec.
I did some cell testing and it’s running between 690mA and 730mA, depending on the cell. This is with a Qlite and 2 7135 chips binned at 380mA. And it’s BRIGHT!
CK, I used Arctic Alumina Thermal Adhesive, just a dried pea sized dollop right in the middle of the 11mm star and placed it on the copper sink then gently but firmly pressed it til it squeezed out. This ensured it was covering the entire base of the star, and by the amount of pressure it took I feel pretty good that it’s a thin layer. Make sure you tin the pads before installing, I had issue with solder not wanting to stick to the pads, even using solder paste. Probably so much heat sinking that the pad wouldn’t heat up. So do that first if you’re using a nice sink.
I have the P-60 drop-in that Keltex recommended as one of the best at budget pricing, I think it was $16 from dealextreme or kaidomain. While it’s output seems to be very similar at the 365nm level, it’s very very dim by comparison, even while pulling substantially more current. From across the room this cheap one barely shows up, while the LED Engin is blazing everything that reacts to the UV. Huge difference!
I got mine from Mouser. They’re in North Texas and I had it in hand the following day. Literally less than 24 hours.
Yes, it was a bit on the pricey side. But it’s a massive step up from the budget options and rates as good or better than the top Nichia emitter at about half the price.
Not wanting to use the 3 I already have on 20mm star MCPCB’s (2 365’s and a dental blue for the TN30) I just ordered another LZ1 on the mini round board (DK doesn’t have that option so went with mouser). I also ordered a SF L2C (been wantin one since they came out but needed something really special for it). I’ll be doing a reflector build with a really special old shell I’ve been saving, don’t know anything about it other than its machined instead of stamped like most of the $1.99 cheap shells and weighs 3 times a normal shell.
Actually I think it might be an old solarforce drop in but I don’t know why it’s so different or when/where I got it, it’s not what they look like anymore.
Edit: a little research shows its the pill from an M3, strange, I’ve definitely never owned one of those.
I also noticed that the LZ-1 has 4 square corner pads that have contacts right up the corner of the substrate, vertically. The center pad is a circle, would probably overlap on a standard 3 strip pad with the stars we’re used to seeing. They have 2 corners tied together on each side for only 2 contact pads on the little 11mm star, and there’s a Zener diode on the star as well to prevent excess reverse current or something.
At any rate, a reflector will be a trick with this one, clearing the contact pads AND the Zener. The larger 20mm pad is probably the way to go but of course, if you’ve already ordered the smaller one this helps none at all. Sorry.
I find that on the Solarforce they have a very deep threaded head which acts more as a bezel. And the bezel on top of that retains the lens. So the aspheric is attached under the SS bezel on top, the entire “head” unscrews and acts as a zoomie. The die will focus even while the o-ring stays inside the head, all good.
Dan, if you have issue with that L2c and a reflector, I have another of these AHorton glass aspherics that fits right in that you can have.
I wonder if it can be fit in a xml color SinkPAD (I’ve got enough I can afford to ruine one now lol). The 2 center contact pad’s on each side are isolated Incase they touch the thermal pad of the led.
I also wonder is a standard xml board could be used if modded like we mod XP pad’s for nichia 119’s.
Dale, I’ll let you know if I have problems (probably take a week to get the host anyway, tho I have plenty of P60’s on hand I could build it now). I’ll take you up on that if I can’t get it going.
I remember when doing the above mod that I have even drawn the pad lay-outs of the XM-L Sinkpad and the LZ1 to scale on paper, I really tried to have it fit but the round center pad just shorted with the electrical side-pads however I slided it. I can imagine that the XM-L colour board could sort of fit when the four corner pads are used for the electrical connections, did not try that.
I’ve just put in a call to LEDENGIN, talked to a nice receptionist and she took my questions to pass along.
I will ask about that when / if they call back (she said they would call this evening or Monday). I’m also going to ask for eagle library parts (the reason I actually called) especially for the RGBW (cause it looks like about a nightmare to make).
 ). Or try out any boost driver in your spare driver box, until you find one that does the job. The boosting is relatively efficient and you get a fairly nice current because the out-voltage is not that much higher than the in-voltage.
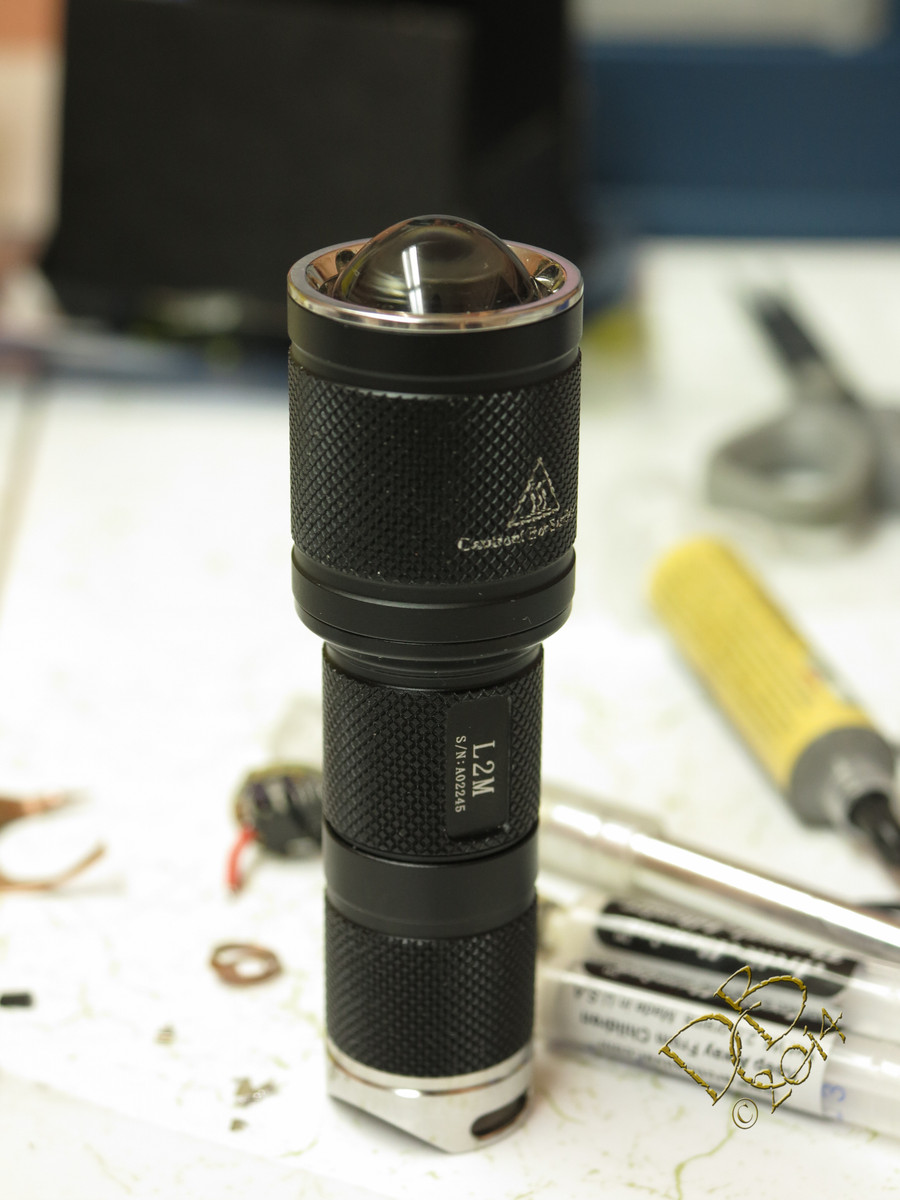


 )
)