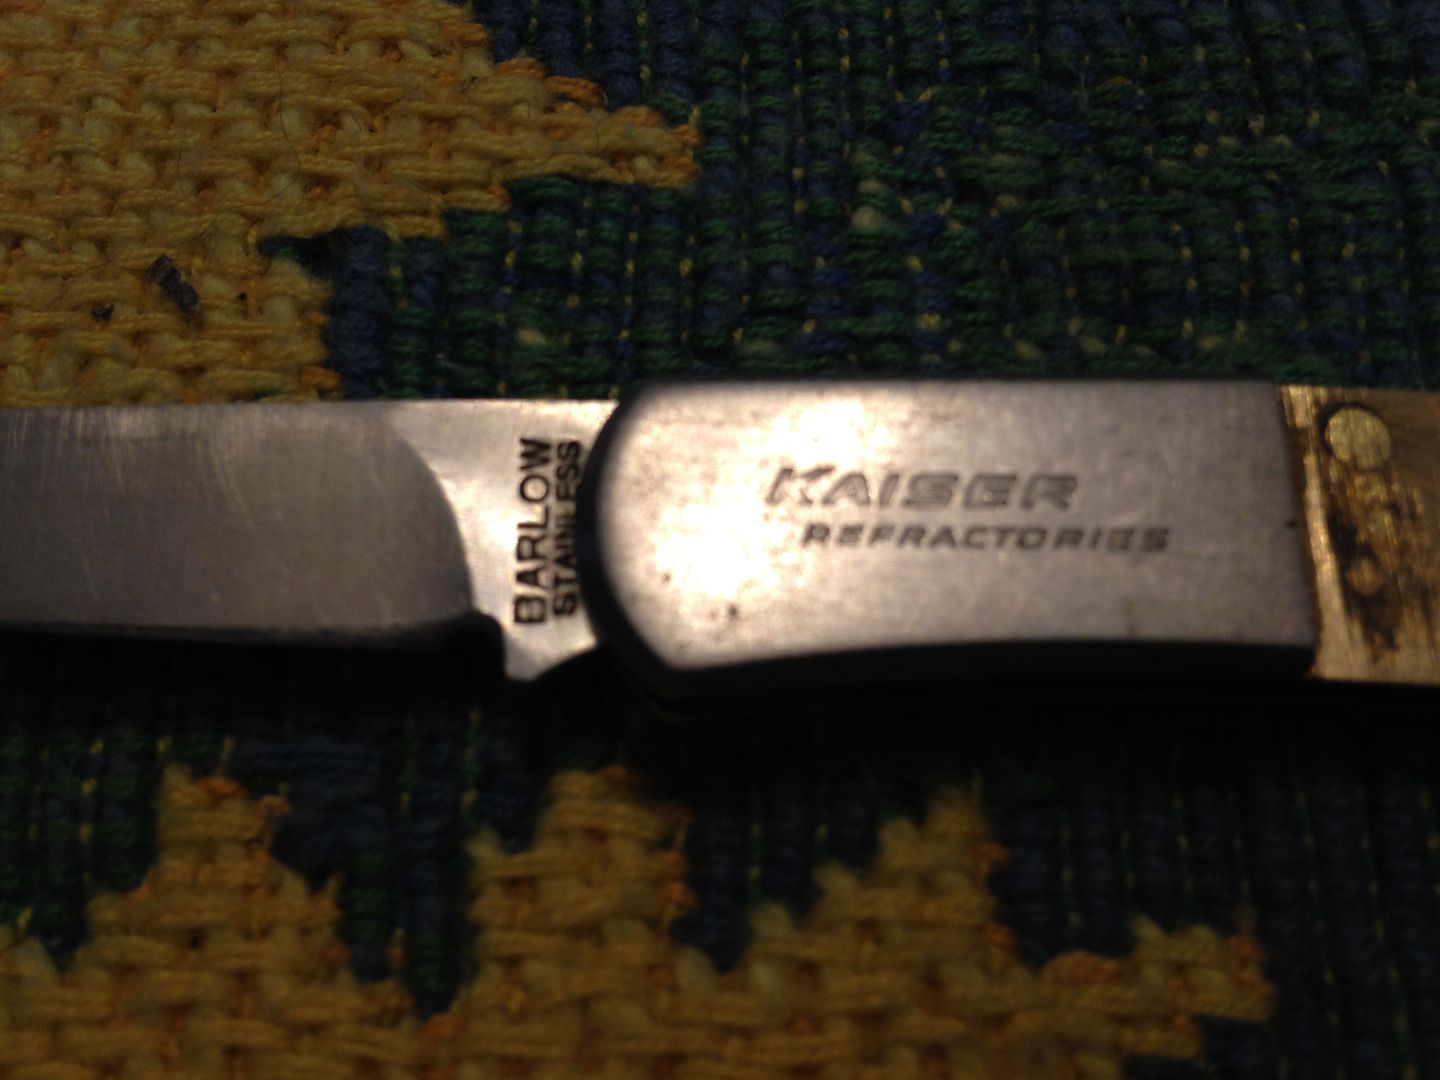
Not long ago Justin teased us with a thread concerning the sales of knives with custom scales so I sent him a pm to which he replied “you could probably do it yourself just as well”. While I doubt his comparison of our relative skills( he’s done it and I haven’t) having taken a spill and injuring myself I could no longer spare the dough to pay him so I’m having a go at it as he suggested. I originally planned to buy a new knife but the budget trimmed that back to replacing the scales on a small knife I already had that was missing a scale. A few minutes soak in warm water and the other scale popped off. Here’s the knife, old scale, and a small block of the new scale material( same heckifIknowburl as the contest light)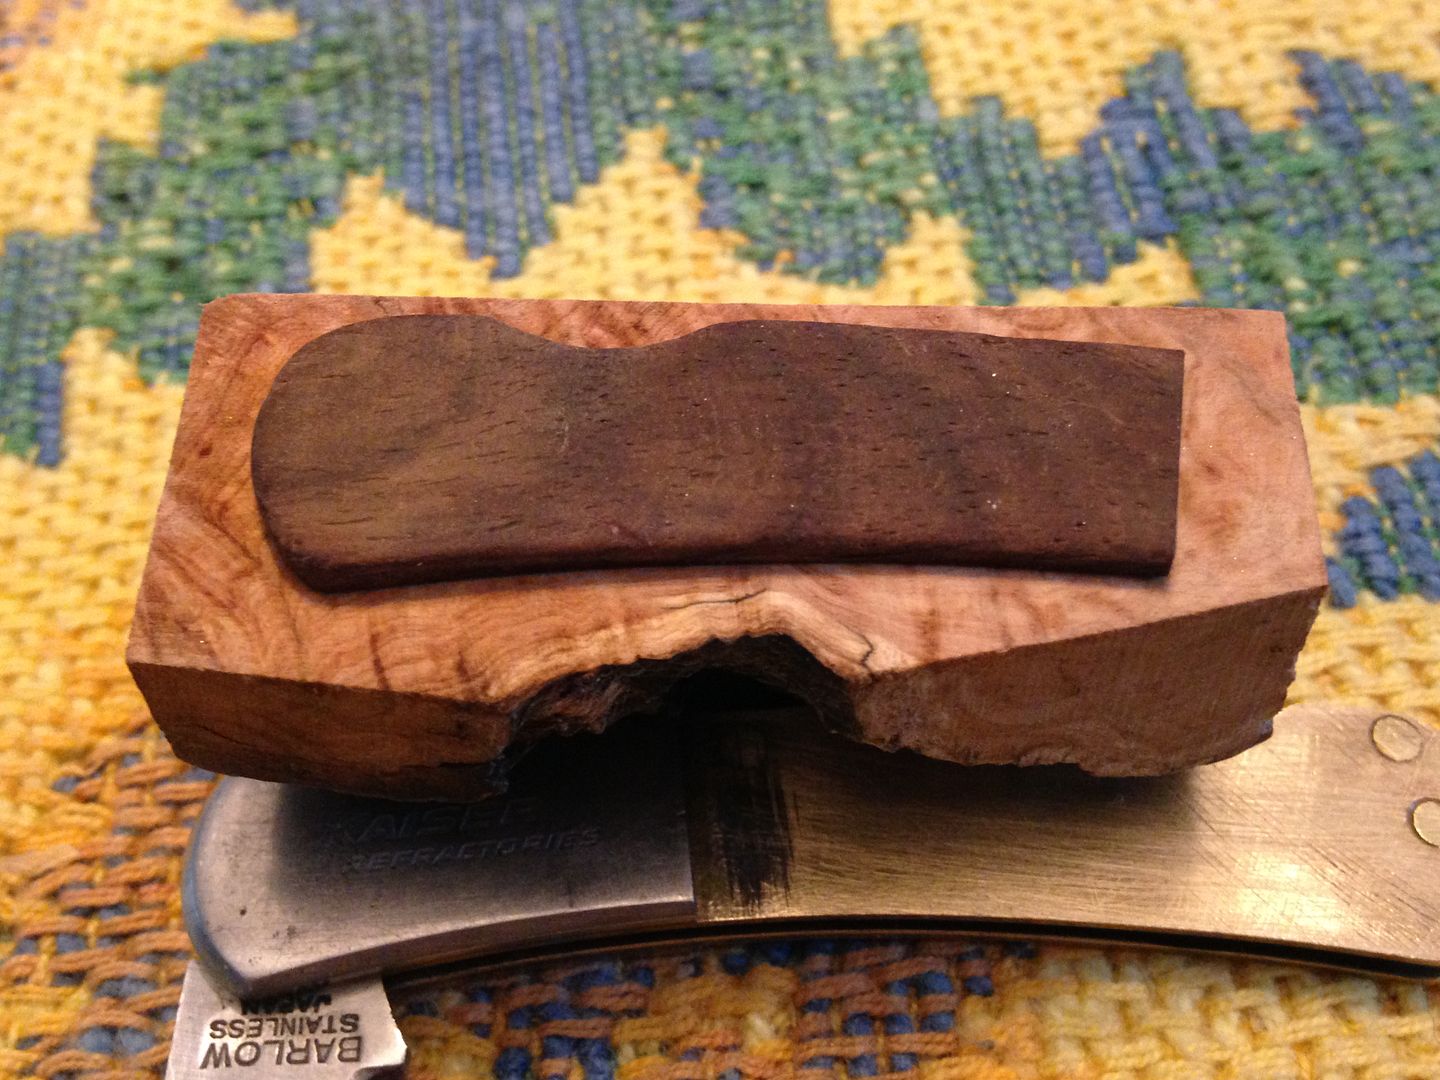 The knife itself is one of the old Barlow knives with “Kaiser refractories” stamped or etched on one bolster.
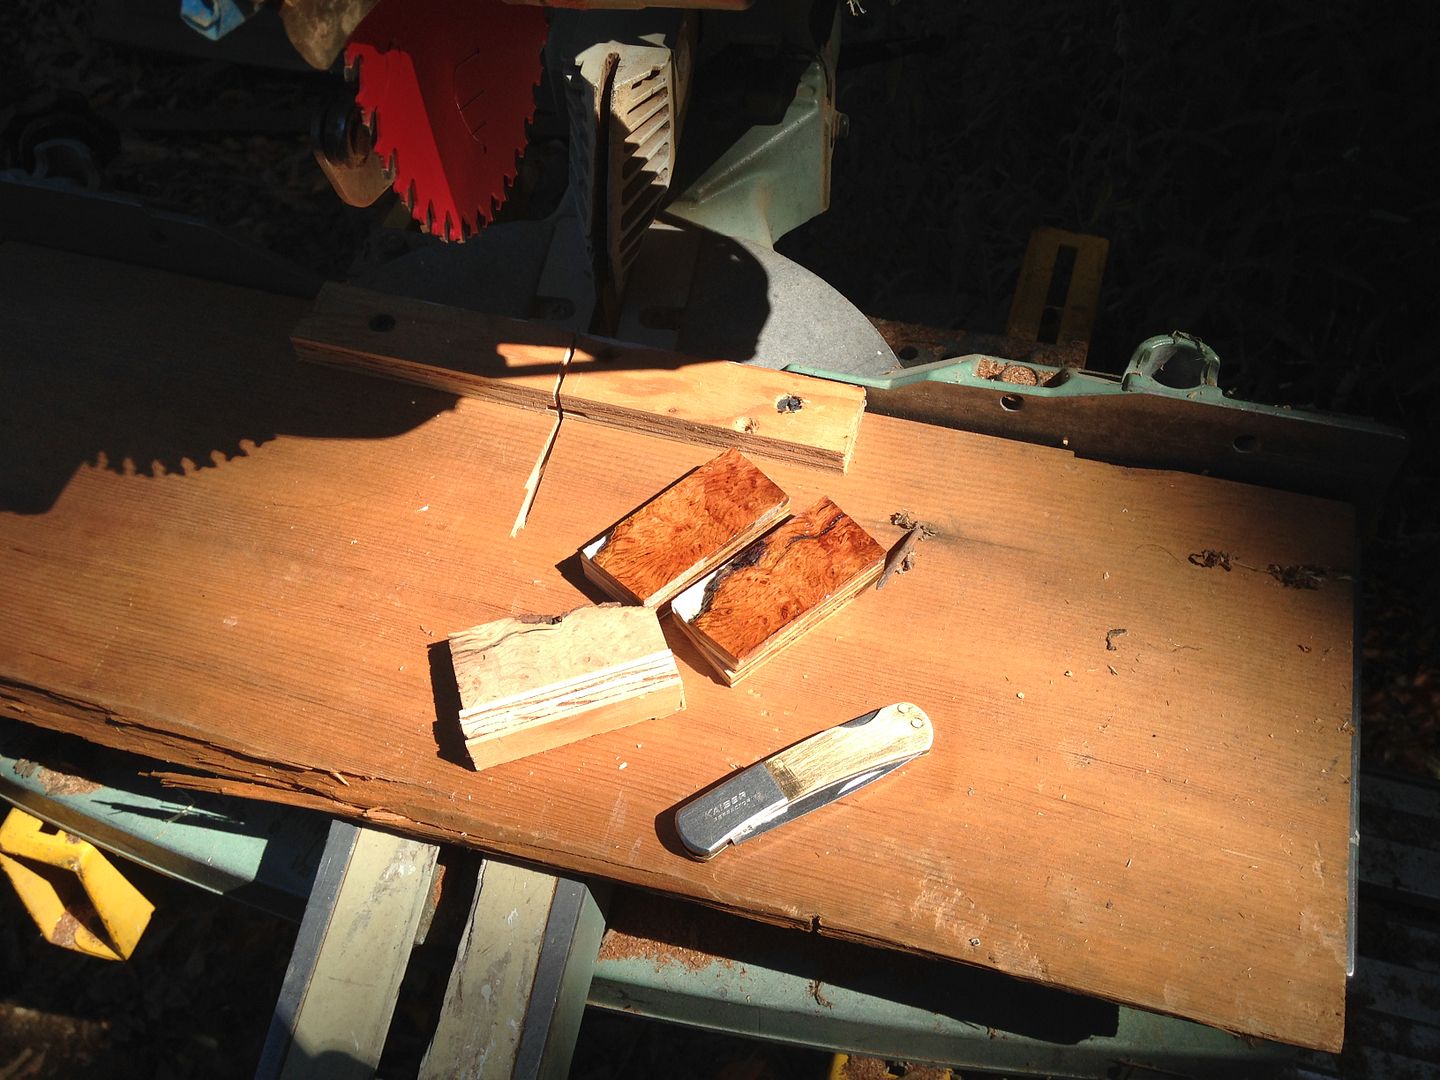
  The block of Burl is much too small to cut with any of my saws so after sealing it I glued it near the edge of a much larger piece of 1/2” plywood with a layer of paper in between. To hold the ~3 mm thick scales together while being cut from the block I glued another piece of paper and ply to each one before it was cut free. This gave me two scale pieces with an easyish to remove ply backer. To get around a crack void that appeared on the backside of the second cut I set my saw to 8 degrees and trimmed the ends which located the tip of the void crack in the finger notch where it would be removed anyway. To minimize the kirf width I put a 1/16” X 6 1/2” X 40 tooth blade in the slide saw instead of the thicker 8” blade and padded the table with some scrap 3/4”vg fir. You can see the void crack in the scale and remainder piece.
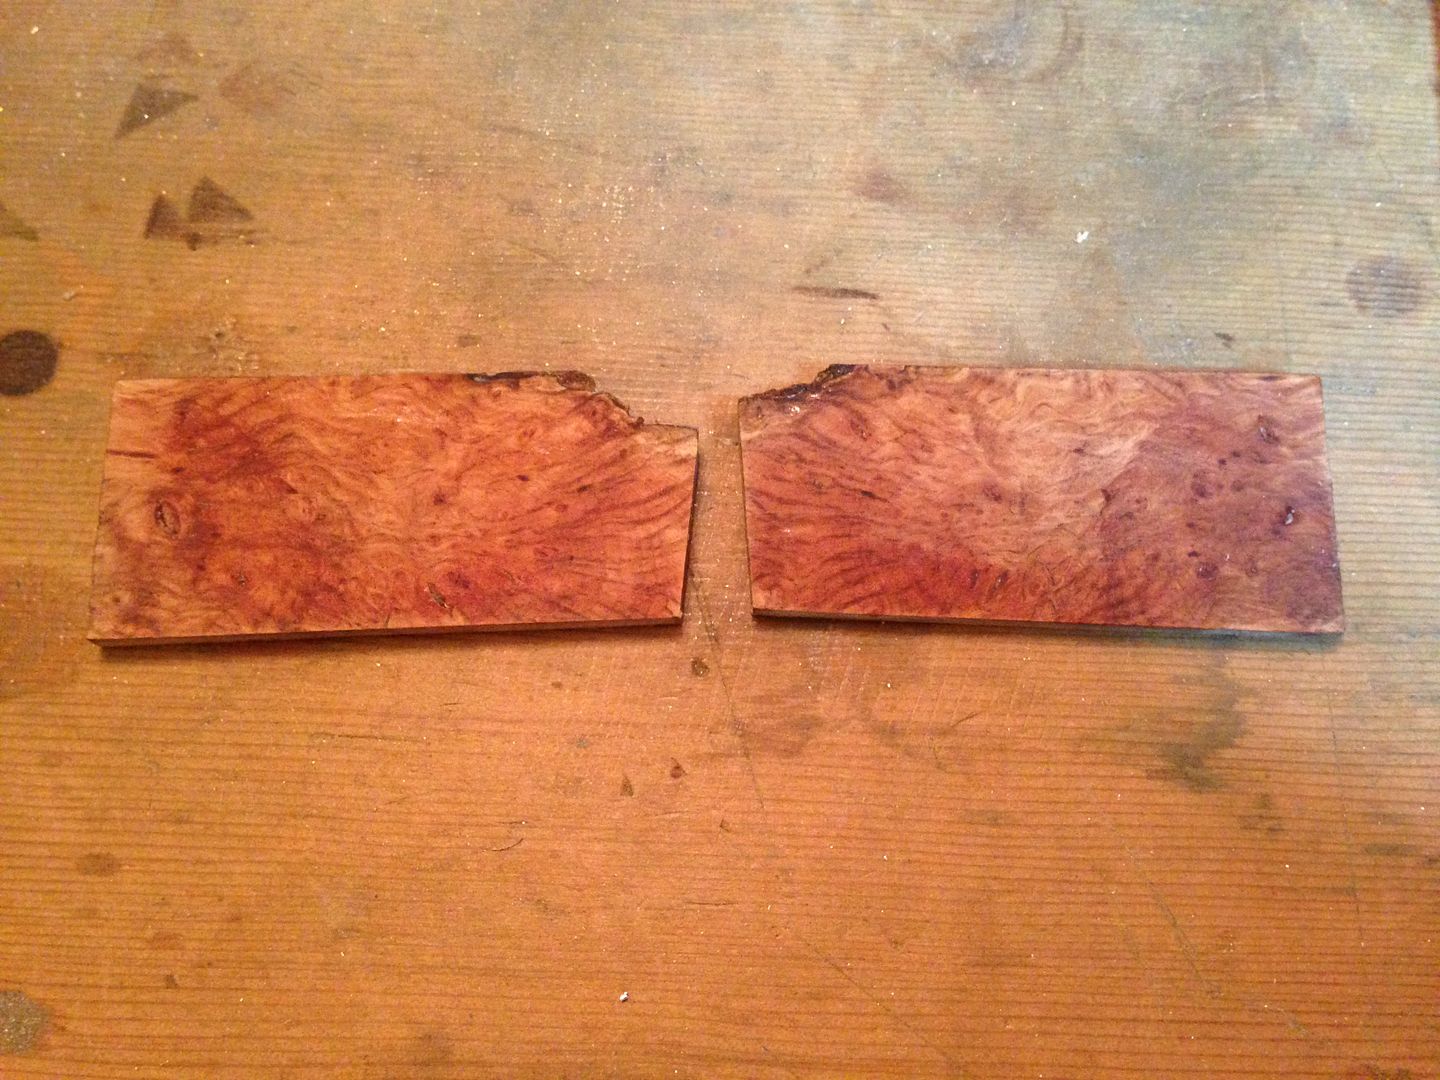
 Because of the lock back style of the knife I’ll cut the scales free from most of the backer ply leaving just a thin layer I can sand off later. That way I can sand the edge of the scales to fit the finger notch before they get glued up. The remaining edges can be sanded off after they cure. Cut free of the plywood.
 Spent the rest of the weekend on the light.
10/07 I need to notch and apply the scales one side at a time in order to see the fit of the notch. Here’s the first side fitted. 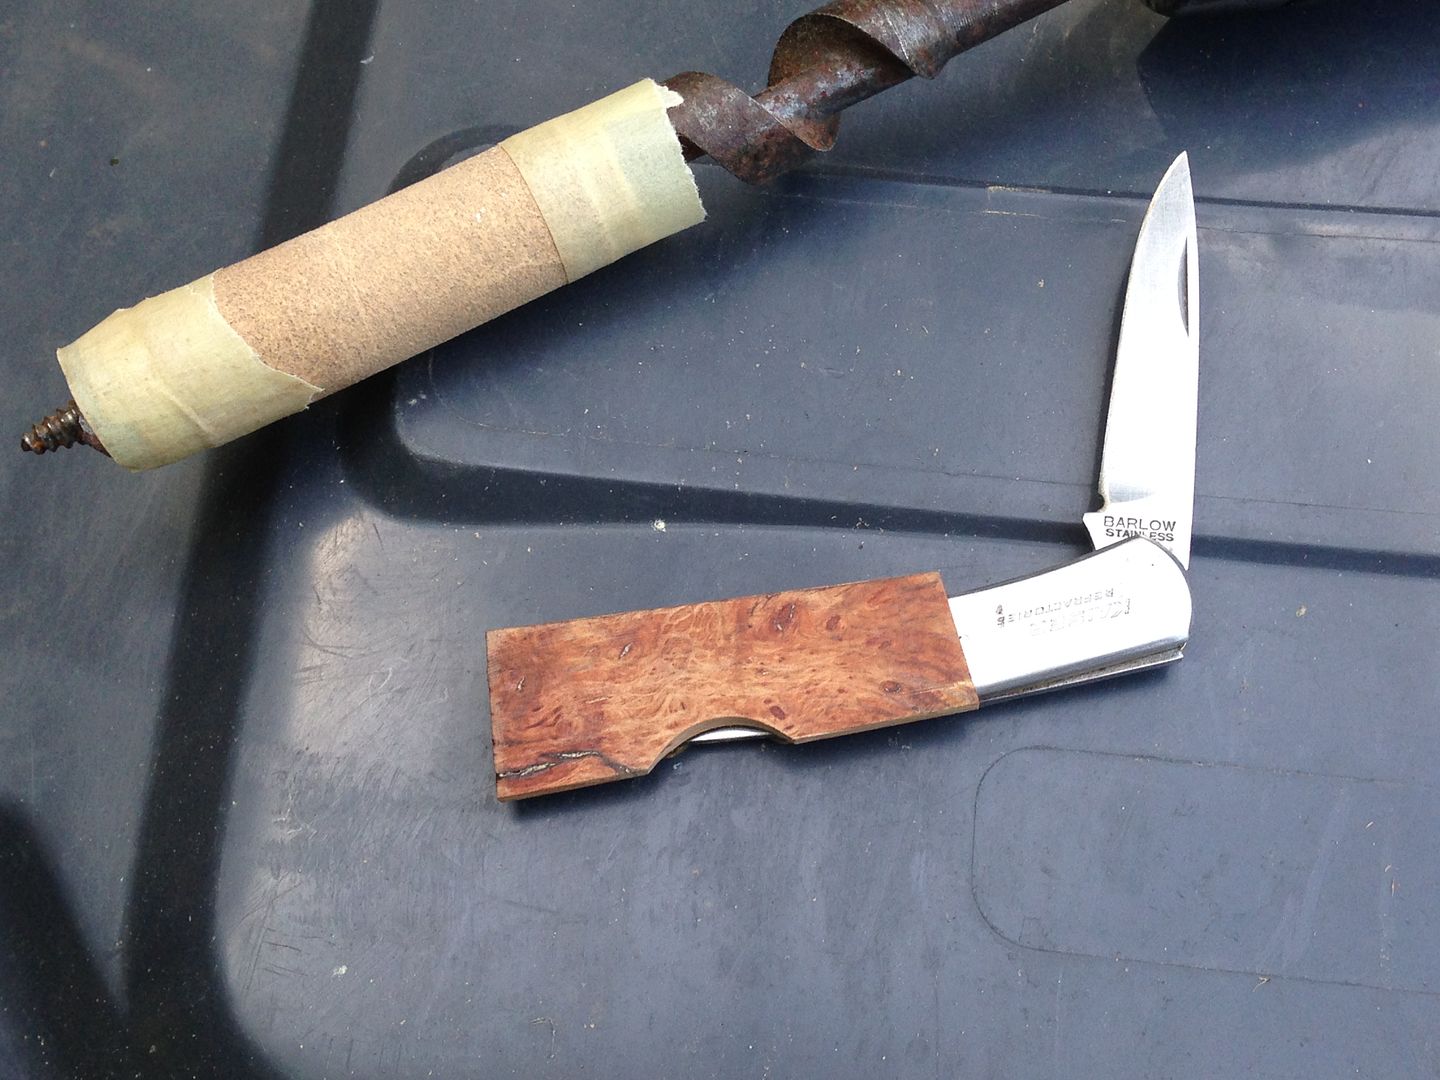 I’ll glue it up with Devcon 2-ton. Or do you think 5- minute would be sufficient?
10/31 finally yesterday got around to finishing the notches and gluing the scales on with Devcon 2-ton. 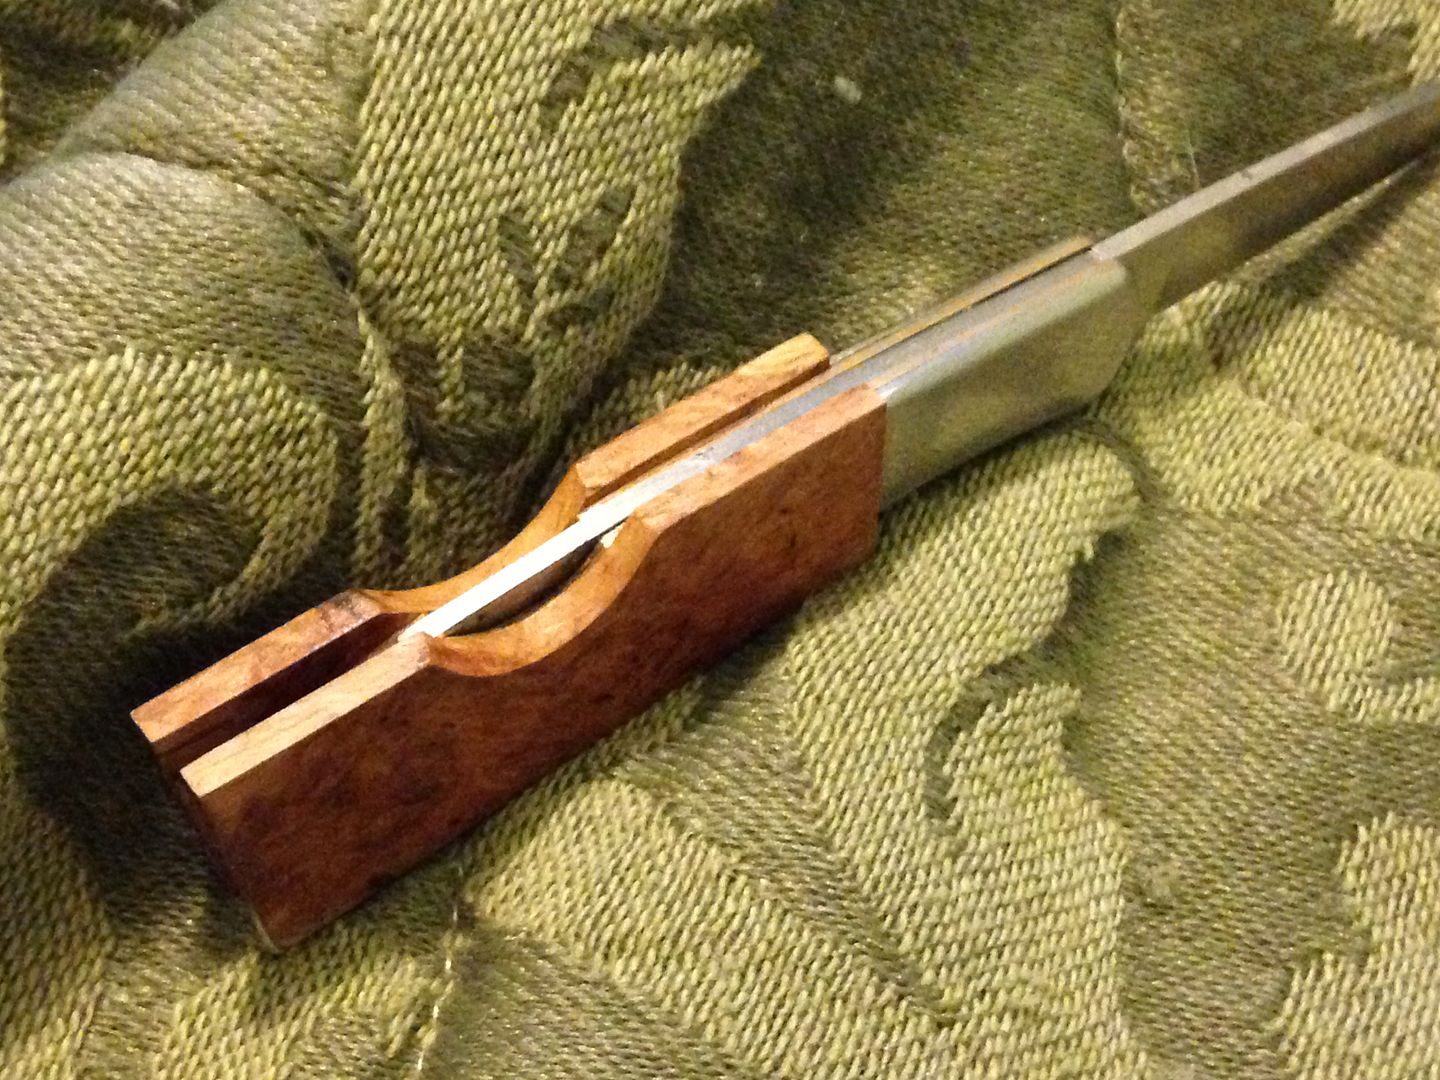 I used sandpaper on a hole saw in th drill press and then hand sanded with the paper laid over te roll of tape.
 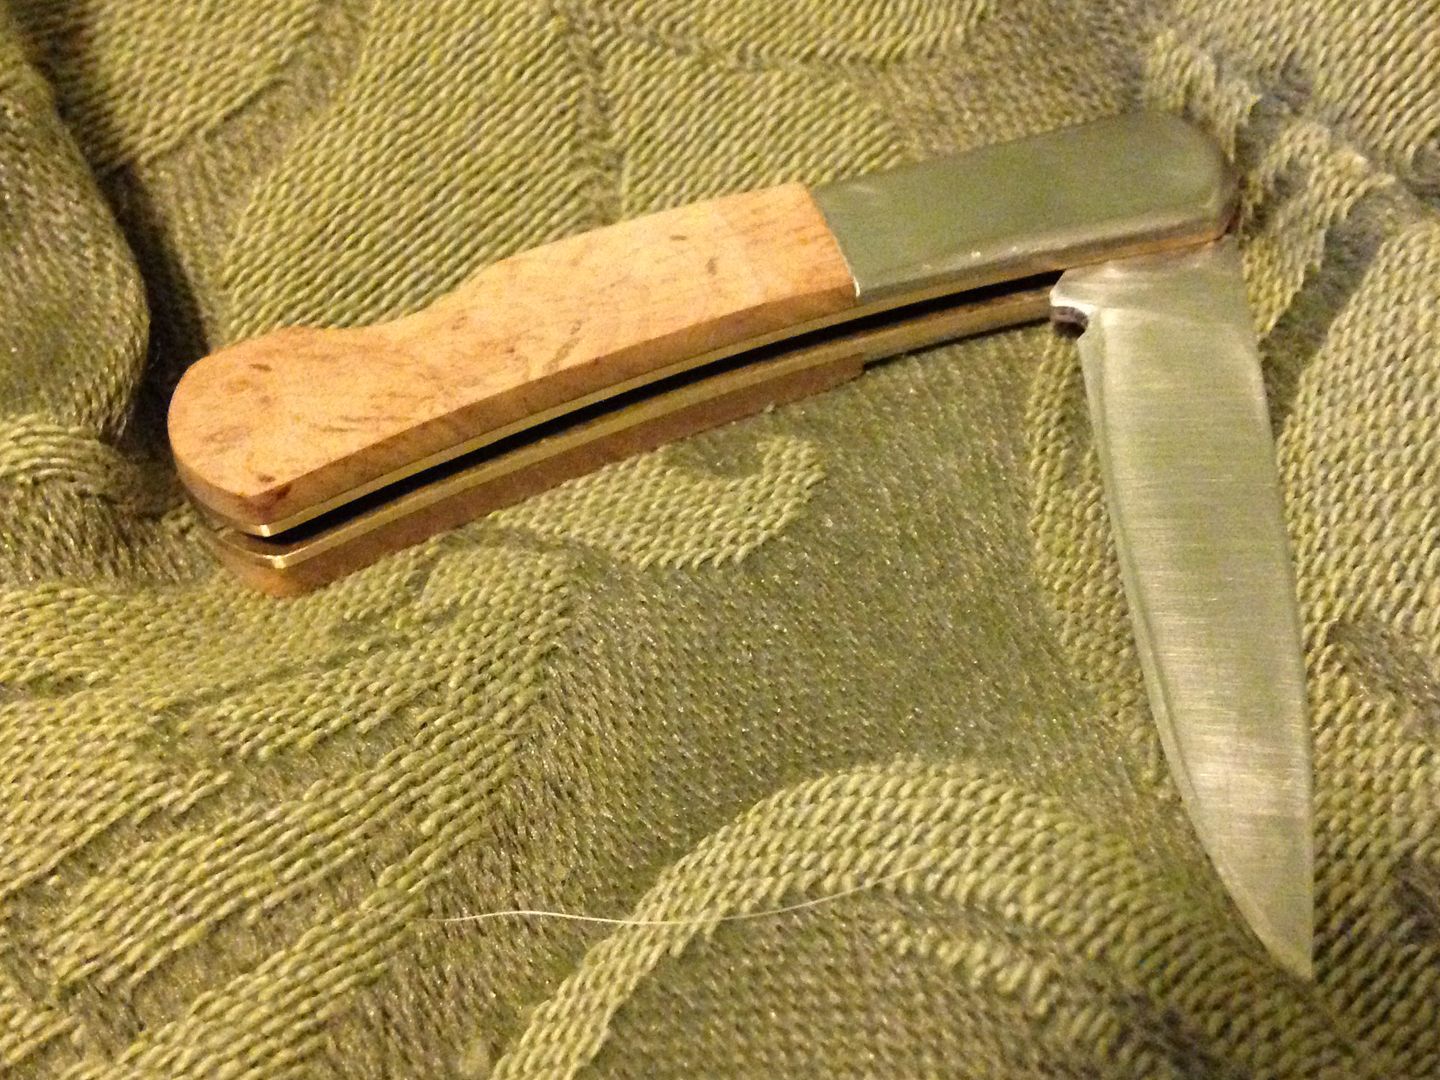 I still have to decide what kind of profile I want on the thickness or whether to just sand it down even with the bolsters as it was stock.
 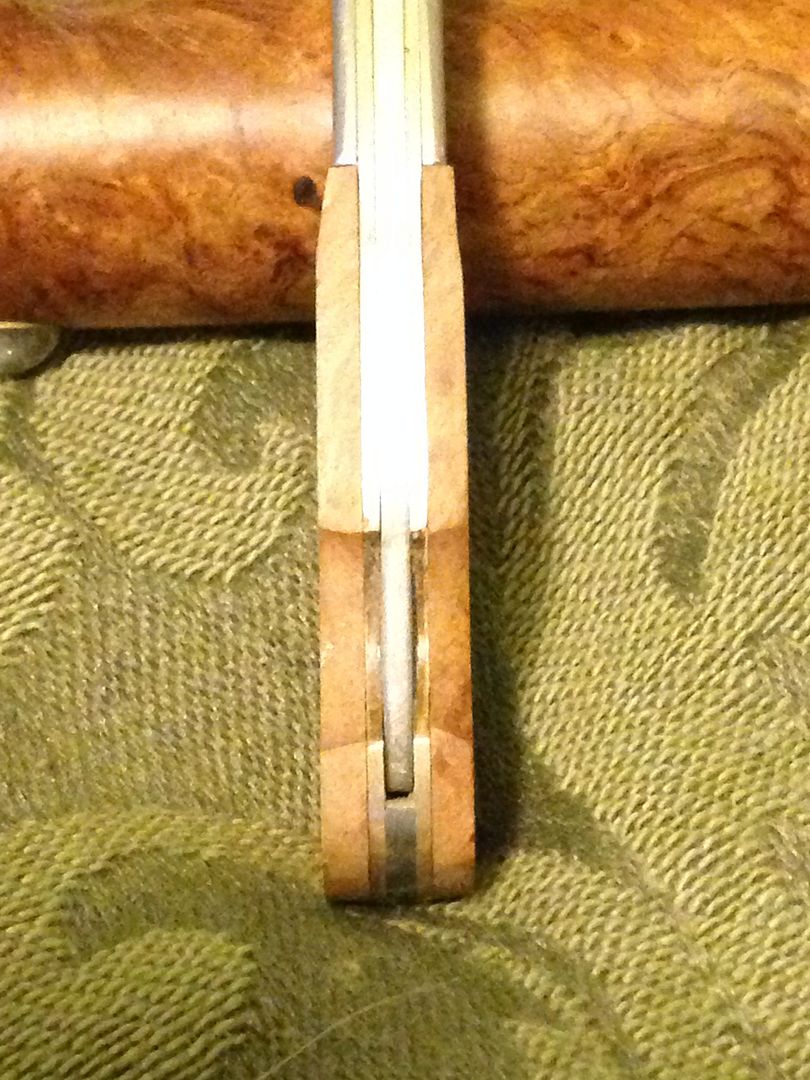 Before I glued it up I changed the chamfer on the bolster edges to a raduius and since there was some excess play in the blade I laid some brass sheet over the bolster on one side and hit it with a hammer then filed and sanded off the excess pin. Still a ways from finished but this Burl stuff is nice and tough.


