NOTE: This OP has been completely redone. All the earlier mods done to the light that didn't end up in the final build has been removed.


GarryBunk had a concept the stared with the SecurityIng HD-016. He wanted both beams (Flood & Flow) to work simultaneously and to have various levels of brightness. He also wanted the light to be hard to accidentally turn off for safety purposes. He only wanted Strobe Mode accessible from Off Mode, again for safety purposes. Additionally, his concept included the following:
- Modes that approximate: Low (10%-15%), Medium (40%), High (75%), Turbo (100%).
- Upgrade to XM-L2 T5 5B1 emitters on Noctigons.
- Increase output to around 2.4 amps per emitter.
- Have automatic thermal protection.
- Have voltage indicator lights and low voltage protection.
- Beef up the thermal path for the emitters.
Ledoman has a review of the UniqueFire version of this light here. Here is a link (Post 16) to describe the UI of the KD2 MCU.
Driver:
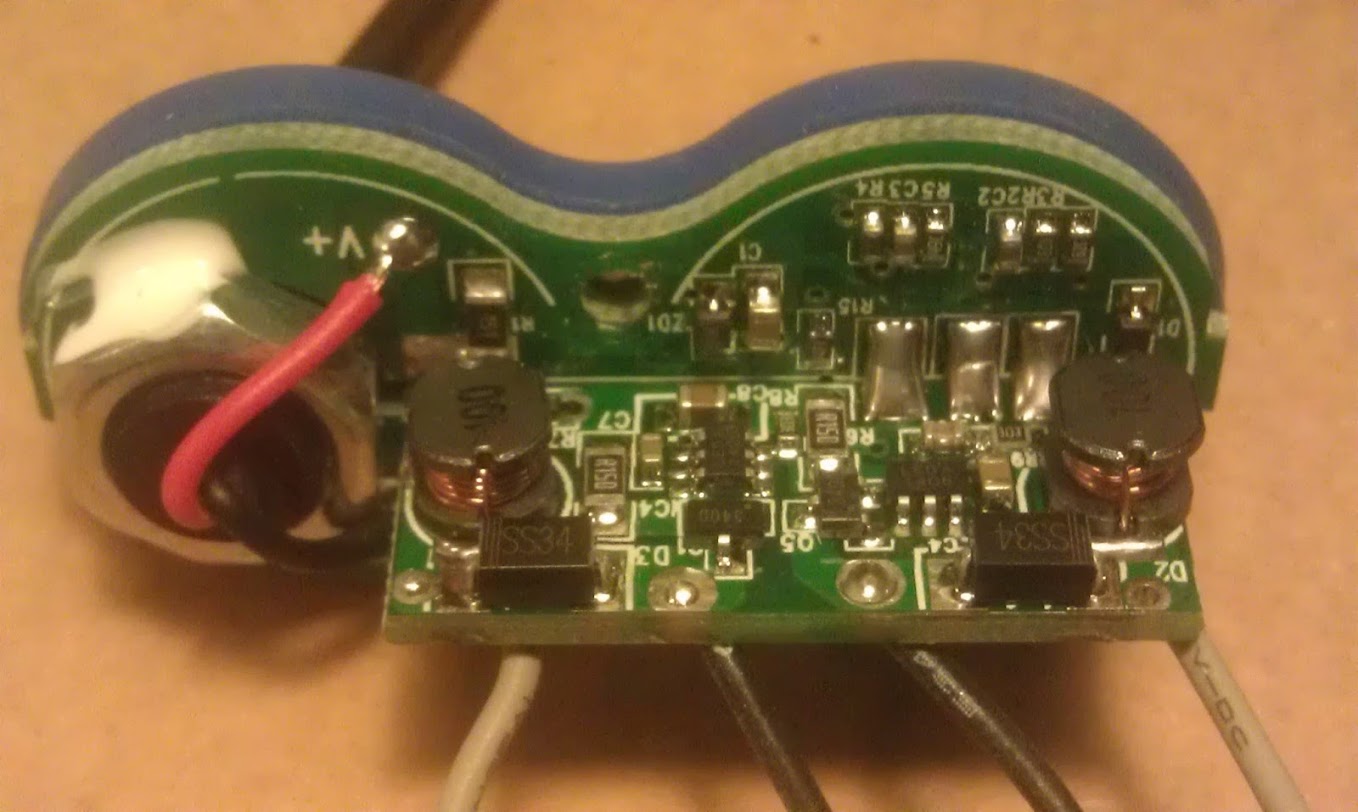
Here is a Circuit diagram of stock driver. Some good driver pics are in Post 16.
Initially, the Attiny13a was to be swapped in and mods were made for it. Limitations, however, were discovered that would not let the light realize all of Garry's desired functionality. Luckily, the KD2 light came out with a 10 Step programmable driver. Garry requested KD make the driver available separately from the light. Last I checked it was $8.
It is a pretty cool driver. Programmable levels, thermal and low voltage protection, and indicator lights basically cover all the features Garry wanted. I really like how it smoothly ramps to the next level.
I've spent a good amount of time trying to map out the circuits on the KD driver so that I can determine what needs to be done to transplant the MCU to to the HD-016. It's been frustratingly difficult due the black masking and traces running under components. I finally had to resort to sacrificing the KD driver by sanding off the masking.


It was a pretty involved process as it required the MCU, EEPROM chip, capacitor, thermistor, Indicator LED's, and some resistors be transplanted. Another complexity is that the pin outs are completely different and almost every pin of the KD's MCU is used. There are also some other circuit differences that had to be addressed.
Due to the large number of wires that would be needed, air wiring the MCU could not be accomplished.

I had to learn how to design pcb's in order to procure an MCU adapter.

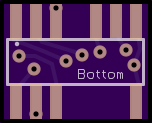
Designed and ordered and MCU adapter board. It took a lot of time as I struggled with learning Eagle and building the parts. Parts represent the MCU’s. I could not find any already made as I don’t know what MCU’s these are. I ended up having to manually make a mirror image of the part the represents the HD MCU and then use the Eagle Mirror command to get it on the bottom side of the board. When Eagle did that, it put the pins in the proper spots (not mirror image). Special thanks to Halo..., Mike C, and wight for the tips they provided.
Here is an idea of what they have under the solder mask.
Top and bottom combined, Top (Red), and Bottom views:
Here is where the adapter was be installed:

In order to facilitate a more secure, vibration tolerant installation, this OSH Park PIC/Attiny adapter developed by BLF Member wight here will be used to hold the EEPROM chip.
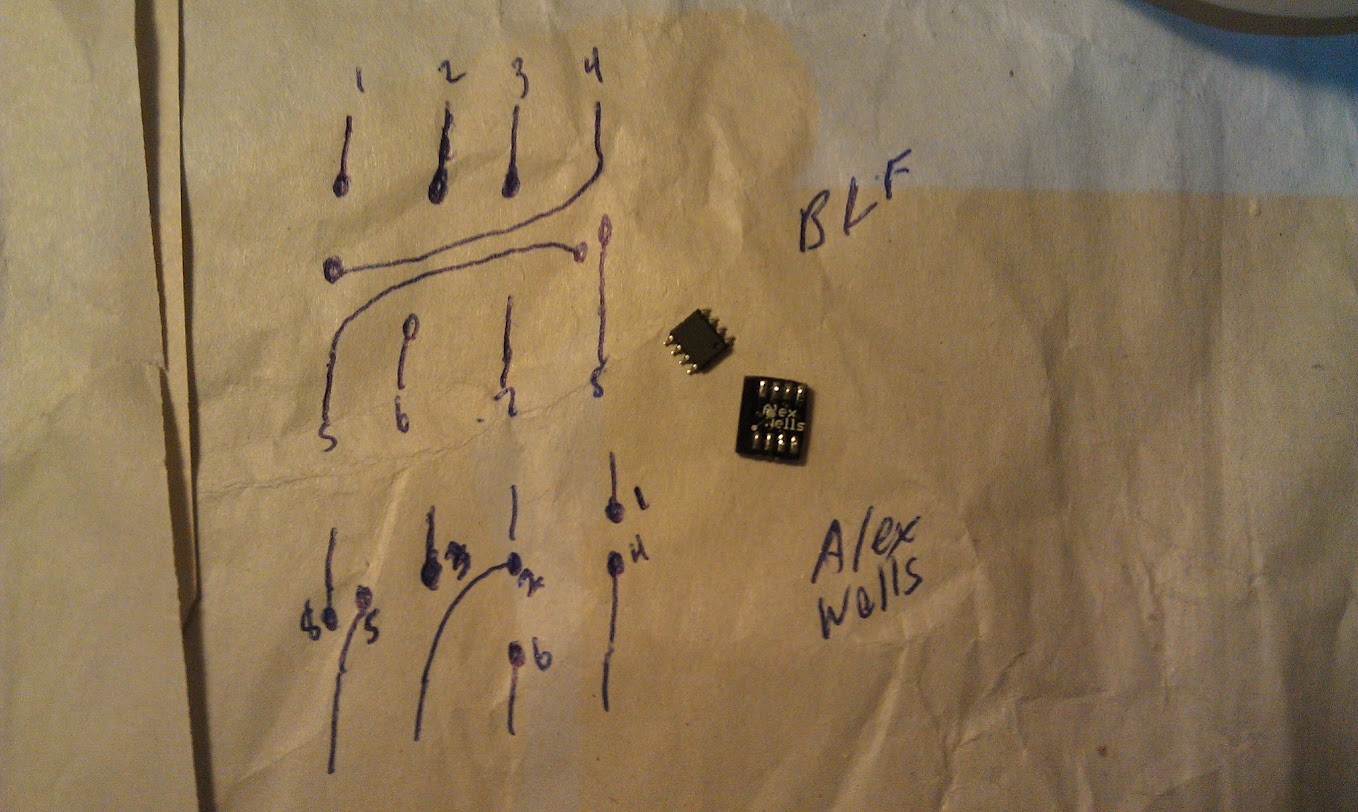
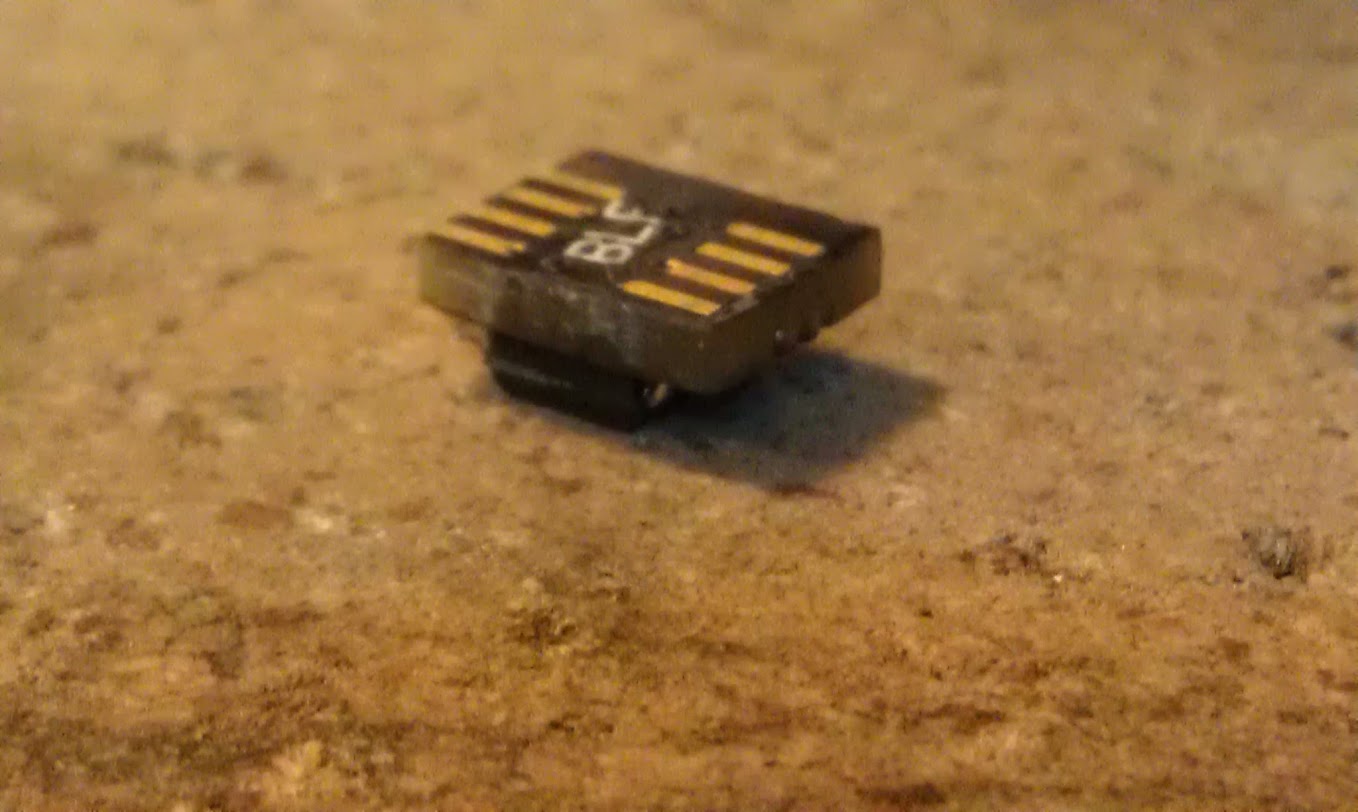

Sanded off the back and kapton taped:


Abbreviated wiring diagram between MCU and EEPROM:

Positioned and install on main driver board:

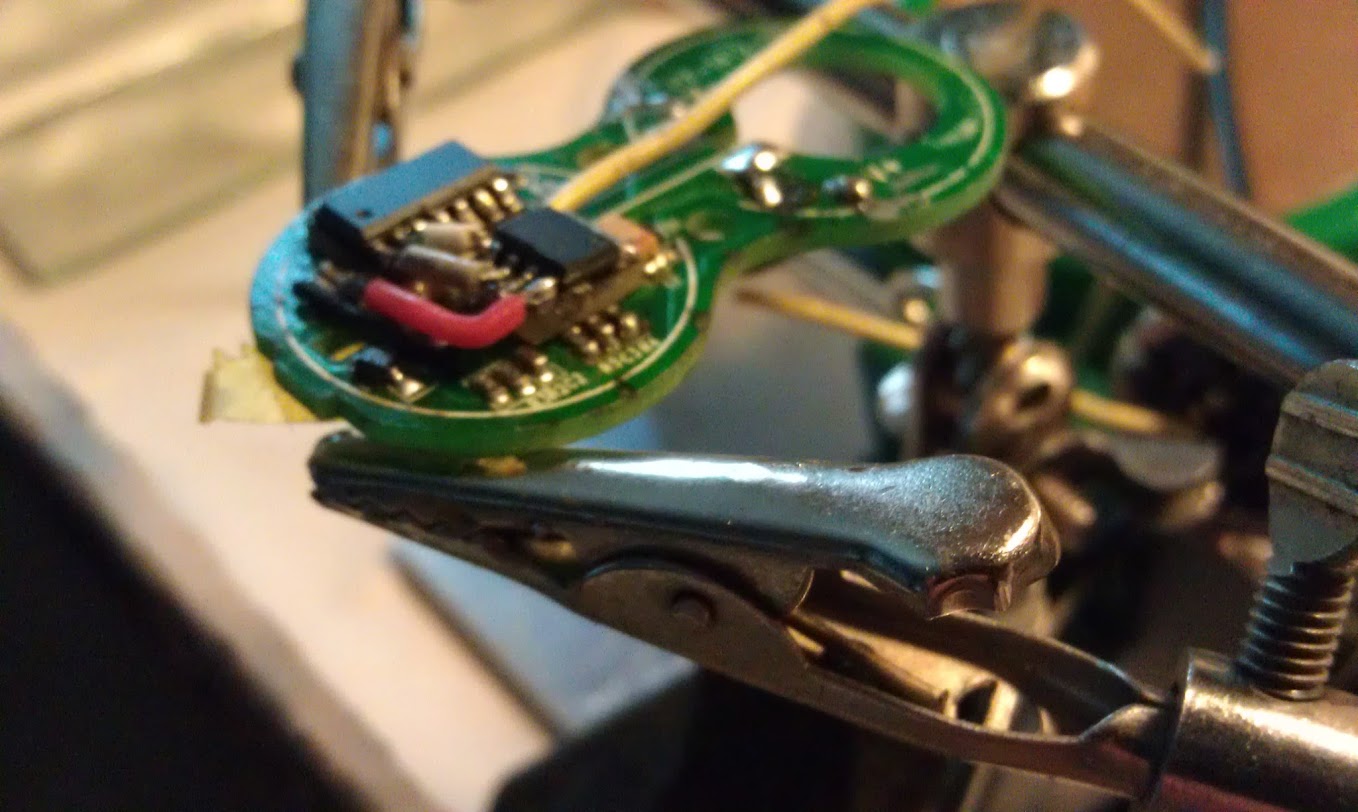

The 2 buck drivers on the driver had problems with failing components. I believe this is due to the small size of the components and no thermal path to the body. We finally opted to go linear regulation. This will make the light more efficient and extend usable run time. Time under regulation will likely be shorter though. Seven AMC 7135's were need to meet Garry's desired max output. Needed a way to heat sink them as more wattage will be flowing through them for 2S emitters.
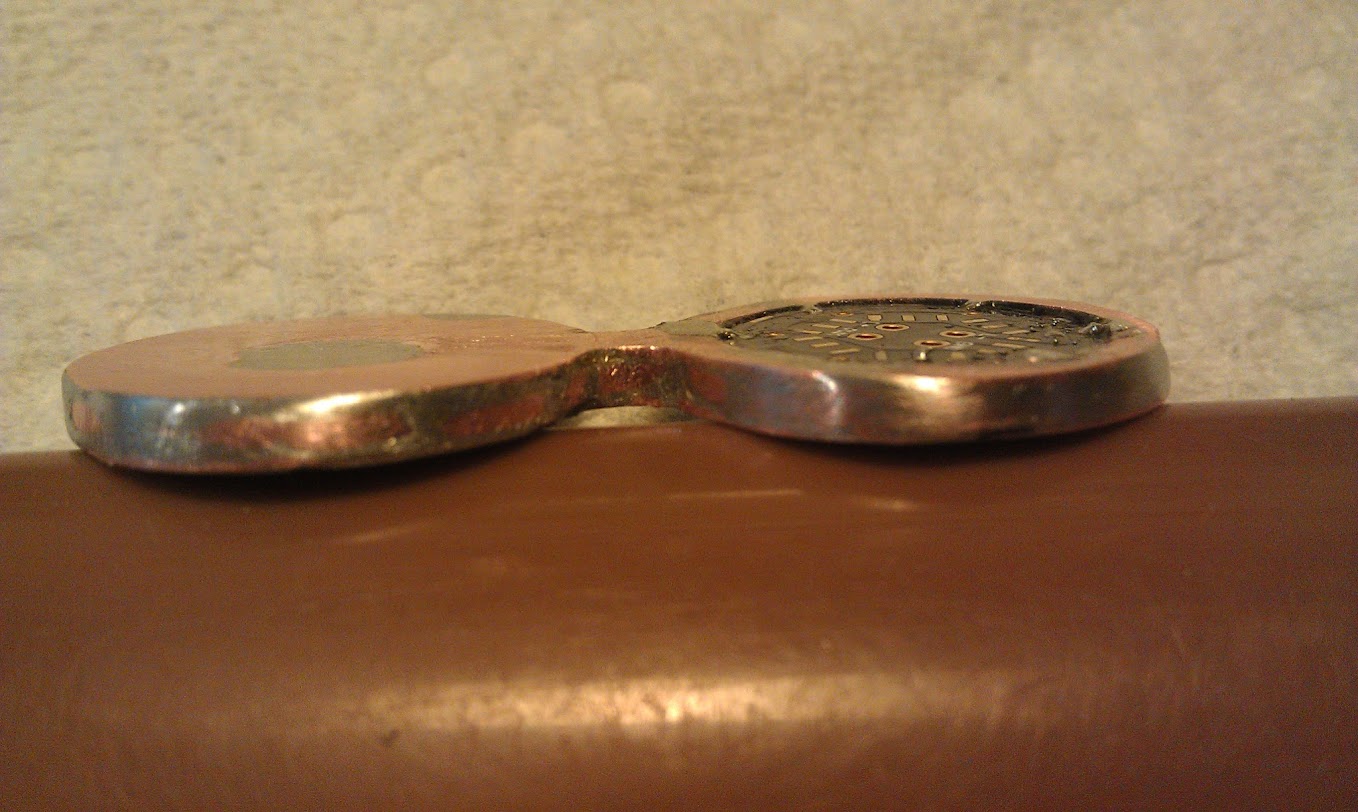
Used on of these 12 AMC slave boards for surface mounted vibration tolerance. Sandwiched in copper to get heat to the body.


Indicator LED's had to be reversed and circuit modified as polarity feed went from positive to negative with the MCU swap. Also, swapped in the Red and Yellow LED's from the KD2 driver. Garry wanted switch on the right, Green on bottom and Red on top. So lables on the board do not match the actual emitter positions.

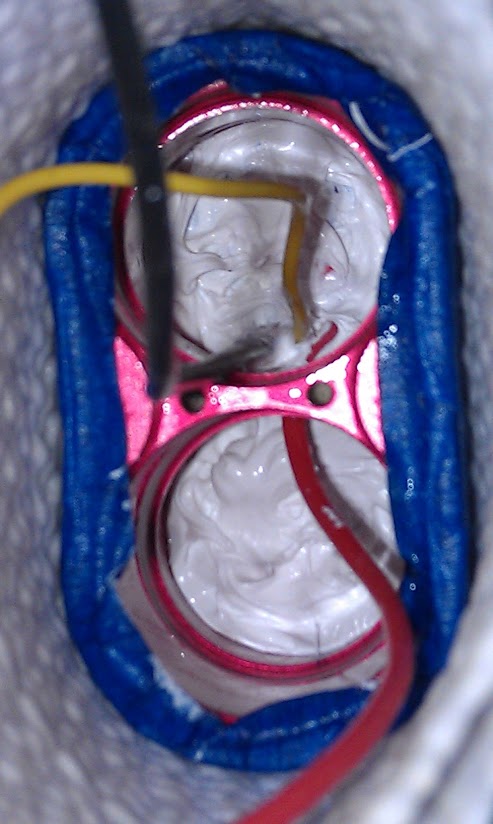
Potted entire driver in Fujik primarily to deal with vibration. First injected the Fujik under the EEPROM chip board and under all the wires. Then over those items. Coated the body with mineral oil as a release agent and then installed driver. Then added more Fujik to get a more direct thermal path to the body (to speed up thermal protection response). I expected the Fujik to settle itself and level out flat. Oh well. Not pretty, but it should do the job fine.

Emitter thermal path:
Two issues are driving the choice in thermal path enhancement as follows:
- The 20mm pills are not press fit like the X2. They sit in a nice pocket, but there is a small gap. So primary contact is on the bottom of the pill in a thin ledge around the permittee of the pill.
- The pills and aluminum bases are only .082" thick. The Noctigon and SinkPad bases currently available are .065" thick. Combined with the pill, at total thickness of .12" will result. This means that either the copper base or pill have to be sanded thinner. With only a 16mm base, making the base thinner is not an attractive option to me.
- There is limited space for adding surface contact with the host.
Although Garry is only increasing current to 2.4 amps per emitter, the thermal path is important due to the small size of the host and the chance that Garry may eventually decide to increase current further. It is clear, therefore, that copper is called for. The pills will be tossed (returned to Garry with stock aluminum bases and emitters). The following will be installed.
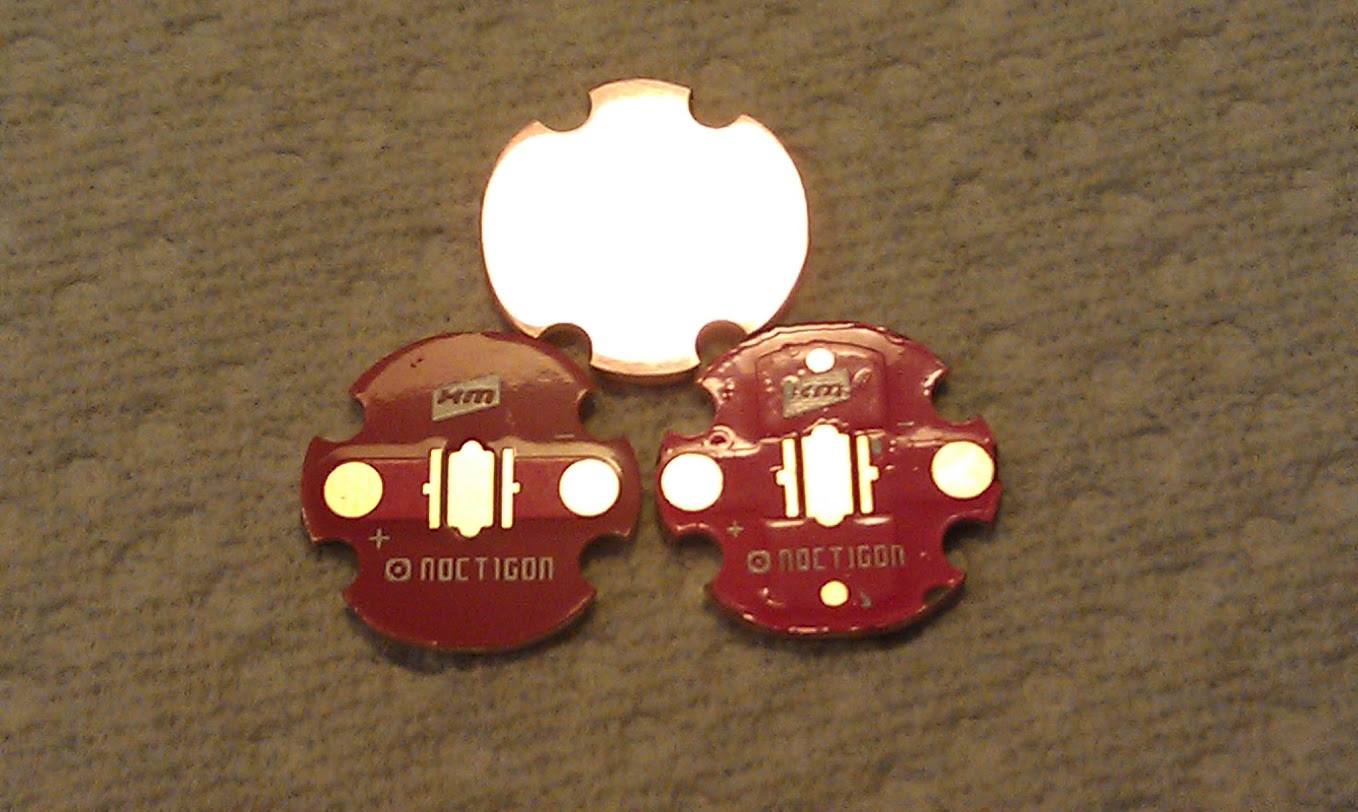
Here is how 20mm Noctigons fit before reflowing to copper press fit disk. One is upside down to enhance visibility. Note the narrow ledge they rest on and the gap around the parameter.

Back view. Here is the space behind the emitters. The driver just about butts up against the bottom of the cutout.
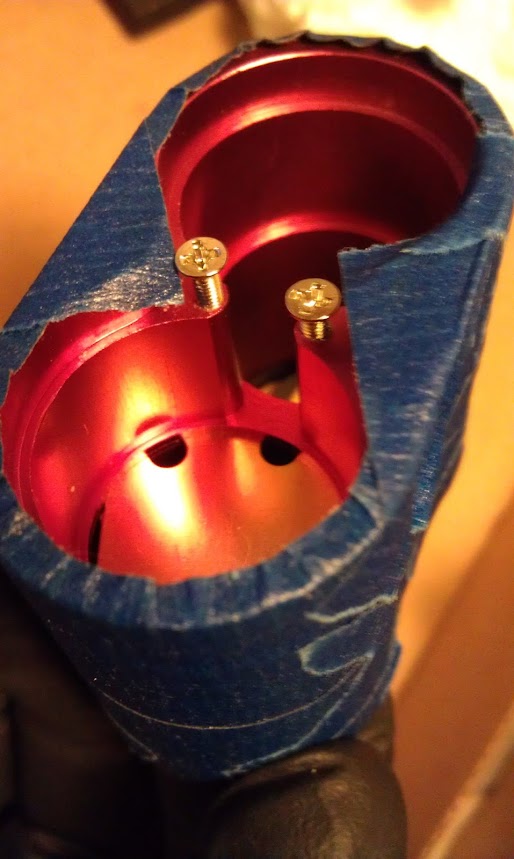
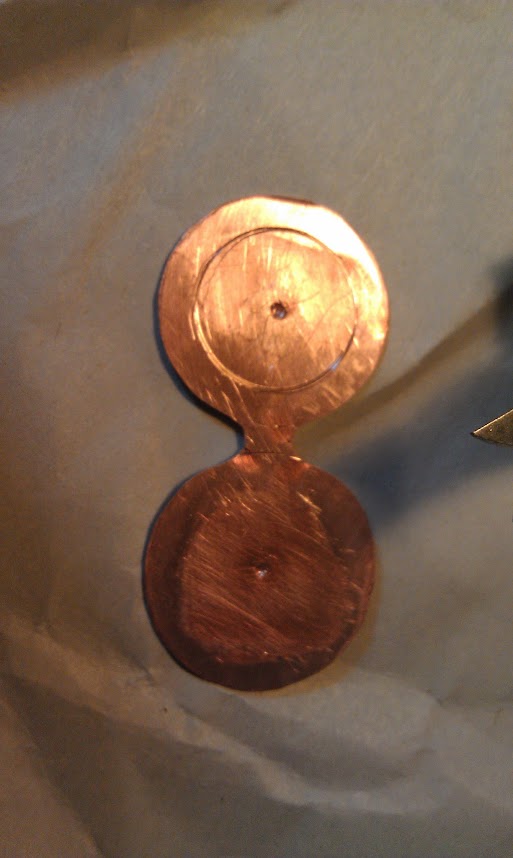
Here are some of the copper pieces that will be reflowed directly into the light. Total number of pieces will be 14 to 16. Each is designed to be light press fit in there respective sections of the body. Each is design to fit the length of the section of the body they will be in. There will be 2 more collar shaped pieces that will fit between the 7135 piece and the driver. The collars that fit around the Noctigons will extend up to the top of the reflectors. The tall one is for the throwy reflector and the shallow one is for the floody reflector.
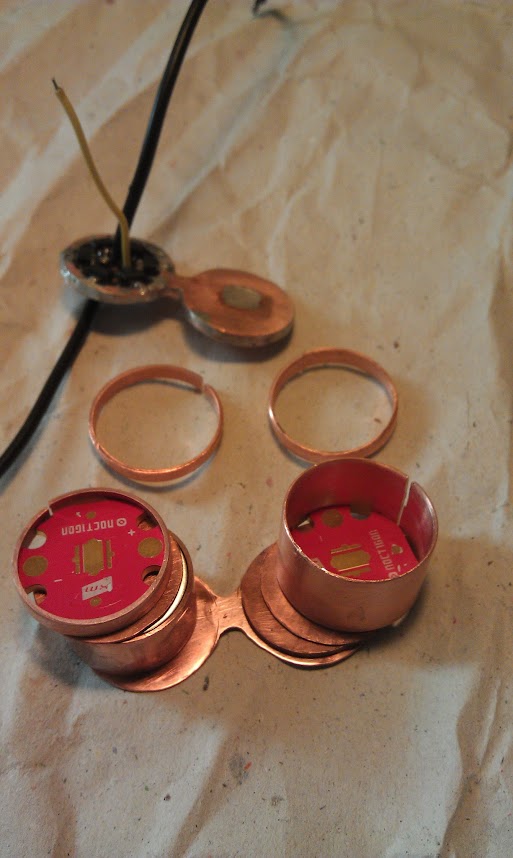
Floody Emitter:
- 20mm Noctigon - This will fit the same as the pills diameter wise. .65" of height used, less fine sanding to lap and remove non-copper layers on the bottom of the base.
- Copper disk that will be reflowed to the Notigon and cut to lightly press fit into host. .21" of height used, less fine sanding to lap.
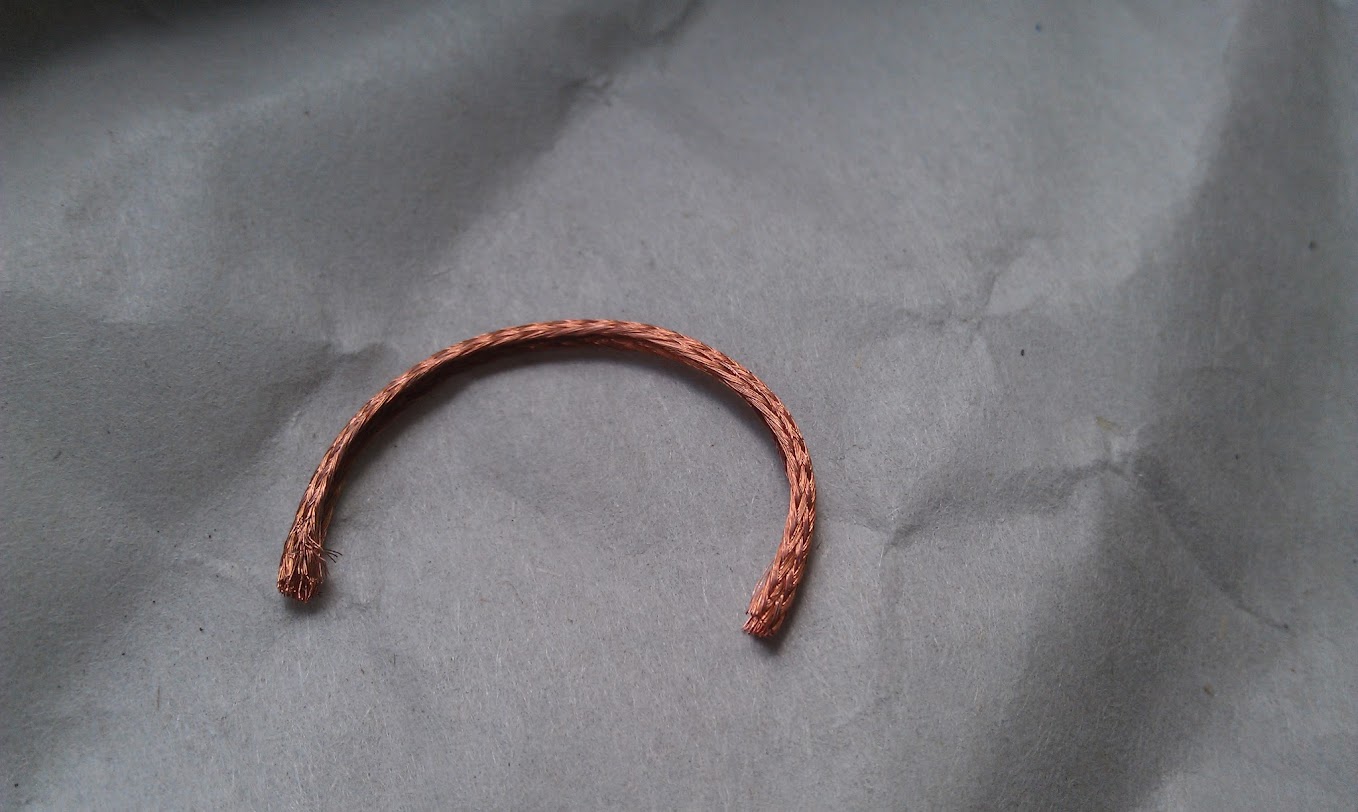
- Copper ring about .45" tall under the above to provide more surface contact with host. It will be a unique size. So it will actually be a split ring with spring pressure to make tight to host walls. Will be reflowed to the above.
Throwy Emitter:
- 20mm Noctigon - This will fit the same as the pills diameter wise. .65" of height used, less fine sanding to lap and remove none copper layers on the bottom of the base.
- Copper disk that will be reflowed to the Notigon and cut to lightly press fit into host. .21" of height used, less fine sanding to lap.
- .71" copper disk under the above cut to be a light press fit to the host. Will be reflowed to the above.
- Copper ring about .45" tall over the above to provide more surface contact with host. It will be a unique size. So it will actually be a split ring with spring pressure to make tight to host walls.
The above will line much of the interior of the light with copper.
Front view smallest diameter LED shelves. Left is the thick one that is a copper sleeve and aluminum rod for floody emitter. Right is thick copper disk for throwy emitter.
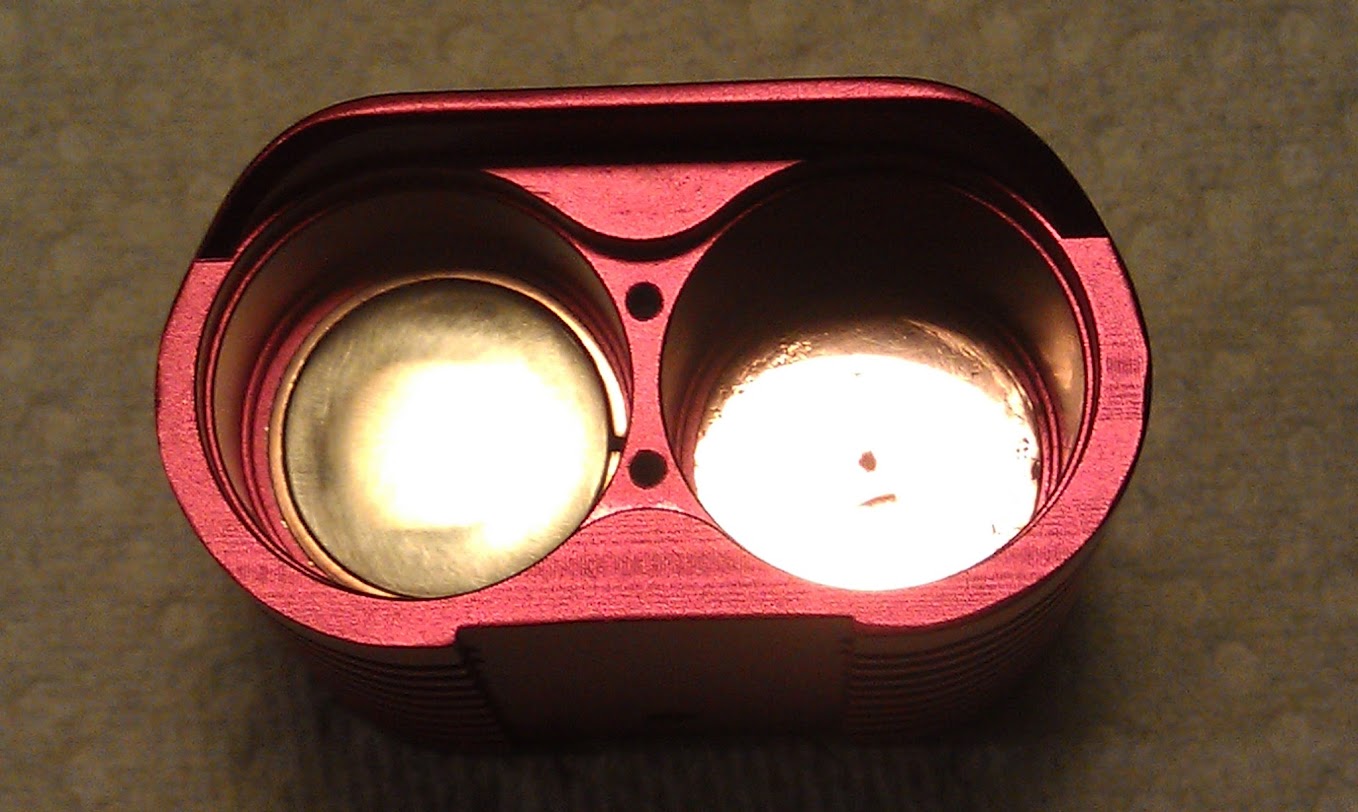
Next level of LED shelves disks (Not yet fully lapped in picture) and front copper sleeves that the Noctigons will press fit into. These disks are wider diameter but thinner to have right LED height.
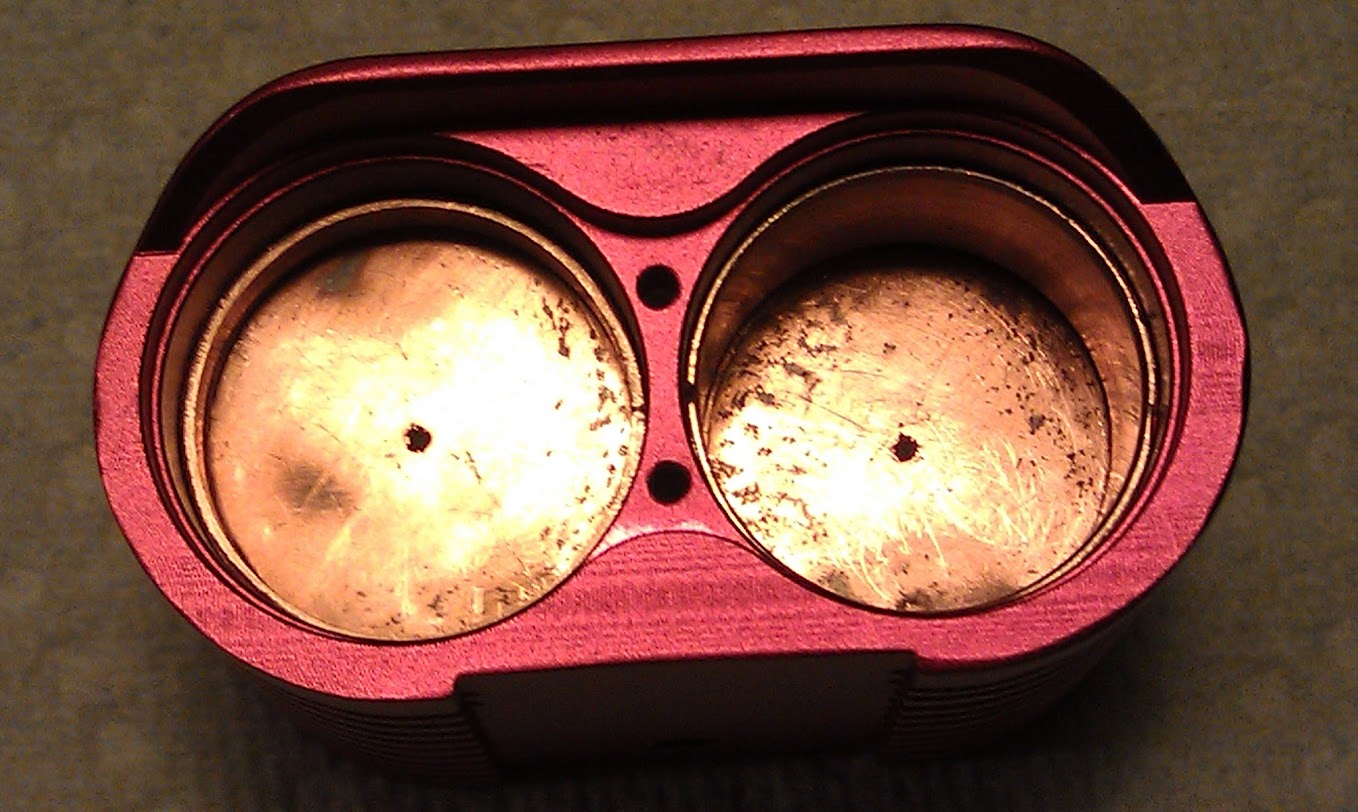
Back view of the smallest diameter LED shelves.

Back figure 8 plate goes behind smallest diameter LED shelves.
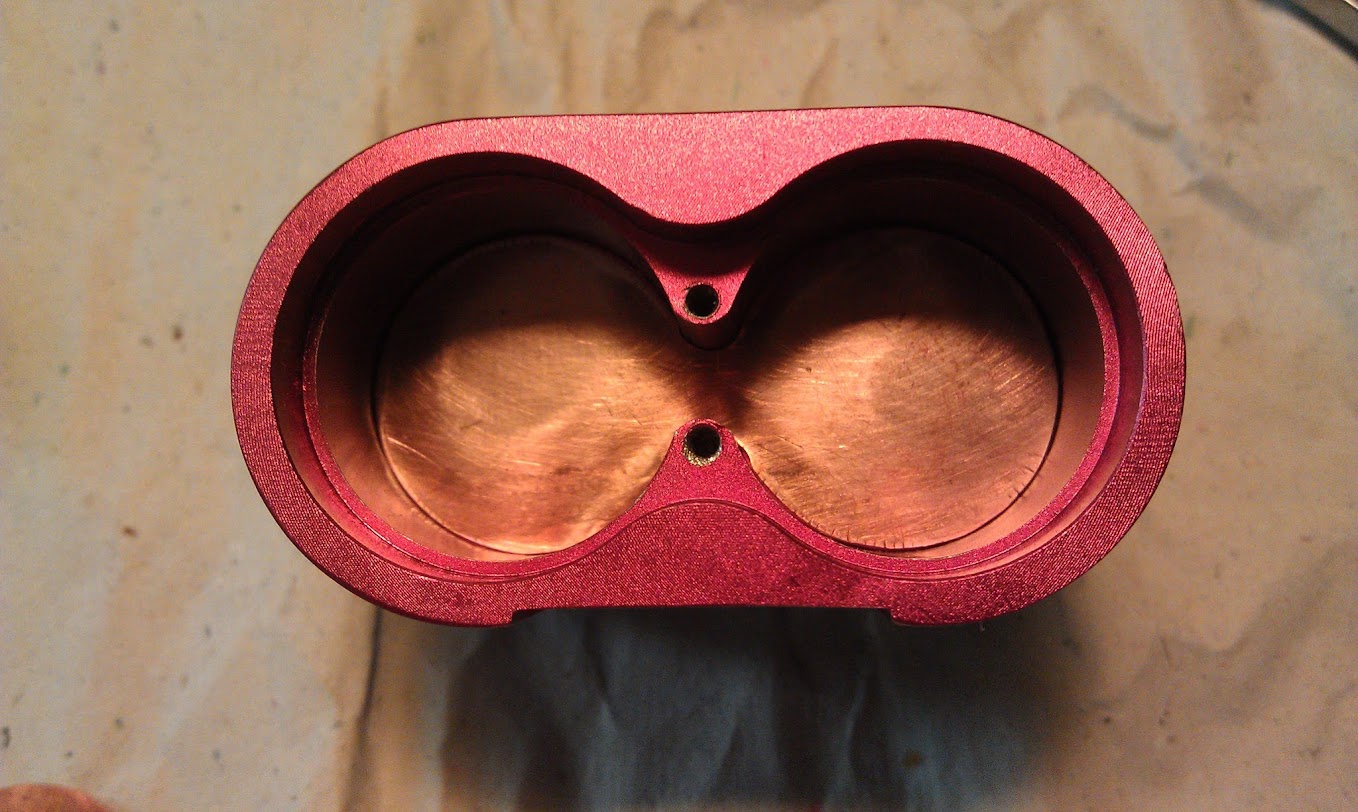
Back copper sleeves that AMC7135's and leads will occupy.

AMC7135 plate.

Sanded off non-copper coating from back of the Noctigons and lapped flat. The Noctigon's that Garry sent me had the pads too close to the edge. Part way to filing to fit in the copper tubes, I realized the pads were going to hit the copper sleeve. So I swapped with some Noctigons I had around.
Noct's in place with copper sleeves. Taking the heat vertical. Second picture is back of the pill with sleeves for 7135's.
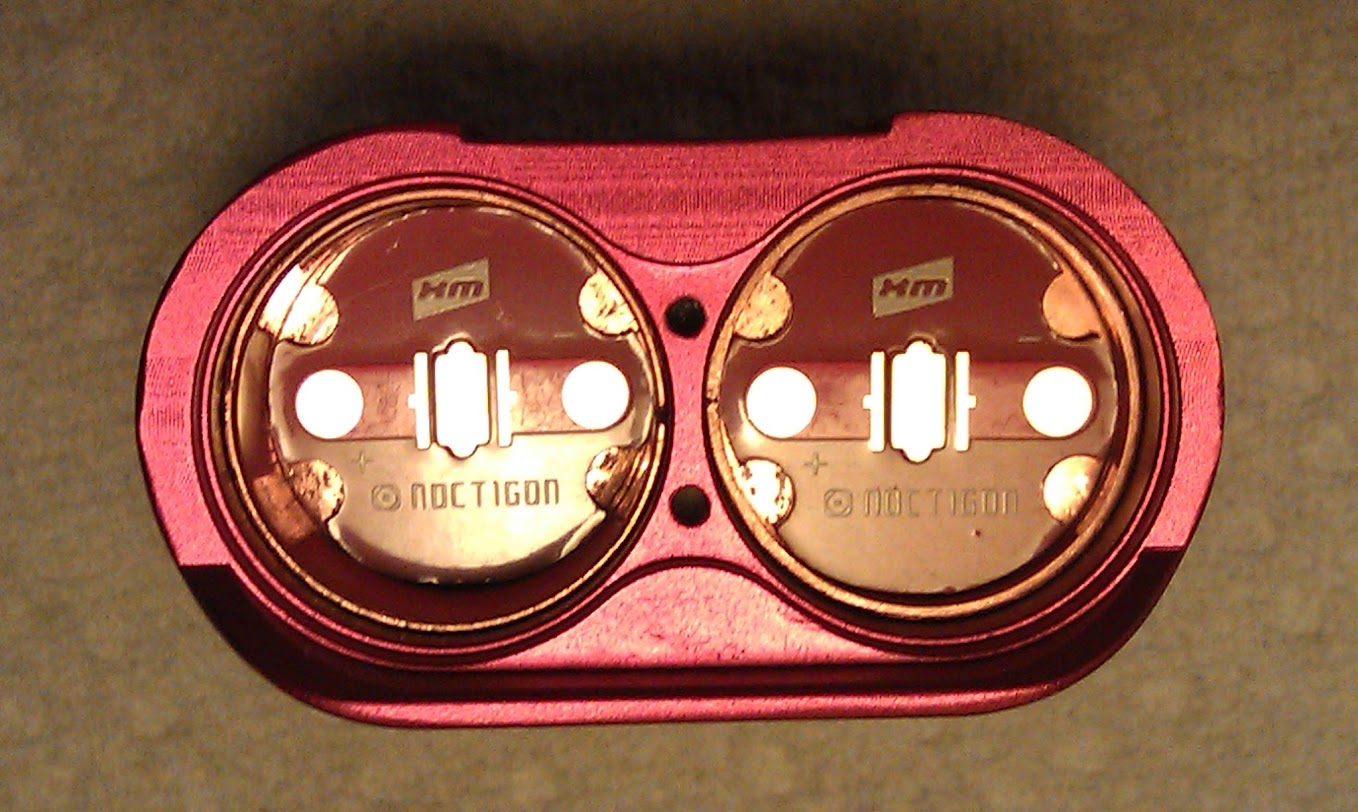
Reflowed into place and holes for leads drilled out:
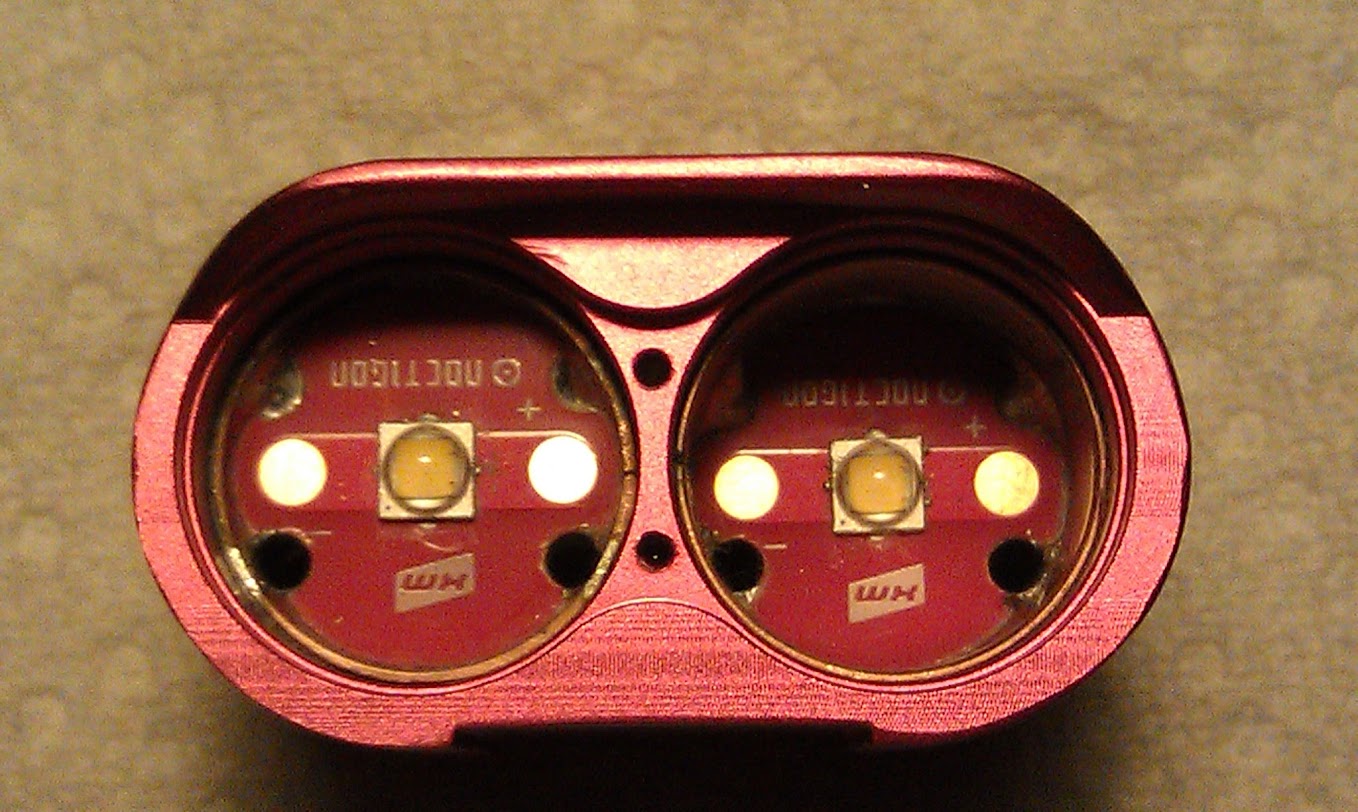
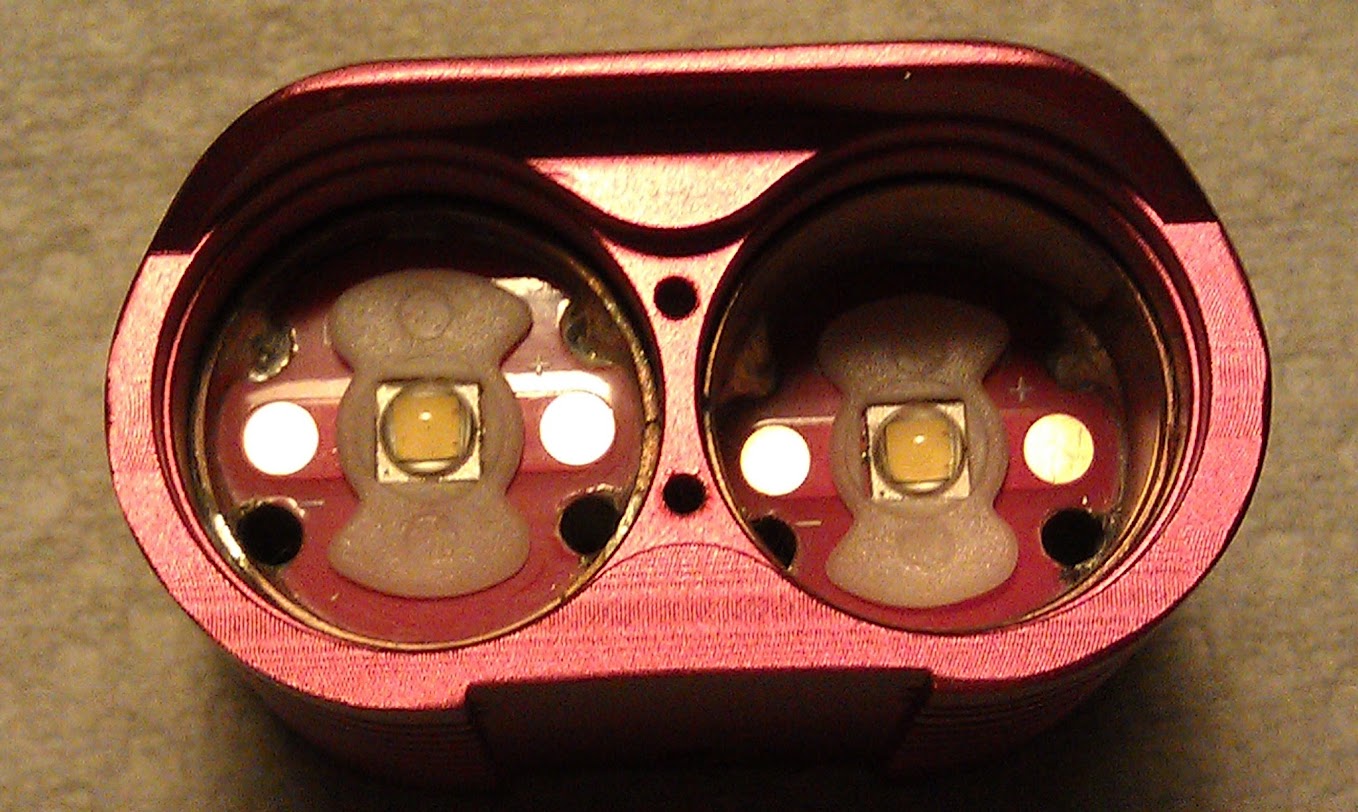
Body:
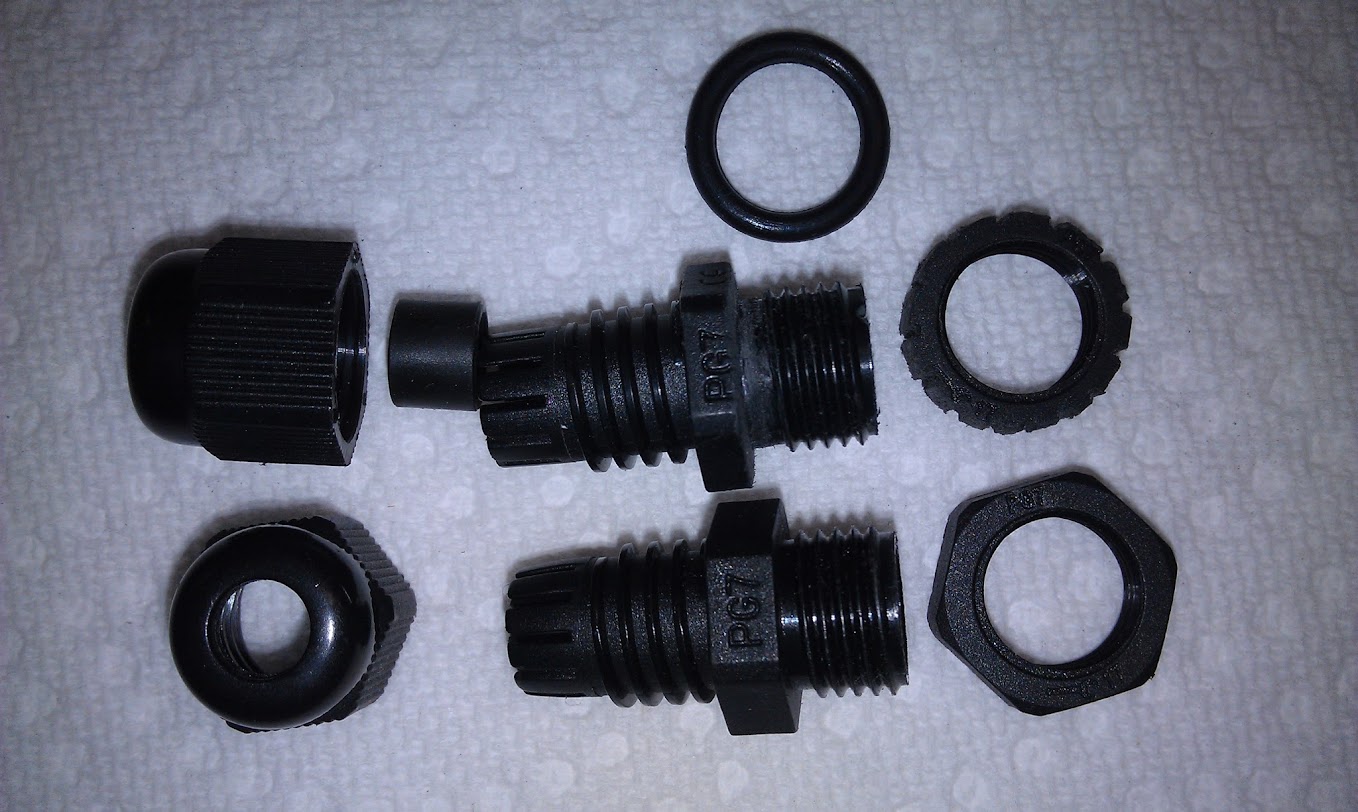
A cable gland was need to secure and provide water resistance for the new 20ga 5.4mm Male to Female Extension Cable that Garry supplied. Cable gland needed modification. Need more reach to get inside nut threaded deeply enough. So machined off some of the fixed hex "nut". Also internal nut was too big to fit in light. So filed down and added grooves for Fujik to grab. Also notched top of inside edge to grab the Fujik to help prevent comming loose. Cable gland on top is modified, bottom is stock.
Back plate had to be modded to accommodate the cable gland. This was challenging as the original hole was close to the edge and had a odd shaped counter sink for the original cable. So had to carefully migrate the hole inward and upward. Some of the original counter sink was remaining afterwords. Had to make a new counter sink for o-ring to create a water tight surface. All done be hand and with care.
Driver had to be filed to accommodate larger cable connector:
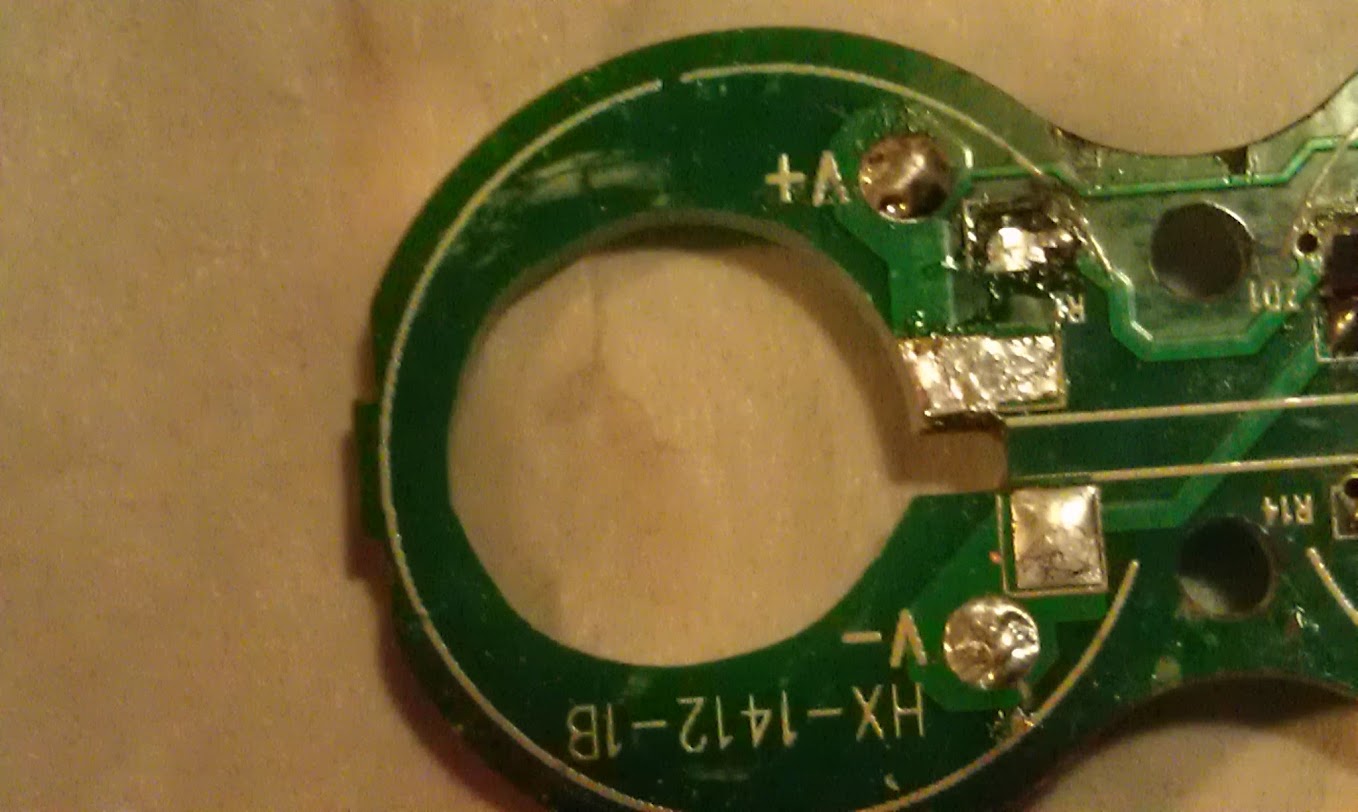
It is very secure and seems like it will be very durable.
Approximate average emitter current (in amps) at the 3 preset levels:
L 0.23
M 1.37
H 2.48
Emitter Current at the 10 customizable levels:
01 .08
02 0.23
03 0.41
04 0.61
05 0.85
06 1.09
07 1.37
08 1.66
09 2.00
10 2.48
Difference between "tail cap" amps and emitter amp is very small (measure around 8 volts input). Ranged from 04 to .07 amps.
Final Assembly:
Wanted long enough wires so that Garry could add/subtract AMC7135's (or even add a MOSFET). This created a challenge in packing into the light.


Leads connected before clean up. It's a real pain to solder when Noct's are reflowed into an integrated copper pill down in a narrow well. The joints don't look pretty but they are solid, good connections. They got ugly when I tried to build up the joints.

Getting the lens O-rings in place was a real PITA. There is a small track the o-rings fit in that is on the top of the reflector. The lens is the wall of the other side of the track. The ledge on the top of the reflector is to small to hold the oring by itself and the o-ring is small and can not push in to place by just pushing down on the lens. I finally used a dull wooden toothpick to push it down into place. Was not something I ever want to redo. I recommend Garry not take out the reflectors unless he wants a fun morning long project.
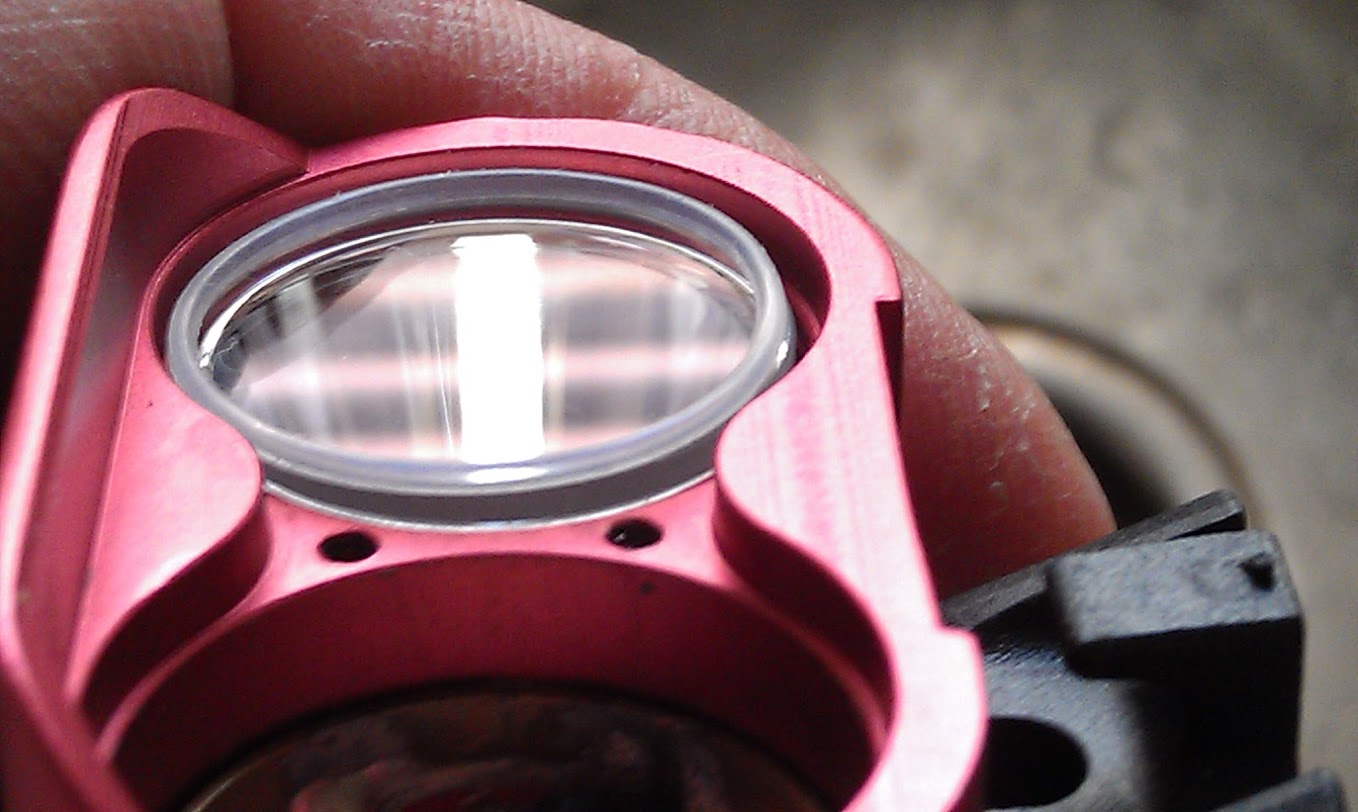
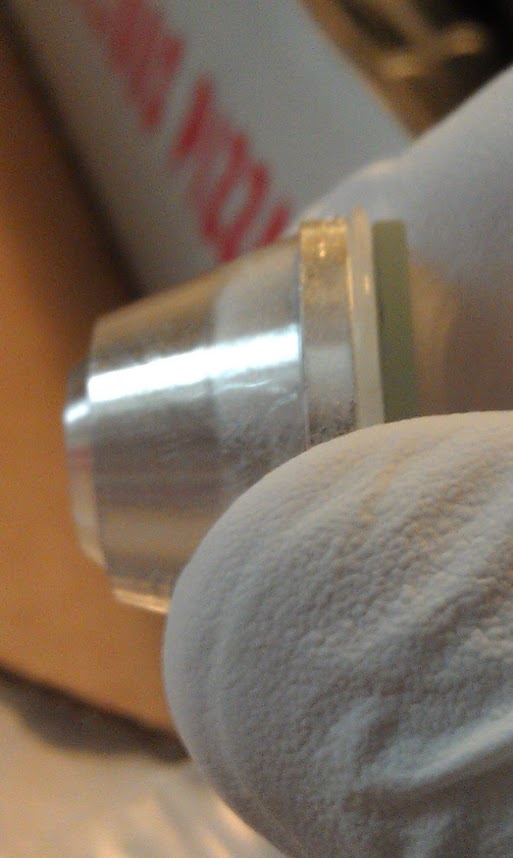
Garry provided AR coated lenses that he got from KD:
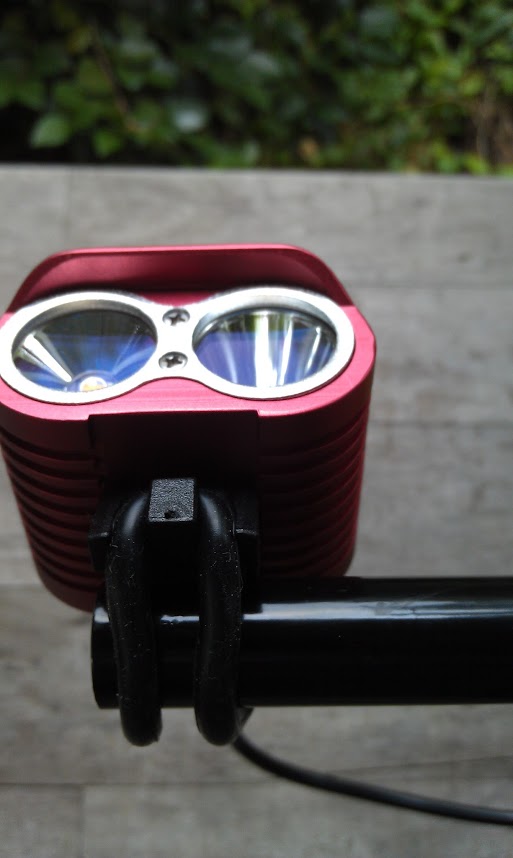
Performance:
All in all it has turned out to be a very nice light. Garry had a nice concept that combined good features that are not available in any single budget bike light. The UI is great and the beam is nicely balanced. It is quite wide and fairly even. It does seem like an excellent beam pattern for biking. The tint of the emitters Garry selected are excellent in my opinion.
The AR-coated lenses resulted in some artifacts, but they are minor and not noticeable in usage. Artifacts are the price to pay for more output. I have always had this happen when I switch to A/R-coated lenses. I think it is because there is less light bouncing back off the lens to the reflector and then back out. Thus, giving non-AR coated lenses a smoother beam than AR-coated lenses.
At room temperature (78 degrees Fahrenheit) flat on paper towels with no air movement, the light takes about 6 minutes for thermal protection to kick in at 166 degrees Fahrenheit. It steps down to .26 amps. The light automatically kicks back into high at around 120 degrees Fahrenheit.
At Medium Mode (no air circulation, room temp), the light gets too hot to touch, but does not reach thermal step down temperature.
The difference between current to the emitters and current consumption is very close when measured at 7.8 volts. Efficiency was in the upper nineties.
In Low Mode, the Yellow indicator turns on when the battery voltage gets down to about 6.xx volts, the red light comes on around 6.02 volts, the red light starts flashing at around 5.67 volts. Once the Red indicator starts flashing, the user has no control over the light until the battery pack is disconnected and a new pack is connected.
Beam Shots:
My normal driveway shots. Did bother posting a tree shot as it is barely visible. This light is not built for throw.


Other Thoughts:
This light poses several mod challenges as follows:
- The driver is not mod friendly. It seems to have been built to barely handle the current it delivers stock. It is also 3 dimensional which creates all kinds of complications with reflowing and even just soldering components.
- The light is very compact and has very little "elbow" room for heat sinking. For that reason, I think a custom made copper heat sinking solution is the only real way to extract the heat with such a narrow shelf and the small exterior of the light. The tight space appears prohibit piggy backing a different buck driver.
More has been done than is documented. I have taken pictures here and there but did not have time to document all procedures performed. Additionally, much was done to study circuits and integrate the various driver parts from different drivers. So work was done that ended up not being relevant in the final build. This was due to changes in design as the project proceeded. For instance, when we decided the Attiny13a was not up for the job, the MCU work up to that point was tossed. Another example is when we decided to toss the buck drivers and go with linear regulation. This radically changed the design and build layout inside the light. Even the battery pack cable became an issue it would cut into the small voltage overhead available in the new configuration. Another thing not documented is all the testing and debugging needed for a completely new design/build.

 .
. . I pulled the 18650 from my
