If Santa comes through I’ll be posting next years pics from the canon instead of the iPhone.
Your close ups are pretty good for a phone. Which version of the iPhone do you have?
Because I use my iPhone 5, and if you have anything other than a 5S than I need to step it up. 
Isn't the prototype in your avatar?  or is that a different light?
Looks like each LED will get around 0.733 amps. If they put out around 350 lm each, that will be pretty bright. Better put these on... 
My Avatar is the Texas Poker, a custom made from scratch out of a 1” Surgical Grade Ti bar made by Photon Fanatic. It’s about the same size as the BBC 261L though. Also runs on an Efest IMR10440. I wear it on a Ti curb chain around my neck with a Ti gate hook for quick release.
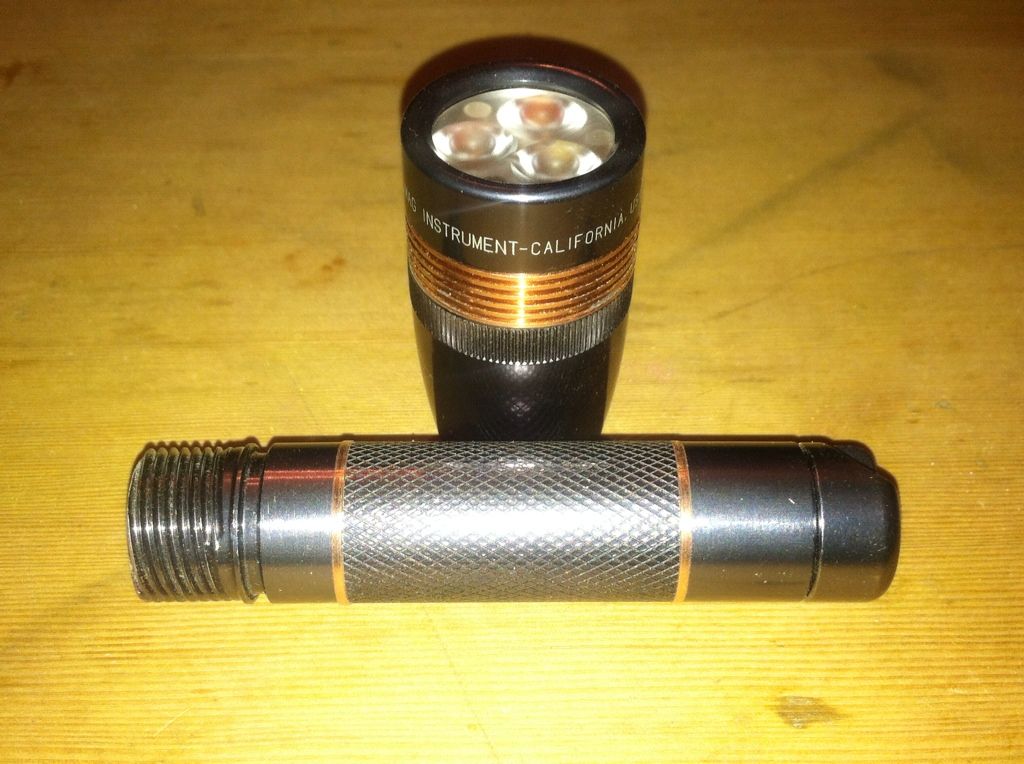
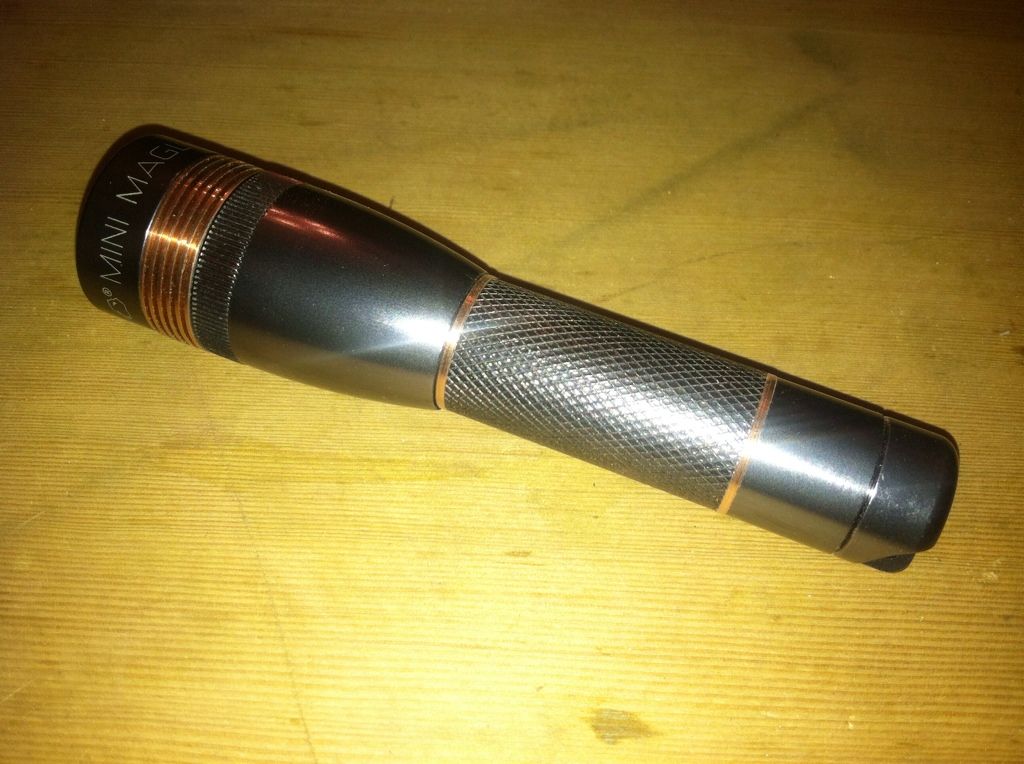
The BBC 261L is a chopped AAA MiniMag by Scott, with the first version of his copper fins that I wanted to match the TP. Scott worked his butt off on my little Baby Butt Crack light (BBC) and had to physically de-populate and reconstruct a 105c board after downsizing it to fit the 10mm light. He ended up with it doing 1.1A and making 261 Lumens as measured by Texas Pyro. My new lightbox shows it making over 300 lumens at 30 sec. It’s Pewter, with the copper fins, and copper rings at the ends of the knurling on the body that will hold a pocket clip from sliding or give some purchase in the fingers. The tail is also minimized and has a copper disc on the end matching the copper fins and accents. Very very nice little light! Very very useable little light! 3 modes, memory, just like any larger light, Scott’s a genius. ![]()
No your not a flashaholic. nah
Maybe the matching Titanium battery holder with copper top and matching conical end for the gate clip to hold a spare battery and riding on my keychain qualify me. Or maybe it’s the Delrin battery locker holding yet another Efest IMR10440 in my pocket (sometimes 2 of these). Or the Ti MBI HF on my keychain, that I’ve hand made a custom Ti reflector for. Or it could be the Cu HF also on my keychain running a Nichia 219. The Ti battery holder is made to serve a dual purpose, it’s tube and the cell inside can also fit either MBI HF on my keychain. ![]()
Perhaps I am.
But I can quit anytime I want to….
iPhone 4 and added light adds to image clarity but sometimes nothing works. This Is the progenitor of the light I’m making for you. Photos (not pics) courtesy of DBCstm.
I wanted so bad to do that! ![]() Didn’t want to ruin the surprise though.
Didn’t want to ruin the surprise though. ![]()
Update bump.
And just like on my smaller AAA light, that looks AWESOME! More fins looks kick aus, deeper fins, yeah it looks really good. Nice choice to flush the fins, makes it more elegant than aggressive. ![]()
Scott, you took the pic from the wrong side of the light (you’re in the shadows) would help to fill in the light, use a white card and bounce light back in if you have to. ![]()
that means speechless... in case anyone was wondering 
FYI, I slipped the pill into the fins after reflowing the LEDs and the fins were instantly hot so thermal transfer is very good. Still haven’t had the time off yet to finish but cutting down the tube is next.
The driver is potted into the pill and wired to the LEDs. I pressed the pill into the head and dropped a 14500 and spacer into the tube and woohoo it works! 15/100 on the mods and nice and bright on high. This weekend should see the head finished and the battery tube well underway. I’ll post pics and another update tomorrow.
Sounds good. Any more pictures coming?
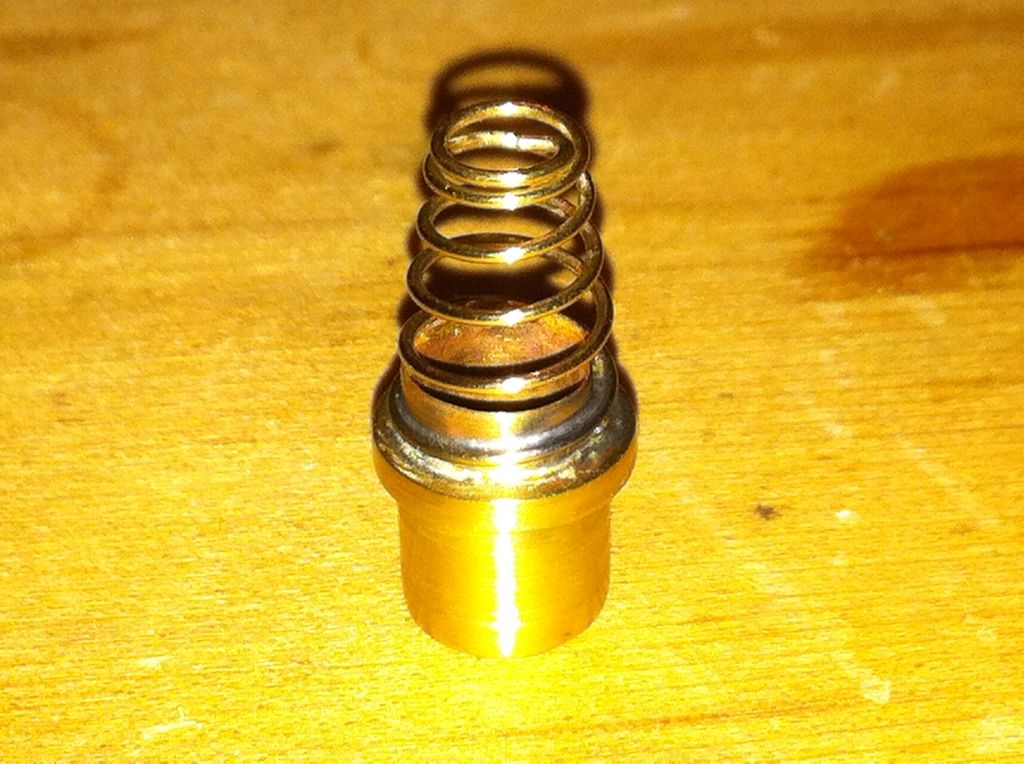
After pulling the stock spring and spare bulb holder I cut a few pieces of brass tubing and nabbed a washer and spring.
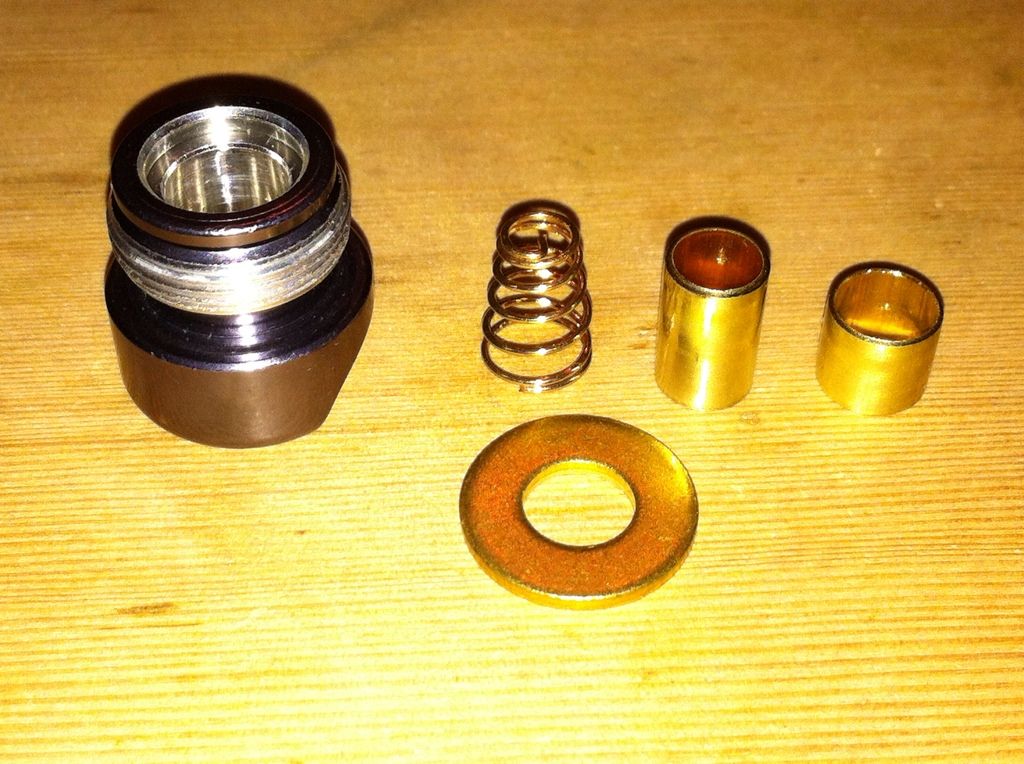
Then I soldered the brass pieces together, chucked it into the drill press to turn down the washer, and soldered the spring on top.
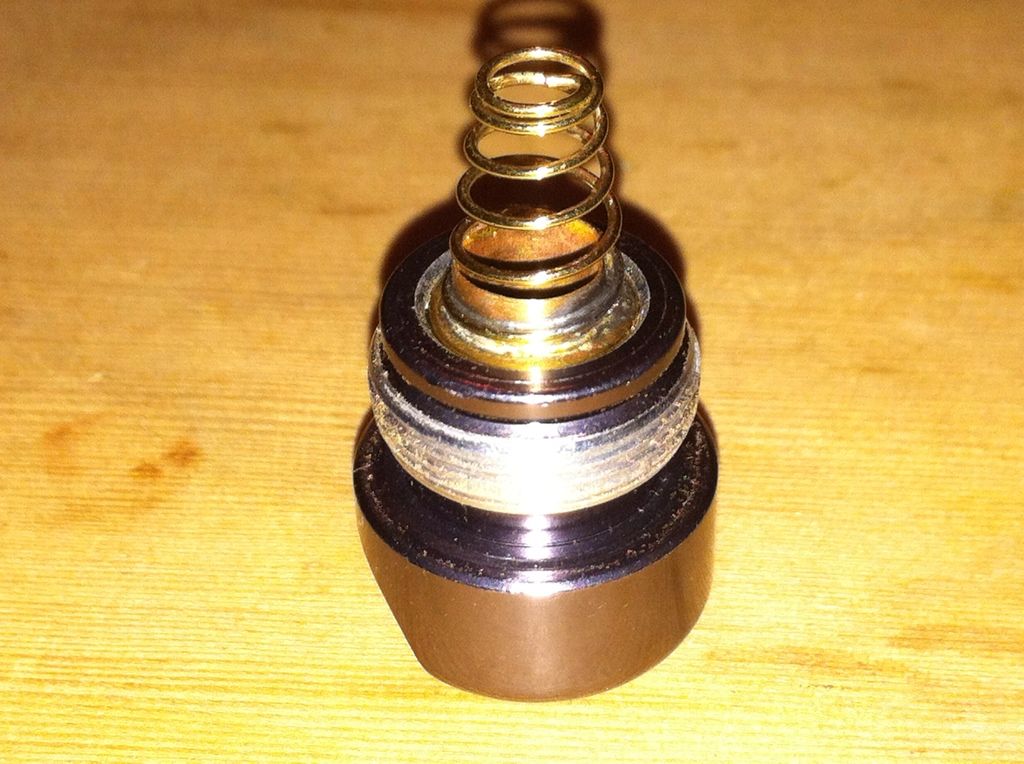
Lastly I used another short piece of tubing just larger than the spring along with the vise to press the whole shebang into the tailcap.
Off to the movies to see The Hobbit, part 2.
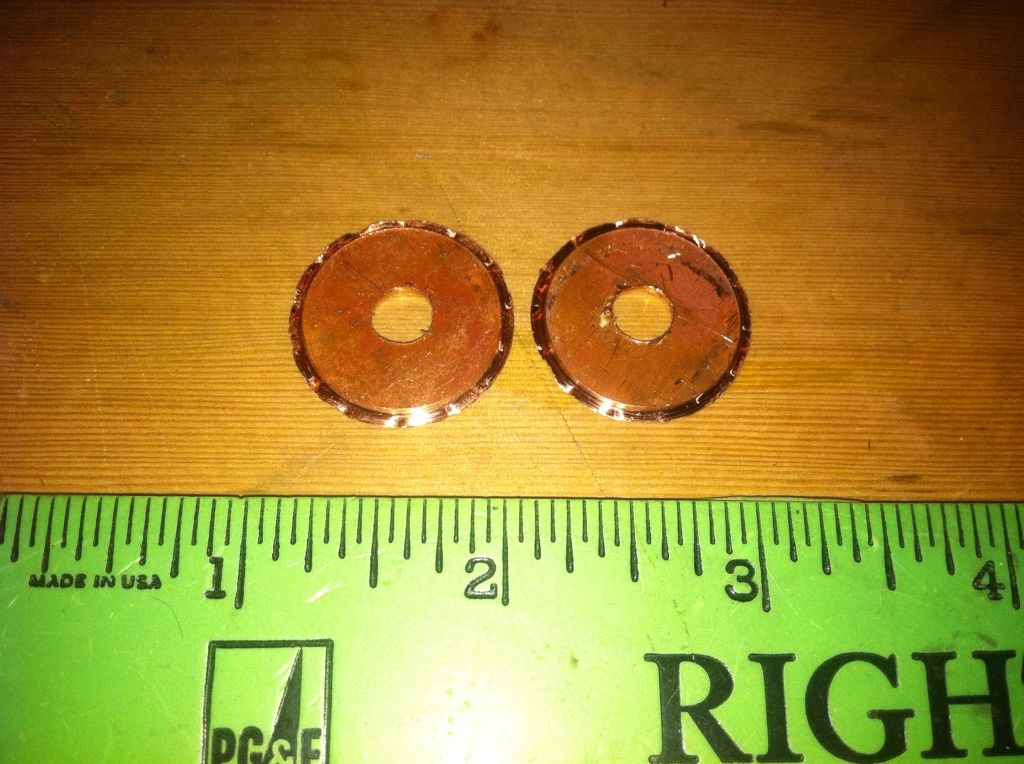
In no particular order I flattened a piece of copper…
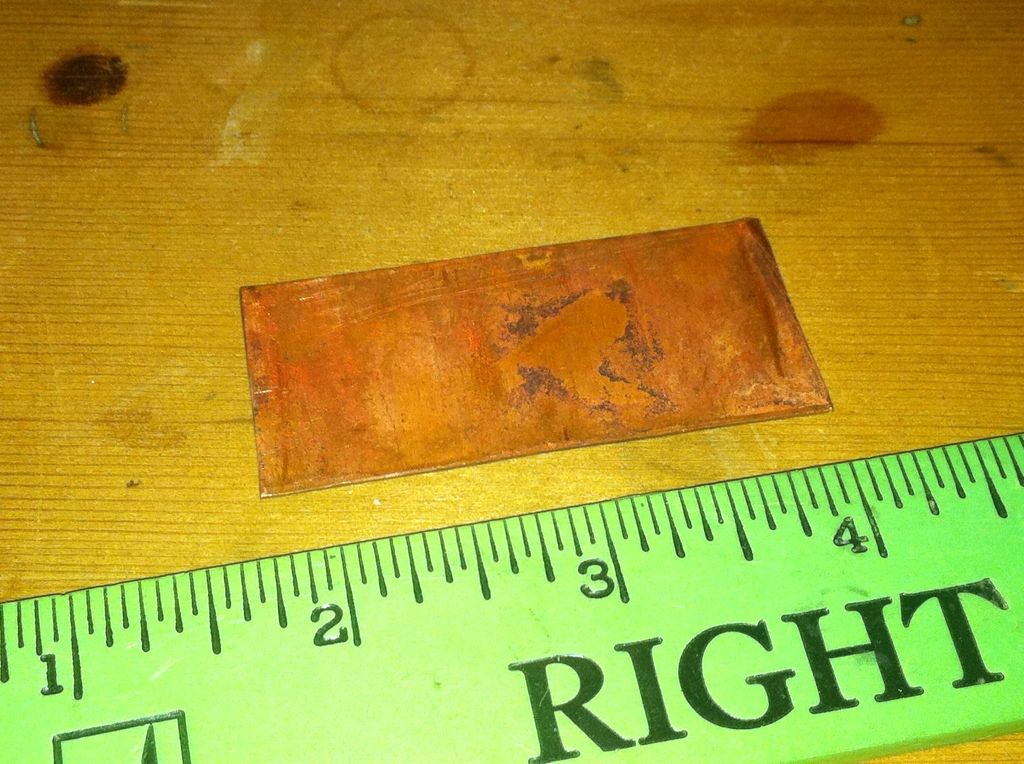
…punched out some copper discs…
…and chopped up the battery tube.
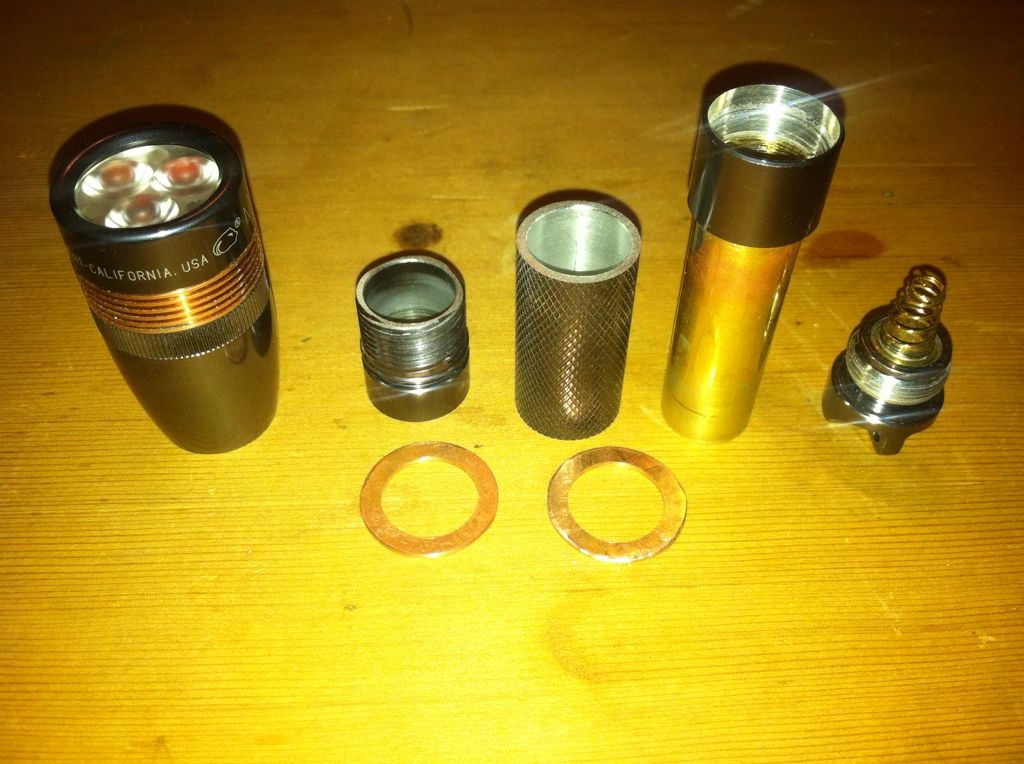
From this point on I spent most of the day reaming out the tube pieces to slip over the brass sleeve and likewise the copper bling discs that separate them. It’s time to get ready for another week of work so I’ll leave you with these last two images of the assembled but as yet unglued light.
Very nice!
How do you accomplish the ‘reaming out the tube pieces’ step?
Wind some sandpaper around a 1/2” bolt, stick it in a drill, and go.
-EDIT
I actually wind masking tape around the bolt, or drill bit(whatever is suitably sized) and the last few inches is sandpaper. Then I add small pieces of tape to incrementally increase the diameter and change the paper as needed. It’s slow but extremely accurate. It can take 1/2 an hour to increase .1 mm. The tricky parts were the ends where I had to preserve the tailcap threads on one and not ream too much inside the o-ring on the other. The copper discs were merely tedious since I had to ream almost 2mm of copper and was slower than aluminum.
What! No review on the Hobbit? I’ve been asked if I want to go. Do l?
They changed a few things but yes, go. It’s good.
End of review.
I did not see the first one. Should I see it first?
Fantastic effort by the way. MRT is getting one seriously custom built light with more hours spent building it than my last 3 builds put together. A big thanks for sharing.