Mods, please move this if I have it in the wrong place. This is my first new thread here…
I started the work for this project a couple of days ago. Here’s the first (bad) pictures. It’s basically a Convoy S2+ (XM-L2 T6 4C) with the switch from banggood from the BLF X5/X6.
I had asked questions in this thread, but didn’t want to take the previous one off topic with my build specific rants.
There’s 3 lights in these first pictures. On the left is my BLF A6 on low (0.5 lumens). The middle is the modified Convoy S2+. The right is my BLF X6 with a 20k resistor in the tailcap instead of the stock 2k.
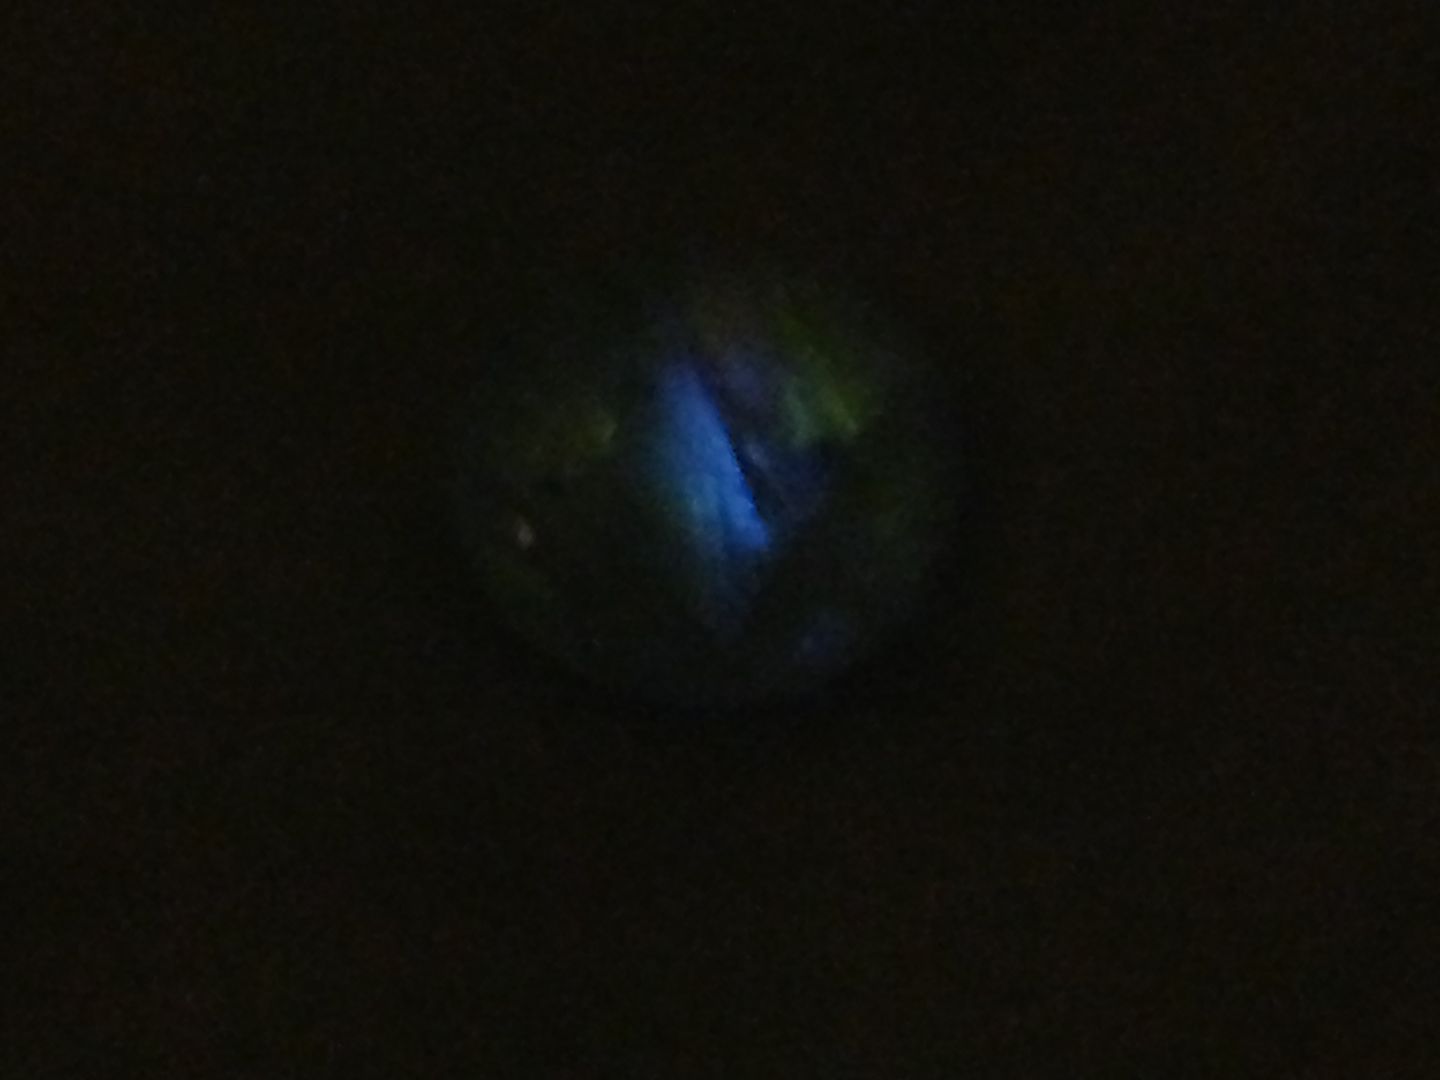
This first pic I have an L3 illumination L10C on high providing ambient ceiling bounce light. It’s in a fairly big room, and the lights are on the floor, so minimal ambient.
Similar picture with more direct light from the L10C on low.
Here’s the modified driver. The horrible looking solder blob is some copper braid. I used a 231 ohm resistor to bypass the driver when off.
Here’s the switch and Driver side-by-side. Notice the switch from the X6 comes with a double spring.
Here’s some parts spread across the floor. Left to right: stock washer, clear gasket/washer combo from @J-Dub74, stock gasket, tail assembly, switch piston with clear gasket (removed silicone washer), nylon washer to replace stock washer, switch retaining ring, lighted switch.
The lighted switches came with 2 leds, and 15k resistors. The switch that came on my S2 was a single led and a 2k resistor, which I swapped to a 2k. To get the brightness I needed to see the light around the metal switch required me to change the resistors to 231 ohms each.
Here’s where I’m going to put my thoughts so far on this build.
Battery life: I’m expecting around 15 days to a dead battery on these. I use 3400mAh batteries, and I’m estimating a current draw of just under 9 mA (3V / 346.5 ohms).
Light through the switch: Very little light makes it through the switch, so you can’t really tell it’s lit in a normally lit room. A more clear washer may help, but the white nylon washer diffuses the light pretty well so it is a nice even ring on the switch.
Driver: I’m not a big fan of the Convoy interface. The BLF one is much better. I think I’ll swap these out for X6 drivers. Jumper in the bypass was interesting too, and I don’t really like how I did it. If the X6 driver already has the bypass installed, even better.
Gasket vs washer: using the clear gasket with attached silicone washer didn’t work. The switch wouldn’t even toggle with the silicone washer.
The general driver behind this is that I want a lighted tail to see it on the nightstand, but my wife wants near complete darkness for when she’s sleeping. Any light in the room and she wakes up. The modified X6 switch I have (with a 20k resistor) is still too bright for her.
I have since swapped the switch assembly back out for one that used 511 ohm resistors instead to try to dim the ambient light it throws a little. My wife hasn’t complained about it yet, so we’ll see if I can stick with this, or move to the 2k version I built up.
You’re too fast! I had this posted on another private forum, and was converting over to this one. They are posted now.
I have parts to build a couple more on the way. One X6 driver board, one LED board, and the new Convoy driver board with different firmware. I’m not much a fan of the little flash out in low to change modes, so I’m curious how I’ll like the new software board they are selling on banggood.
I tried that one at first, but didn’t quite have the patience to get it in there very well. I decided a jumper would be a bit easier. We’ll see when other driver boards arrive what the layout looks like.
My question is if the ring around the bottom of the ‘piston’ (button) and the ring inside the ‘cylinder’(outer ring) are stock or did you swap them yourself for translucent ones?
I have 3 different lighted switch assemblies to play with. Here’s my estimations on the switch only drain on an Olight 3400mAH 18650. All switch boards have 2 LEDs.
231 ohm resistors should yield about 15 days to a dead battery.
511 ohm resistors should yield about 22 days to a dead battery.
2k ohm resistors should yield about 7 weeks to a dead battery.
The pictures above are with the 231 ohm resistors. Bigger resistors will definitely dim the light. Not a huge difference between the 231 and 511, but noticeable.
I wouldn’t necessarily do this to an EDC light, but for a nightstand or camping light, it’s great!
The black gasket attached to the piston was replaced with one I got from J-Dub here. I believe emarkd made one himself out of a rubber glove for better water proofing. The ones I got from J-Dub had a washer as part of the mold, but I cut them off because it didn’t work quite right with the switch.
I replaced the metal washer with a nylon one to allow light through. The nylon one had too small of an ID, so I had to drill it out a little.
I replaced the switch circuit board with a lighted one.
In the picture below, the black gasket is next to the blue tail assembly, and the gasket from J-Dub is to the left of it.
The switch piston with the cut down gasket is in the picture below on the far left (notice the silicon washer has been cut off here).
Another solution is trits under the translucent parts. It’s so dim I can’t even take a 15 second exposure and show much but it’s clearly visible with night adjusted eyes, definitely sub, sub lumen even with 3 trits. Blue, yellow, and green trits behind a 17mm moonstone Not the cheapest solution but zero parasitic drain either.
I did make mine out of rubber (actually latex iirc) gloves, but that was back before the “official” clear gaskets were available. I’m sure the actual gaskets would hold up better under heavier use. But I built mine for fun, they don’t see much use so I’m not worried about it. Plus mine were built with the ring boards replacing the washers, which doesn’t leave room for a full gasket up there anyway.
If building for max durability though, I think the two-emitter lighted switch boards plus an official clear gasket is probably a better choice.
At some point I may consider using a trit (maybe on the piston of the tail switch), but for now this is more just a fun project. Using a GITD tailcap is what I did in the past. It works well enough to be able to see the light. I’m considering using 2k resistors in the tail, which should make it very dim and give me about 6 weeks of runtime before the light is useless. Charging the battery every month should still give plenty of time, and I could even lock out the tailcap during the day if I wanted to extend it a little more.
I put another one of these together with the X6 board from banggood, the stock Convoy switch, and the lighted pilotdog68 version 5.3 top LED ring. I used blue LEDs, and 4.7k resistors in the tail. I’ve tried both the stock 470ohm bleeder, and lowering to 220ohm. With either bleed resistors, it takes about 4 seconds to go backwards in mode progression. Anyone have any thoughts on what I should do to get it closer to what a stock X6 does?
I don’t want to go too low on the bleeder since this is directly shorting the battery when on. a 50 ohm bleeder would exceed the power rating for an 0805 resistor, and I’d hate for it to fail in a short-circuit.
Got to spend a little more time playing with lights this weekend. I tried building up the Convoy S2+ with the led ring in the switch, and the BLF X6 driver.
Here’s what the switch looks like with the LED ring installed.
And here’s how it compares to my Astrolux S2. Dark room with some ambient ceiling bounce light.
Window shade open, for more ambient light.
And same as above with the tailcap locked out to show an unlit tailcap for comparison.
I’m very happy with how it looks, but the battery check isn’t accurate at all anymore, and the backwards mode requires the switch to be off for about 4 seconds instead of 1.5. I used 4.7k resistors in this build, which is way more efficient than the 232 ohm ones I used to get an equivalent brightness with the the illuminated switch and washer.
With a fresh battery, the battery check reads 3.6V. Where I get 4.1V from my Astrolux S2. Looks like I have a little more exploring to do!


 Not the cheapest solution but zero parasitic drain either.


