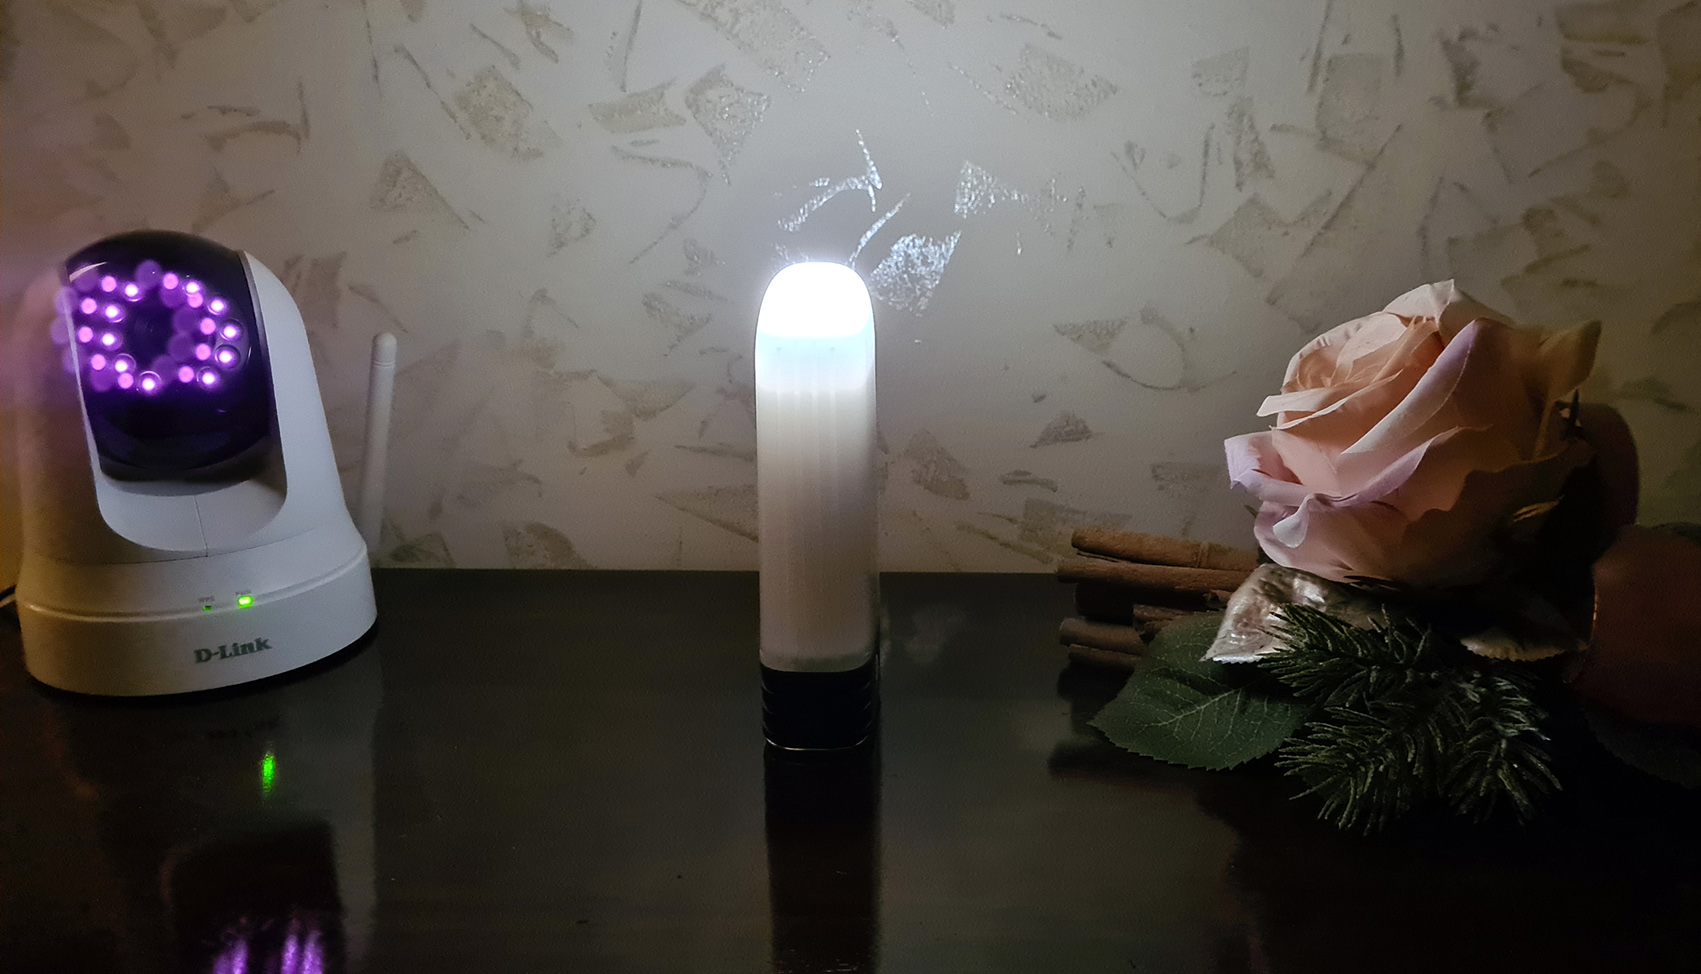
Camping Lantern + Power Bank, USB-C
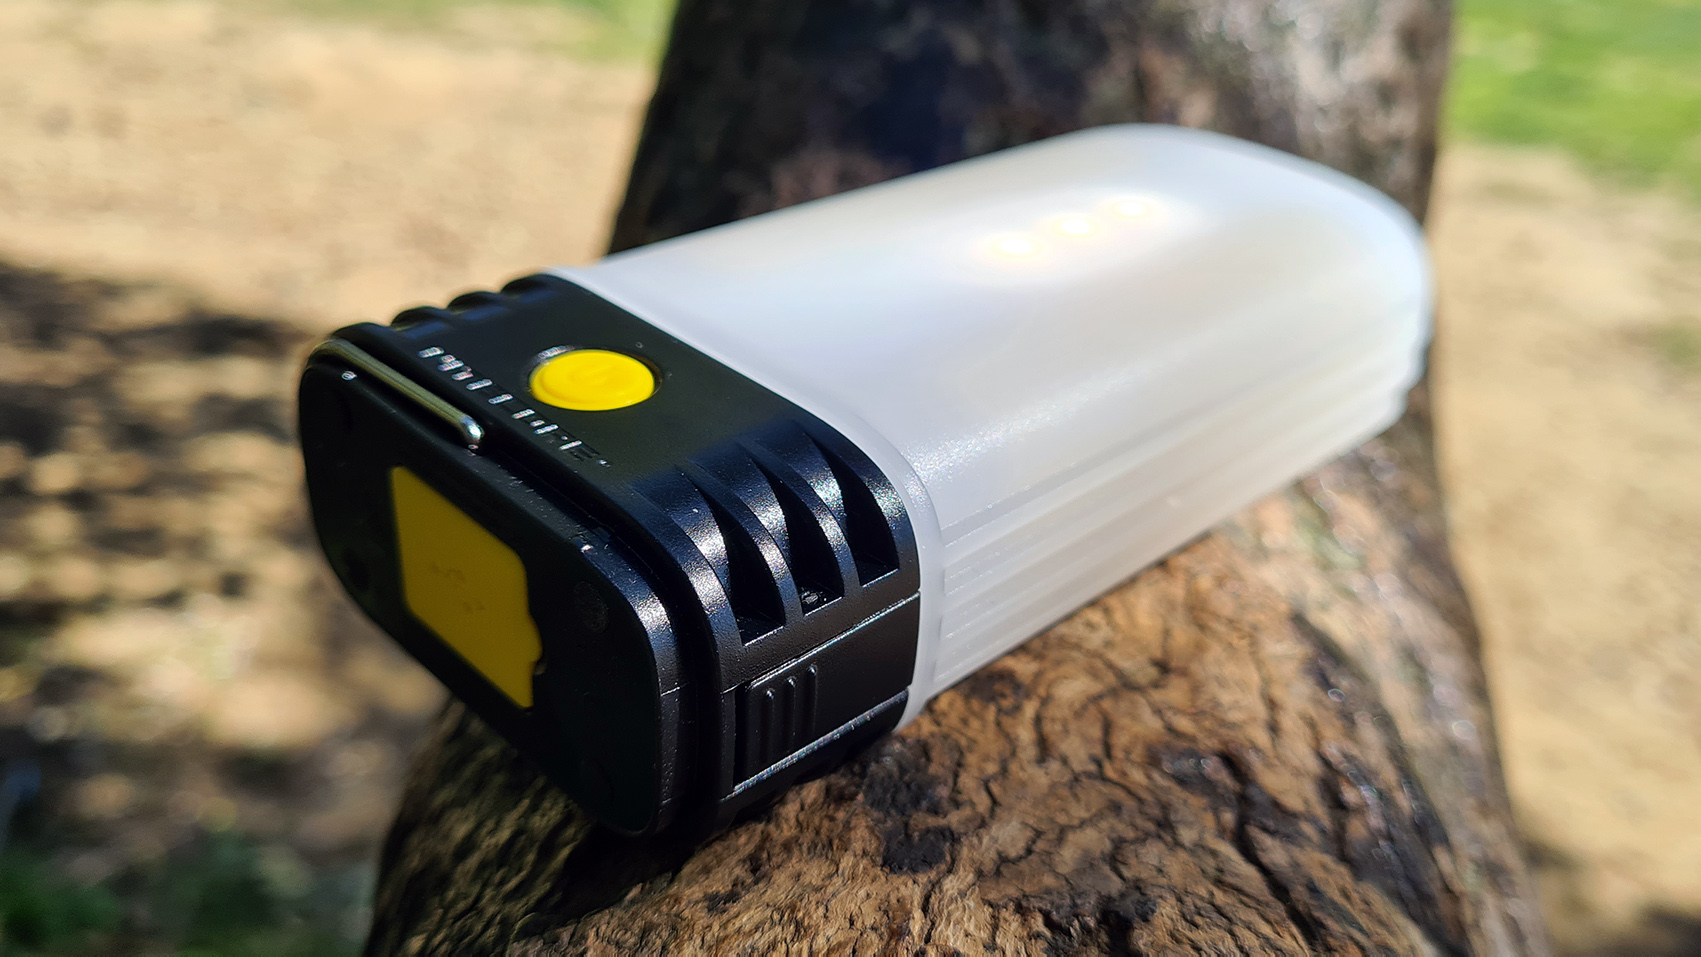
The NITECORE LR60 was sent to me directly by Nitecore for the review.
For product specifications: https://flashlight.nitecore.com/product/lr60
For purchase: https://www.nitecorestore.com/NITECORE-LR60-280-Lumen-LED-Camping-Lantern-p/fl-nite-lr60.htm
The multilingual manual: https://flashlight.nitecore.com/Uploads/FLASHLIGHTS/download/lr60.pdf
MAIN FEATURES:
- Utilizes 9 x high CRI LEDs (CRI≥90, Color Temperature: 4000-4500K) with a max output of 280 lumensDimensions: 129.3mm×60.7mm×31.2mm (5.09"×2.39"×1.23") Weight: 136g (4.8oz)
Accessories
USB-C Charging Cable, Spare O-ring (for the diffuser), 18650/CR123 Battery Magazine x 2


Note: The stated data is measured using 2 x 21700 (5,000mAh) o 2 x 18650 (3,500mAh) Li-ion battery under laboratory conditions when all illuminable directions
of the product are turned on. The data may vary in real world use due to different battery usage or environmental conditions.
-----------------------------------------------------------------------------------------------------------------
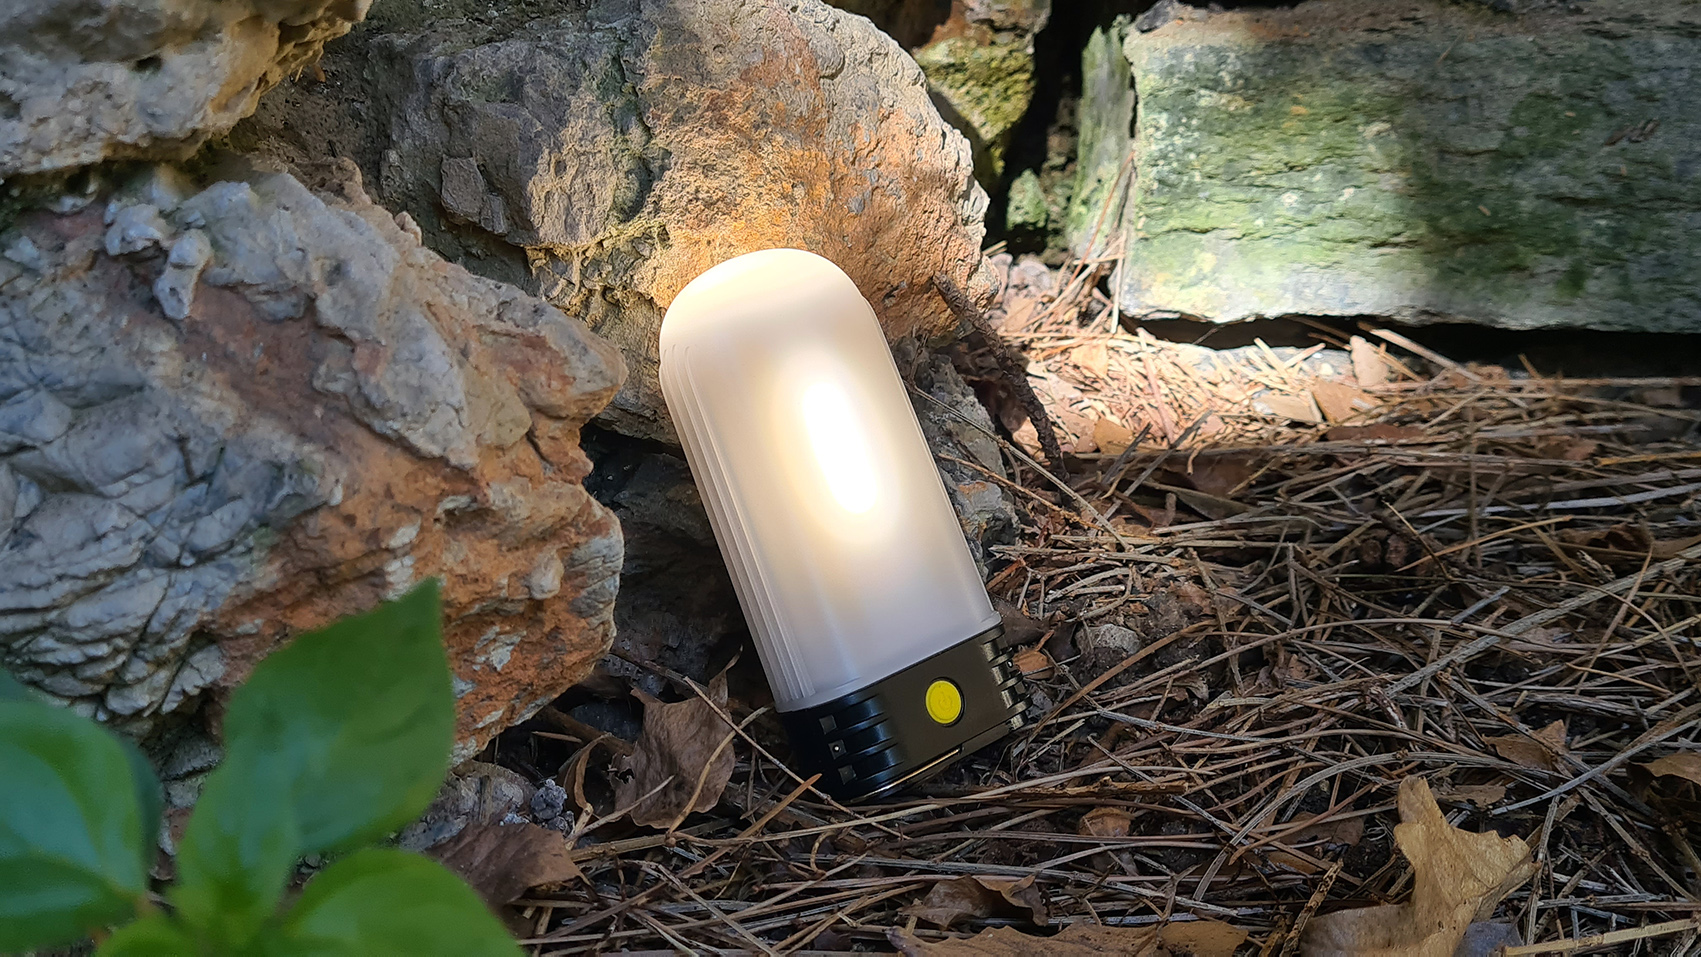
The NITECORE LR60 arrived to me as a pre-series product without packaging and accessories. LR60 is part of the Lanterne series produced by
Nitecore and updates the previous LR50 model released in 2019. The LR60 is equipped with a USB-C input port with QC fast charging (5V / 9V
with 2A (Max) or 12V with 1.5A ( Max) and a smart USB output to use as a portable power bank with a maximum output power of 18W (5V with
3A / 9V with 2A / 12V with 1.5A).
The Nitecore LR60 uses 9 High CRI LEDs (CRI≥90, Color Temperature: 4000-4500K), with a maximum of 280 lumens output. It is powered by
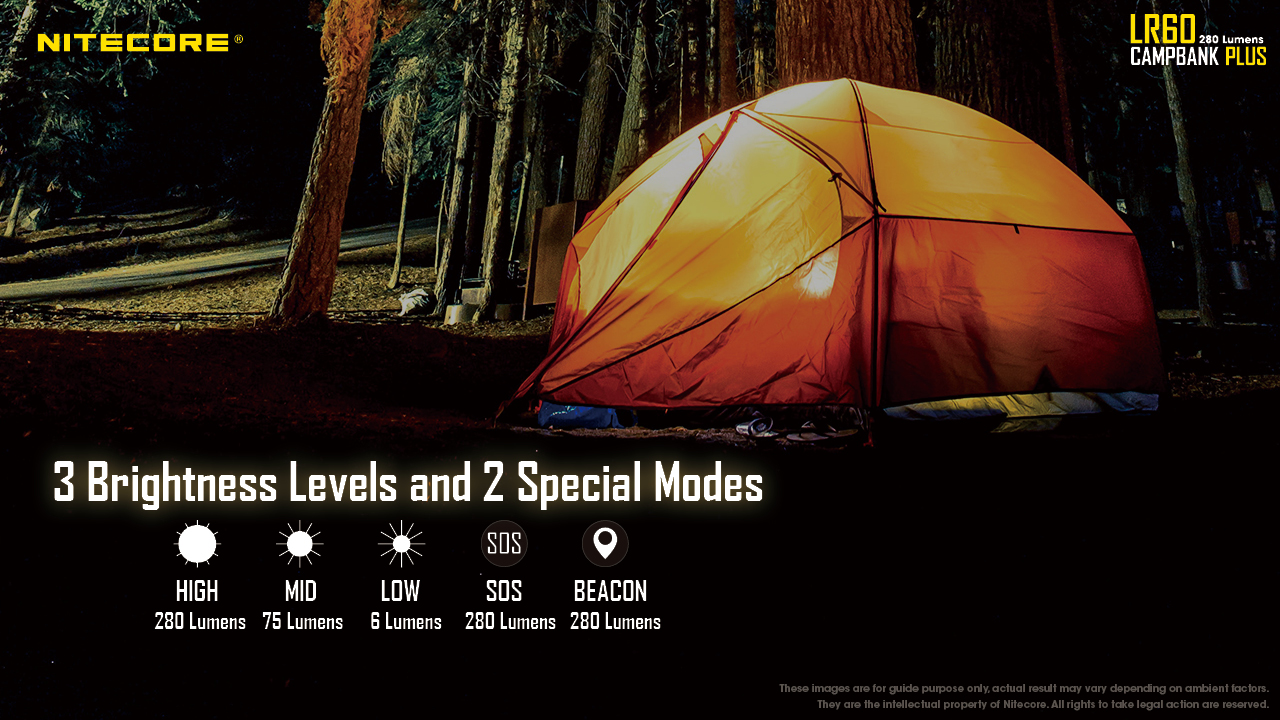
1 or 2 21700/18650 batteries (or 2 or 4 CR123 / RCR123 batteries). It also has 3 normal and 2 special levels (Beacon, SOS) and has the option
of directional lighting for better use. At the base it has a strong magnet to anchor it on ferrous surfaces. It is IP66 certified with an impact resistance of 1 meter.
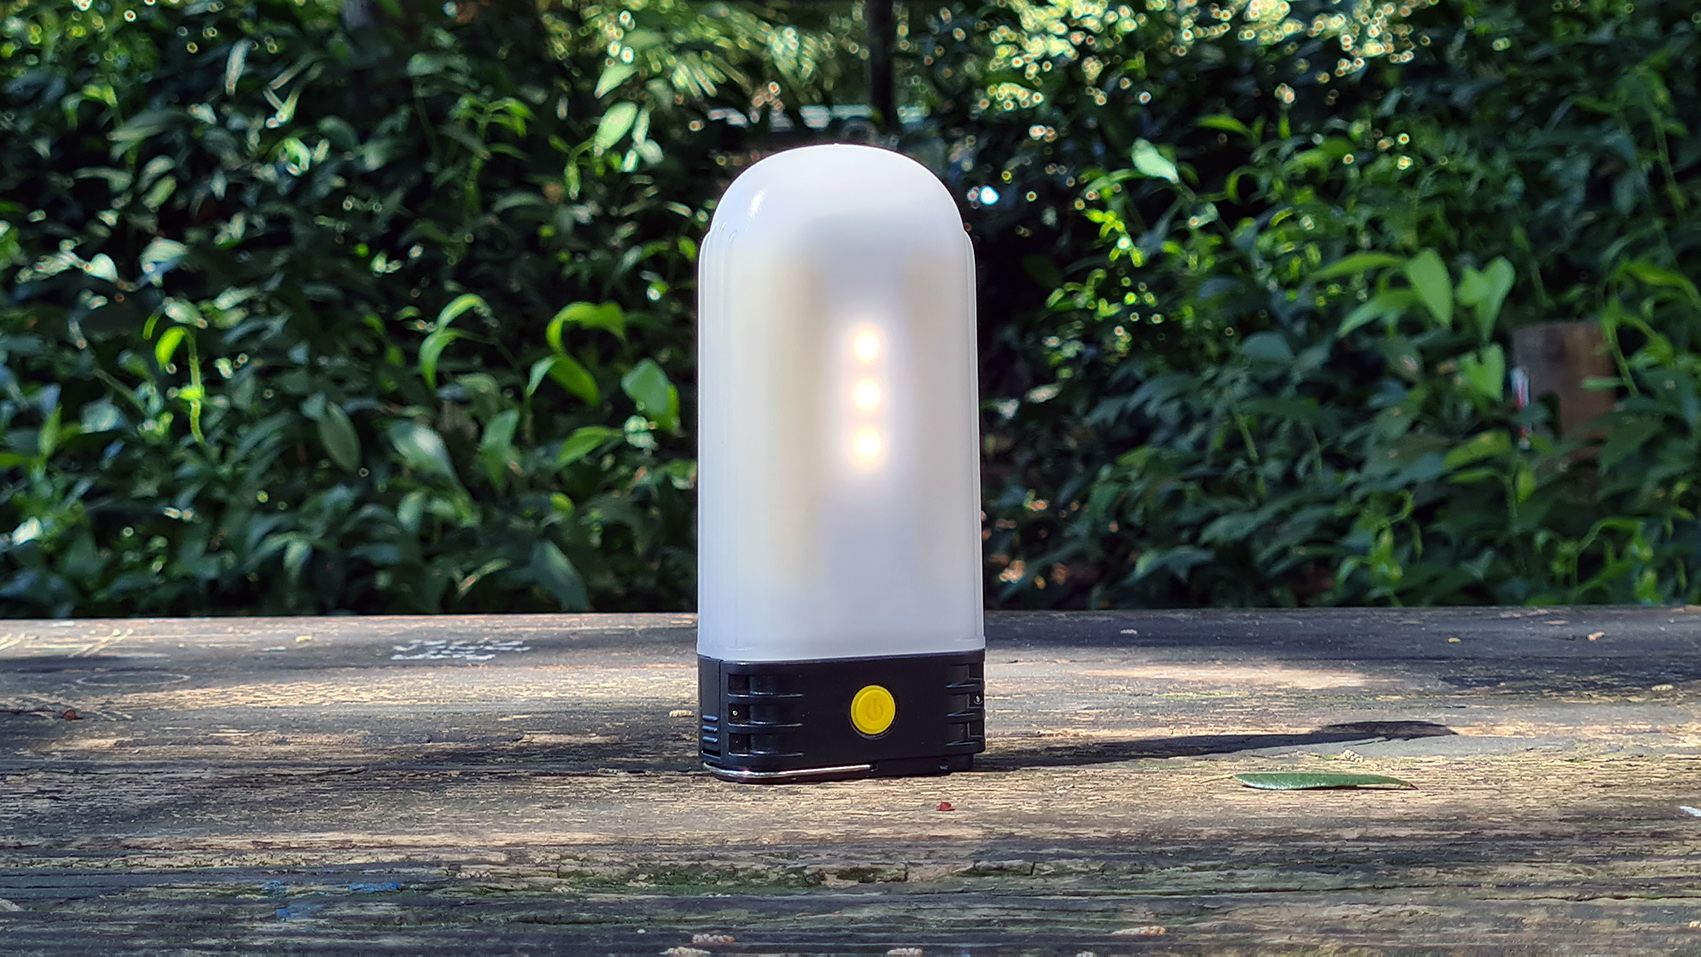
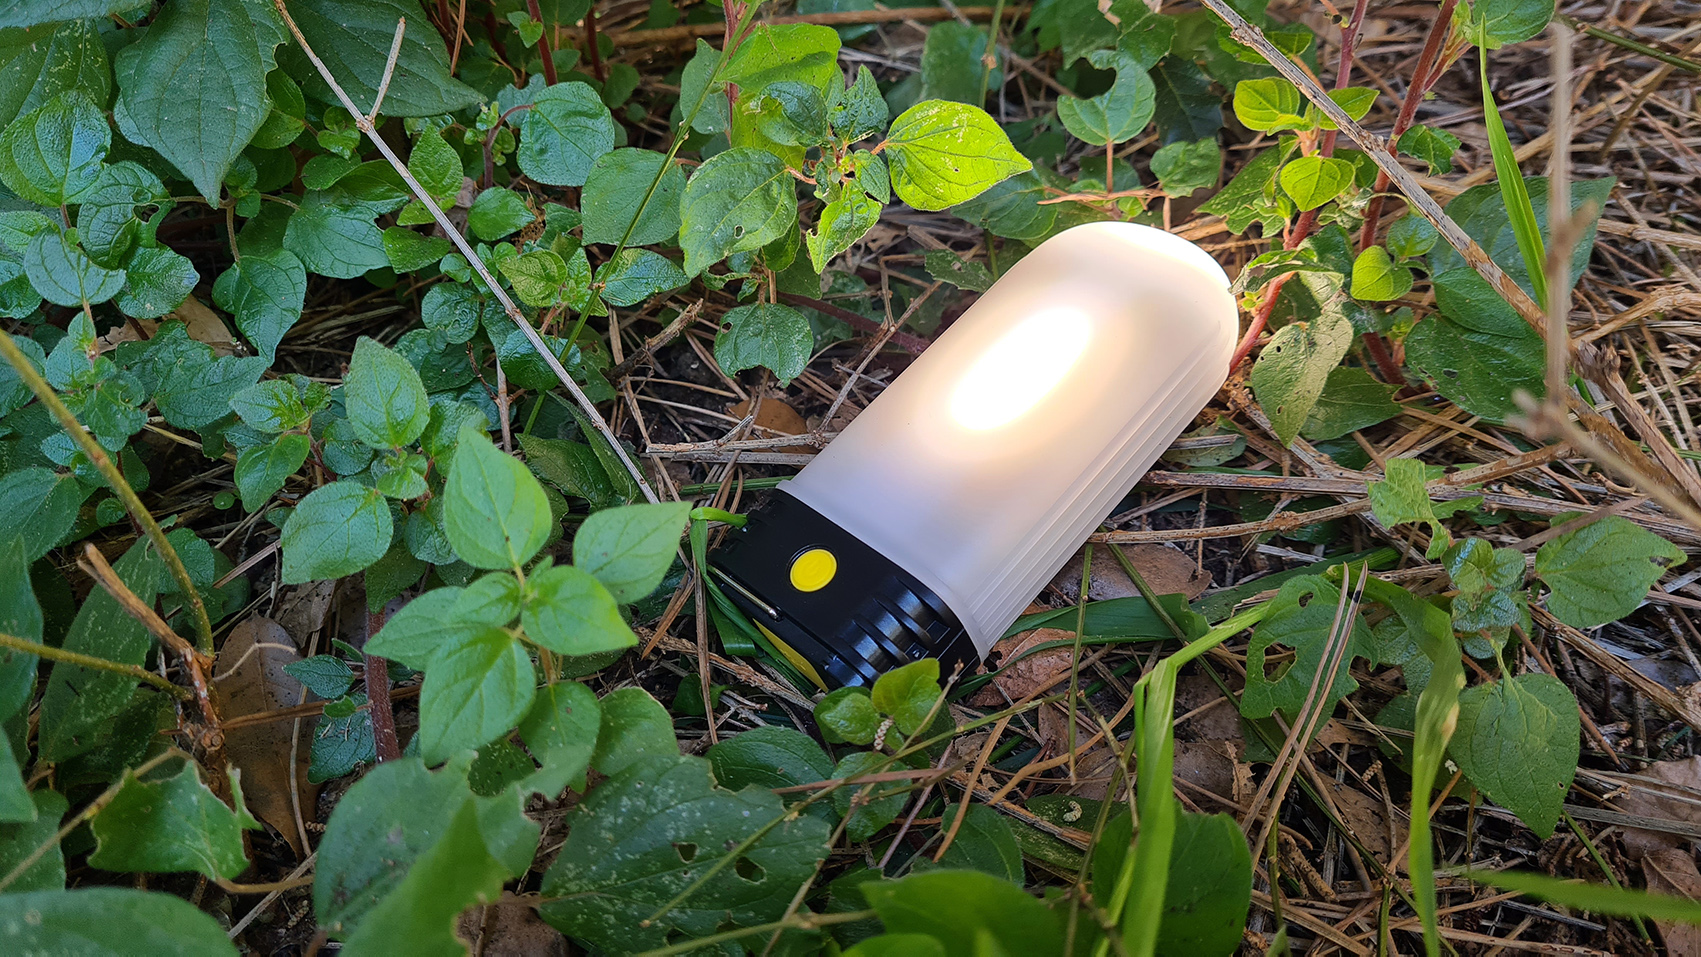
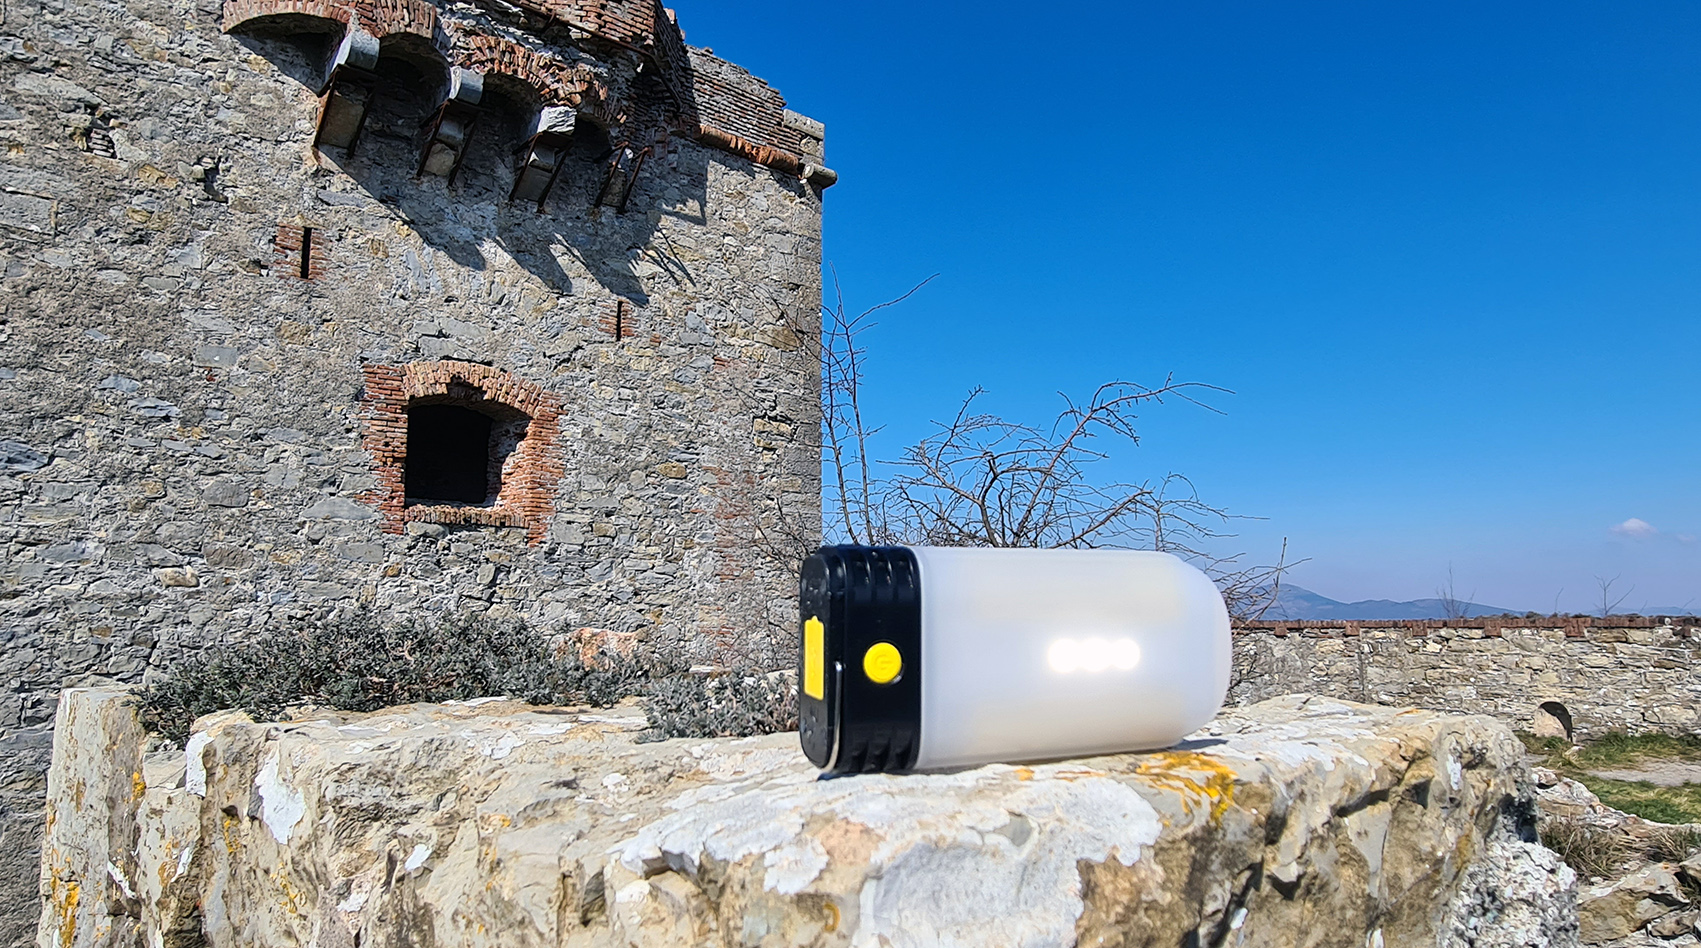
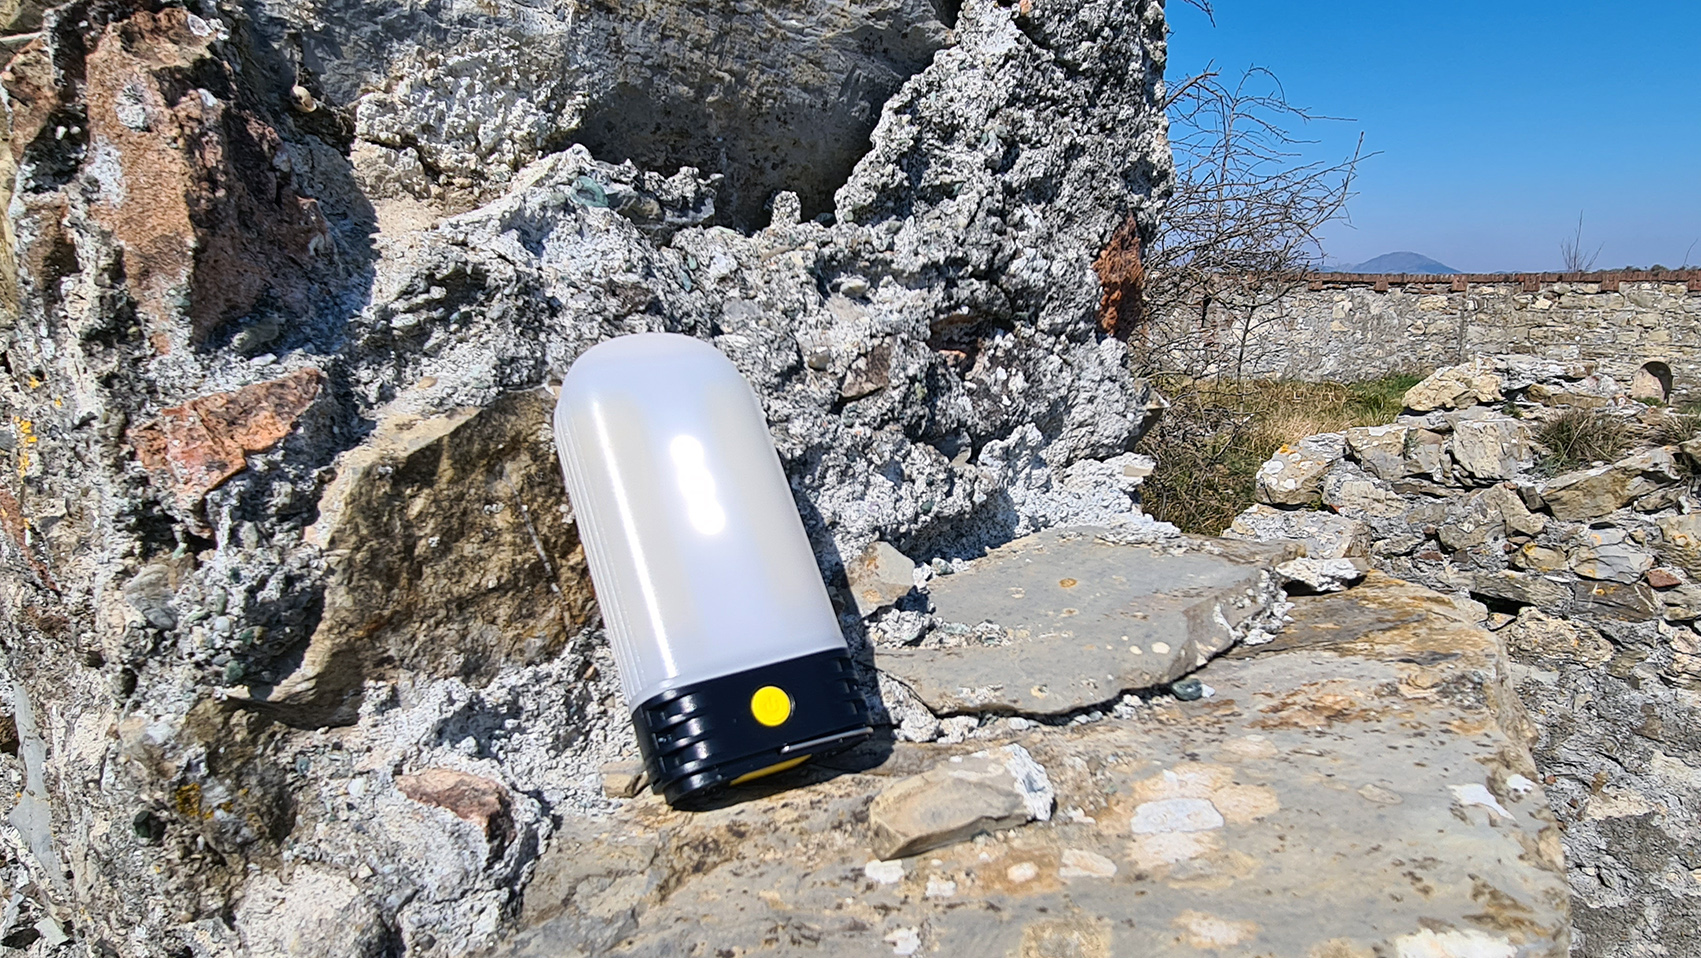
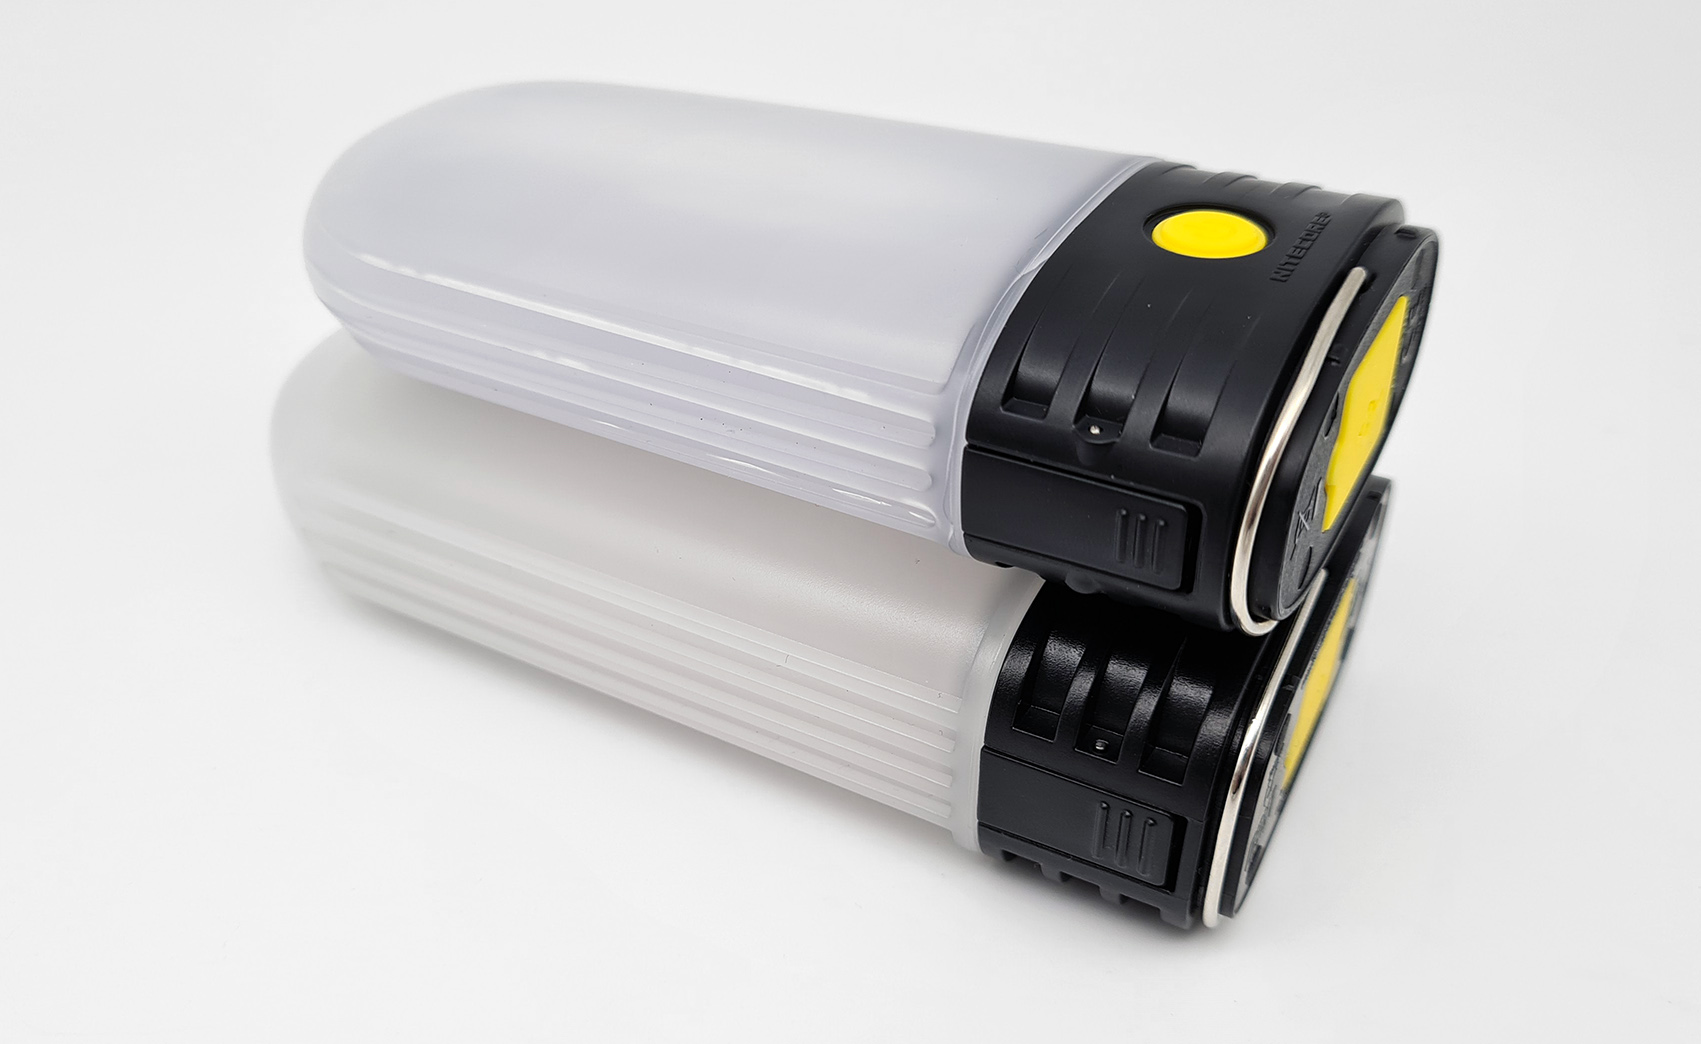
Nitecore LR60 holds well in the hand and is built in very sturdy plastic material with the translucent PC diffuser that allows all light sources to be well distributed.
On the sides of the diffuser we find ribs in relief that facilitate the grip with the hand thus avoiding slipping and giving the diffuser greater strength.
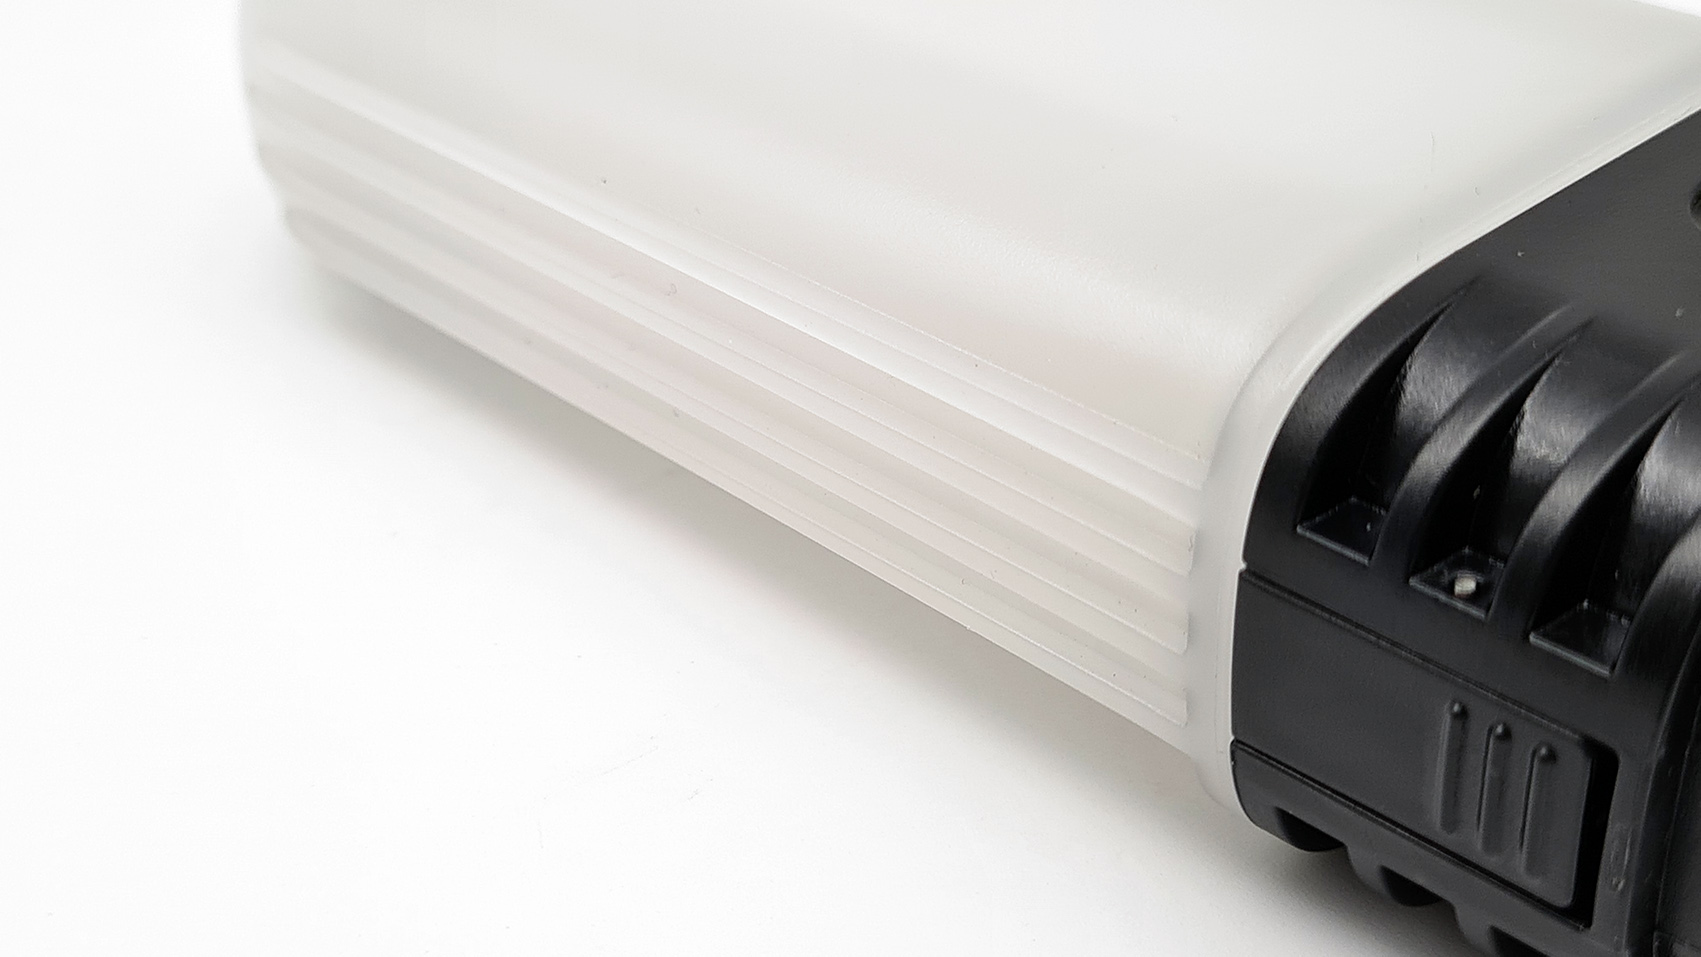
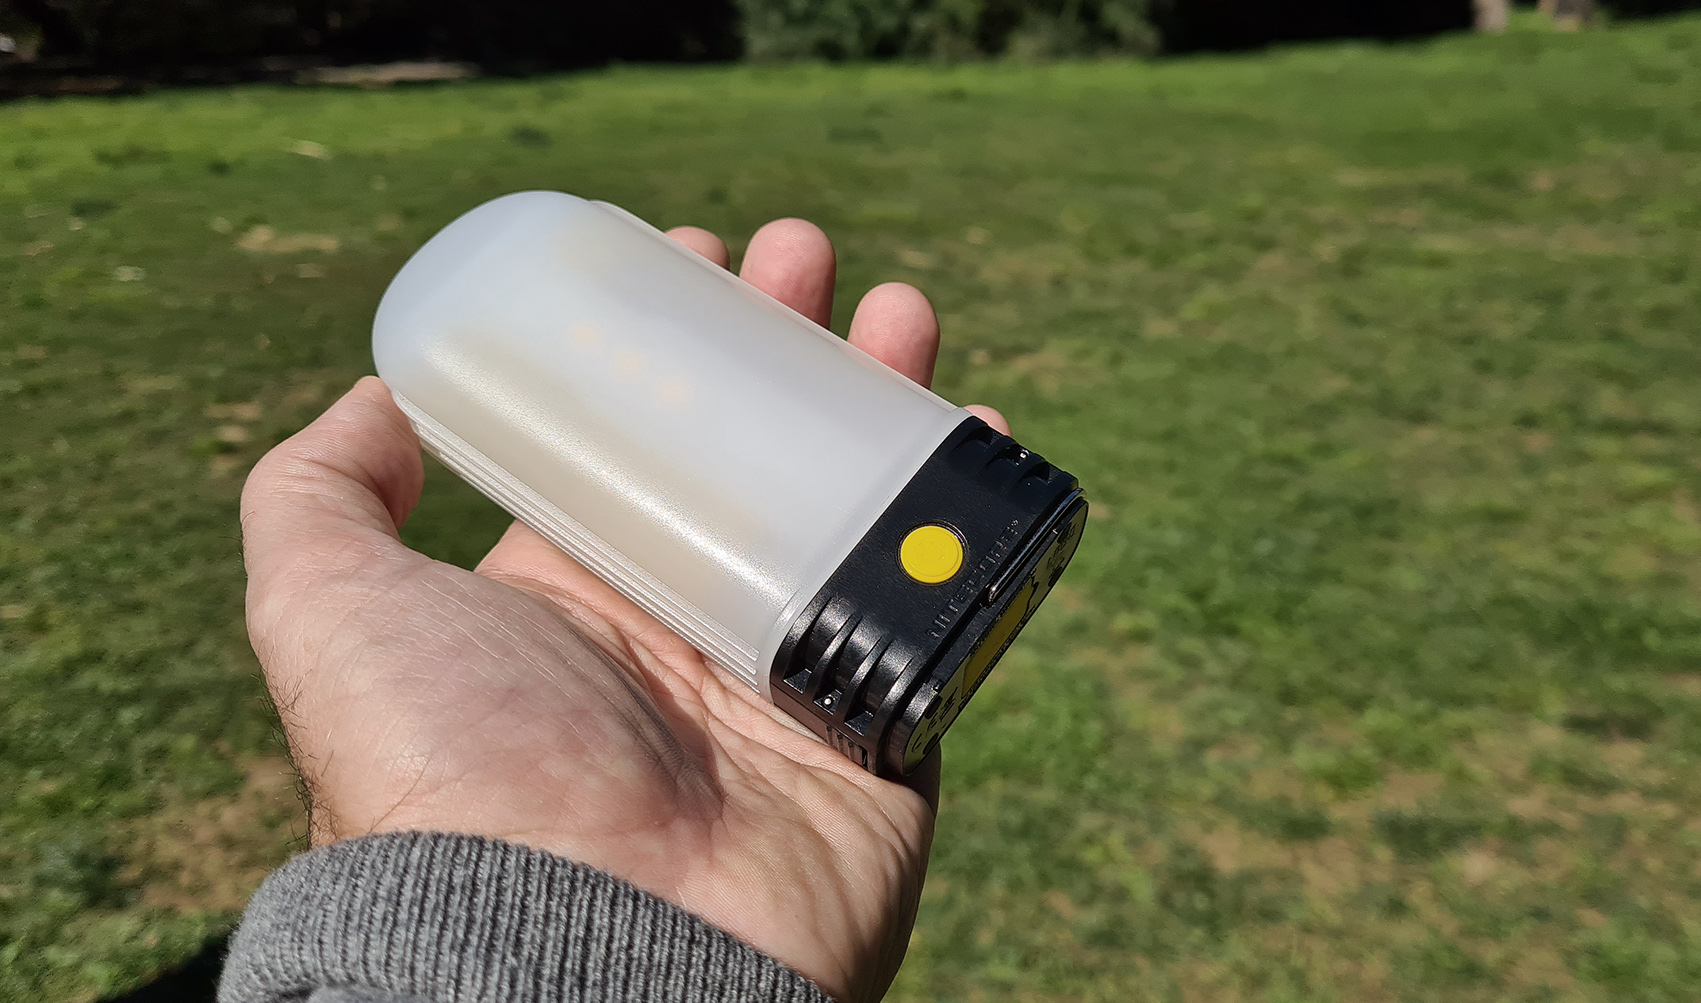
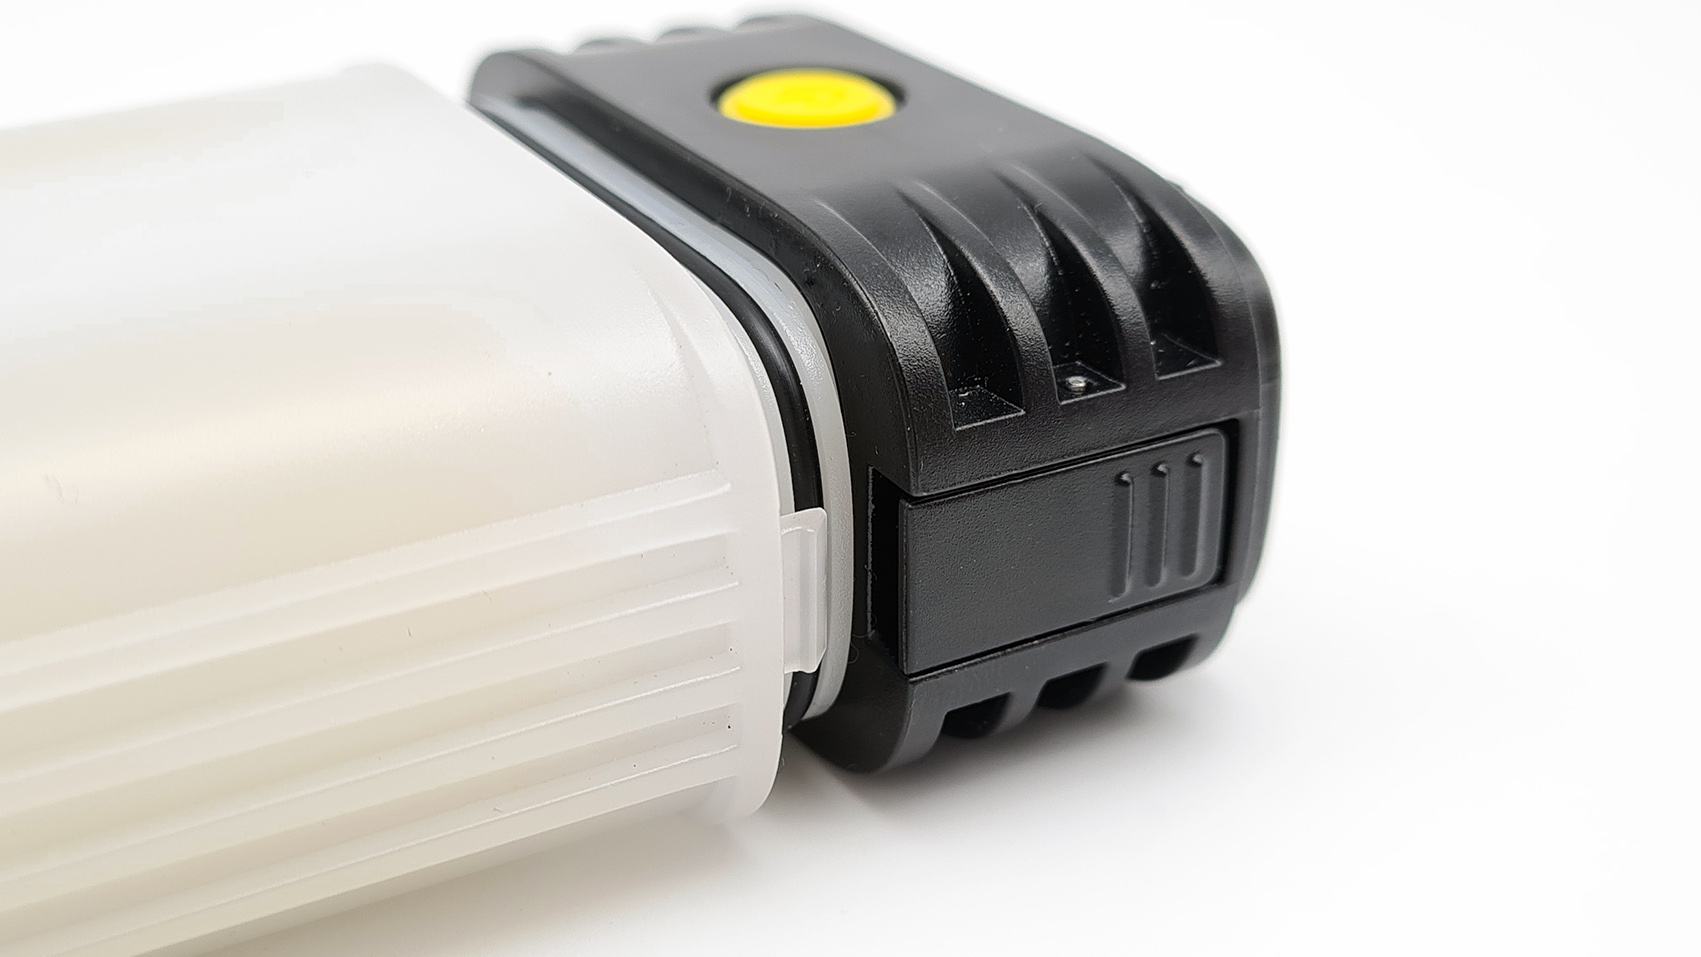
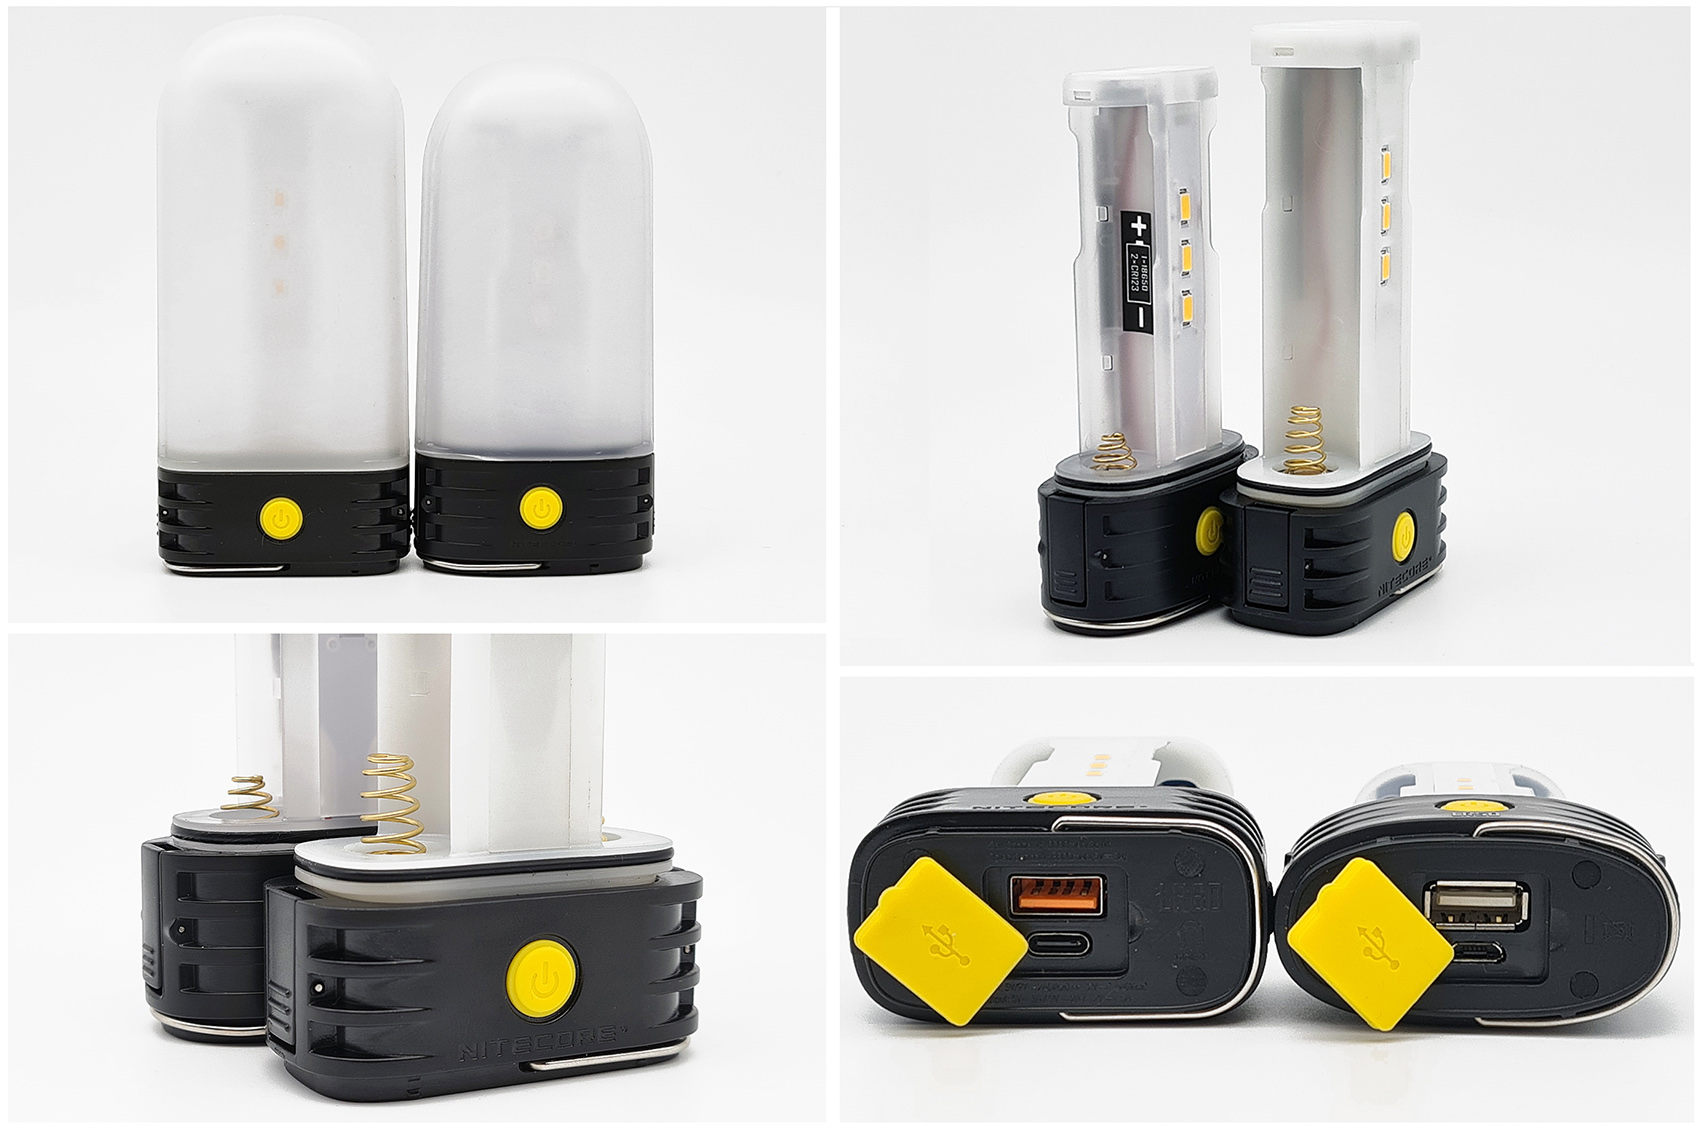
In the black base we find, in the center, the two yellow buttons that we will use to manage the levels and the lights and on the sides the two levers to press to
unlock the diffuser from its seat and have access to the LEDs and the battery compartments.
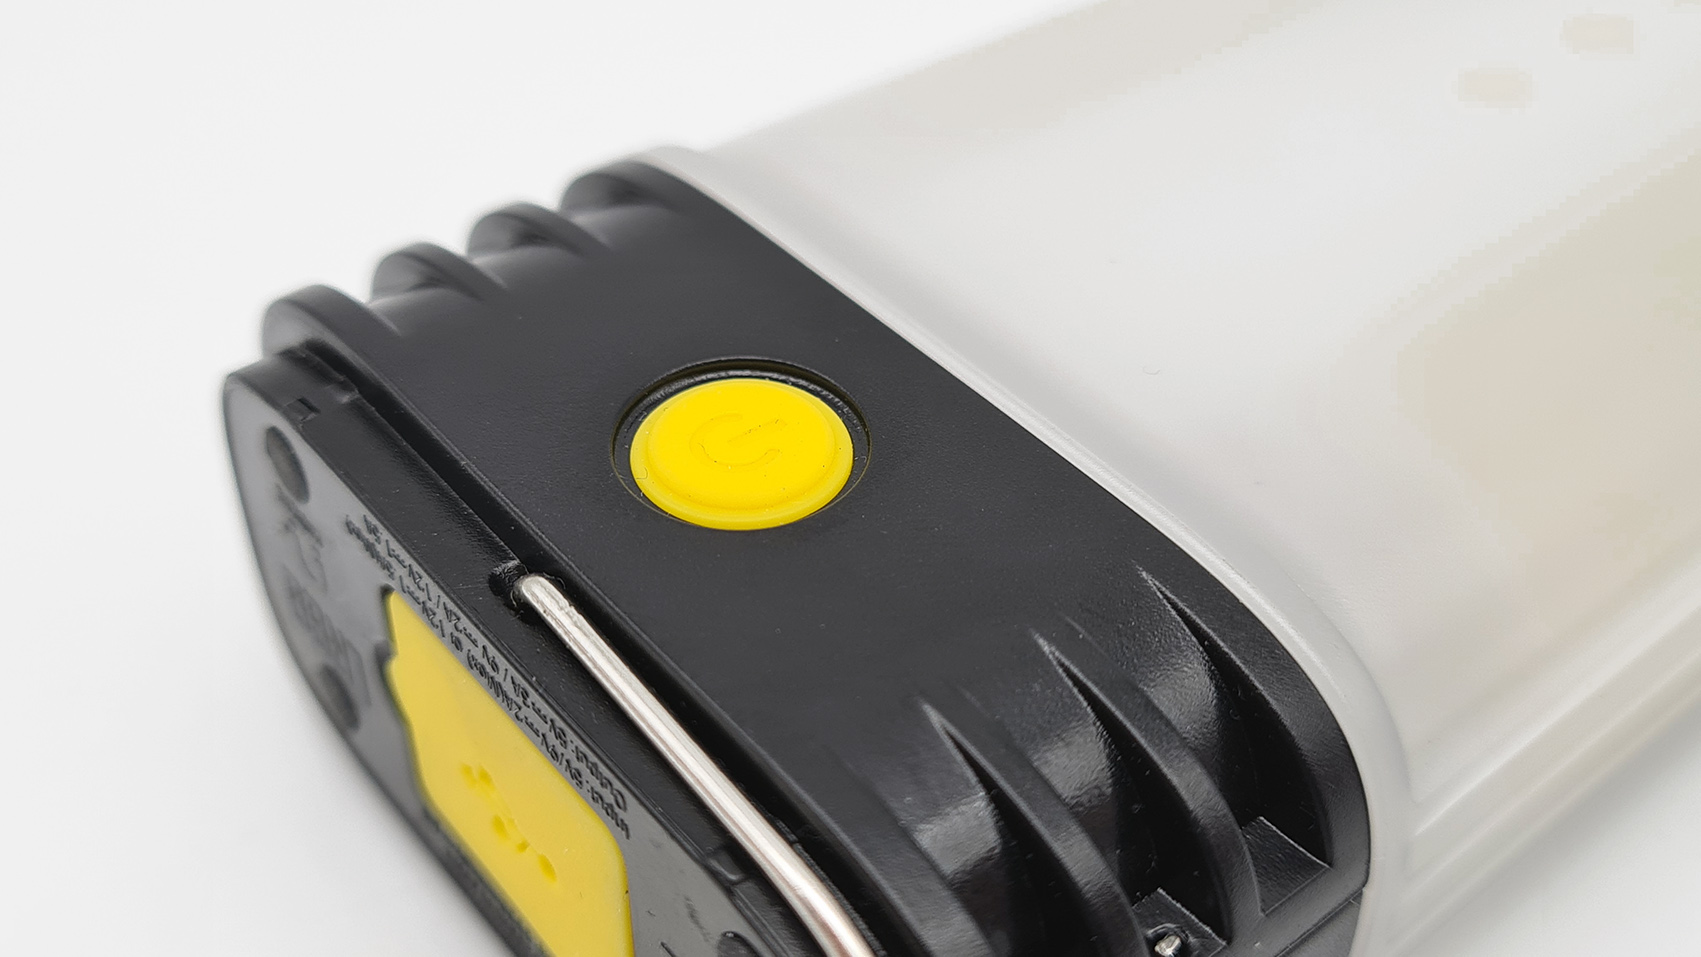

In the lower part of the LR60 lantern we find a powerful magnet that allows a good anchorage of the lantern, on ferrous materials, vertically and horizontally,
and a small tilting steel ring that allows the LR60 to be easily hooked vertically.
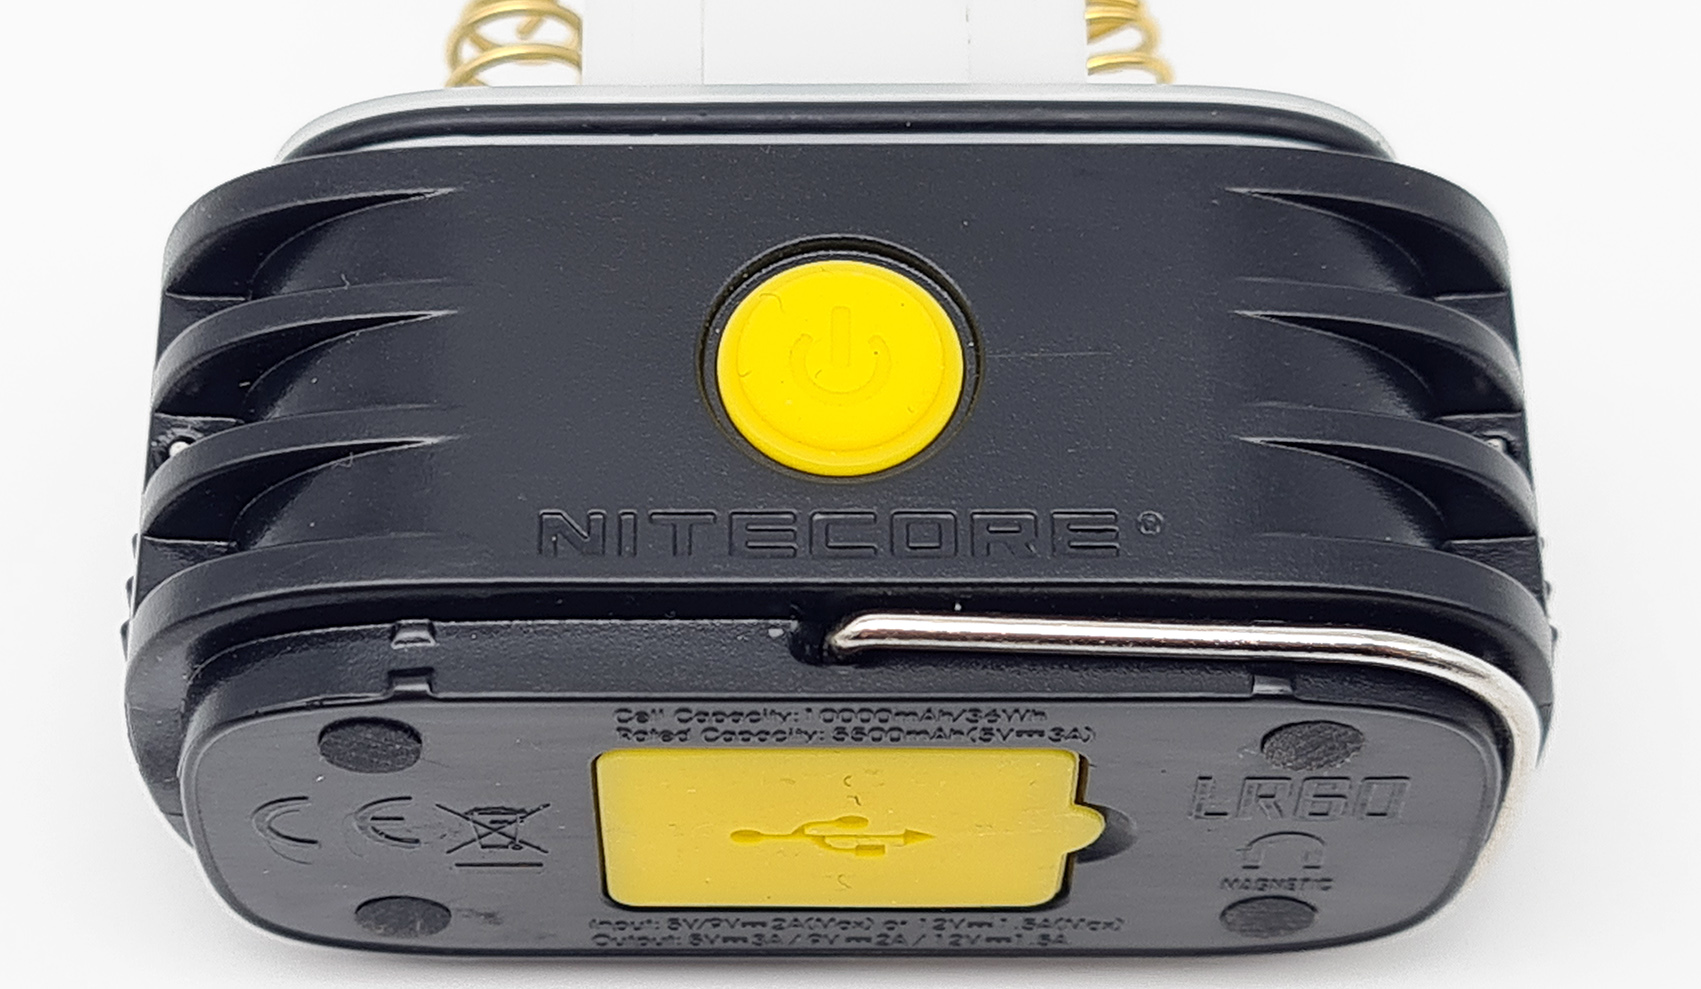
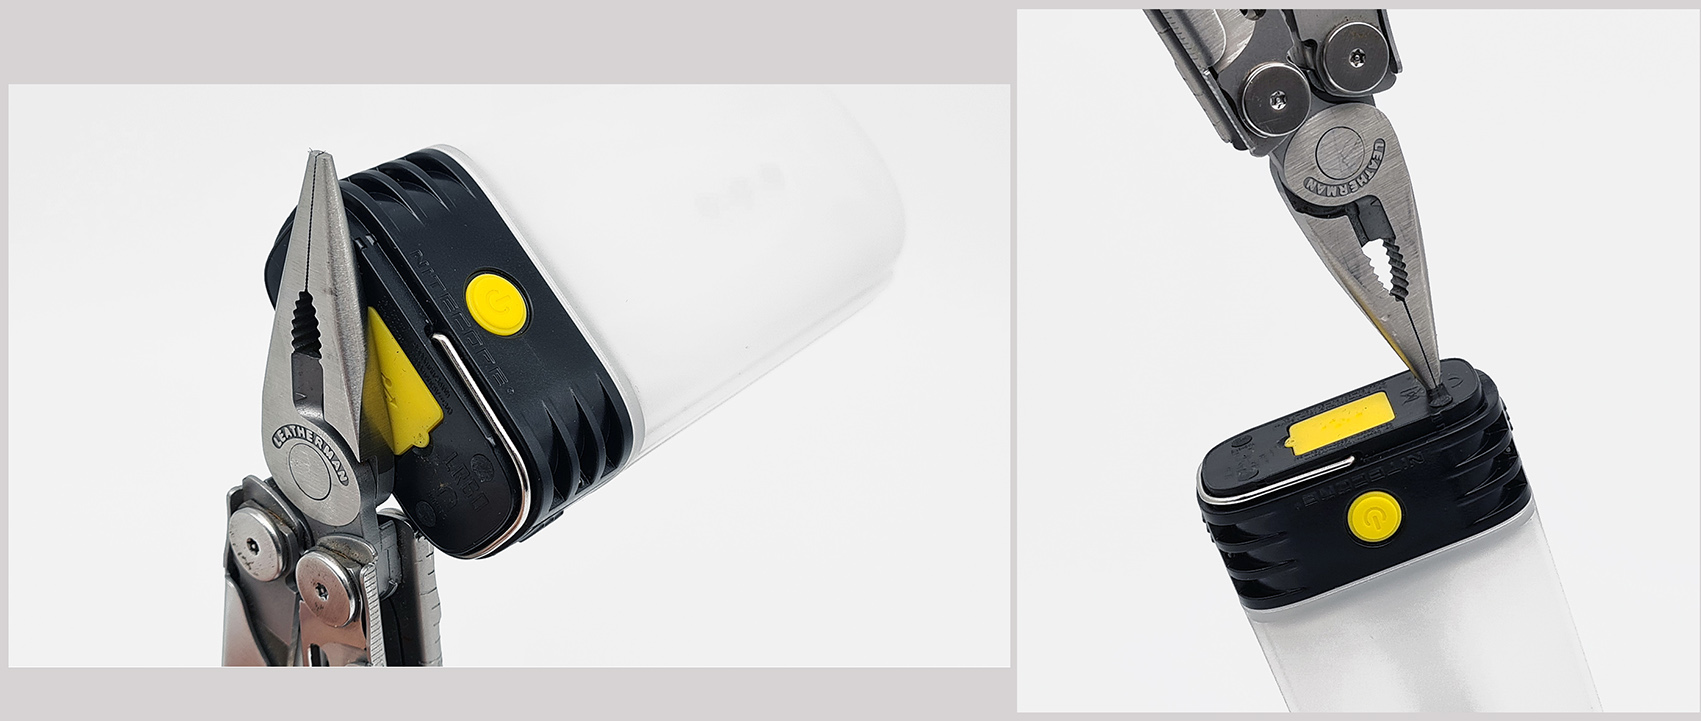
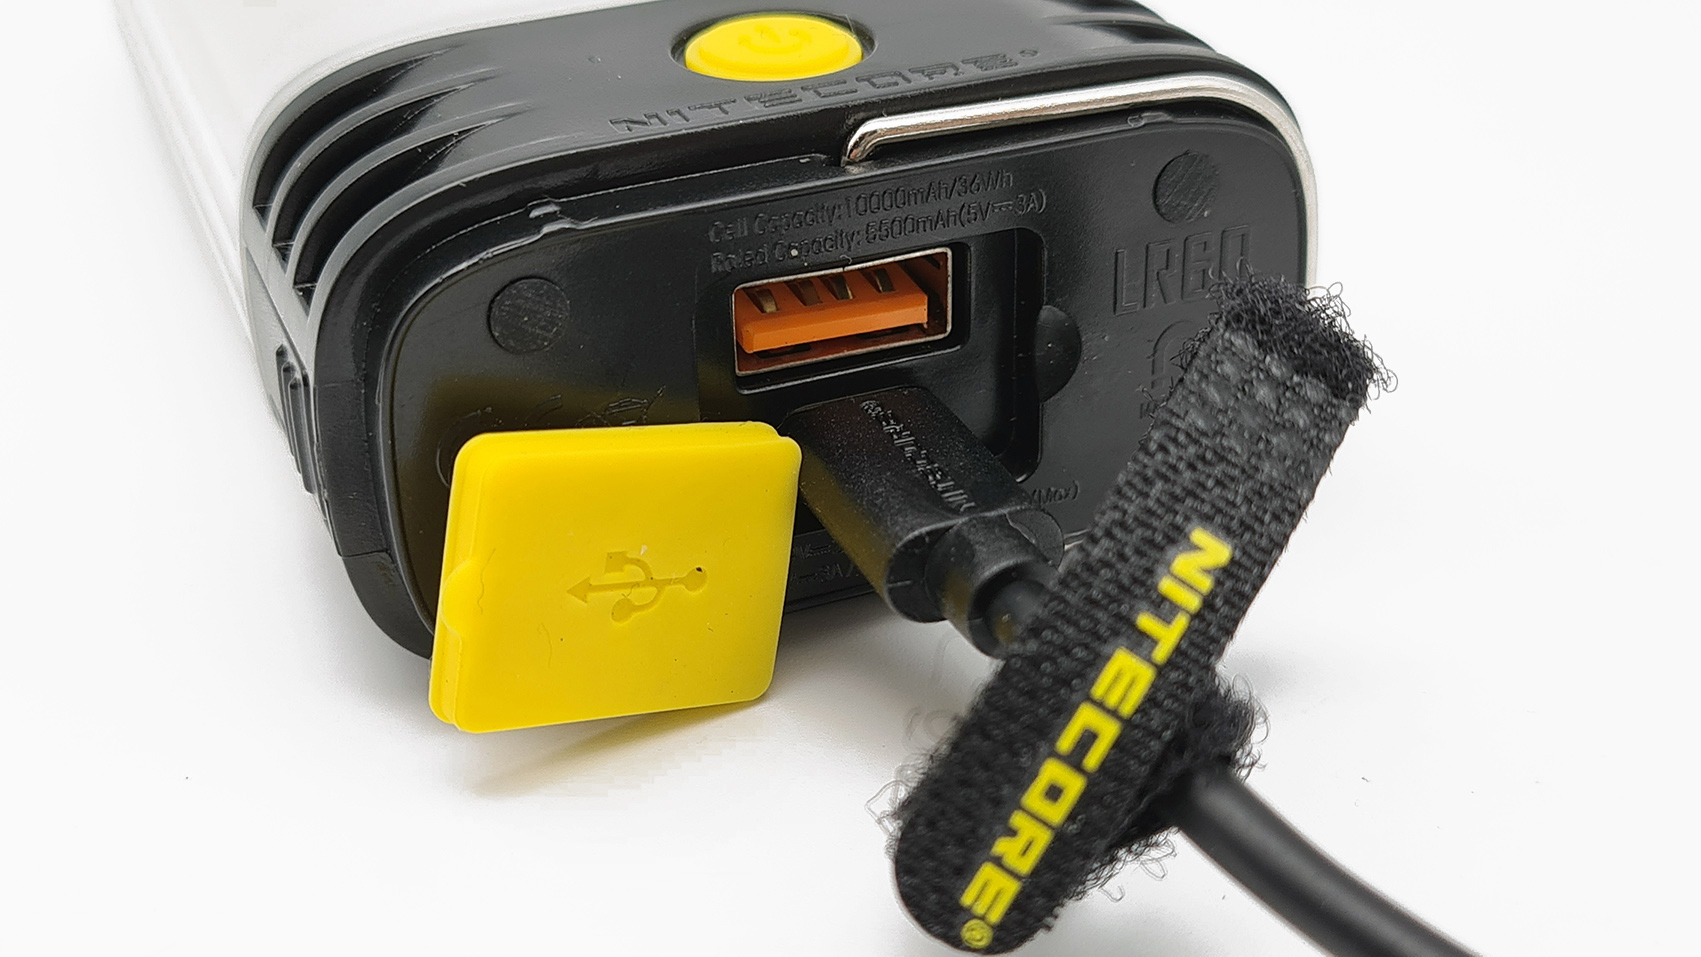
Also in the lower part of the LR60, we find the two USB interfaces for charging the LR60 (USB-C input) and for charging other devices such as a Power Bank (USB output).
These two connectors are protected by a thick yellow rubber door with the USB symbol engraved on it.

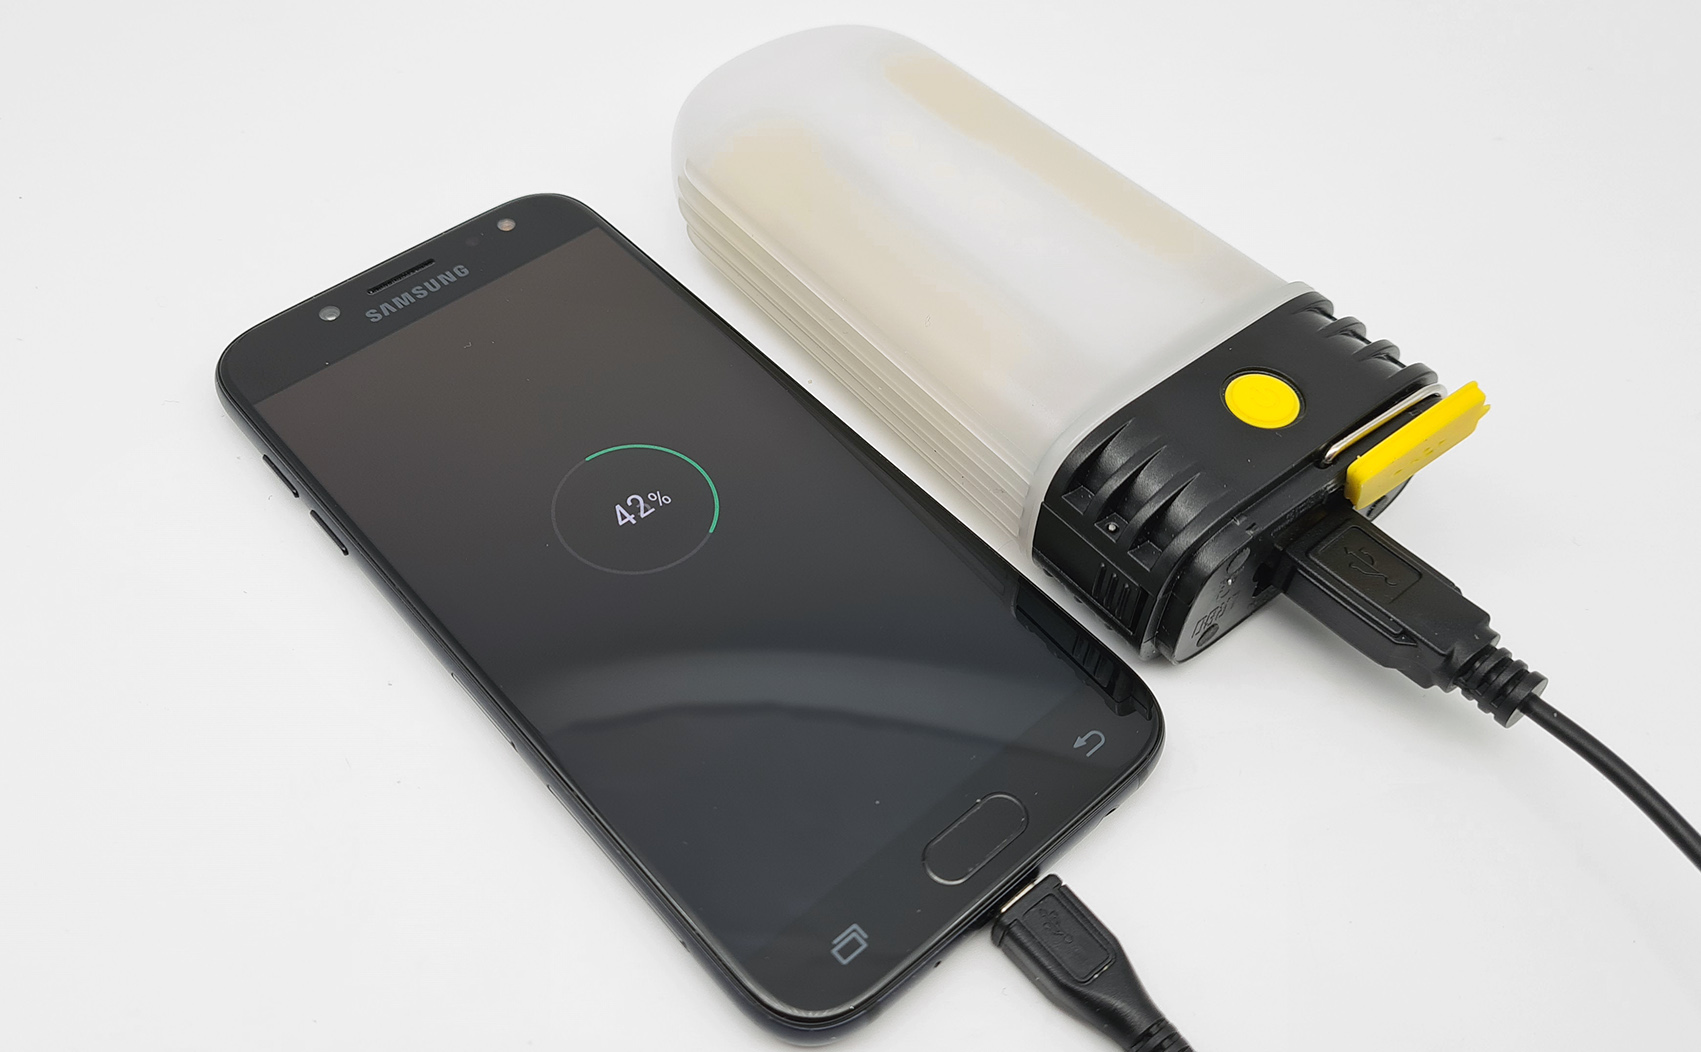
As previously written with the Nitecore LR60 we can charge other electronic devices as if it were a power bank. Just plug the USB cable into the socket on the LR60.
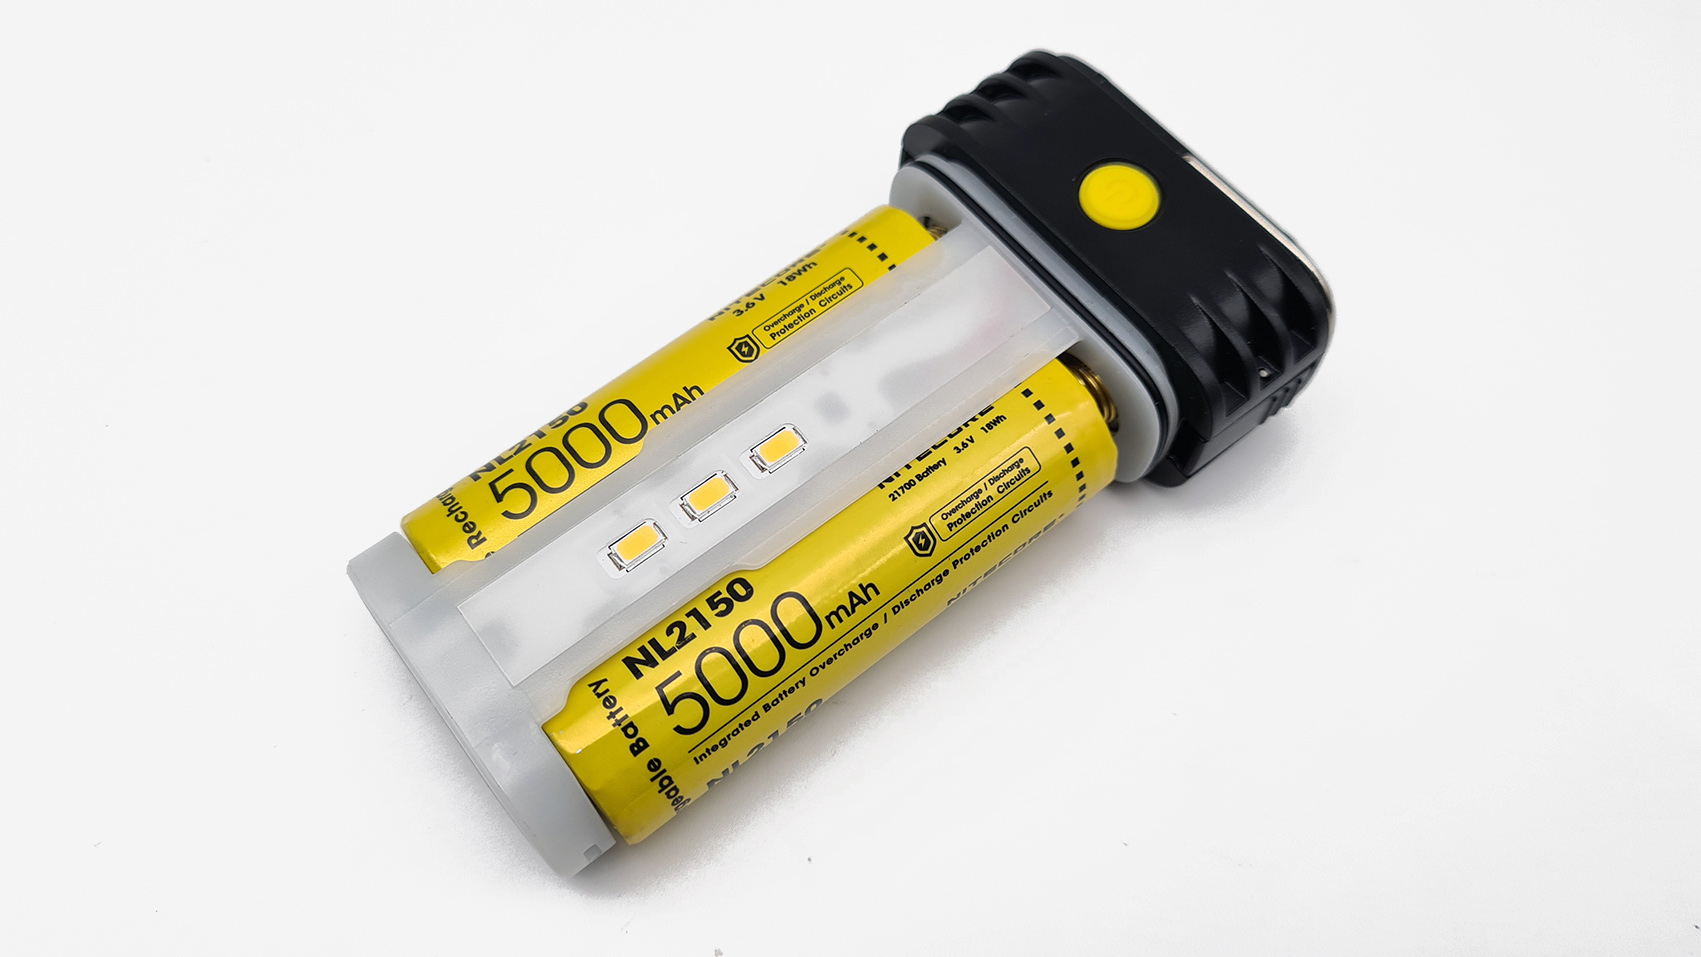
Once the diffuser is unhooked, we have access to the battery compartments and the 9 HICRI LEDs with a color temperature of 4000-4500K that bring the
Nitecore LR60 to a maximum output of 280 lumens. The LEDs are arranged 3 on one side, 3 on the other side and 3 on the top.
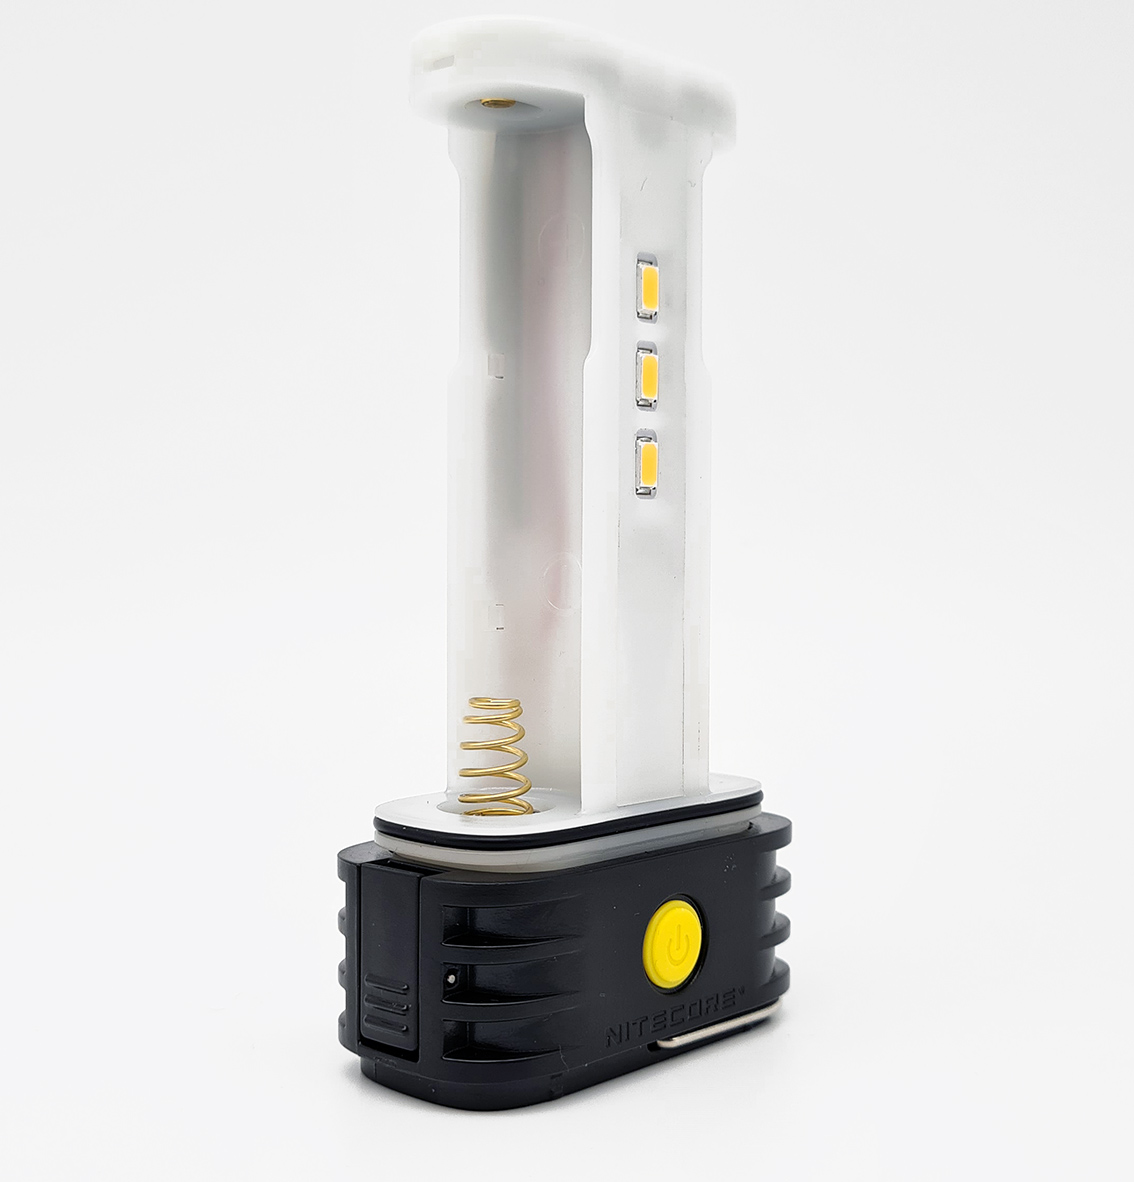

The Nitecore LR60 is IP66 certified (protection against dust and heavy rain), we see the gasket (O-ring) above the base of the lantern.
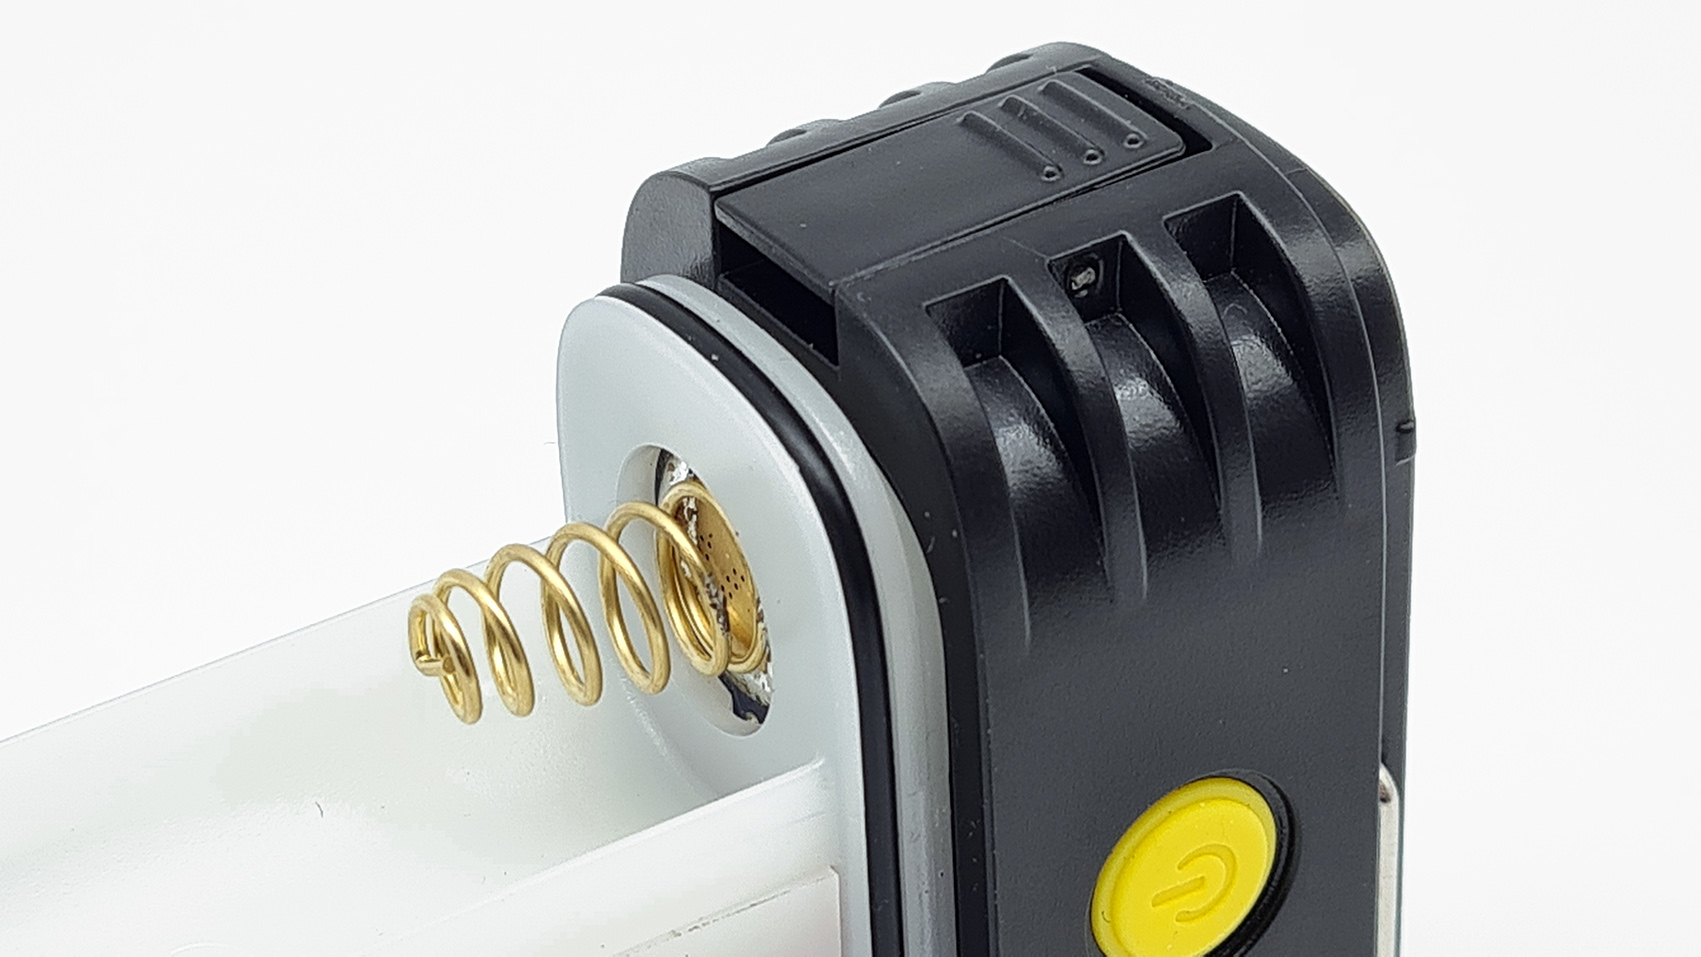
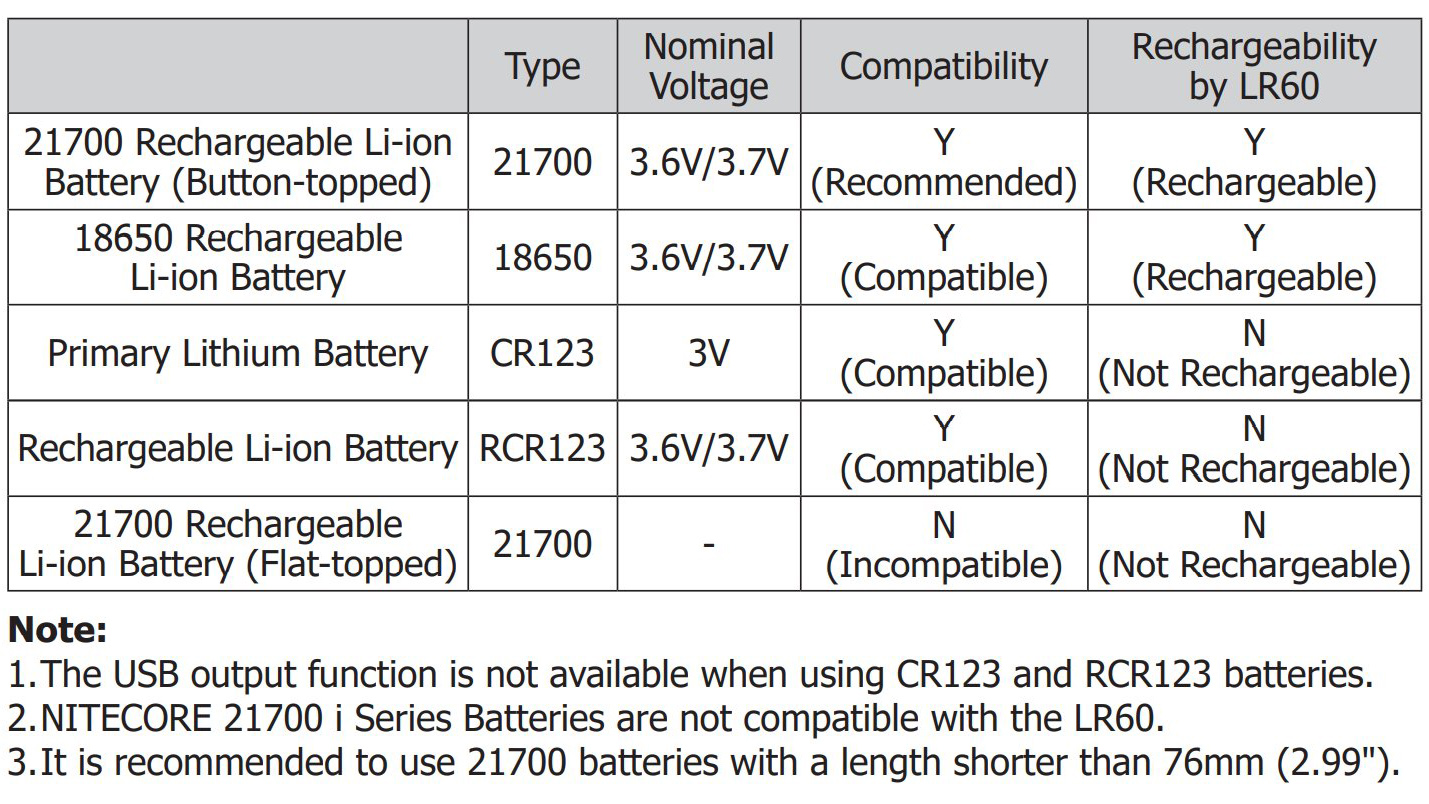
The negative plated springs are of fair thickness and length as they must make good contact with 21700 batteries and also with the shorter 18650
and CR123 batteries; in fact the Nitecore LR60 is compatible with 21700, 18650 and CR123 / RCR123 batteries. LR60 only supports button top batteries.
The LR60 can also be powered by a single battery.


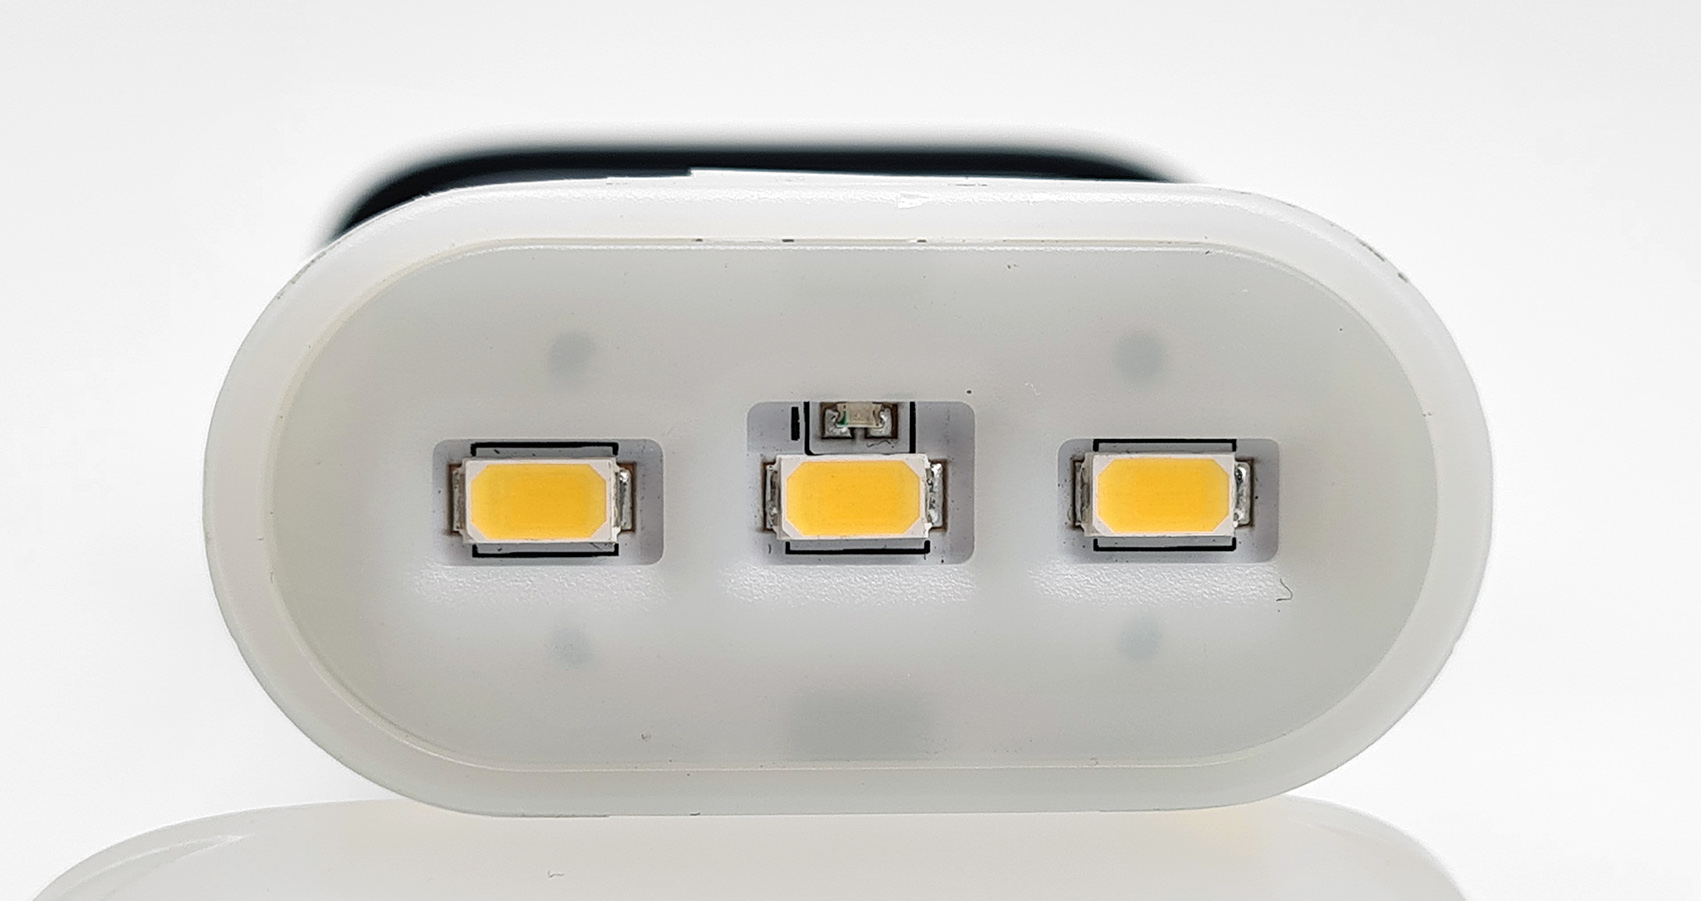
Under the upper central HICRI LED we have a small notification LED with blue color. When we insert the first battery we have flashes that indicate the
voltage of the same. This small LED will also work as a position indicator and as an indicator of the charging status of the LR60.

HOW TO USE:
Used as a Camping Lantern
Dual Power Buttons
The LR60 is equipped with dual power buttons located on both sides of the base which perform the same functions.
On / Off
On: When the light is off, press and hold both buttons until the LOW Level is accessed.
Off: When the light is on, short press both buttons to turn it off.
Brightness Levels
When the light is on, short press either button to cycle through the following brightness levels: MID – HIGH – LOW.
Illuminable Direction Settings
The LR60 has 3 illuminable directions available (top and both sides) for different needs according to the surroundings. When the light is on,press and
hold either button to cycle through the following direction settings: TOP – ONE SIDE – TOP+ONE SIDE – ALL. Release to select the current direction setting.
(This function has mode memory. When reactivated, the LR60 will automatically access the LOW Level of the previous memorized direction setting.)
Special Modes (BEACON / SOS)
When the light is off, press and hold both buttons to cycle through the following modes: LOW – BEACON – SOS. Release to select the current mode.
Turning off the light will exit special modes.
Location Indication
The LR60 is equipped with the Location Indication. With this function turned on, the blue indicator located at the top of the product will flash once every
2 seconds to indicate the location of the LR60. When the light is on, press and hold both buttons for over 2 seconds to turn off the light and access
Location Indication. With 2 x 21700 Li-ion batteries, the standby time is approx. 6 months with Location Indication turned on and approx. 12 months with
this function turned off. Reactivating the LR60 will turn off this function.
Power Indication
1 - When the battery is inserted, the blue indicator will flash to show the battery voltage (±0.1V).
Note: This function only applies to the first put-in 1 x 21700/18650 battery or 2 x CR123/RCR123 batteries. When using 2 x CR123/RCR123 in series,
the indicator will show the average voltage between the two batteries.
2 - When the light is off, short press either button and the power indicator will flash to indicate the remaining power of the batteries:
- Flashing three times indicates that the power is above 50%.
- Flashing twice indicates that the power is below 50%.
- Flashing once indicates that the power is below 10%.
Note: The batteries should be replaced or recharged when the output appears to be dim or the product becomes unresponsive due to low power
USB Charging
Connect to a power source: Connect the LR60 to an external power source (a USB adapter, a power bank or other USB charging devices) via the USB charging cable
through the USB input port to begin charging. (Input: 5V⎓2A / 9V⎓2A / 12V⎓1.5A)
Charging indication: During the charging process, the blue indicator will flash slowly. When the charging process is complete, the blue indicator will turn on constantly.
The charging time for 2 x 21700 Li-ion batteries (5,000mAh) with fast charge is approx. 4.5 hours.
Note: The light of the LR60 is still able to turn on during the USB input process. (HIGH Level excluded)
Over-Discharged Li-ion Battery Activation
The LR60 is capable of activating over-discharged Li-ion batteries with a protective circuit. After the battery insertion,
the LR60 will test and activate the batteries when necessary.
Used as a Power Bank
USB Output
The LR60 is equipped with USB output to charge an external USB device as a power bank.
Connect to an external device: Connect the LR60 to an external USB device via the USB charging cable through the USB output port to begin charging.
(Output: 5V⎓3A / 9V⎓2A / 12V⎓1.5A)
Output indication: During the output process, the blue indicator will turn on constantly.
Note: The light of the LR60 will automatically turn off when the USB output power reaches too high with the light on.
BEAM and RUNTIME
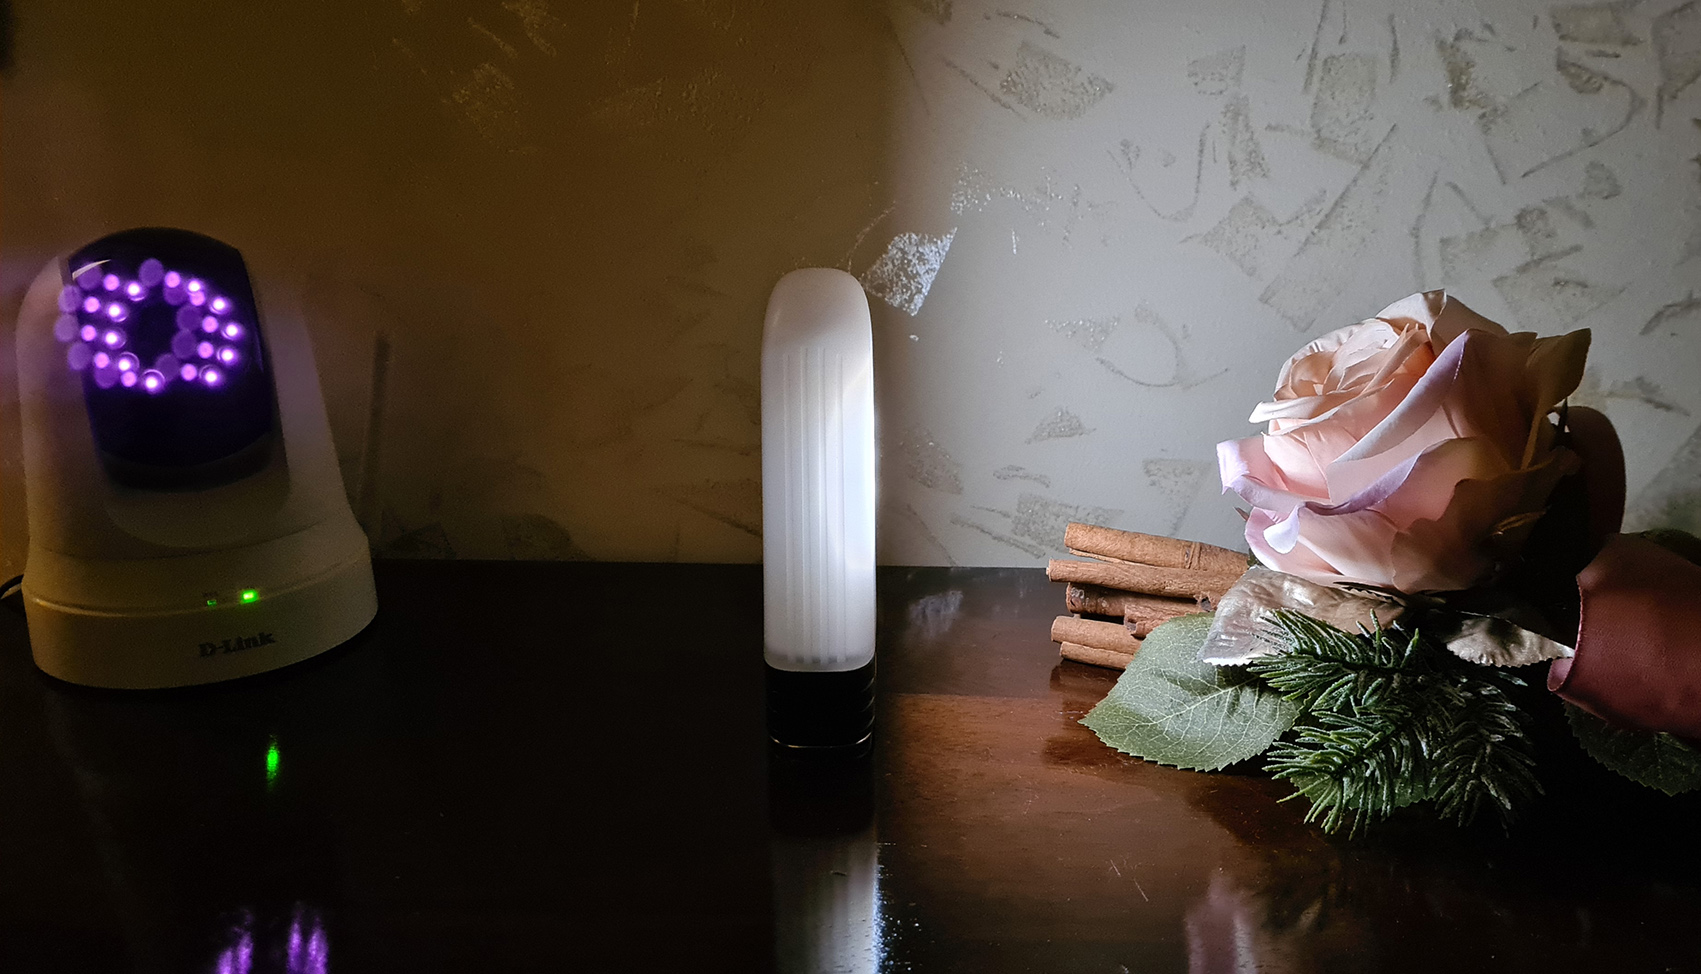
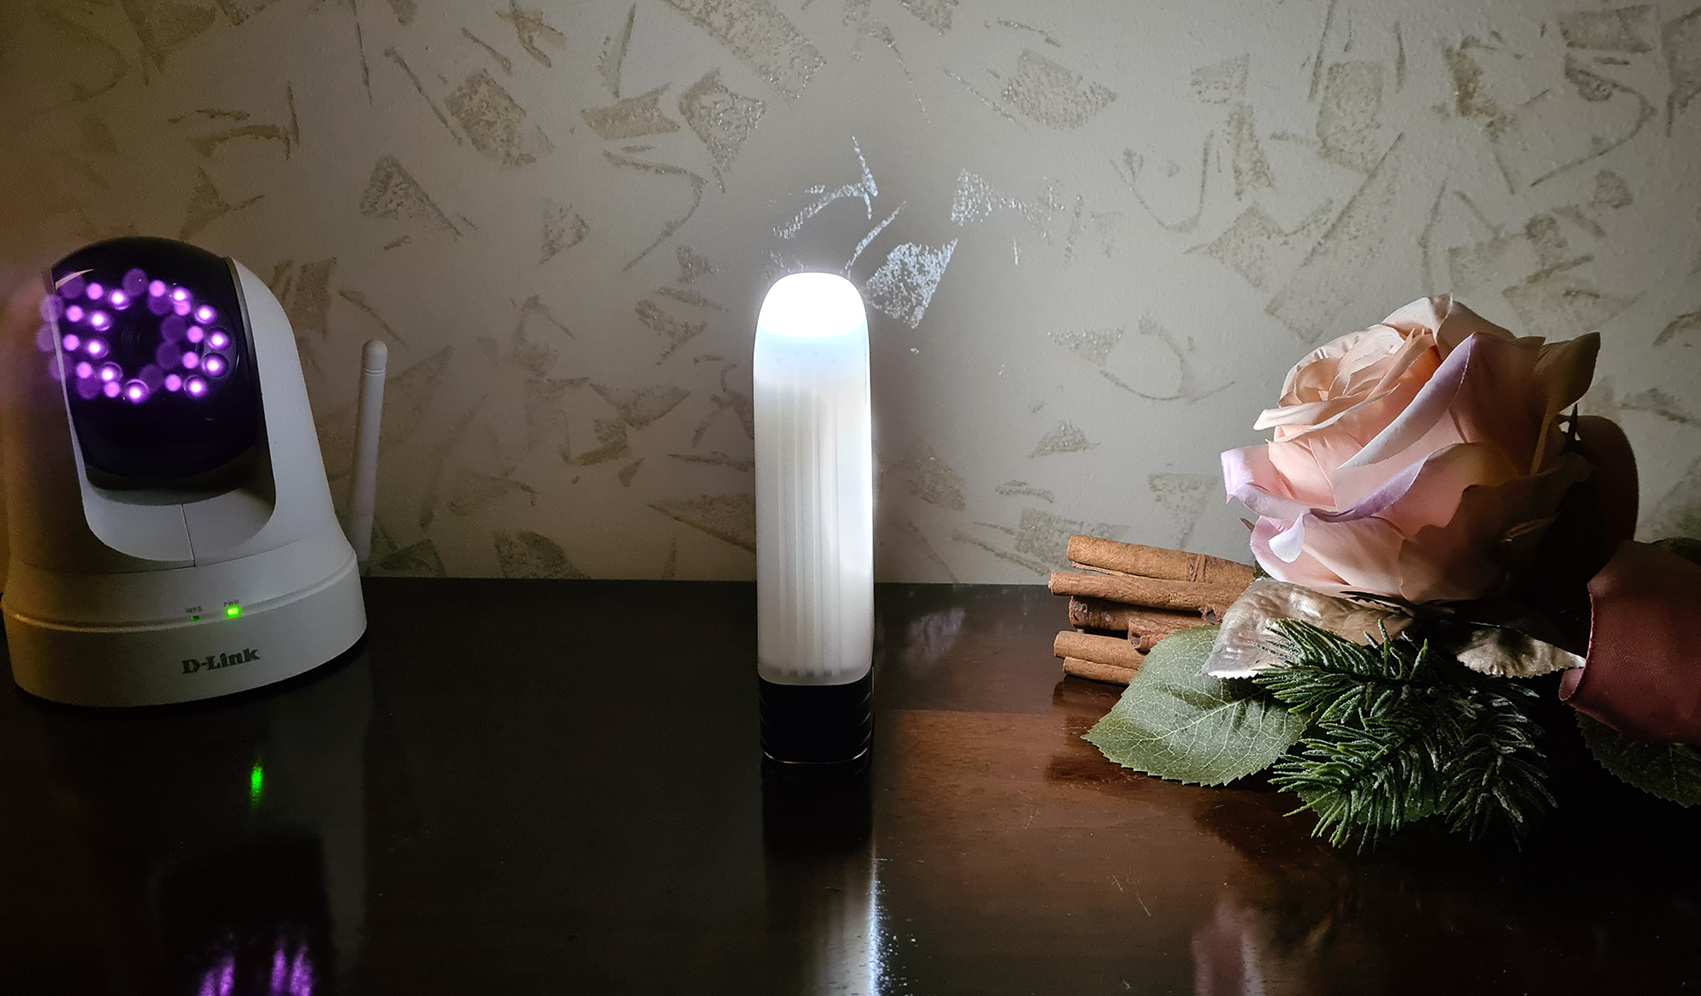
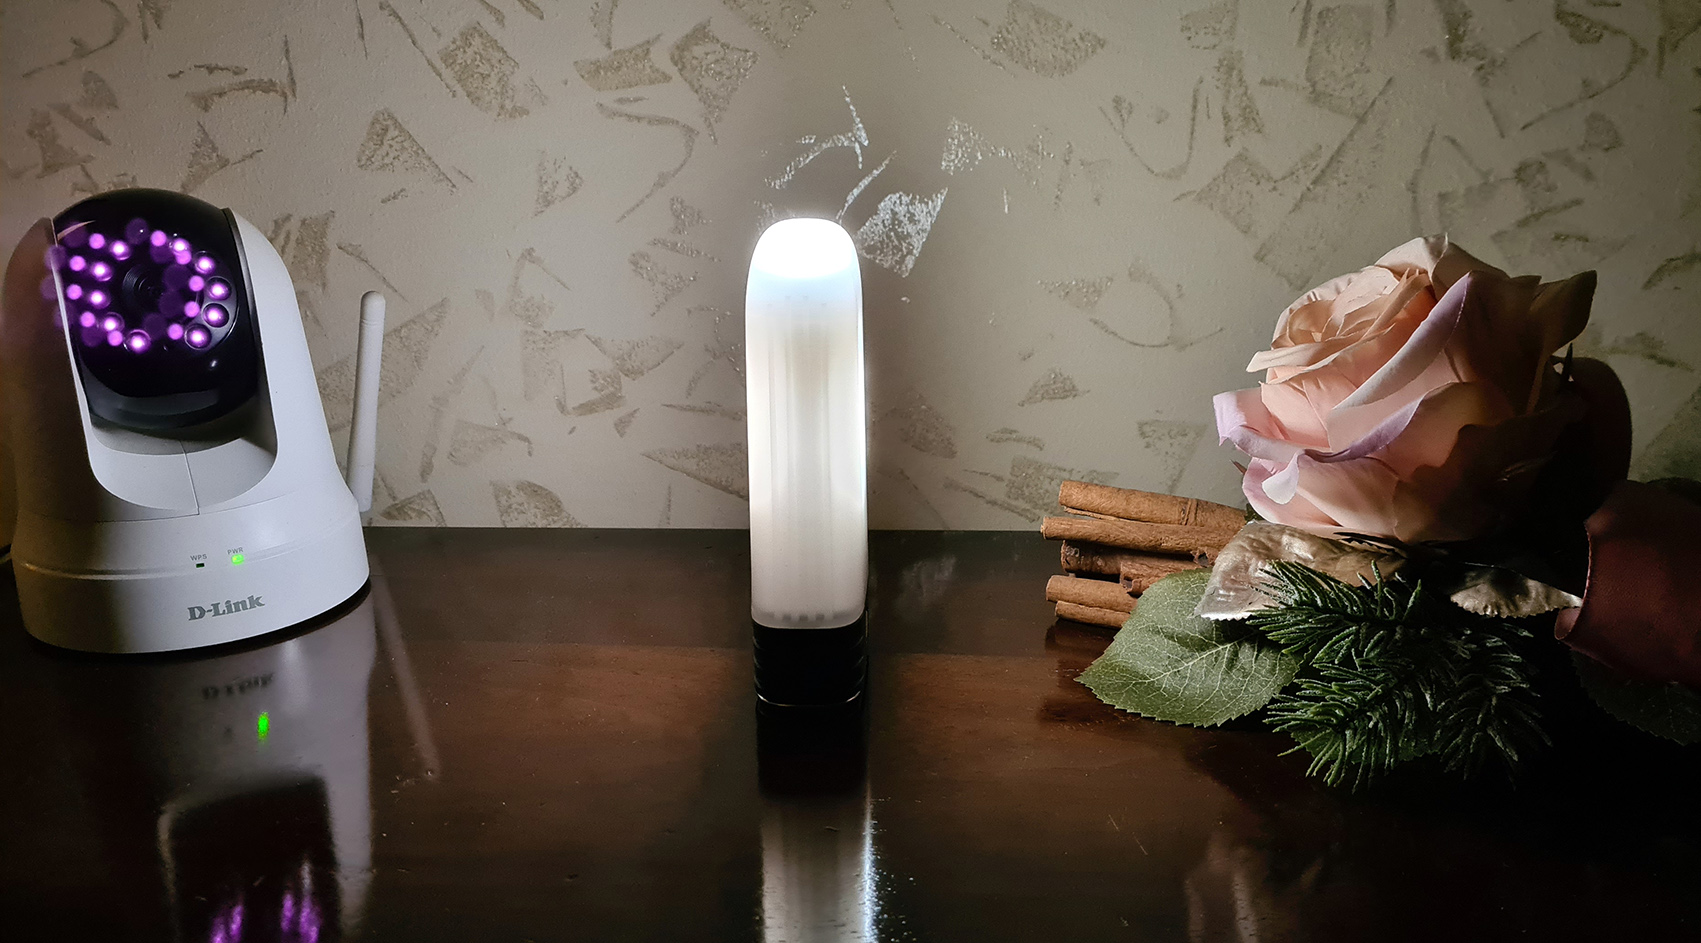
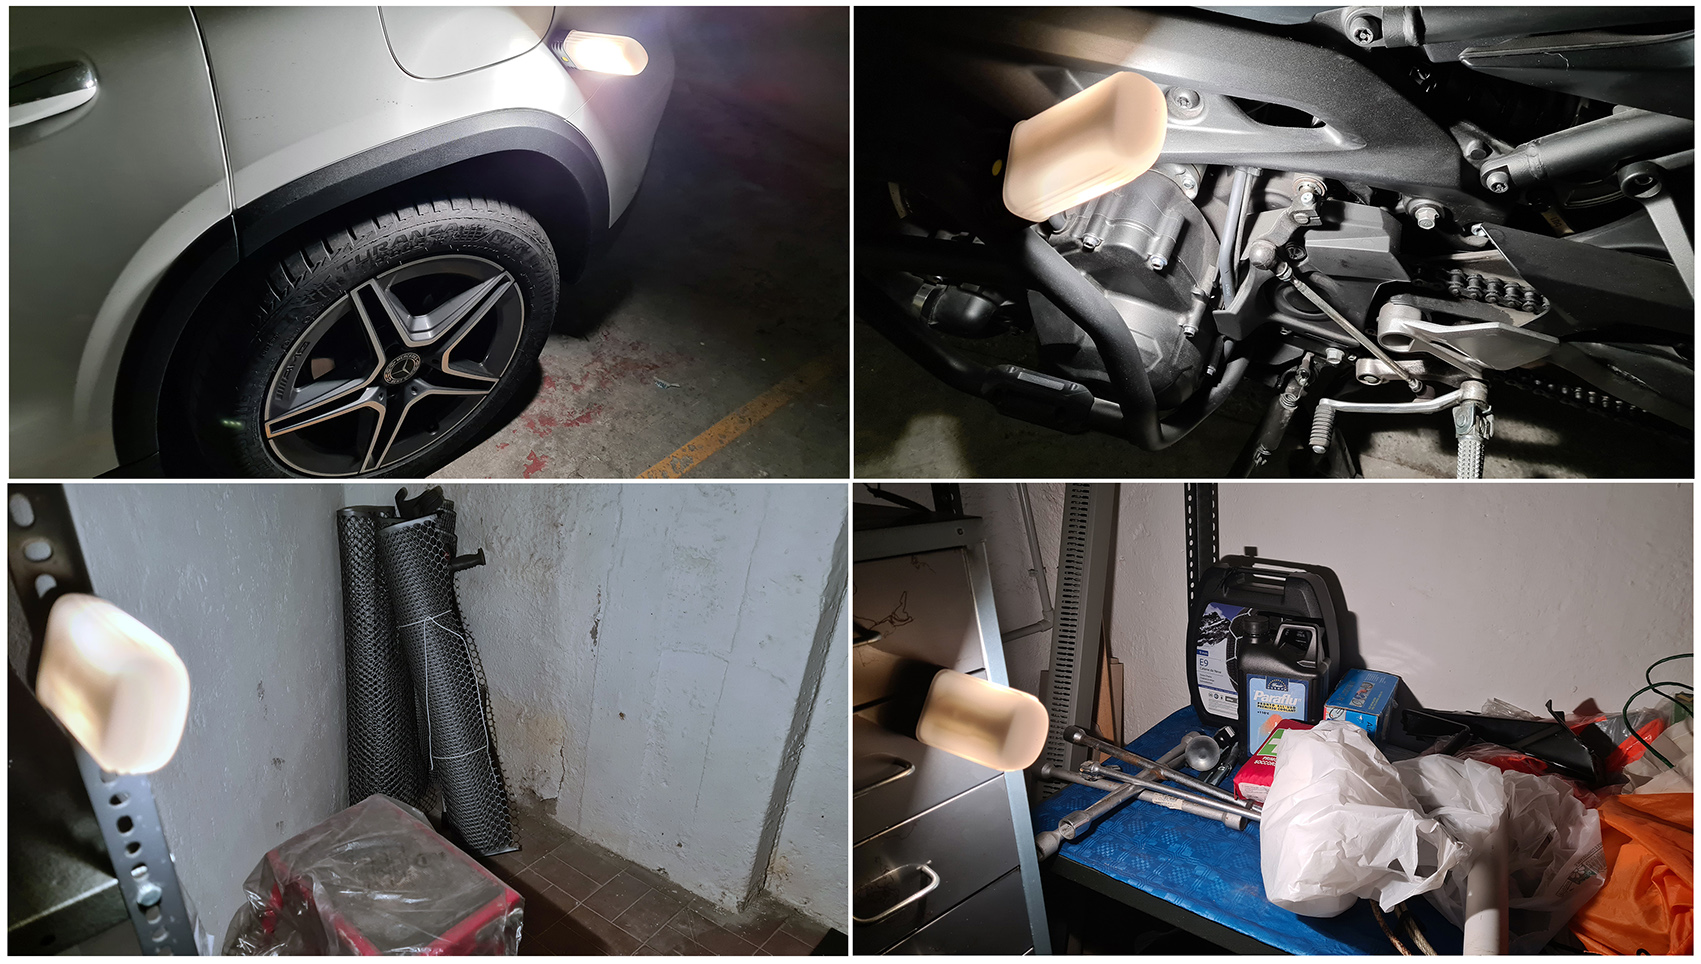
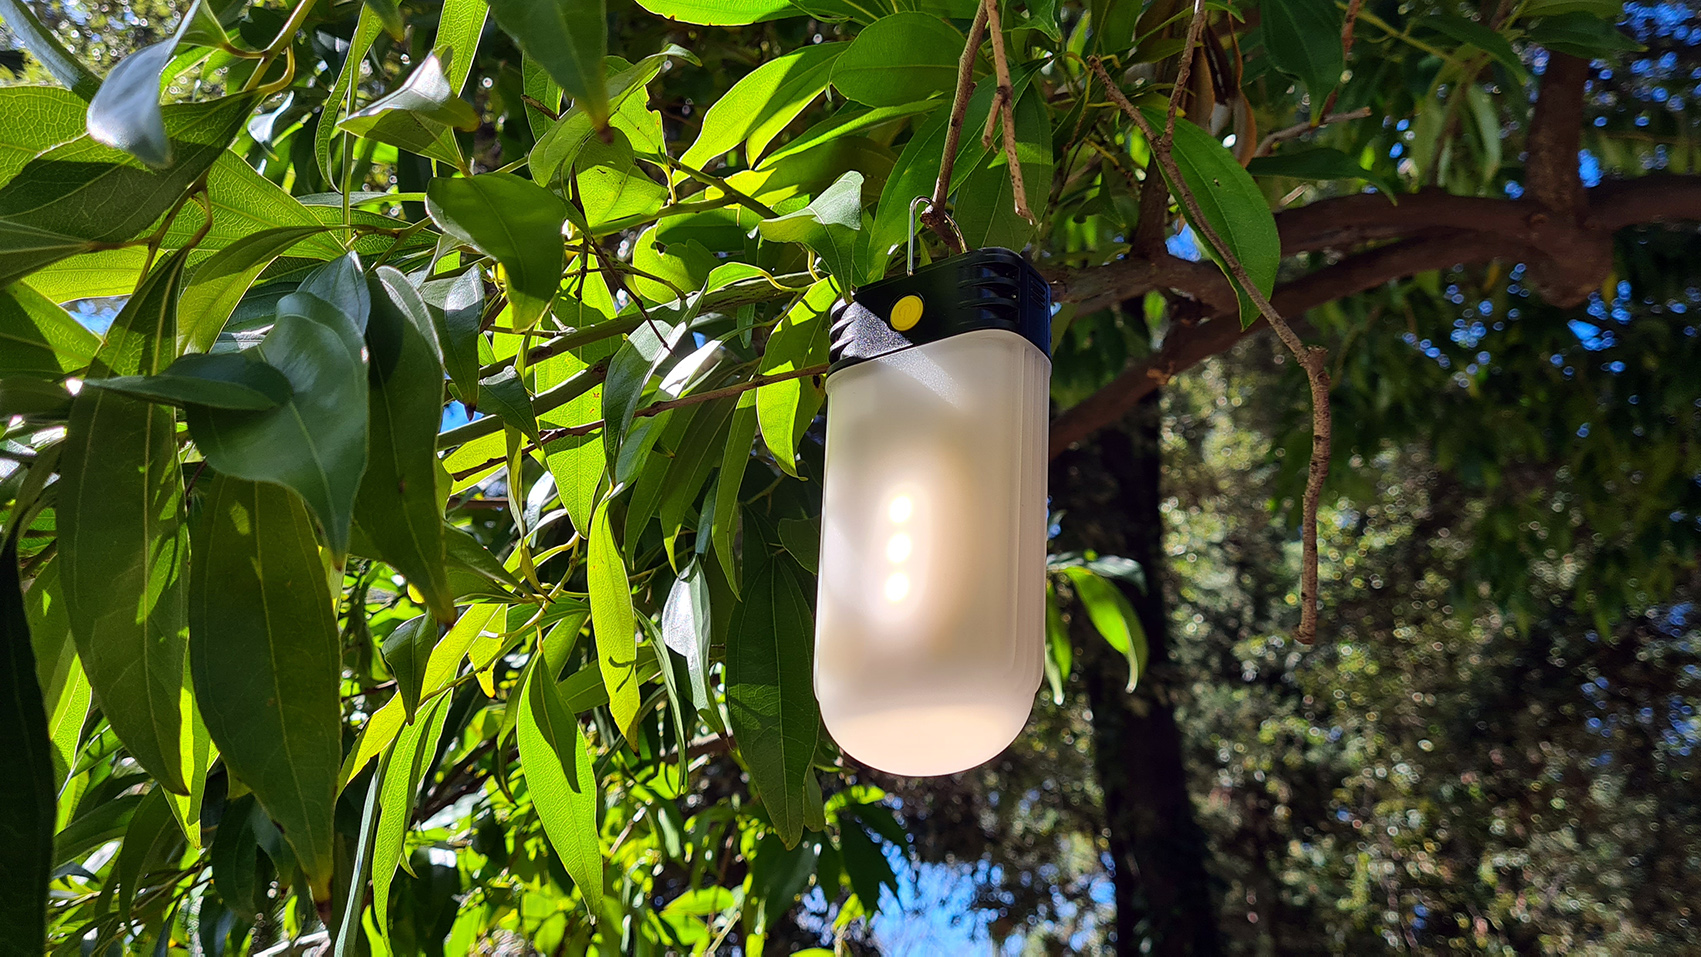
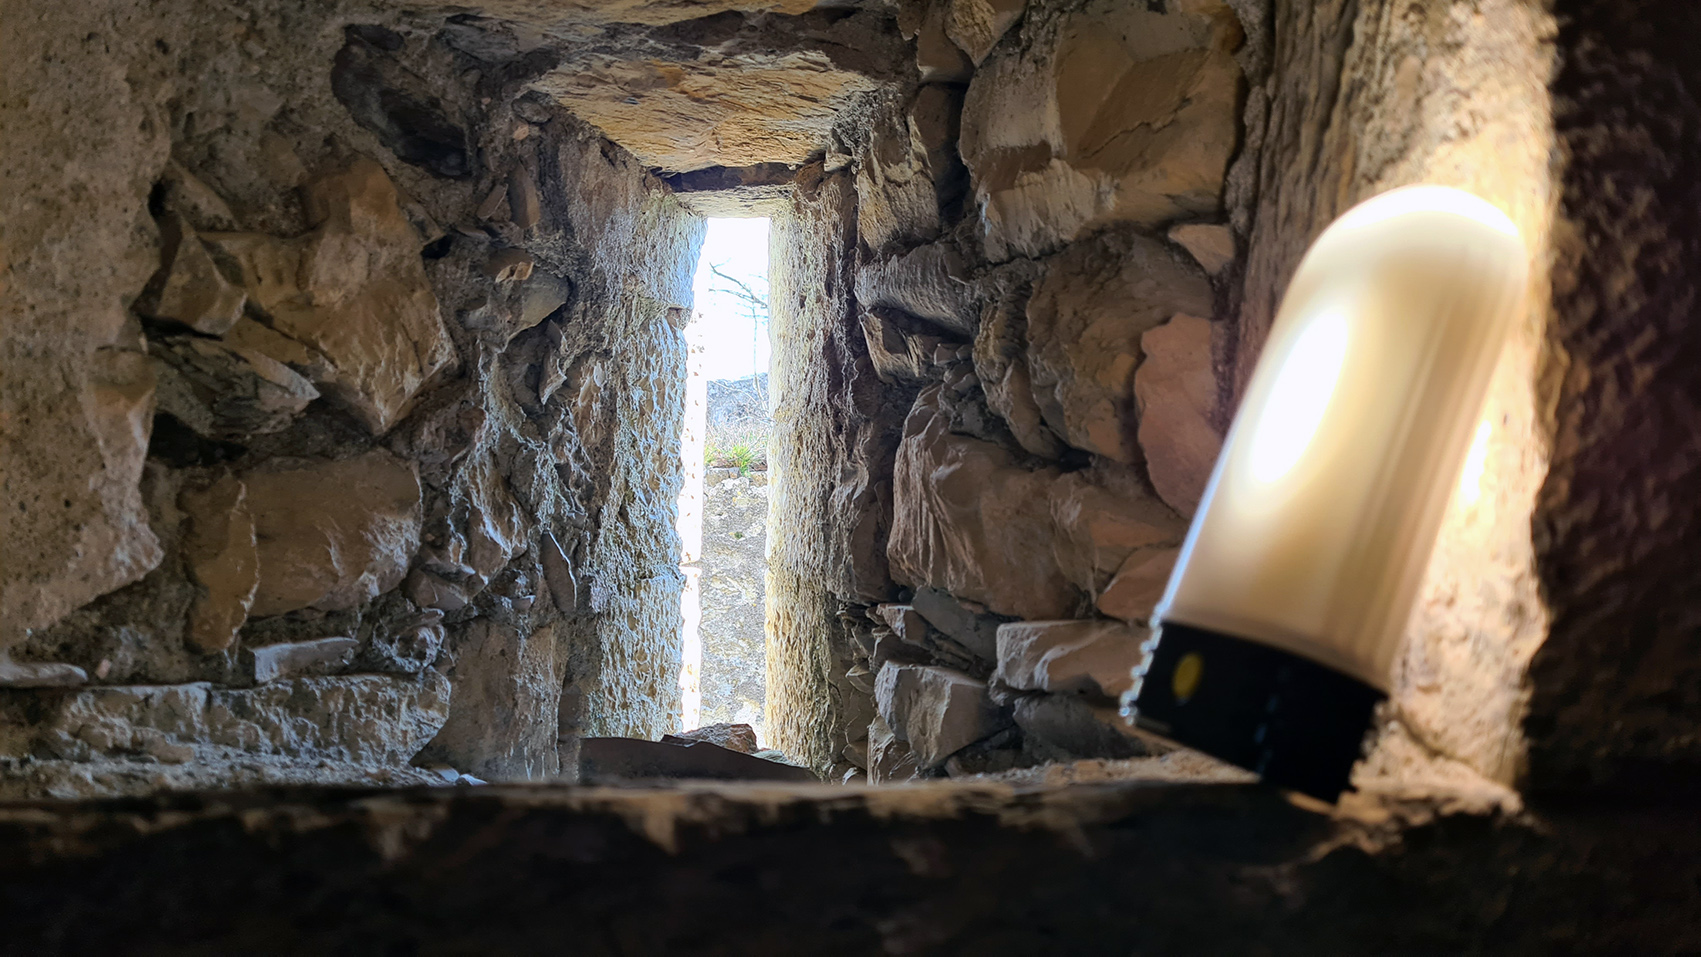
The diffused beam of the Nitecore LR60 is beautiful with an excellent tint thanks to the high color rendering index (CRI≥90) and its 280 lumens
developed at maximum brightness. Excellent runtime that can cover up to 150 hours. Nitecore LR60 has multiple lighting directions, to exclude the
part that is not needed to illuminate, also saving battery. I don't notice any PWM to the eye. Let's see some examples with the Low level of 6 lumens.
Nitecore LR60 next to the previous Nitecore LR50 and next to the Olight lantern.

https://www.youtube.com/embed/3f_DkKlVZNU
CONCLUSIONS
The update of the Nitecore LR60 lantern is very interesting, making it even more usable and performing. The Nitecore LR60 can use various types
of batteries to be powered, has a fast recharge and can also be used as a Power Bank for fast recharging of other electronic devices. Therefore,
the autonomy increases, which now reaches 150 hours and increases the light intensity which passes to 280 lumens.
The use of the LR60 is facilitated by a powerful magnet in the tail and a steel hook.
It has excellent light quality thanks to the 9 High CRI (≥90) LEDs, the 3 selectable levels and the possibility to choose the direction of the light.
In conclusion, it is a really useful object on many occasions which I definitely recommend purchasing.
Thank you for reading the review.
