PeyoX's 11th Annual Old Lumens Challenge Entry - Machine Made Category

Hiya guys, gonna join this great event as my first time at the very-very limited time! :smiley:

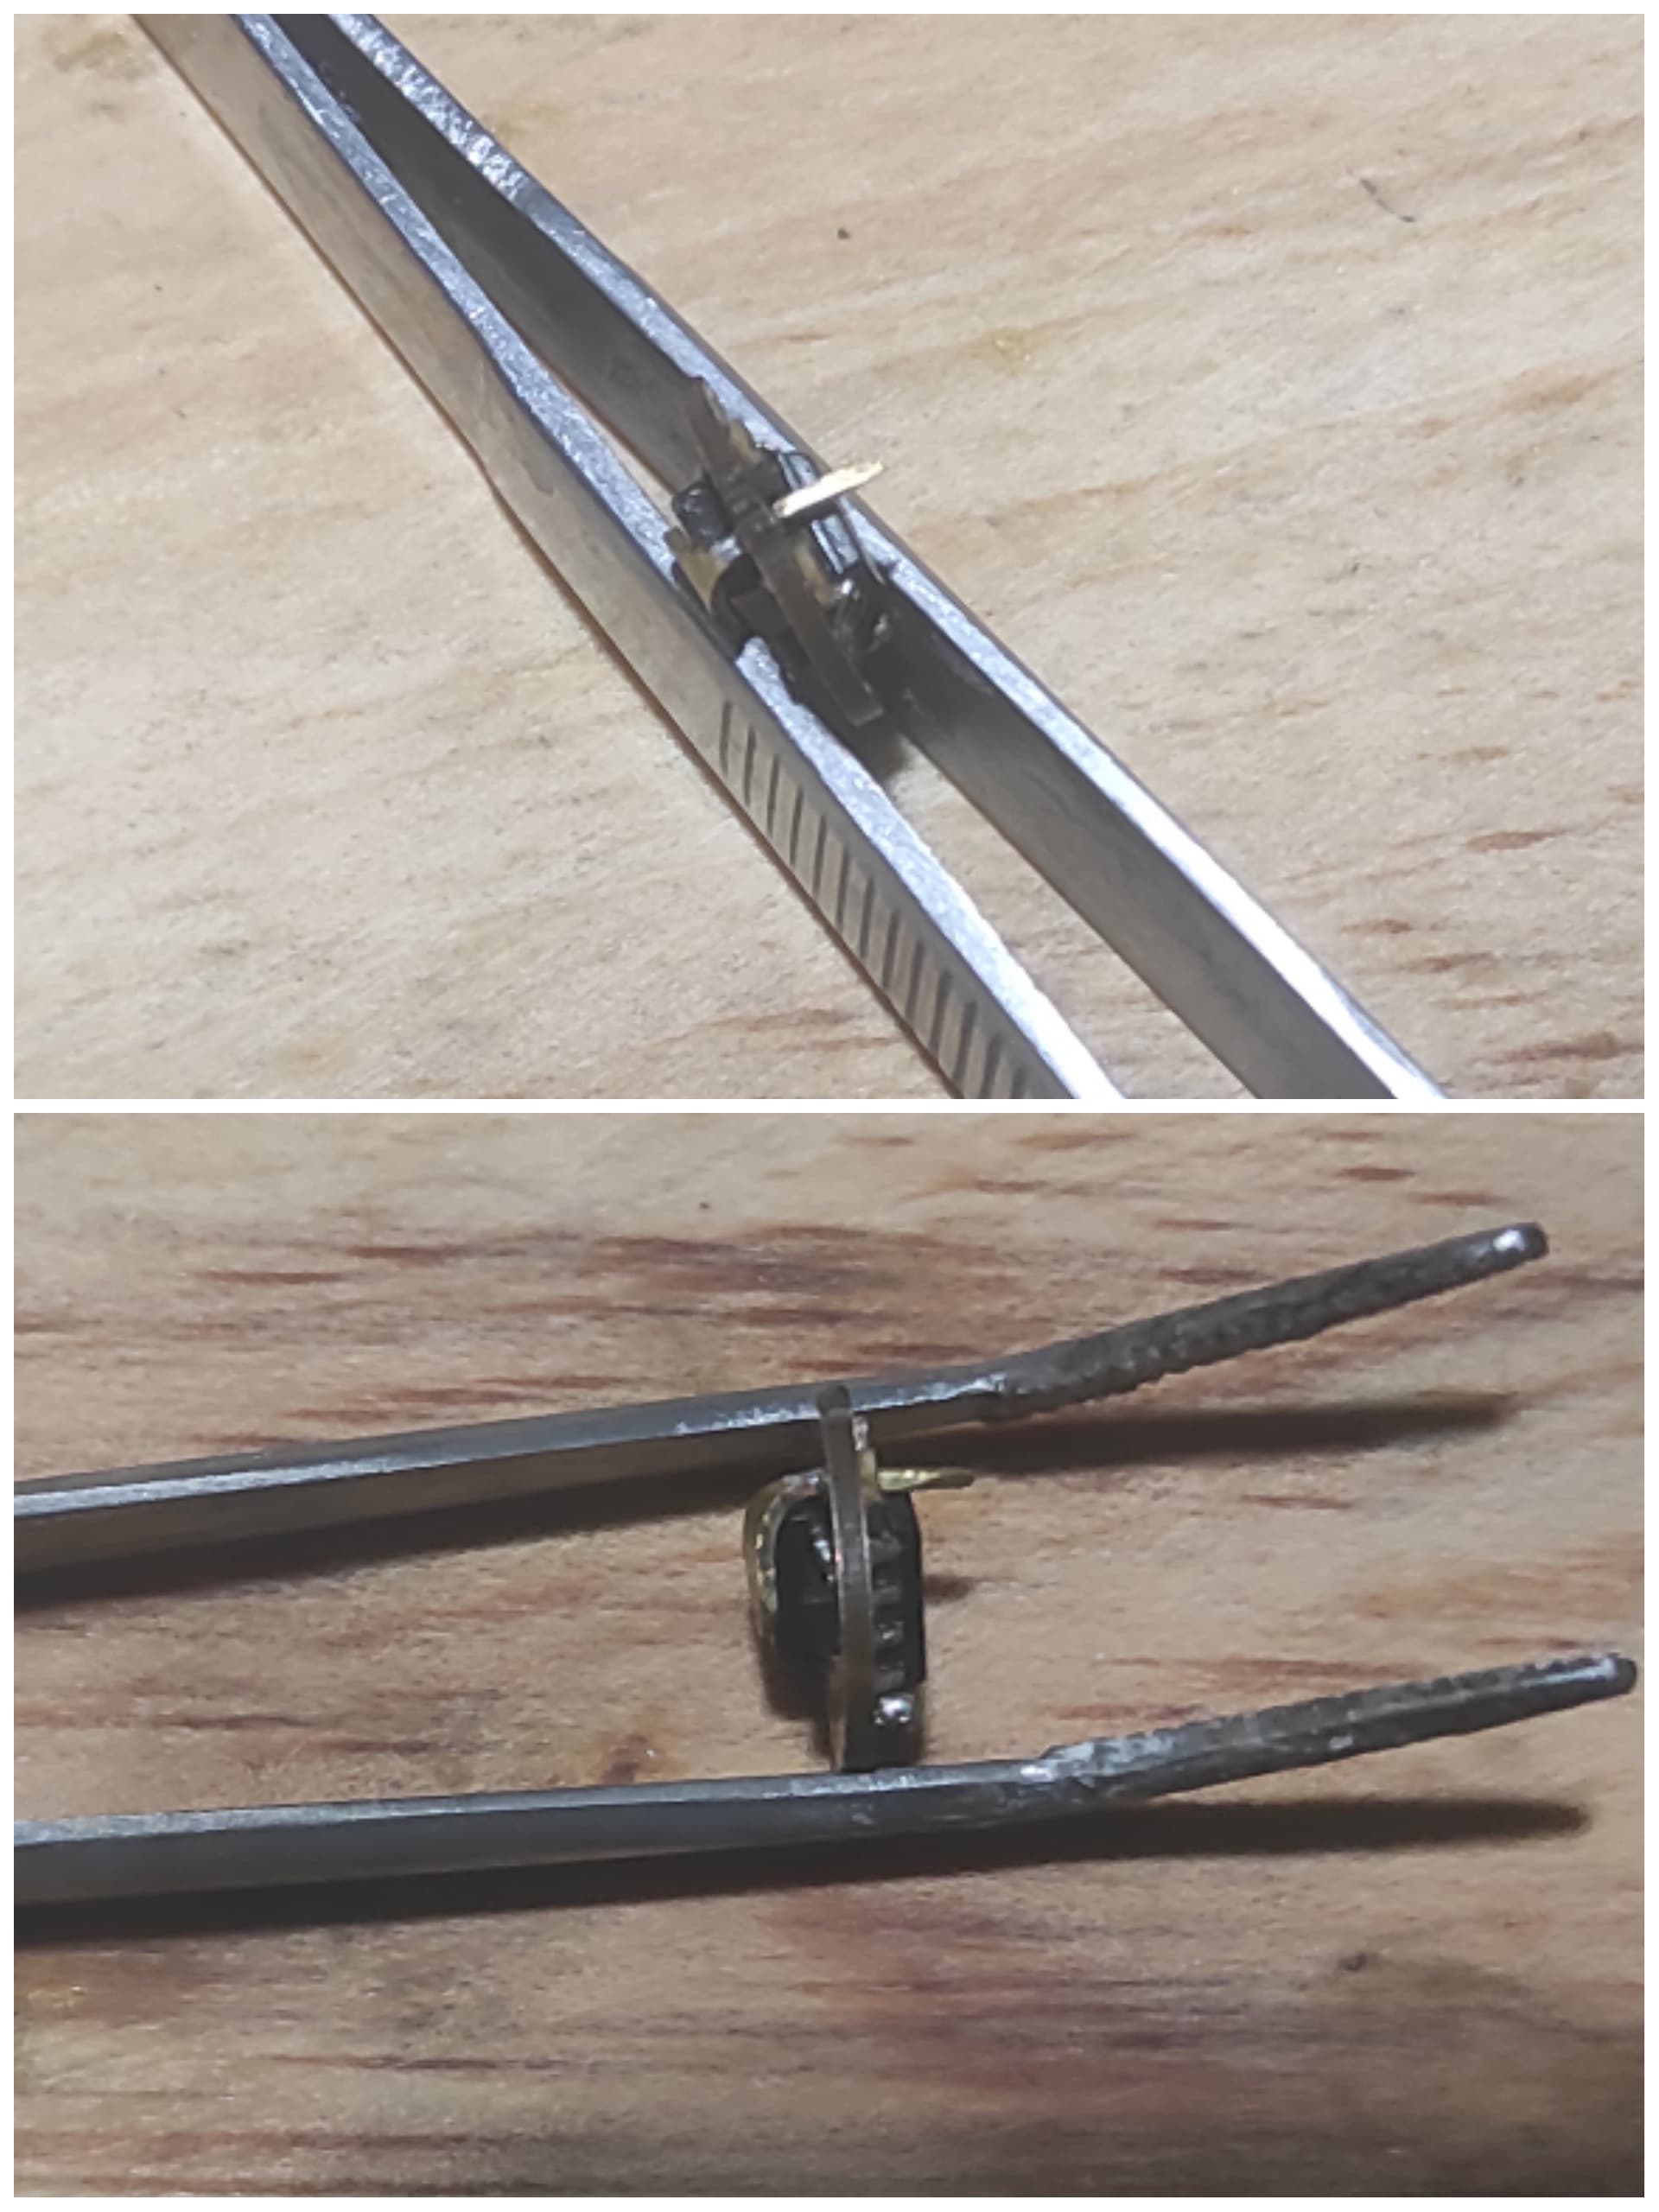
So, after I saw this year’s event going live, I want to make a lil bit “shorty than a regular clicky” AAA sized tail-switch light with High CRI LED and latest Anduril2 firmware, no FET. But, as the time goes am haven’t been able to make it happen this year till this post made, caused by my lack of doing the firmware mod and components availability–couldn’t get the t1616 fast enough nor even designing the driver/switch board in time. Tried to mod two gt nano/frog from NarsilM to Anduril2 and tail-switch setup, but failed, maybe I bricked them (HEX:0x00) lol


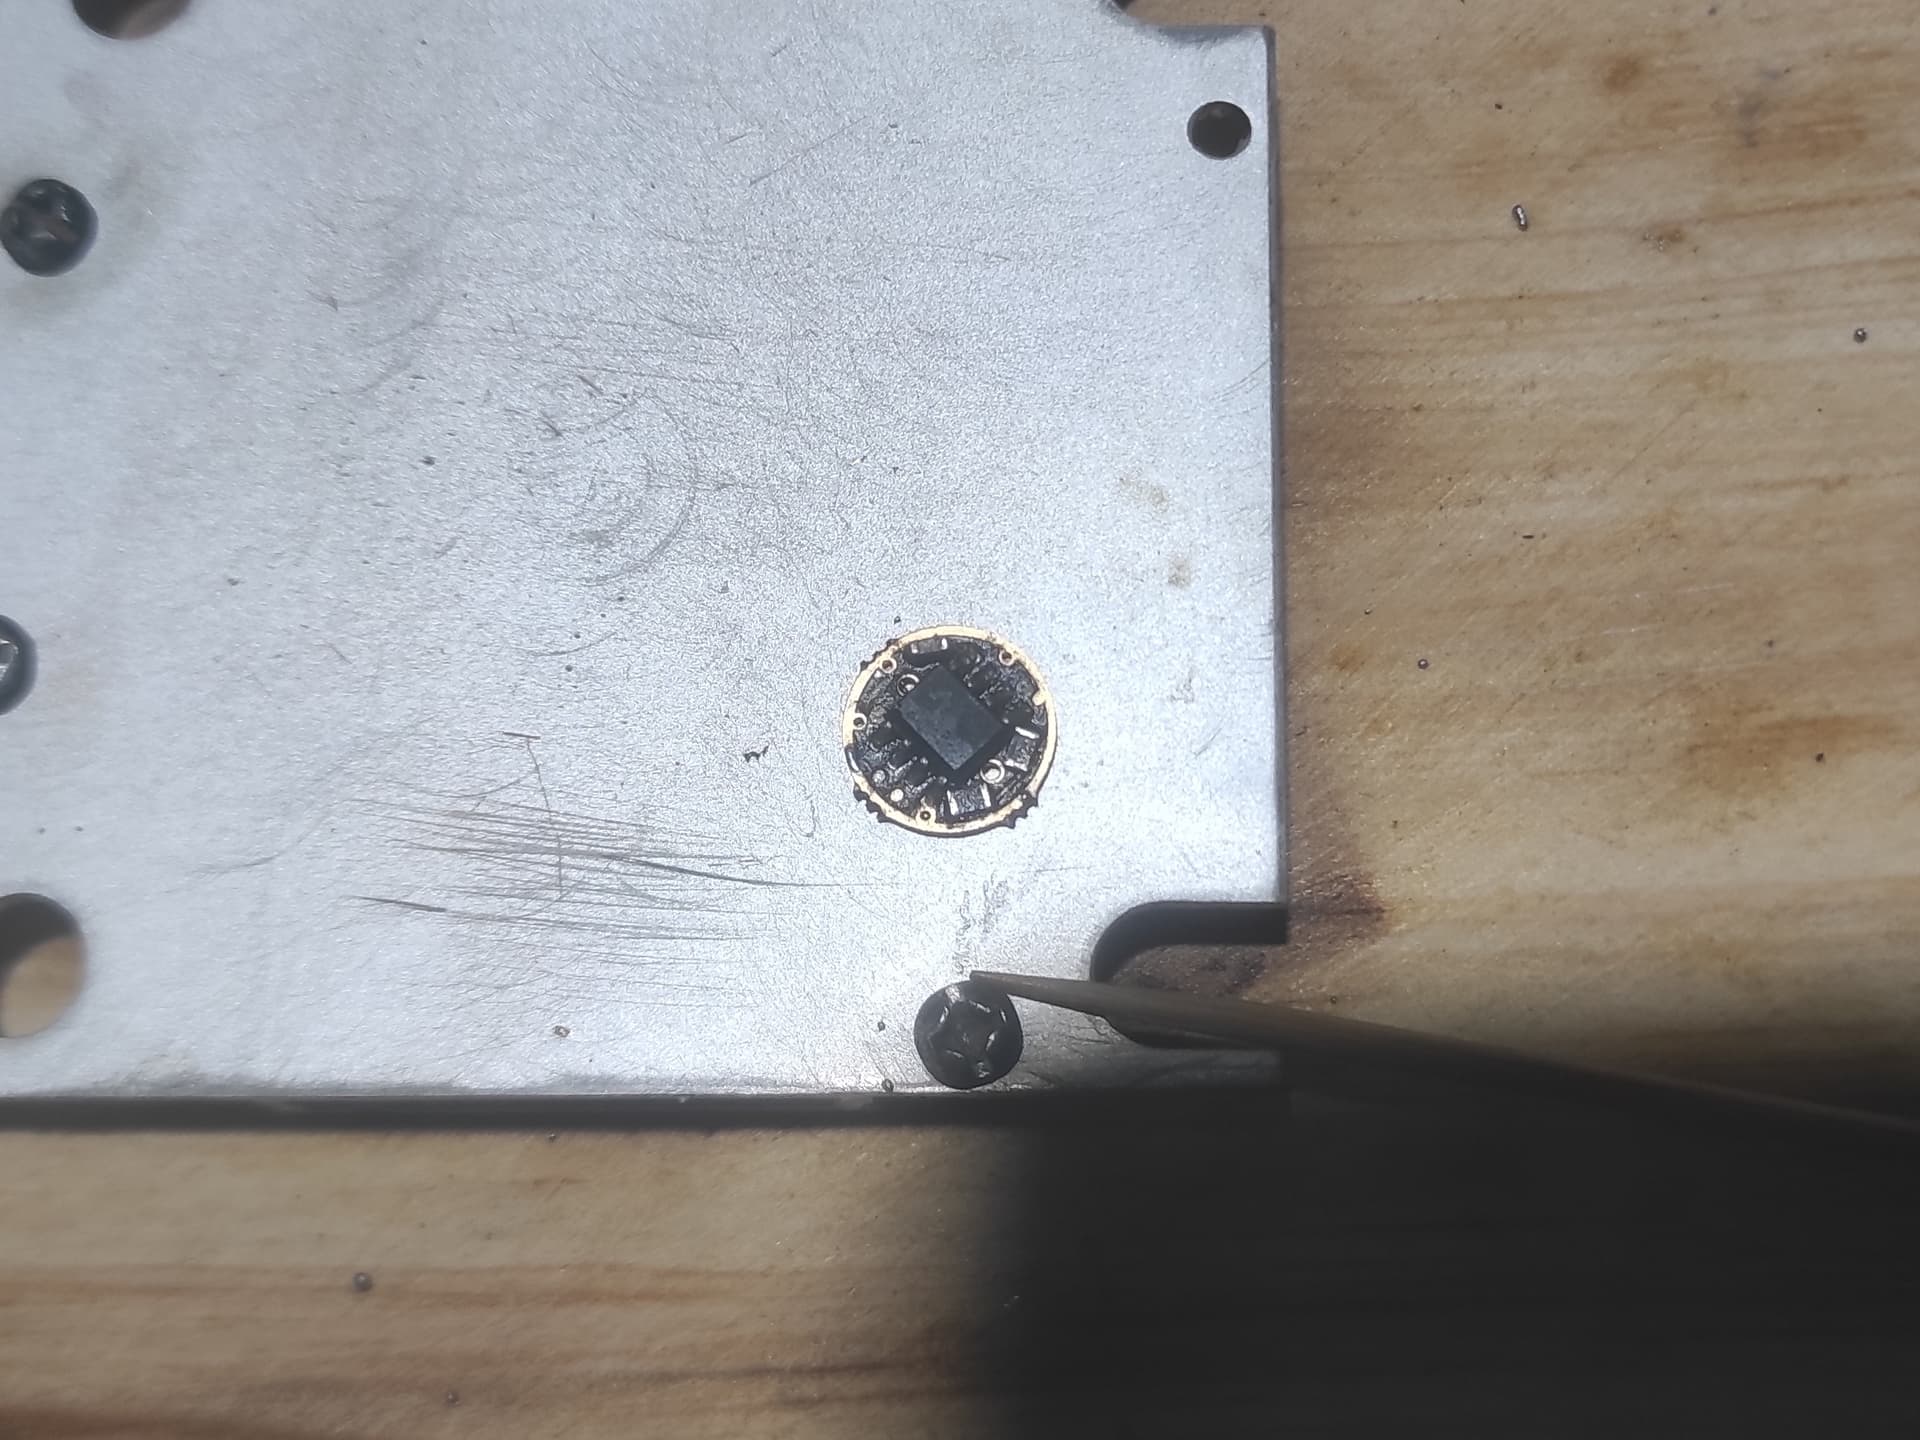
Because of that, am going with the classy Tiny10 as my last option for a small driver board. It was given by @lumenzilla years ago, thanks, Om! :pray:

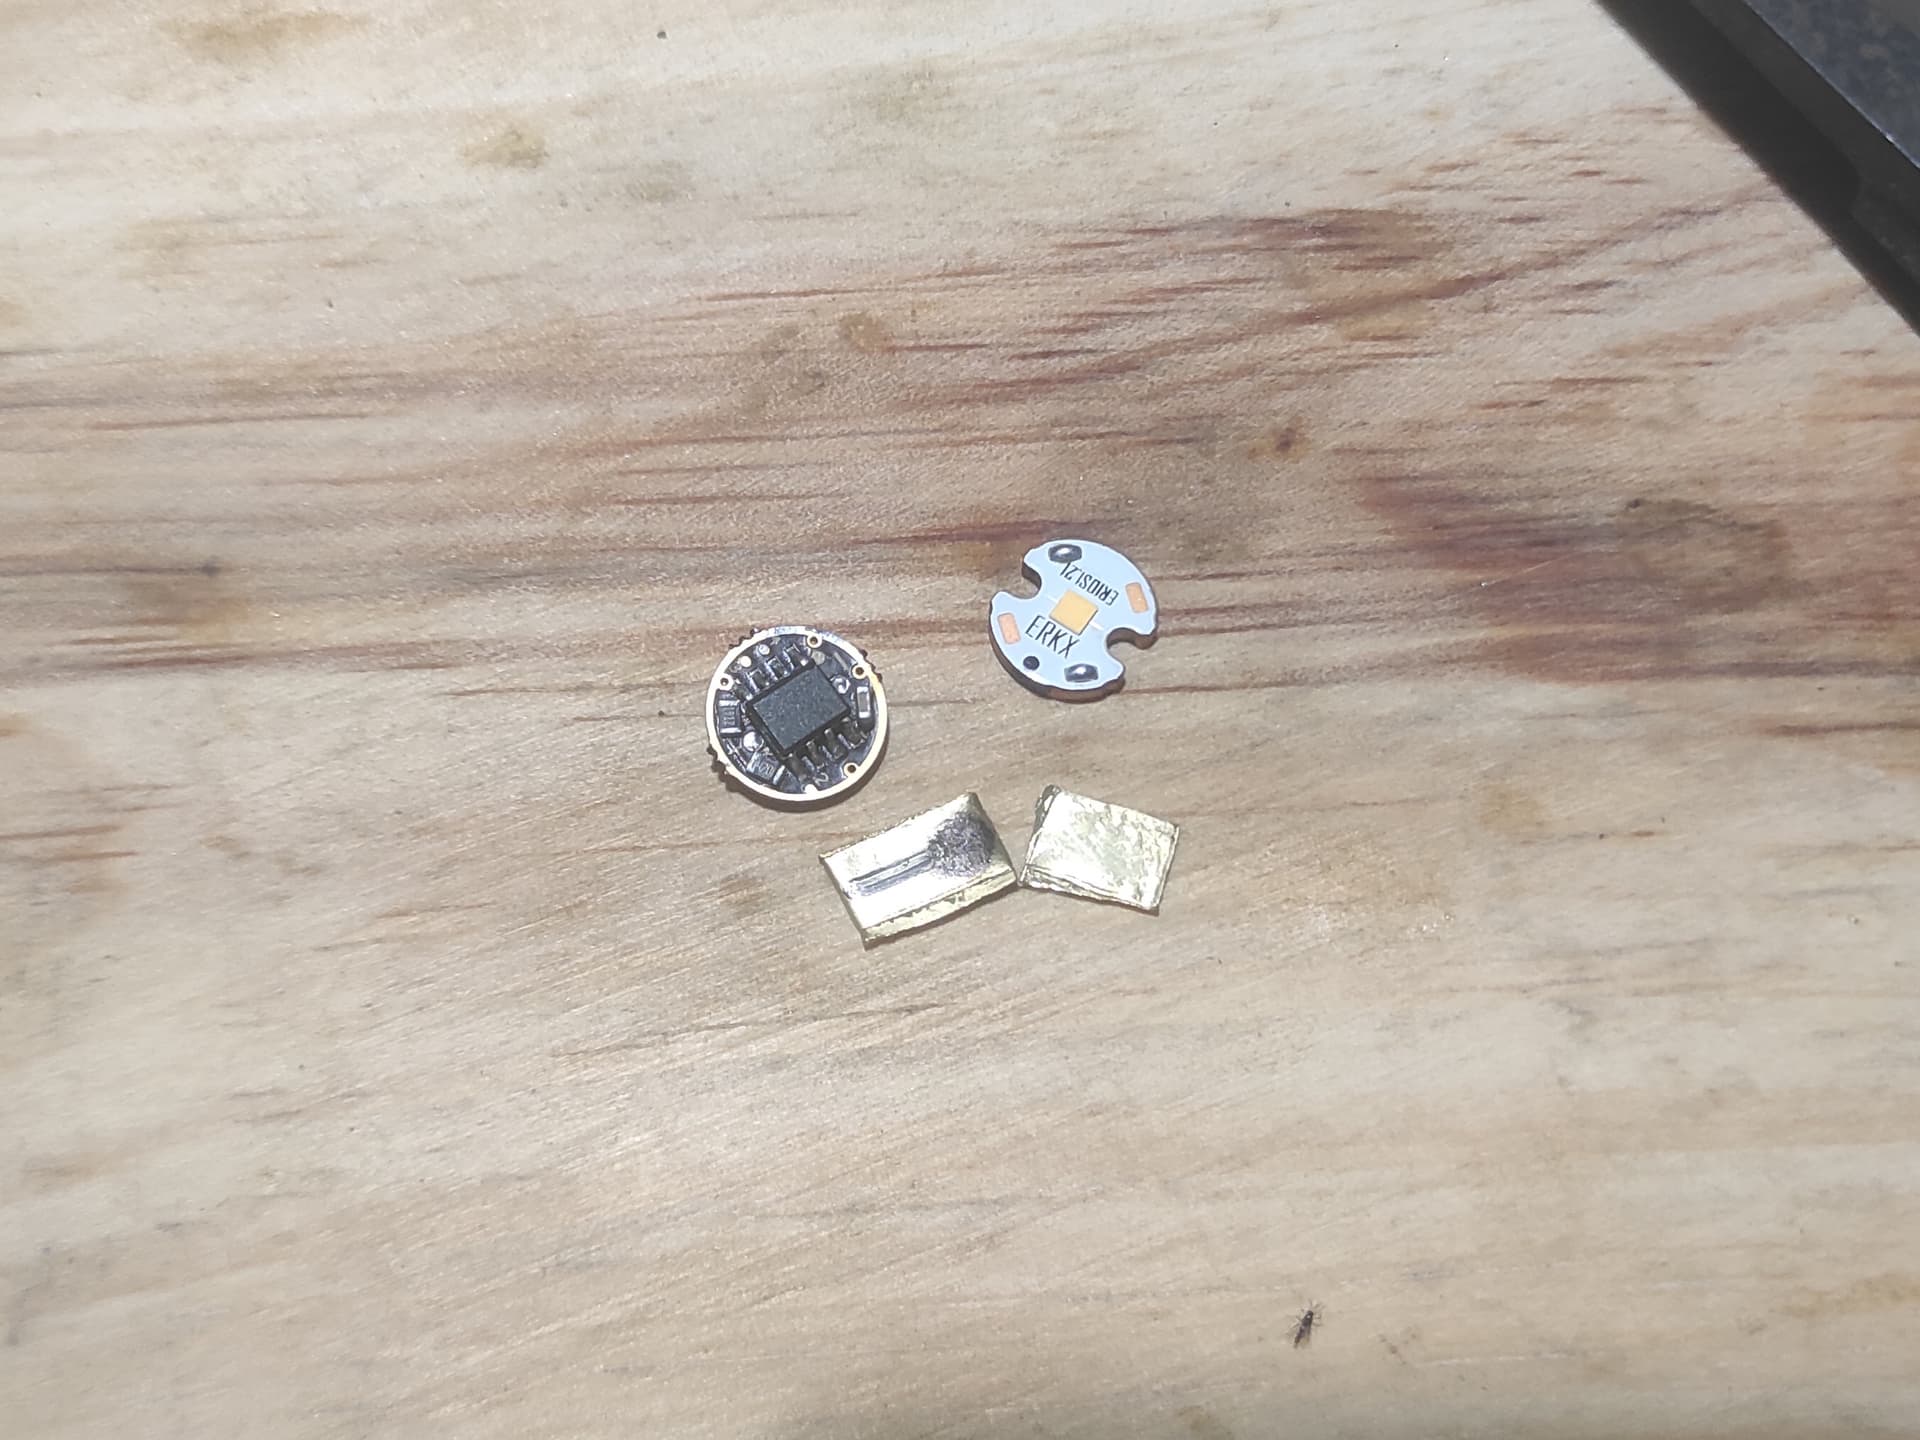
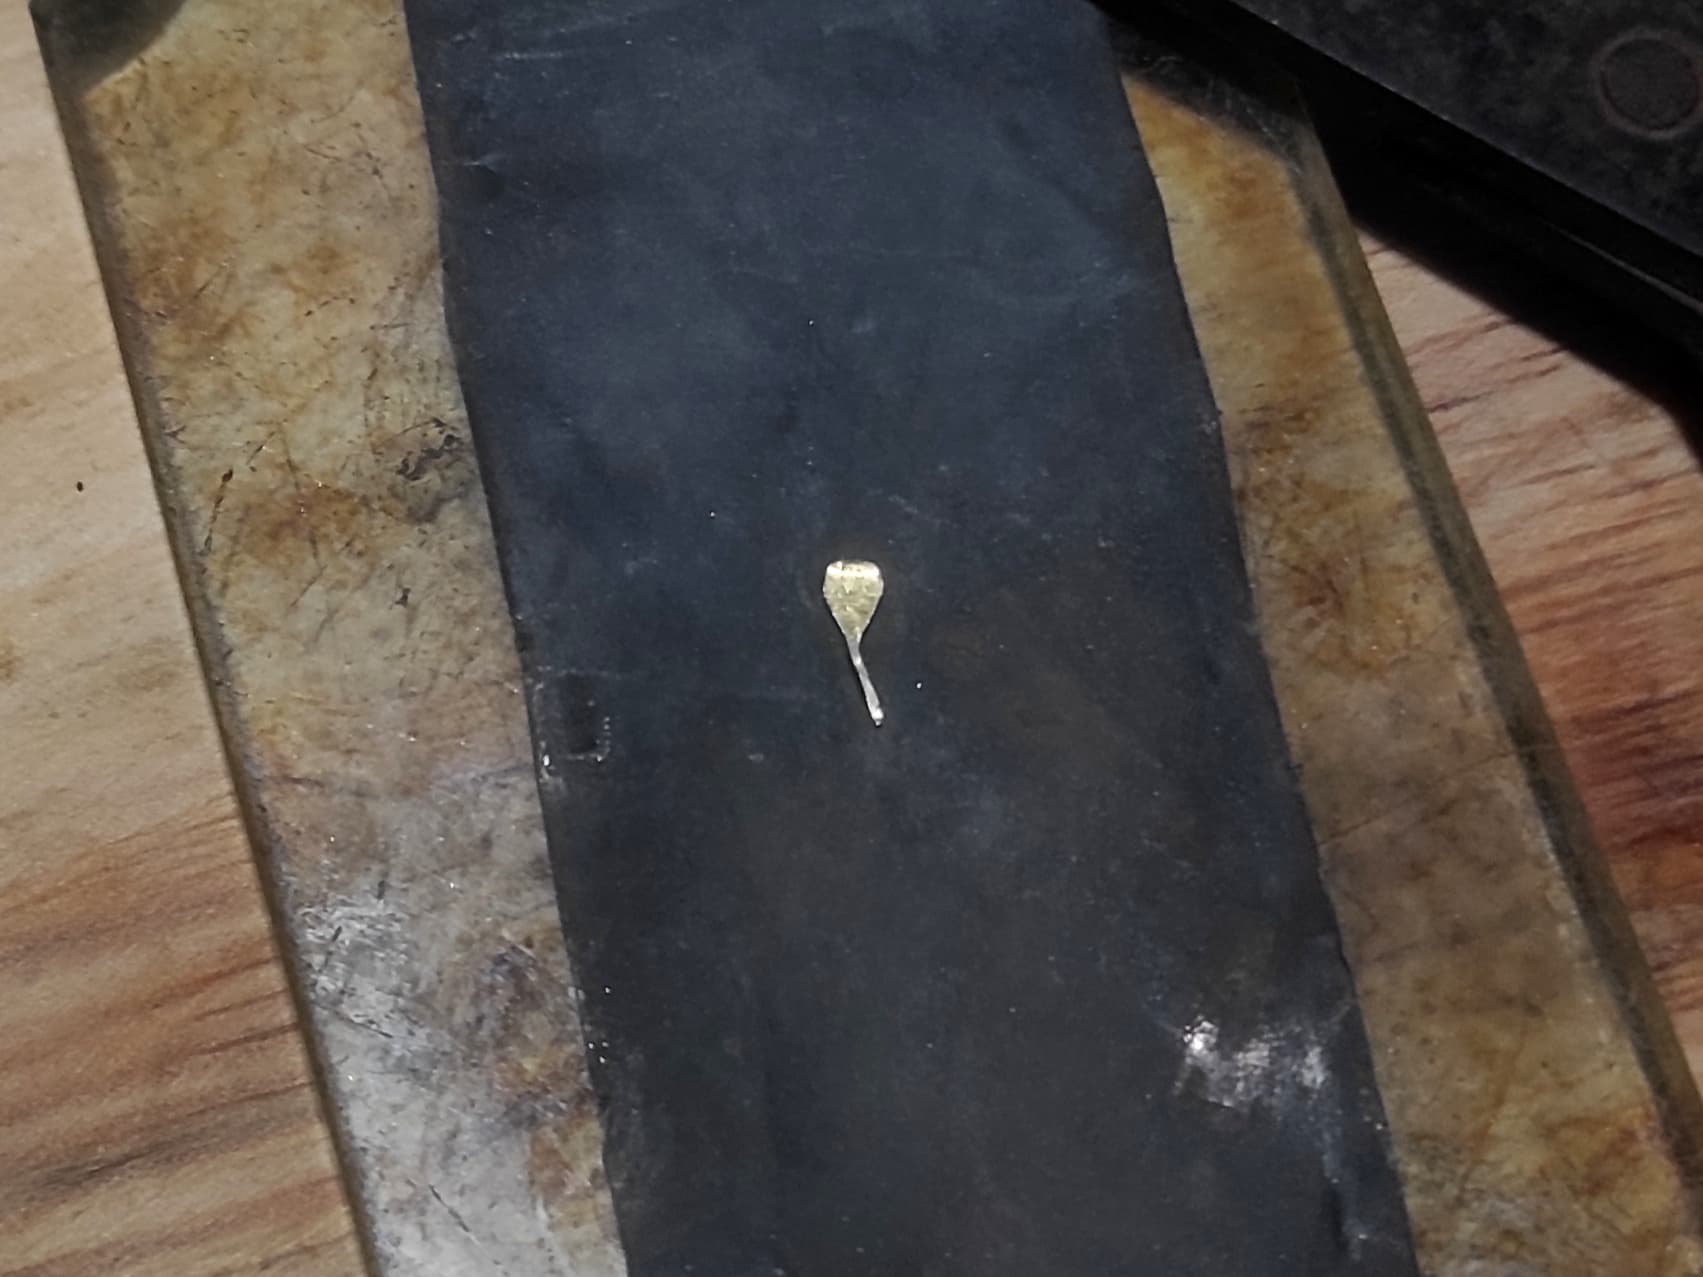
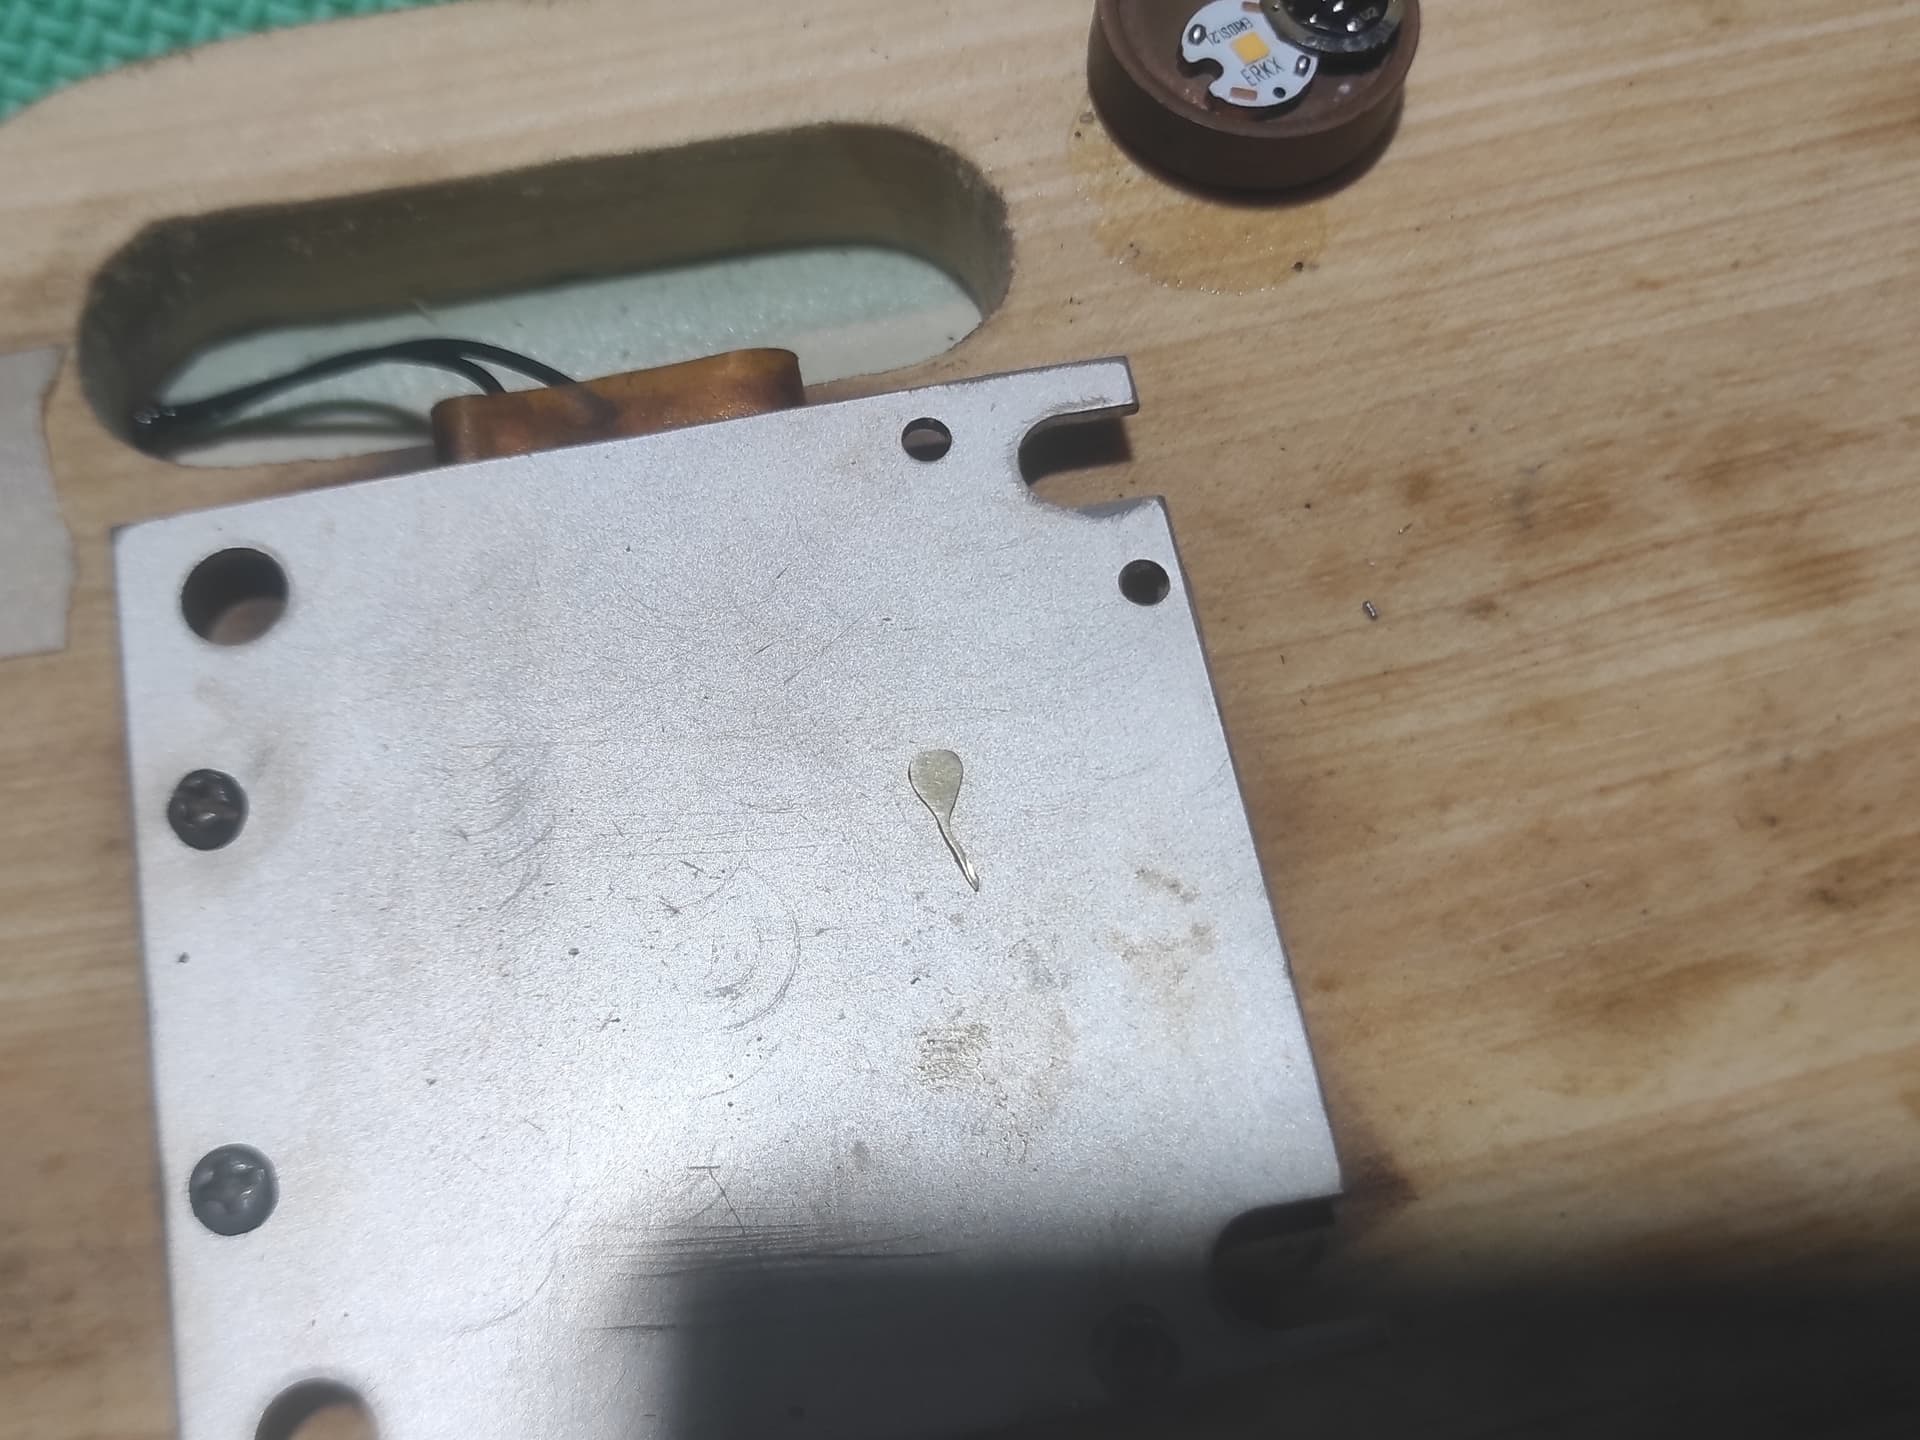
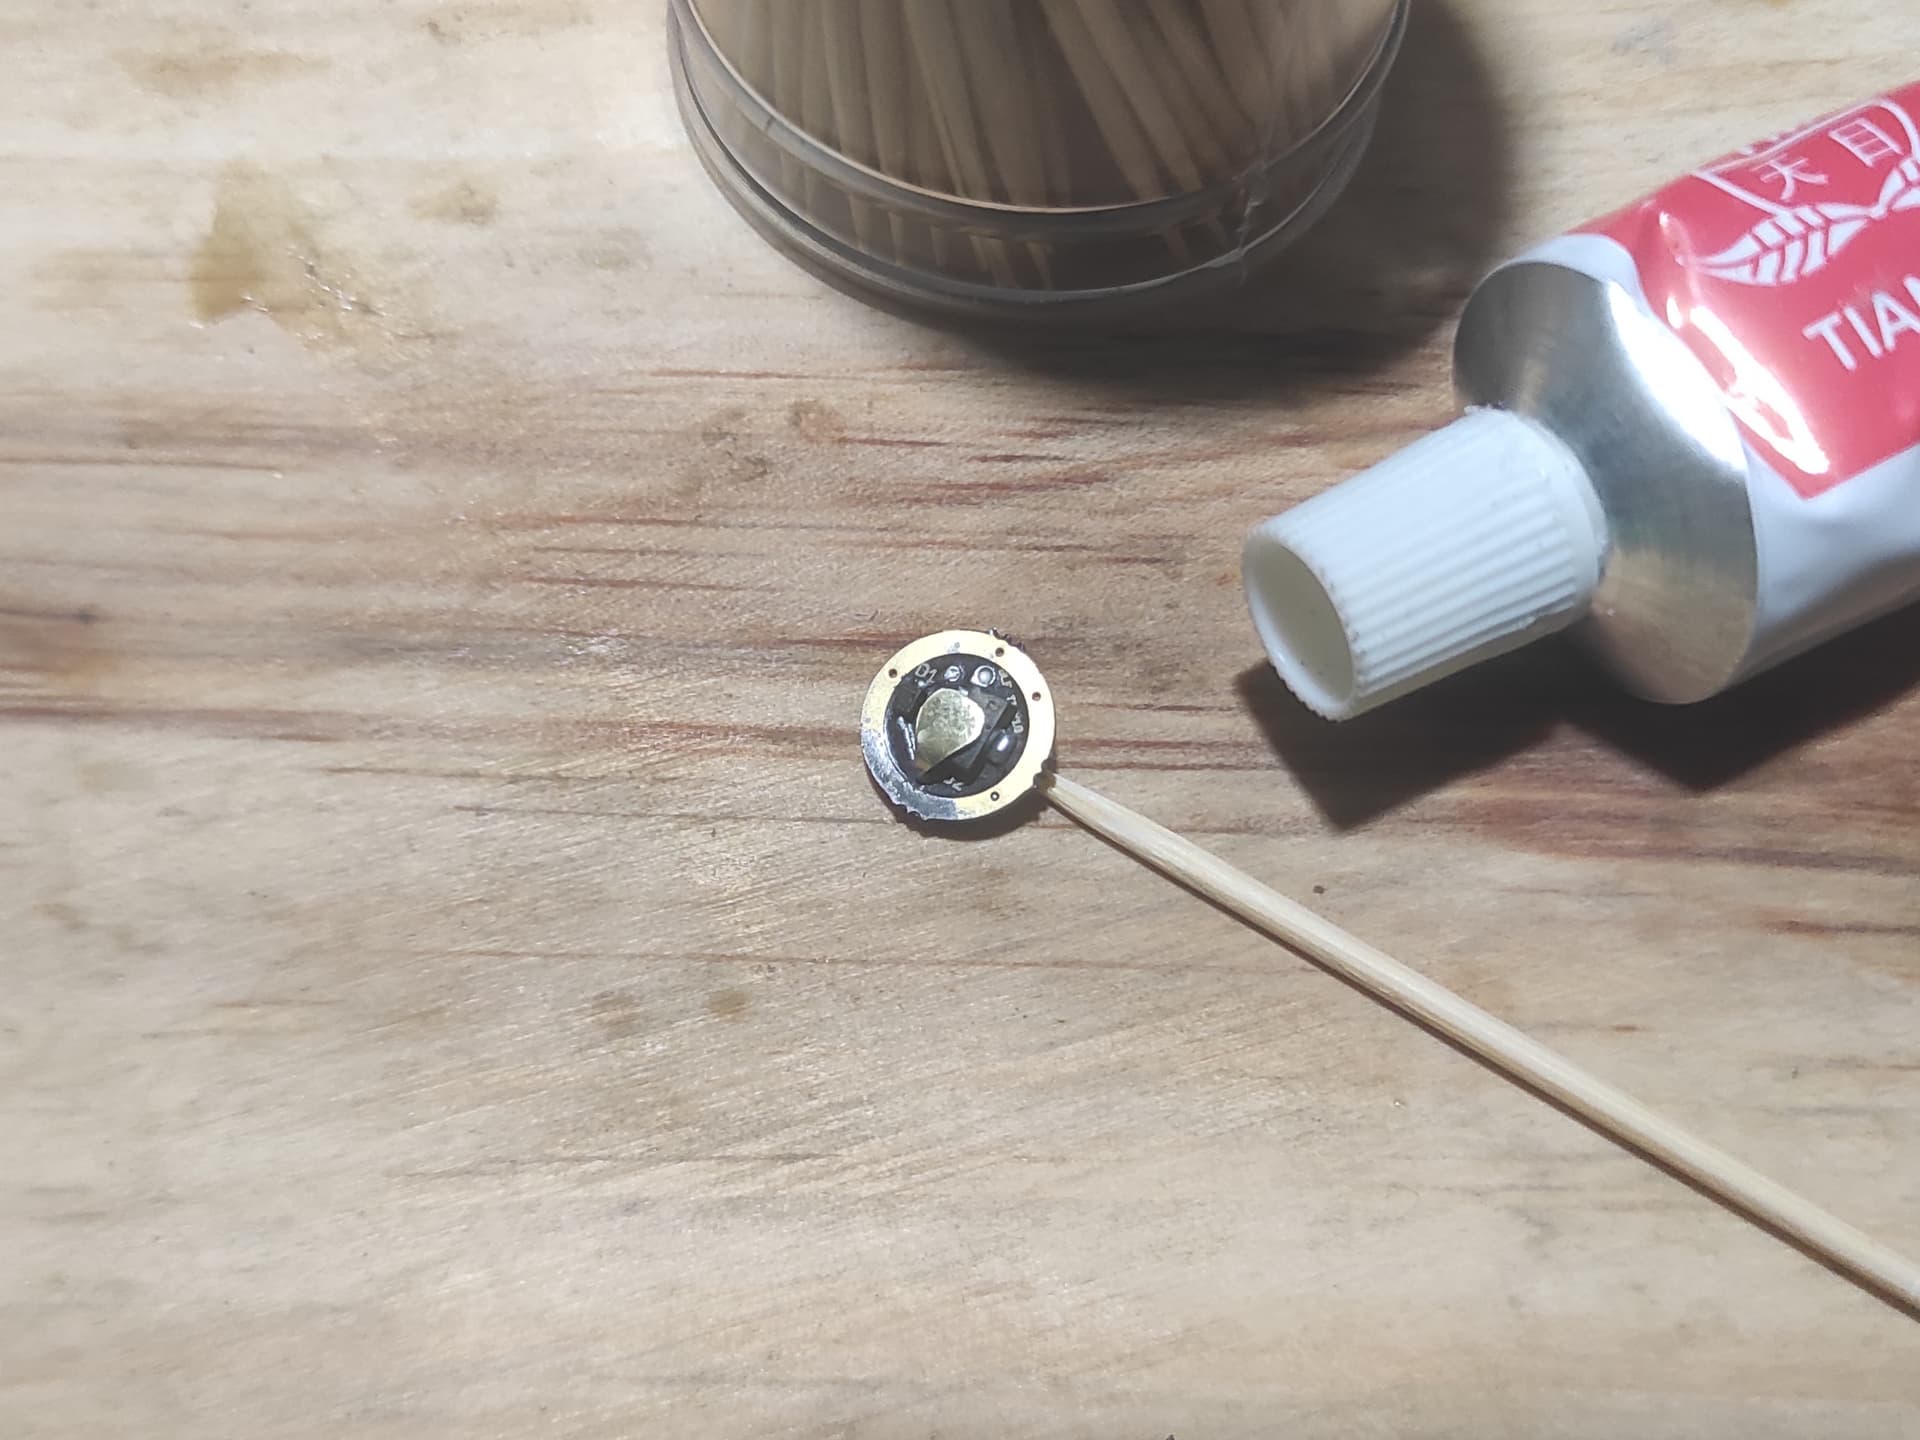
Going to use stripped parts from a dead Nanjg105c, turns out that the “dead” caused by busted positive trace from batt to LED(+).

And here we go, here’s the parts/materials am gonna use:

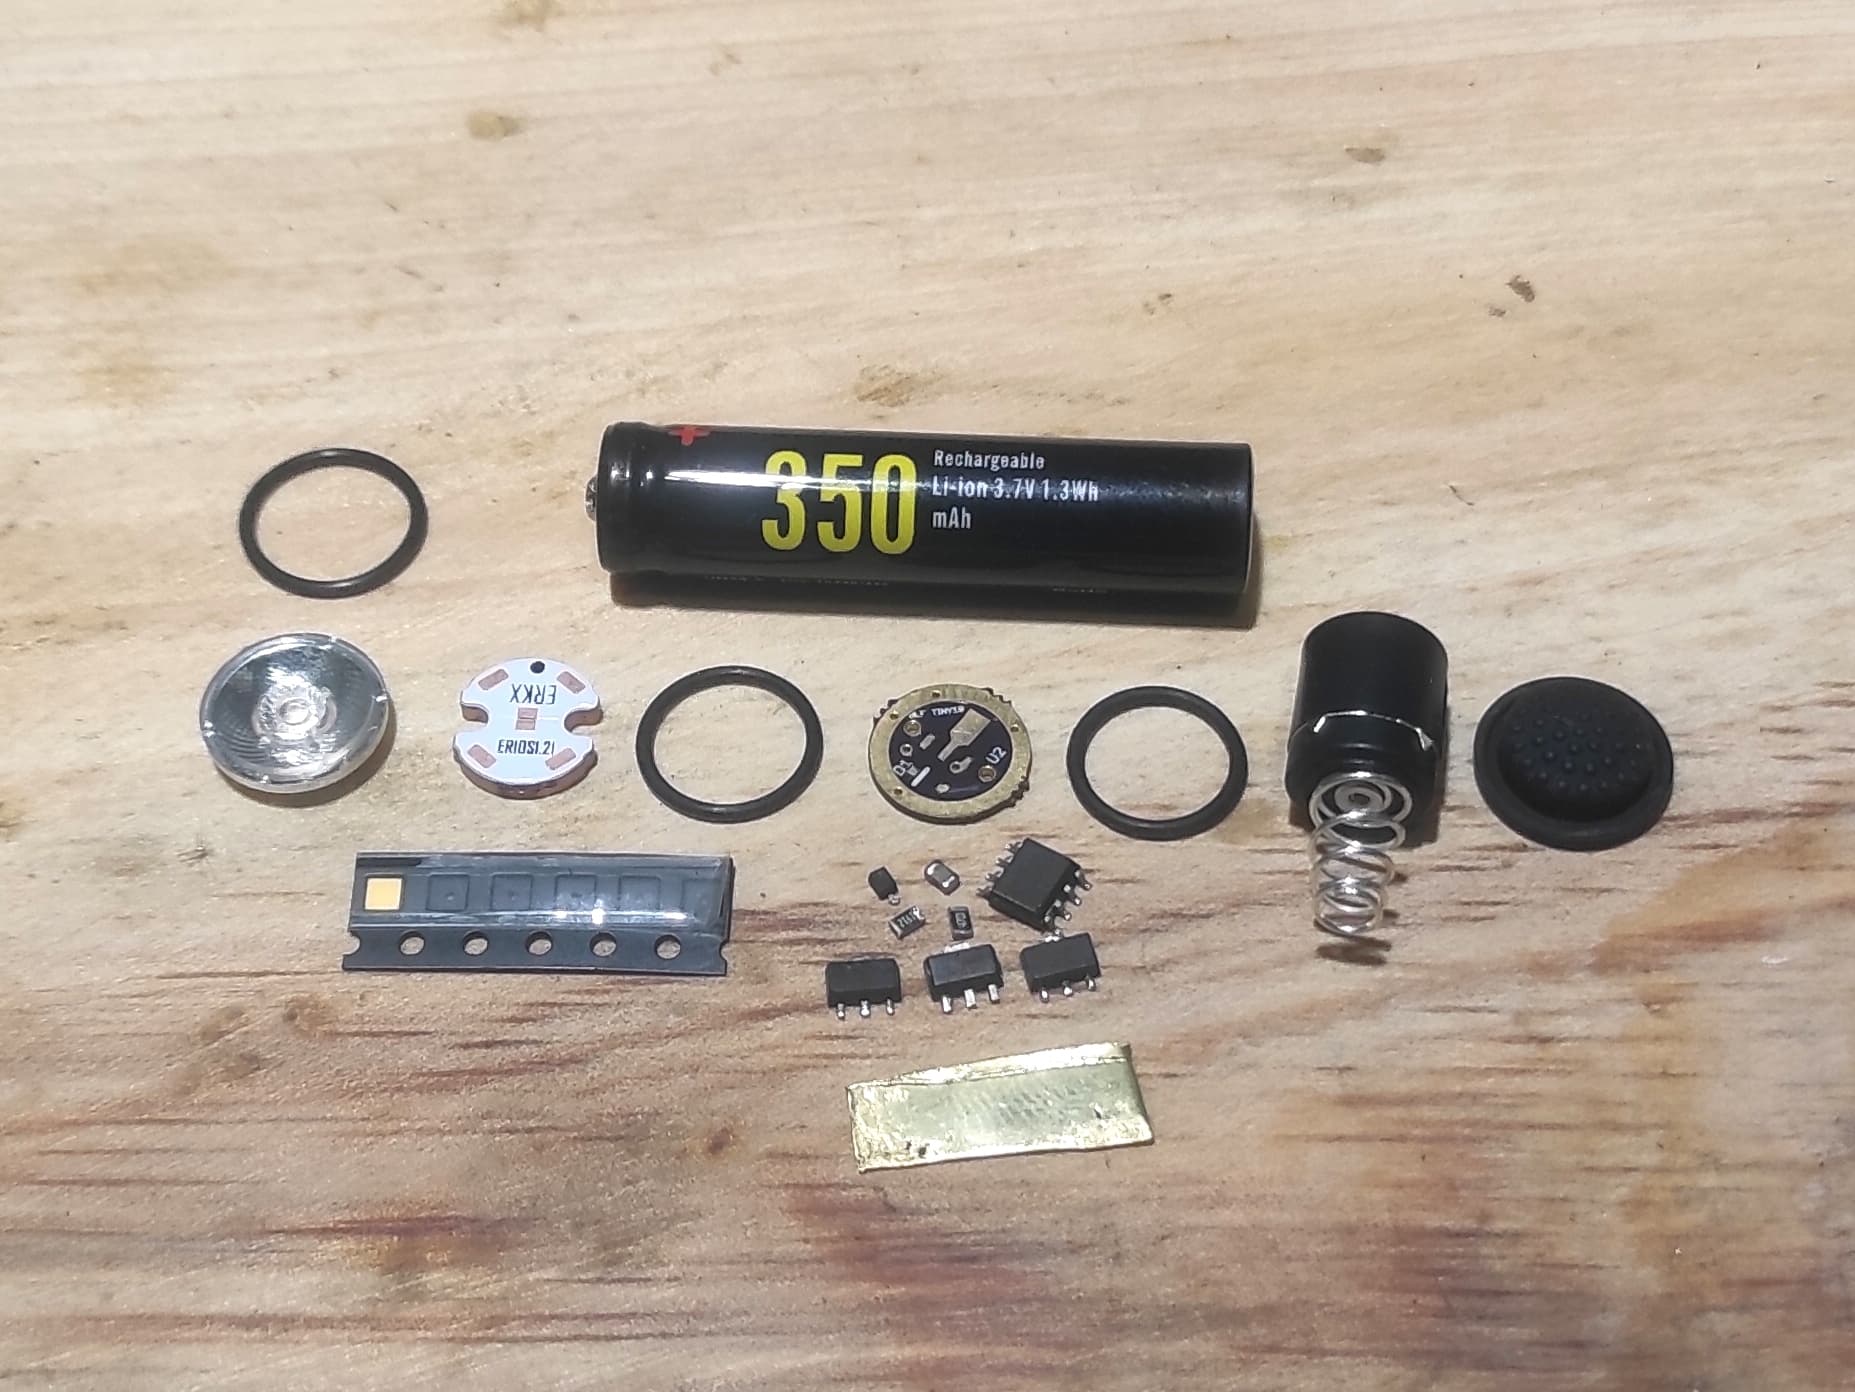
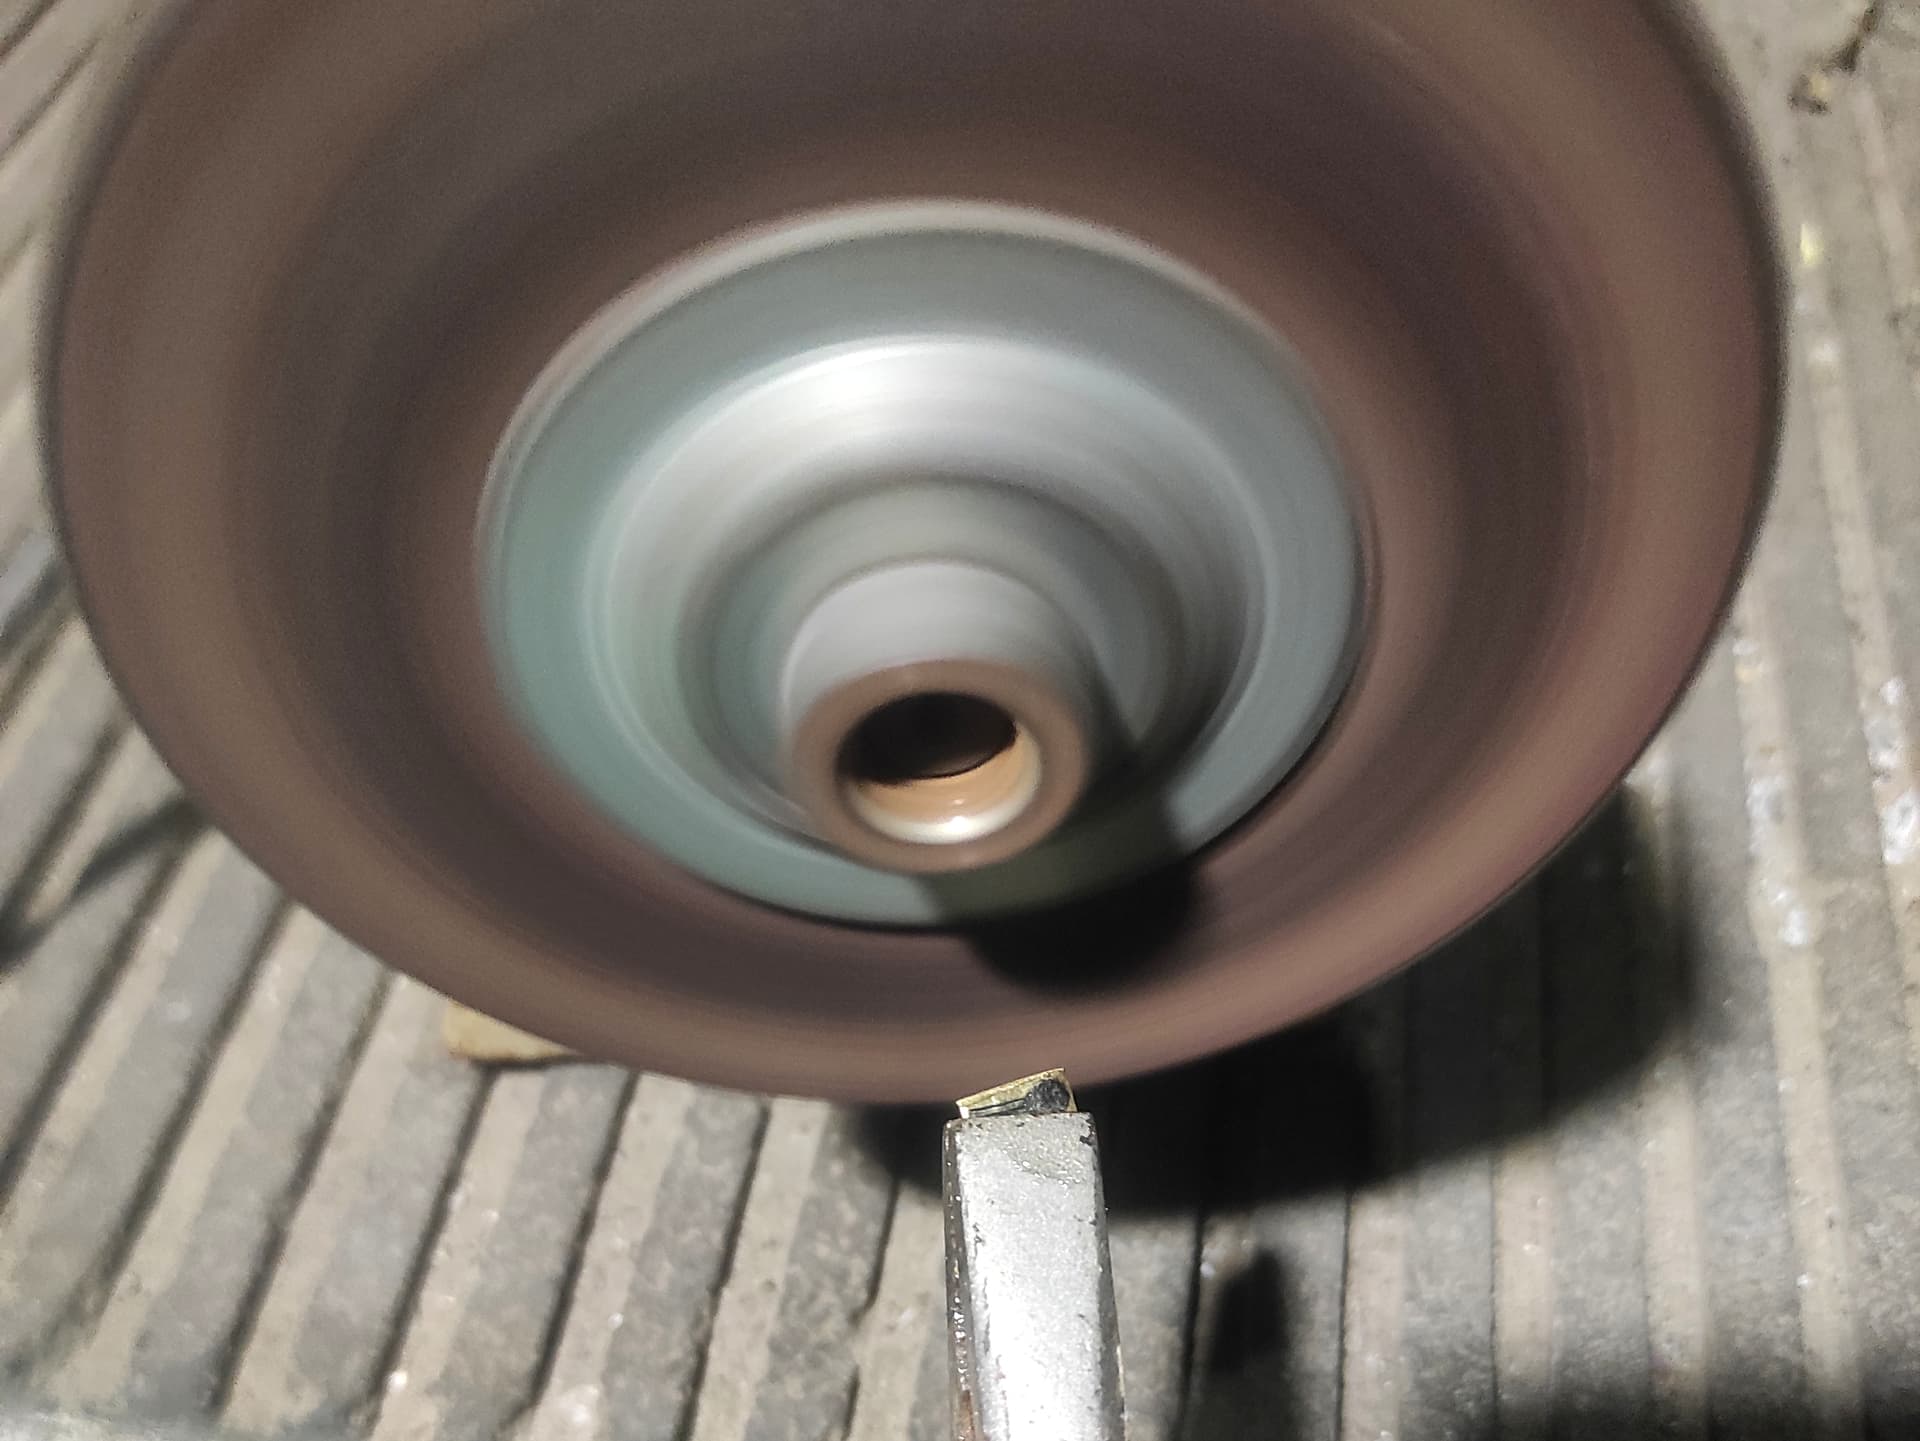
  • Trustfire L1 optic (12mm dia.)
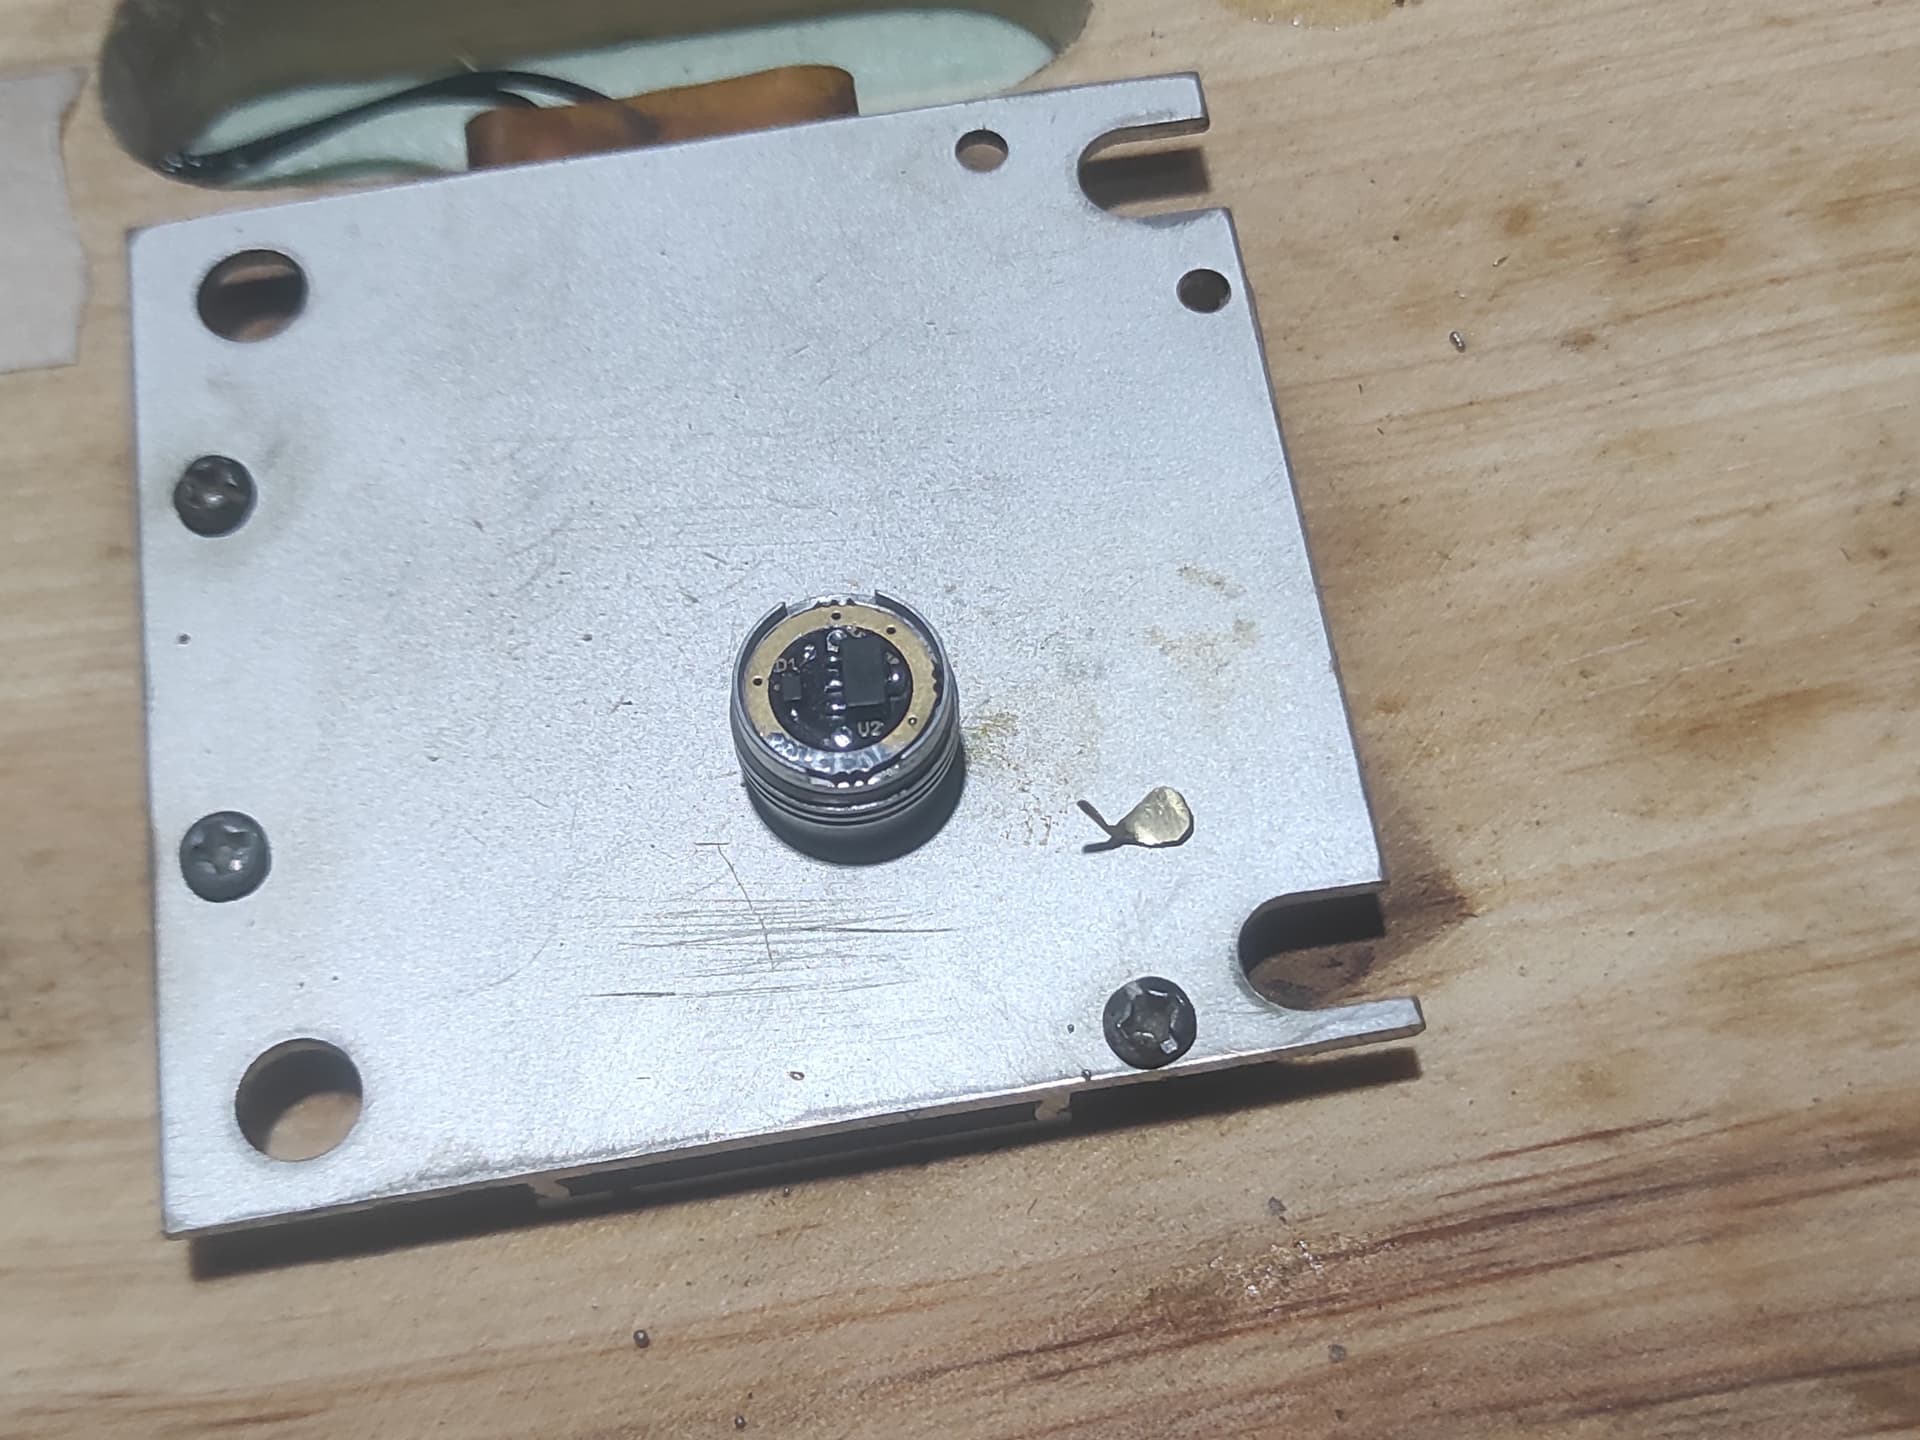
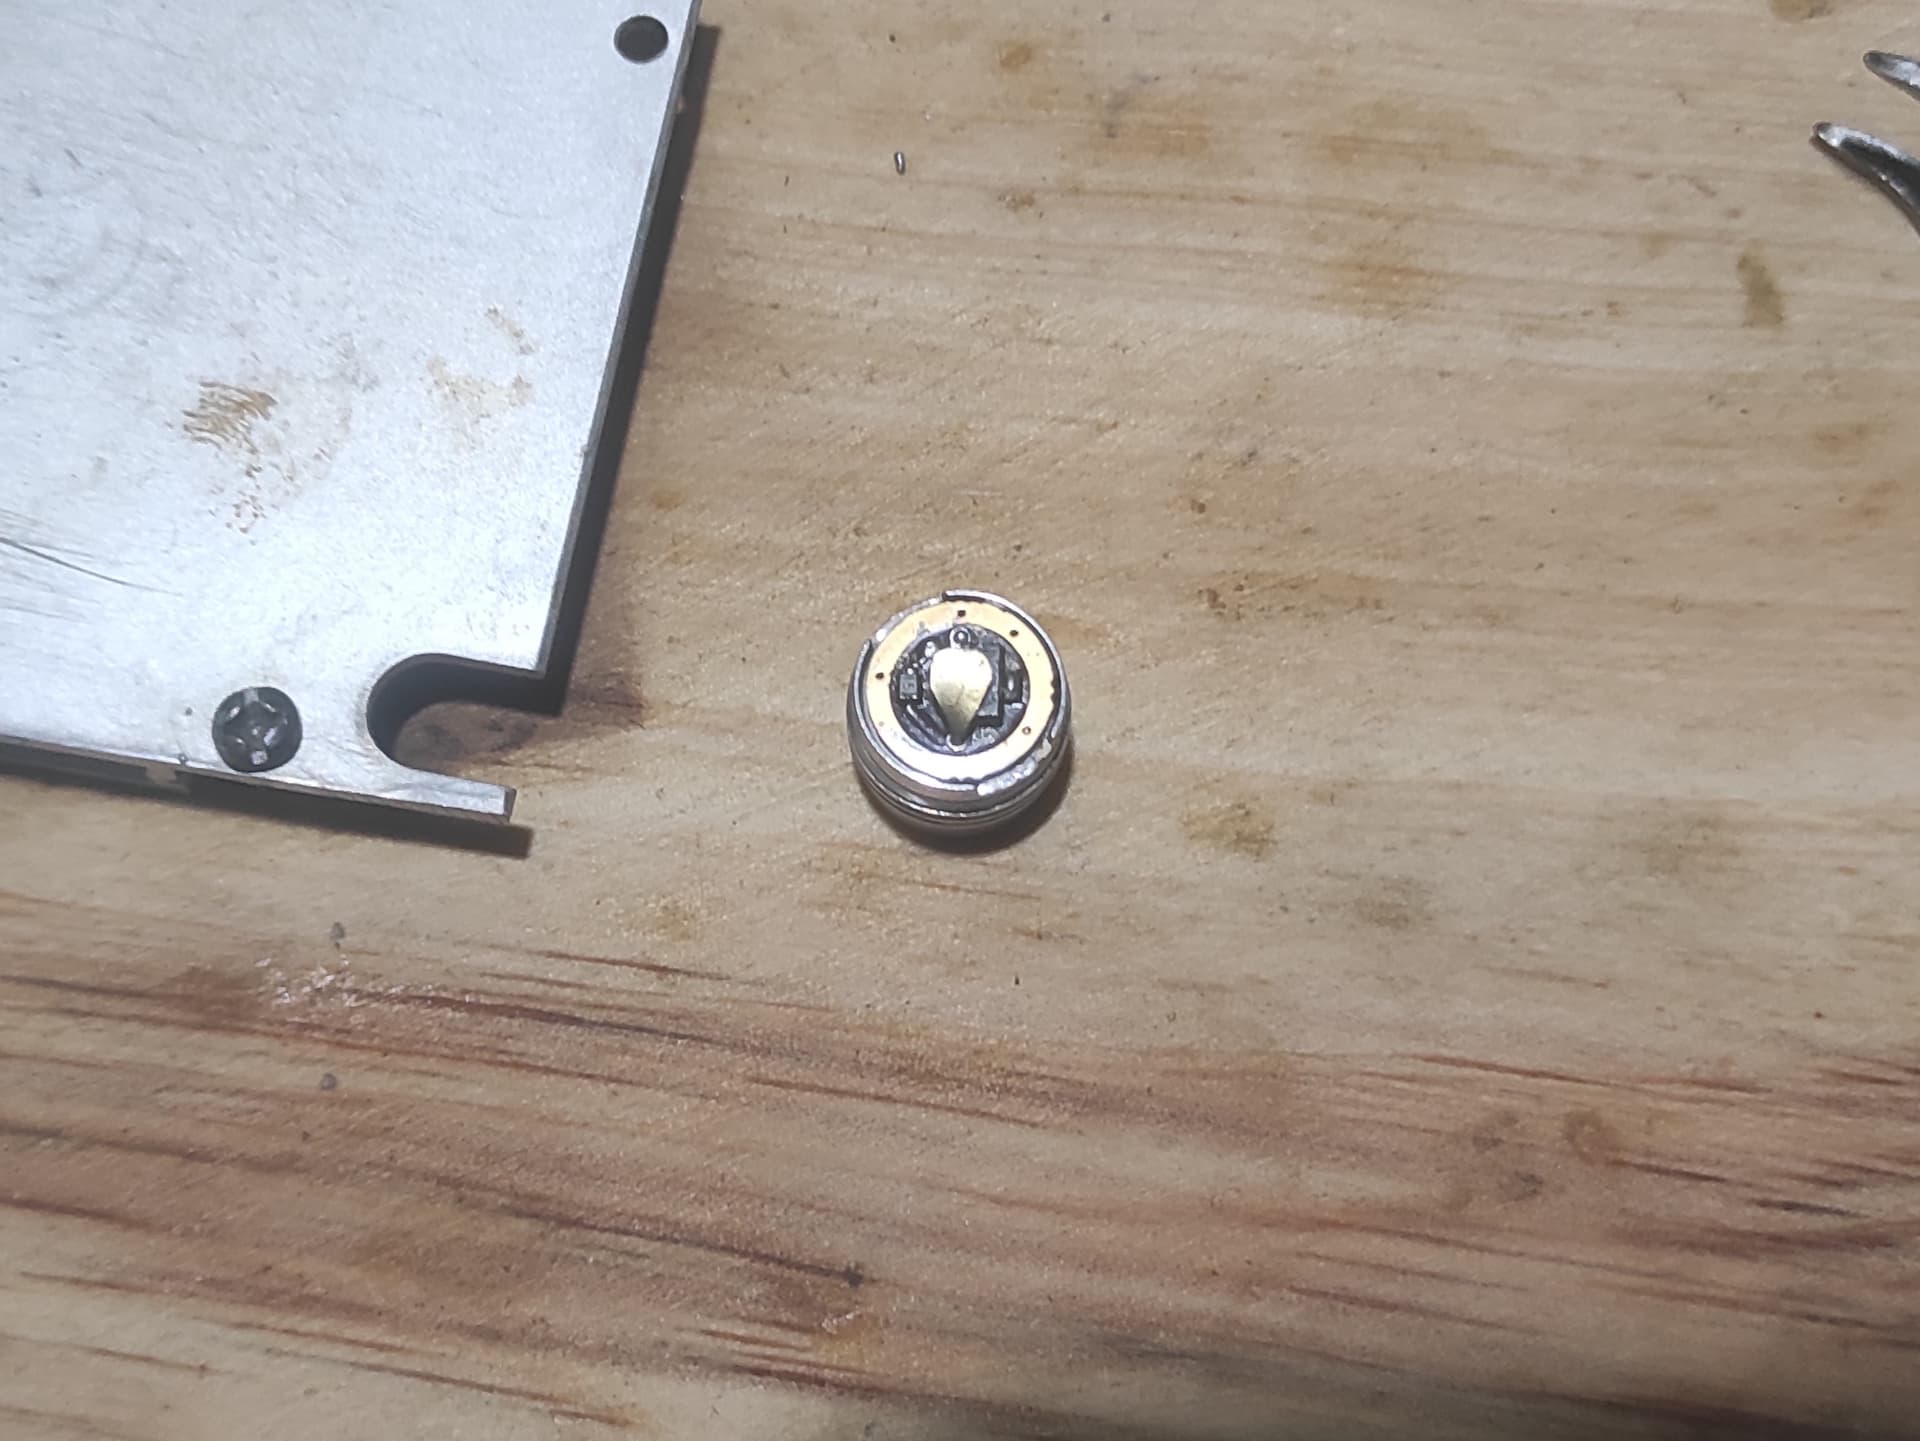
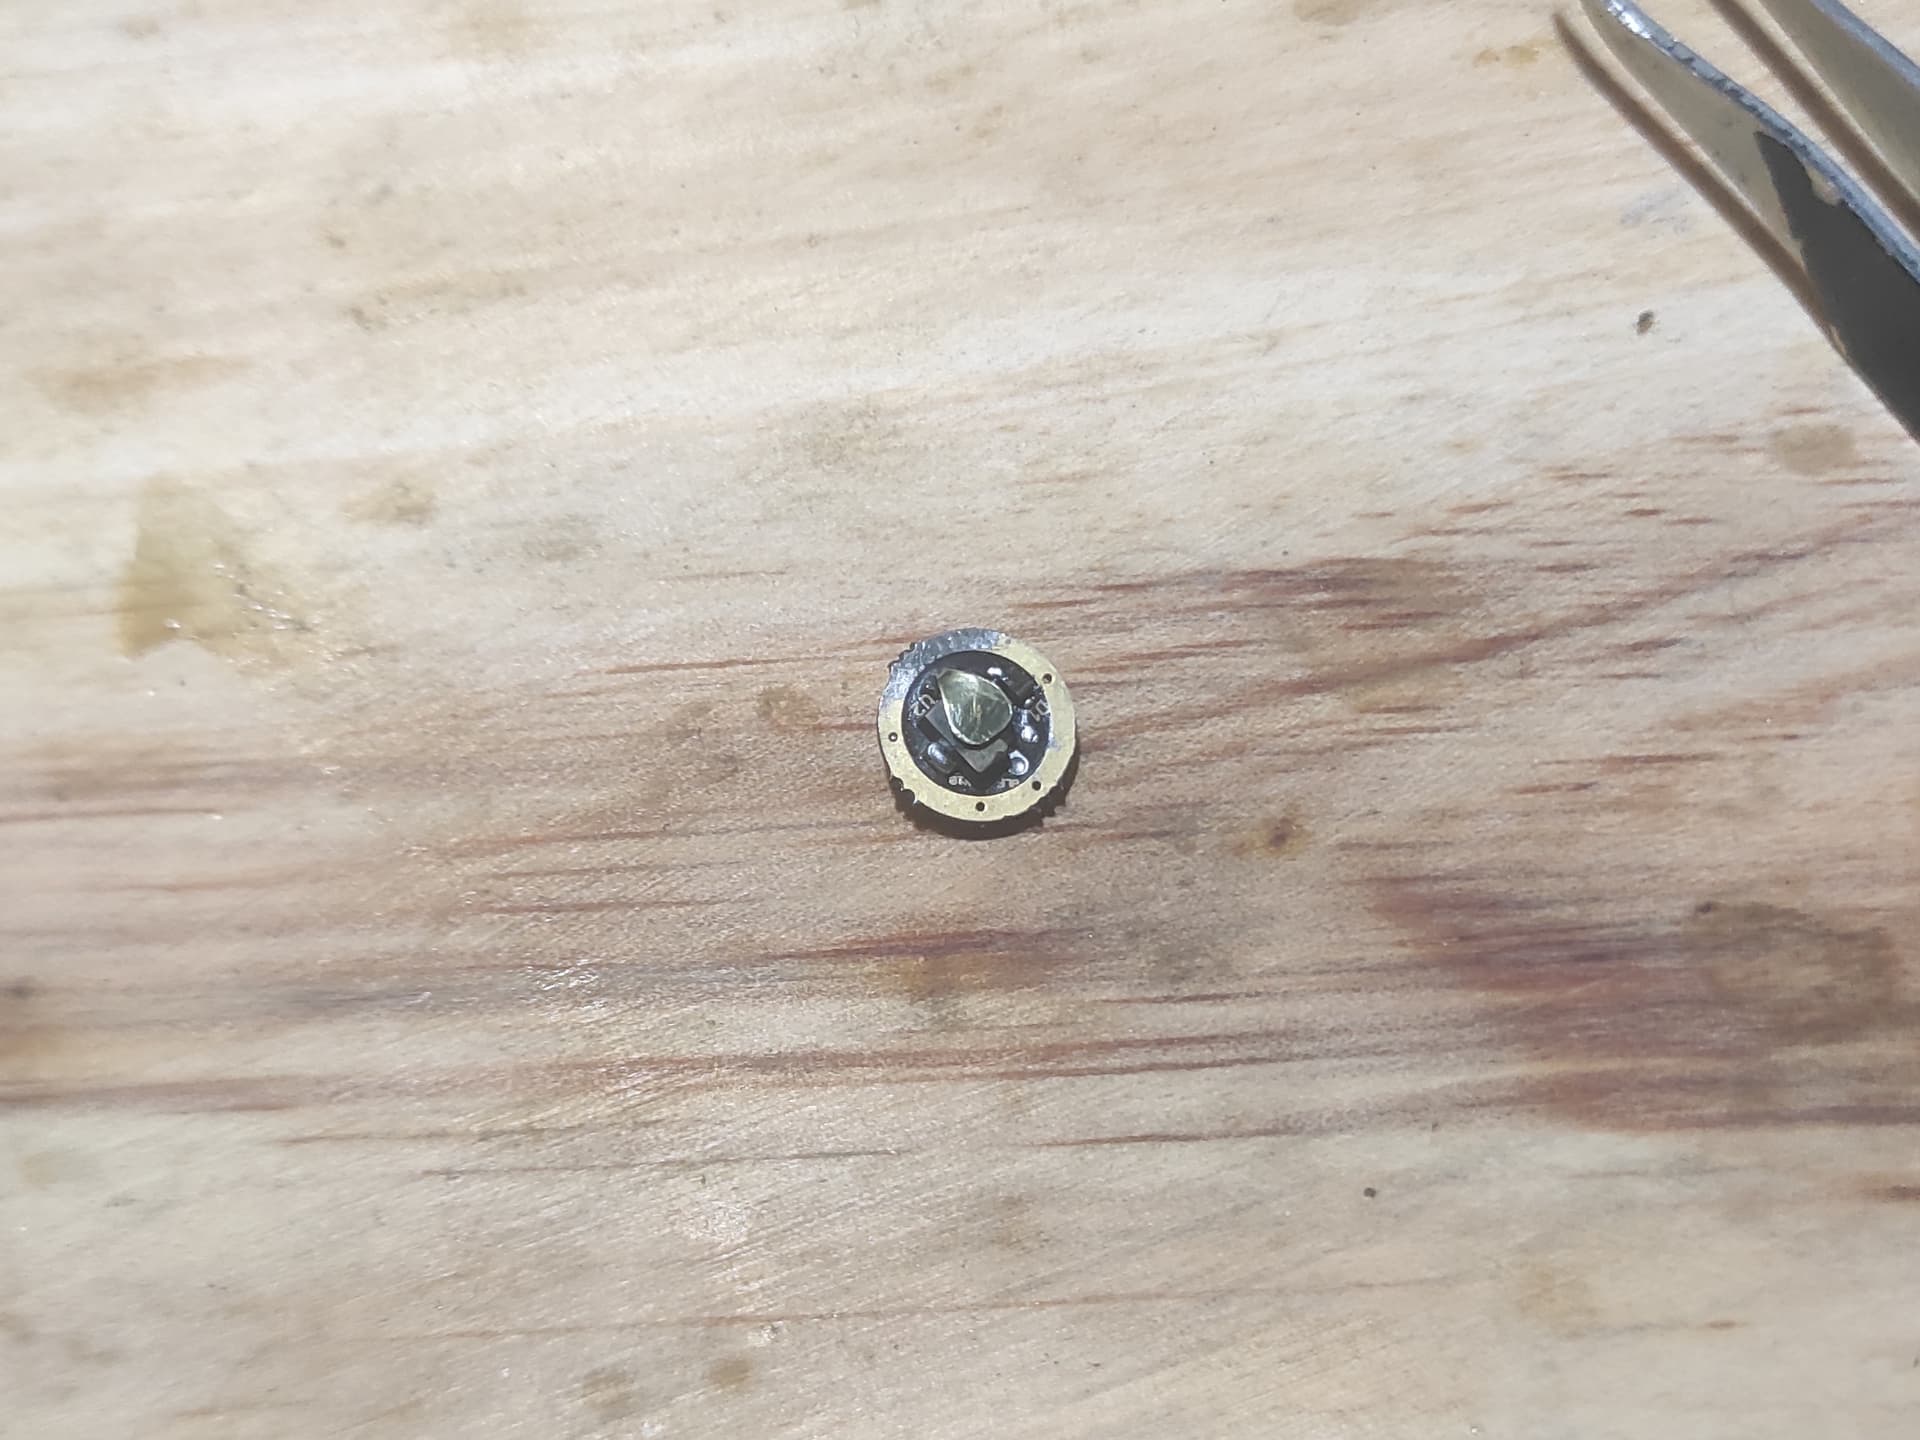
  • 10mm ERKX ER10S1 MCPCB
  • 4000K Nichia E21A-V1 sm403 D220 R9080
  • BLF Tiny10 with Nanjg 105c components, there is 380mA, 350mA, and 150mA 7135. Decided to just run a single 7135.
  • Forward clicky switch
  • Rubber Button (gonna be last option)
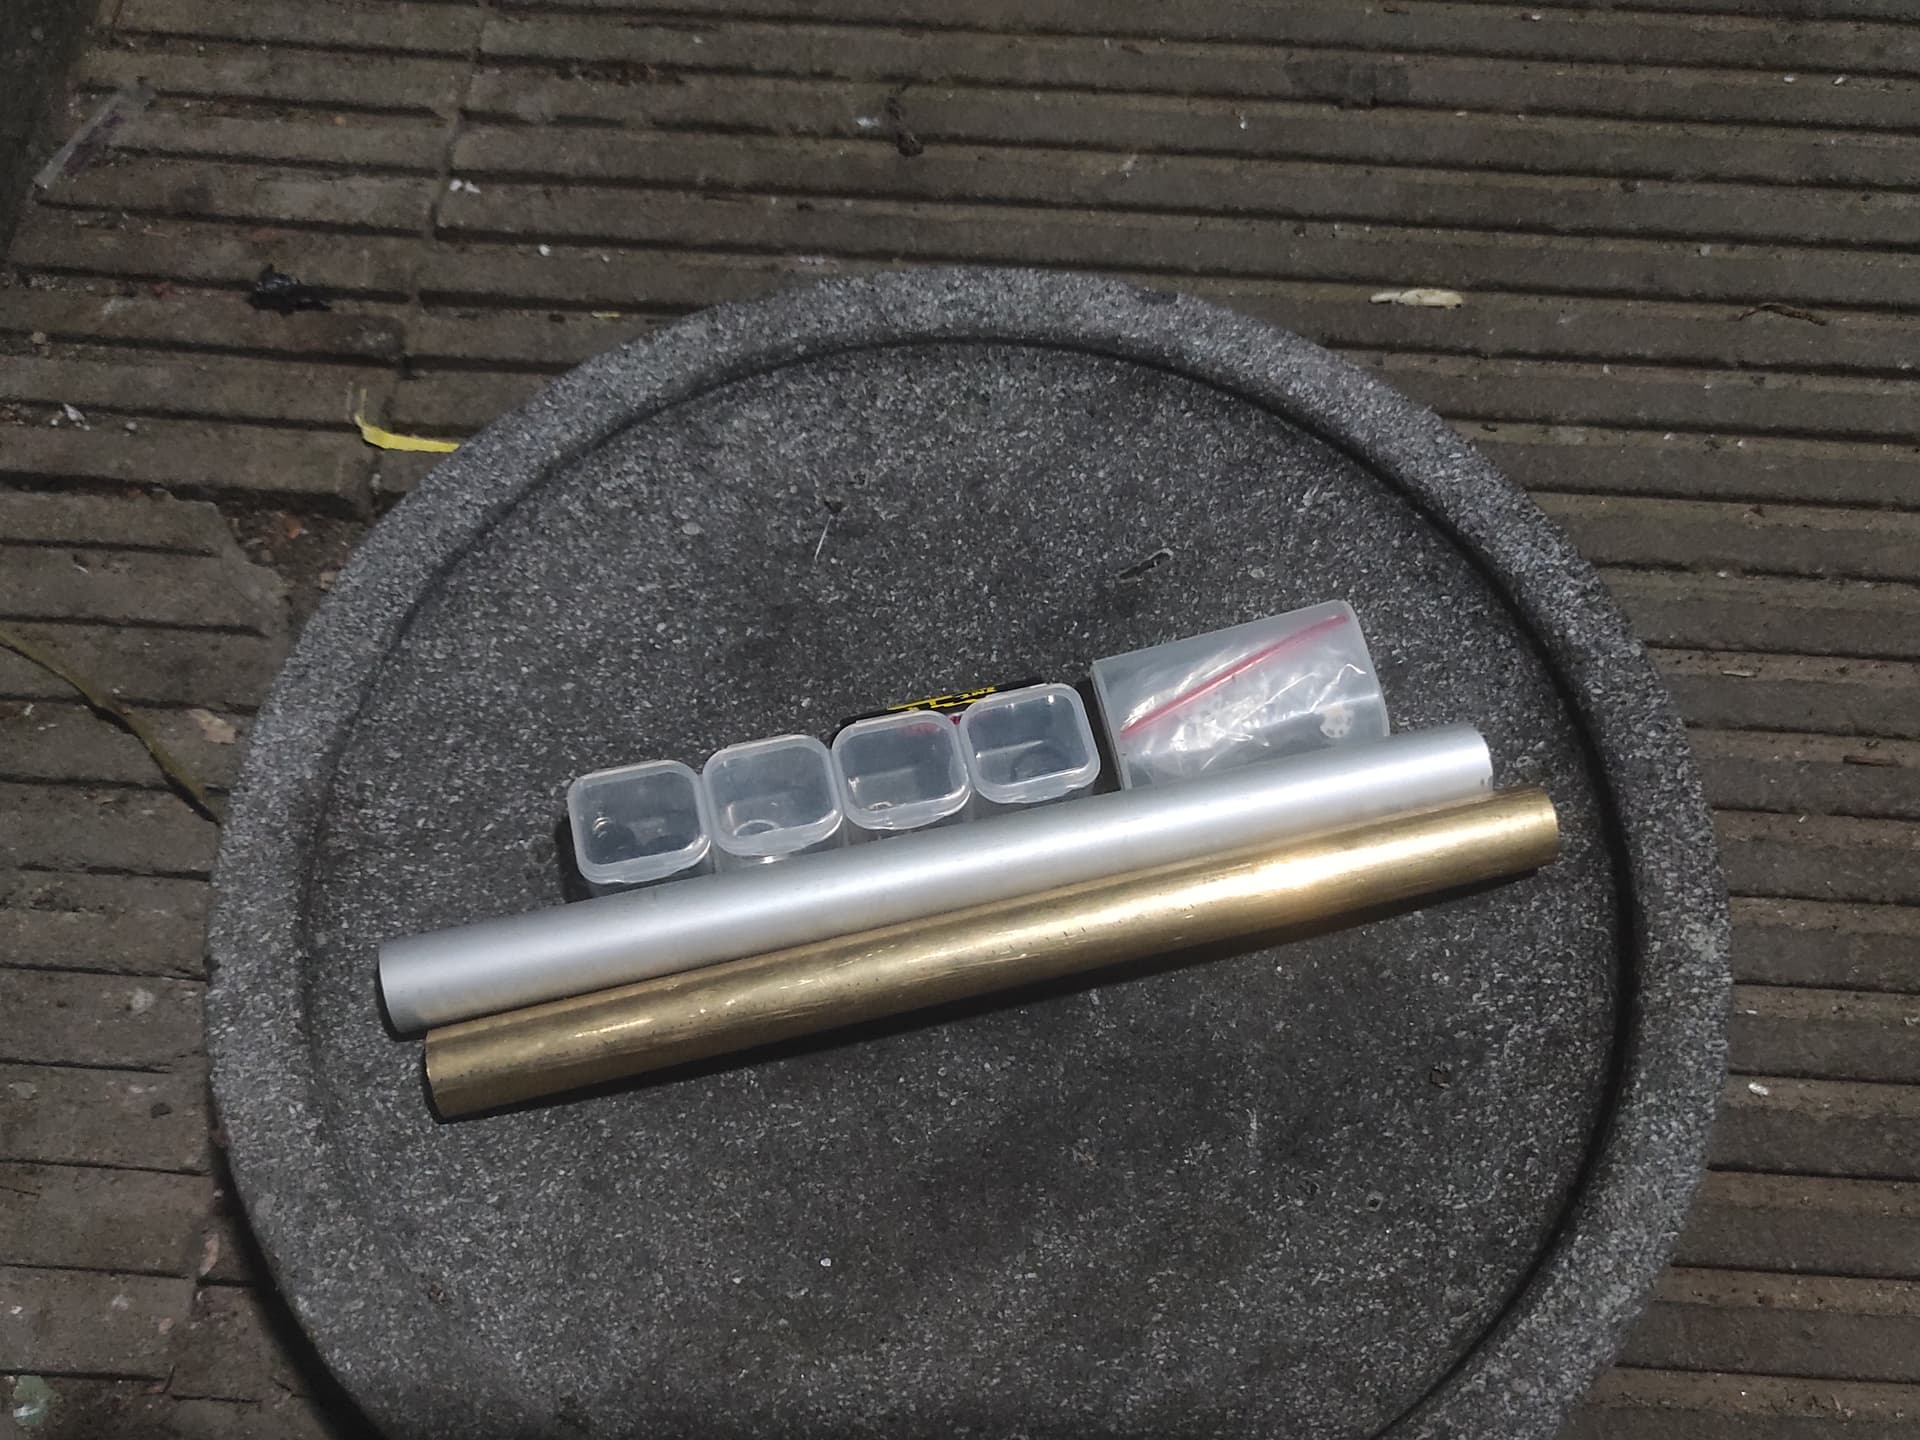
  • Aluminum tube and Brass rod

The first step I’m gonna do is building the internals, as the body would be in the next hours, mostly worked by a lathe.

Alrighty, I guess that’s it for the intro guys! Thank you!

1 Thank

Reserved

Reflow time!
Pre-tinning using 60/40 lead solder and flux:


After cleaning the top-side driver and MCPCB with Isopropyl Alcohol, and preparing for the battery (+) contact; .5mm brass plate marked:


Cutted:


Shaping the “leg” with not on-bench grinder :stuck_out_tongue_closed_eyes:


“P” shaped; dunno how it turns out like this, let’s pretend that this shape was an intentional initial from PeyoX… let’s call it “P-leg” forwards lol


After P-leg got a 1000 grit sanding:


Pre-bending the P-leg while reflowing bottom side of the driver, decided to choose the 150mA 7135 to get the best run time at the “highest level” a.k.a 100% of a 105 and should be getting 2 hours+ run time if I use a 350mAh battery.


P-leg placement, but still not that flat and didn’t looked like “P” anymore. Need some tap:


After some tap, it’s almost perfectly flat but still need to cut the protruding led:


Polished P-leg and prepared to be silicone glued (P-leg x 7135) so it wont change another direction while soldering the LED(+) cable:


Alrighty again, while waiting the glue dried, gonna take a nap for a couple hours before working the body. And I forgot to test the driver with the LED, hope nothing’s wrong, I just checked there is nothing short. But need to make sure after I make the pill.

2 Thanks

I’m sorry, seems I can’t continue my entry with the remaining time. I broke the cutting and the chamfer chisels, and didn’t have spare for those at the moment. I will continue the project after getting the replacement and do the update in the post.

Goodluck everyone, and happy new year!

It’s unfortunate you didn’t finished the project.
Looking forward for your entry on the next year contest.

1 Thank