It rained today!!!!
It rained today!!!! So, since it was a little cooler, I did a one day wonder, using the components below:

Some 3/8 copper pipe, two 3/8 couplings, a 3/8 end cap, a Nichia 219, a tail cap switch, a tiny OP reflector, a Maglite clip and some Eneloop AA batteries.
I call these things Copper Smoothies, since they are Copper and Smooth, LOL. Hopefully, this one will fit in a pocket - Maybe...
Since the copper end cap is short and the switch is long, I am going to use a combination of the end cap and a coupling, for a longer tail cap. Here I am marking where I will cut the 3/8 pipe, so I can solder the two pieces to it and tie them together. I only want to just catch in the coupling, because it will be going over the pipe/body.
Here's how it looks inside, before soldering.
I use a brick, for my larger soldering tasks. It works great, since it doesn't absorb heat worth a darn, so the heat stays in the parts I'm soldering. That's Radio Shack 60/40 solder.
The end cap is a little thicker wall than the coupling, so some filing and sanding will be needed.
Working the copper down, to get to the seam and get all the solder off it.
Now that's better looking. Still needs a smoother finish, but the seam is almost not visible.
Hole drilled in the end cap and switch is just pushed in, It fit well and I didn't need to glue it in.
The tail cap will be a slide on and twist fit. I've done these before. I use 1/8" brass rod, drill the copper, cut and press fit the rod in the copper and solder them in.
The tail end of the body gets slots, that the brass pins fit into. Then I cut a "J" into the slots, so the pins will twist into them. Keeps the tail cap on. The initial cut is with a hacksaw and then a small round file does the rest.
The pins are filed and sanded flush to the tail cap after soldering.
The pill was a piece of 1/4 copper tube, with a .024" thick copper sheet wrap around that and then filled with copper shot. A piece of copper sheet on top and fill it all with solder. Clean it up a little and mount the Nichia on one end. The positive comes out the center of the other end and there's a plastic isolation disc and a copper round tab that the positive wire is soldered to. The negative will just be bare wire between the pill and the body.
The reflector is a tight fit into a 3/8 copper coupling and I did not have a lens, so I made one out of a 2D plastic lens.
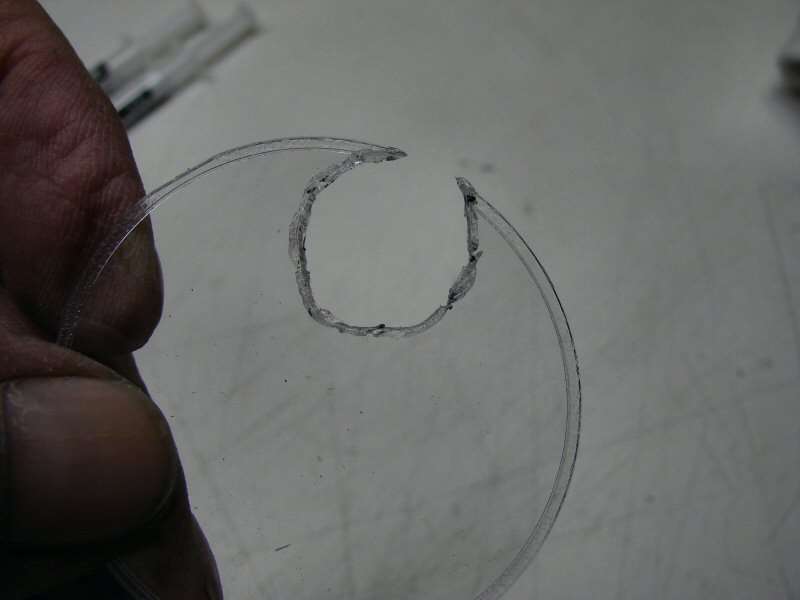
I just used a hot razor blade to cut it out and then filed and sanded till it fit the coupling.
I slid the pill in the body and then slid the coupling with the reflector and lens, over the body and pinned it in place. Unfortunately, I did not get it on straight. It's cocked at an angle and it's a done deal.
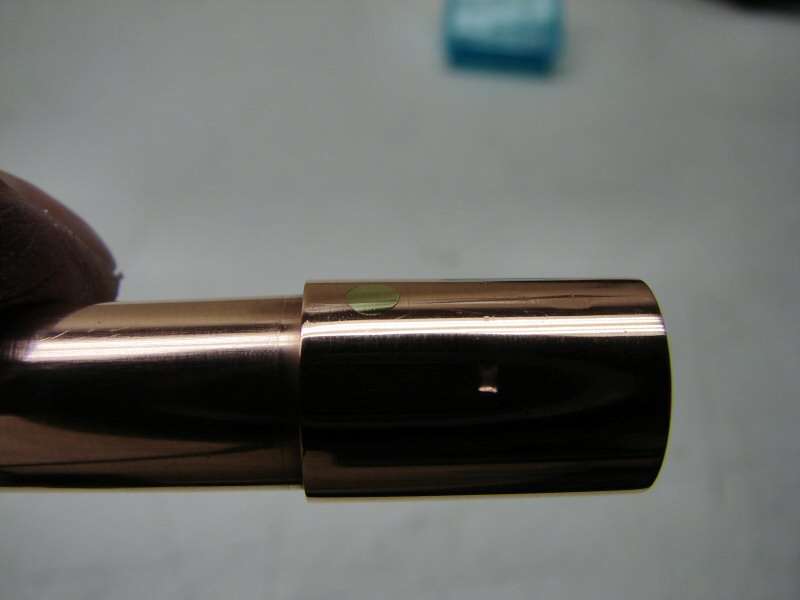
Here's the finished light:

It is not the best I've ever done, but it works and it's bright with the Nichia and 3AAA NiMH direct. Here's a couple quick shots of the beam.
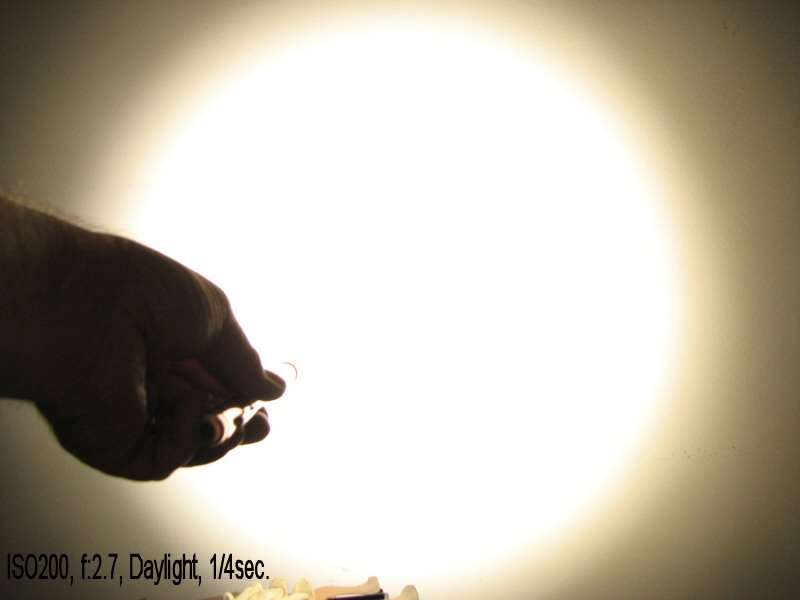
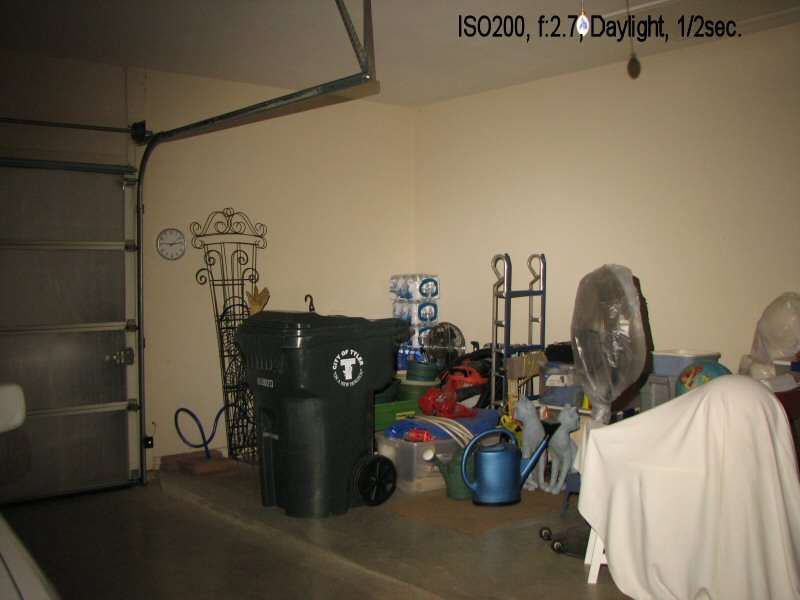
It's all flood and it will light up a room very well, but there's no real spot at all. I like these Nichia LEDs more, every time I see them. Great color rendition.
Now we go to the giveaway. Look in the next post for that.

