This is my first full sized review so here goes. :D
First some eye candy. :D


Specs
Max Operating Temperature |125 Celsuis
Input Voltage |9-25 Volts
Output Amperage |3.2 amps each
Number of LEDs |3
I recently (semi-recently) won a PilotPTK module in his charity auction. I bought it planning on installing it in a 3D Maglite on my own. Due to a number of reasons, one of which is my gross incompetence, that failed miserably. I ended up killing it by applying reverse voltage to it, PilotPTK generously agreed to replace it even though it was my screw up. He then sent me a new one which sat unused for a long time as I was unsure of what to do with it.
Programming
One of the best features of PilotPTK’s module is the custom programmable interface. He created a program to allow those of us who don’t know how to program to make our own custom programs.
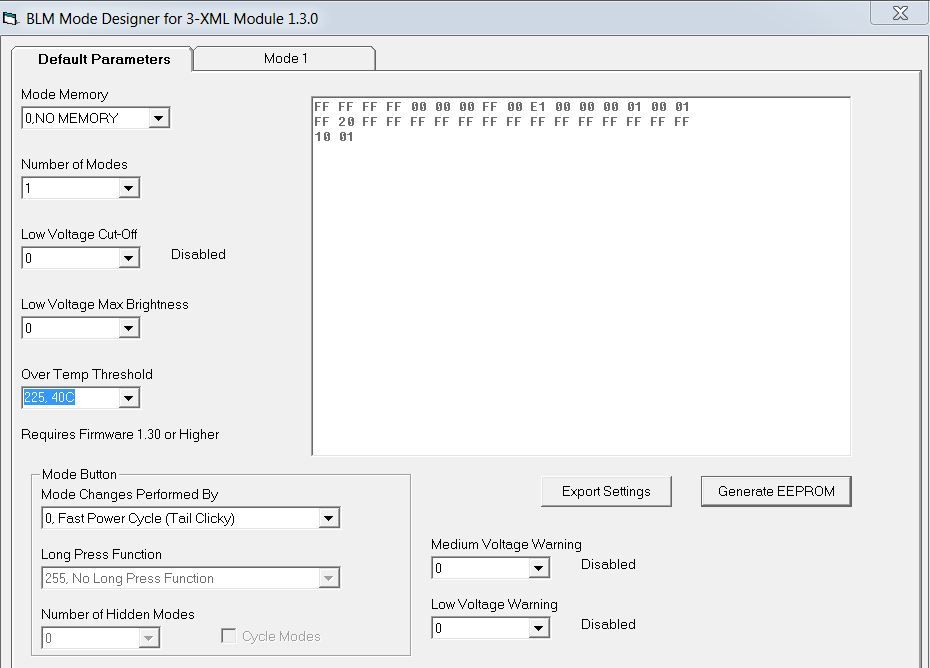
It allow you to select how many modes you want your light to have, low voltage warnings, over temperature protection, and even supports a momentary clicky. I programmed mine to be one mode: ramping. This starts really low and will gradually ramp up to insanely bright. Since I am using a momentary button I was able to make it so that if I hold the button for three seconds it will go to my “flashies” section. This contains 3 separate flashing programs. 1. Strobe 2. SOS in morse code 3. Beacon (this is on for 1 second and then off for 10). I personally love this UI.
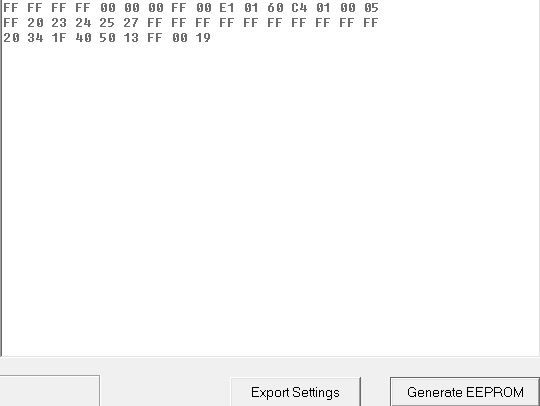
Then you tell it to generate eeprom. It then brings up a list of numbers and letters that you have to type into MPLAB IDE. There are a few more steps but that is basically all you have to do. It is very easy and if anyone want help with the programming then PM me. :)
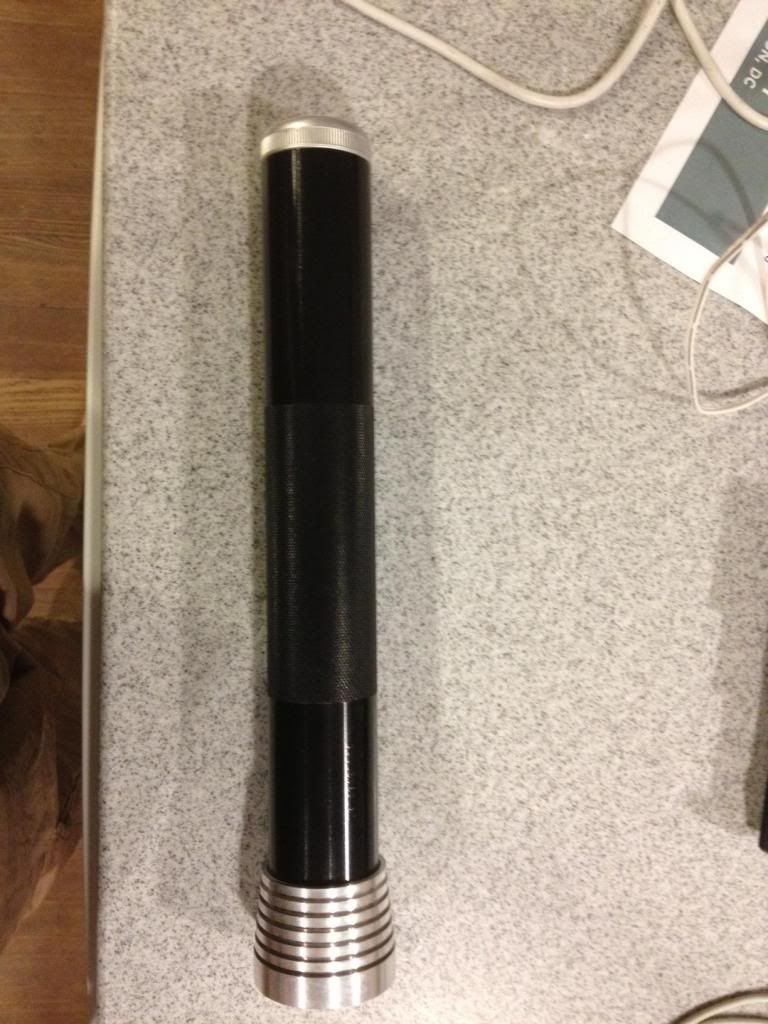
Ok, now that I have gone over exactly what the modes are, let's talk about the host.
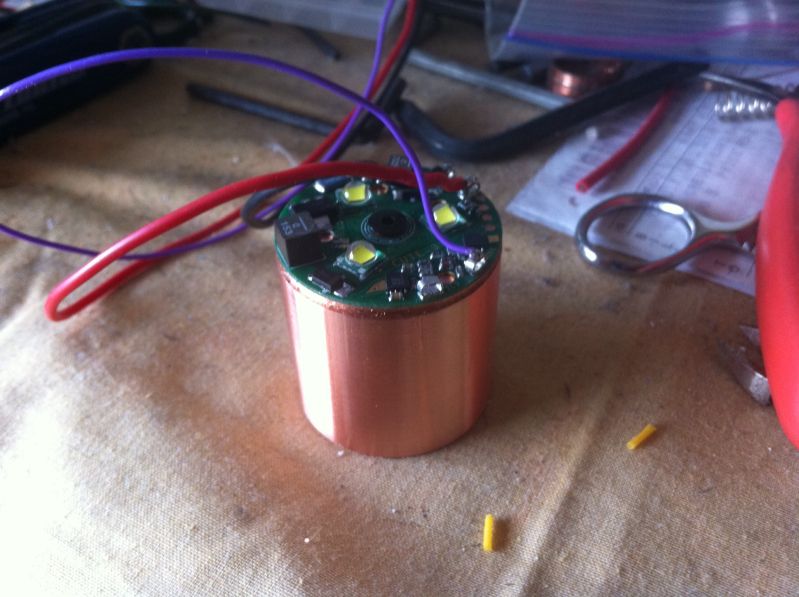
As I said above it is a 3D Maglite with the switch modified for momentary. I do not have a picture of this but it essentially makes it so the module always has power and then the switch only is used to change modes. This allows for it to time how long the switch has been held for hidden modes. It also has a solid copper heatsink. Due to the large amount of heat being generated I decided to have it made from copper not aluminium. Here picture of it is attached to the heatsink.
Then since the stock maglite is bigger than need it utilizes a custom machined, finned head. This also helps with heat dissipation. The threads on the head are phenomenal, they are much better than the normal threads of a maglite and while not square are just as smooth as the ones on my Z8.


Since the module needs a minimum of 9 volts to operate I decided to run it off of 3 18650s. They will not fit in it without some modification but it can be made to work. There are 2 problems with using 18650s instead of Ds.
1. They are to thin, they are 18mm diameter while Ds are 33 mm diameter. Because of this I am using a PVC sleeve to hold them so they do not rattle.


2. They are to long to use with the stock spring. To solve this I cut the spring down so that they will fit. This also made it so I had to deanodize the tailcap so that the spring will make connection. To do this I simply let it sit in a bath of greased lightning for around 30 minutes. Now the batteries will work.
Ok, now I have talked about how it was made and the specs of it.
From my estimates it is putting out approximately 2750 lumens (measured ceiling bouncing) with the tight optics. The tight optics are still very flood no matter what it will be an extremely floody light. This picture was taken with the light about a foot away from the wall.

Notice the faint lines, these are from the PWM.
Here another picture is that may help show the beam profile.
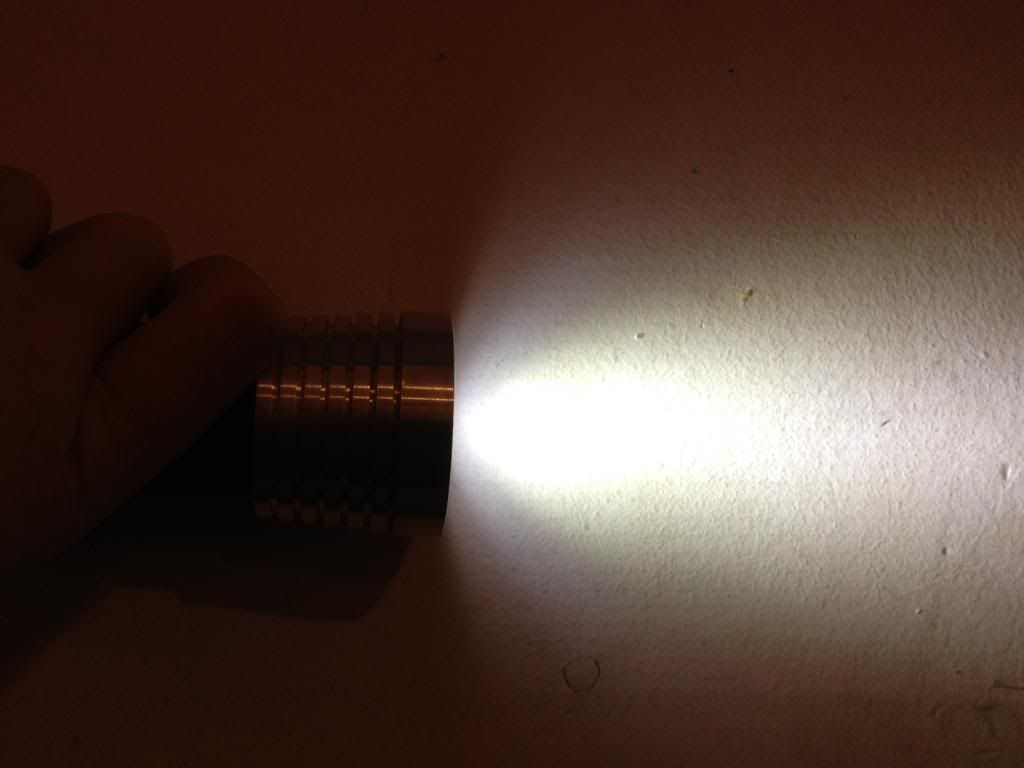
The driver in this light has a very high PWM rate, my DMM wasn't able to detect any. My camera however is able to see PWM but since the lines are very thin then the PWM is very fast. It also is very efficient, PilotPTK measured a 96% efficiency on high.
Temperatures: All of the parts on the board are rated up to 125 degrees Celsius, this is equivalent to 257 degrees Fahrenheit. I personally prefer for my flashlight not to be hot enough to cook on so I set my max temp at a relatively low temperature of 60 degrees Celsius However, when running on high I find the thermal limiting will kick in to early so I do plan on reprogramming it for a 100 degree max temp.
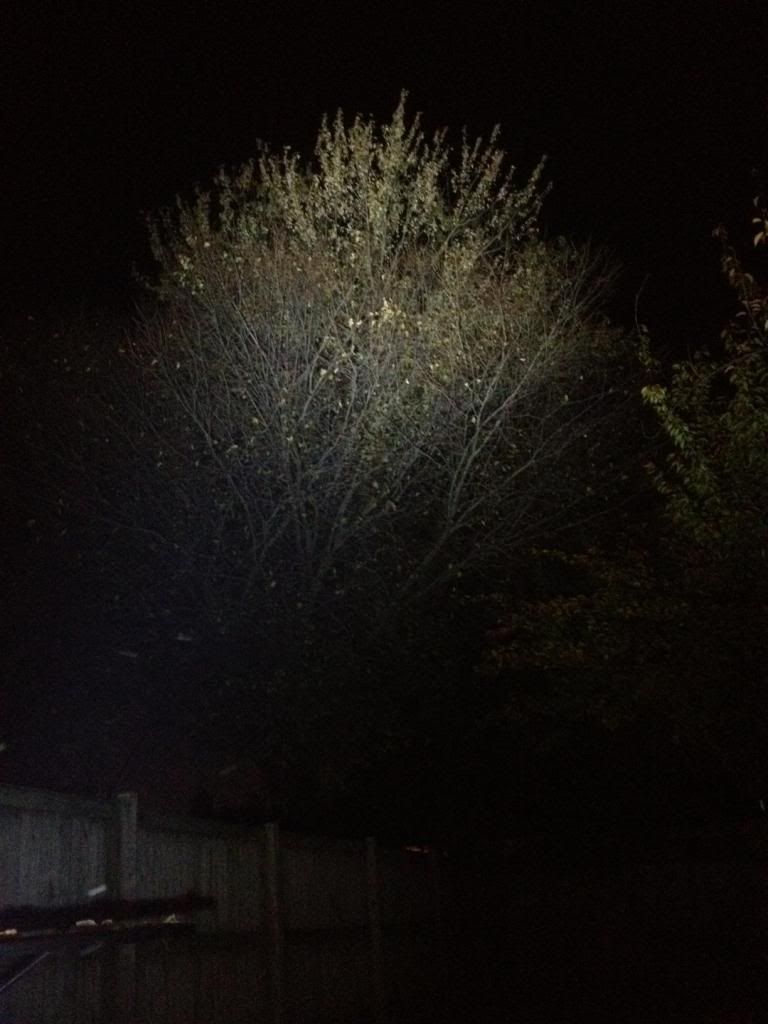
Beamshots
First this on high. Keep in mind I do not have a manual camera or a tripod... (I may be able to borrow one for tomorrow night) This is slightly overexposed but the best I could do. It really is pretty damn bright.

Then a XM-L P60 with a 2.8 amp driver.

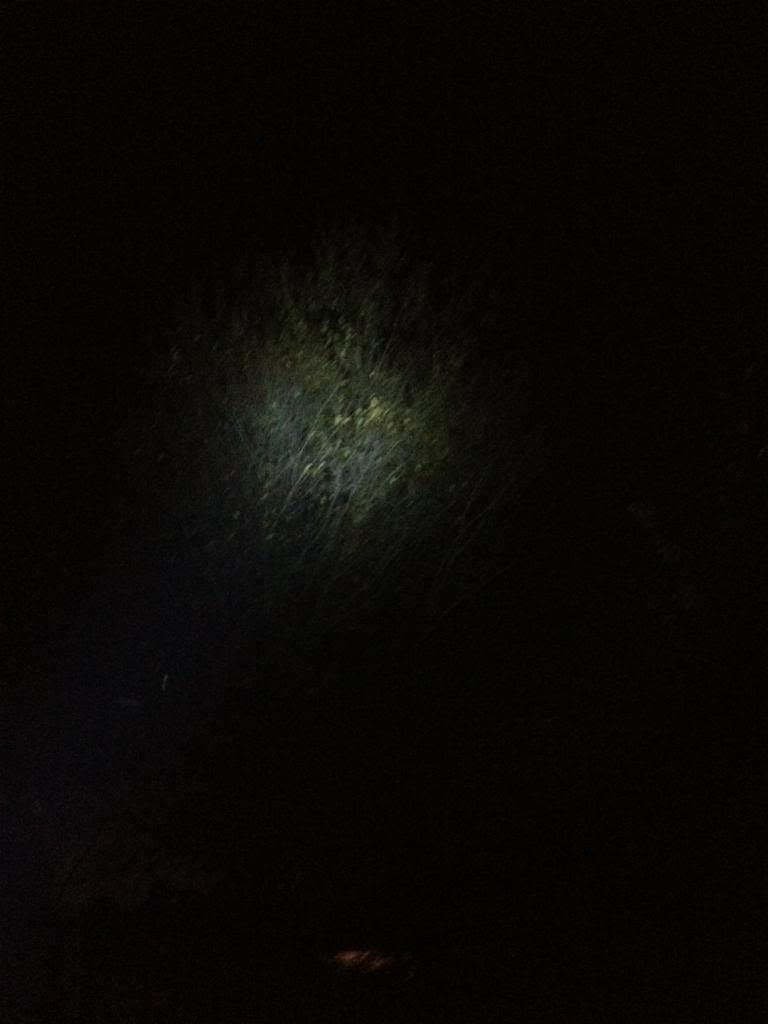
Now some drastically underexposed ones to show the beam profile.
Then the P60