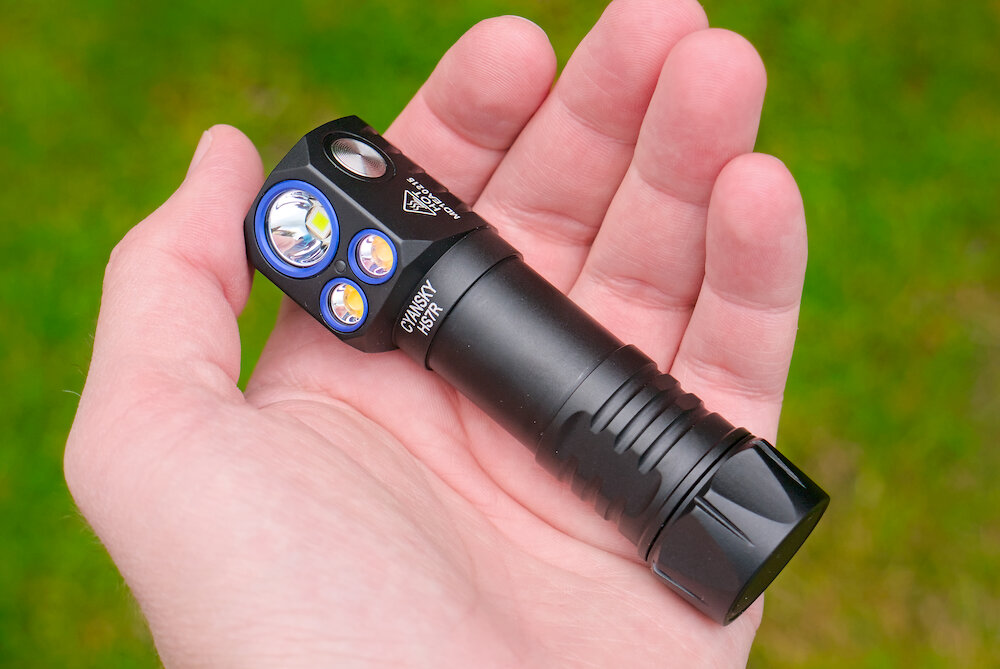
Again a flashlight from Cyansky. In the past I have reviewed quite a few of them: K3 v2, HS6R, P25 v2 and H3 v2. Today I’d like to show you another headlamp, the Cyansky HS7R. Except for the similarities in the name, it’s rather different from the HS6R: Larger, 21700 battery, no red light, different style.
This flashlight was provided by Cyansky for this review, without any obligations. Thank you very much!
The review is also available in German on my website: SammysHP Blog › Cyansky HS7R
Supplied parts and hardware
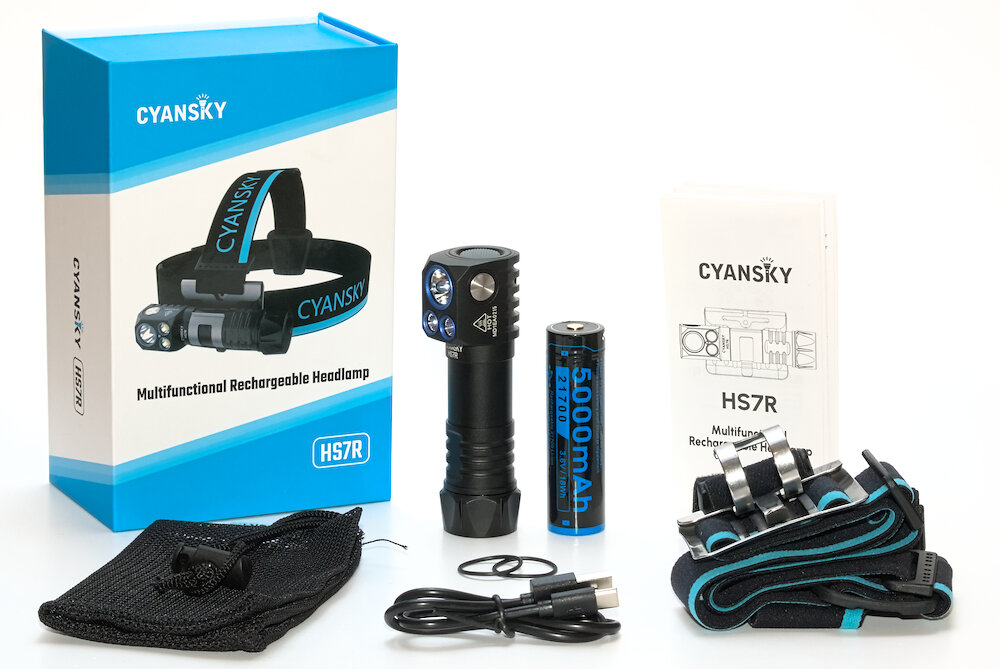
Not surprisingly, the Cyansky HS7R comes in a cyan colored packaging. It includes:
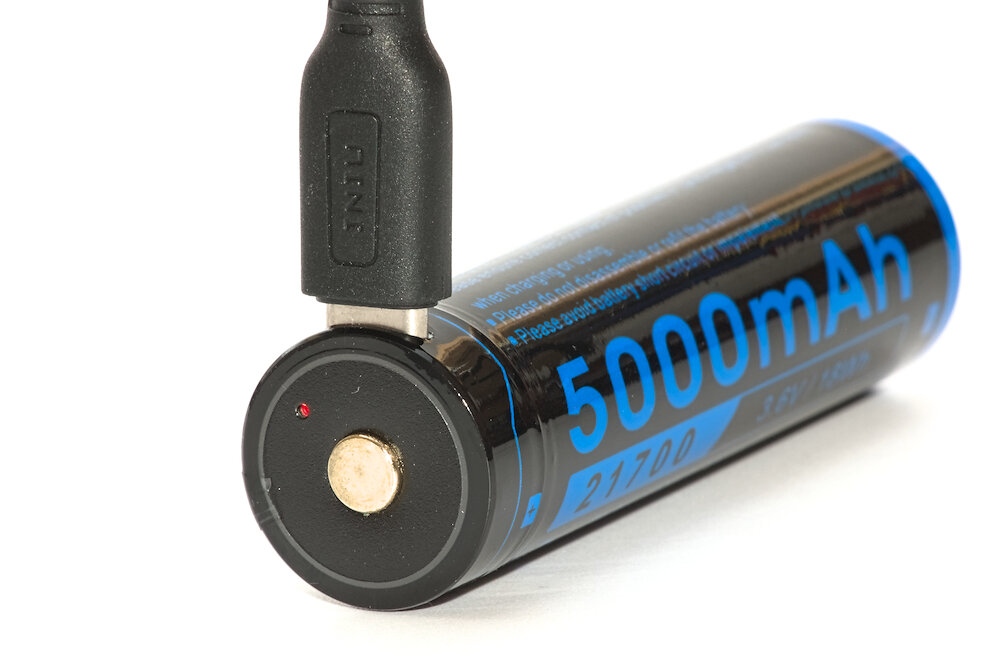
- 21700 Li-ion battery with 5000 mAh (3.59 V, button-top, 76 mm long, integrated USB-C charging)
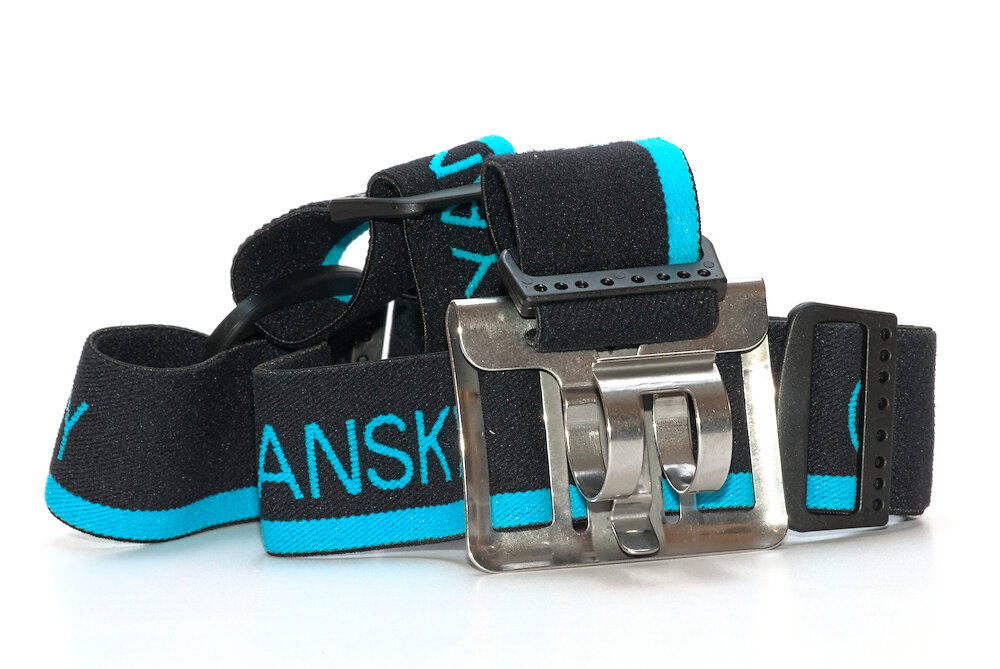
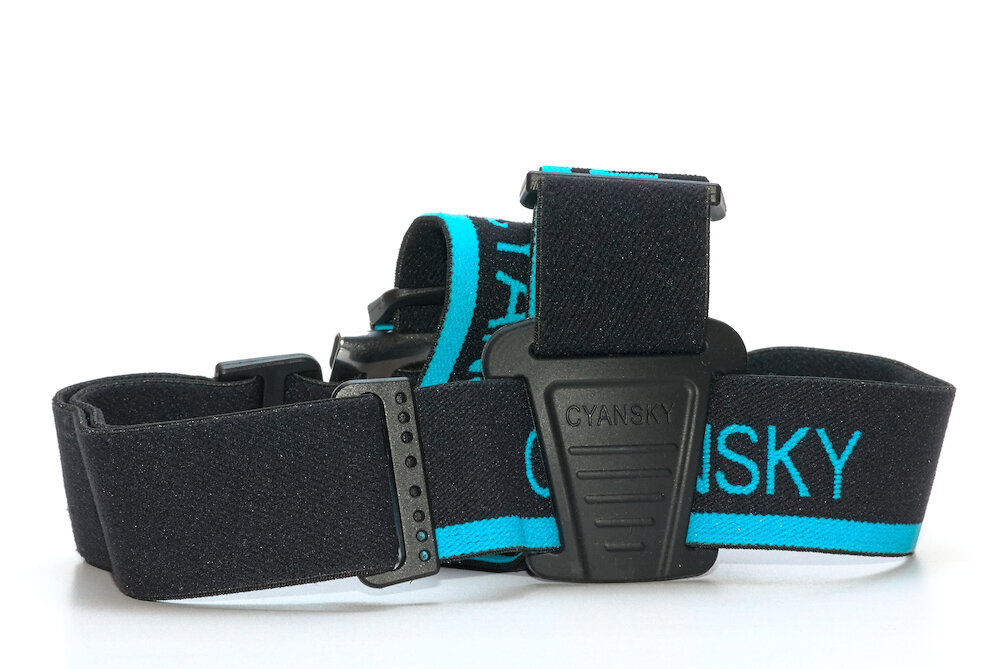
- headband with mount
- USB-C charging cable
- 2x replacement o-ring
- storage bag
- manual (EN, CN)
The manual is comprehensive, but hard to understand in some parts. It is only available in two languages.
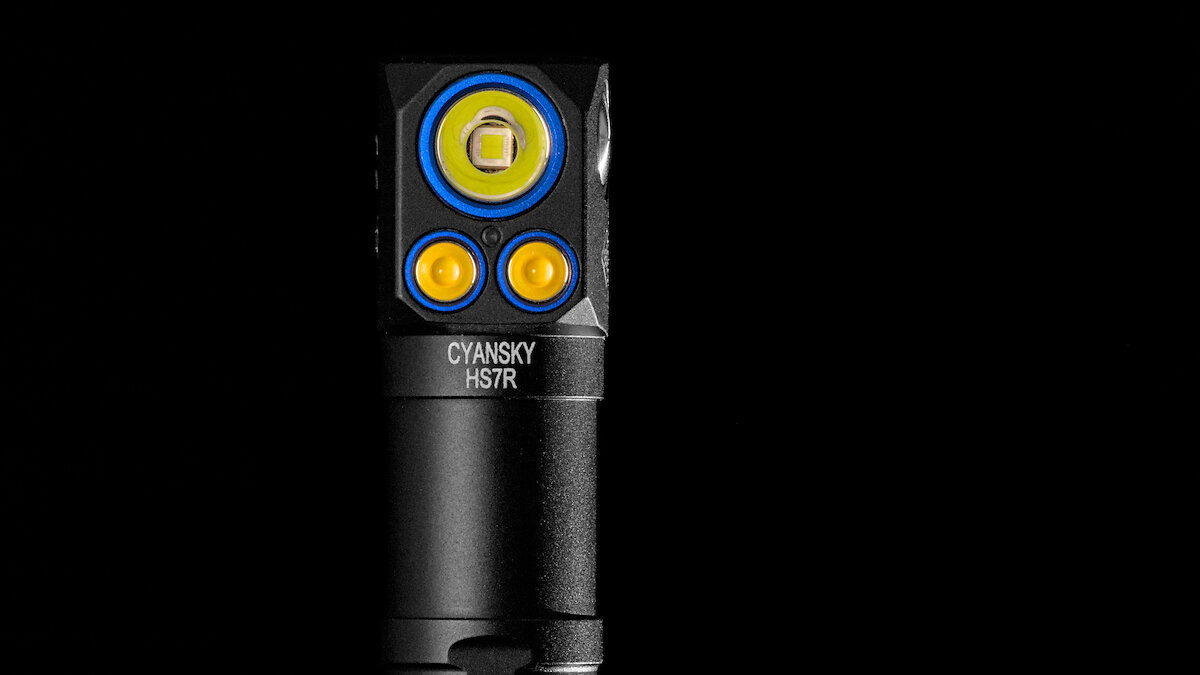
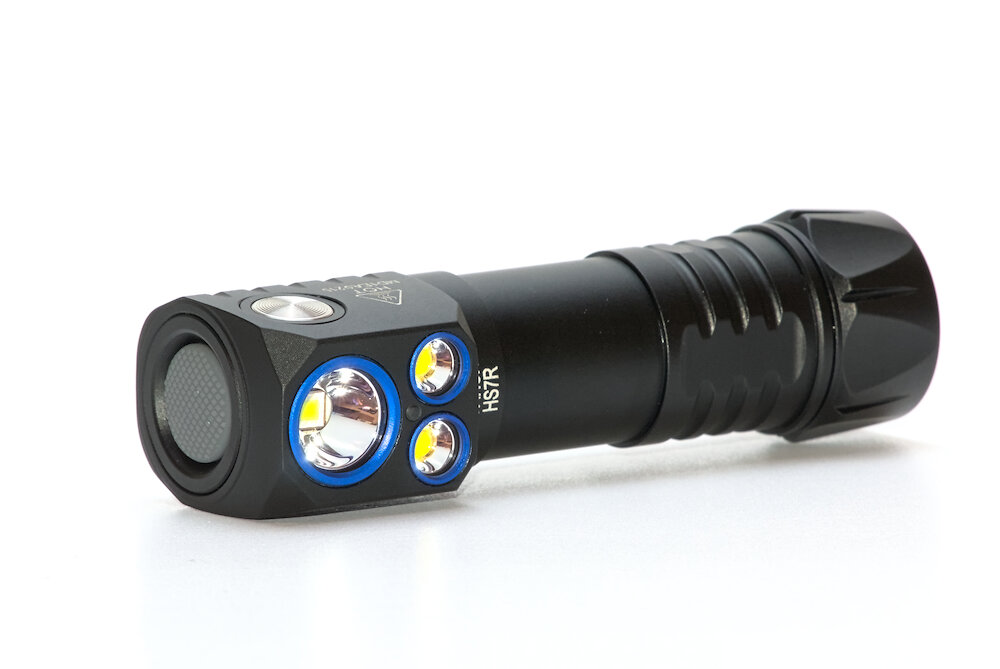
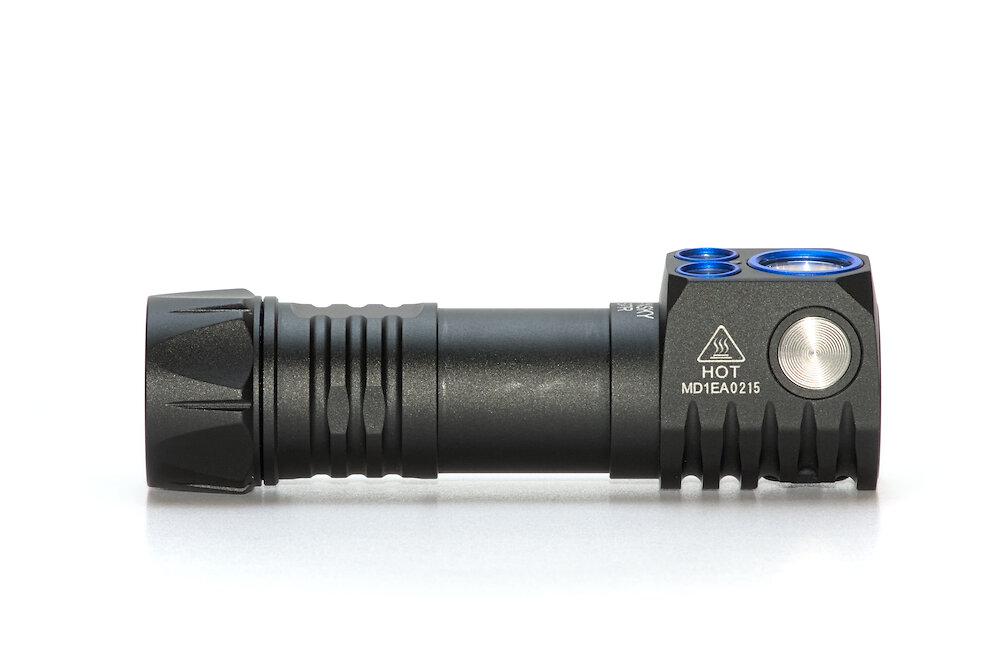
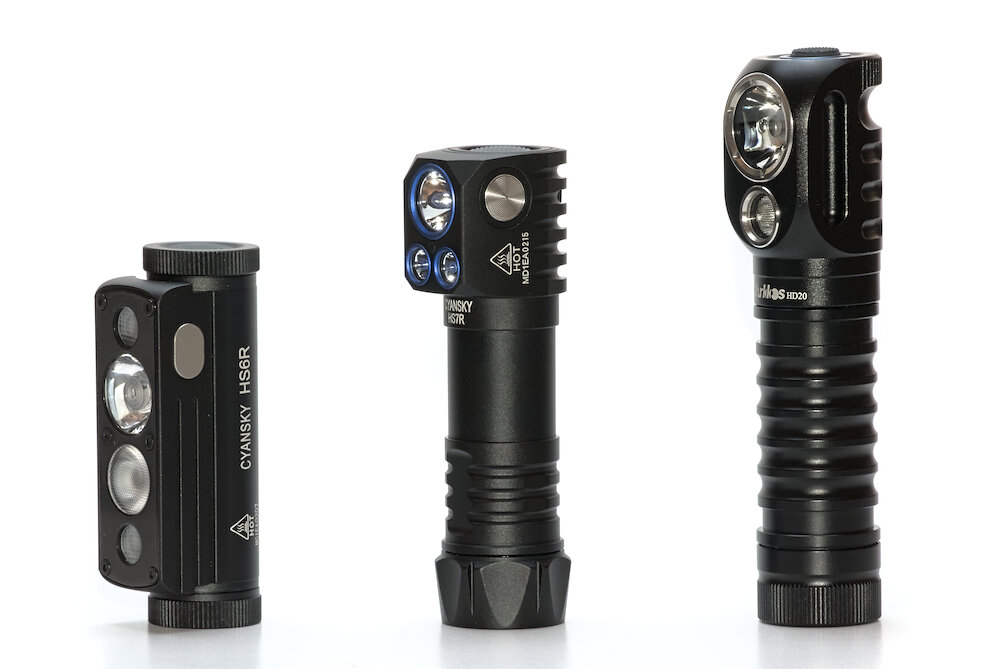
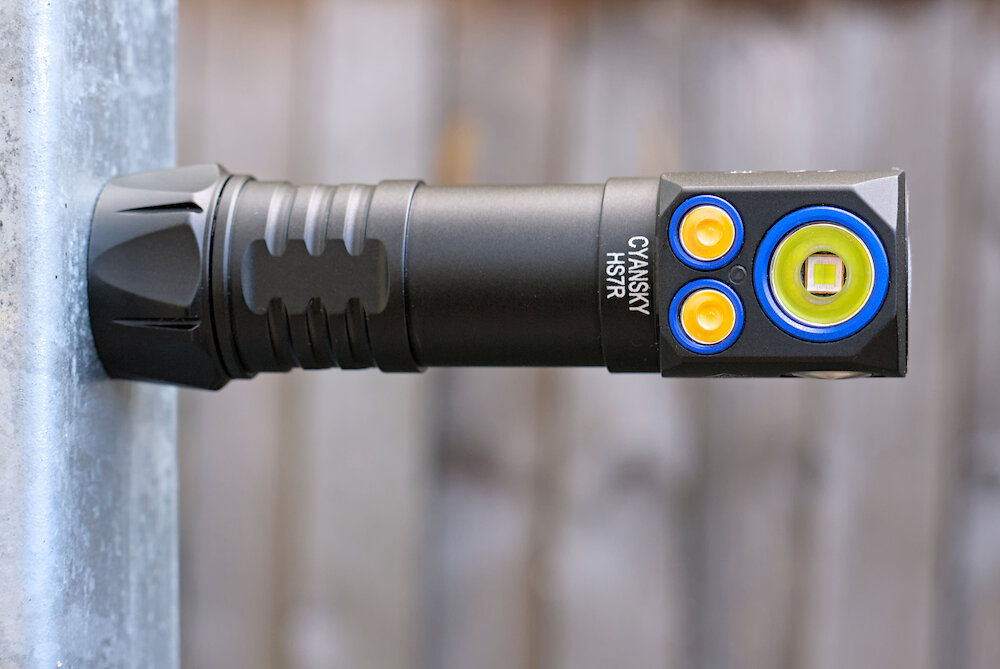
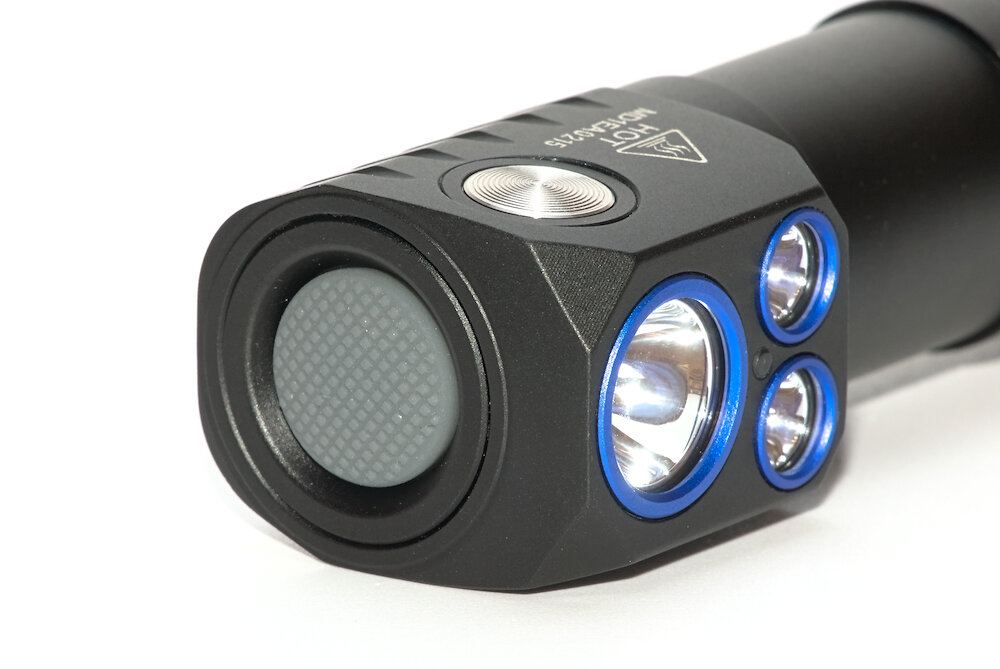
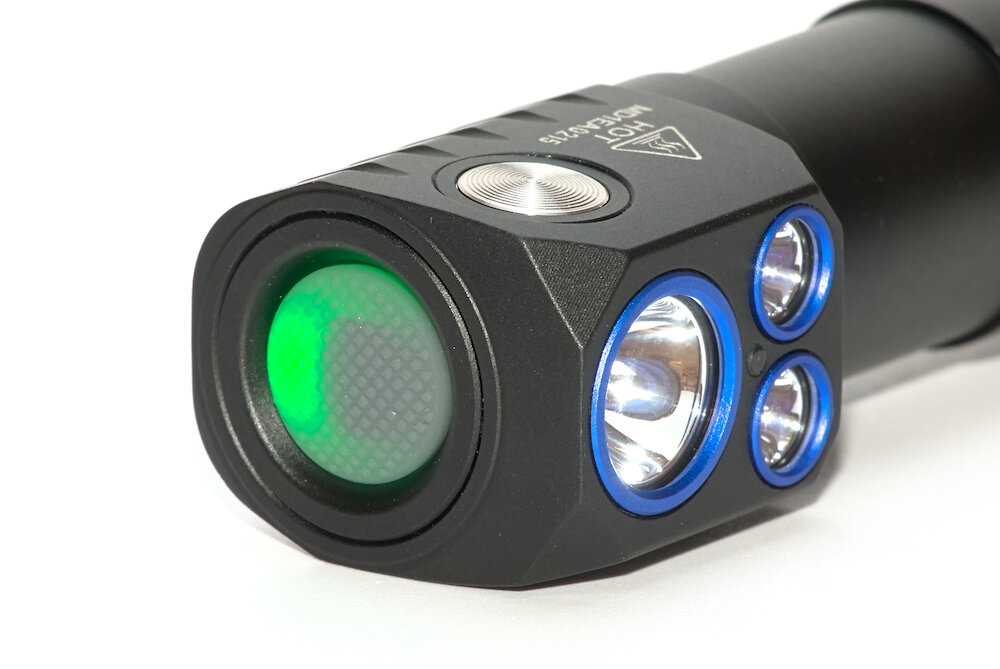
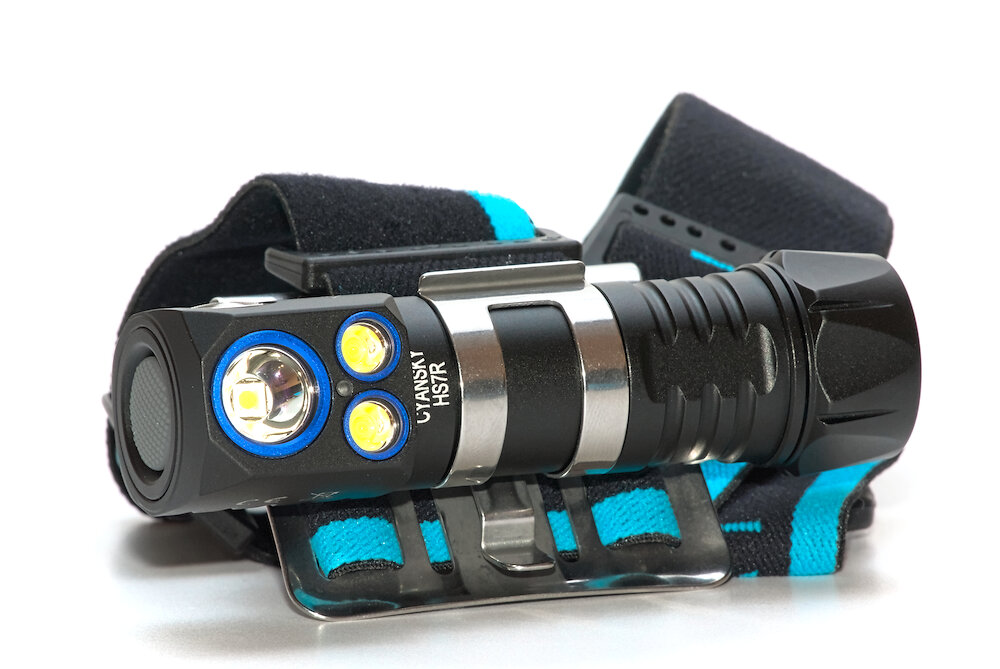
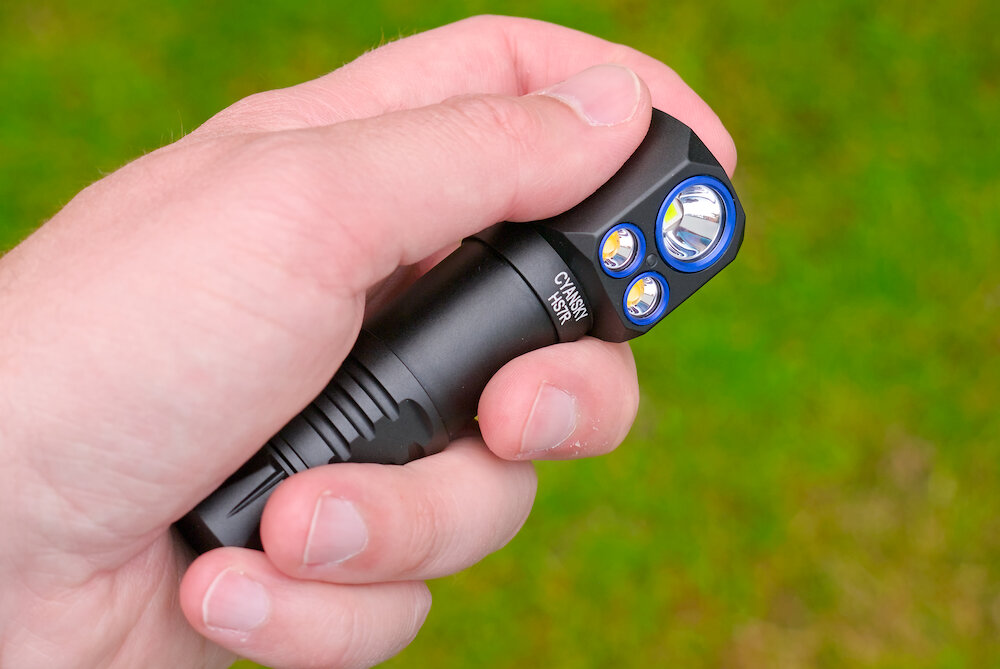
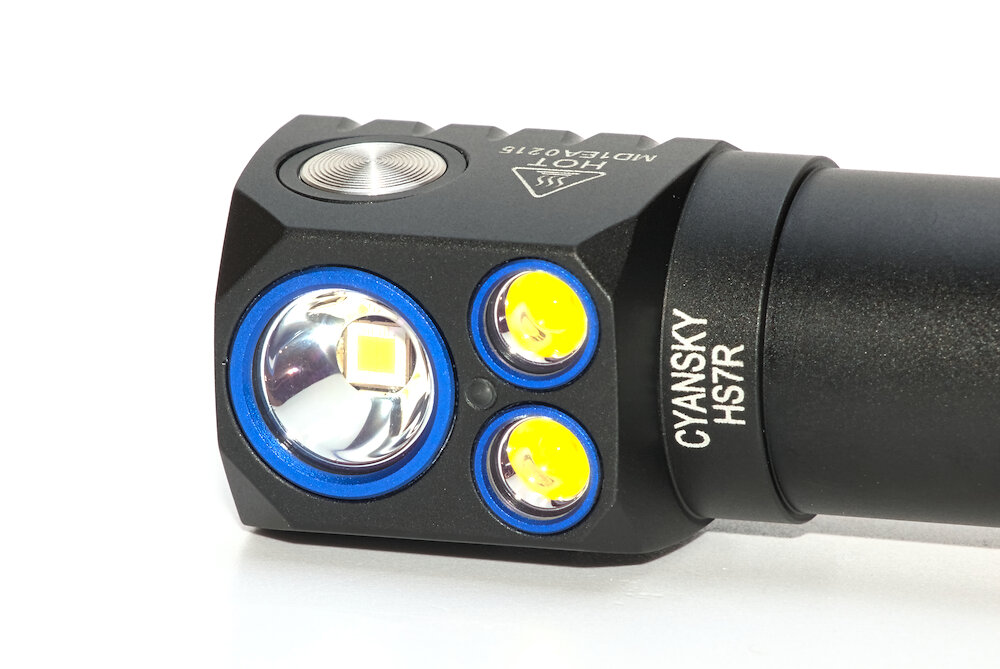
You’ll find a lot of different styles in the design. A large head with three LEDs, an illuminated switch at the end, another switch at the side, a center part for attaching it to the head mount, a textured part for better grip and a rather fancy tailcap.
At first glance, the shape of the HS7R takes some getting used to due to the slightly protruding head. However, this allows for a shorter length of the flashlight.
The head and the shape of the tailcap will prevent the light from rolling away.
It’s surprisingly small for a 21700 light.
Length: 103 mm
Diameter (battery tube): 25 mm
Head: 32 × 26 mm
| Weight | |
|---|---|
| Flashlight: | 68.6 g |
| Battery: | 73.0 g |
| Headband: | 71.5 g |
| Total: | 213.1 g |
Cyansky HS6R (18650) | Cyansky HS7R (21700) | Wurkkos HD20 (21700)
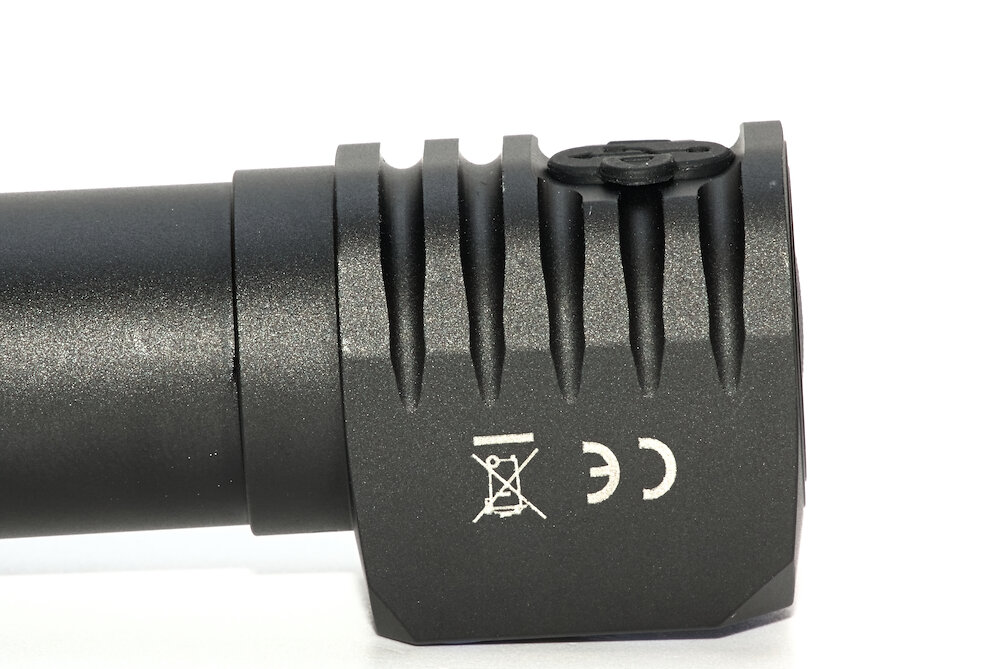
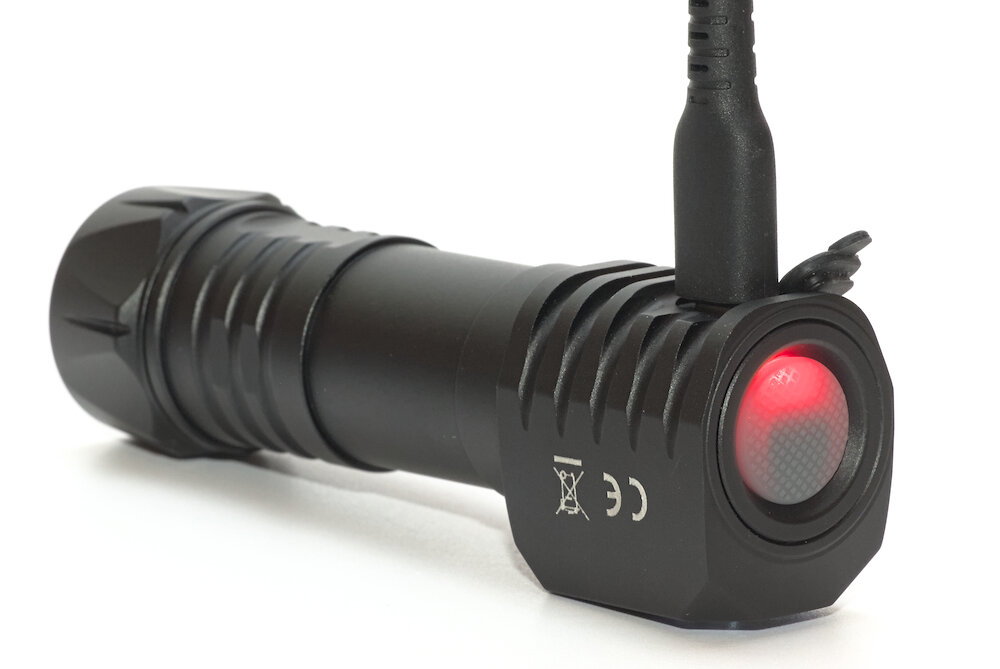
At the backside of the head there is a USB-C charging port. It is protected against water and dirt by a little silicone plug, which is slightly recessed so that it doesn’t get in the way.
The battery is charged at about 1.8 A (input), while the illuminated switch lights up in red. After charging has finished it switches to green. While the USB cable is connected, only Med level will work.
If this is not enough, you can also charge the battery directly via its integrated USB-C charging port. With only 1.4 A (input) it is slightly slower and takes 4.5 hours to charge the battery. On the other hand it’s nice when you have a backup battery that you can charge externally.
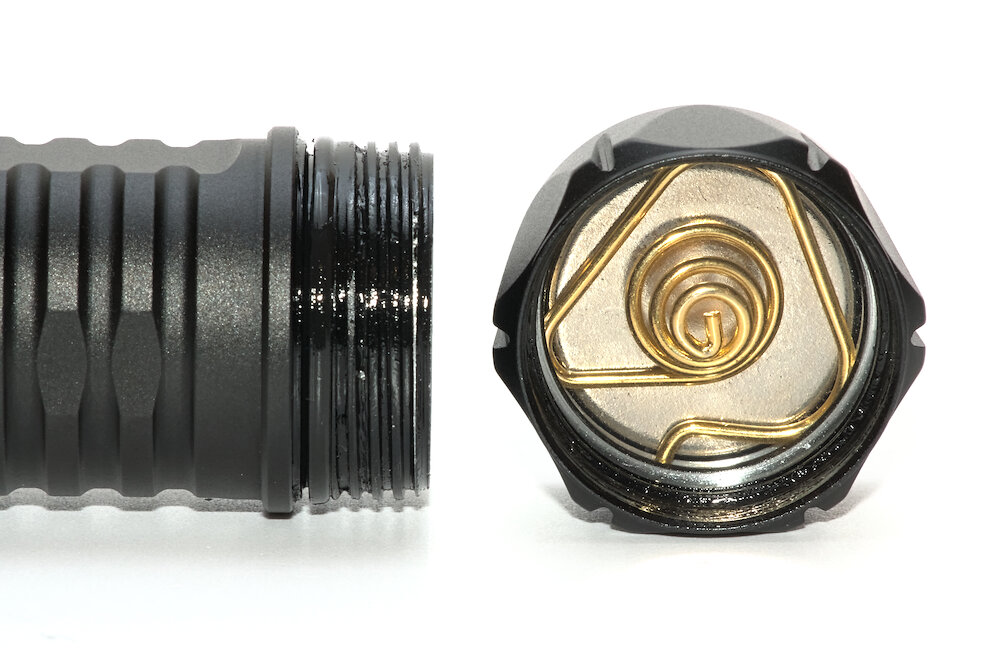
The HS7R has a strong magnet in the tailcap. It doesn’t come with a clip or a hole to attach a lanyard.
The magnet is held by the spring, which can be unhooked to remove the magnet.
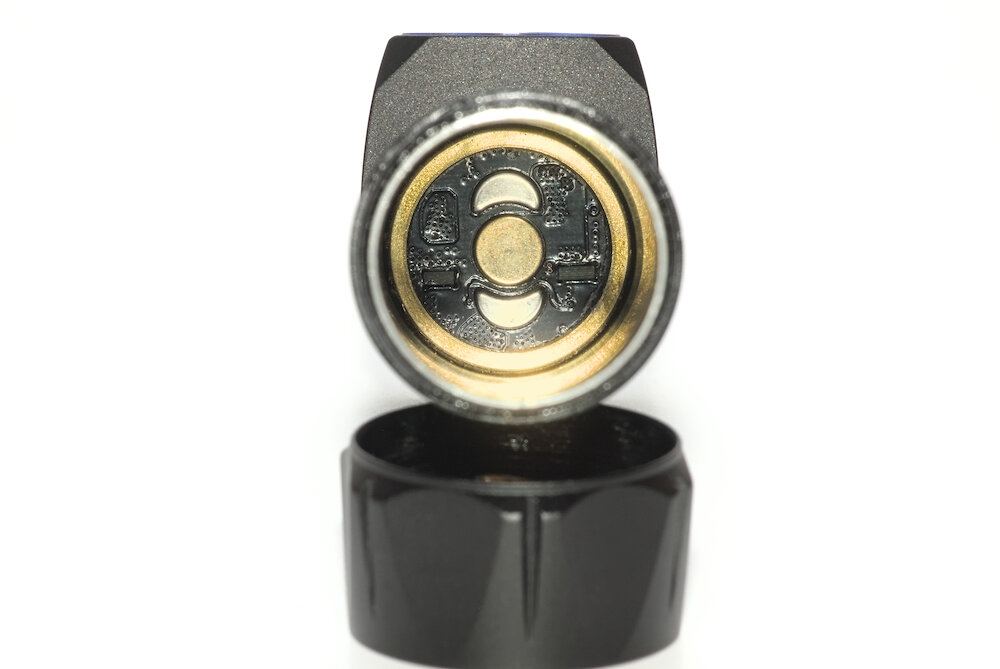
On the driver side there is just a flat metal contact. It is surrounded by two pins that act as a mechanical reverse polarity protection. This limits the choice of battery to button-top 21700 models.
Except for the cooling fins there aren’t any sharp edges. The machining is fantastic and the matt black anodization without flaws. It is rated at IP68, so it should survive a depth of two meters under water. Its impact resistance is also rated at two meters.
User interface and features
The flashlight is controlled via two buttons: A large end switch with silicone cover and integrated status LED, which controls the throw channel.
On the side there’s a smaller metal button to control the flood channel.
The UI is mostly identical for both buttons. Each button controls its channel or switches to it, except for some special operations that are shown in italics.
| State | Action | Function |
|---|---|---|
| Off | 1 click | Show state of charge via status LED |
| Off | hold (0.5 s) | Turn on at last used level (except turbo/high for throw and turbo for flood) |
| Off | hold (3 s) | Lock / unlock (and turn on at low) |
| On | 1 click | Change brightness (Low → Med → High → Turbo) |
| On | 2 click | Enable/disable sensor |
| On | hold (0.5 s) | Turn off (channel button) or switch to other channel (other button) |
That’s a nice, simple UI. Hold for off is slightly annoying at first, but you’re getting used to it and it helps against accidental activation. I don’t like that mode memory is only available for some levels.
The status LED in the main switch shows the state of charge for three seconds when you turn on the flashlight or click the button when it’s off.
| Color | State of charge |
|---|---|
| Green | 75% – 100% |
| Green blinking | 50% – 75% |
| Red | 25% – 50% |
| Red blinking | < 25% |
The manual includes instructions what to do when the status LED doesn’t turn off. A bug?
If the indicator light doesn’t go off, press the spotlight or floodlight button again to turn off the power indication.
When the battery is almost empty, the status LED starts to blink red and the main LED will shortly blink every three minutes while it’s on.
A special feature is the sensor between the three LEDs. Its purpose is to reduce the brightness if an object is detected in front of the light. This should prevent injuries and fires.
Unfortunately it is only a light sensor that will detect the reflected light. This works good for bright objects: If you place your hand in front of the light, it will immediately throttle down. When you remove it, the light will ramp up again. But dark objects don’t reflect much light, so the sensor doesn’t trigger. Too bad it’s the dark object that will heat up quickly and burst into flames.
You can disable the sensor, but it will turn on again every time when the flashlight is turned on. A solution would be to cover the sensor with a piece of tape or a marker.
The headband consists of a 35 mm wide elastic strap (with an additional top strap for stabilization) and a metal mounting plate. Its edges are rounded. A large bracket holds the flashlight securely. Unfortunately it will scratch the anodization quickly. Hidden behind it is also some kind of clip.
The HS7R performs very well, as a hand lamp as well as a head lamp. The headband keeps the flashlight in place without wobbling, but you feel the weight.
Illumination
The HS7R has a total three white LEDs, divided in two channels. All LEDs sit in their own small reflector behind a lens with “magenta” anti-reflective coating.
- Throw: 1x Luminus SFT-70, cool white, low CRI, especially in lower levels noticeably green. It’s beam angle is specified with 20°.
- Flood: 2x OSRAM Duris P9 (PUSTA1.PM), warm white, low CRI. Rather pleasant color and tint, good contrast to the green SFT-70. The beam angle should be 90°.
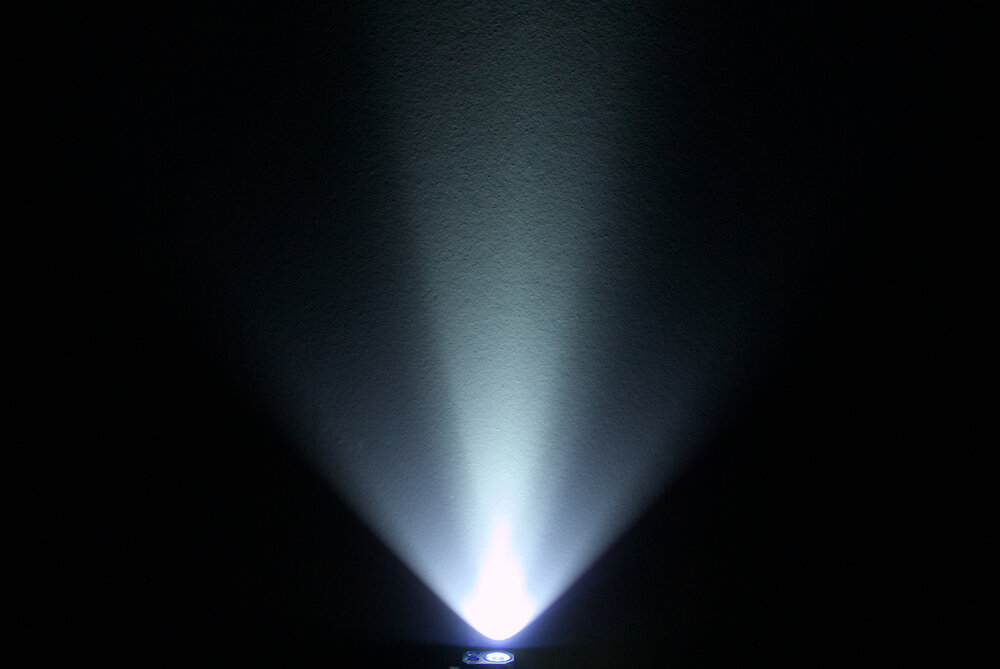
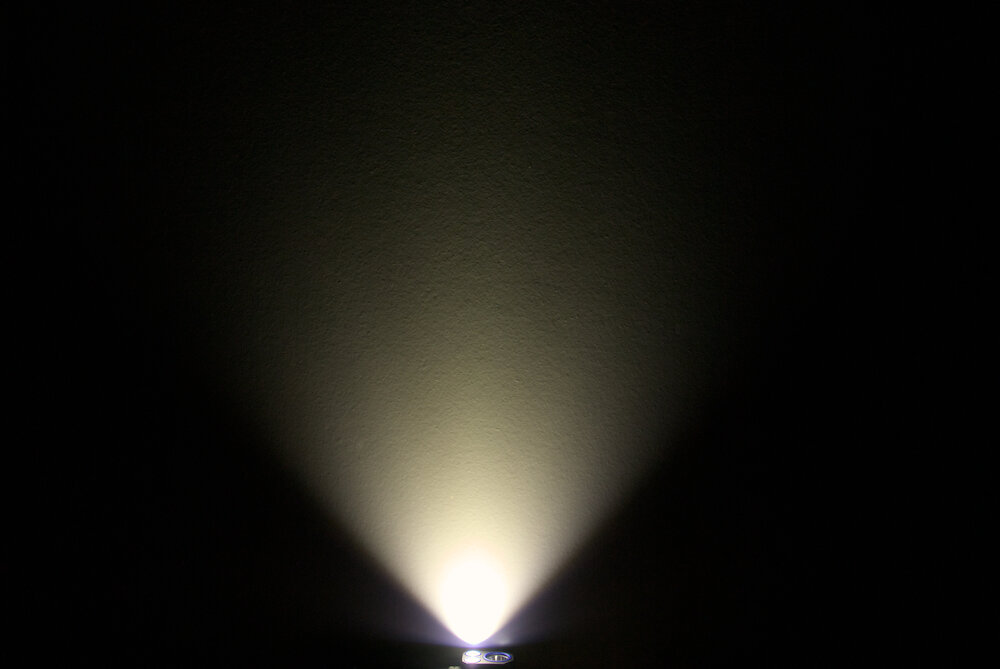
At the white wall you can clearly see the difference between throw and flood. The Luminus SFT-70 has a distinct spot.
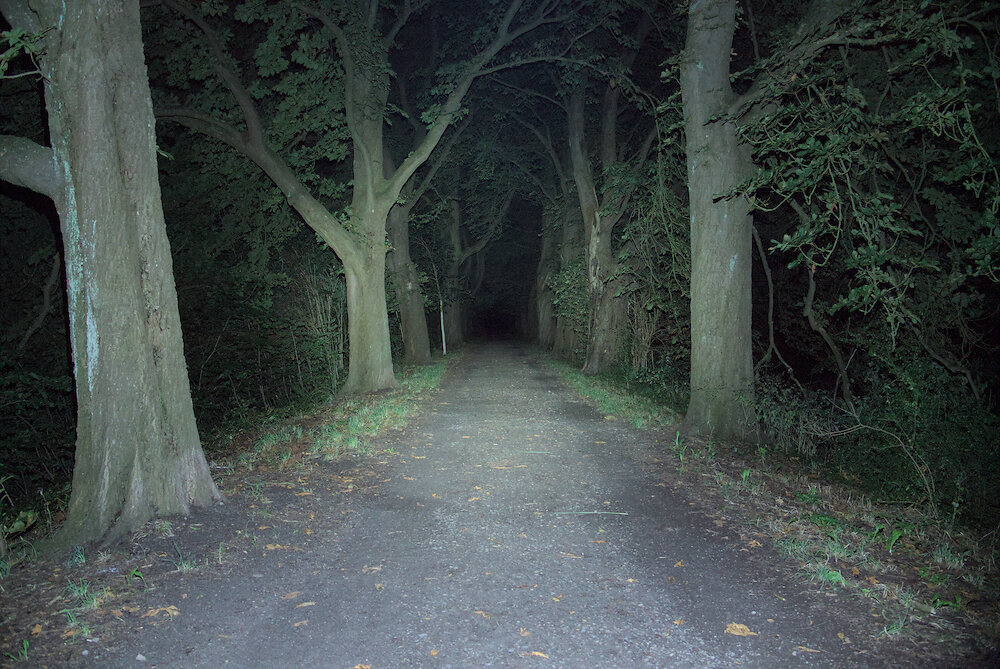
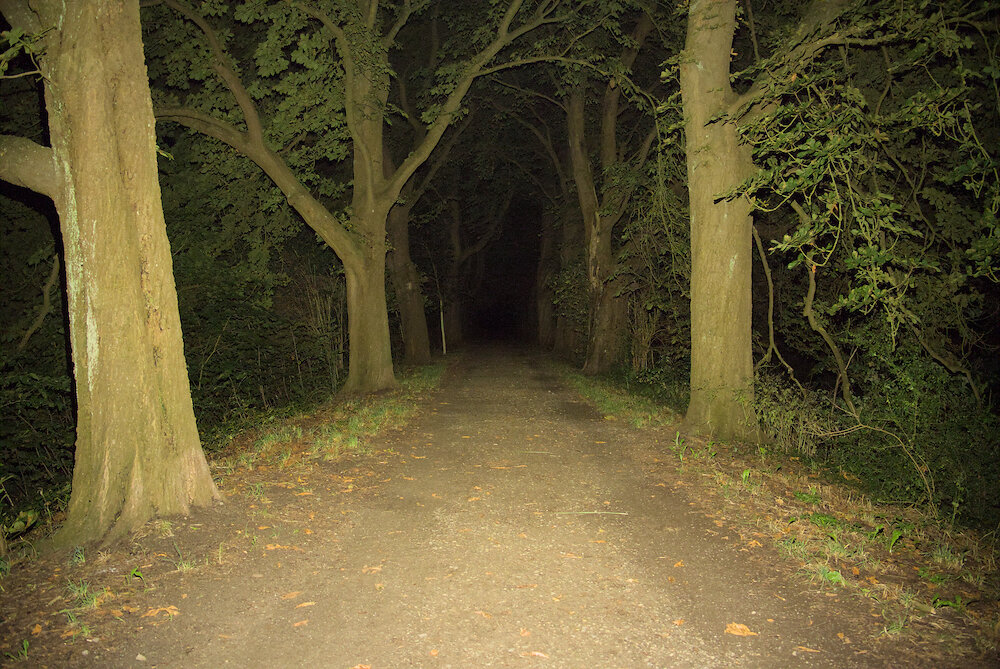
Outside there’s not much difference visible. Yeah, the throw channel does indeed reach a little further, but both have a rather floody appearance. I would have liked the difference to be much bigger, especially because of the unpleasant color of the Luminus SFT-70. The two OSRAM LEDs of the flood channel would have been sufficient for me.
Driver and runtime
In addition to the tabular information on the runtime, the manual also contain a simplified diagram with the brightness curve. It makes clear that the brightness is not maintained over the full runtime.
| Mode | Brightness¹ | Runtime¹ | Intensity¹ (Throw²) | Current³ |
|---|---|---|---|---|
| Throw: Turbo | 2800 lm | 4 h | 8649 cd (186 m) | 11.04 A |
| Throw: High | 800 lm | 6 h | 2500 cd (100 m) | 1.56 A |
| Throw: Medium | 200 lm | 26 h | 650 cd (51 m) | 0.34 A |
| Throw: Low | 50 lm | 100 h | 156 cd (25 m) | 0.10 A |
| Flood: Turbo | 2000 lm | 4.5 h | 2070 cd (91 m) | 6.85 A |
| Flood: High | 500 lm | 9.5 h | 1024 cd (64 m) | 1.01 A |
| Flood: Medium | 100 lm | 48 h | 100 cd (20 m) | 0.19 A |
| Flood: Low | 15 lm | 140 h | 25 cd (10 m) | 0.04 A |
| Off | 61 µA |
¹ According to manufacturer ² ANSI FL1 ³ Measured
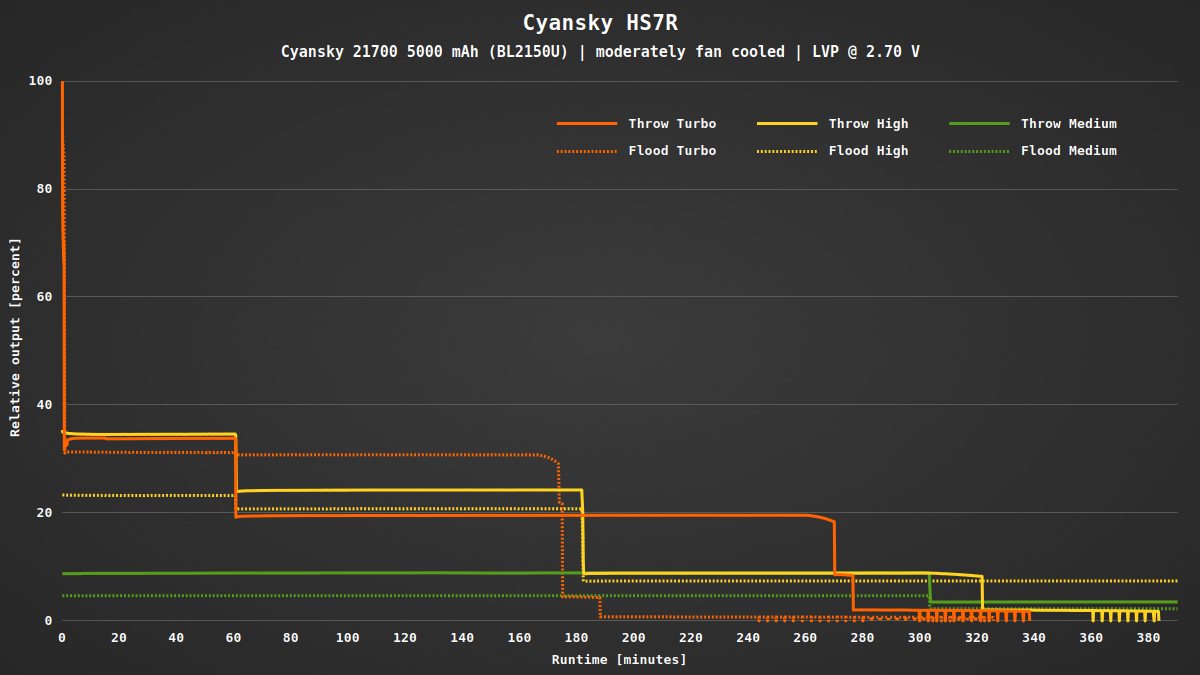
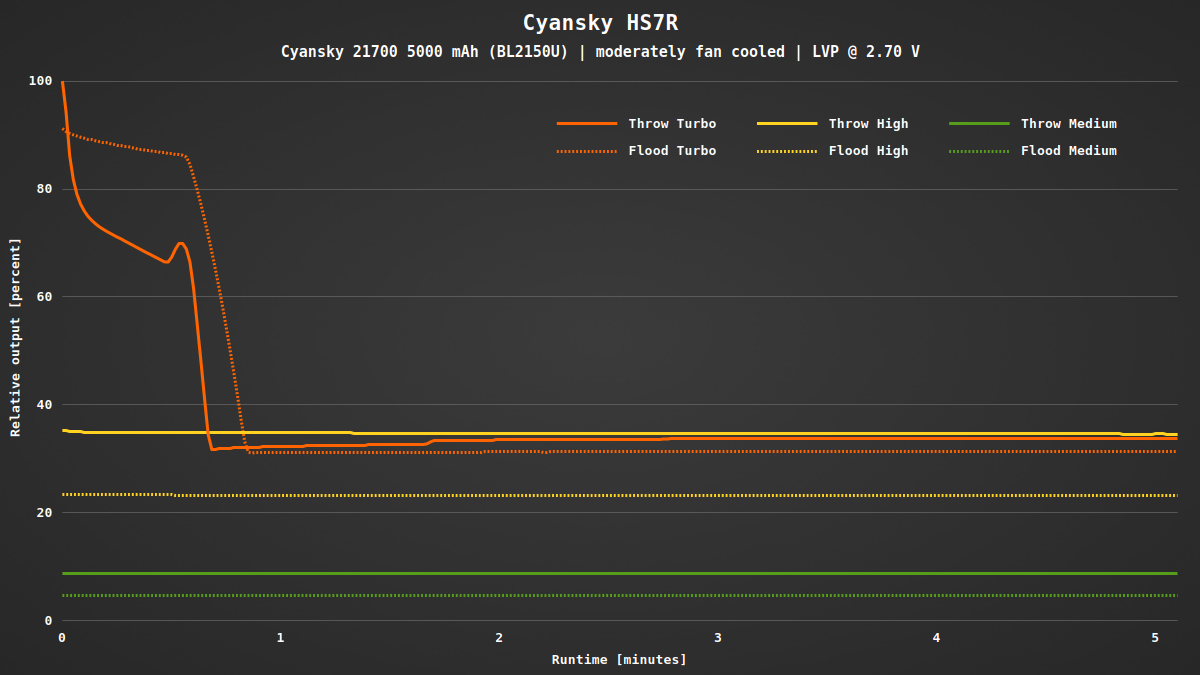
There is a stepdown after 60 and 180 minutes. Because it happens with all channels and levels, I assume that it is timed. Later stepdowns are a result of the reduced battery voltage.
The manual says that the brightness in turbo is reduced after one minute to prevent overheating. In addition the light should have temperature regulation. In my runtime tests the brightness was reduced much earlier. With the throw level it reached approximately 50 °C, with flood only 40 °C. After some time it stabilized at around 35 °C.
Especially the throw channel will quickly drop the brightness in turbo. It starts at 11 A, which might be too much for the battery or the boost regulator.
Afterwards the brightness is perfectly constant and regulated without PWM. At around 2.7 V the flashlight shuts off to prevent low discharge of the battery.
Conclusion
Compact, bright, long runtime, two channels for flood and throw, easy to use. That describes the Cyansky HS7R quite well. In addition, there is an integrated charging function and a sensor, which is supposed to reduce the brightness if something is close in front of the flashlight (however dark objects aren’t recognized).
The difference in distance between flood and throw is a bit too small in my opinion, but the flood channel has a pleasant warm white color. A more focused throw channel with the same color temperature as the flood channel would be great. It would also be nice if the mode memory would also work for the higher levels.
As a headlamp, the HS7R would be a bit too heavy for me in the long run. Instead I’d use a lighter headlamp with less brightness and a powerful handheld flashlight like the Cyansky P25 v2.
If you got curious, you can get the Cyansky HS7R at AliExpress (no affiliate).
