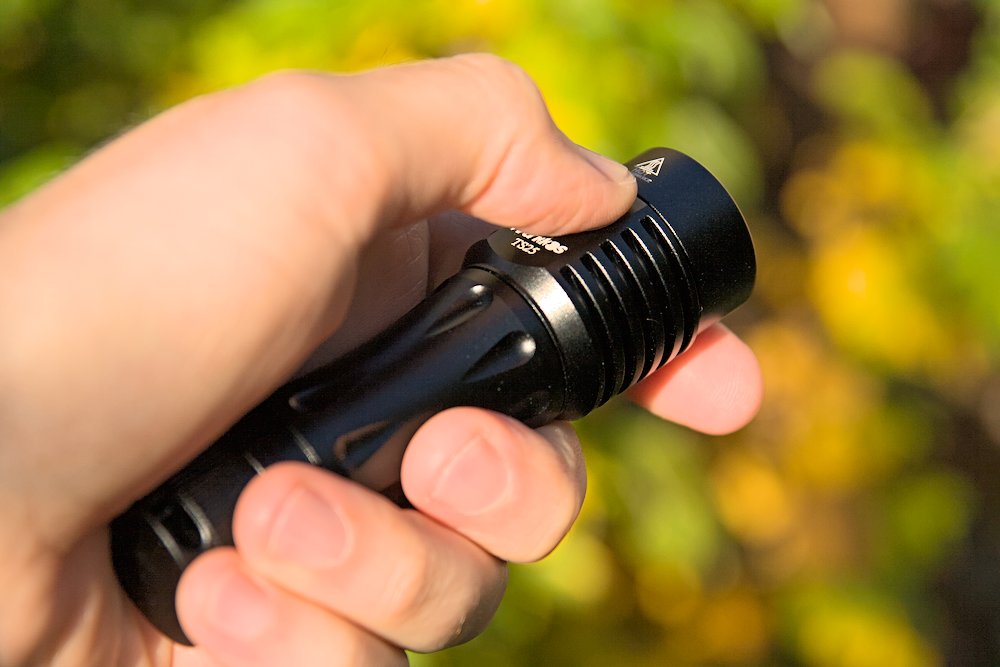
I’ve got a Wurkkos TS25 for review. It’s one from the first batch that could be considered as a prototype batch.
There are some limitations with this version that I will explain later. Thus the review will be a little bit shorter than usual. You can find a version with more text (but mostly the same information) in German on my website: SammysHP Blog › Wurkkos TS25 (Prototyp)
Supplied parts and hardware
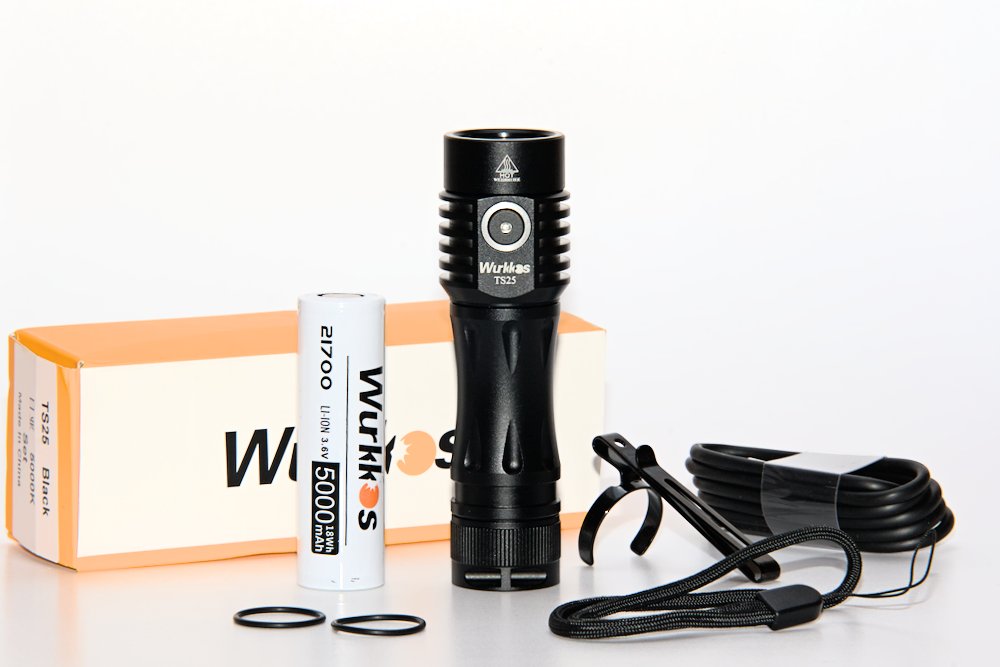
You’ll get the TS25 in a set with a 21700 Li-ion battery (5000 mAh, comes at 3.95 V), a dual-way clip, a lanyard, two replacement o-rings and a USB charging cable. There is no manual included in this early batch.
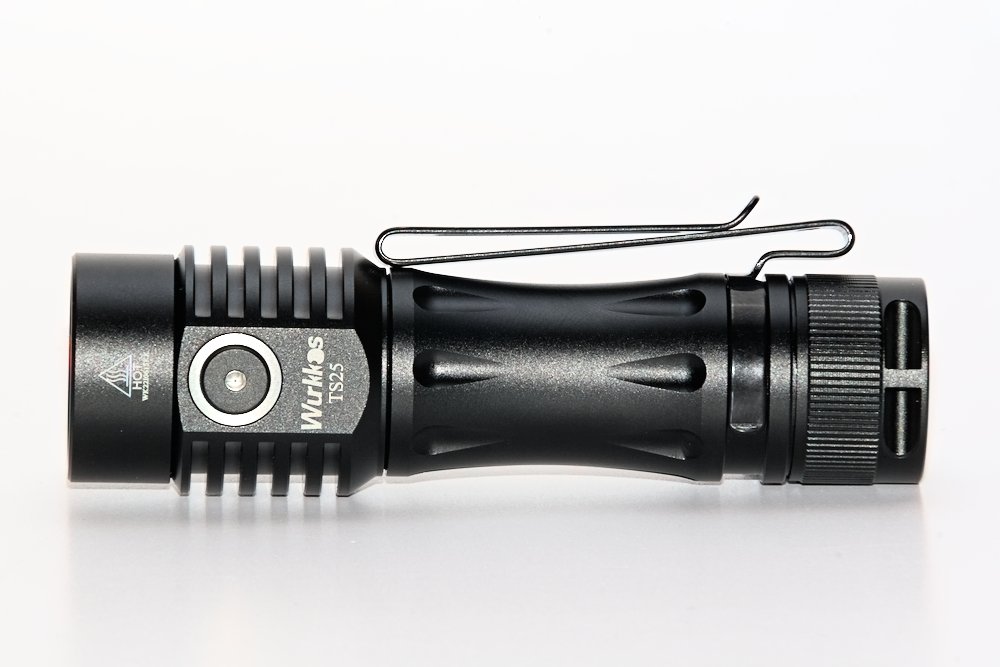
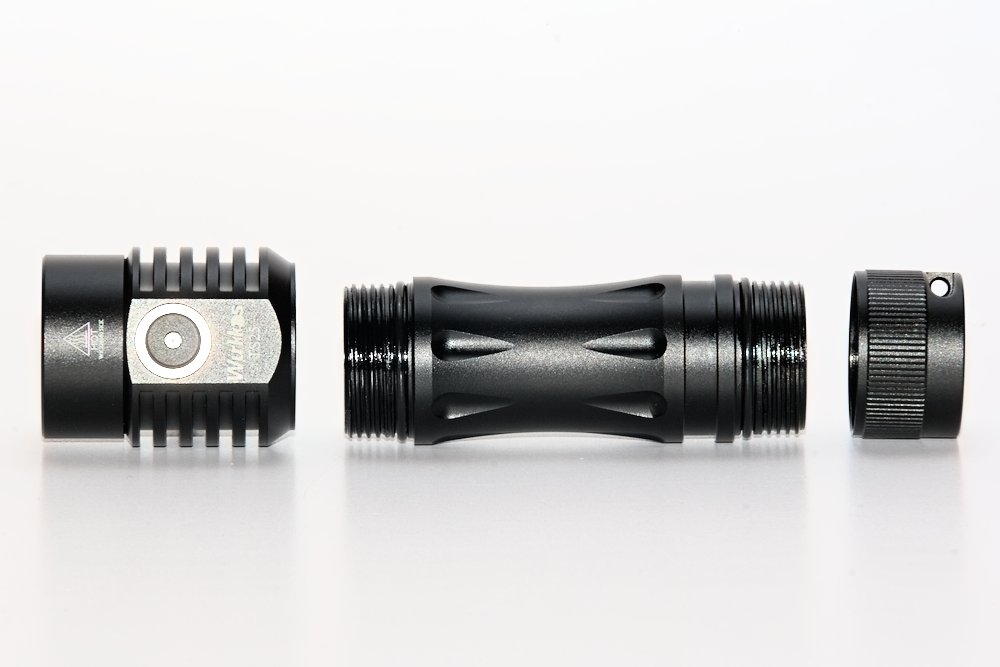
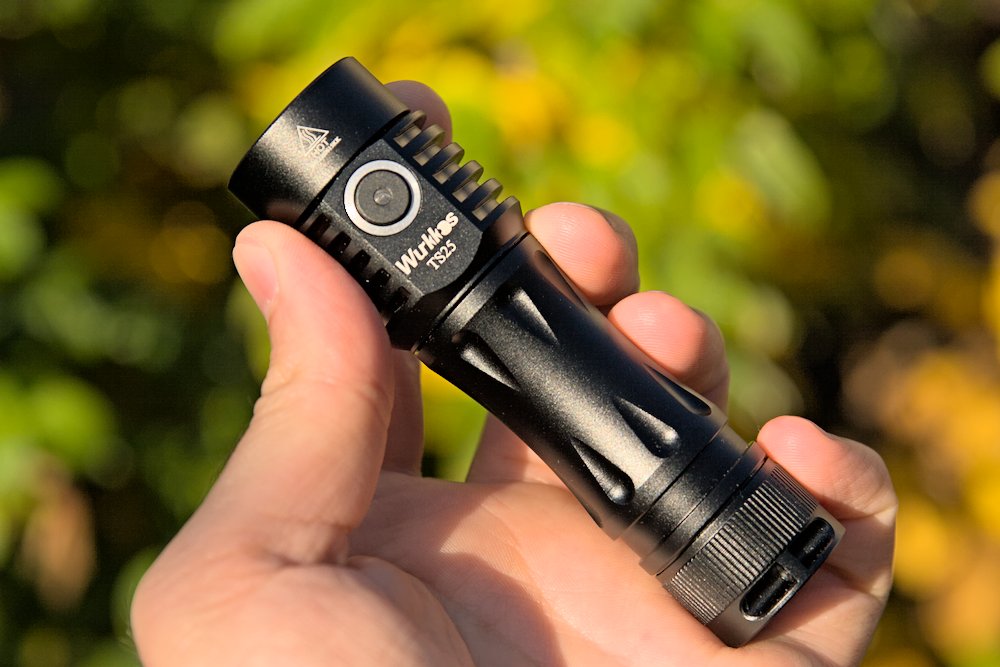
The design is based on the TS10 (“Slender Waist”) with the drop shaped cutouts, but also includes some classic parts for the head, switch and tailcap.
Length: 110 mm
Diameter (waist): 23.5 mm
Diameter (head): 32 mm
Weight: 145 g with / 76 g without battery
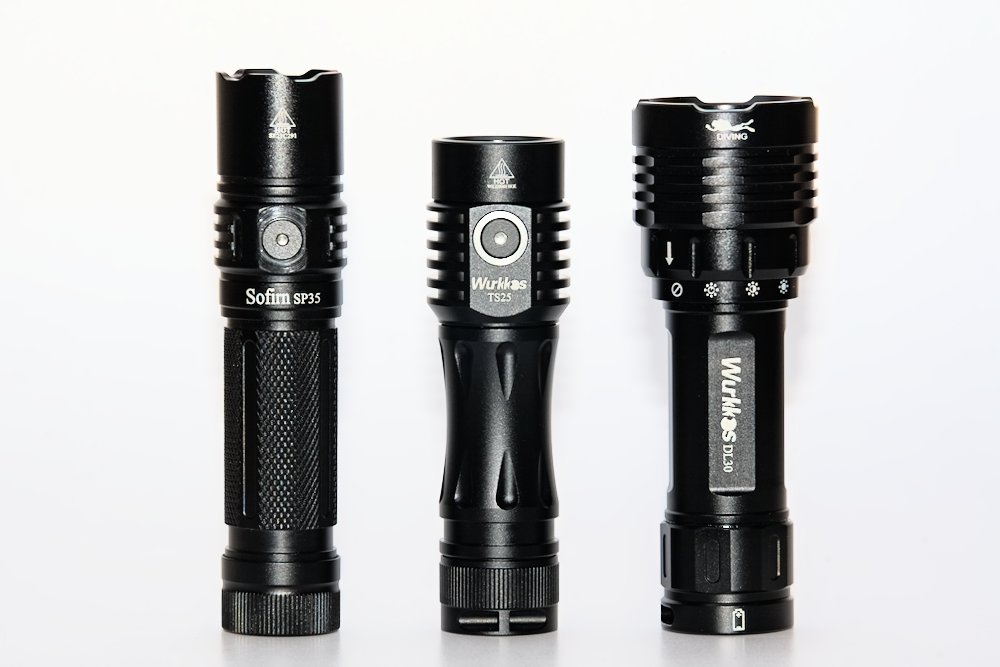
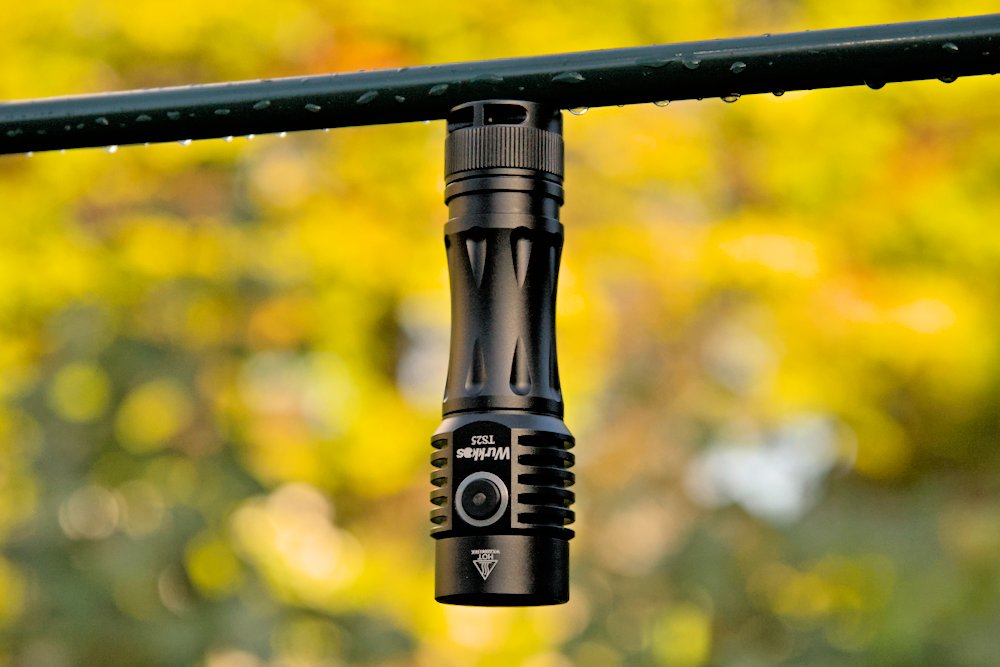
Compared to other 21700 flashlights it’s rather short and feels slim due to the waist.
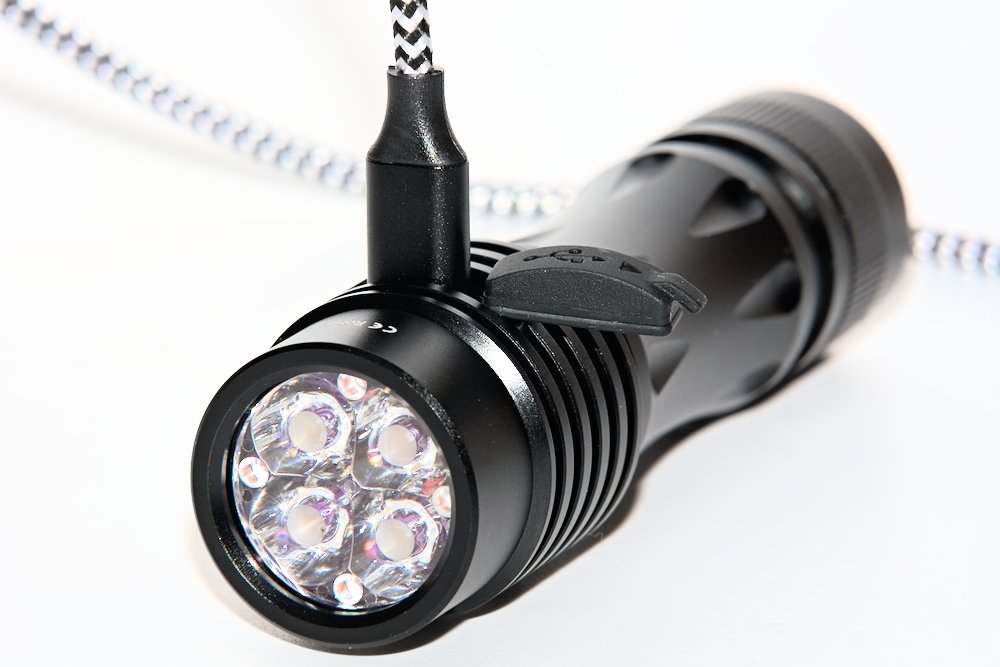
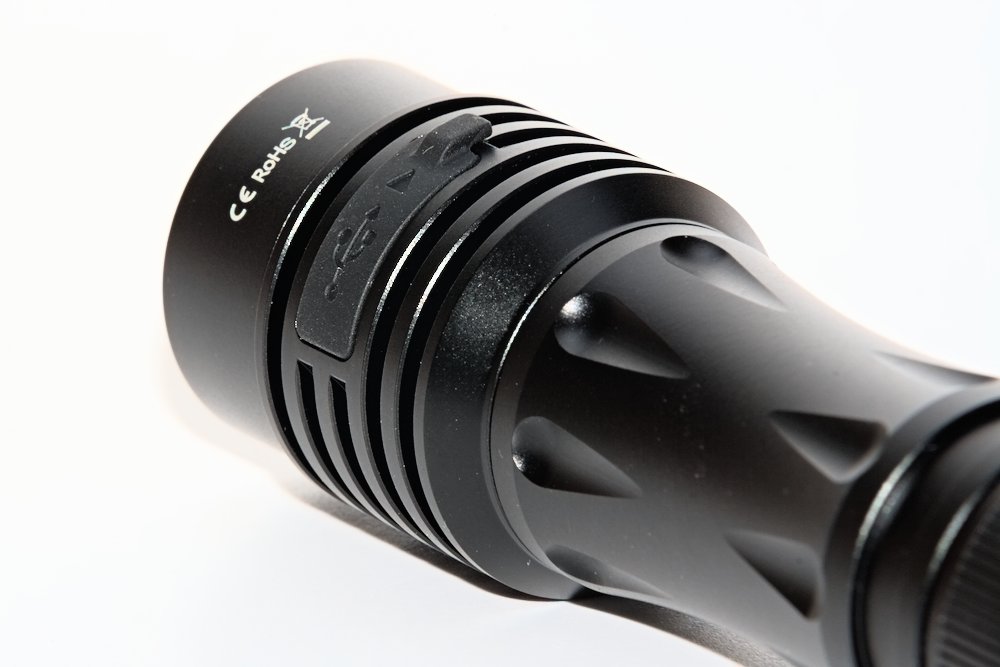
The battery can be charged via a USB-C port in the head. In my test charging was done at 2.3 A (but maybe my power supply was the limiting factor) with termination at 4.17 V. During charging the switch LED blinks blue, when it’s finished it will be constant blue. You can use the flashlight during charging.
The USB port also works as a powerbank.
A silicone cover protects the USB port from water and debris. It’s thick and sits firmly.
The dual-way clip works, but is hard to use without opening it first. The battery tube can be reversed, so a normal clip would have been better while still maintaining both orientations.
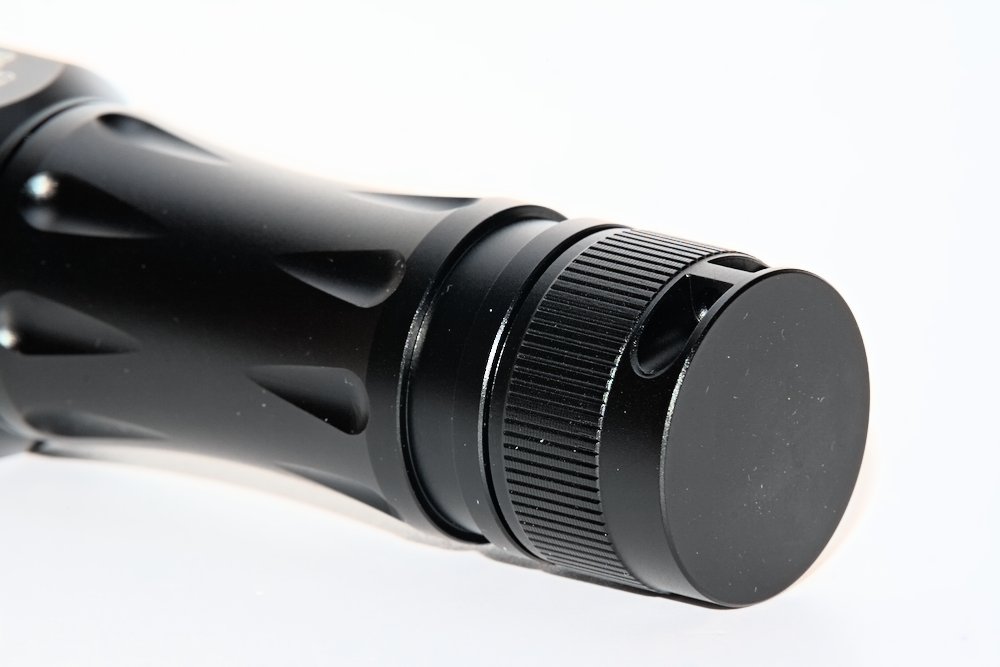
Nice, covered hole in the tailcap for a lanyard with good tailstand.
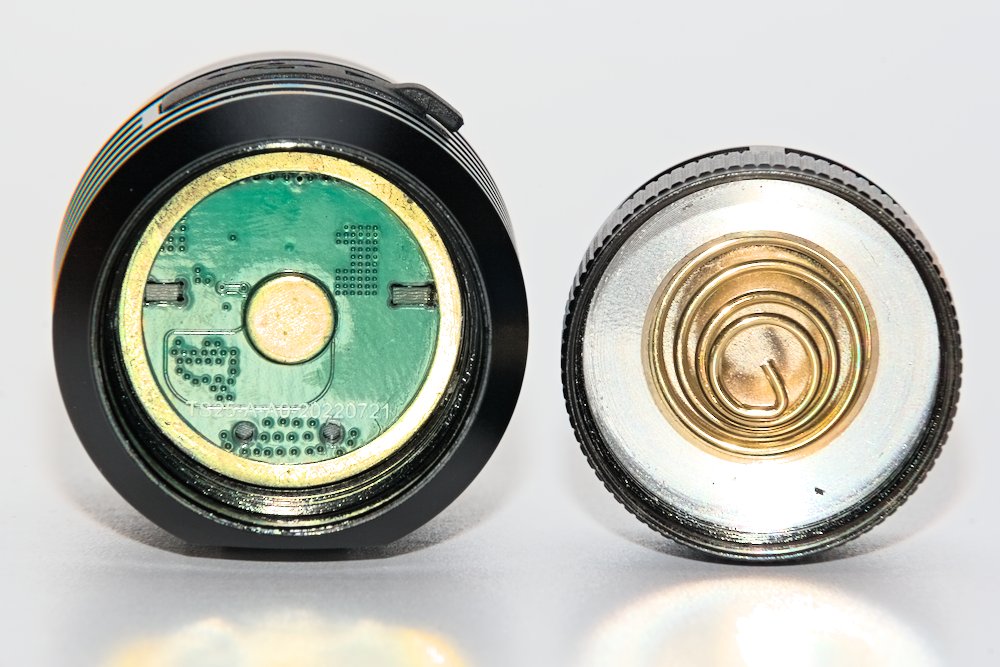
On the driver side there’s a brass button, the tailcap has a thick spring. Most flat and button top 21700 should fit. Protected batteries might be too long, but won’t work anyway due to the high power requirements.
The tailcap also includes a magnet. It can hold the flashlight horizontal, but it could be stronger.
User interface and features
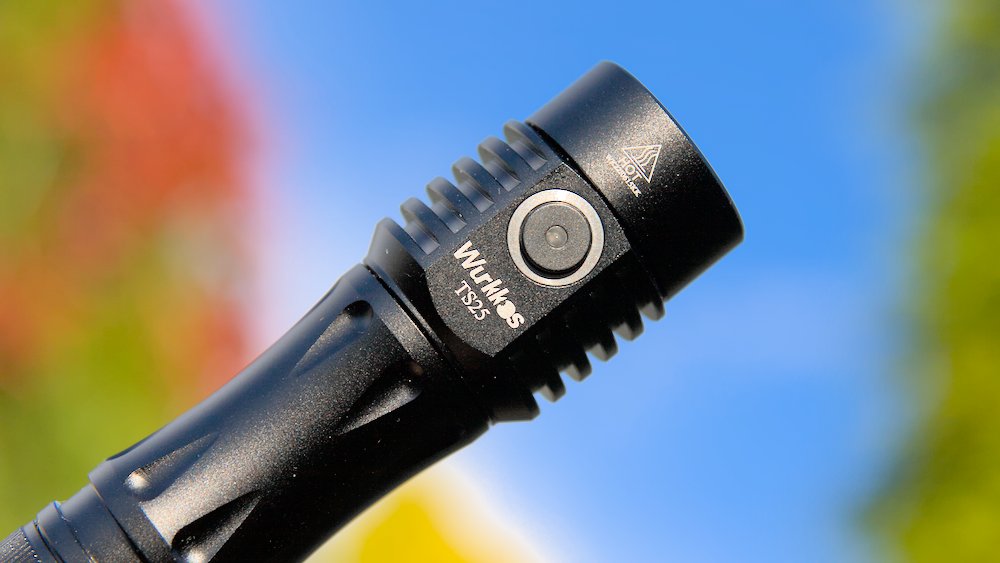
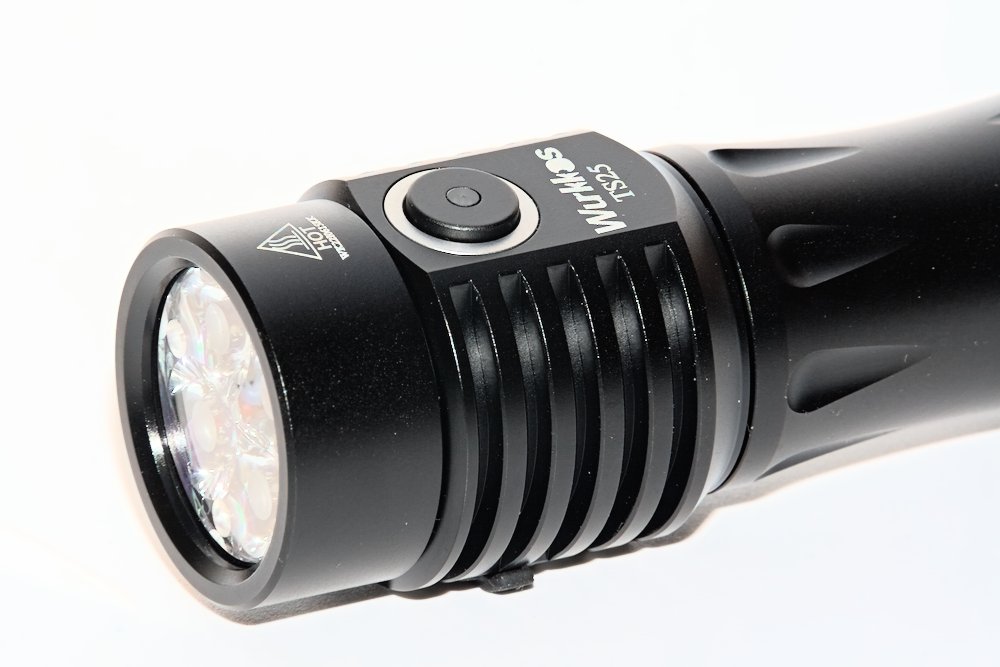
The flashlight is controlled via an electronic side switch. It includes an LED that shows the approximate state of charge for the first few seconds after turning on the flashlight (green, red, blinking red). Sadly the button is very exposed and can be activated by rolling the flashlight over a hard surface with some pressure.
The flashlight comes with Anduril 2. I guess that’s all I need to say about the user interface. For more details you can look at the official manual.
Illumination
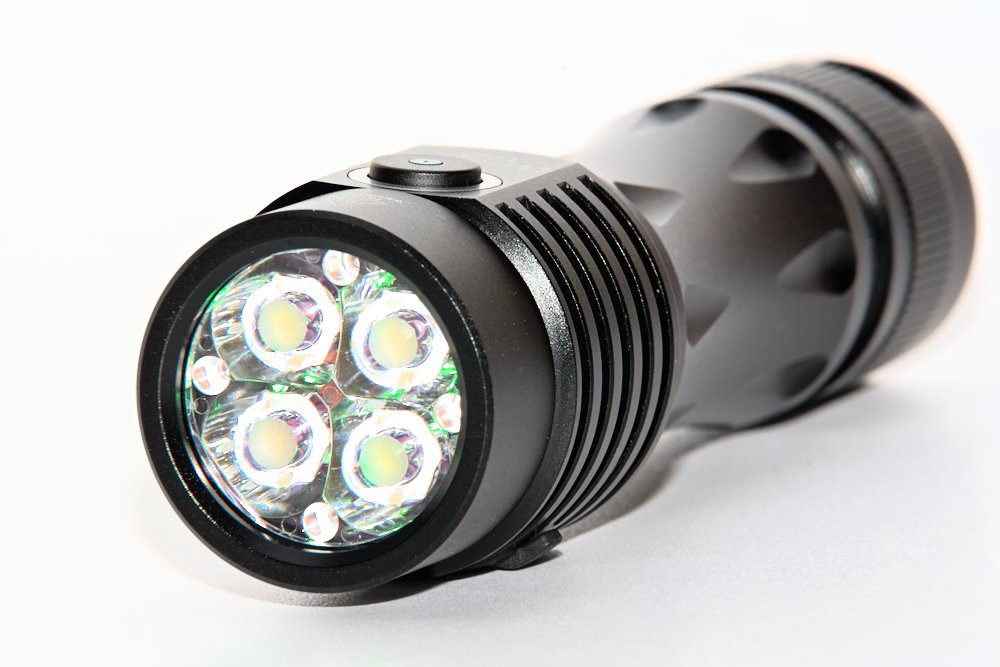
There are two variants: Samsung LH351D (often with a touch of green) and Nichia 519A with excellent performance regarding the combination of efficiency, brightness and CRI. Just geth the 519A version.
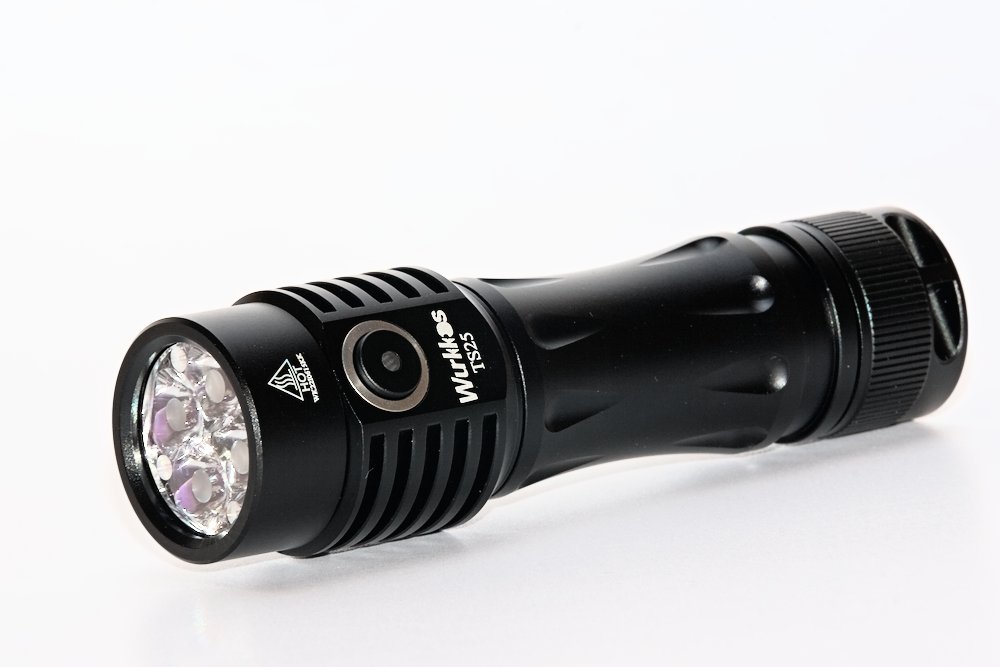
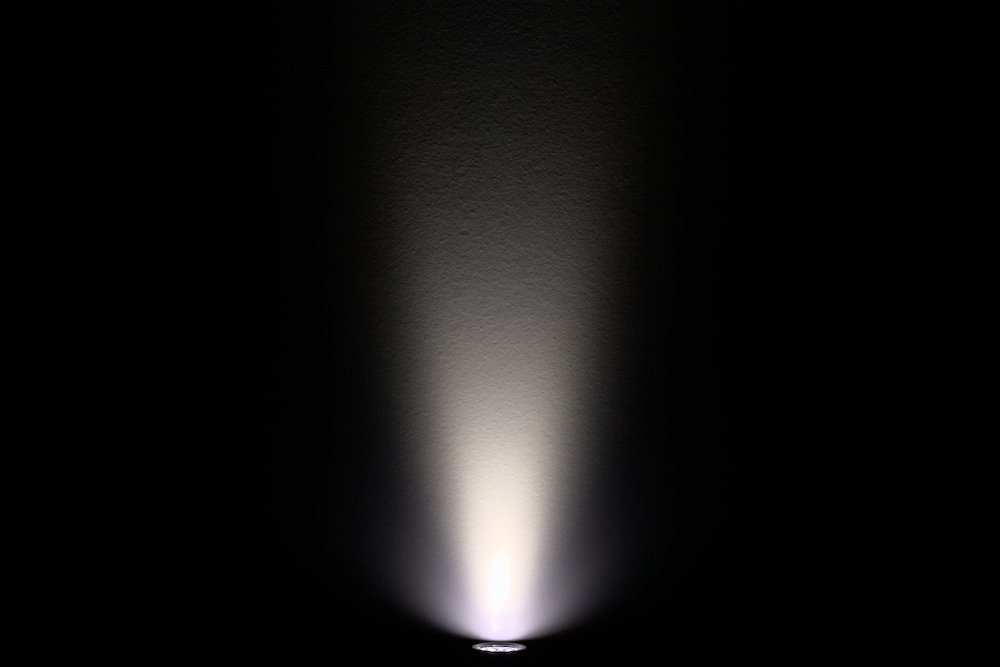
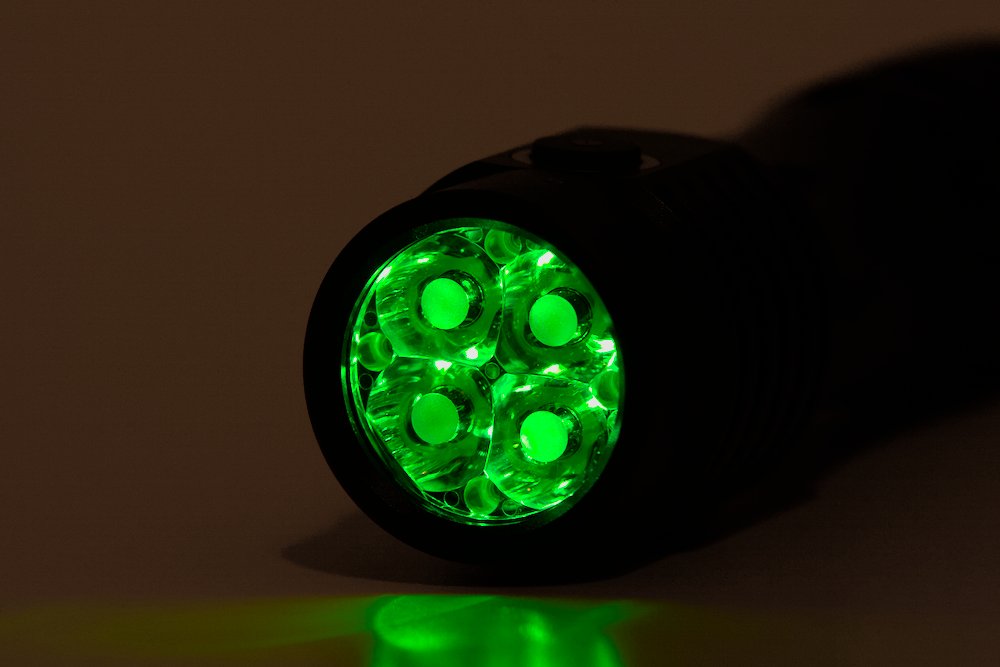
The four main LED sit behind a clear TIR optic, which is protected with a glass lens (no AR coating). It creates a large, smooth spot.
There are also RGB aux LEDs, but sadly they cannot be controlled by Anduril in this version. More about it later.
Driver and runtime
The TS25 uses a simple FET+1 driver (single AMC7135 for low levels and direct-drive via a FET for higher levels, everything controlled via PWM). Inexpensive, but lower efficiency and the brightness will depend on the battery voltage.
I haven’t done full measurements because this might not be the final driver. With full battery I could measure up to 18 A in turbo! Theoretically that should mean over 4000 lm. But it gets hot very quickly, of course.
To control the aux LEDs Wurkkos has added their own microcontroller in parallel with the microcontroller that runs Anduril. It is also connected to the switch and listens for 7C to switch the modes. You have press it very quickly, not like Anduril. Then it switches between rainbow, voltage, red, green, blue and off. There’s only a high mode with 9 – 25 mA depending on the color which will drain the battery in one or two weeks! They will also light up in opposite to the main LEDs, which creates a very confusing pattern during battery check.
Because of the hardware modifications this can’t be fixed by a firmware update. An update is difficult anyway because Wurkkos forgot to add flashing pads! You have to desolder and break out the glued driver, then solder tiny wires to the MCU.
The next version should come with the aux LEDs connected to the main MCU. The switch LED can’t be controlled by Anduril yet because it works only with a single color currently.
Conclusion
Creative design with classic elements combined with awesome Nichia 519A LEDs and Anduril. Sounds fantastic, but it still has much potential: Better protection of the switch, aux LEDs controllable by Anduril, flashing pads. I hope we will see some improvements in the final version.
