Xtar B01 - Set with Battery and Charger
Reviewer's Overall Rating: ★★★★☆
Summary:
| Battery: | 1x 18650 |
| Switch: | Forward Clicky |
| Modes: | 1-5, customisable |
| LED Type: | XP-G R4 |
| Lens: | Glass |
| Tailstands: | Yes |
| Price Payed: | € 29,99 (~ 40 USD) |
| From: | http://www.miracle-store.de |
| Date Ordered: | Dec 2011 |
Pros:
- comes with battery, charger and accessories in a nice gift box
- unnecessary modes can be deactivated
- good build quality
Cons:
- forward clicky
- reflector surface
Features / Value: ★★★★★
This is a perfect entry Level flashlight if you want to step up from AA or AAA flashlights to the more powerful Li-Ion-powered flashlights. The plastic box looks nice and feels quite sturdy, it contains the flashlight itself, one Xtar protected 18650 1800 mAh battery (They call it an '18700'), the Xtar MP1 charger, a USB cable, charging adaptors for cars and wall outlets, a holster, a lanyard, a spare switch, a spare o-ring and a manual.
The Flashlight itself offers 5 Modes: Low (5 lm), mid (120 lm), high (320 lm) and is supposed to have a max range of 145 m and a max intensity of 5500 cd. I bought the XP-G R4 Version, there are also Q5, R5 (unfortunately unavailable where I bought it) and XM-L T6.
It also has mode memory and will start up in whatever mode you switched it off.
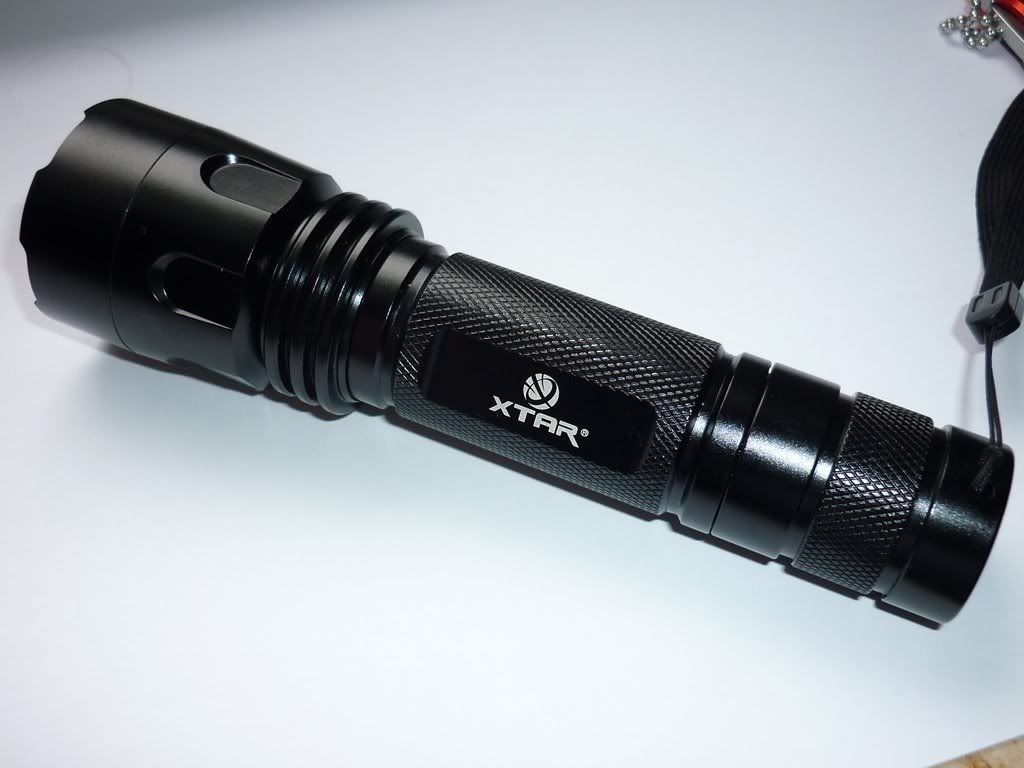
The flashlight is roughly 140 mm long, the diameter is 25 mm at the body and 38 mm at the bezel. The reflector is smooth.
The Xtar MP1 charger is probably familiar. If not, you can find a good review here:
http://lygte-info.dk/review/Review%20Charger%20Xtar%20MP1%20UK.html
This bit here is extremely helpful for understanding how the charger behaves:


Design / Build Quality: ★★★★☆
I don't know about the type of anodization, but the surface is smooth and reminds me of my Romisen RC-G2. The threads are lubricated and run smooth, threads on the tail are anodized so tailcap lockout is possible. On the tailcap there are two holes next to each other for lanyard attachment, so the flashlight stands safely on its tail even with the lanyard attached.
I have come to find the forward clicky switch a bit awkward when it comes to cycling through the different modes. With a reverse clicky, you would simply tap the switch when the light is on if you wanted to change modes, but since this light is equipped with a forward clicky, it leaves you with two options:
When the light is on, you can click the switch twice to go to the next mode, or when the light is off, you can tap the switch until you reached the right mode and then click it. Usually I like the momentary-on function of a forward clicky very much, but it only works good on a one-mode-flashlight or when you have a second switch to change modes. Also note that you can't use this flashlight to give morse codes since you would constantly cycle through modes.
The funny thing is: According to the manual, the Xtar B01 should have a reverse clicky installed! So maybe there are some communication problems between the design department and the factory...
Letting the user decide which modes he needs is a great idea. With the B01 you can deactivate any mode you think you don't need except for the high mode.
You just have to unscrew the head and locate the solder pads on the bottom of the circuit board. Each pair of solder pads represents one mode, by connecting the pairs you switch off the corresponding mode. The manual gives you detailed information about that.
One of the first things I did after playing around for a while was to deactivate the strobe and SOS modes. It was really a breeze, heating up my soldering iron took longer than doing the actual mod itself.
With only three modes left, the usability was greatly improved, which somehow reconciled me with the switch.
The overall build quality is good, no burrs, no sharp edges, surface is perfectly even.


Battery Life: ★★★★★
I measured the following current draws on the tailcap:
Low: 0,02 A (-> 90 hours)
Mid: 0,3 A (-> 6 hours)
High: 1 A (-> 1,8 hours)
Runtimes are calculated based on the provided 1800 mAh battery. Sounds reasonable to me, almost two hours on full power.
Light Output: ★★★★☆
The output seems quite impressive to me, but then again this is my first 18650 flashlight. Compared to my Klarus P2A with 248 Lumens it is definitely a step up.
The low mode ist perfect for reading up close, mid should be more than enough for daily tasks and high is just plain fun ;-)
It does indeed have a range of about 140-150 m easily.
The beam has good throw with enough spill. Unfortunately the beam is not 100% perfect, it shows a few rings on a white wall. This has to be due to the surface of the reflector, it is not perfectly smooth but shows the same rings as the beam. I hope my pictures come out good enough to show what I mean. Unfortunately my camera isn't really suited for beamshots.
But then again, if you use the flashlight out in the wild these rings aren't visible at all.


Summary: ★★★★☆
This one is an easy way to enter the world of 18650 flashlights. The light itself is very good quality-wise, except for the minor issues with the switch and the reflector surface. I would recommend this set for you if you are unexperienced with 18650 flashlights and need full basic equipment or if you need a present for someone who is interested in flashlights, but not yet a flashaholic.
If you have any questions or if you would like to see more pictures, feel free to ask.
Have a nice day!
edit: found some typos...

