I’ve had a light mounted to my shotgun for awhile, now. Originally, it was an early Solarforce L2 with the two-piece body with a Neoseikan made clone of the Malkoff powered by an 18650. I later decided to use CR123s instead, but, concerns about the light being able to handle the recoil caused me to want to change it. In particular, the two-piece body was a potential failure point.
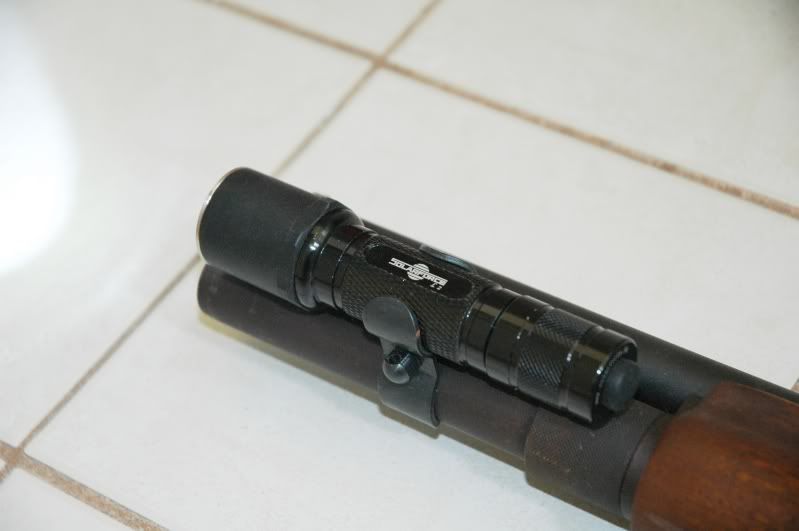
I could have bought an unbored Surefire 6P, but, then I had concerns about the light moving in the mount from recoil. What to do? Make my own!
Start off with a 4.5” long piece of 1.125” diameter 7075 T6 aluminum
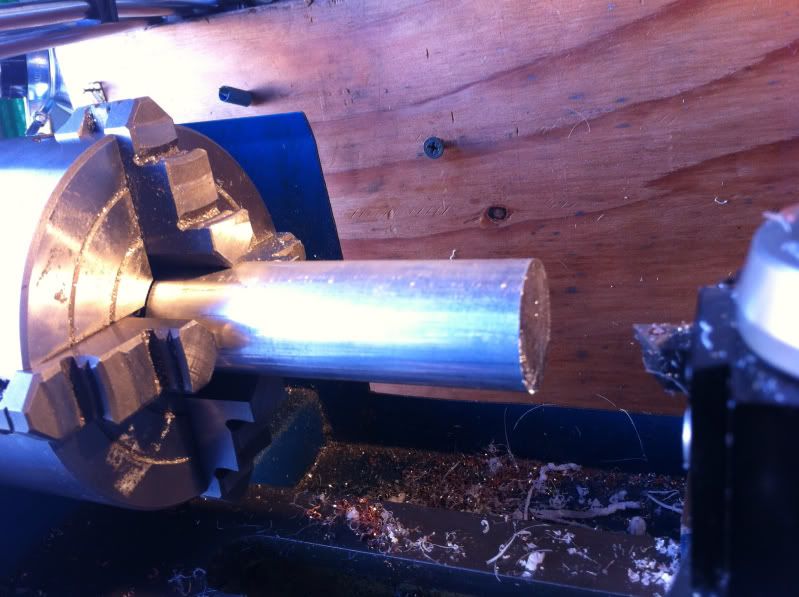
Face the end and turn the outside down just enough to get rid of the rough surface
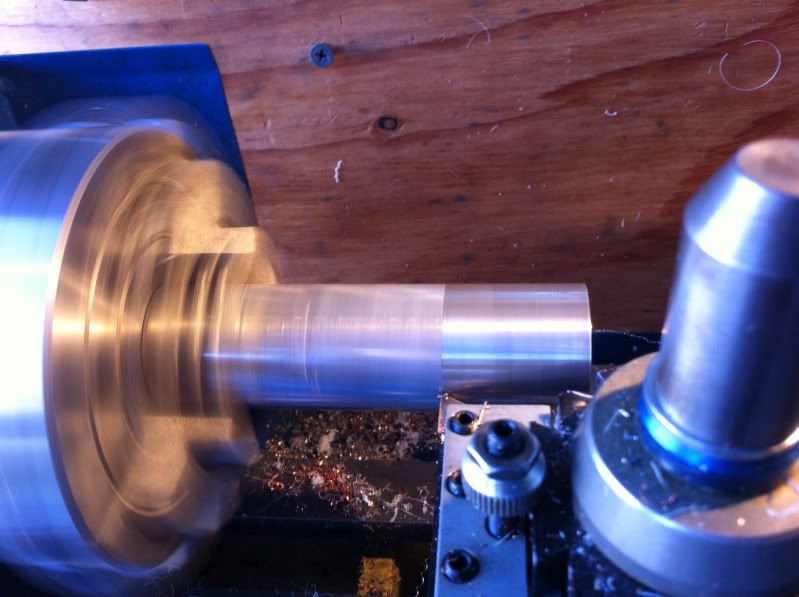
Center drill the end for a live center then lay out where things are going to be and start cutting
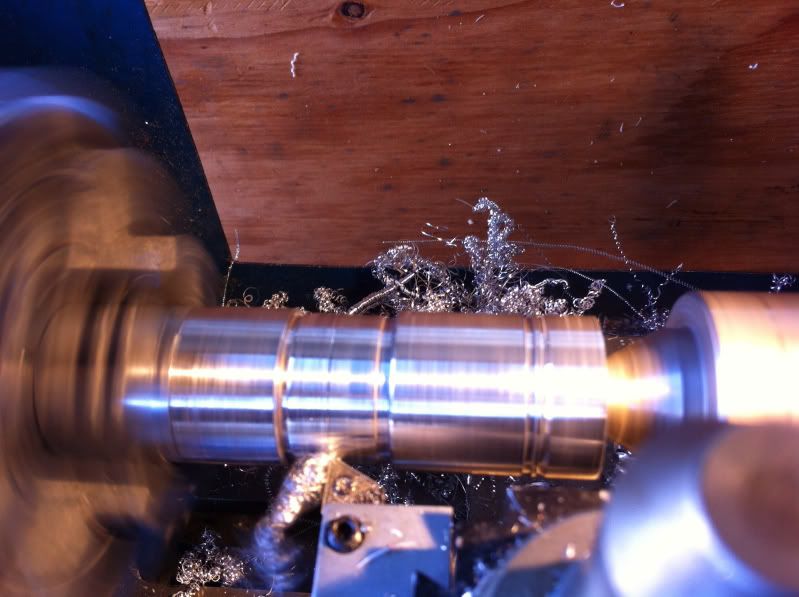
Start threading at 20TPI
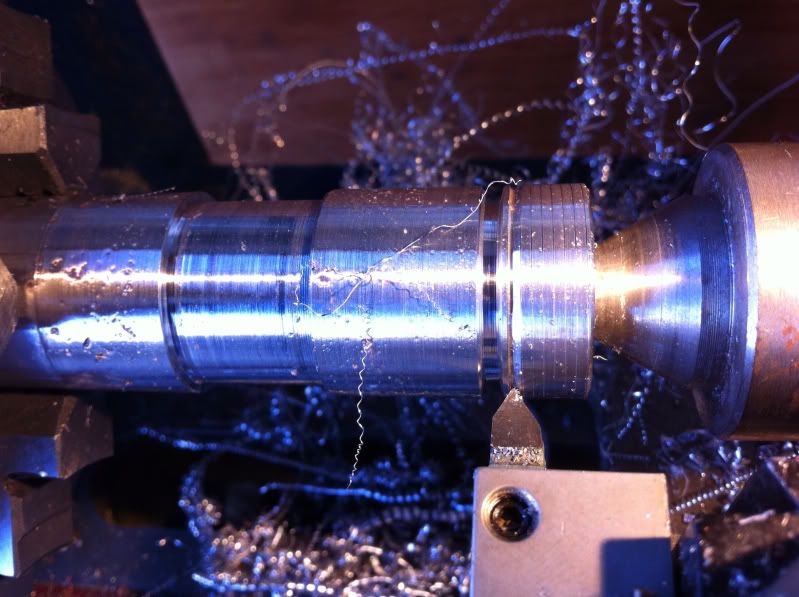
Threading is done, cut an additional groove towards the switch end of the light
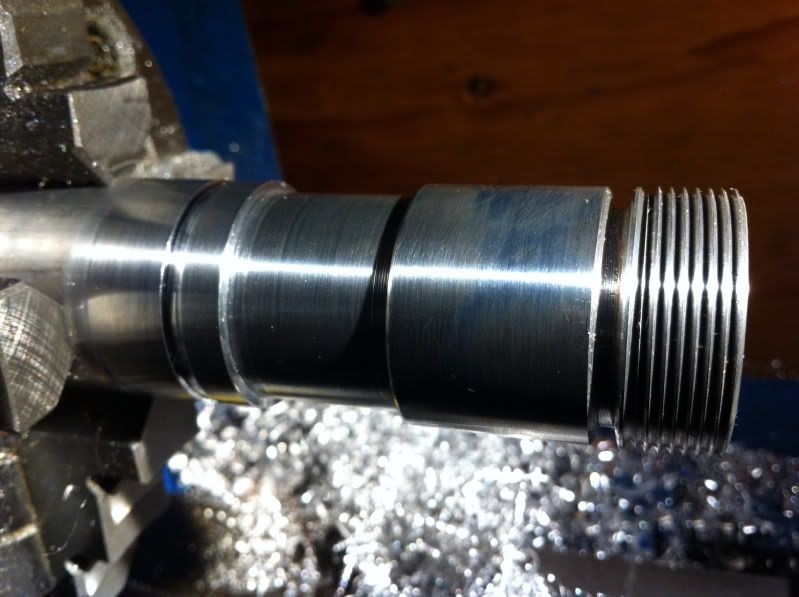
At this point my hands were filthy and I didn’t want to get my phone dirty so I stopped taking pictures. Essentially, I drilled the body out to 1/2” then drilled the area for the drop-in out to 3/4” then used my boring bar to bring diameters out to where I wanted them to be. For the battery compartment I opened it up to 17mm and the drop-in cavity was opened until it was a very tight fit for the drop-in. After that I taped the end where the threads are and flipped it over on the lathe to work on the tail cap end. It was pretty much the same as everything I’ve done to the front end up to the boring of the body except at a smaller diameter. Oh, yeah, I cut a bevel at the end of the body so that the batteries slide in nicely and don’t get caught on the edge.
Here’s the body partially assembled. The Neoseikan drop-in has been pressed in and won’t move. No need to wrap this drop-in with copper tape! The gap was intentional since I won’t have a way to remove the drop-in without it. The bezel is a Nitrolon Surefire bezel from a Surefire G3. The tail cap is a reverse-clicky Solarforce L2.
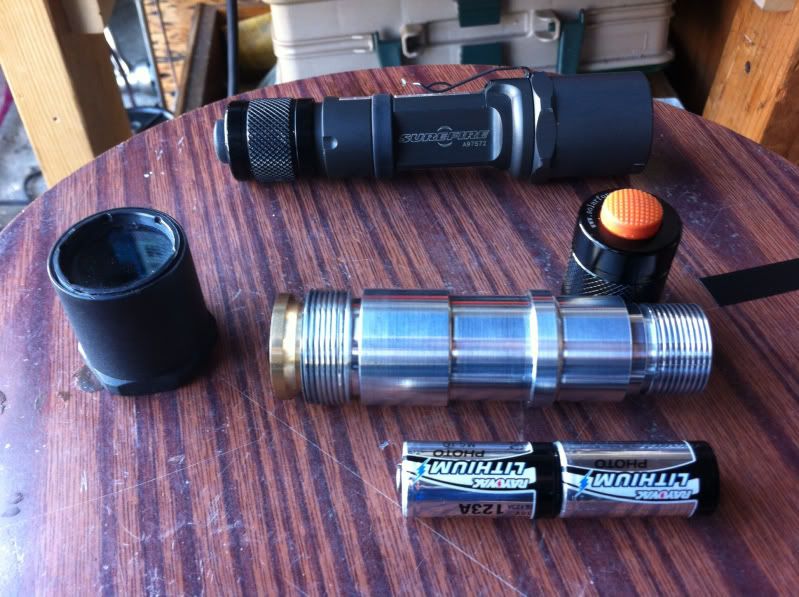
For size comparisons here it is next to my EDC C2
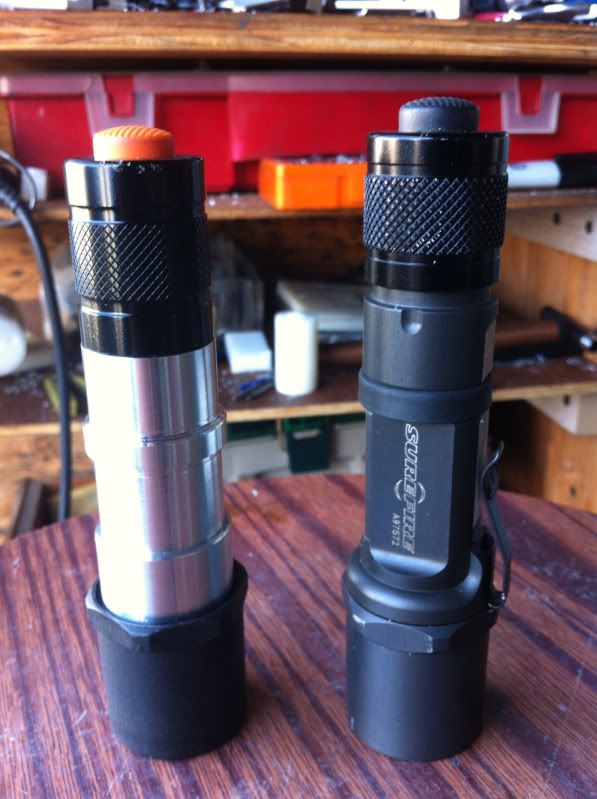
This is where it lives now.
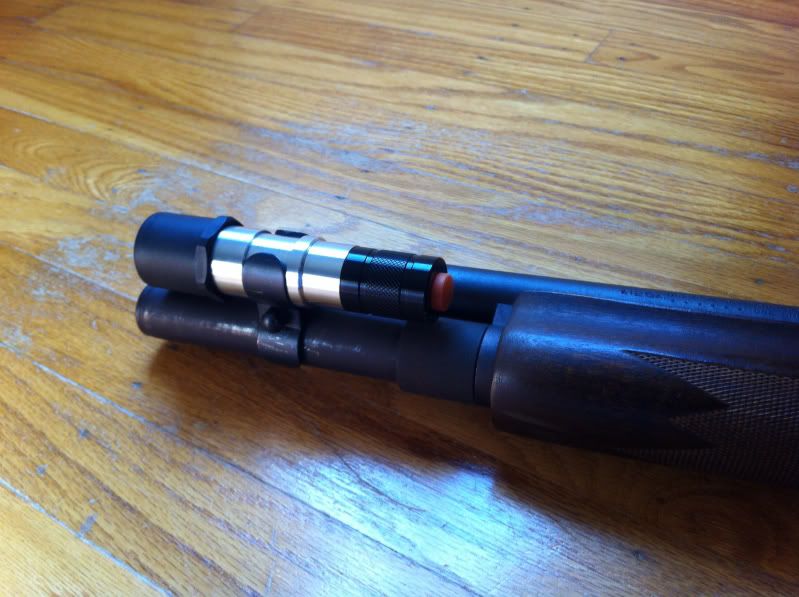
The wide groove was cut to lock the light into the barrel band to avoid movement. The walls are quite thick at about 4.5mm under the band. Inside, I have a thick O-ring between the drop-in and the battery to avoid the battery stack slamming the drop-in and there’s a thin foam spacer between the batteries to avoid denting the forward cell with the nipple of he rear cell.
