Thermal paste

Conduntonaut works better than CLU, but is more liquidy, which means higher risk that it will run out and short something, especially if you drop the light.
Also, there’s Galinstan, much cheaper than either of these and some suspect that it is actually CLU. At least from the very limited data, it seems like the same thing:

Icy Diamond is said not to degrade fast. Never used it myself though.
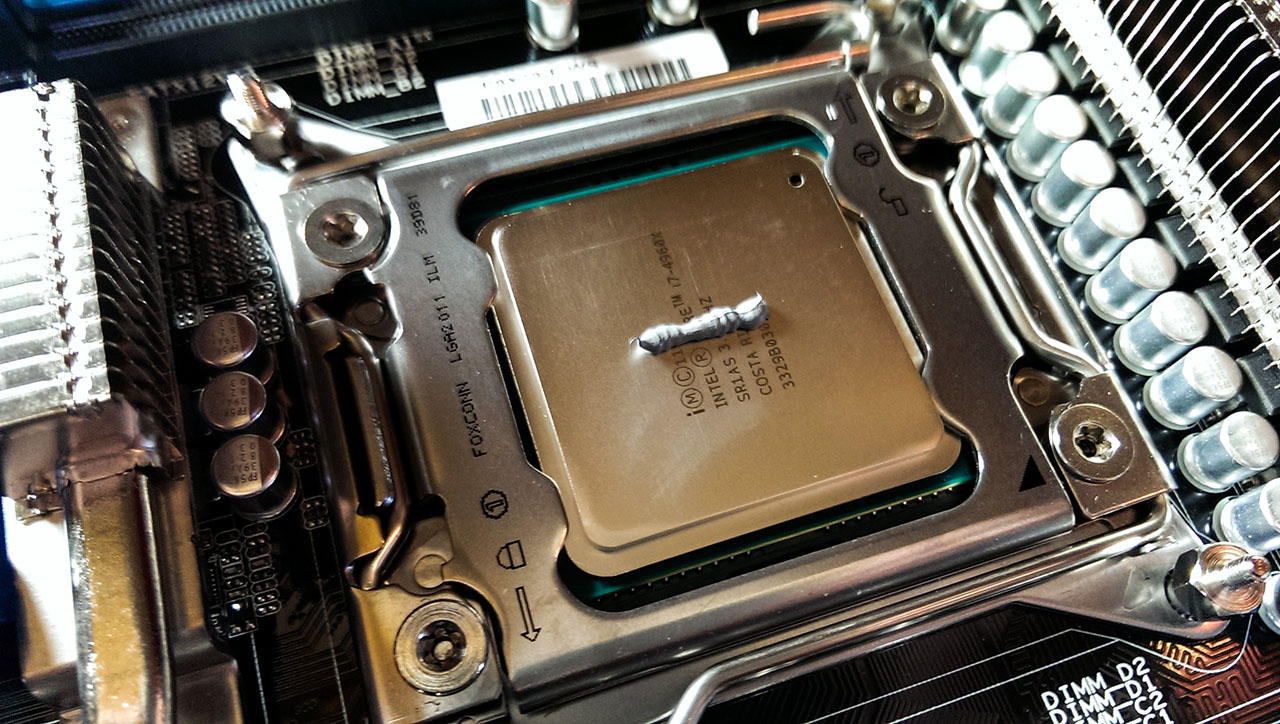
As a veteran overclocker, and water cooling user I can say this with a fair degree of certainty.

Arctic ceramique is as cheap as you want to go, arctic silver is very good and very easy to apply.

Even the best thermal paste isn’t as good as very well applied slightly worse thermal paste.

I have great luck with IC diamond, but it’s very very thick and hard to apply, you need to use a ton of force to set it with the squish method. That said, the squish method is vastly superior, DO NOT spread your paste, apply a small bead and squish the surfaces straight together, if you have to separate them, clean and reapply.

IC diamond does not really degrade, I’ve had it installed for just under 2 years before I repasted my CPU, saw no temp changes before/after

I did opposite method but this method seems logical

It’s been thoroughly tested into the ground on overclock.net and other overclocking forums, when you spread it, you get air bubbles, the idea is to have a small quarter pea sized dot that spreads from the middle creating the thinnest layer possible with no bubbles.

Spreading is the number 1 cause of bubbles.

As I stated earlier, a thermal paste is only as good as it’s application, and I’d say arctic ceramique or silver 5 are about as good as it gets for easy application. This stuff doesn’t cost much and it’s not a place you want to skimp.

The liquid metal products are a bad idea, most of them contain gallium which will ruin your host, literally crumble the aluminum to dust, they are for pure copper to copper interfaces. Even in that circumstance they’re not worth the pain in the butt of applying and removing them.

We’re a bit off topic, but the X method is better:
https://www.pugetsystems.com0/labs/articles/Thermal-Paste-Application-Techniques-170/

if you apply UV hardened glue to put LCD and touchscreen together they also do the X method,
works great on displays or CPUs,
but thats not a round shape

so the x makes no sense on a round MCPCB

Good, that happens to be the two I use. :+1: … I need know nothing else. :smiley:

I also happen to use the “squish method”… it just kinda seemed the natural thing to do on the first light I did & had no idea what to do. :+1:

Makes perfect sense to me. Thanks for sharing. :+1:

Thank you both for sharing the above. :beer:
I know there are many opinions on the subject, but as far as “I” personally am concerned, this is all I need to know. :slight_smile:

  • 1. Arctic Silver 5 (AS5) or Arctic Ceramique
  • 2. DO NOT Spread
  • 3. Use SQUISH Method
    ……… Place small round bead in center of MCPCB mounting surface (size of bead depends on size of MCPCB… guess… :wink: )
    Push together with steady firm pressure
    Wipe away any excess that “squishes out”

Personally I always try to make my center bead big enough that a small bit will squish out completely around all of the MCPCB edge. Then I wipe away any excess.

This has and does work well for me. YMMV………… :wink:
……….
Edit to add: I am referring only to flashlight MCPCB’s. I know zip about computer building. :slight_smile:

If anyone cares :smiley: , ditto.

Even for 20s, a little bit goes a long way. A bead not even the size of a pea is enough. And if there’s too much “wiping away the excess”, you used too much. :smiley:

And best best best, if the reflector permits it, use at least 2 screws to bolt it down after it’s properly squished. Maybe not for 16s, but certainly for 20s.


Of course somebody cares…… somewhere……… :slight_smile:

Agreed also…. :+1:

I’m making a habit of using screws to hold the LED board lately.
I preferably use stainless torx screws from (for example) old hard disc drives.
I should get thread cutters, but usually it works out well when the hole is just ever so slightly too small, and with a little persuasion the screws will kind of cut their own thread.
Obviously this is easier in aluminium than in brass…


That sound like a good idea…. :+1:

Yeah, once it’s done with screws it’s so much more relaxed to try different gaskets for the reflector and what not.
And the thermal paste stays where it is too.
I think we’ve all had the LED board come off the pill shelf when you open a head, and then just put it back together, hoping there will be no air pockets…. :person_facepalming:
Alas, most 16mm boards don’t have cut outs for screws though…
Sure, you can drill those, either for the wires or the screws.

Yeah, your exactly right. Good points made my friend. :+1:

What I do is fit everything together with the screws in place “loosely” (ie, “finger-tight” with a small screwdriver), snug it all up to make sure the LED’s centered, then carefully loosen and remove the reflector, and then snug up the screws (hopefully without the star moving around any).

On the Arctic Silver website there are instructions on how to apply thermal compound. And based on the type of CPU, which application method should be used:

  • Middle dot
  • Surface spread
  • Vertical or Horizontal line

The appropriate method appears to be based on where the CPU cores are located (i.e. where the heat is coming from). If they are in the middle, the middle dot method is used. If they are in a line, the vertical or horizontal line method is used.

The instructions are for CPU processors, but should be relevant to LED MCPCBs.

For a single LED MCPCB, the middle dot method seems like a no brainer. And as stated above, makes sense to prevent any air gaps. This also seems to be the best method for smaller (ex. 20mm) multi LED MCPCBs since the compound should be able to be spread under the entire MCPCB.

But what about for larger multi LED MCPCBs, such as the 12 LED MCPCB used on the Noctigon Meteor M43? Is it still appropriate to use the middle dot method, or would the surface spread method be better?

Here is a similar test to one I saw like 10 years ago on overclock.net

You’ll get more coverage better with a thinner paste, you can have multiple pea sized spots, I’ll go for one large and 4 small in each corner for cpus especially with thicker paste like IC diamond.

you can gently rock the chip around to help it spread out as you mash.

I am using Arctic Oraco- MX4000 thermal paste. Arctic silver 5 uses pure silver particles and it is not electrically conductive. It Provides 3-12 degrees temperature drop as well. It enjoys absolute stability and will not run, separate, migrate or run. If your are using this type of thermal paste which has so many benfits then it sometimes need cure as well.

Application, as stated by the others, should not be done manually, but rather by uniform pressure, either from the bonding of a small percentage of thermal adhesive or screws.

The main problem with cheap thermal paste is not thermal transfer performance though. It is the consistency within the compound,quality control, and ease of application.

I’ve tried the HY610, HY710, HY810, HY880 and the GD900 Nano Tech whatsoever, and AS5.

On a 95W CPU, the best were the 810/880 and the AS5. They were very easy to apply, and firm pressure spread the compound easily, and the 810/880 were 1.8-2°C apart from the AS5. In the middle was the GD900 and the 710, was not easy to apply, so it was about 2.5-4°C warmer than the AS5, and consistency was not as good.

The worst was the 610 though. It had similar specs to the 710, so wasn’t expecting to be worse. Wrong: the delta was 10°C! Consistency was shit, had to thoroughly mix it to even get it to be usable.

After I tested it, when it was cold, the compound actually separated in 2 phases! I rushed to clean the CPU and heatsink, and had to throw it out.

TLDR: You can buy cheaper thermal paste, but like flashlights, don’t cheap out too much. It is not worth it.

yes i’m bumping an old thread.

big whoop, wanna fight about it?! :stuck_out_tongue:

i have an S2+, SST20 4K, 7135*4 coming from Banggood, and was wondering about heat, and appying thermal compounds etc.
did a search, so here we are.

one thing i’m surprised i haven’t seen anyone mention is weather said TC conducts electricity!
back in my 2.4c overclocking i used Céramique on my bare die with good results (3.5Ghz (at) 1.25v)
my 2500k has been running since i built it (ivy just came out) using Noctua NT-H1 paste.
it didn’t seem to need heat cycles to break in, and my temps are just as good today. 4.3Ghz (at) 1.26v
never goes over 50°c (60°c prime AVX) [off_topic] 3950x is next build.

aaaanyway… couldn’t using TC that conducts electricity cause issues with circuits on lights?
also conducting across surface mount parts on a motherboard can fry the CPU and/or motherboard.
not worth the risk in my opinion for a few extra °c drop.

not to mention what the Gallium based ones would do to any aluminum flashlight bits, and heatsinks. :open_mouth: