I am down to only 144 of those in my parts box. I better order more, they won't be available forever you know... :glasses:
Really no need to stack multiples of those, one alone is 0.0042 ohms, adding a second one would only give a tiny tiny increase. It's close enough to zero already. Also the MCU (whether the stock one or a piggybacked tiny13) might have issues controlling the gates of more than one at a time.
The bottom cap will unscrew, you may need a strap wrench but 90% of mine came off by simple hand pressure and I’m a weak old man.
The silver bezel ring on top will also unscrew by hand - I use the plastic handle of a big screwdriver pressed down across the crenelations…… 1st time is a little tough but not bad. Then the glass lens and o-ring come out and your reflector will be one of 2 types: a) Simply sits on a shelf and will almost drop out the front except for the LED wires holding it back, OR b) It is screwed in, and for those I took a new clean microfiber cloth and easily by hand unscrewed it, “lefty loosy”, again it will be held back from completely falling out by the LED wires. Be careful with the reflector, they scratch easy and are a fingerprint magnet…. I handle all mine with new clean cotton gloves my wife gets(she does jewelry).
The driver board is simply pressed in - some of mine had a tiny bit of “glue” or something on one edge but it is easily punched out the bottom when pushed with a blunt object.
Try these things and get back to us if you still need some help getting her apart.
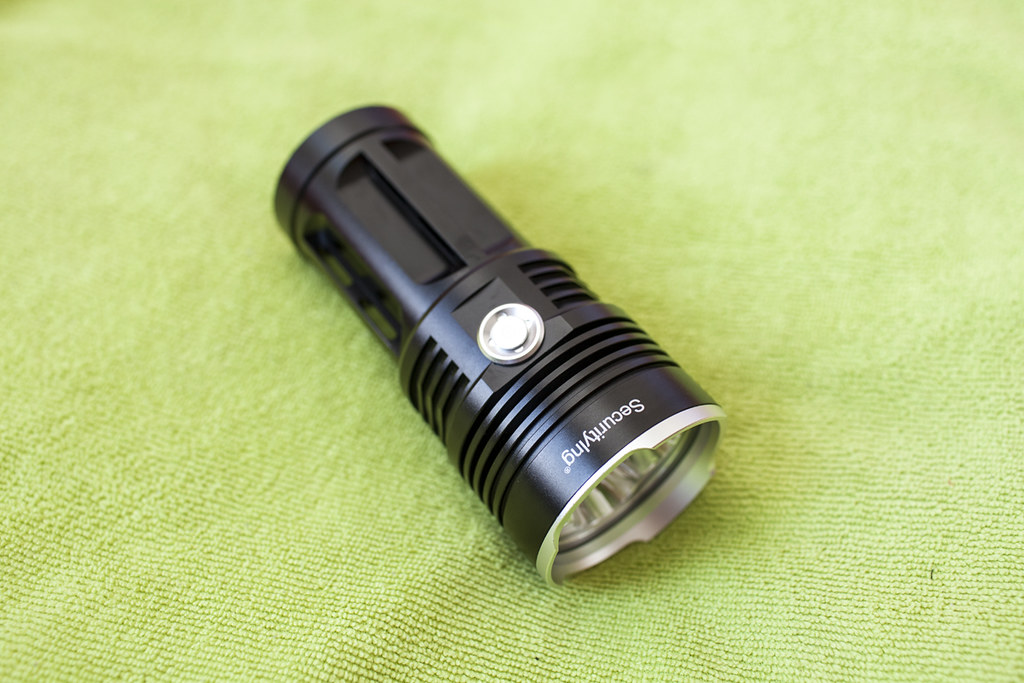
I've been following this thread, so I ordered some of these in three and six emitter models. Some Securitying, some not.
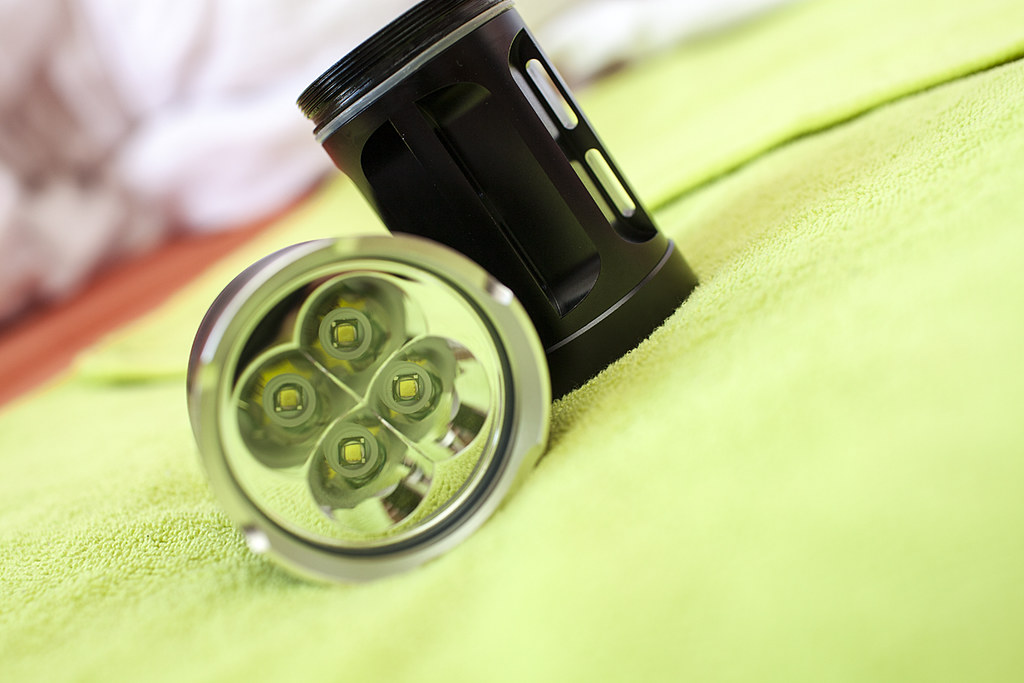
The first to arrived is a Securitying 6 x XML. I took it apart to see if there is some way I could install six Nichias. That's a whole other ball of wax, and will need some thinking.
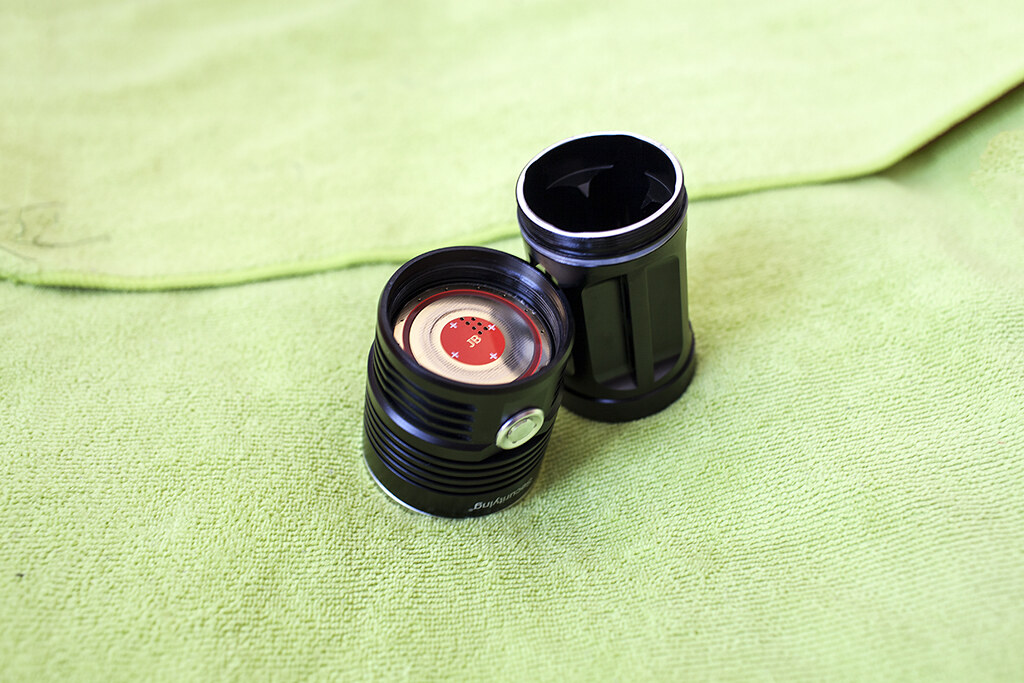
...so, while it was apart I thought I would do Comfy's JB driver mod. the light has a single emitter plate with parallel traces, so I only needed to move one wire over after removing the resisters.
The stock reading with four 2600mA Sanyo cells (not fully charged, but not used much) was 6.4A. After modding I got 9.4A.
The beam profile is quite pleasant with a small hotspot. Actually I liked this light in stock form. Since I took my readings I have copper braided the springs and loaded it with fresh Sony cells. I swear I can visually see that it is brighter.
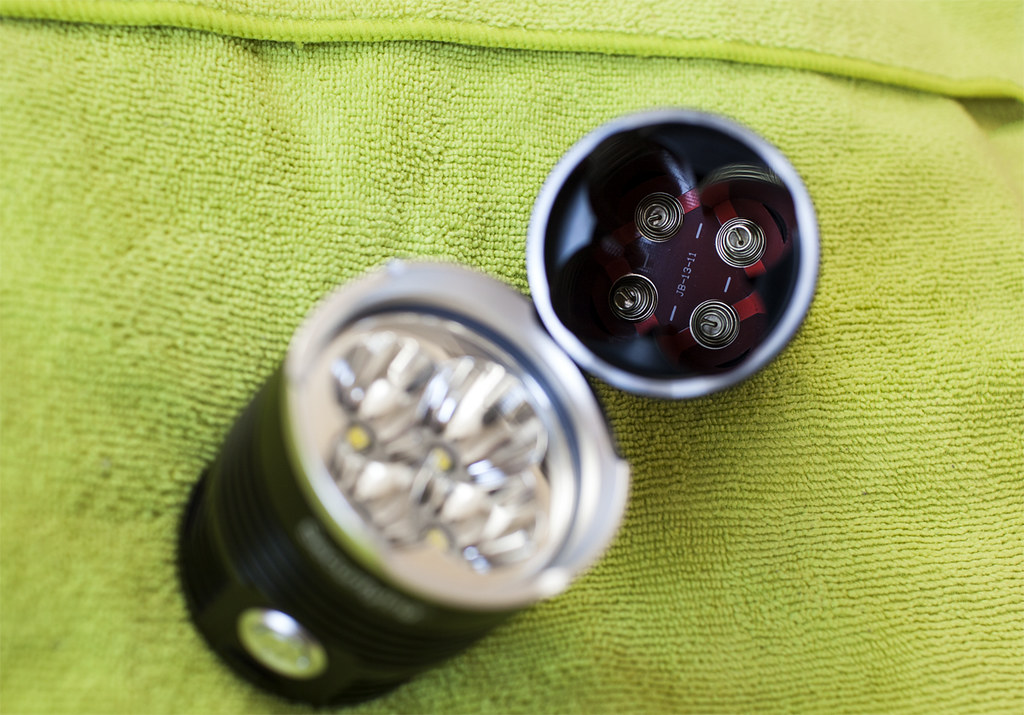
The pill has a hole in the center (for the 3xXML version) that is right beneath the center LED. When everything was tightened down, I wadded up some copper braid, and tamped it into the hole until it was almost a solid mass. Then drenched it in flux and let it absorb a dose of solder.
I still want to install six Nichias. 16mm Noctigons won't do it. I have some aluminum MCPCBs that are 14mm. I think the centering disks will sit on top of the +/— pads though. No room to hook up a home run, so I would need twelve wires from the driver.
The wiring may be messy and you won't be able to use the centering rings very easily, but the 10mm Sinkpads are pretty cool. Vestureofblood has them at his eBay store.
I think that I would use a thermal adhesive and some XP-G to XM-L centering rings before I soldered anything up to get the emitters set in the right spot, then remove the centering rings. After that you can go to work on the rat's nest of wiring, you could run one or two sets of 18 AWG wires from the driver then branch off of those with lighter gauge wire up above so you don't have six sets of wires running from the driver.
Just a few thoughts! Excited to see how it turns out.
I’ve got some of those 10mm sinkpads. Pretty small. The problem will be getting the reflector down flat and not sitting on the wires. Perhaps it wouldn’t make a lot of difference to this reflector. The Supfire M6 was insanely finicky to focus. It’s one of those problematic things that you need to think about and get it planned in your head.
I’ll have to find some suitable low profile wire.
One thing I’ve learned about modding multi-emitter lights is to center them with thermal adhesive before you do anything. It saves a lot of grief.
Right, I think that getting some super flat solder joints will be your friend here. You may even want to think about trying the solder wick extension method, but then you've got to worry about insulating all of that which may be another nightmare!
I'd be going for some thin 26 or 28 gauge. I like to pre-tin the pads, then add more liquid flux, then heat the pad and wire then smash flat with a flatblade screwdriver which directly follows the iron. You can get some really flat joints this way if needed. I also do not twist the wire bundle before pre-tinning on that end, it makes it easier to smash the bundle flat onto the pad if they aren't twisted.
I can’t say that I totally understand VF, but would there be any advantage driving 6 x Nichia with series cells (6 x 18350) ? I was reading where RMM is driving 3 x XML with a Zener FET driver.
You cold probably get more output from the little Nichias with 6 x 18350s and a good buck driver, but I'm not quite sure where the upper limit is on those and how much there is to be gained by upping the amps.
Maybe, if you used the cells in 6S and wired the LEDs in 3S2P or 2S3P, but that needs a buck driver and an expensive one at that, to handle the ~25v input. 6 cells in series and 6 LEDs in series is still direct drive territory (cheap), but doesn't offer any advantage over 6P/6P. You still end up with the same voltage overhead per LED either way.
Yep, you're right about the 25V. You would have to use something like a LM2596 based buck converter which you may be able to shoehorn in there and keep temps reasonable with good heatsinking to the board and large input/output capacitors but again that's a lot of work for probably very little gain in lumens. You could even use a potentiometer in place of the switch for infinitely variable output.
Too much work for me generally but sometimes it is cool to take on such a project "just to see if I can make it work" even if it doesn't give much if any net benefit.
LM2596 is limited to around 3A, which would be fine for 6S/6S, but in that case you'd just use a FET driver. LEDs wired in 2S3P might work, giving each string 1.5A, but for something with a usable UI would mean something from TaskLED which = $$. And if going that route, best to use higher capacity 3x18650 and a boost driver, instead of the 18350 kludge.
It was just a thought. :8)
I got my 3 x XM-L Securitying today. I was surprised to see XM-L2 in it. Oh lucky day. It has the JB driver too. I also have the Yupard version of this same light on the way. It has XM-L2, but it’ll be interesting to see what driver it comes with.