Ah right on, I am thinking of getting the 4x version with the JB board another member posted up about.
I realized now that there is a lot of work to be done, such as removing the XM-L2 emitters off the single plate and soldering them on to some sink plates.
A lot more work than I thought however it will be a fun project!
This post encouraged me to mod my SkyRay King 4x XML2 and unfortunately I have the basic driver, like all the other SRK out there. Anyways, all I did was swap out the 28GA wire to 22ga and OMFreakinG!!! Feels like a new flashlight. I swear this badboy has about twice as much flood as my TM26 now, albeit it has nowhere near the throw the TM26 has, but I must say, this thing is AMAZING. Can’t believe I just figured this out so late. Makes me wonder if maybe the wire in my TM26 might need an upgrade as well! Maybe I can hit 4500 lumens in my TM26! Anyways thanks for the motivation post!
This is what I wanted to do but I found out that the screws of my SRK clone tailcap was stuck up (all bent and one had no head at all) making it impossible to remove without destroying it.
What I did was connect the positive ends of the unprotected Sanyo 2600 mAh cells instead (similar layout with the above pic) and use an extra wire to connect it to the positive of the head to take the readings. It was a VERY BAD IDEA.
When the positive end accidentally touched the negative of the SRK head, it sort of welded itself turning the flashlight very hot and burning my hand in the process. Not wanting to lead it to an explosion, I just took the pain and pulled the wires and all with a pair of pliers hence cutting off the circuit. If I had’t read the explosive potential of lithium ion cells here in BLF and left it alone, it could have lead to something much worse.
My SRK is still working but its negative springs were ‘melted’ that I could no longer use unprotected cells. I cannot replace it either because of the stuck screws. I hope this will warn others not to do the same stupid mistake that I did.
Hey Nightbird95. You can just drill out the screws and replace it with a piece of copper sheet. You can put a spring or piece of plastic to push it against the battery tube. This might help you picture it.
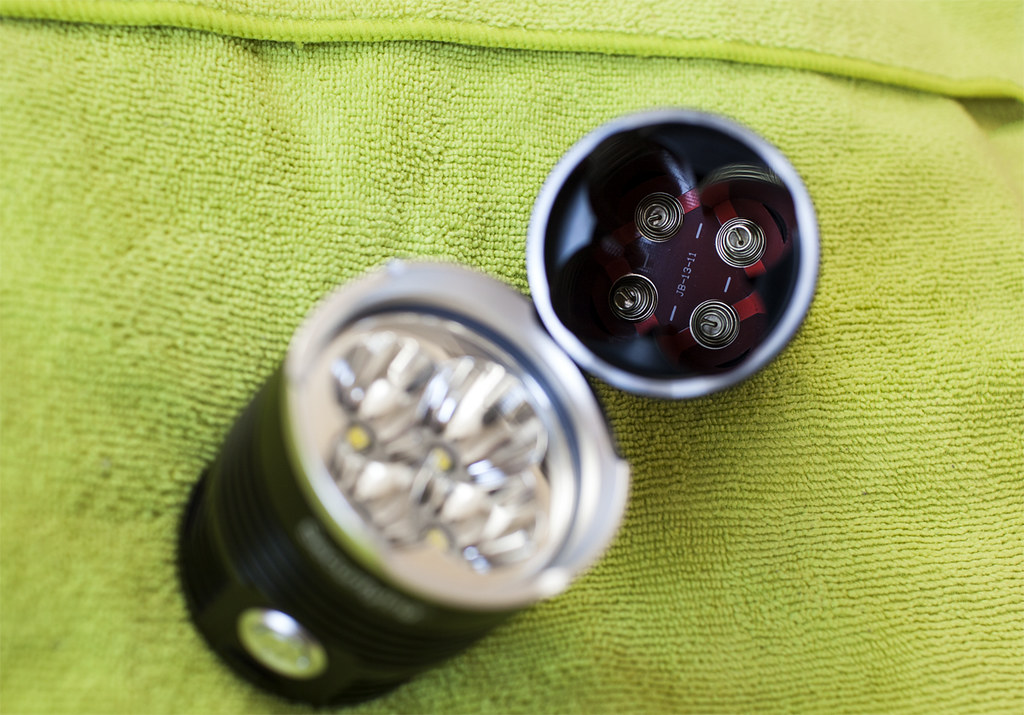
I disassembled my clone SRK and found out that its driver is different even from the SecurityLng SRK.
How do I tweak this type of driver? Are the big resistors marked “0” the limiting resistors? I can’t find any sense resistors either.
I’ve already replaced its LED wires with AWG 22 silicon wires from IOS. I’m still waiting for my sinkpads and XML2s to arrive so I have all the time to do other tweaking.
Sorry for the crappy picture. I’m only using my Galaxy Note’s camera because its the only camera near me. :bigsmile:
Did a simple mod of replacing the LED wires with AWG 22. The light is indeed brighter despite the stock XM-L and aluminum MCPCB but the switch won’t function anymore. It just stays on and functions like a twisty. I might have destroyed the switch while removing it from the driver.
I have a couple of those drivers, but haven't tried to mod them. Got 7 amp in a King doing the emitter wire change and copper braid in tail springs. Switch still worked afterwords.
This is a hunch based on Comfy's work. You could change or stack some FET's (mine have two fets in different spots).
Also, that bank of 4 zero ohm resistors. Bypassing with copper wire should increase current some.
Alright, have checked my collection of SRKs and I got lucky and most have the “kewl” JB driver. WooHoo! Also managed to twist off the bottom covers by hand on all but one of them.
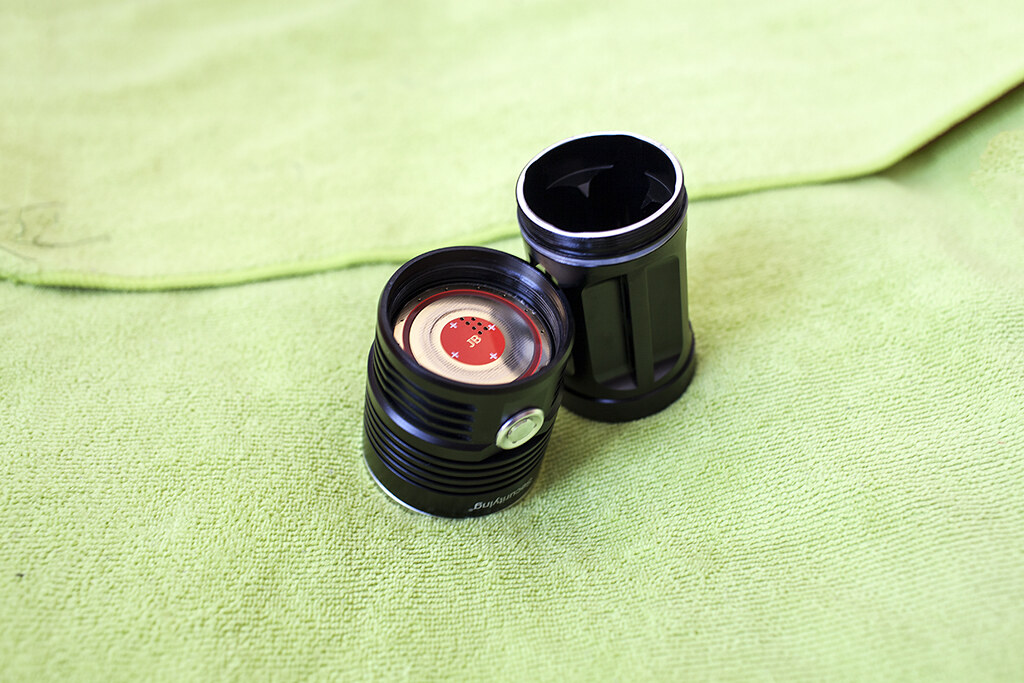
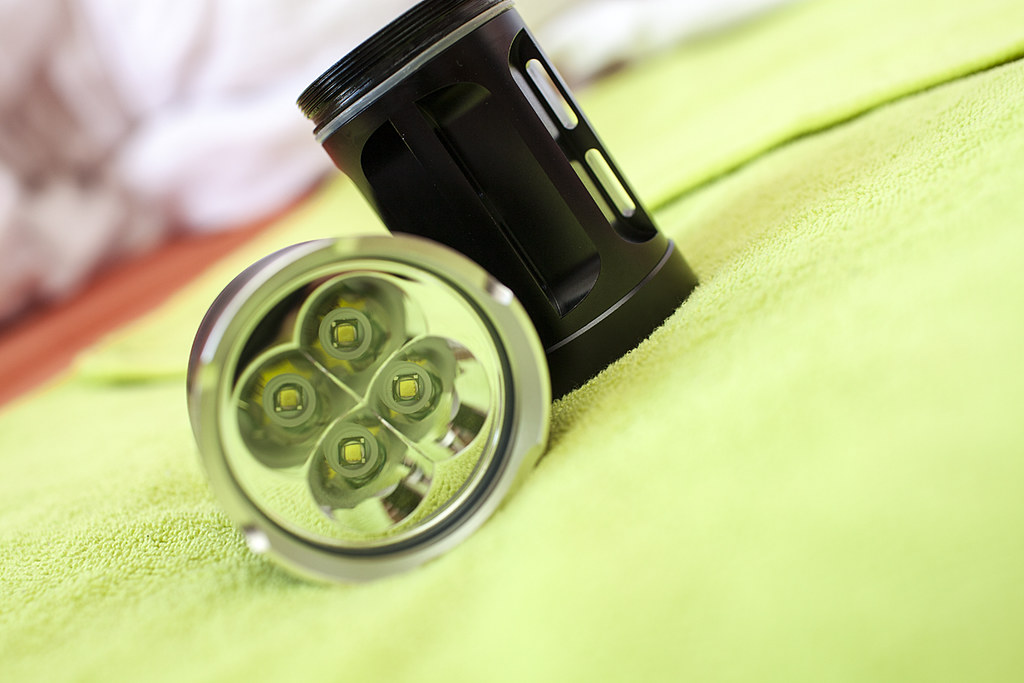
But this one driver has me stumped as to which resistors need jumping. It’s the only one in my collection with this mystery driver and it has 4 XM-L T6 LEDs. It has no writing on the battery side.
Here’s a pic of the driver in question:
At the top is the L+ and L- coming from the LEDs and the 2 red wires at the lower left go to the switch.
We have R2 at the left that has what looks like ‘680’ written on it. Then to the right of that we have R13 and it has ‘001’ on it (best i can tell with these old eyes). To the far right is R14 with ‘103’ on it. And the last/4th resistor is near the red switch wire, R5 with ‘103’ on it.
So, the question is, which of these should be jumped?
I hear you Nightbird95. My interpretation of that thread is that replacing the 2 FET's on your driver with these should make it perform about as good as you can get it. Stacking another one on both spots might increase current even more.
I just compared the FET's on my driver to the linked FET's (I bought 30 of them). They are the same size (have the same footprint). So they should be a direct drop in.
I am down to only 144 of those in my parts box. I better order more, they won't be available forever you know... :glasses:
Really no need to stack multiples of those, one alone is 0.0042 ohms, adding a second one would only give a tiny tiny increase. It's close enough to zero already. Also the MCU (whether the stock one or a piggybacked tiny13) might have issues controlling the gates of more than one at a time.