Gentlemen,
I was asked to make a mini-mag by a member here for him similar to the mini-match V2.0 I had posted awhile back. It was to be bone stock on the outside, but with high CRI goodness on the inside. Besides the emitters, this build differs from the original in another way, and that is the pill construction. Call this one V2.1 
Due to the twisting mechanism of the MM, and how these normally are assembled it us usually not practical to use a double sided driver. On the last on I got around this with by using a small strip of copper epoxied over the chips for the negative contact. It was functional, but not elegant. For this iteration, something a bit more refined and structurally sound was tried.
From brass barstock, I milled a cup for the driver to sit in which would not only allow for a much sturdier ring for the negative contact, but also not add too much overall thickness. This cup then will hold the 3mm thick copper heatsink. Here one can see how the rim sits above the backside driver chips:

Here is the top view, with driver installed and soldered to the brass along with the thermal pad in place:

Here is the pill along with the copper heatsink in it's pre-polished phase:

The copper disk is an extremely tight press fit into the brass. In testing last night, this design would heat up the mag head just as fast as the previous build, so heat transfer is working well. Not the most scientific test, but my thermocouples and meter were left at work.
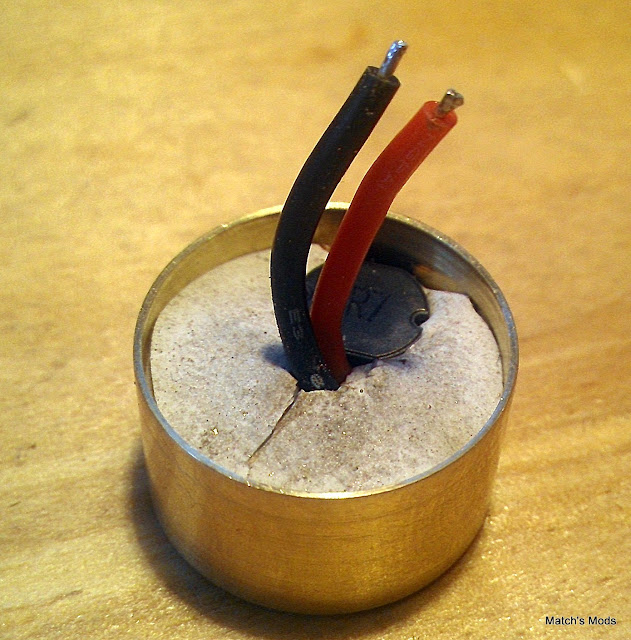
Next, 3 nichia219 emitters were reflowed onto a parallel star that was lapped to the pill, and affixed with arctic silver while clamped. The two leads were soldered and turned out like this:

I've since switched from using a drill bit to using the lathe to bore out the heads. I find that the finish is a lot smoother, straighter, and I can keep the tolerances much tighter. Here is the bottom shot of the bored head with the new pill in place:

I really like how this turned out. Having the solid brass ring for ground contact should last a long, long time for switching.
The last step was to prep the body. This was rather straightforward in that the head end anodizing was removed, and the stock black plastic insert was modified to allow positive contact. I milled a (very) small copper insert, drilled a hole in the plastic spacer, and assembled it.


Note that since the top of the stock black spacer isn't used (except as a stand in the above photo), it is removable. Something to keep in mind during battery changes (don't want to lose it...). After final finishing, the end result of all this looks "almost" stock 

Final thoughts:
The nichias219's to me have been a love/hate kind of deal (love the cri/hate the low output). Having 3 of them in a svelte package really alleviates the lack of lumens, and I found myself carrying this light around for most of the evening just to watch colors pop in dark rooms. The final output numbers ended up as follows:
High: 600L (dropping to 550L after awhile)
Med: 190L
Low: 26.1L
I had planned on getting some beamshots last night, but it turned out to be a drizzly / foggy evening - not really conducive for quality pics... I hope the new owner is happy with this little mini. Now to start building another (for me  ).
).
Thanks for reading,
-Match
