First Steps with a New Light
So, your new light has arrived. As it happens, one arrived for me today. So we'll use it as an example. It is one of these a flood to throw light. Having got it out of the packaging, it is not a dreadfully good idea to throw the packaging away. You may need it to return the light, of there may be things lurking it it. In this case I found a nylon holster lurking in the bottom of the box. So having found all the parts, we can put the packaging aside.
A visual inspection is always a good idea. So here it is.

Looks OK.
Does it rattle?
What I usually do next is give it a gentle shake. Are there any rattles or bad sounds? If there are, put a battery in it and try again. They shouldn't rattle - if they do, something is loose that needs to be tightened up. The first places to look are the switch retaining ring and the pill. If they are loose, you are going to get flickering or worse. However, this light, being a zooming light has to be checked with the head at the various settings. There is a faint rattle at the farthest extension (Tightest spot). The whole head will rock slightly at this setting, probably because there isn't enough body tube to keep it in line. There was a small amount of movement from the aspheric optic. Don't touch it with your fingers, if it is coated glass you will damage the coating, if it plastic you will scratch it. Use a lint-free cloth or anything you'd clean spectacles with. Tightening up the bezel ring fixed that. You can see the gap for the bezel ring quite clearly in this picture, far more clearly than I could actually see it. There are no other rattles so we'll set aside the head issue for the moment.
Inspect the threads
Just a visual inspection just now. Tailcap first as it is easiest.
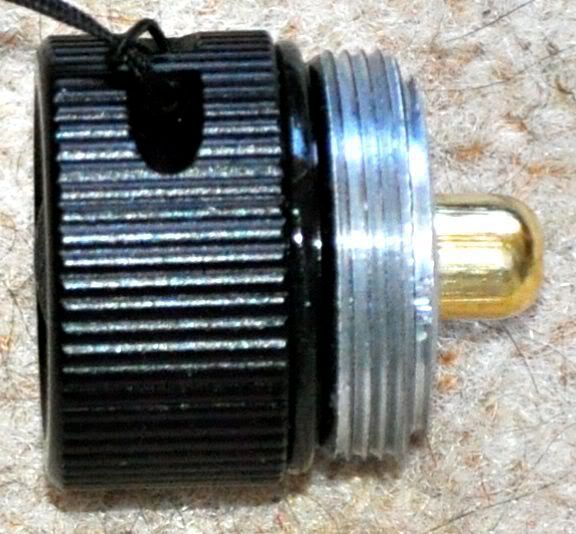
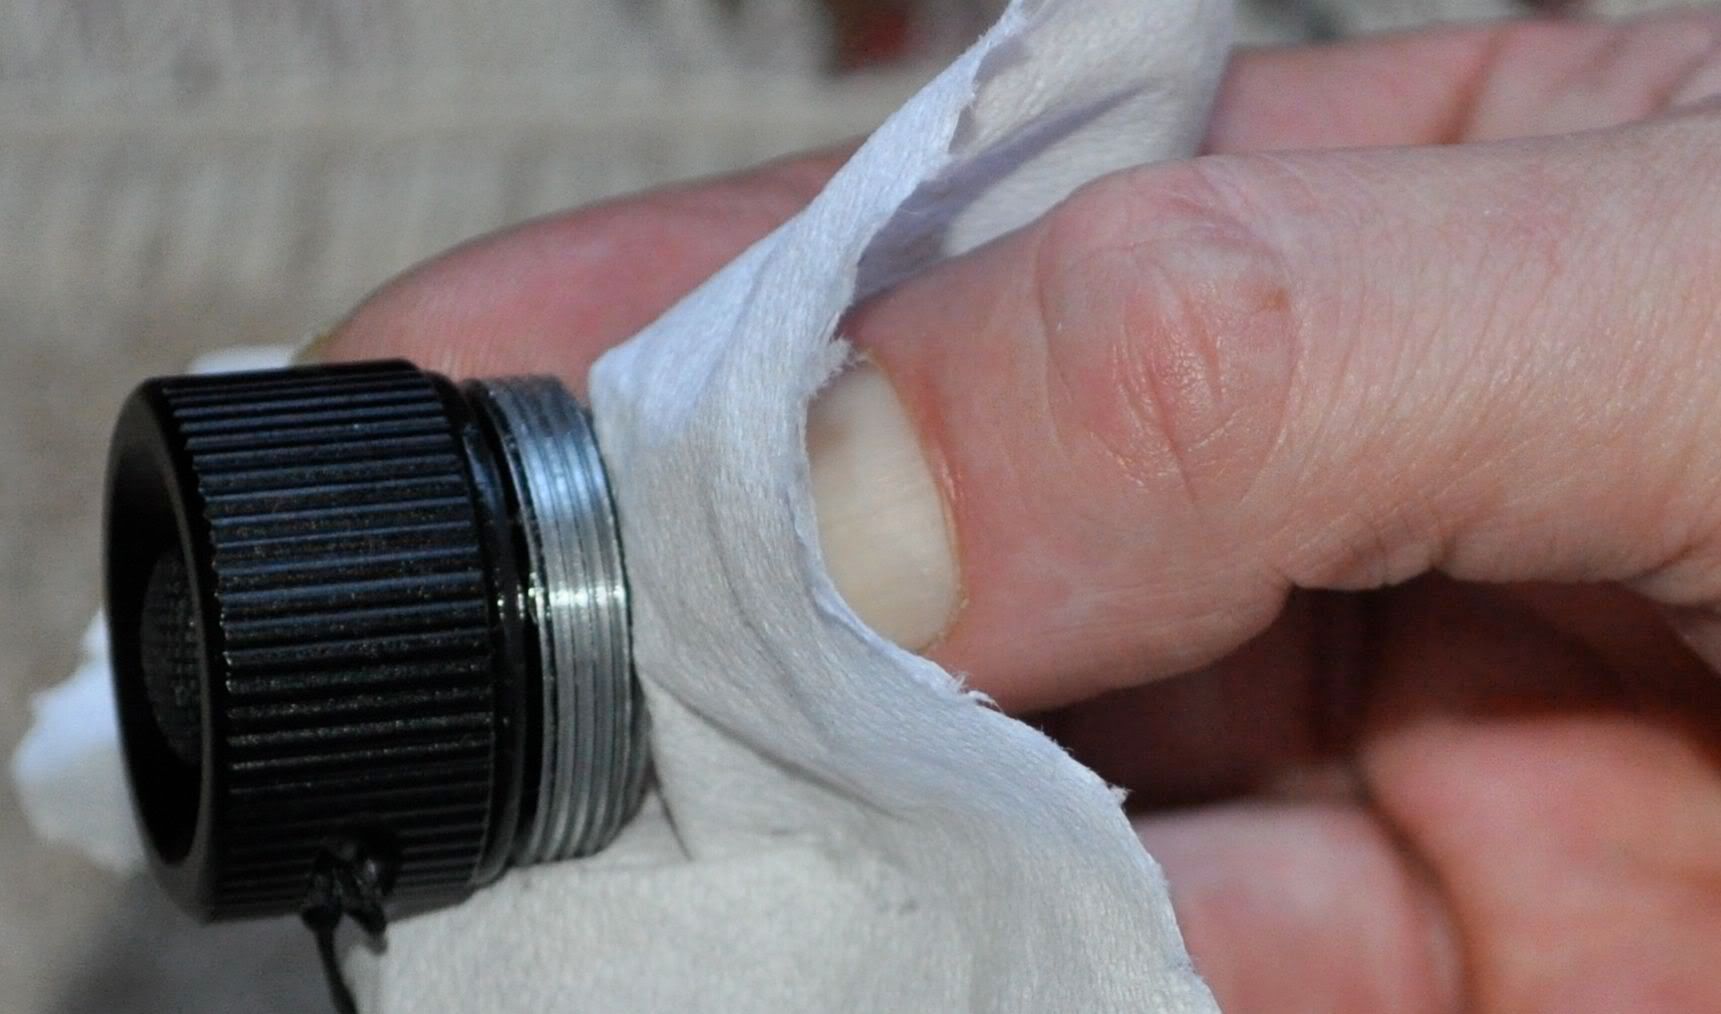
This photo doesn't show it but they are covered in some grey crud - which may, or may not be a lubricant. Judging by the squeaks, if it is a lubricant it isn't doing its job. So I'll clean the tailcap threads. I find the best way to do this is with some toilet paper which I push into the threads with a fingernail and then twist the tailcap around to use my fingernail and paper to follow the threads and clean them out. A couple of pictures to explain.
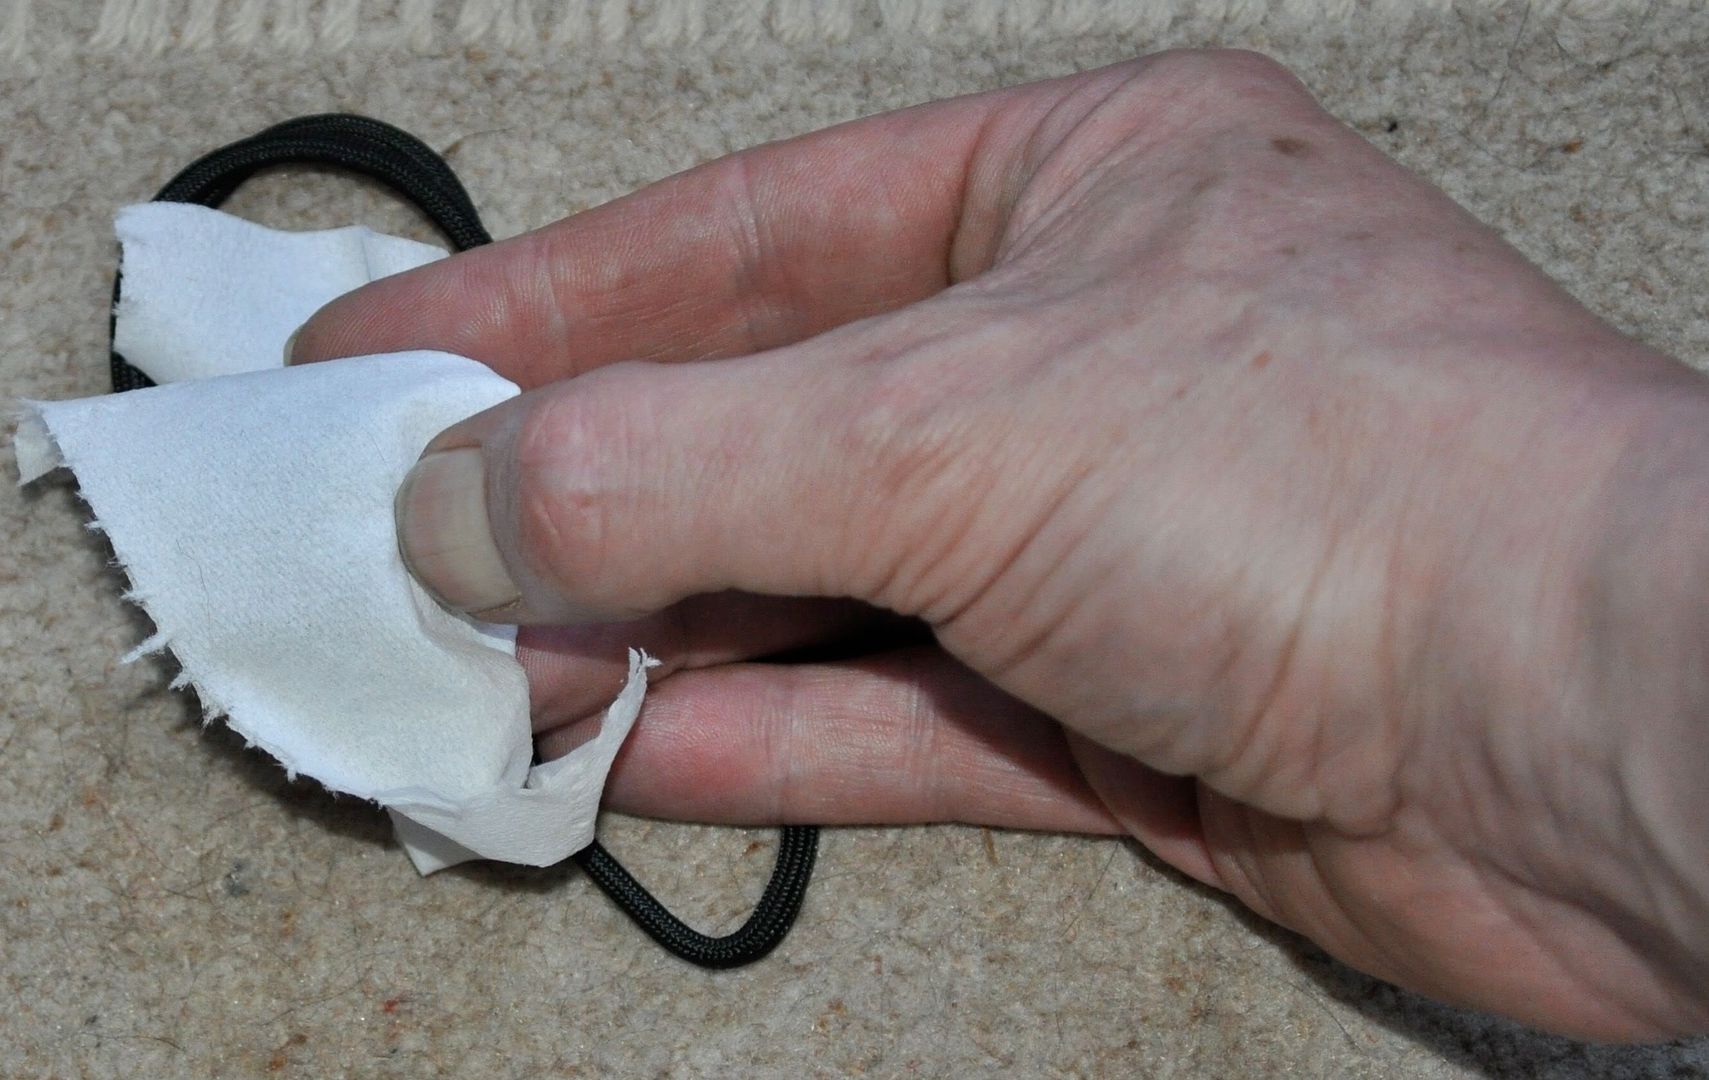
I have my thumbnail engaged in the threads and am using it to push the tissue into the threads.
Fold the paper back so we can see the threads.
Here's what came off.
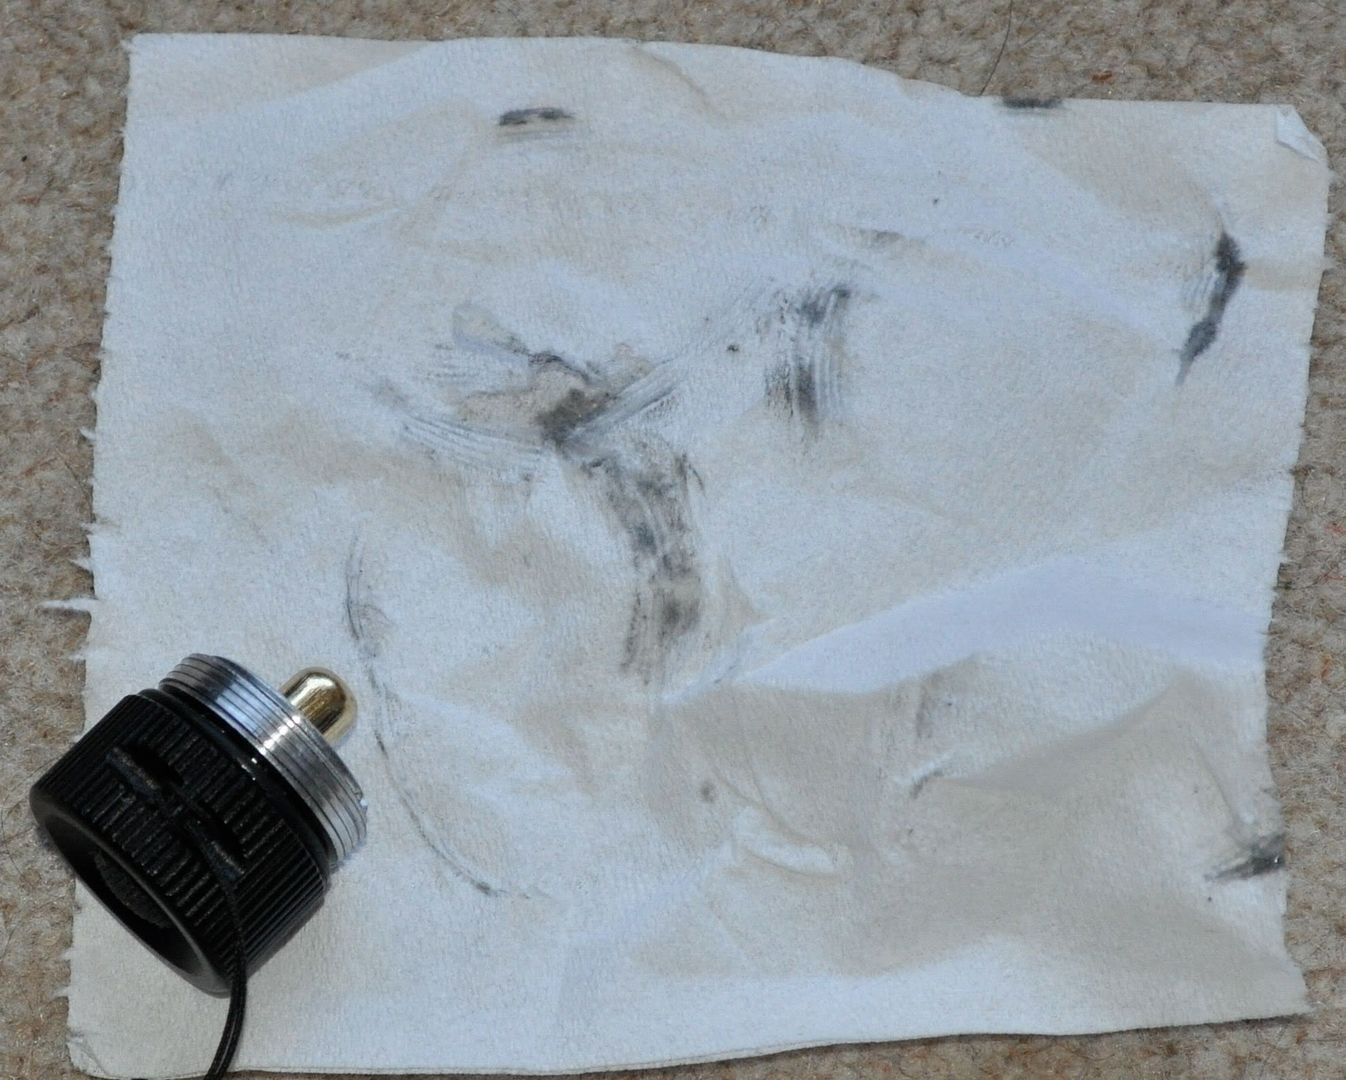
We'll set the tailcap aside for the moment. Obviously there is no point at all in only cleaning half of the pair of threads, the body tube is going to need cleaning too. As it happens there is a huge (maybe 1mm long) lump of crud stuck to the black stuff so it needs a good clean too.
Before
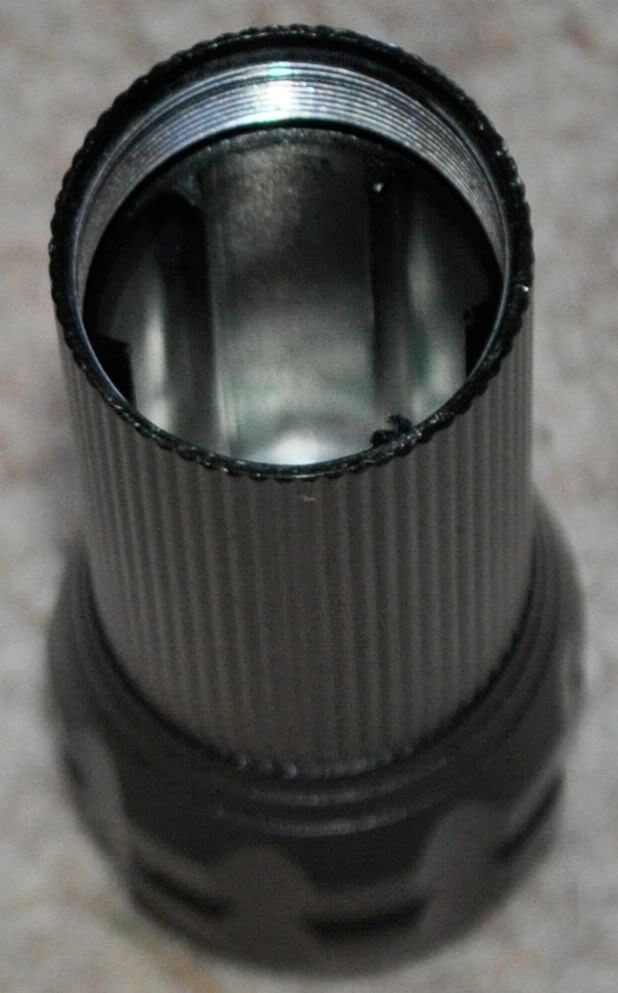
You can see the lump of crud at about 5 o'clock. Same technique to clean the body threads. You can, of course use a cocktail stick, toothpick, scriber or whatever, I just tend to use a thumbnail because it is hard to lose.
Here's what came out of the body tube.
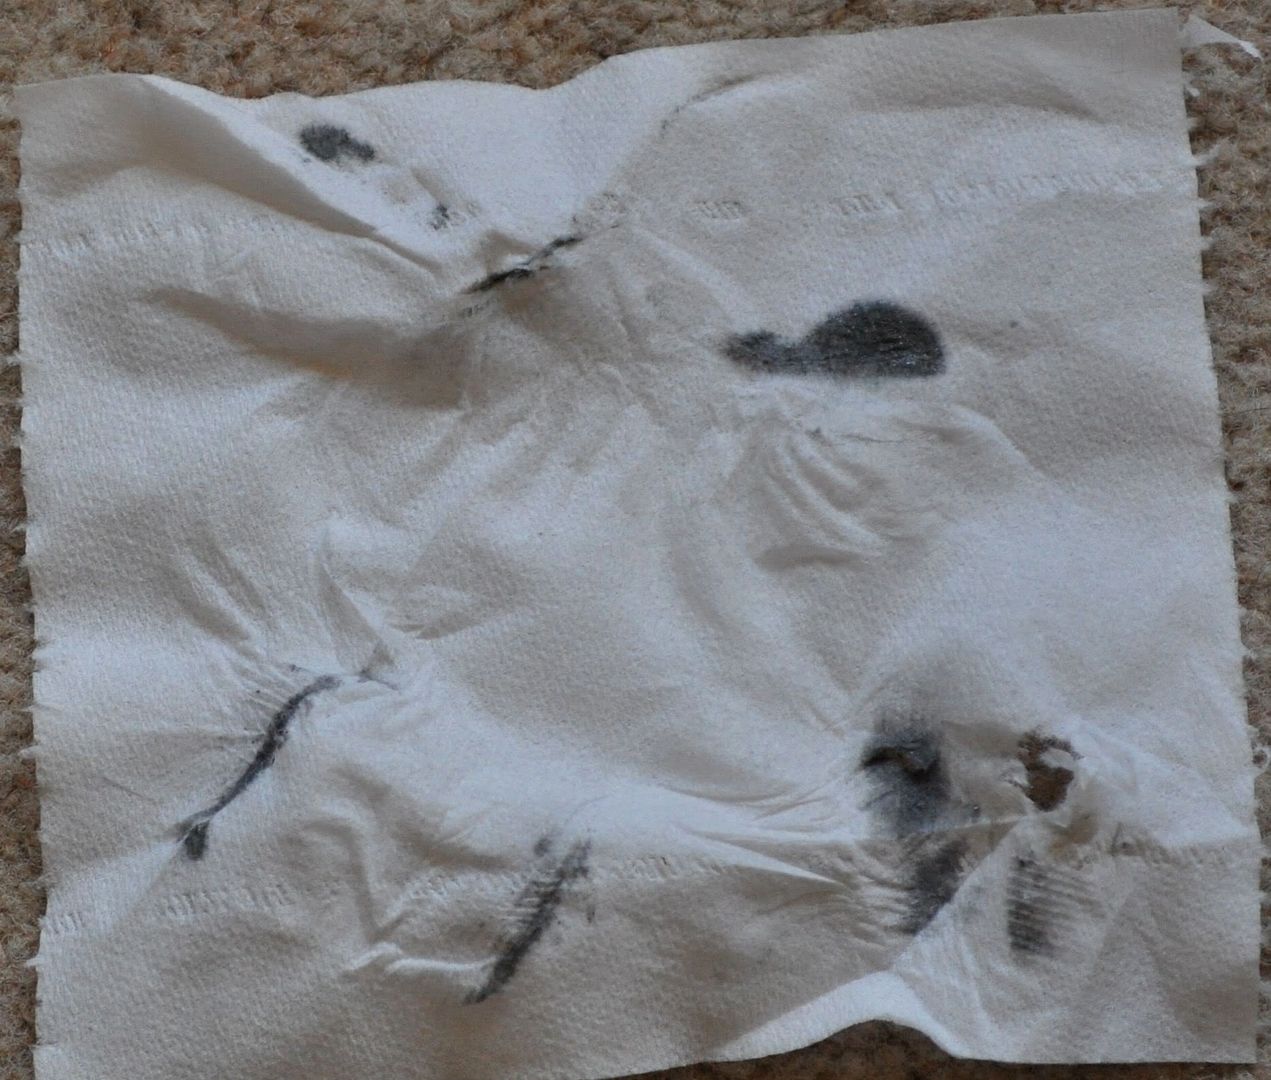
Yuk!
So we now have nice clean threads. And boy do they sound like dry threads. Not nice. So we'll put a little silicone grease on the threads and O rings. Then we'll wipe most of it off. I usually apply a blob to the threads of the tailcap and screw in in and out of the body tube. The O ring should get lightly coated too. Lubrication is a matter of personal preference - many people prefer a lighter lubricant - maybe even most, but I prefer a heavier one even though I end up wiping most of it off again. I've been using the same tube of silicone grease for more than ten years and the stuff is dirt cheap. If you perfer a runnier lubricant, feel free. The trick is Don't Use Too Much. You'll just have to clean off the threads again. Remember that lubricants are an electrical insulator and you are depending on those threads to transmit current. Don't fill the gap with so much lube that it won't work.
So I apply a small quantity of lube
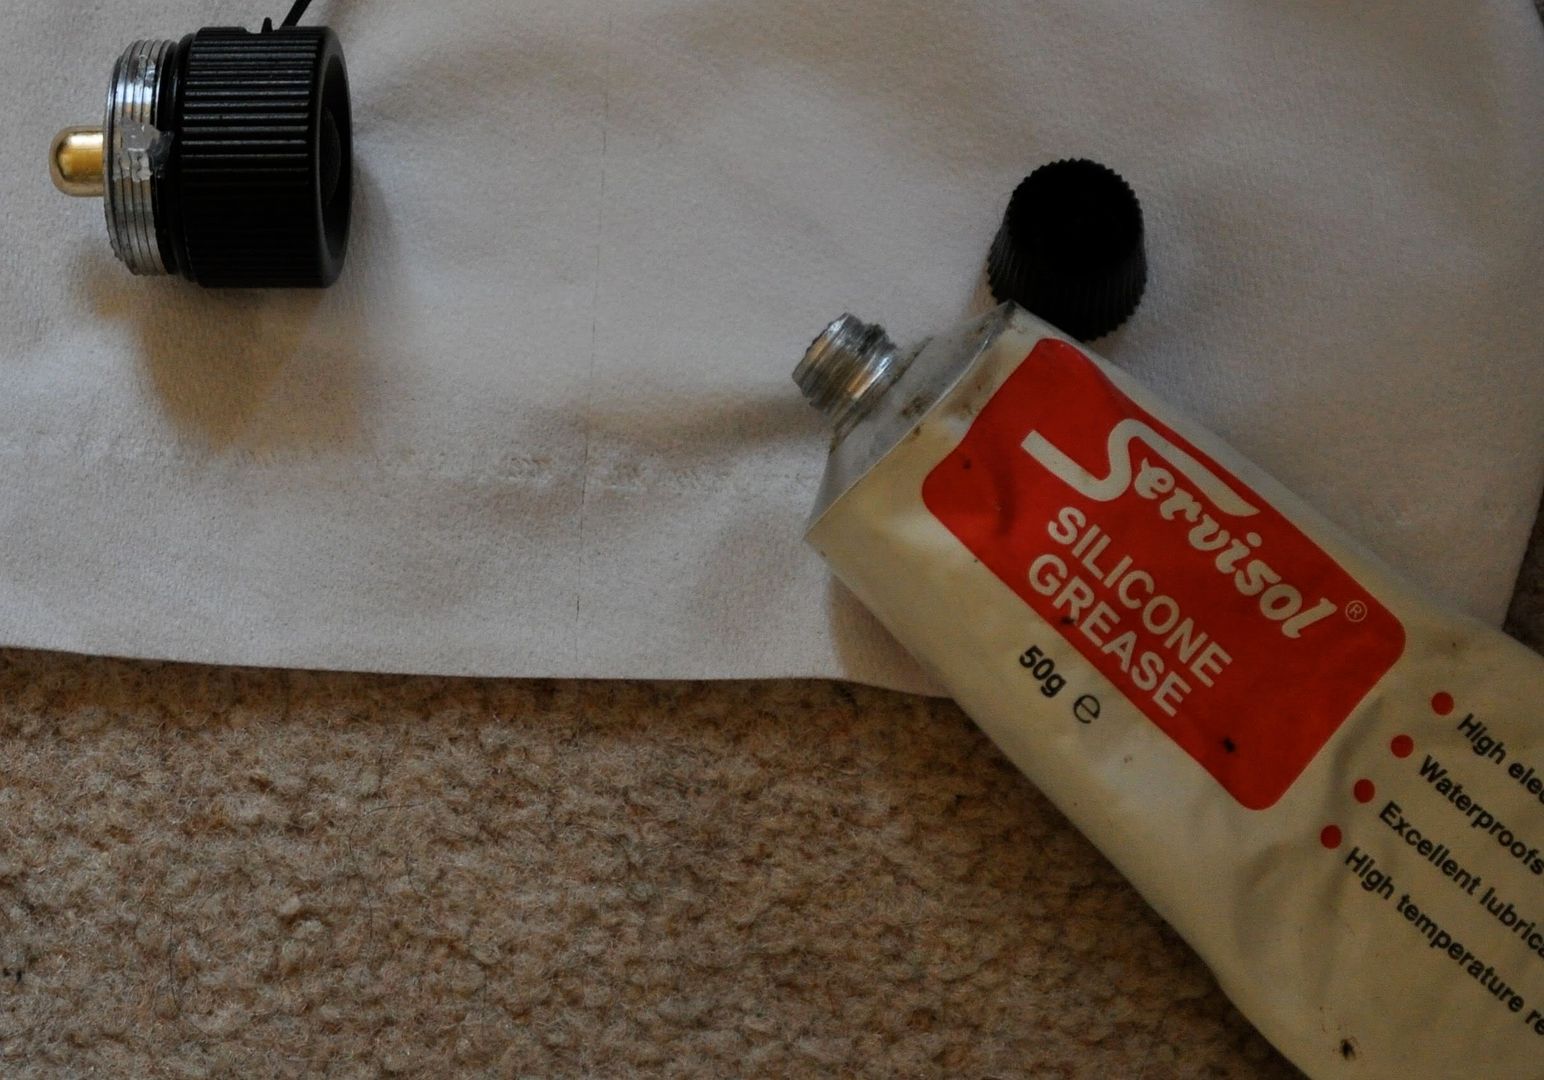
Then I screw the tailcap in and out and make sure the O ring gets well greased. Then I remove the tailcap and clean the threads just as I did at first. There will be plenty grease in the threads of the body tube now and I can give the O ring a little more if I feel it needs it. It does so another very small amount gets applied to the O ring - an amount about the size of a match head is too much. I wipe this round the O ring then go and wash my hands - I loathe the feel of silicone grease on my hands.
I'm now in two minds about the movable head. In this case it's meant to move and it is friction that keeps it in place. However, the feel is horrible so do I lube it or not. Nah, that can wait, after all it's not yet been dark since I got my new precision instrument toy. We'll see what it's like in a day or two.
This one's head is not removable so I don't have to repeat what I did with the tailcap.
Of course what I actually did was ripped open the package, pulled out an 18650 and made sure it worked. The I played with it till it was time to go to work. Now that I'm home from work I've done the preliminary inspection.


