Nice work Tom, and great teamwork making it happen. ![]()
Might have to send you my MecArmy PT16 and let you fix it. ![]()
Nice work Tom, and great teamwork making it happen. ![]()
Might have to send you my MecArmy PT16 and let you fix it. ![]()
Thanx! Really is a true collaboration, from JohnnyC, TK, DEL, plus a few other contributions to the UI, like Werner, Halo was a big help on the tech side with the 25/45/85 stuff, then of course DEL, not only for the circuit design improvements, but the nice A-D conversion implementation for processing voltage and temperature. TK contributed a lot in here, including the ramping data methods which include her Python script I use to generate the ramping tables with, and the PWM driven 3 channel support. There's a bunch of others suggested ideas/features I directly incorporated.
Did y’all notice how he sidestepped the PT-16 thang? ![]()
Yes, I did. Just dunno enuf bout them. Ok - Triple 16340 w/side switch and USB charging.... Hhmmmmmm. Haven't read/researched one up - has anyone dis-assembled one?
Dunno, maybe a triple can fit in a OTR M3? Boy, they got brass and titanium, wow.
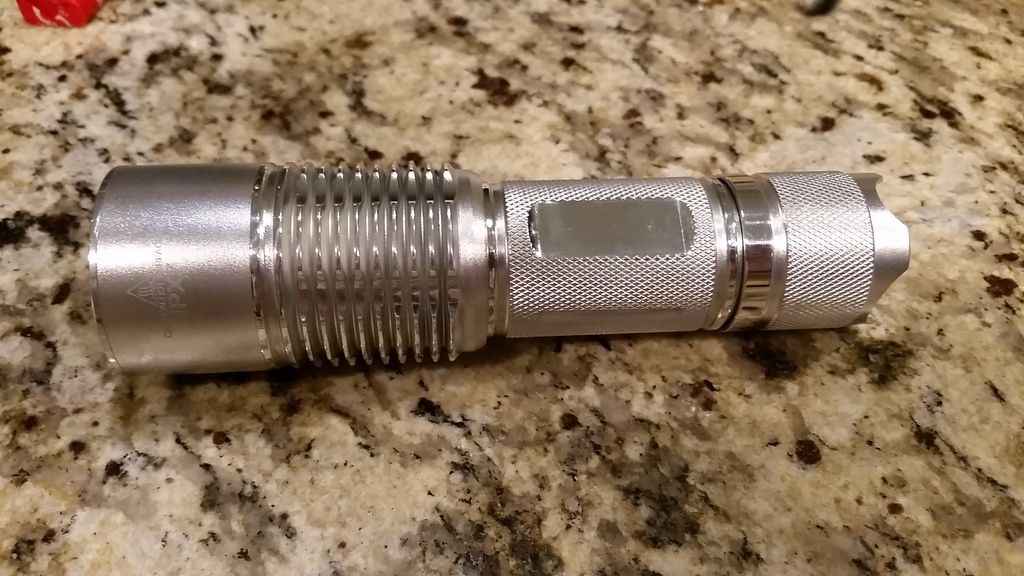
Tom, not long after I got my first PT-16 I modded it. I pulled the charging portion, bored the tube for an 18350 and piggybacked a 10mm FET driver (no room, way tight in there!) I had it doing some 2200 lumens with a ramping firmware. Sold that one to Slow2Go. Really neat compact light with serious power when modded, I like the pineapple style knurling and sheer small size.
Yea, looked it up in the mean time and found your thread on it. For some reason, I was never interested it in and all the flavors, so never followed any threads on it. Actually not sure why I wasn't - might have been the cost at the time or unsure of the mod-ability, but you seem to get it fully apart - didn't find much though - not sure if there were any pics of breakdowns. Sometimes if I have doubts, I just stop following, then miss out if it turns out to be good. This probably was after I got burned on buying some lights that I got stuck with, not being able to mod them. I'm getting a little more adventurous again as of late, so I'm not so hesitant, but it's hard to keep up with everything for sure - this thread alone is a full time hobby to keep up with  .
.
I just need a better way to crack open glued bezels/threads with no damage - it's my #1 problem. The soft wood w/drilled holes, and slots for compression seems to be the best I've seen or heard of, so wanna get that set up, posted here by Keepitsharp: https://budgetlightforum.com/t/-/42267/42, post #42 here: https://budgetlightforum.com/t/-/42267
Still waiting on parts, so did some polishing.
I’ll move my question here, presumably there are people with related experience in particular matter:
Well there are a lot of o-ring manufacturers out there; don’t limit your search to flashlight places. I would think you can just google search by diameter and thickness and material.
here , but not cheap :
edit :
i found some also here :
http://www.ebay.com/itm/10x-Oil-Resistant-NBR-Nitrile-Butadiene-Rubber-1-9mm-O-Ring-Sealing-Ring-5-130mm-/231775527170?var=&hash=item35f6e5e102:m:mO5s0gCDuTEfsSqFGDuhHvw
I use copper shims under the MCPCB instead - got a kit off of eBay of lots of different thickness ones, 20mm squares - reflow them to the copper MCPCB - fills the gap nicely, plus more copper .
Awesome!!
I like alot that flashliht, if it weren't for its smooth reflector i would put in it an XHP50
Have you tried to visit any hydraulic systems local shop?
I think you have more chances to find unpopular o-ring sizes on them than on the internet.
Squared shims?
Do you have any link?
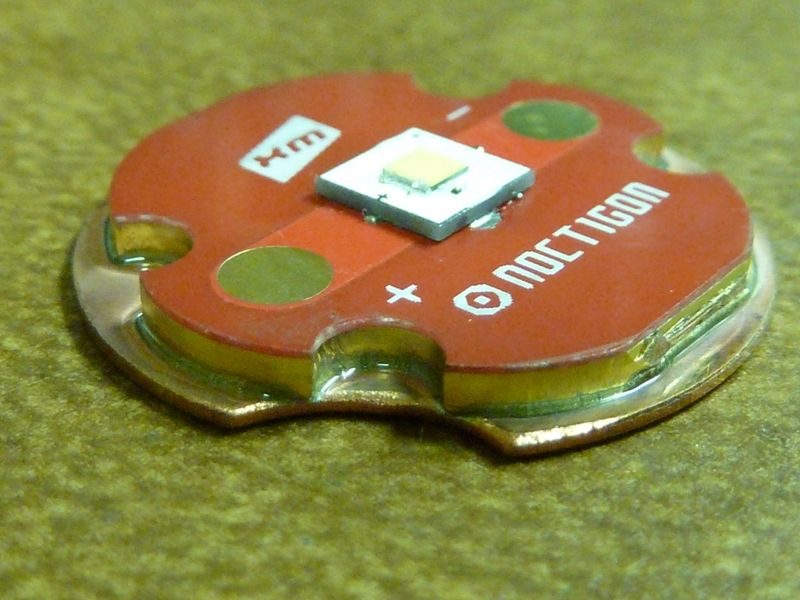
This reflector works well with this host and the XHP50.
http://www.kaidomain.com/p/S008833.36_6mm-D-x-25mm-H-OP-Aluminum-Reflector
It ends up being ~1.6mm shorter than the stock reflector, so an appropriate spacer is needed under the MCPCB.
I built up some to sell and the result is quite nice.
Here's one example (BLF X6 triple mod):
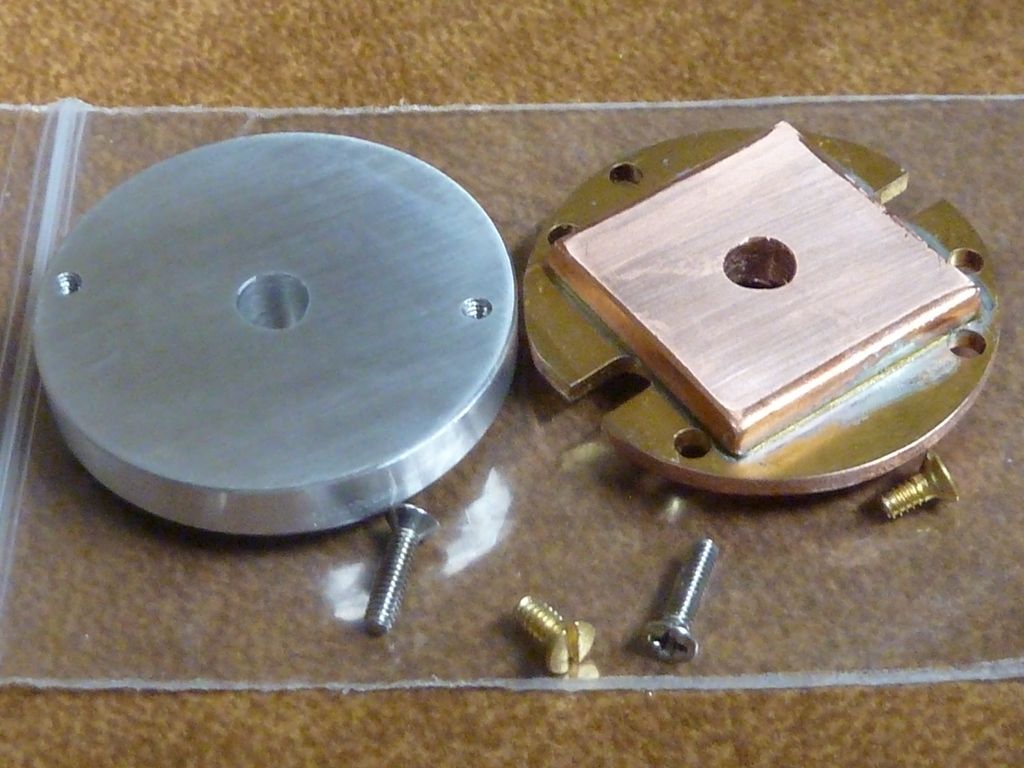
Another (MaxToch 2X):
Very easy to work copper with a file or rotary tool, specially in thin material.
Easy to find on eBay - search for copper shims 20mm in eBay, one example for $7 shipped of assorted thinkcnesses:
http://www.ebay.com/itm/10-pcs-20x20-mm-Copper-Pad-Shim-2-pcs-of-each-thickness
Lot of thanks EasyB and Tom E, you gave some very valuable information :D
I sold some lights over the weekend to offset an issue that had my wife quite worried. One of these was a Courui D01 with SBT-70. In testing it, the lumens output was only 1179, seemed it should be more. So I built a new ramping FET driver, re-designed the piggyback mount, re-designed the grounding system at the tail pcb where I’d put a cut-off switch in, and it now makes 1949 lumens… highest I’ve ever seen from an SBT-70! ![]() And now it’s on it’s way to a new home. lol Boy did I so want to keep it after it started really screaming!
And now it’s on it’s way to a new home. lol Boy did I so want to keep it after it started really screaming! ![]()
Lol I saw it before you fixed the 2 to a 1 and I was really impressed!
Yikes! Big difference. So do you think it was all a result of reducing resistance from the tail and driver mount changes?
That's a huge difference. I imagine the throw scaled the same way. Am I goin buggy or where there a typo change in the lumens?
Oops, nevermind - see PD caught it.
What’s exactly the good thing for SBT emitters (if any) ?
I typo’d the lumens, caught it and corrected it, but some of y’all read it before it leaves my mind and get’s past my fingers. ![]()
The SBT-70 has a round die, one of the only emitters that does. This results in a smooth defined round hot spot, especially noticeable with an aspheric like the JaxMan Z1, which I also have one in. They are 3V emitters with low Vf, as such they can pull a LOT of amps from a single cell but they aren’t very efficient, normally doing something in the 1500 lumens range burning 17 amps.
The large triple 18650 contact board is a press fit. Ground can be iffy through the board. So I drilled and tapped a hole in the big copper sink I got from RyanSOh for this Courui, attached it to the driver board on the inside to fortify ground. When I initially built the clicky switch onto the rear pcb I didn’t have correct screws so I used solder blobs as stand offs for the screws I had on hand that were too long. I now have a lot of shorter SS screws so I removed the solder blobs and used correct length screws to get a good solid ground on the tail end. Retouched the soldering to the big Omten switch, and it all paid off. I’m thinking it’s pulling over 20A from the 3 LG HE4 button tops.