Tried the torch on the bezel, then using those "sticky" gloves - nothing, didn't budge, decent force. Then used a rubber tie down, cut up to 2 pieces - one in the vice on the copper section, one used on the bezel with a wrench - a lot of force, and nothing. This was my most effective attempt to date based on the force I could get on it, butstill nothing. Might have to re-visit the torch combined with the vice, as mattjk did.
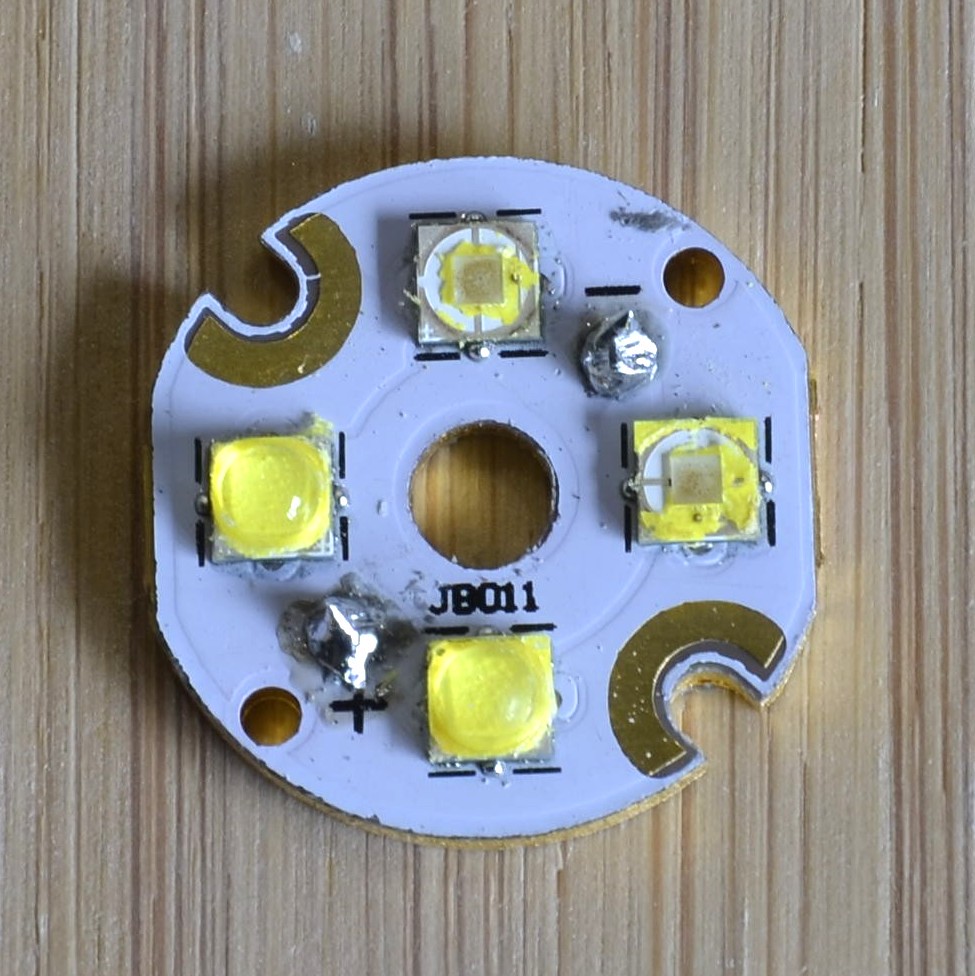
Got my new 219c emitters today and fixed mine. I used a new 4 way optic and it fits my mcpcb perfectly…
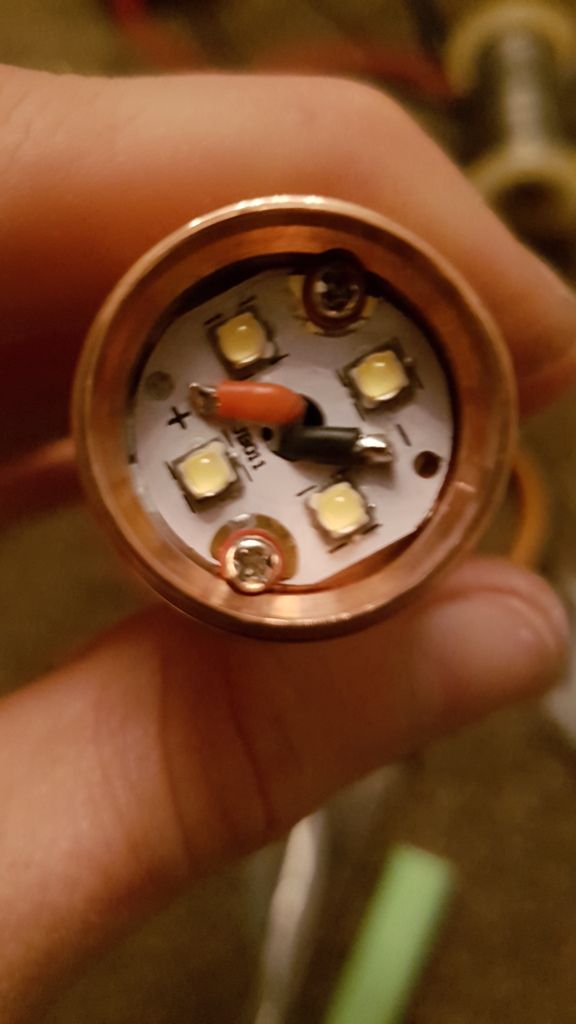
No blue just some pwm visible nice and even emitter though. Bezel tightens nice and tight with no rattle and minimal pressure.
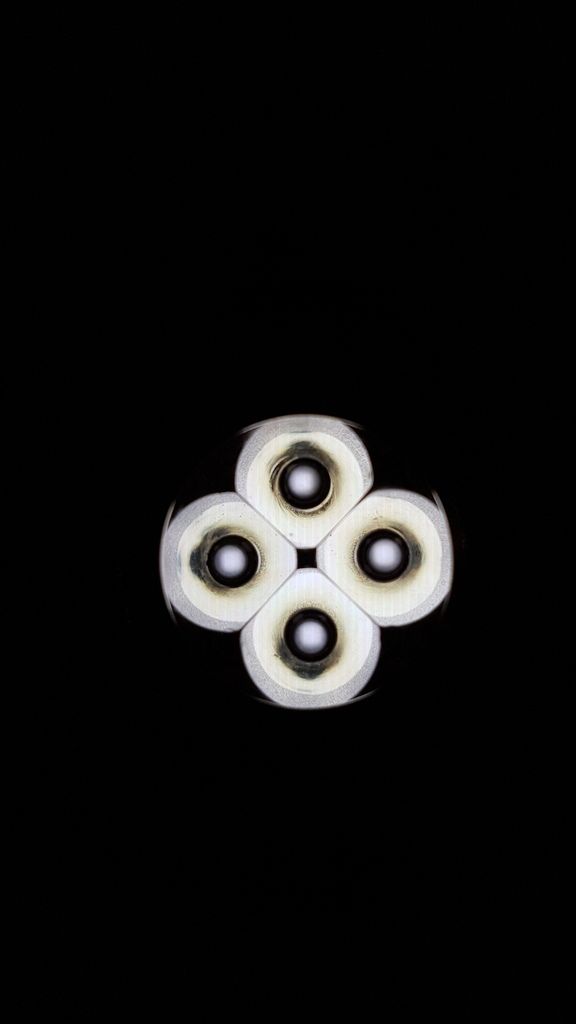
Final pic
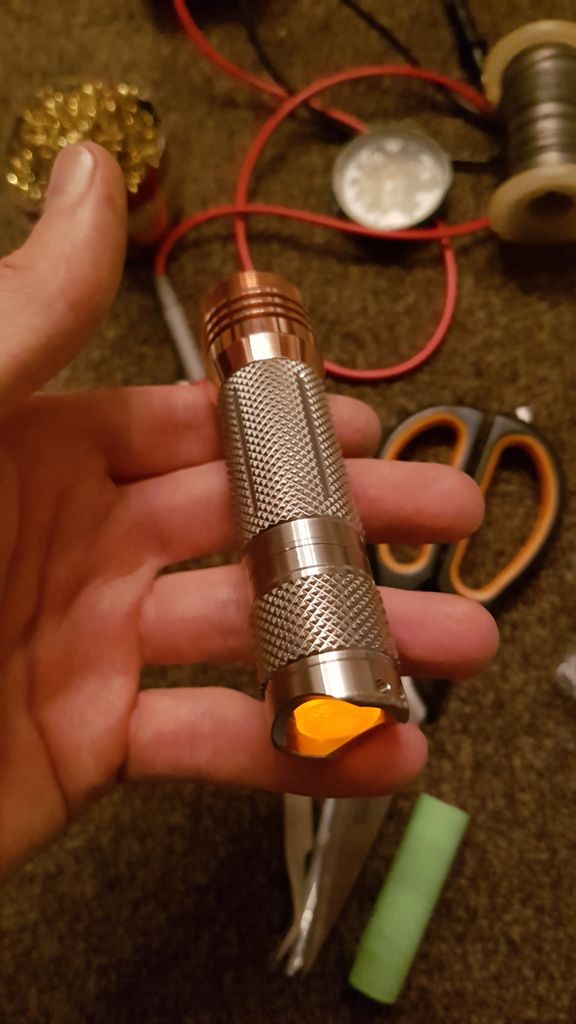
Will probably sell or give away the replacement head as i have a aluminium a6 tube i can screw onto it
I got mine to open by putting duct tape around. I used a duct tape that has some sort of fibres inside, so it does not stretch.
- About 1.5 turns on tape the bezel and another 1.5 turns on the body.
- Then use two of those Jaw locking pliers, one on the head and another on the body and just make sure their are really well gripped into the bezel and body.
- Put the light in turbo and let it heat up, if it jumps down in level, press once to jump back to turbo. I had to do it about 3 times, it was really hot.
- Then use the two jaw locking pliers and try to twist the bezel anticlockwise. Will require a lot of force and make sure the pliers are very tight but not too tight to damage the roundness of the bezel.
- Dont give up, try step 3 and 4 until its lose.
Hhmm - might have to try the two plier technique - vice on the copper side slips way too easy. Same problem with a Skilhunt H03 tonight - it's a tuff one, and slips in the vise.
My method for opening that worked on 2x S41 and the S41S.
Initially you need to crack the glue… I used a vise with rubber jaws to compress the head slightly on the sides. Rotate about 15* tighten vise, squeeze again. I continued past the half rotation point, until I finally felt some slight movement in the bezel trying to un-thread it. I barely had any movement but continually trying to tighten and loosen, I was finally able to thread the bezel off.
While cracking the glue, it will not release off just one side of threads. Some will still stick to the head and some to the bezel. Now you need to work the threads, tightening and loosening to get the glue to break apart further. Once I finally got the bezel off the glue was pretty much dust. Hardly anything remained on the threads of bezel or head.
There is not much room for error while squeezing the head. Glass lens does not have much room. Copper head threads about 2/3 of the way into bezel height. I had the bezel protruding above the vise jaws about 4mm while squeezing it. Glue is really hard, possibly acrylic of sorts.
Here’s my method for unscrewing the glued bezel ring.
I did get the head to unscrew using two pieces of 3/4 inch (19mm) thick soft pine with 1 and 1/16 inch (27mm) holes through the center with a thin saw cut through part of the middle from one end to allow compression in a vice and clamps. Compressing the wood separately for each piece allowed enough grip and leverage to loosen the bezel ring with no damage or personal injury. I did this while one or two remaining emitters would still go into turbo resulting in a hot bezel that probably softened the adhesive some.
Pictures:

A 1 and 1/16” drill bit is not common, but I have one and it worked great. Hope this is helpful to some.
Wow! Keepitsharp - that's one of the best setups I've seen. I dunno for sure, but don't think I've ever seen that setup before on BLF, but it makes a lot of sense and should pretty much guarantee no scratches, etc.
Hhmmmm. Worth investigating whether I can do it - don't have a good setup for wood working now, but I got a few lights needing unbinding.
Thanks Tom E. This method has helped me a number of times over the years.
I recall a couple of instances, not flashlights, that were MUCH harder to crack than this S41S head.
So much fun to read all the ingenius ways to open a glued bezel!! Thanks Banggood for starting all this :party:
Great set up Tom E! I could have avoided a lot of swearing and a cut finger lol.
Edit: Oops, should have addressed that to keepitsharp it would seem!
Uhhh, that's KeepItSharp's set up there - I'm just another super-impressed by it 
YES! I just got mine open! A few scratches but that doesn’t bother me. My method was three layers of bicycle tube bands to protect the two parts from a vice (copper) and vice grips (bezel). I just kept slowing winding up the tension on both until the glue gave in. Time for some shopping.
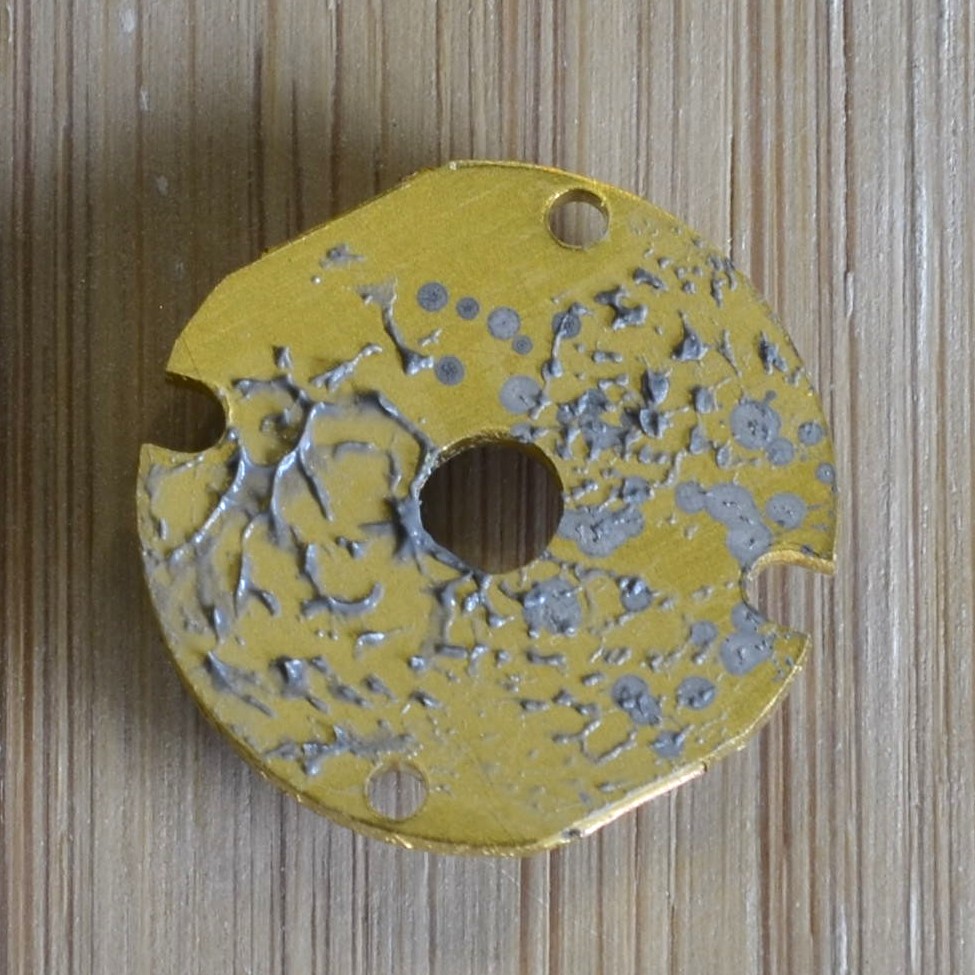
Being my 1St flashlight mod, I’m hoping someone can share a link to a good tool to get the brass ring off with the 2 holes out with.
I recall someone suggesting a small piece of wood with 2 nails driven straight through. The nails can then be bent to accommodate different sizes of retaining rings. This is probably the cheapest tool, especially if you already have the parts, and more durable than tweezers or ring pliers.
Thanks!
for the retaining rings you don’t necessarily need to span both holes.
I just use a starter punch with a semi-pointy tip to stick into one hole and push the ring counter clockwise.
If a light has tiny holes an awl works.
Some will say a retaining ring pliers is the tool. But you need fixed tips and will need various sizes. Tiny holes are a problem with these.
Also when tightening back up with a single tip, go to both holes to make sure it is tight before calling it good.
You can get snap ring pliers for under $10 from pretty much any big box home improvement or auto parts store.
Needle nose pliers in small to large sizes. You can buy’em cheap and file or grind the ends down for the really small holes or you can drill the holes in the retainer bigger, Get you a wire size drill index if you can afford it, or just buy singe wire size drills what ever you can afford. I get them out and drill thru and bigger any ways!
Thanks a lot for the suggestions. Living in a small country town and not having access to a hardware store close by, I’ll give the nails & wood option a try 1st. Plenty of plan B’s here too if that doesn’t work.
On my S41S head I did not manage to get the driver retaining ring out. The brass and the copper did very nasty things with each other (I believe it is called galling) and in the end I gave up, screwed the ring back in (which was even a tour de force at that point) and just used the stock driver (which was fine anyway).