Si quis est in vinum, et in sapientia.
But I’m (slightly) colorblind.
It’s a solid high power, high CRI LED, especially when sliced. Sometimes you get lucky and have a nice tint “out the box”. R9 is low and colours don’t pop as much, but I would much rather that than have an overly rosy (in the minority here I know!) or green tint.
no dispute over personal preferences
but to be clear, the choice is to have rosy tint, or green tint… there is no tintless option… imo
I find that the shaved 3500K LH351D 90cri actually makes reds look redder to me. No scietific test, just a comparison from what I see.
I prefer any of the samsung leds shaved. Better beam pattern to me and slightly tighter hotspot. I also like the lower tint shift and lower Duv it gives.
You lose some lumens but well worth the trade off to me.
.
Its really hard to show a pic or verbally tell someone how the produced light looks.
People prefer different things in what they thnk a flashlight beam and color should look like.
I just feel that more people would like the LH351D if they tried it both shaved and domed.
Some like it and some don’t but that can be said about the ever popular 219B SW45K also.
.
You can buy a few of these leds and try them out for yourself, shouldn’t cost more than about $20 to try out a few.
If you like them great, if not then your grail led search continues and your out $20 bucks.
Its about the only way you will ever know what a particular led looks like to you.
.
I have searched for awhile and spent alot of money and time chasing down certain bins of alot of different leds and at the moment the shaved LH351D 3500k 90cri is my grail. This is just what I prefer, alot of people prefer the 219B for the pinkish hue but I dont see much pink in person. I can see it in pics but not so much in person. It does look good though, like natural sunlight to me.
.
Not everyones grail led is the same because we dont all see the same thing or look for the same characteristics in a flashlight beam, I guess is the point I’m trying to make. About the only way to know what you like is thru trial and error.
.
Just my two cents ![]()
Nice classic!
Your pics are a bit heavy btw
Thanks, that was elaborated. I’ll shave the LH351D :+1:
Here, the Nichia (top, shaved D200 bin) looks better than the Samsung (dome), but that could be a matter of shadows. Camera was set to full auto.


Edit: Now I remember, where I left my second LH351D. It went into the Zippy!
Thanks Contactr and Scallywag, I actually ordered a bare host from the Sofirn website if that makes any difference on why the tailcap is different than a fully assembled light. Yeah, the screw together board and reflector is a good idea, it makes assembly a lot easier and less change of turning the reflector with the bezel and dedoming/ruining a mod at one of the last steps in assembly.
Will definitely get a stainless bezel, does the stainless affect the beam at all since it reflects light compared to the matte black anodized bezel? I only notice the “clover leaf” effect of the triple reflector when indoors, and this thing is way too bright for using inside.
I think I’m going to build a 3000k-2700k version next, and use the C8TT head modified to use a reflector by Kiribaru to build photo red hunting/gun light since. Red leds seem to be even more heat sensitive than others, as per djozz’s any others testing, so can’t decide if I should use the C8TT or not. Also probably going to go with a Noctigon 32mm board for thicker traces and more copper, I think some people posted that those work with the C8F, they just don’t have the screw hole already drilled. I hope noctigons are still compatible with the current version being shipped.
@contactr I used the pain-in-the-butt teflon because I hadn’t used it in a while, and it’s one of those things that when you use it, you say you never will again, until you forget about it a year later and try to use it again ![]()
It actually worked out well this time, and coiled into the driver cavity with enough extra wire to change the driver later without removing the bezel if I wanted to. I’ll probably switch it just because the teflon seems to sheer more easily than the silicone insulation, and could short inside the body at some point in the future theoretically. It thin and high current, but gets stiff when you solder it, which also means it could pull off a trace on the MCPCB or the driver if knocked around. I should just throw it away to save me from myself
Sofirn store ships fast right now though and the C8F hosts are too-easy to assemble, even for someone that’s broken more mods through stupidity than I can count.
Are your MJ1’s protected Joshk? Maybe the protection board causes self-discharge? If they’re unprotected, any way for you to verify if they’re genuine or not? Mine aren’t protected and haven’t self-discharged that I can tell at all after 2 years of various uses from a pack of 8. Pretty good experience with them.
I use an old tenergy protected cell for testing that’s maybe 6-8yrs old just so I don’t totally zap something with an unprotected cell if there’s a short or other goof-up. The light would hit turbo for maybe 4-5 seconds before the over discharge board kicked in on the tenergy.
They are unprotected. I can only assume Liion Wholesale was selling genuine cells. Their capacity was a tad low but acceptable too if I recall. But I did buy them on a clearance sale. Maybe that’s why they clearanced them? Idk.
I checked, and for me the issue is the host, not the image size.
I will have to check, I still have the original bezel somewhere, just need to find it.
As for breaking things… it is a learning experience! Plus an excuse to buy “backups” of parts, and then some day you have enough backups to build a light or two extra…
Probably the closest so far to the sun is the Nichia Optisolis SM503. Not the brightest, but has awesome CRI. I really like them in my triple S2+.
SST20 4000k vs

Crafity use a new image host! Its like the 90s again waiting for image to load line by line
sorry , test again please.
For the curious:
Crafity's image was only 639 kilobytes, which is reasonable, so the fault is/was with the image host.
I expected the image to be at least 20 megabytes considering how slowly it loaded.
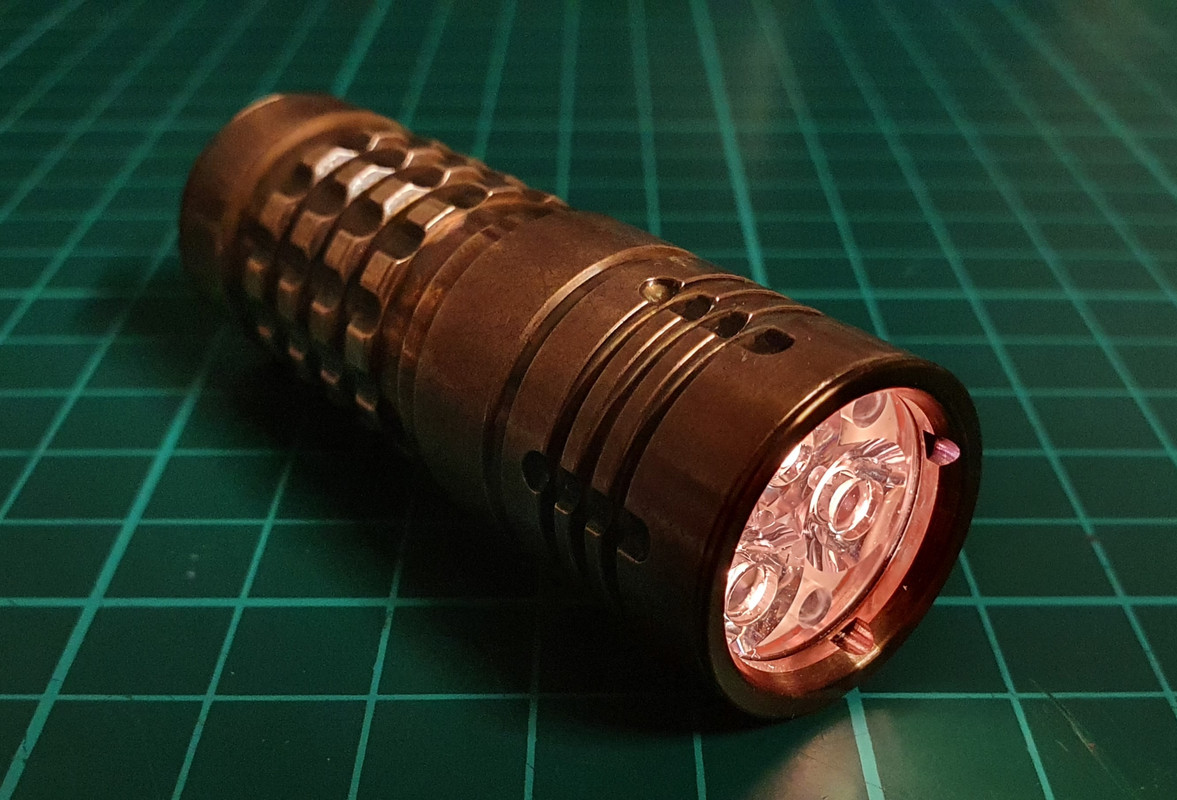
Copper TK16 with the beautiful 219b sw30 9080 (from azhu, recommended -> WTS/GB: NICHIA 219B NVSL219BT-V1 R9080 EMITTERS! sw45k, sw40, sw35, sw30).
And some glow of course.

My SOIC8 clip came today, a day later than expected.
My D4 has Anduril now, and the games have just begun. Now I have to figure out how to compile slightly-customized Anduril, for example to get a build that ramps properly on FET+1+15.
Edit 20 minutes later: My FW3A has fresher Anduril now, but I wasn’t a fan of having to unsolder the MCPCB to get to the ATTiny85. My D4 had just enough length on the leads to turn the driver sideways and clip on - likely because I replaced the MCPCB at some point, Hank probably had shorter leads before.
I modded my GT to a GT90!
I remembered when I finally finished modding my L6 about two years ago, I swore I would never open it again. I decided to throw Anduril on it, and it decided to remind me why I said that.
My recollection was that I’d mostly pulled off the Switch+ pad on Lexel’s lighted switch board, and had managed to barely solder the wire onto a remaining fragment of that pad. Well today when I pulled/tilted the driver out juuuuust enough to clip onto the ATTiny85, that lead pulled loose and the remainder of the pad went the way of a fart in the wind.
After some frustration attempting to re-attach to that pad (or rather, where that pad used to be), I decided to file a notch into the switch PCB and route the SW+ signal wire to the leg of the momentary switch itself on the front. It all worked great until my arrogance got hold of me: I assembled it all back together and got factory reset as soon as I applied power! I was sure I knew which leg was which on the button and didn’t double-check… so now I had to re-disassemble, file another notch on the other side, and solder to the proper leg of the switch button.
But now my L6 has Anduril, at least. I’m really never opening it again unless I have a replacement lighted switch board in-hand.
Weird question: Does RampingIOS (or, from MTNE, “D4 UI V2”) measure voltage differently than Anduril?
Edit: Yeah, I’m definitely going to be opening it again. Battery check only gives me 5.2v. I’m also gonna have to figure out how to compile my own build, since TK helped me in another thread figure out how to disable the turn-on blink
Edit note: Screwed up this post editing it when I meant to quote it, and had to re-write.
