What did you mod today?

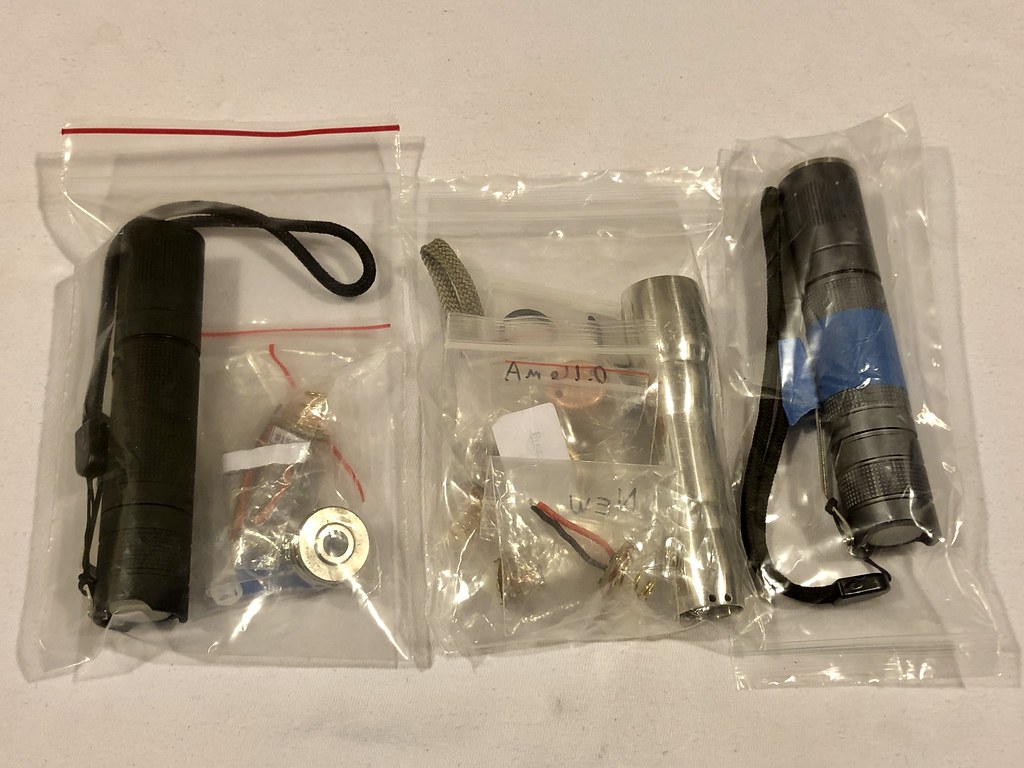
I’d ordered some 519a’s to see what the hype was about, they arrived a few days ago.

I somehow got the order wrong and ordered 16mm mpcb LEDs rather than 20mm; but this provided good opportunity to upgrade an older Convoy S9 I have, which is one of the lower current versions (Simon lists 1400ma as an option, so I assume this is the “original”). Simple swap of the 5000K XML with a 4000K 519a.

Thought I had a 3535 centering gasket in the parts box but only 5050 footprint ones, I left the stock one on for now, it’s not perfect.

I think I’ve gone from 4 modes to 3 modes somehow, maybe I fried something or changed a setting or mis-remember 4 mode… :person_facepalming:

Edit to add: this has turned into a typical gravelmonkey mod… I suspect the LED wires are shorting or at risk of shorting on the mpcb as I managed to melt the cheap insulation. So I pulled the driver out (quite straightforward, retaining ring, spring washer, lever the microusb casing down and the driver pops out. The wires are actually longer than I anticipated so I put it back together, the soldering irons been put away for now though…

Second edit: did some trouble shooting and the S9 is still 3-mode, so… Maybe I’m misremembering the 4 modes. On the upside, I de-domed the 4000K and the beam looks great.

Also got hold of my Emisar D1S, I think stock was XPL Hi, which I’d swapped in a ?SST20 a few years ago. Reflowed a 5700K 519a on a alu star then dedomed. Unfortunately the 519a was blue on the highest brightness, so I guess the 519a can’t take the current. Swapped the ?SST20 back in.

The dedomed 519a was put to use in my Xeno G42, Xeno’s answer to the C8, it’s a bit vintage by today’s standards but the stainless bezel and build quality make it one of my favourite lights. Drive current is only 2A. I’d previously had a slightly greenish 4000K SST20 in it. I don’t have a luxmeter so can’t say if there’s any real improvement on lumens or throw, but the tint is improved.

I've had those kind of mods! Thank goodness for long leads for do-overs. I've found 1mm of stripped wire and tinned wire helps. An S21A is easier for me than an S2 but kapton tape should stop the shorting with the reflector... not a lot of space between it and the pill.

Anyway, could you tell me how you dedomed the 519A... slicing, plucking?

I got 3 prepped and packed waiting for parts. I hate waiting for parts!!!

I’d often read it was very easy, but not any details of the process. Having never dedomed anything before I just gave it a go- using tweezers I gently squeezed the dome around the base then very gently and slowly went around trying to prise it up, eventually one side lifted and I very slowly peeled the dome off.

Today I decided to see if I could do anything with my Sofrin SC32. I really like the light overall but the led/optic combo just didn't do it for me. What I ended up with was a triple setup from the FWAA series and a few random 219b leds as proof of concept. Now that I know it works I have my first 219b SW45K coming from Hank.

Everyone should have at least one 4500K 219B flashlight. :slight_smile:

But not a high D240 bin like from KD since they don’t have any rosiness from my experience: NICHIA 219BT NEUTRAL WHITE 4500K CRI90 SMD 3535 LED

I’ve been slowly trying and acquiring all the different 519A available so I figured I might as well try the 219b while I was at it.

s2+ conversion, from metal to rubber button

I am waiting on a tan s2+ host from Richard and I’m planning on doing the same thing. This will be my first s2+ and I am personally not a fan of the metal switch on my z1.

Did you just drill out the tail cap, or did you use a different method? I measured my rubber button at about 5/8” and unfortunately I don’t have any drills bigger than 1/2”. I have been wanting a set of deming drills for a while.

I enlarged the hole 16 mm with this

and with the dremel I enlarged the inner recess for the rubber button

It is my favorite LED, I hope you enjoy them.

the ones from Hank are a good choice, they are D220:

It probably would just be easier to just bake a black S2+ (link here) to make it tan rather than doing this to have a rubber (silicone) switch. But I applaud this mod since I’ve thought about it many times myself!

I actually have an black one coming from Simon that should be here any day now. I’ve thought about baking my black S21A, maybe I’ll finally try on the black S2+.

I just finished my first multi emitter build. I turned my S21A into a quad with 5700k 90cri LH351D leds. I had to make the spacer, since apparently S21A spacers aren’t for sale any longer? I also stacked a .036 ohm resistor on the driver, getting just over 10A on high now. The worst part of the whole build was sanding down the Carclo optic to fit.

Awhile back we were discussing enlarging the metal-clicky hole accurately…maybe not terribly important. Difficult to use a regular drill bit and keep it centered while enlarging an existing hole sometimes, and there are no step drill bits that have the right diameter and also enough height in the step to handle the thickness of the tail cap in that spot. Looks like the price has gone up but I got one of these mechanic’s step reamers and it’s just about perfect. Made here in the US, very well ground and high quality steel. The 9/16” is a hair too big for 14mm but it fit ok into the S2+ that I tried it on. Next step is 5/8” which is pretty much spot on with 16mm, which is perfect. And the next two steps are still narrow enough to fit inside the tail cap if need be. If someone made one of these cheaper even with lesser steel like so many of the step drill bits on the market, it’d still be good enough for this light work on aluminum. Also very handy for some automotive and machinery work, tough enough to bore into hardened frame steels and tow hitches, etc. Has tri-flats milled on the shank for hand drill use (but use it smart…). This company Consolidated Toledo Drill has been around a long time, good stuff…these days they market under Norseman and Viking rather than their original CTD label. They’re up there with Champion, Triumph, Rocky Mountain Twist, etc. for top quality drill and cutting tools.

I’m also going to buy one of these NOS Irwin metric step bits soon. Great price on them although they’re bulk (probably surplus from aircraft or another industry) so they might come with a ding on them. This particular metric arrangement seems the best to me…still the standard short step height, though. Drill Hog has a similar ti-coated one for more money (and they’re a dubious operation….but)

6mm - 18mm

https://drill-hog.myshopify.com/products/drill-hog-6-18mm-metric-step-bit-multi-drill-bit-mm-unibit-m7-lifetime-warranty (much more expensive on ebay and not presently on amazon)

i think it’s perfect now

rubber team

Oh yeah, Norseman drill bits are awesome. I’ve been eyeing their mechanics length Magnum bits for years, but I don’t do enough drilling in hard metals to justify the expense. I also like the look of their new Vortex bits.

I forgot I actually got a 2pc step bit set free from Harbor Freight a couple weeks ago. Obviously it’s nowhere near the quality of Norseman and the steps are a lot closer together, but I think I can still make it work.

Months ago I picked up a Thrunite T2 I came across at an estate/garage sale. $5 with the thrunite 21700 cell. There were a few small marks from having been used. It had an XHP70 or maybe a 70.2…. I am uncertain. It produced a horrible colored beam.

Today I finally got around to what I wanted to do to it. First I had to unscrew the bezel. Thrunite uses just enough red threadlocker to make it difficult. I chucked the head between 2 wood blocks I cut for the purpose.

(I drilled a hole in a 3/4” thick piece of pine, then cut the wood in half through the hole. I tried 3 hole sizes and one worked best. Then clamped the assembly around the head and in the bench vice. After heating the bezel end with a hot air gun I was able to unscrew the bezel, using a leather glove.)

I did have a mishap, and did think to take a photo. After removing the bezel, lens and o-ring the reflector did not want to budge. So I rapped the end on the workbench surface in an attempt to knock it free. Nothing happened so I rapped it harder. This light did not take kindly to that! The machined and threaded front end of the head is so thin that the first two or so threads broke off! (Male threads on the front end of the head with female threads in the bezel.) Damn! The first thought I had was that it was a good thing I paid only $5 for it.

I went ahead with the plan to replace the xhp70. My emitter choice was a FC40 in 4000K in CRI95 which I bought from rngwn some time ago too. I already knew the T2 used a 12 volt driver… I learned that somewhere. That worked out okay.

But with the front threads missing and the end now not quite square the bezel would not tighten down on the 0-ring and lens. The bezel could not be screwed down far enough. Anyhow to make a long story short I filed the front end of the head flat and square. I used double-stick tape to mount the bezel to a scrap of wood and used the bench belt sander to sand some material off the back end of the bezel to make it shorter. Sticking the bezel to the wood allowed safer handling of the smallish bezel and preserved my fingertips. Removing the material allowed the bezel to screw on further and tighten against the lens.

So I am happy. The light output is soooo much better than the xhp70.2. The OP reflector provides a good amount of spill and the hot spot is as wide as I like it without a sharp demarcation between spill and hot spot. I can see that I now might actually use that T2.

They’re well worth it, even in plastics or normal steel and soft metals. If you ever get the whim, check out Edge of Arlington (eoasaw.com I think)….they’re a distributor and if they don’t have it on the site they’ll order it quickly at no extra charge. They seem to have the best prices on most items (for what you can find online). I got a set of the acrylic 60° bits from them after considering it for…years and years…and they were great to deal with. I can usually get better prices from a local supplier so it might pay to makes some calls if you have anyone reasonably nearby. Like I just picked up a set of screw machine length bits for about half through this supplier vs. what I was seeing anywhere online.

Those Vortex bits are pretty awesome. I’ve talked to two shops (auto body and sheet fab) and they both said they love them and haven’t torn them up yet. One is using them only in 18v drills so they’re getting some abuse, but looking at a few of the worn/used ones they looked really good. Interesting grind on them. I doubt I’ll buy any for myself but I can see these being fantastic for sheet and thin plate - better than pilot point types like the box store brands have been pushing for awhile (those have their place, though). I’m curious who invented that Vortex step tip design…probably not Norseman but maybe. They’re still plugging along at their factory but I was sad to learn that some years back they had to start sourcing their M7 steel from China…still cut, ground, and finished here, though. Comparing to some older ones I got in the 90s, these new china-steel ones seem to be every bit as good, so that’s a relief. The devastation of the North American steel industry is just incredible, affected so many things. I’m not sure where the other US bit makers get their steel but most of them seem to only do M2 or M3 standard stuff. The M7 moly has always been kind of exclusive to CTD I think, and it’s not sooooo much better, but for hand work it does excel. In a press, not a big deal really, and not better than cobalt for where cobalt shines.

Nice work, Don! ….can you fix the bezel with a helicoil? :slight_smile: