Magnets don’t make any sense. People who say they understand them are just pretending lol
1 Thank
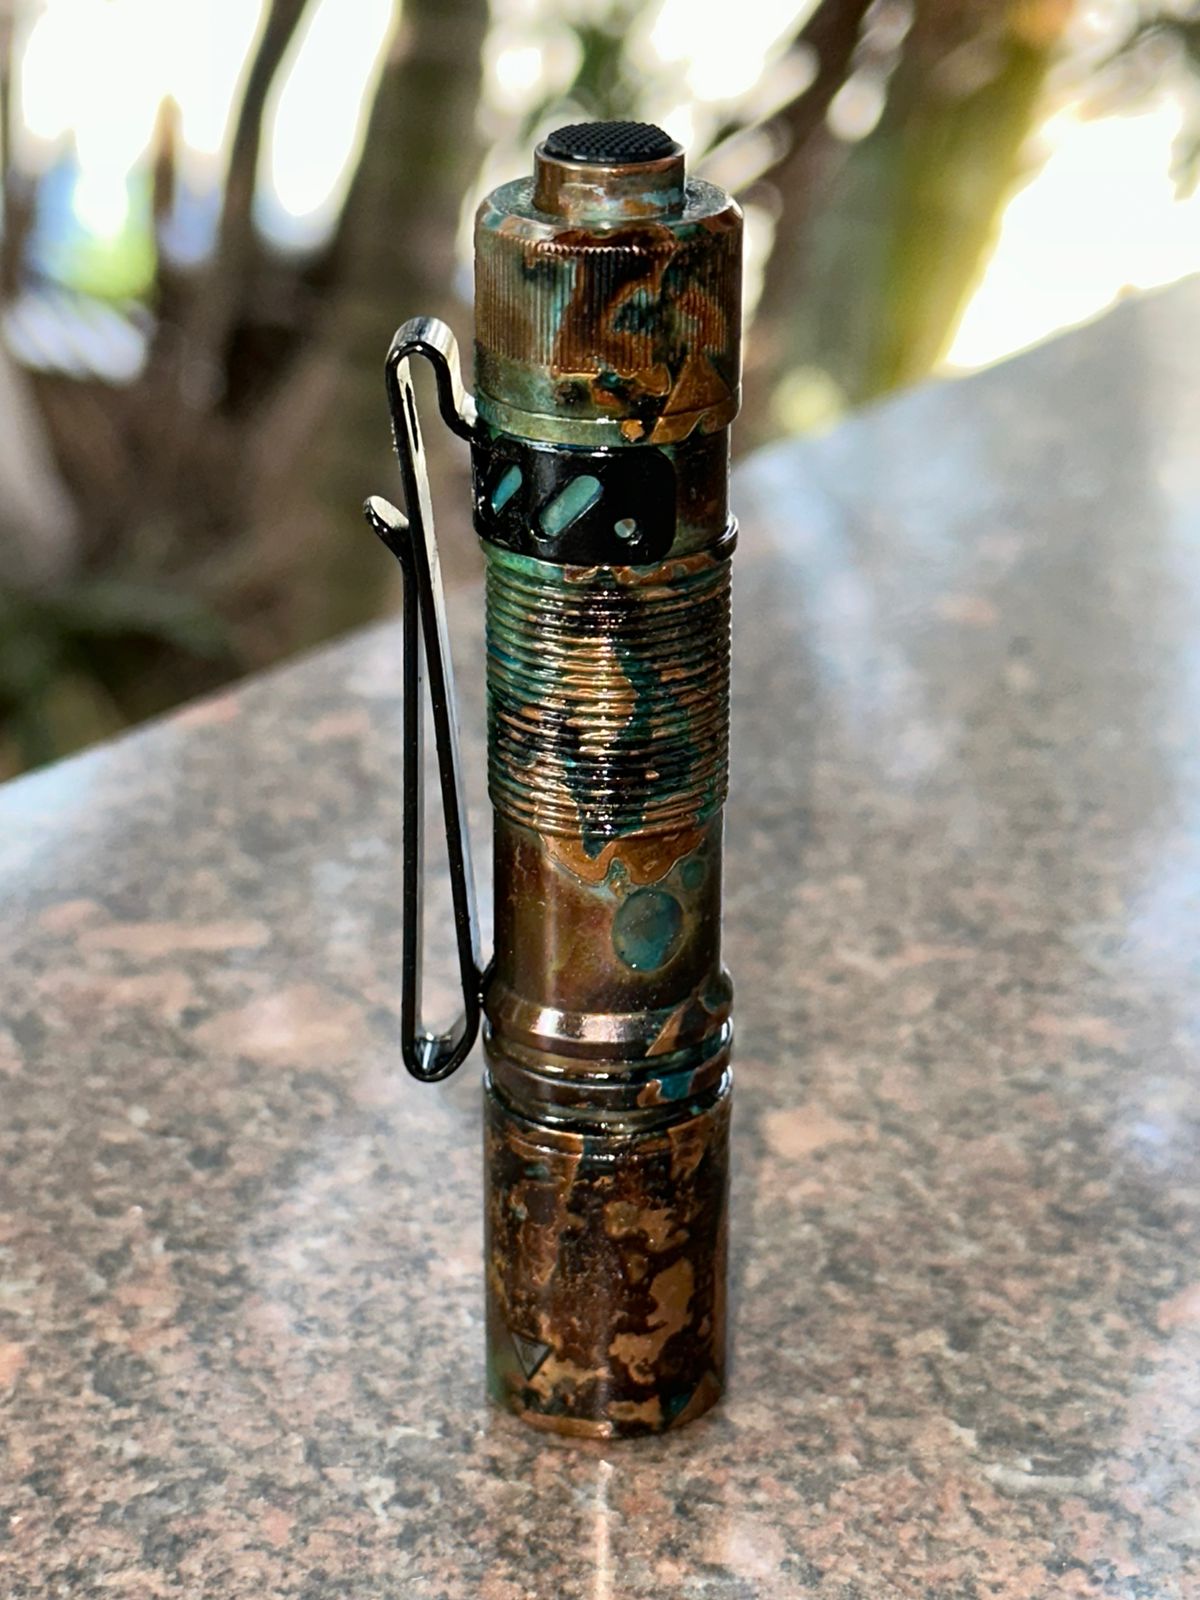
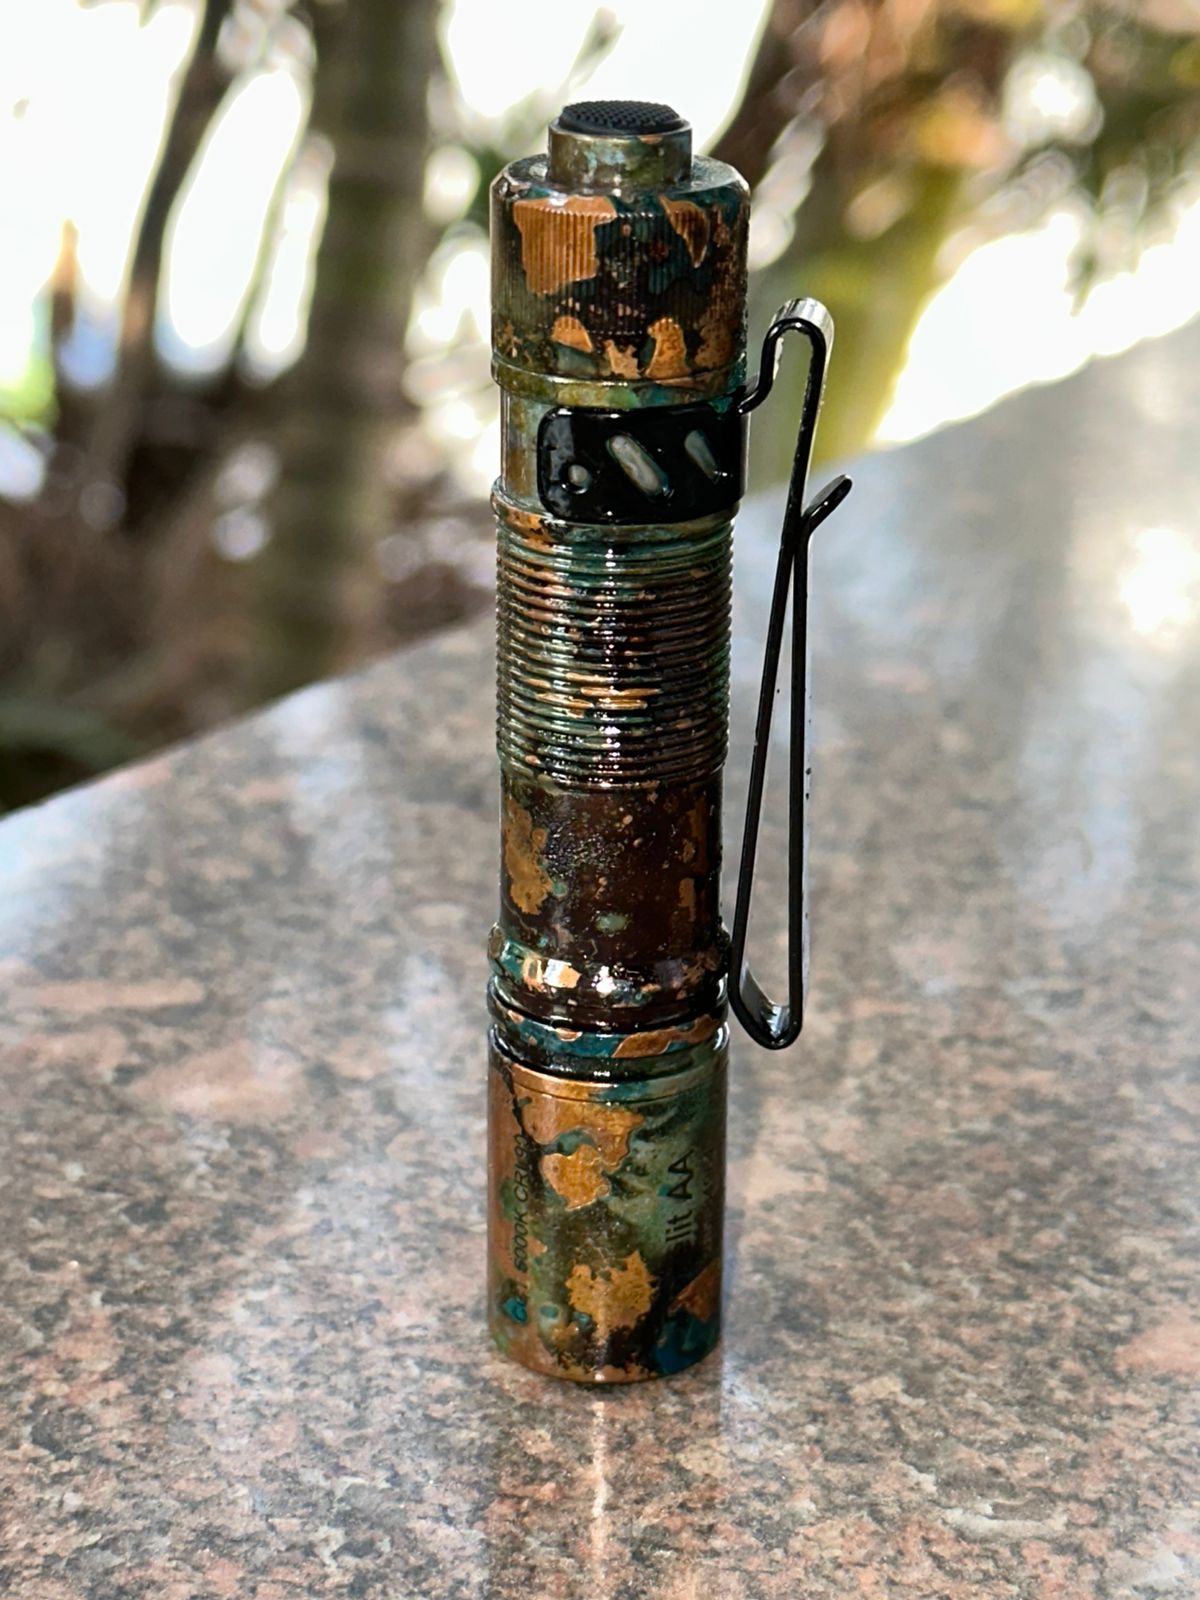
Did a little shipwreck patina on my Pokelit. My first ever! It did not end up exactly how I envisioned but for my first time doing it didn’t came out that bad! I’m happy overall.

4 Thanks
![]() Nice
Nice
wow, great shipwreck…
really good photos too, thanks for the visuals ![]()
1 Thank
Very nice forced patina.
I’m assuming that it’s coated with clear paint?
1 Thank
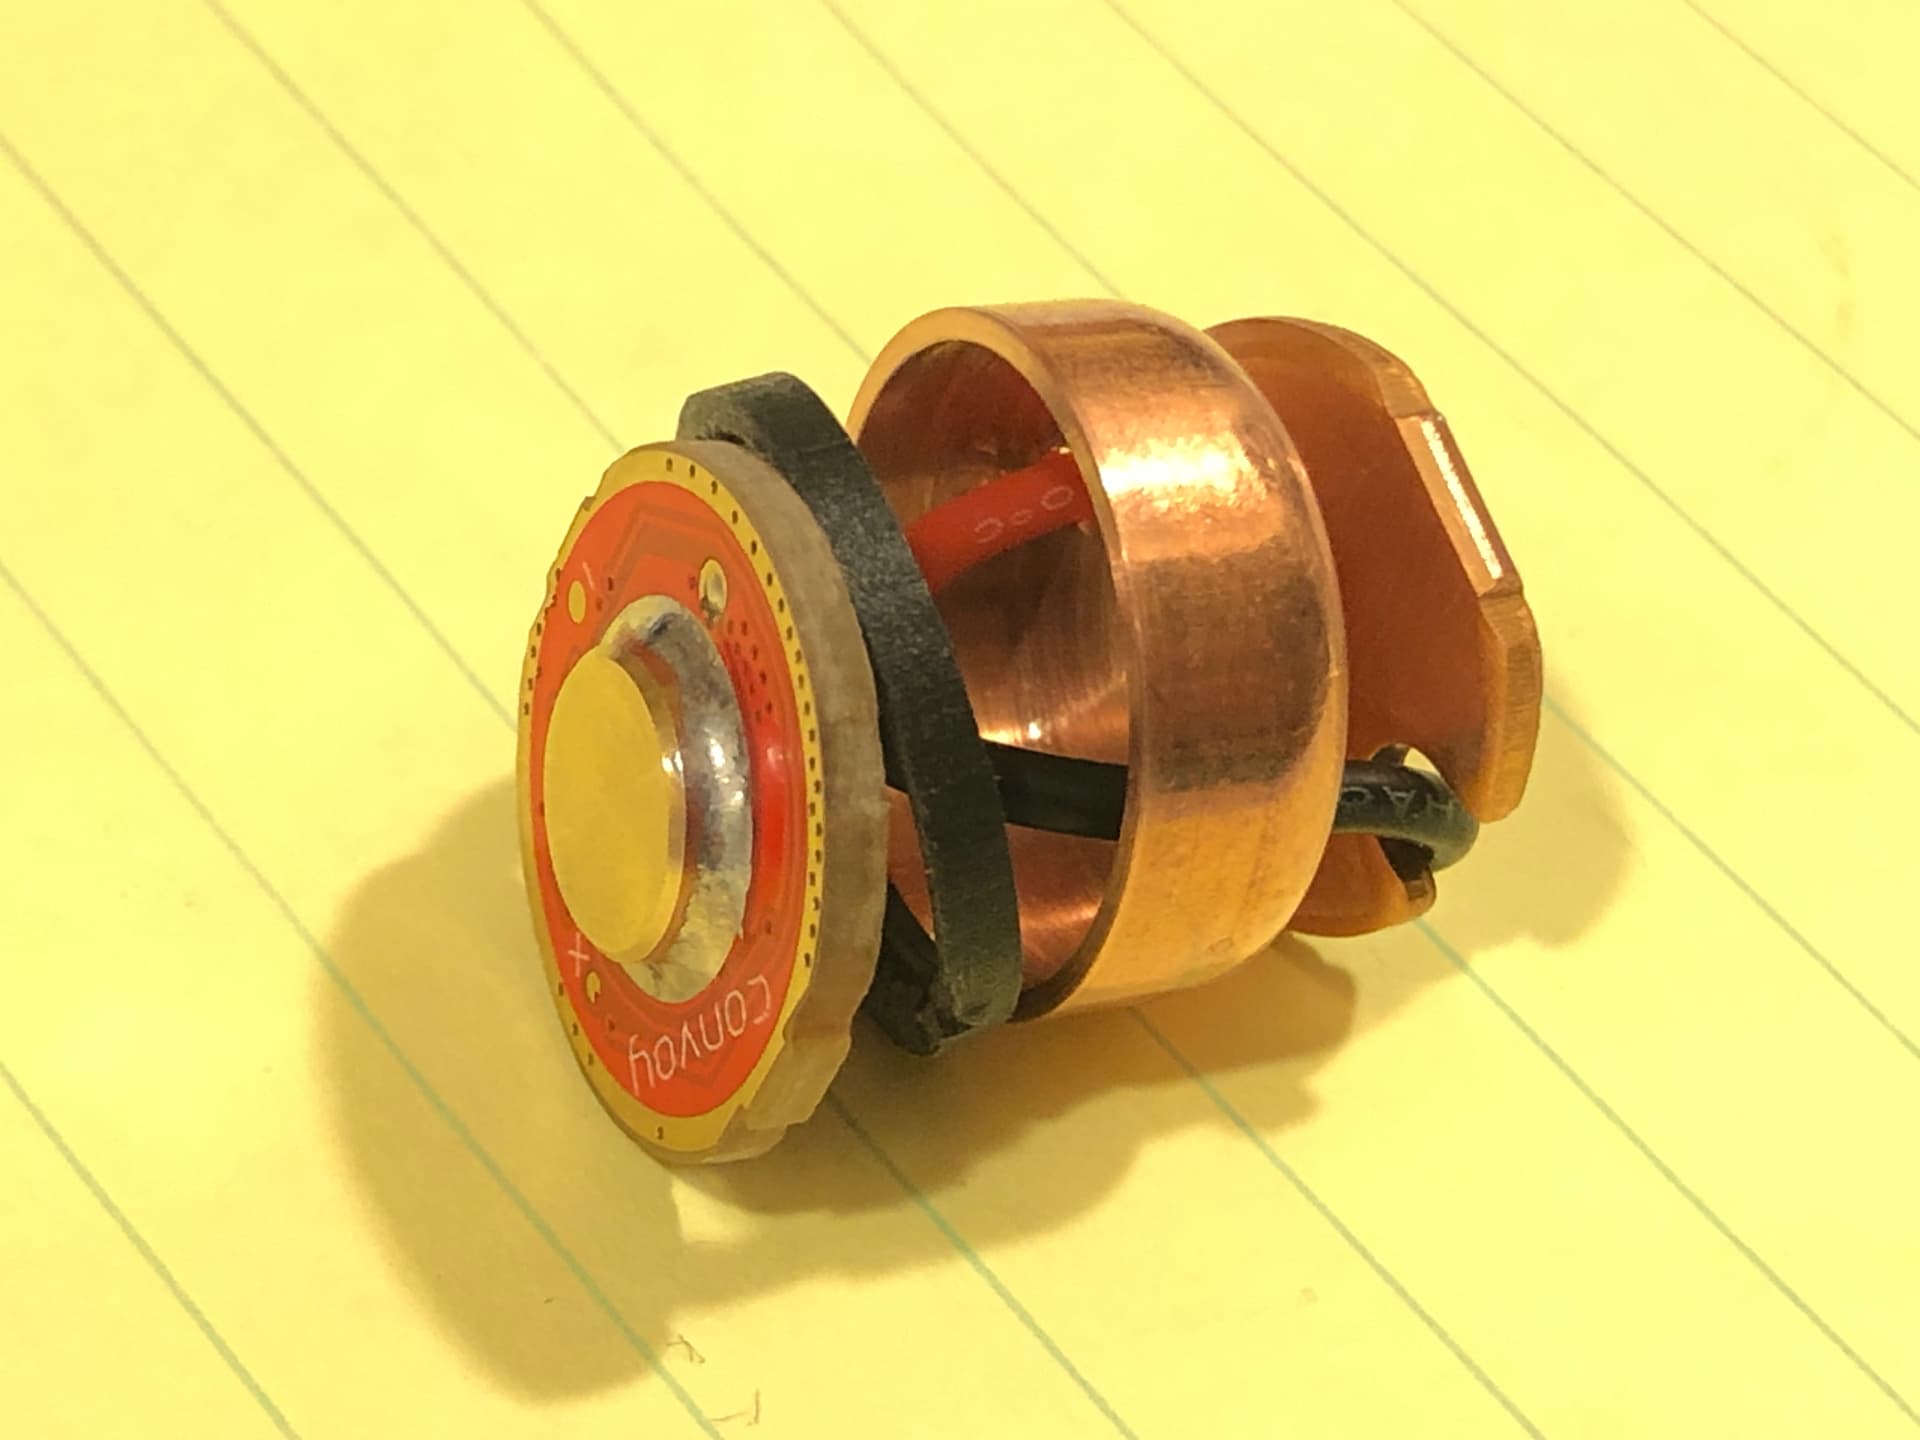
Convoy’s 17mm 6v5a driver fits nicely in an m21b with the adapter ring

Paired it with an sft70

The solder joints were a little close to touching the reflector, but I chose not to cover them with kapton tape. There was enough clearance. Still, I threw in a cheap 18650 first, just in case. But no short, all good.
But there was a bit of a donut hole and the beam was very ringy, so I took the 21700 out, adjusted the reflector a little bit, put it back in, turned it on, and…

Nothing but smoke. Spring just went- nope, I’m out lol. Major short. Clicked it right on and right off but too late. Lotssss of smoke. The resistor on the negative lead was ash. RPP fet got a little bubbly. Tragedy.
Oh well. Round 2.

Better soldering job this time. Much flatter than before

Son of a…Still ringy. No donut hole tho. Counting this as a win
4 Thanks
Nice. Was there some reason you used 17mm driver instead of 22mm? Also which way you adjusted the reflector height? Towards or away from mcpcb?
The first driver I fried in my modding adventures was due to a reflector short. Now I’ll open lights I haven’t modded in a while and be surprised to see copious amounts of tape on the underside of the reflector. Then I’ll remember - oh yeah, that’s why. RIP Wowtac A4.
No, just what I had. I thought I was going to use an m21a or c8+ for this emitter but I got bored waiting for KD and put other emitters in those hosts. But there was an m21b available.
Before it shorted? Towards. I tightened it down, that was the fatal mistake. Pushed it down into the solder. There really wasn’t enough clearance to begin with. Used too much solder. I should’ve gone back and fixed it up. And I knew that too, thought I’d push my luck anyways
Exact same thing here lol.
Hey Jon,
Just curious how difficult these were for you to mod. I would really like a modded Ti version of these lights with a Nichia emitter, I just don’t have the skill to do it. Do you do this kind of work for others for a fee?
I’m playing with XHP 50.3 and 70.3 Hi’s and they tend to have darker center on hotspot with smooth reflector. So I was curious which way it needed to be moved to negate that dark spot.
whoa. looks like natural camo. nice. have to learn about the process now.
welcome to the forum ![]()
fwiw I do not recommend Titanium Maratacs. The threads feel gritty.
The copper AAA Maratacs have much nicer threads, they feel buttery smooth.
You can order a modded AAA Copper Maratac from Skylumen.
I suggest you ask for his price with the stock AAA driver
(unless his LiIon driver interests you),
and specify which LED Color Temperature you are looking for. (and whether you want Nichia 219b or 519a domed or dedomed)
I have OP reflector from Convoy in M21B and I don’t see darker spot in the center with XHP70 and SF55.2
Thank you for the info! I didn’t realize that he sold them pre-modded, I’ll send him an email.
That’s great that it will take a 519a, id love one of those in this light.
1 Thank
Exactly. The patina is very superficial after just 8 hours in the container. Just holding it some of it rubbed off. So two coats of automotive clear coat to seal it.
It looks very pretty but it comes at the cost of feel in the hand.
The bare copper feels much nicer in the hand if you don’t mind the smell.
Oh, ya I have no idea. I just fiddle with everything until something works. Got lucky with this one. Usually I just have to go to an OP reflector.
Over the last couple of years I’ve modified some cheapo AA flashlights into 14500s. I got two 4 packs of them a long time ago.
I start with removing the guts from the flashlight and then putting it into a makeshift lathe to smooth out the edges and transform it into something nice.


Then making a driver retaining ring since the original is press fit and unusable. The grooves in the head are shallow so screwing on the custom ring can be challenging.


I use a 1/2" copper plumbing cap for the pill by shortening it, drilling 2 holes, and sanding the top to make it flat. I slice off part of the original plastic pill to make a spacer between the pill and driver. If I don’t shorten the cap enough, the head won’t screw all the way onto the body with the flat top battery inserted.

For the last 3 flashlights I used a 17mm Convoy SST40 driver and replaced the sense resistor to cut the current in half. Then set it to mode 8 to further decrease the current to around 1.25 amps. I also replace the spring with a brass button.


For the tail I use a green Convoy lighted switch (reduced to around 0.07mA) and cut the spring in half. I also make custom washers to put between the Kaidomain clear switch cover and the tail in order to allow tail standing, and between the body and switch to make contact when the tail is screwed on.


Here’s the progression of them over the years. Left is the stock flashlight, and then how I minimally lathed the first one to the last one (so far) on the right. They have 219B and 519A (sliced and DD) LEDs.

10 Thanks
Very nicely done. ![]()
1 Thank