The coating is so delicate eh? I used a cotton buffing ball on one to try and clean up a little scuff I made. It’s a thing they use for polishing watch faces and jewelry. Huge mistake. Instantly destroyed lol
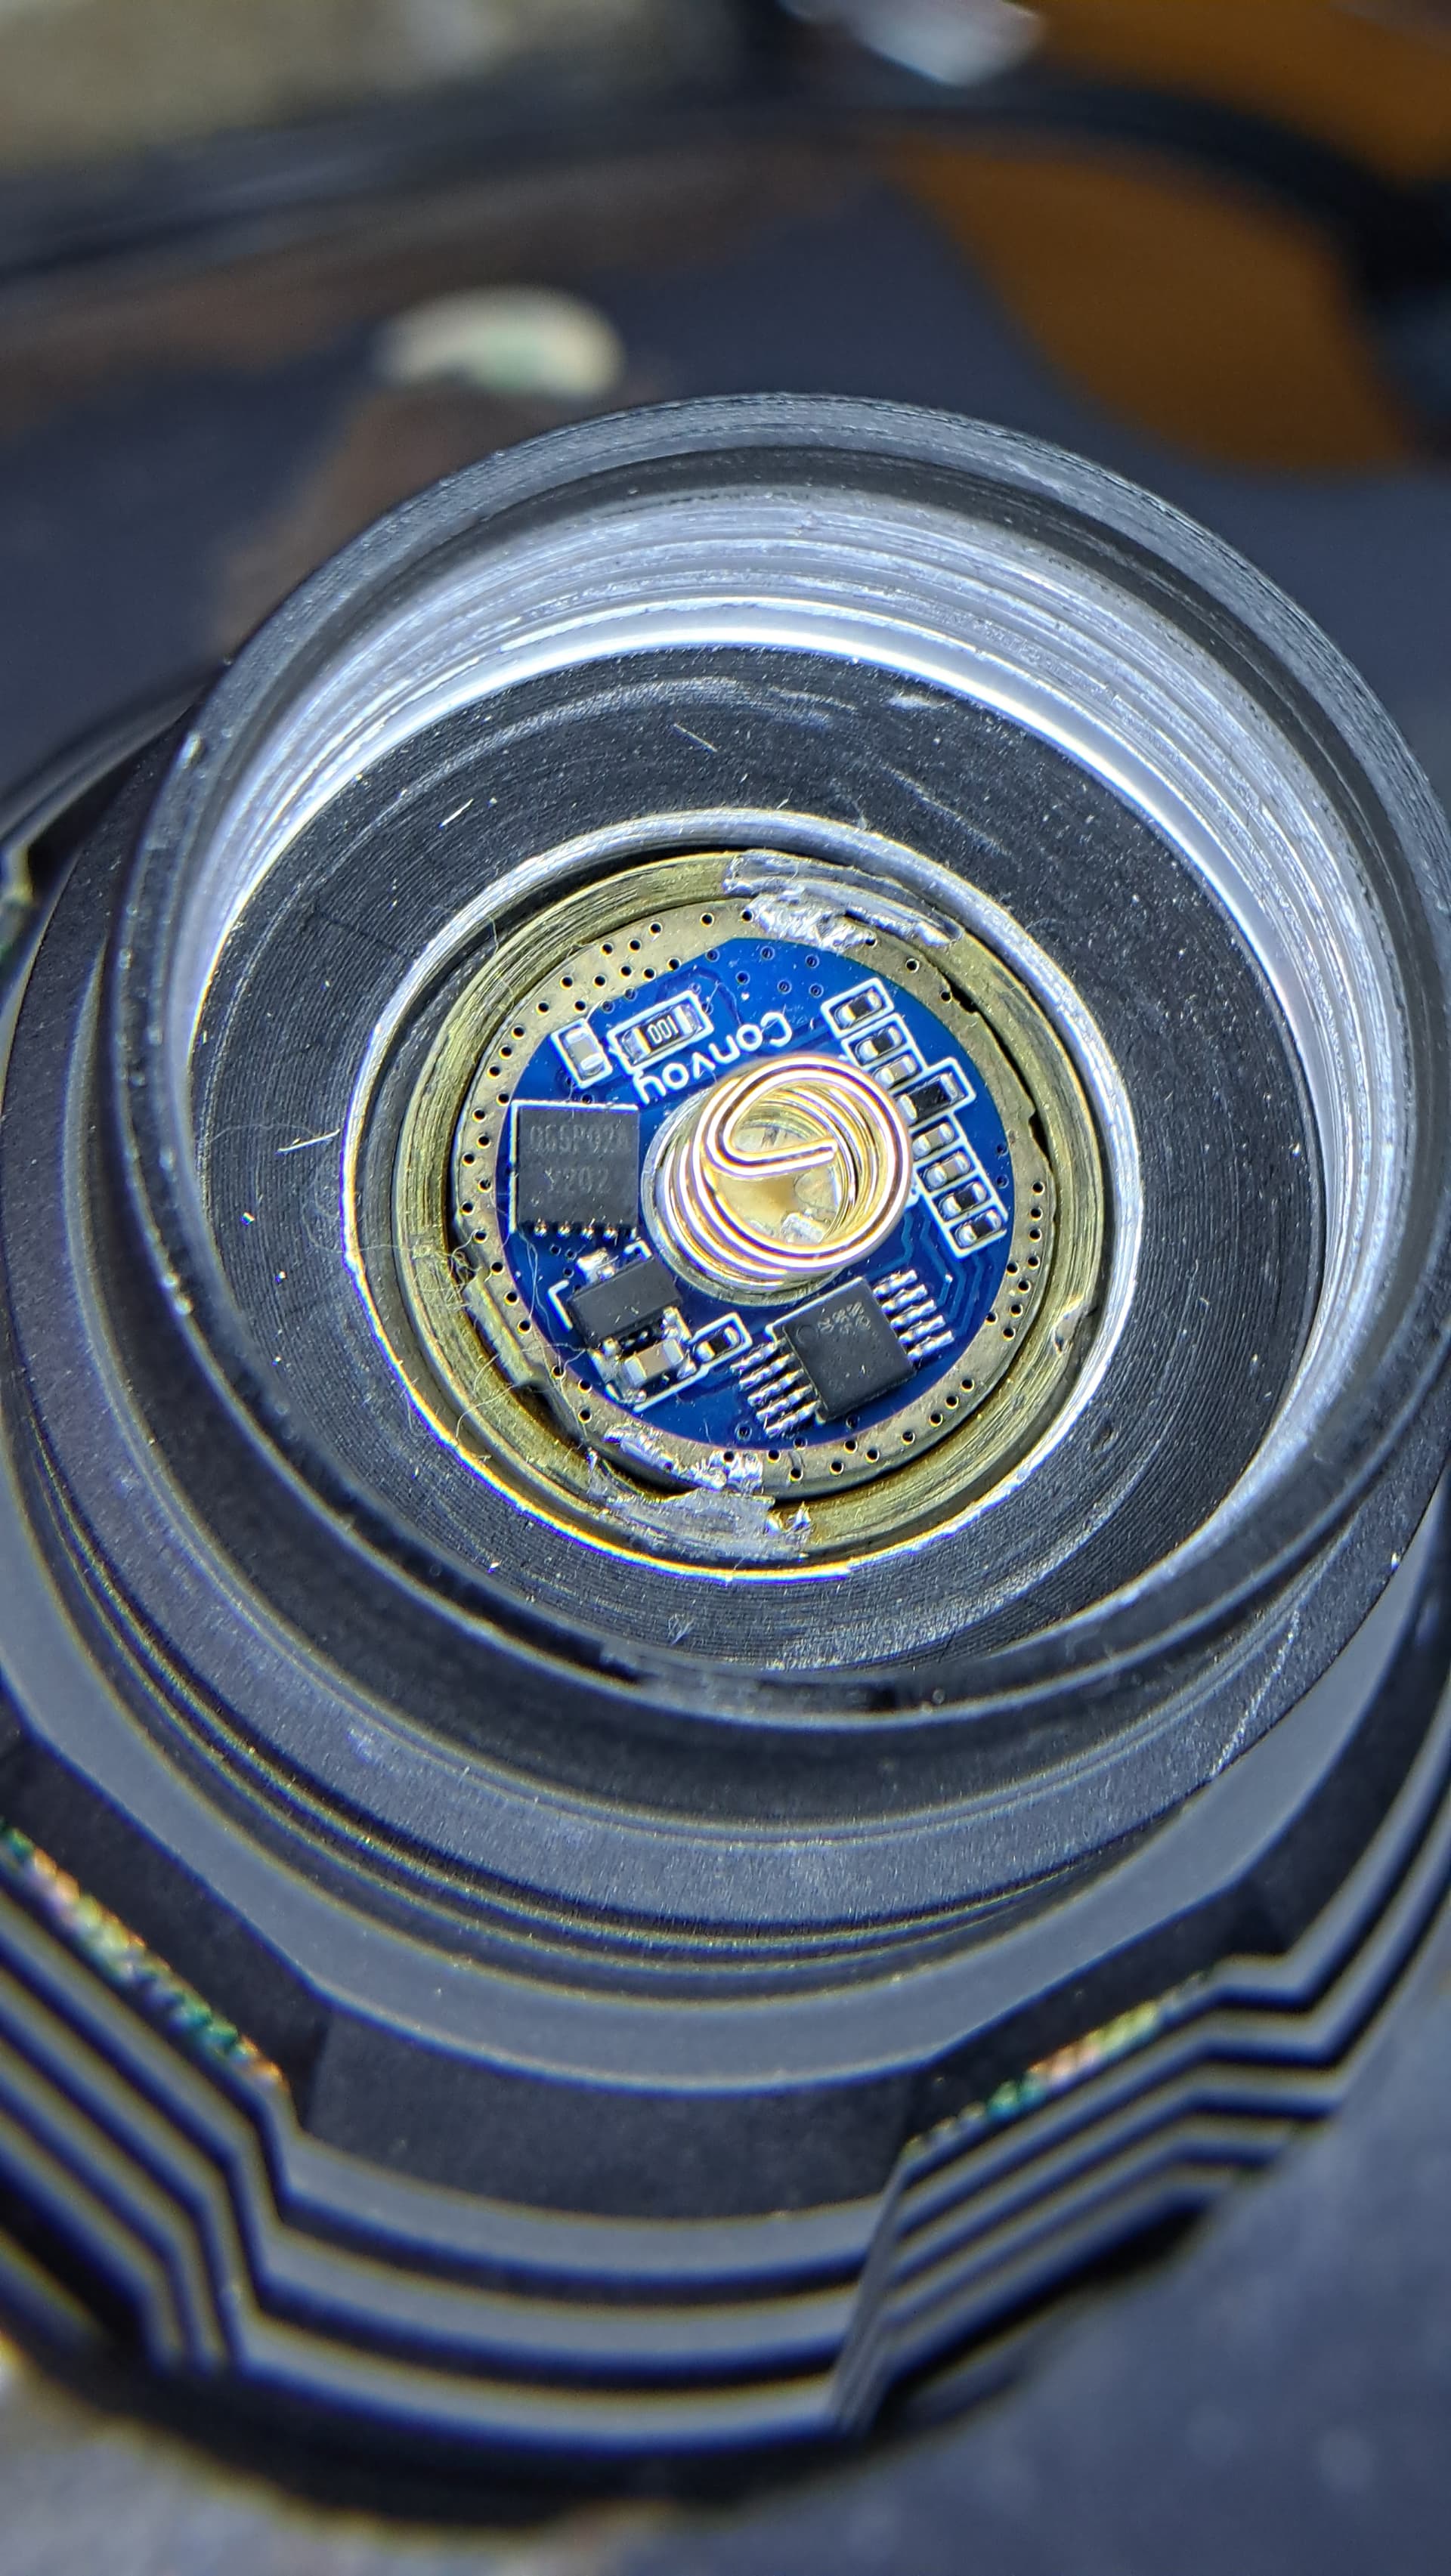
The more annoying upgrade(?) in a long time! Added a PM1 and Convoy 8A buck driver to my throwiest light.
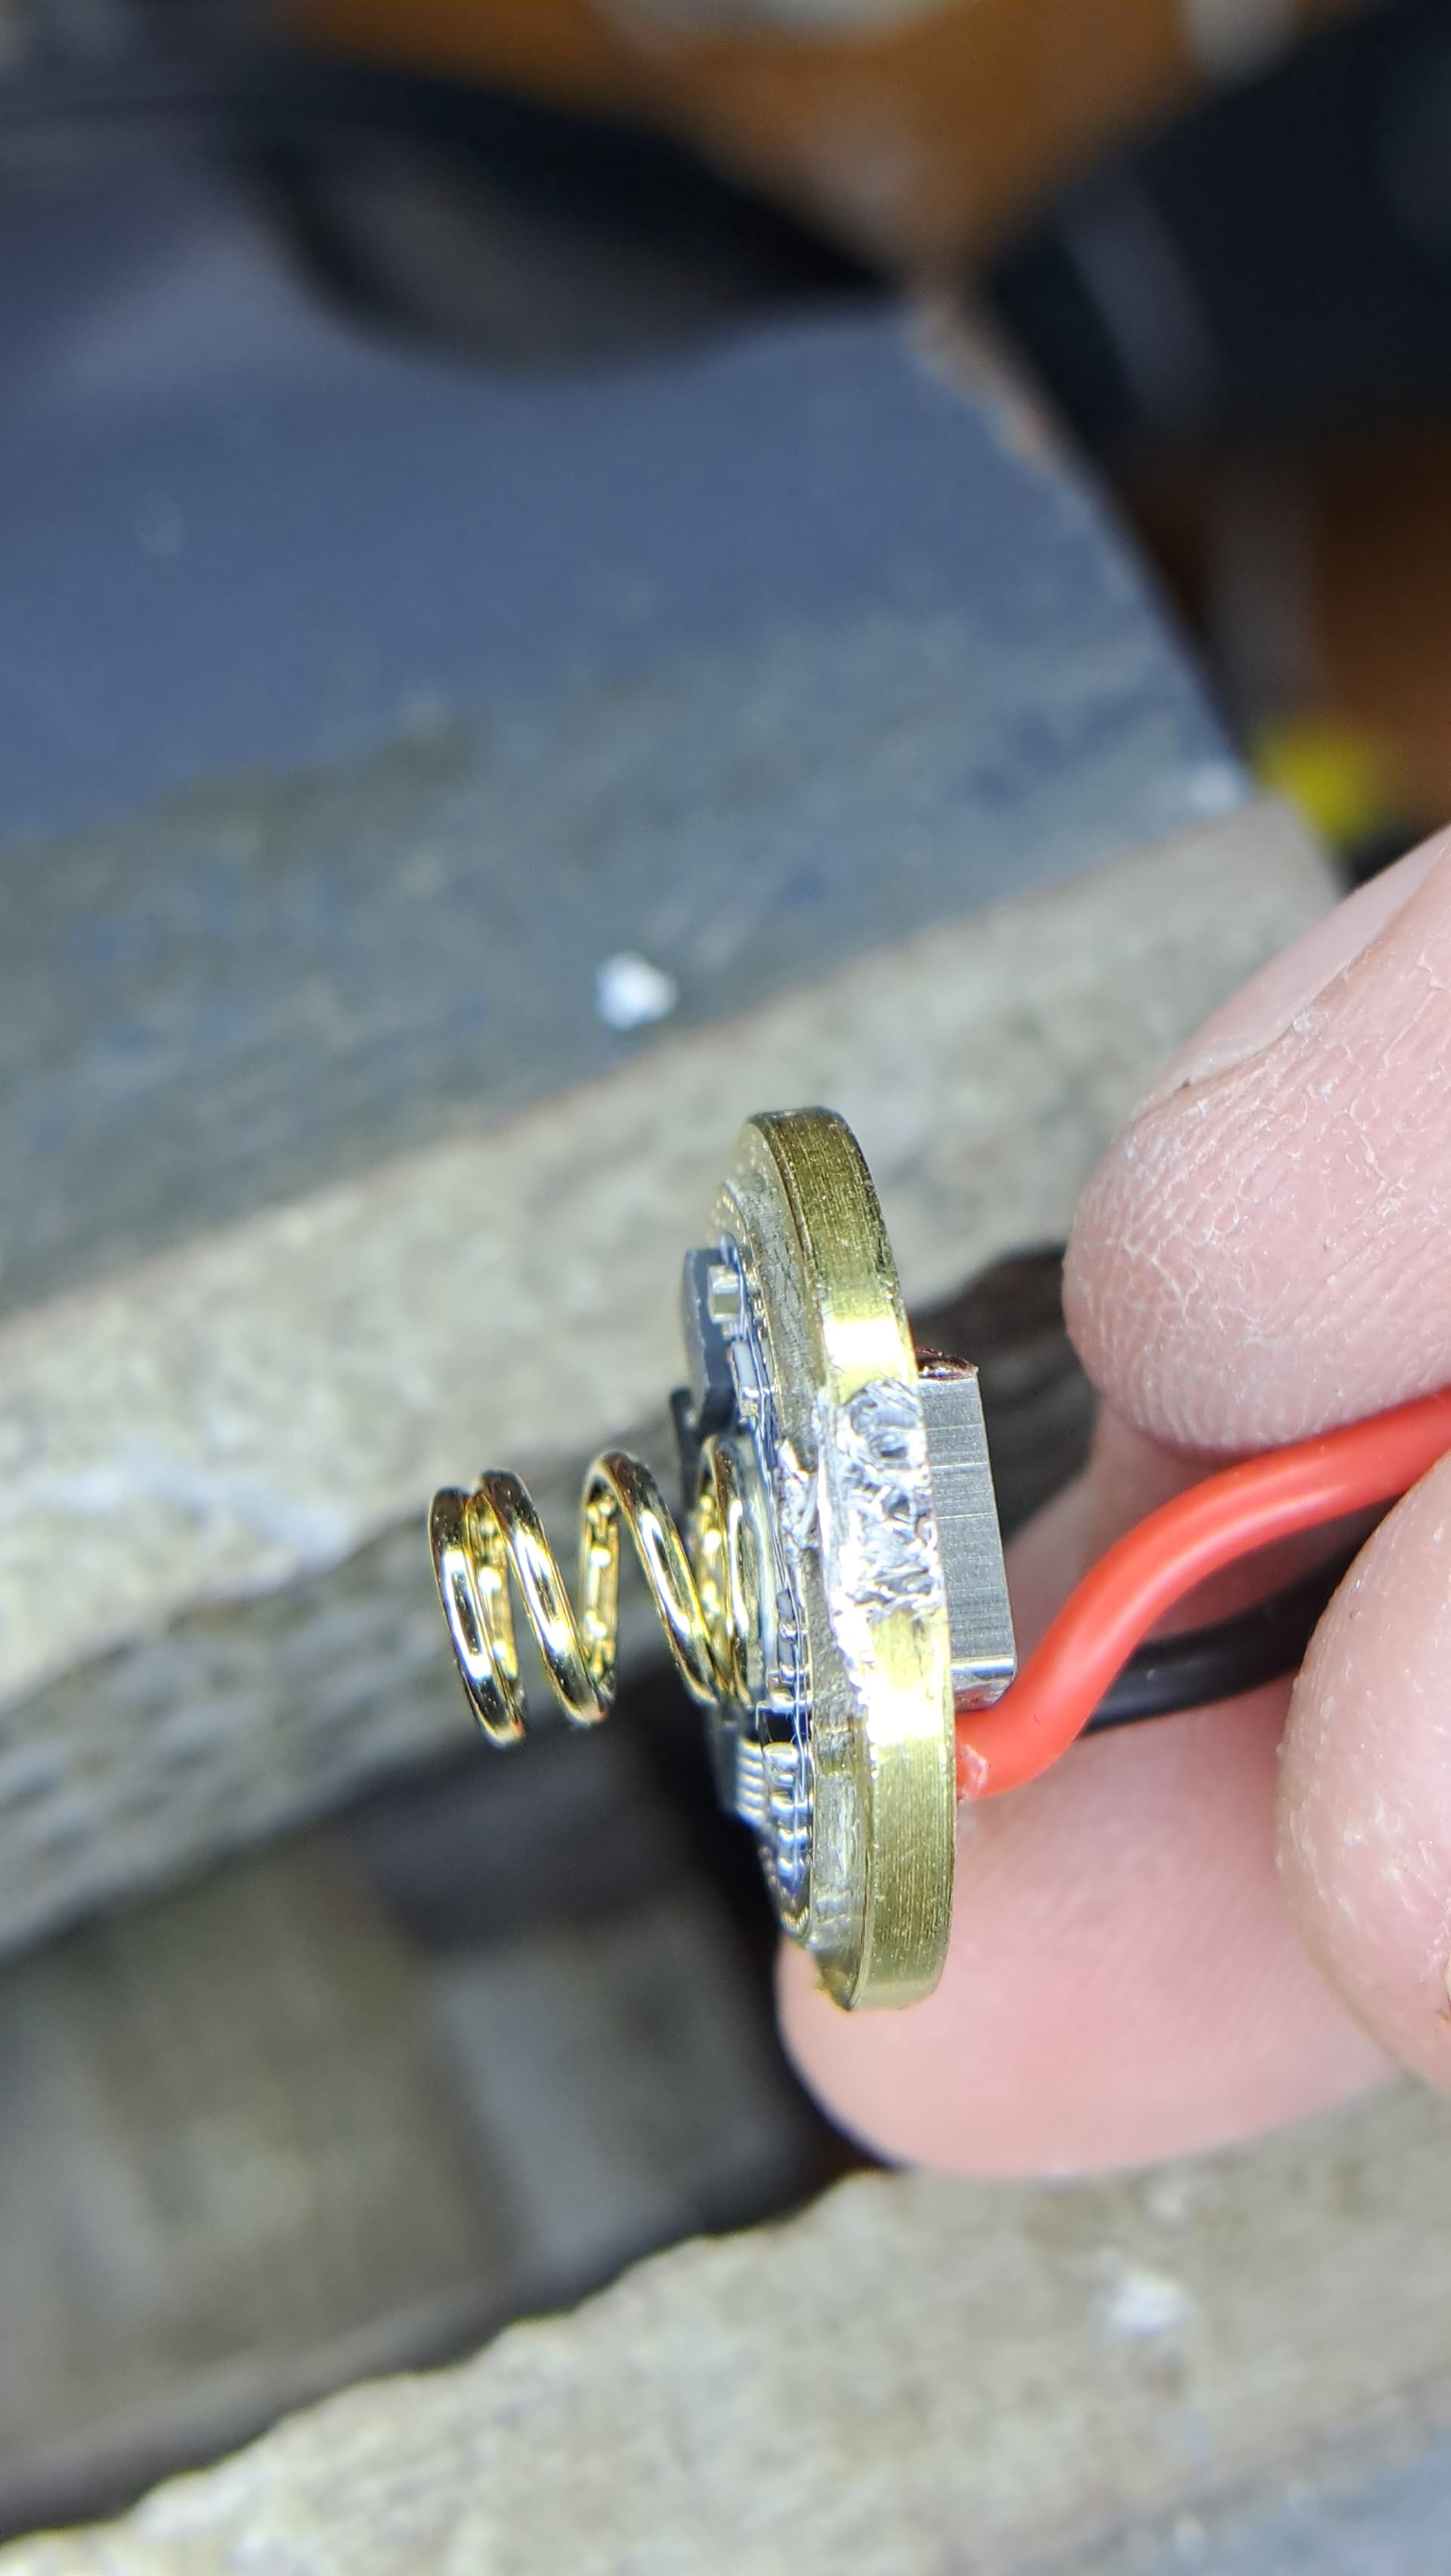
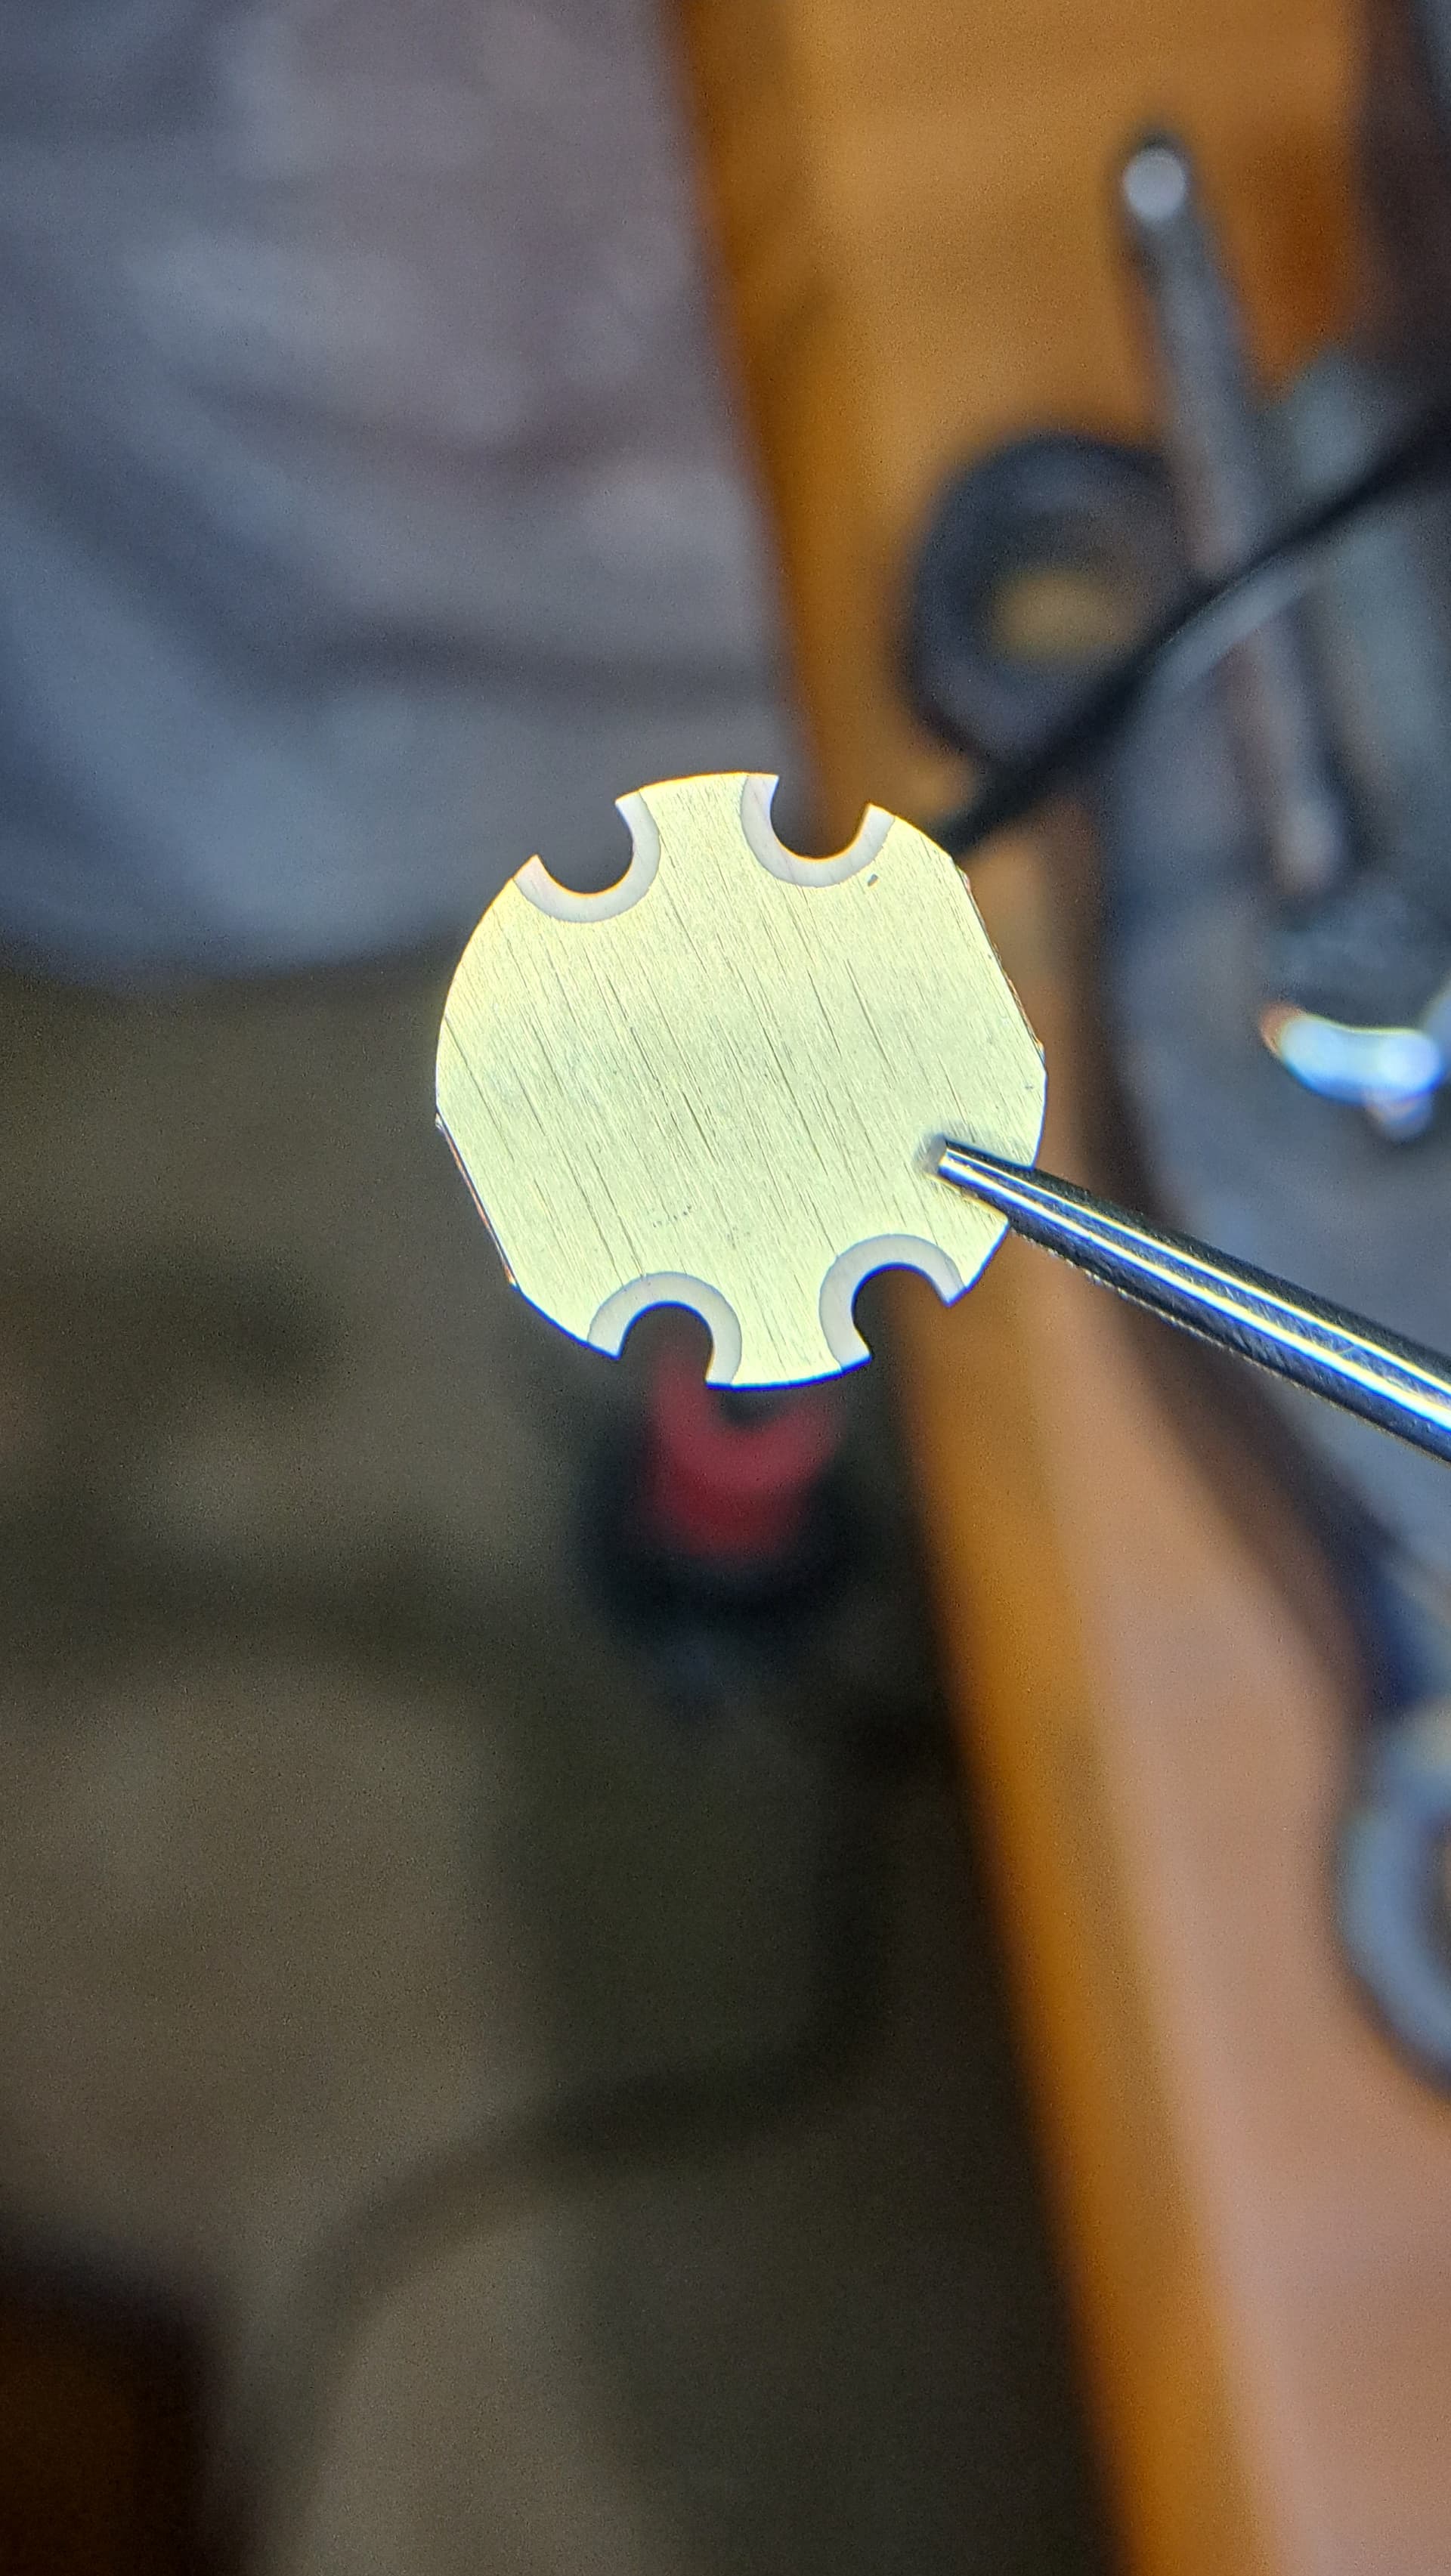
The retaining ring didn’t fit over the 17mm to 20mm adapter with the tiny amount of solder used to attach the driver. At least I had a butane torch to heat the brass ring for pre-soldering. The inserted battery is enough to maintain the ground to the host. I can measure over 7.3A on a Molicel 21700 but it’s difficult to get up to 6A on anything else.
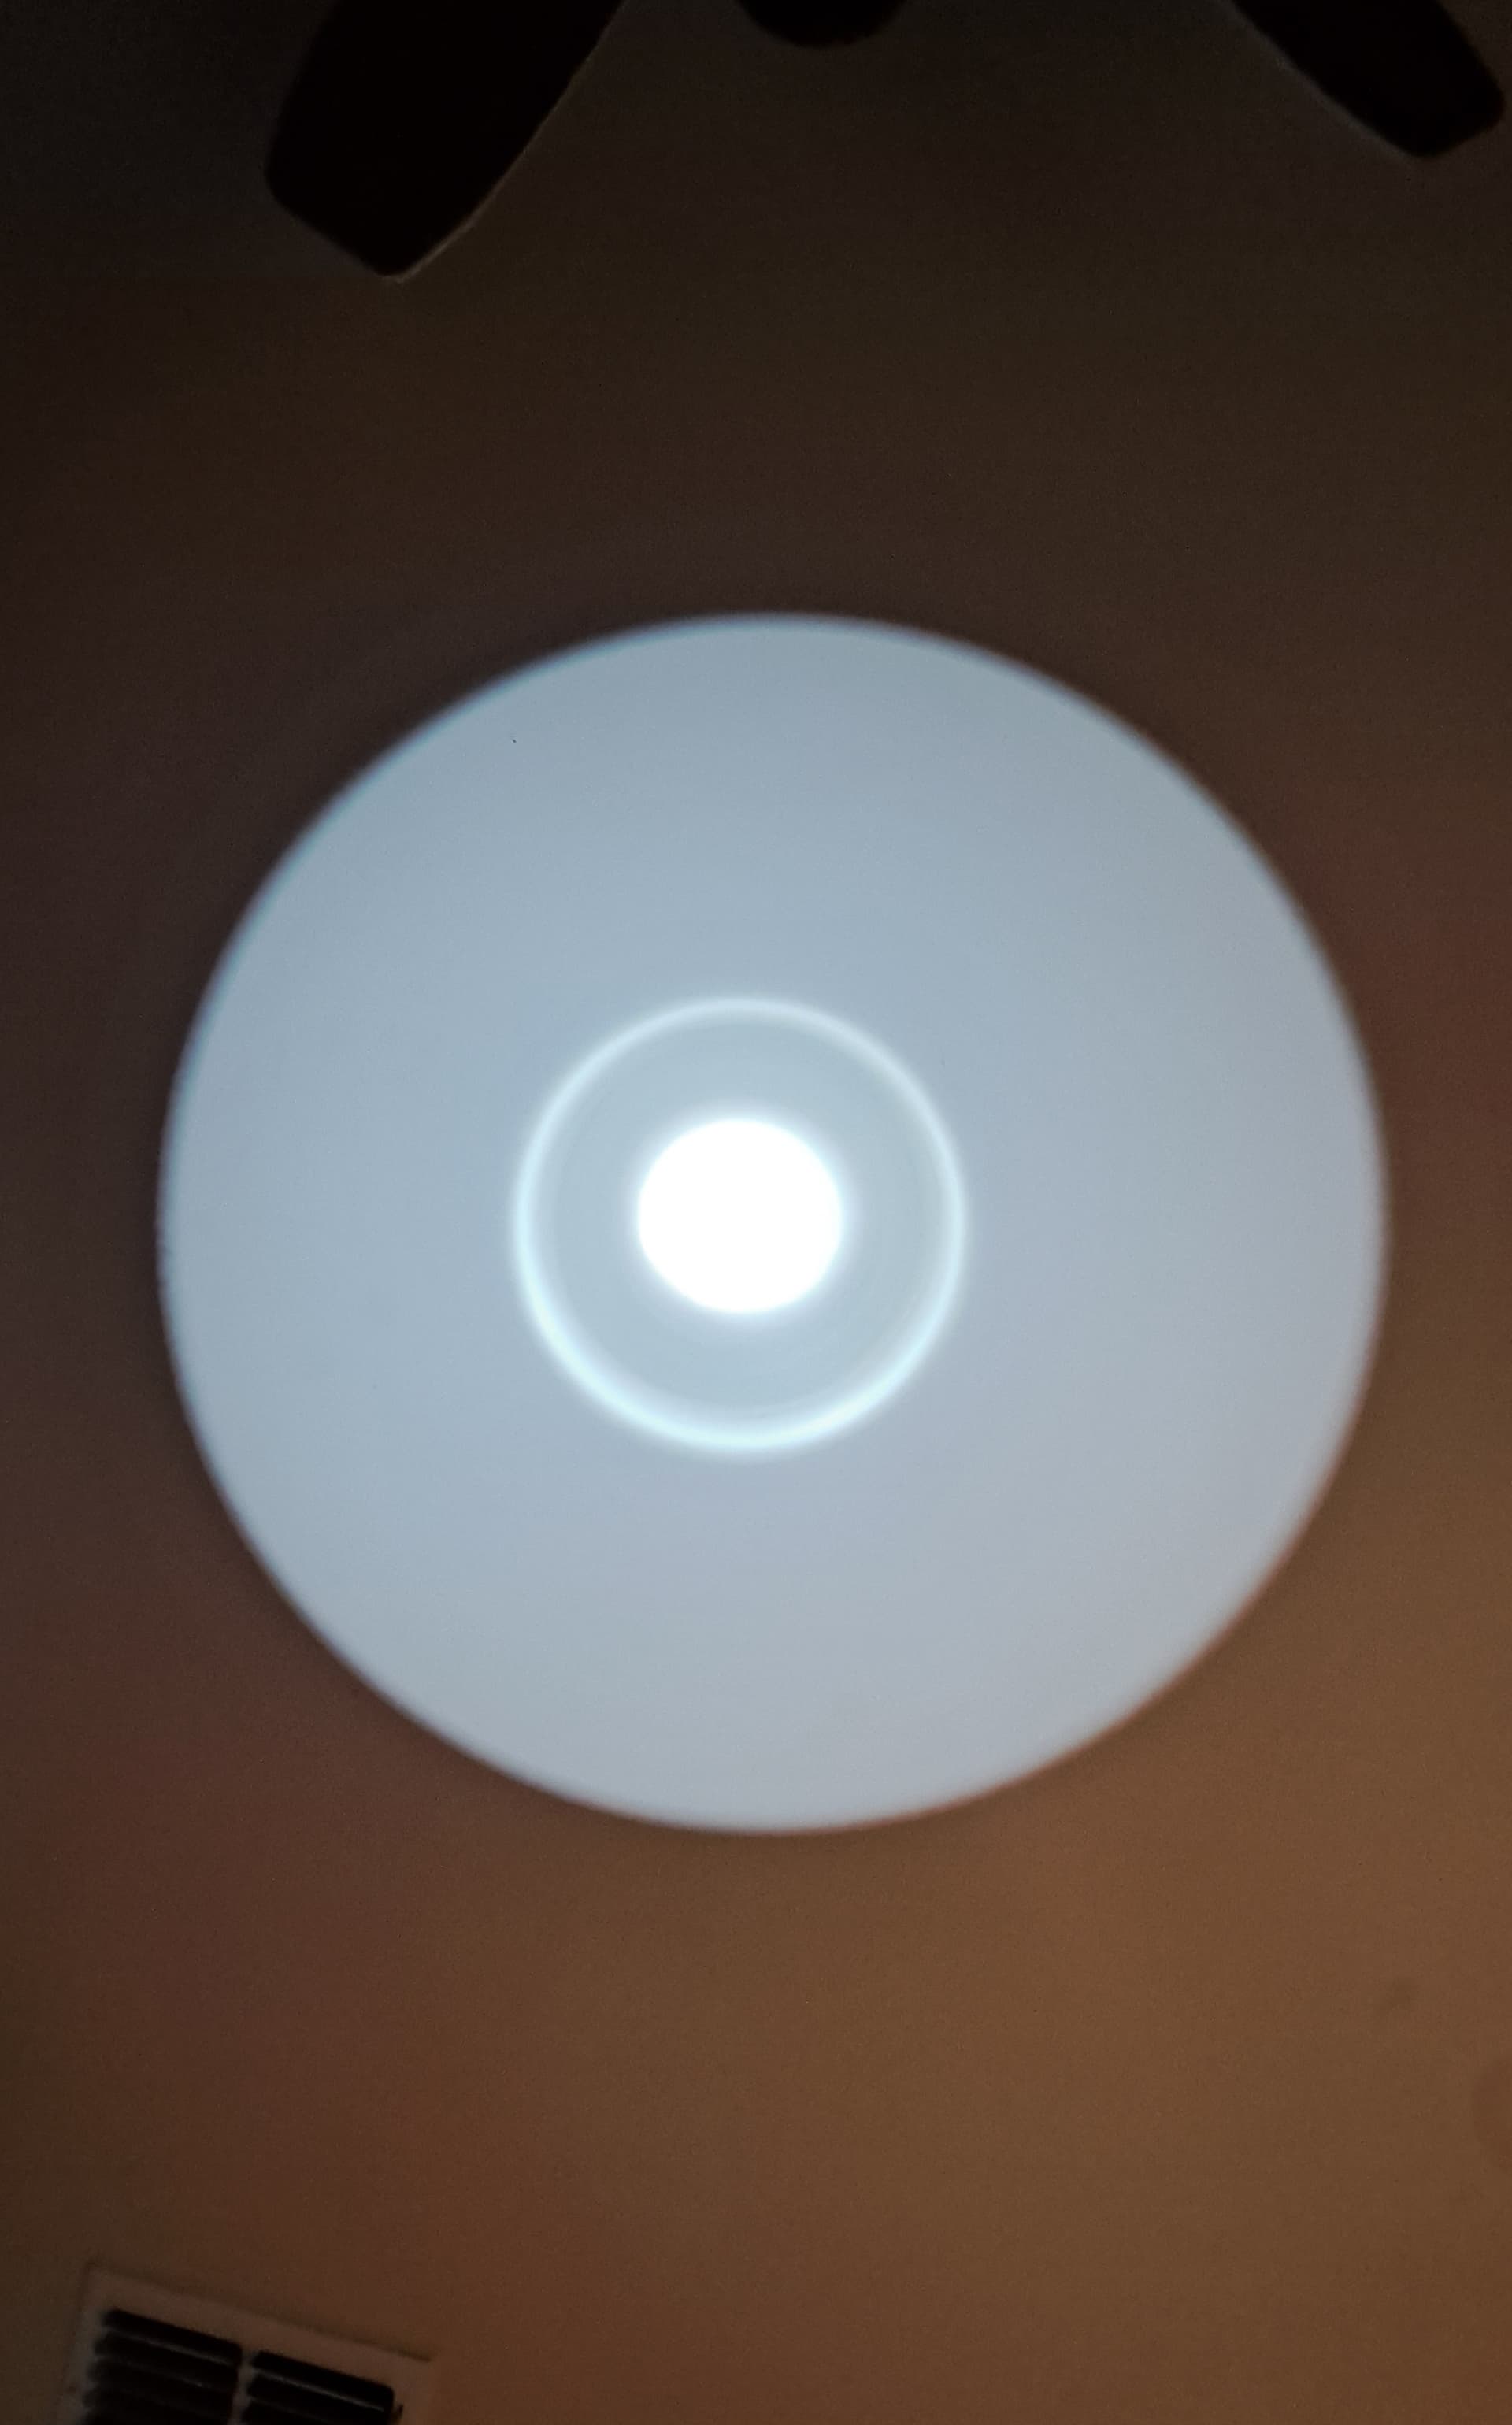
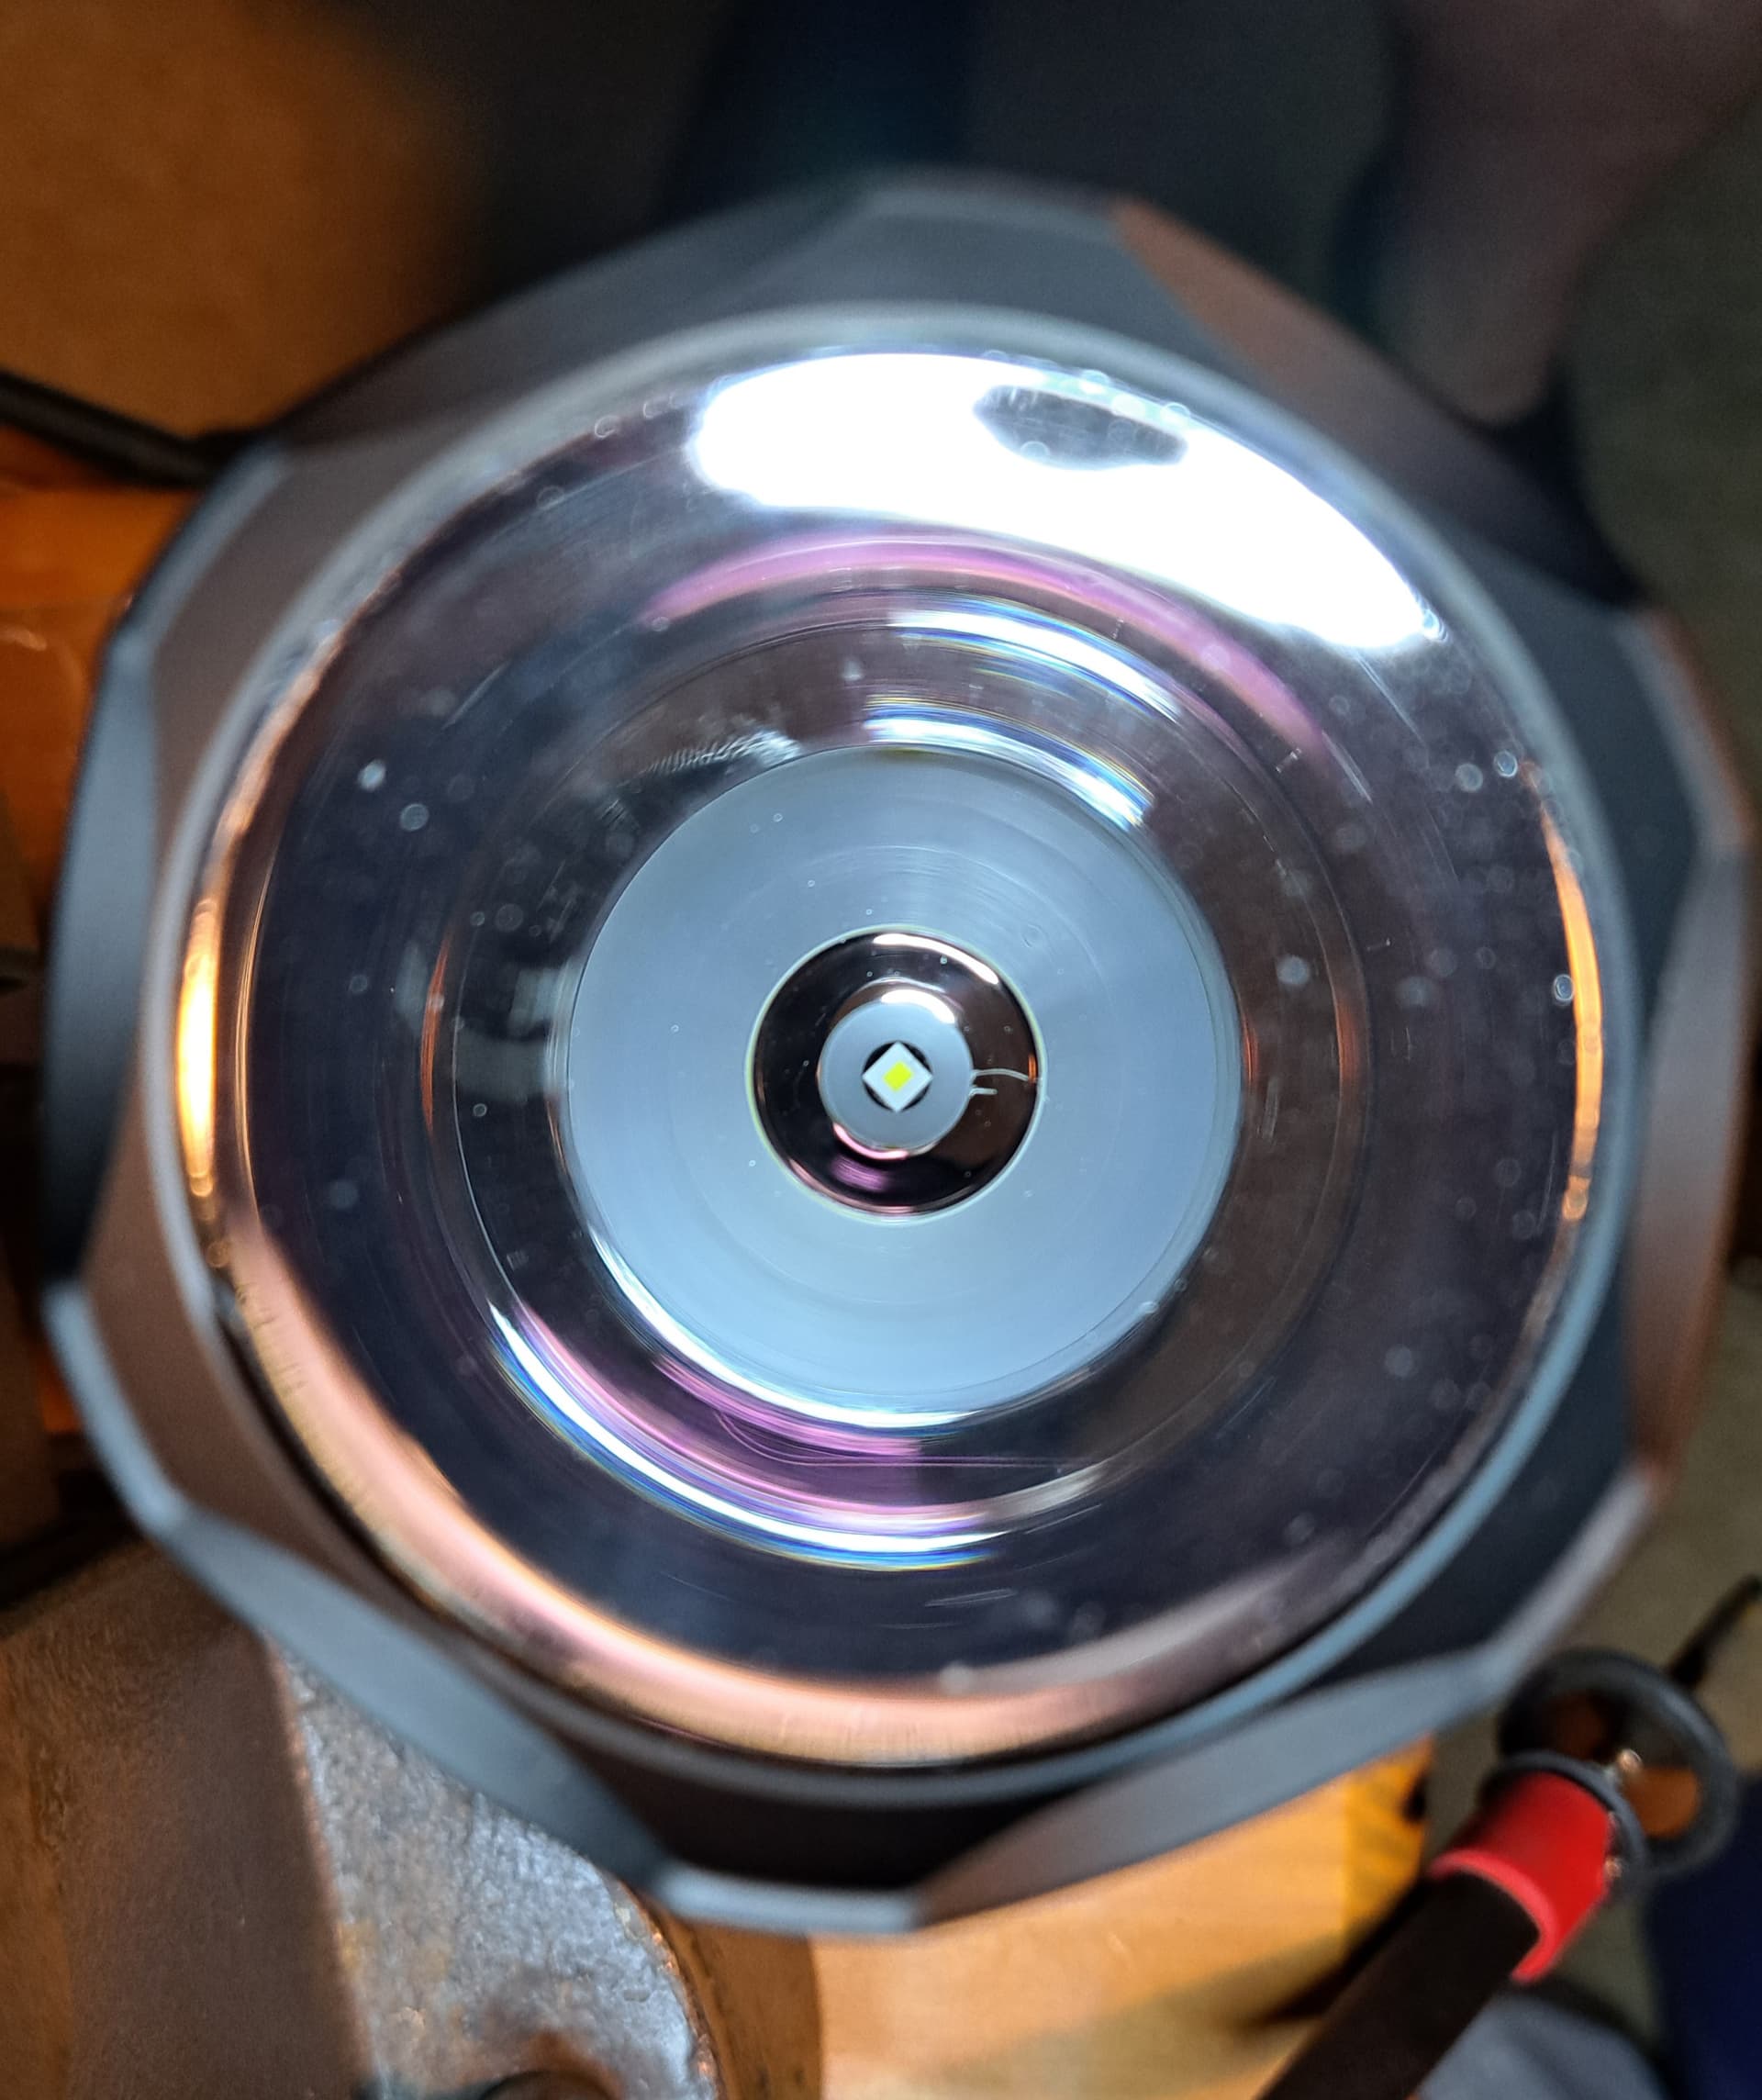
This PM1 is ringy in the L2 but outside, it’s ok.
The MCPCB from Kaidomain was something different with built-in insulation…
2 Thanks
Do you need the solder? If you have the adapter? Should be ok without it, no?
Sanding down the gasket, if you can, should help with the ring I think
1 Thank
It’d be nice if I didn’t. The come-with retaining ring (which has a lot of wear) will hold the adapter but the driver slips through necessitating the solder between the ring and driver. I tried a few other adapters but they don’t fit the threads. I suppose I wound up with the same scenario of the driver just ‘floating’.
I’ll see if RMM has any extra retaining rings or ask Simon for the same. Perhaps I’ll just order a 20mm bucker.
I’m having trouble picturing this. You have two pieces with the adapter, right? And you have the driver between them like a sandwich?
Oh, is it just the wrong size adapter? Like a 20mm to 22mm? I don’t know what size driver the L2 uses
I usually hit the reflector on the table, full force, like if i was trying to destroy it, and the dust comes off of the reflector surface. When it’s something that got stuck on the reflector coating, like fog or oil, i spill detergent, then i rinse it, then i repeat this cycle until the reflector is clean, and to dry the reflector i use compressed air. Nothing remotely solid shall ever touch the reflector surface.
1 Thank
The L2 fits a 20mm driver. A 17mm driver sits in the adapter which sits in the host driver pocket rim. When I place the threaded retaining ring over the adapter, the driver, if not soldered or friction fitted, is free floating because the retaining ring has a larger ID. I should have just put it altogether without soldering the driver to the adapter.
I treat my glasses the same way. Learned it from reading Costa Del Mar’s lens care instructions. I will never use a cleaning cloth again. I have foaming dispensers that have simple dish soap. I apply the foam, gently rub with my fingers and rinse with, if available, filtered water and then use a air hand dryer. I haven’t had a scratch in over a year.
Ok I think I understand what you’re saying. I don’t understand why the new retaining ring that came with the adapter would have too large an ID though. Unless you were sent the wrong one. You got two pieces with the adapter, right? The washer it sits on and the new retaining ring with a smaller ID?
OHHH, you have to use the original retaining ring because the threads didn’t match up with the one that came with the adapter. I didn’t see that before. Ok. I understand now.
Thanks, ya normally I wouldn’t, but sadly something solid had already accidentally touched the surface (impatience) but it was just a little scuff, barely noticeable…then the buffing ball just absolutely wrecked the entire thing instantly lmao
1 Thank
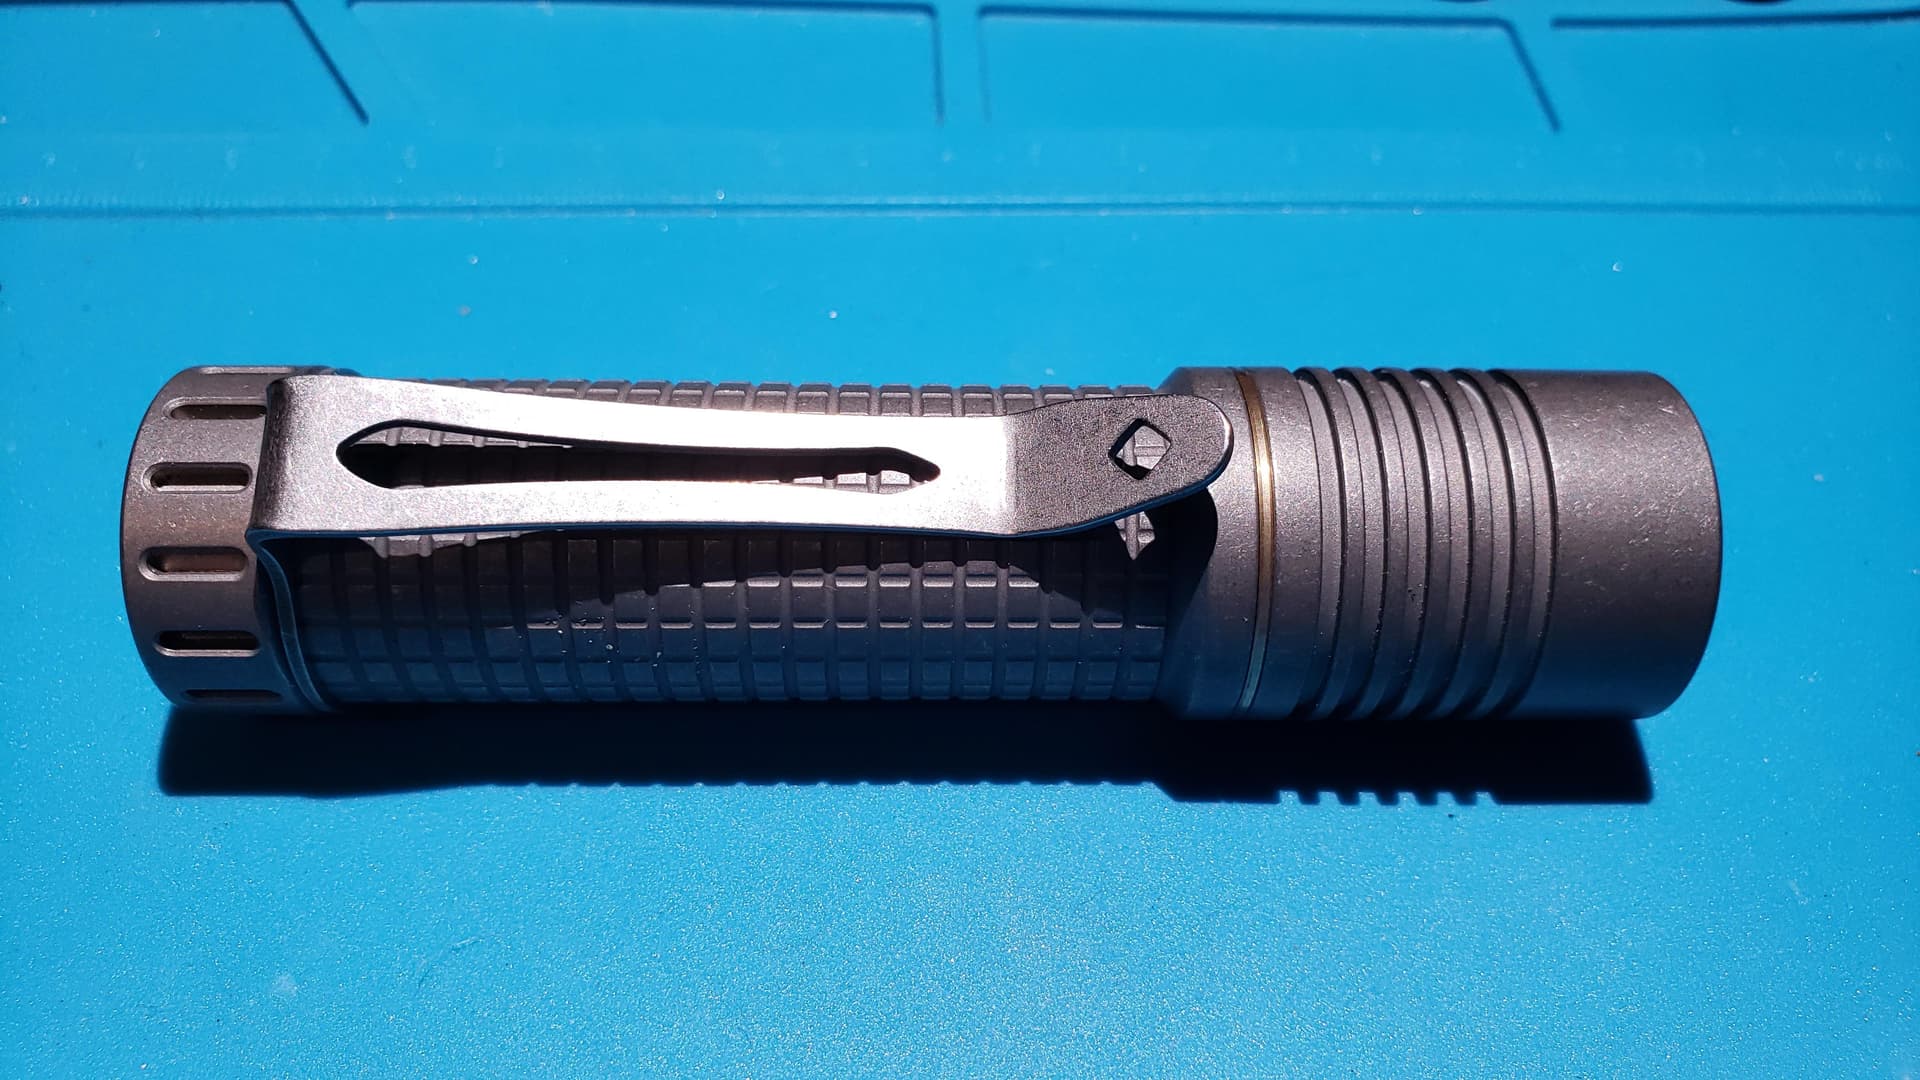
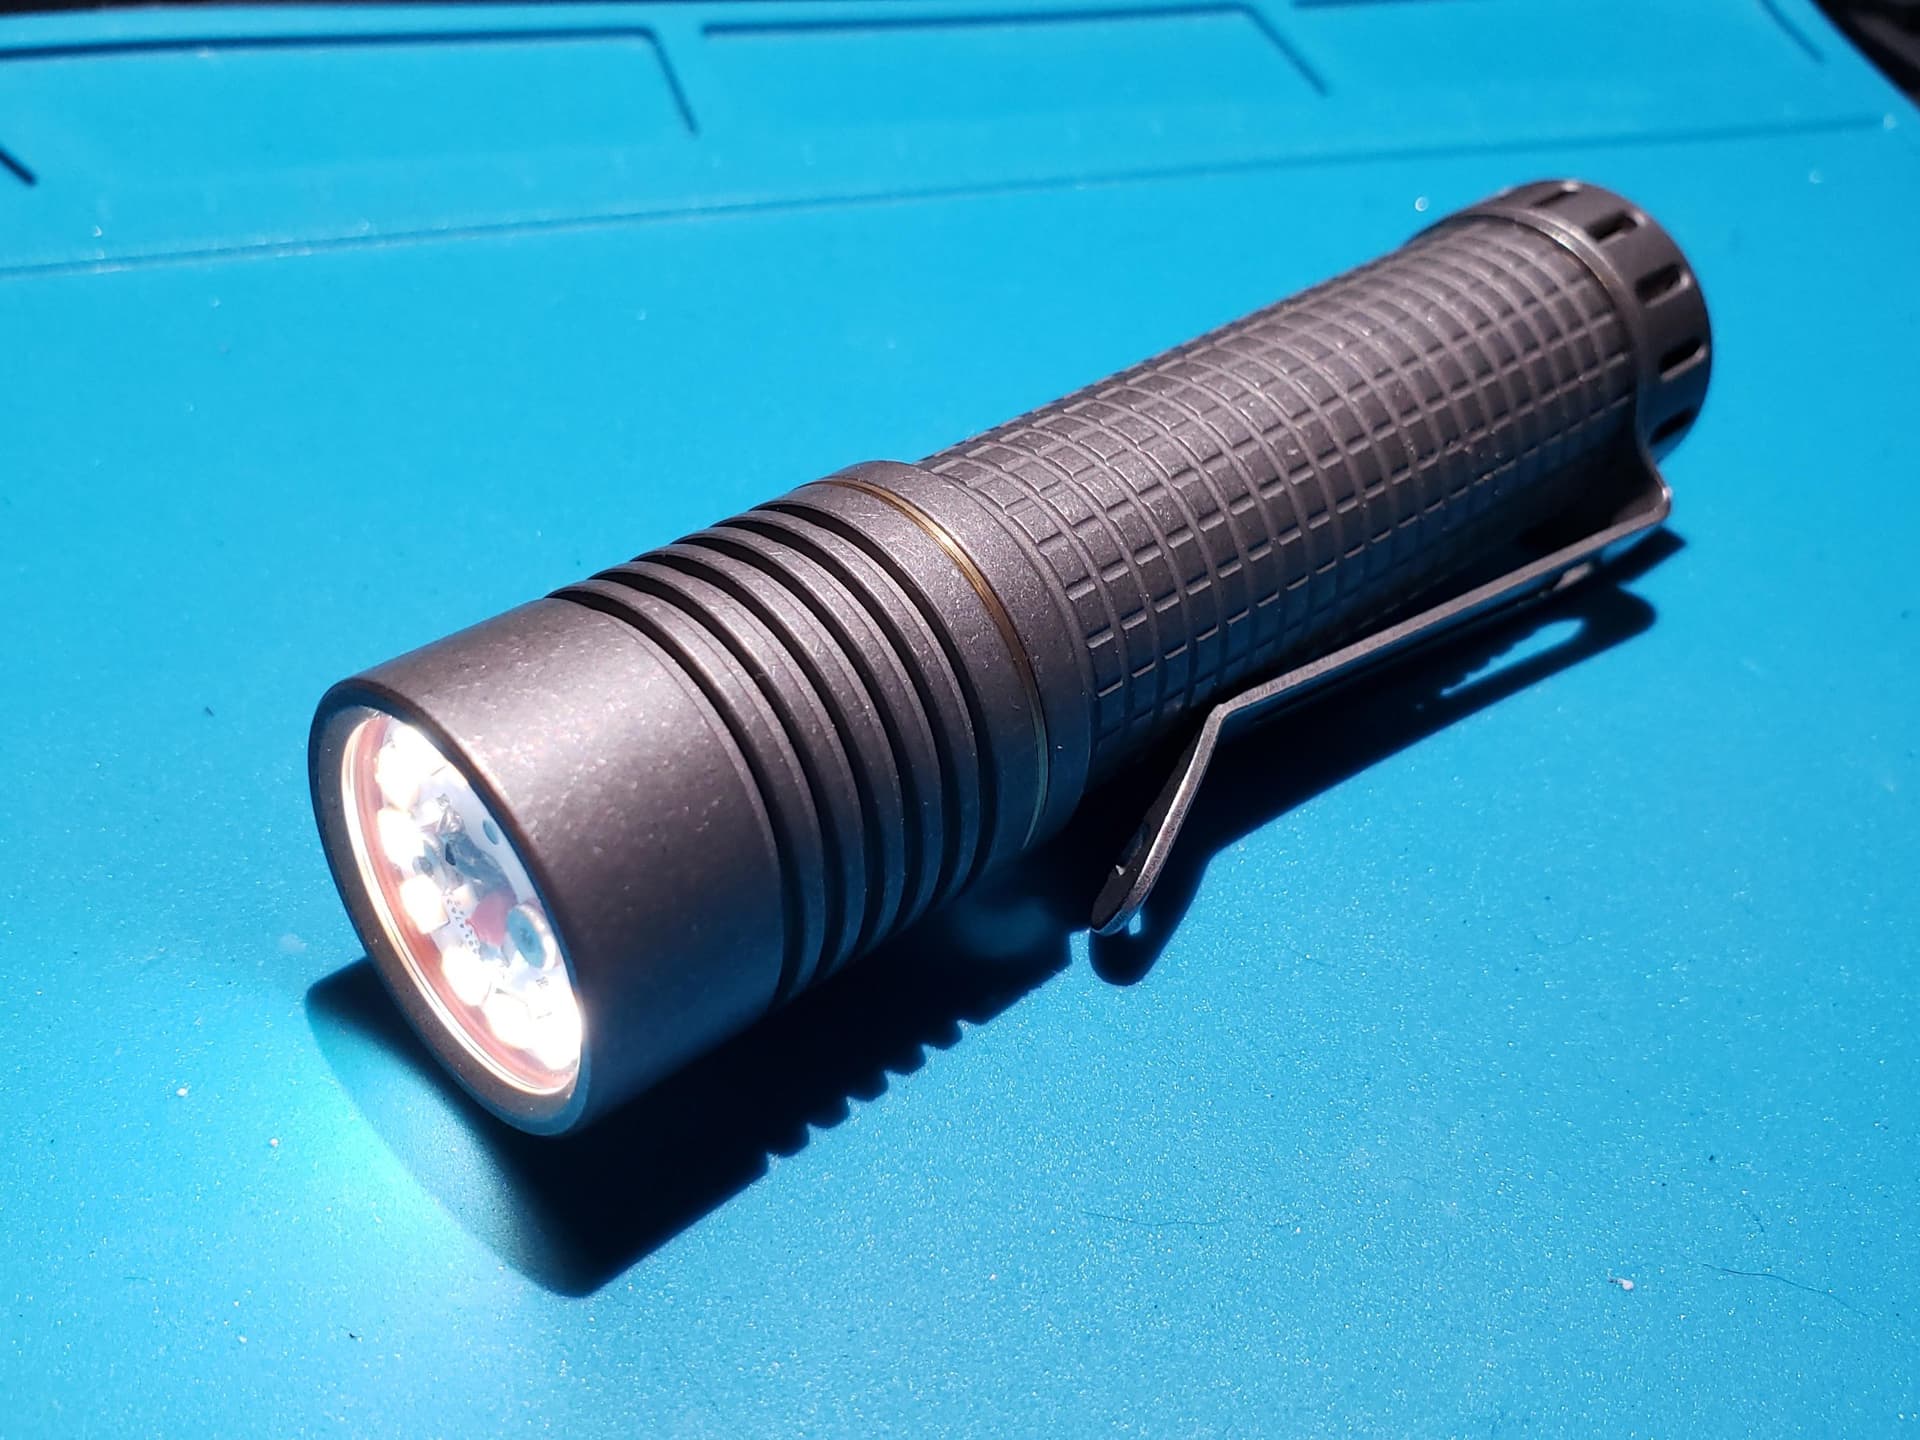
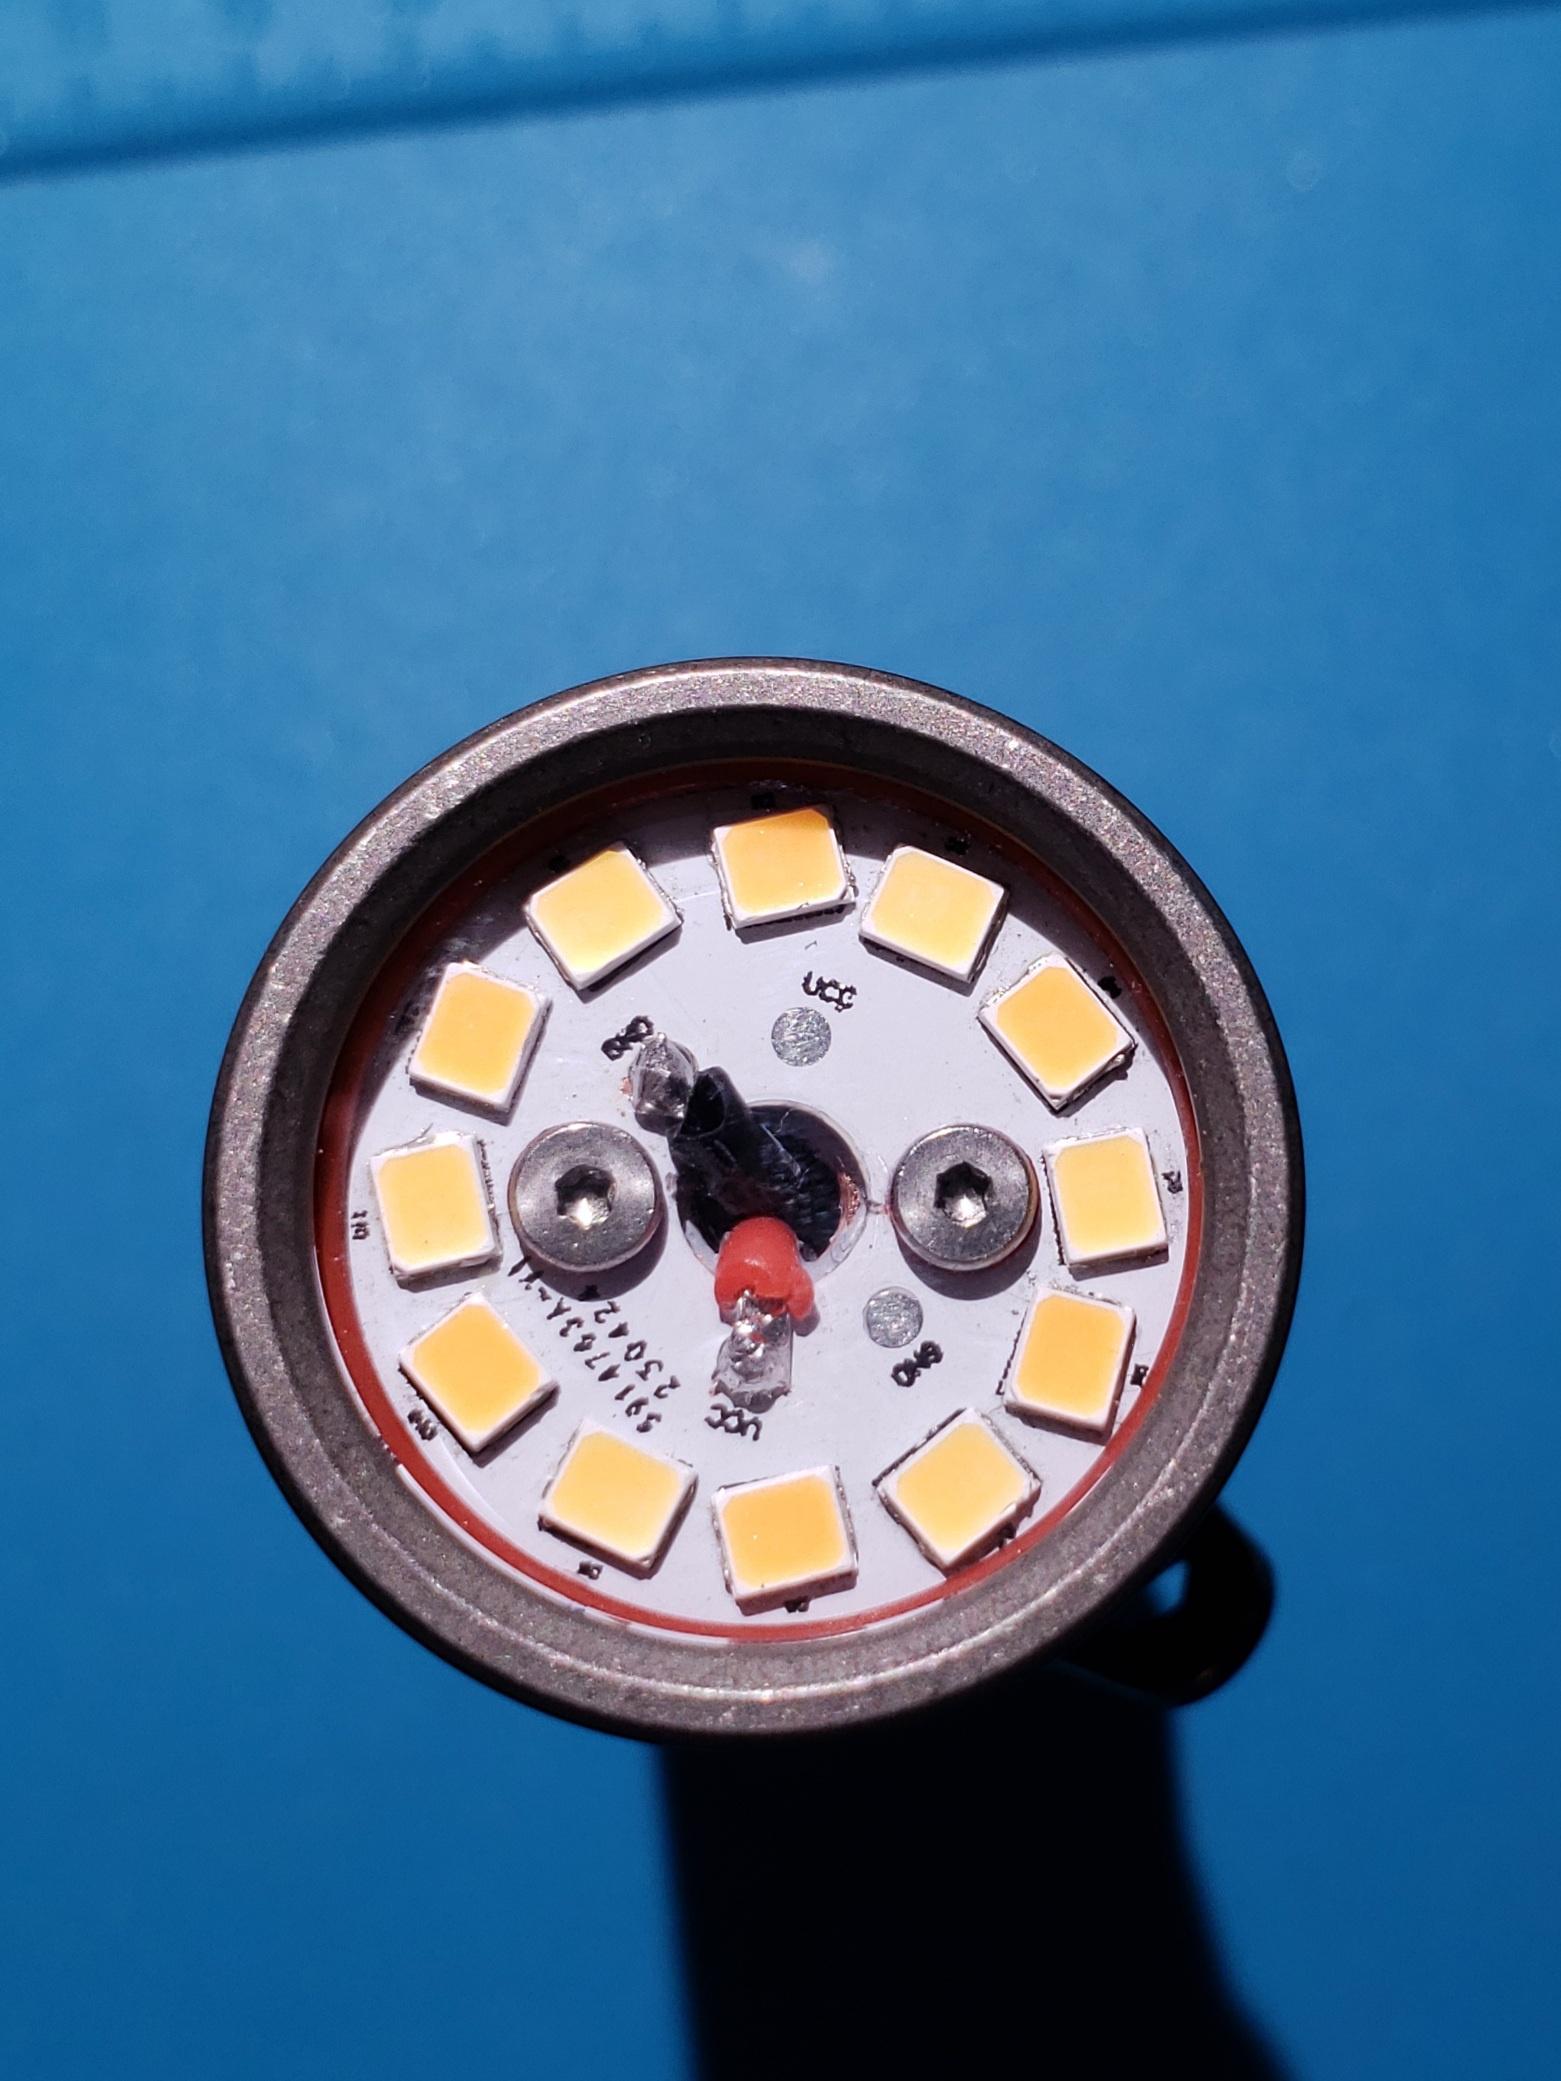
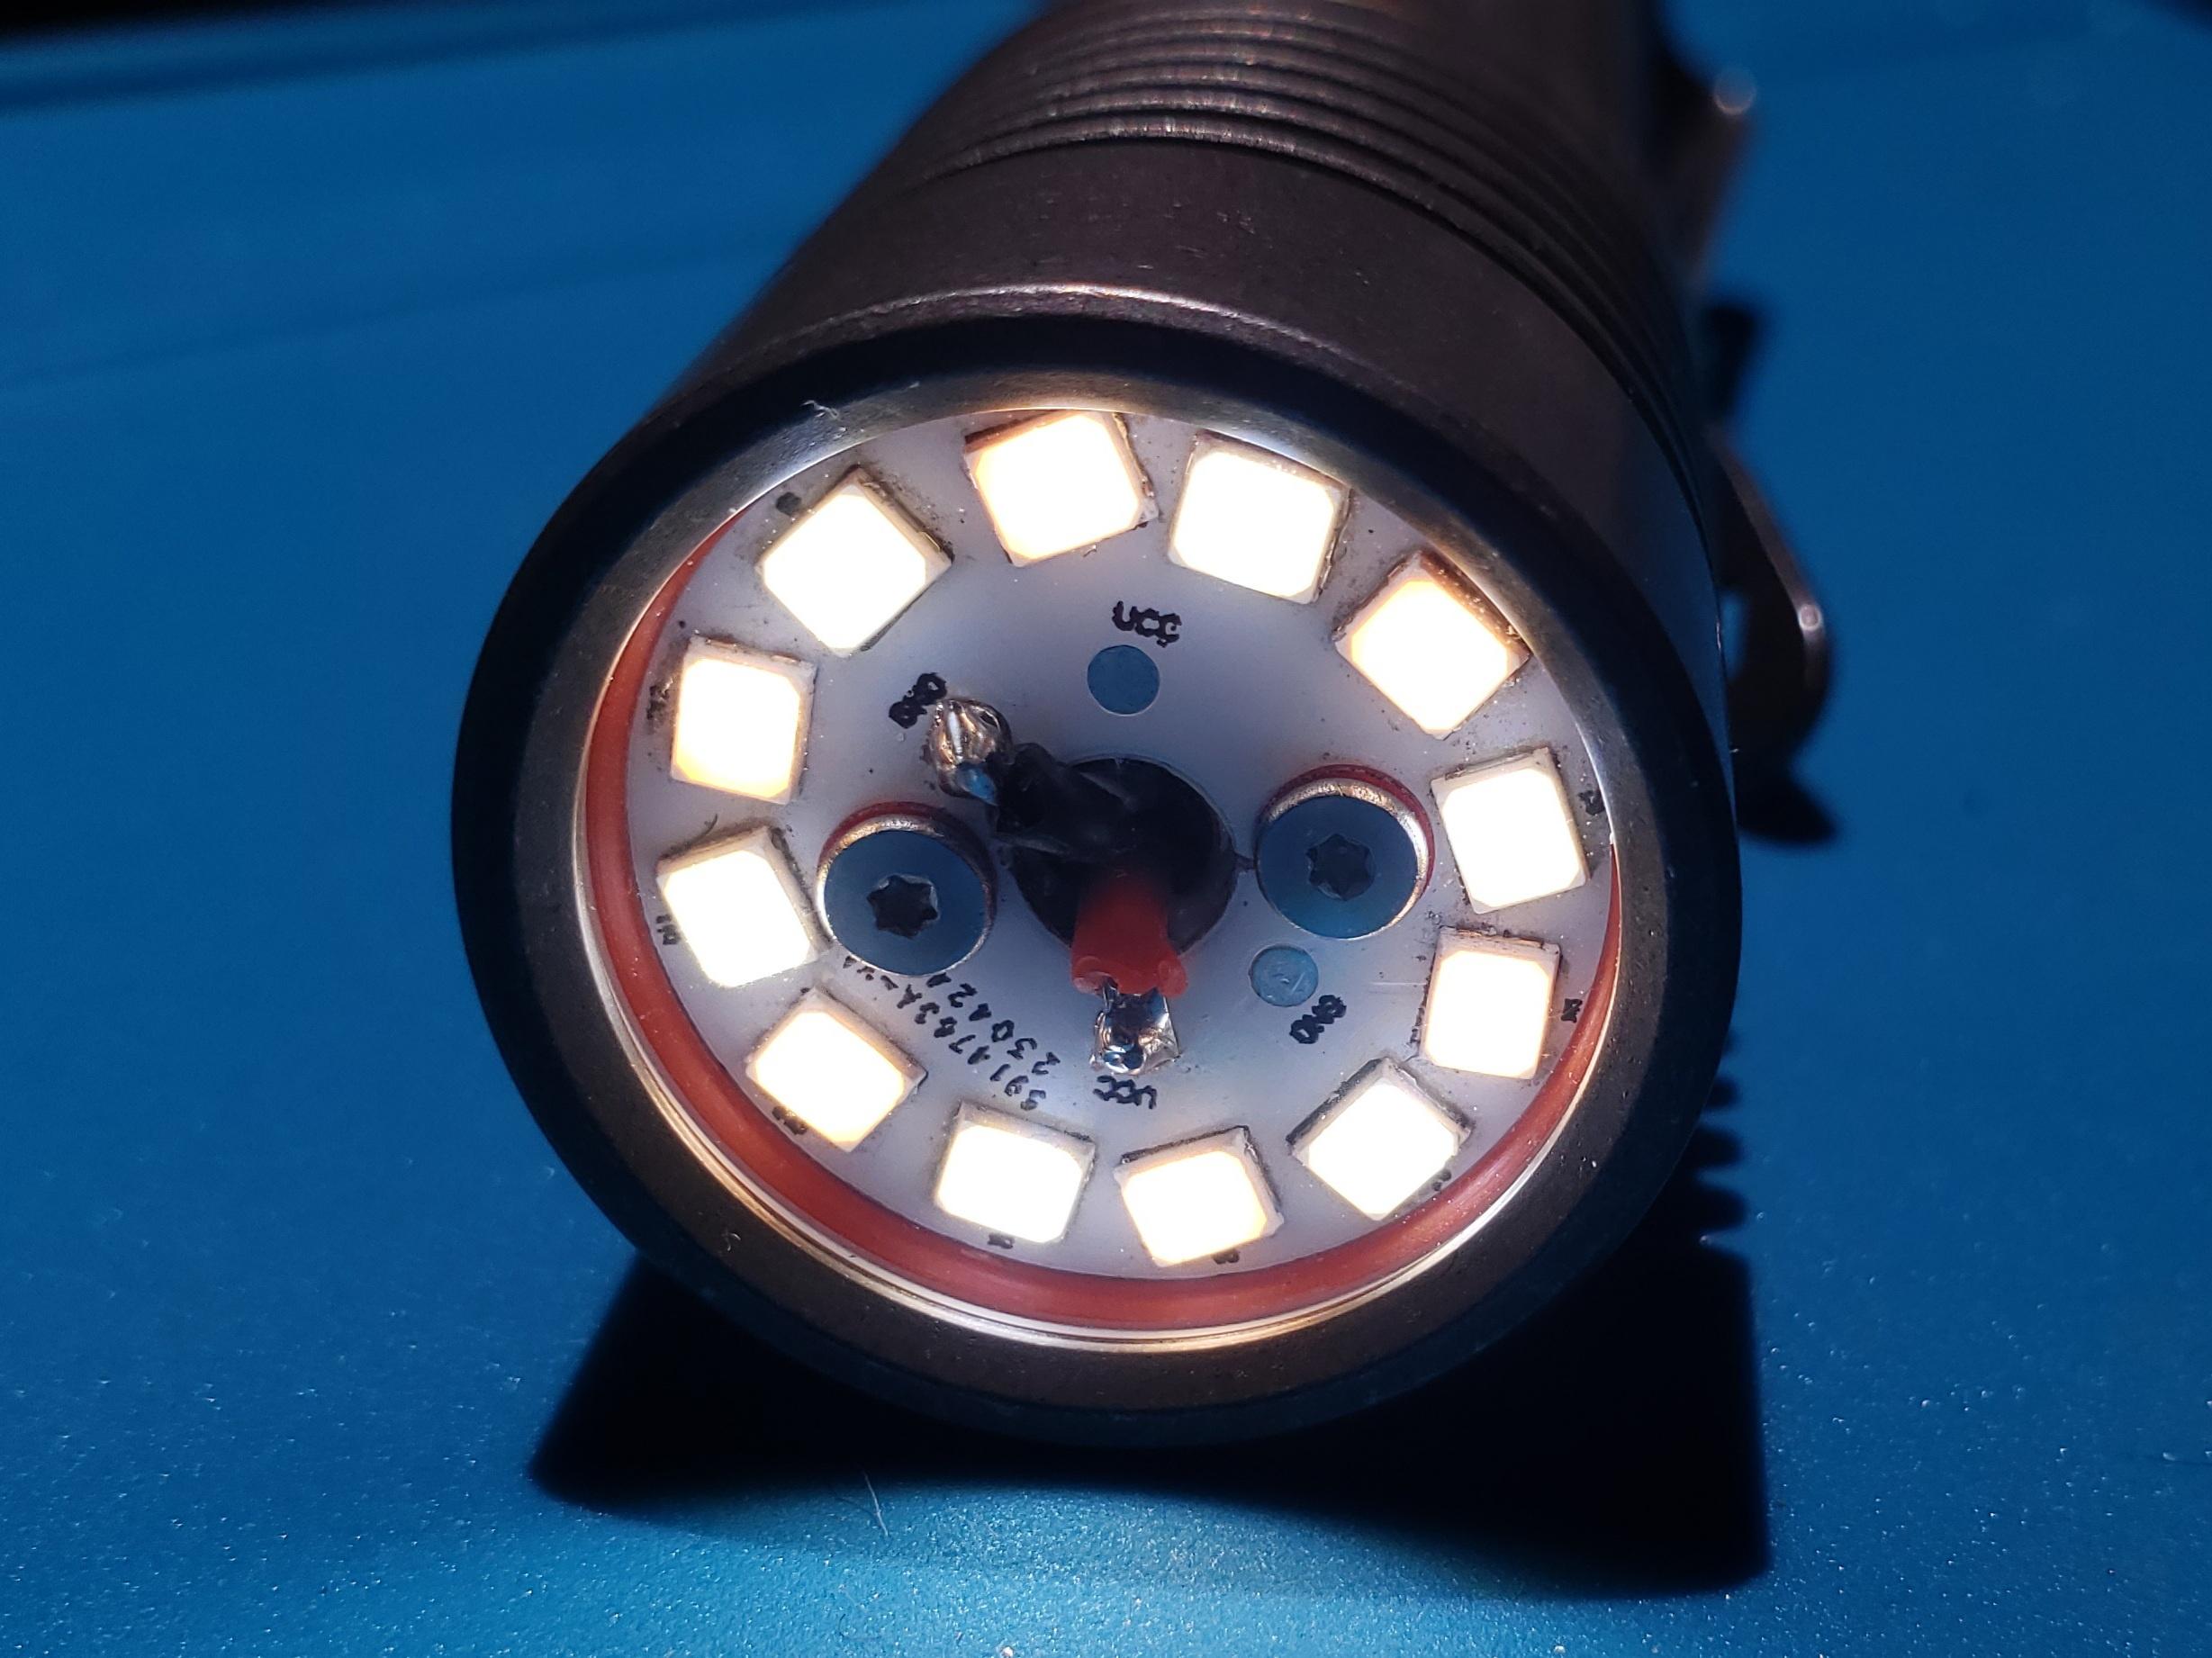
I finally finished building my first mule after what seems like months of trying to find the right host. I eventually settled on a stonewashed Maeerxu XT4, with a Convoy 22mm 12V 2.5A driver and a 5700K/3500K mix of Bridgelux Thrive 1W 2835 emitters. I initially was going to use a mix of Optisolis, but the difference in Vf of cool and warm emitters made that impossible. I had also tried some 6V Seoul SunLike leds, but they didn’t seem as bright.
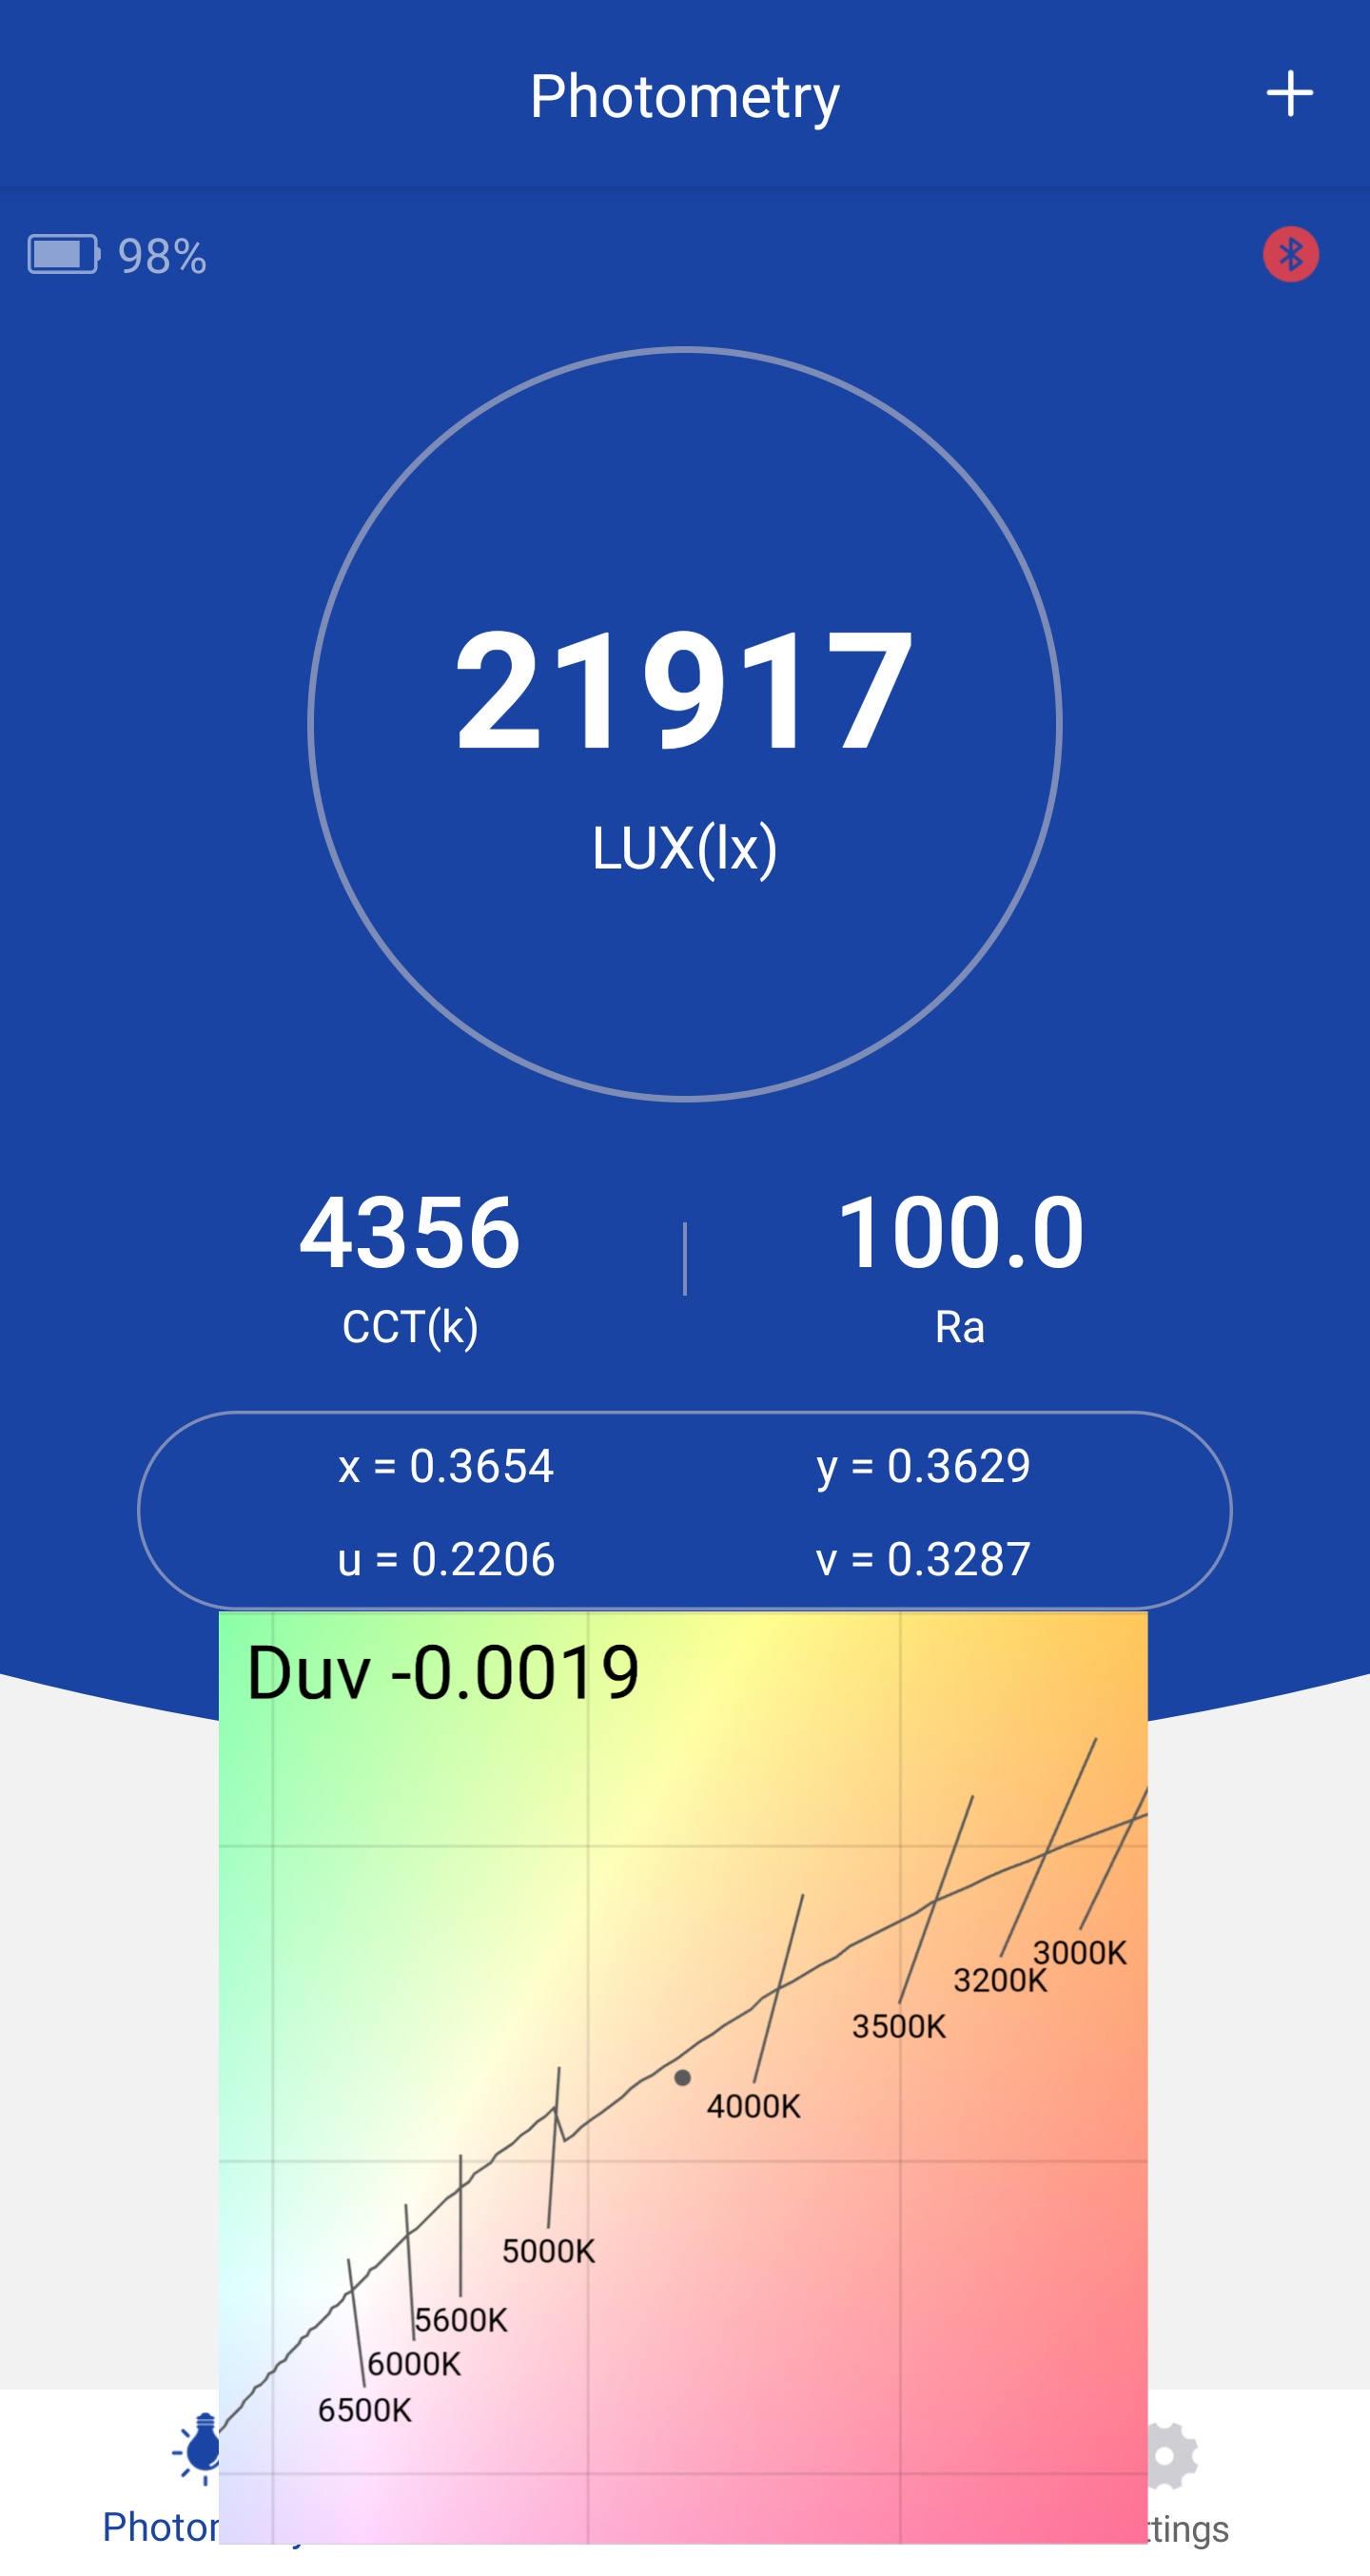
The tint isn’t as rosy as I would’ve liked but it’s still q bit below bbl. I may end up trying a 6500K/2700K mix in hopes of lowering the duv. I figure with each emitter getting just over 200mA it should make 2000ish lumens, unfortunately I have no way of verifying that though. I took inspiration from Clemence and used his method of using 100% Indium solder, in hopes that it’ll help with the temperature as there’s no thermal pad.
I didn’t take any beam shots as it’s like any other mule, just a big wall of light.
10 Thanks
I bought a Convoy S8 from Simon’s blemished sales he’s been doing lately. Came with an XML and old driver where you select the mode groups by grounding the little stars on the driver. Gave it a Fireflies 3500k 5050 round die LED and 5A 12-group driver.
I wanted it to be a shorty. I have a trapezoidal S2+ 18350 tube and it just barely screws in to the head. No luck screwing it into the S8 tail so I’m using one from an S2+.

Here’s the beam side-by-side with a Yinding round die in an S2+ with SMO reflector (left). OP reflector on the S8, but deeper (like old S2 non-plus style).

Bad pic, but you can at least tell the hotspot is smaller on the S8 due to the deeper reflector. The LES on these LEDs looks like the same size. I think the focus is off on the S8 so I’ll try sanding the gasket.
7 Thanks
That’s interesting about the threading not fitting. My s8 tail fits totally fine on the trap 18350. Maybe that’s part of the blem as well, that the threads turned out wrong.
I’m really confused now. I got the S8 tail to screw onto a different S2(+?) short tube. But that tube has square threads on the head end and won’t work on the S8 head. I’ll have to take a closer look later with a magnifying glass. A poorly organized parts bin doesn’t help either.
Could possibly be mismatched/damaged threads. Minor mismatch in pitch can easily mess up the ‘lego’-ability. Pretty much all the tubes on current Convoy hosts should be reversible. I could see why they might have been marked as a flawed/blem units if the threading doesn’t work both ways.
That’s a really nice light! Patience and persistence paid off.
After taking advice from this site i used a hand reamer (a cheapo one like this) to ream out a reflector opening. I’ve only done two, a P60 and a C8, but both were very easy to do by hand.
The hardest part was padding out the handle to keep it in place ![]()
Given how soft the reflector material felt i think 20k rpm would have just ripped them apart.
Or, melted it.
Lol, that’s an experience i’d respect someone for having.
Well, the first time anyway… ![]()
I don’t know what I’m doing, I’m literally just grabbing tools and bits and going: this looks like it might work…nope that one ruined the reflector, let’s try this one…nope that ruined it too, let’s try this one… ![]()
And that’s what worked in the end.
I do know they say the harder the work material, the slower the cutting speed, and the softer the work material, the faster the recommended cutting speed. Same for drilling, the harder the metal the slower the drill speed required, and vice versa, and I’ve found that to be true for drilling. Idk if that applies here.
You can definitely cut it by hand though, it’s soft enough to cut with a knife.
That’s what the water bottle was for
2 Thanks
Maybe that is my problem… no coolant. I have not done a reflector, but I have definitely screwed up cutting plastics with a Dremel tool by melting it instead of getting a clean cut.
1 Thank