I had the same problem. It turns out it has some kind of gap between the lens and emitter and some residues went inside.
The only solution is to remove that lens gently and clean the emitter again, but do not return the lens back
1 Thank
I guess it’s too late for mine?
Not at all, just remove lens and clean it
I think it had gone too far in my case.
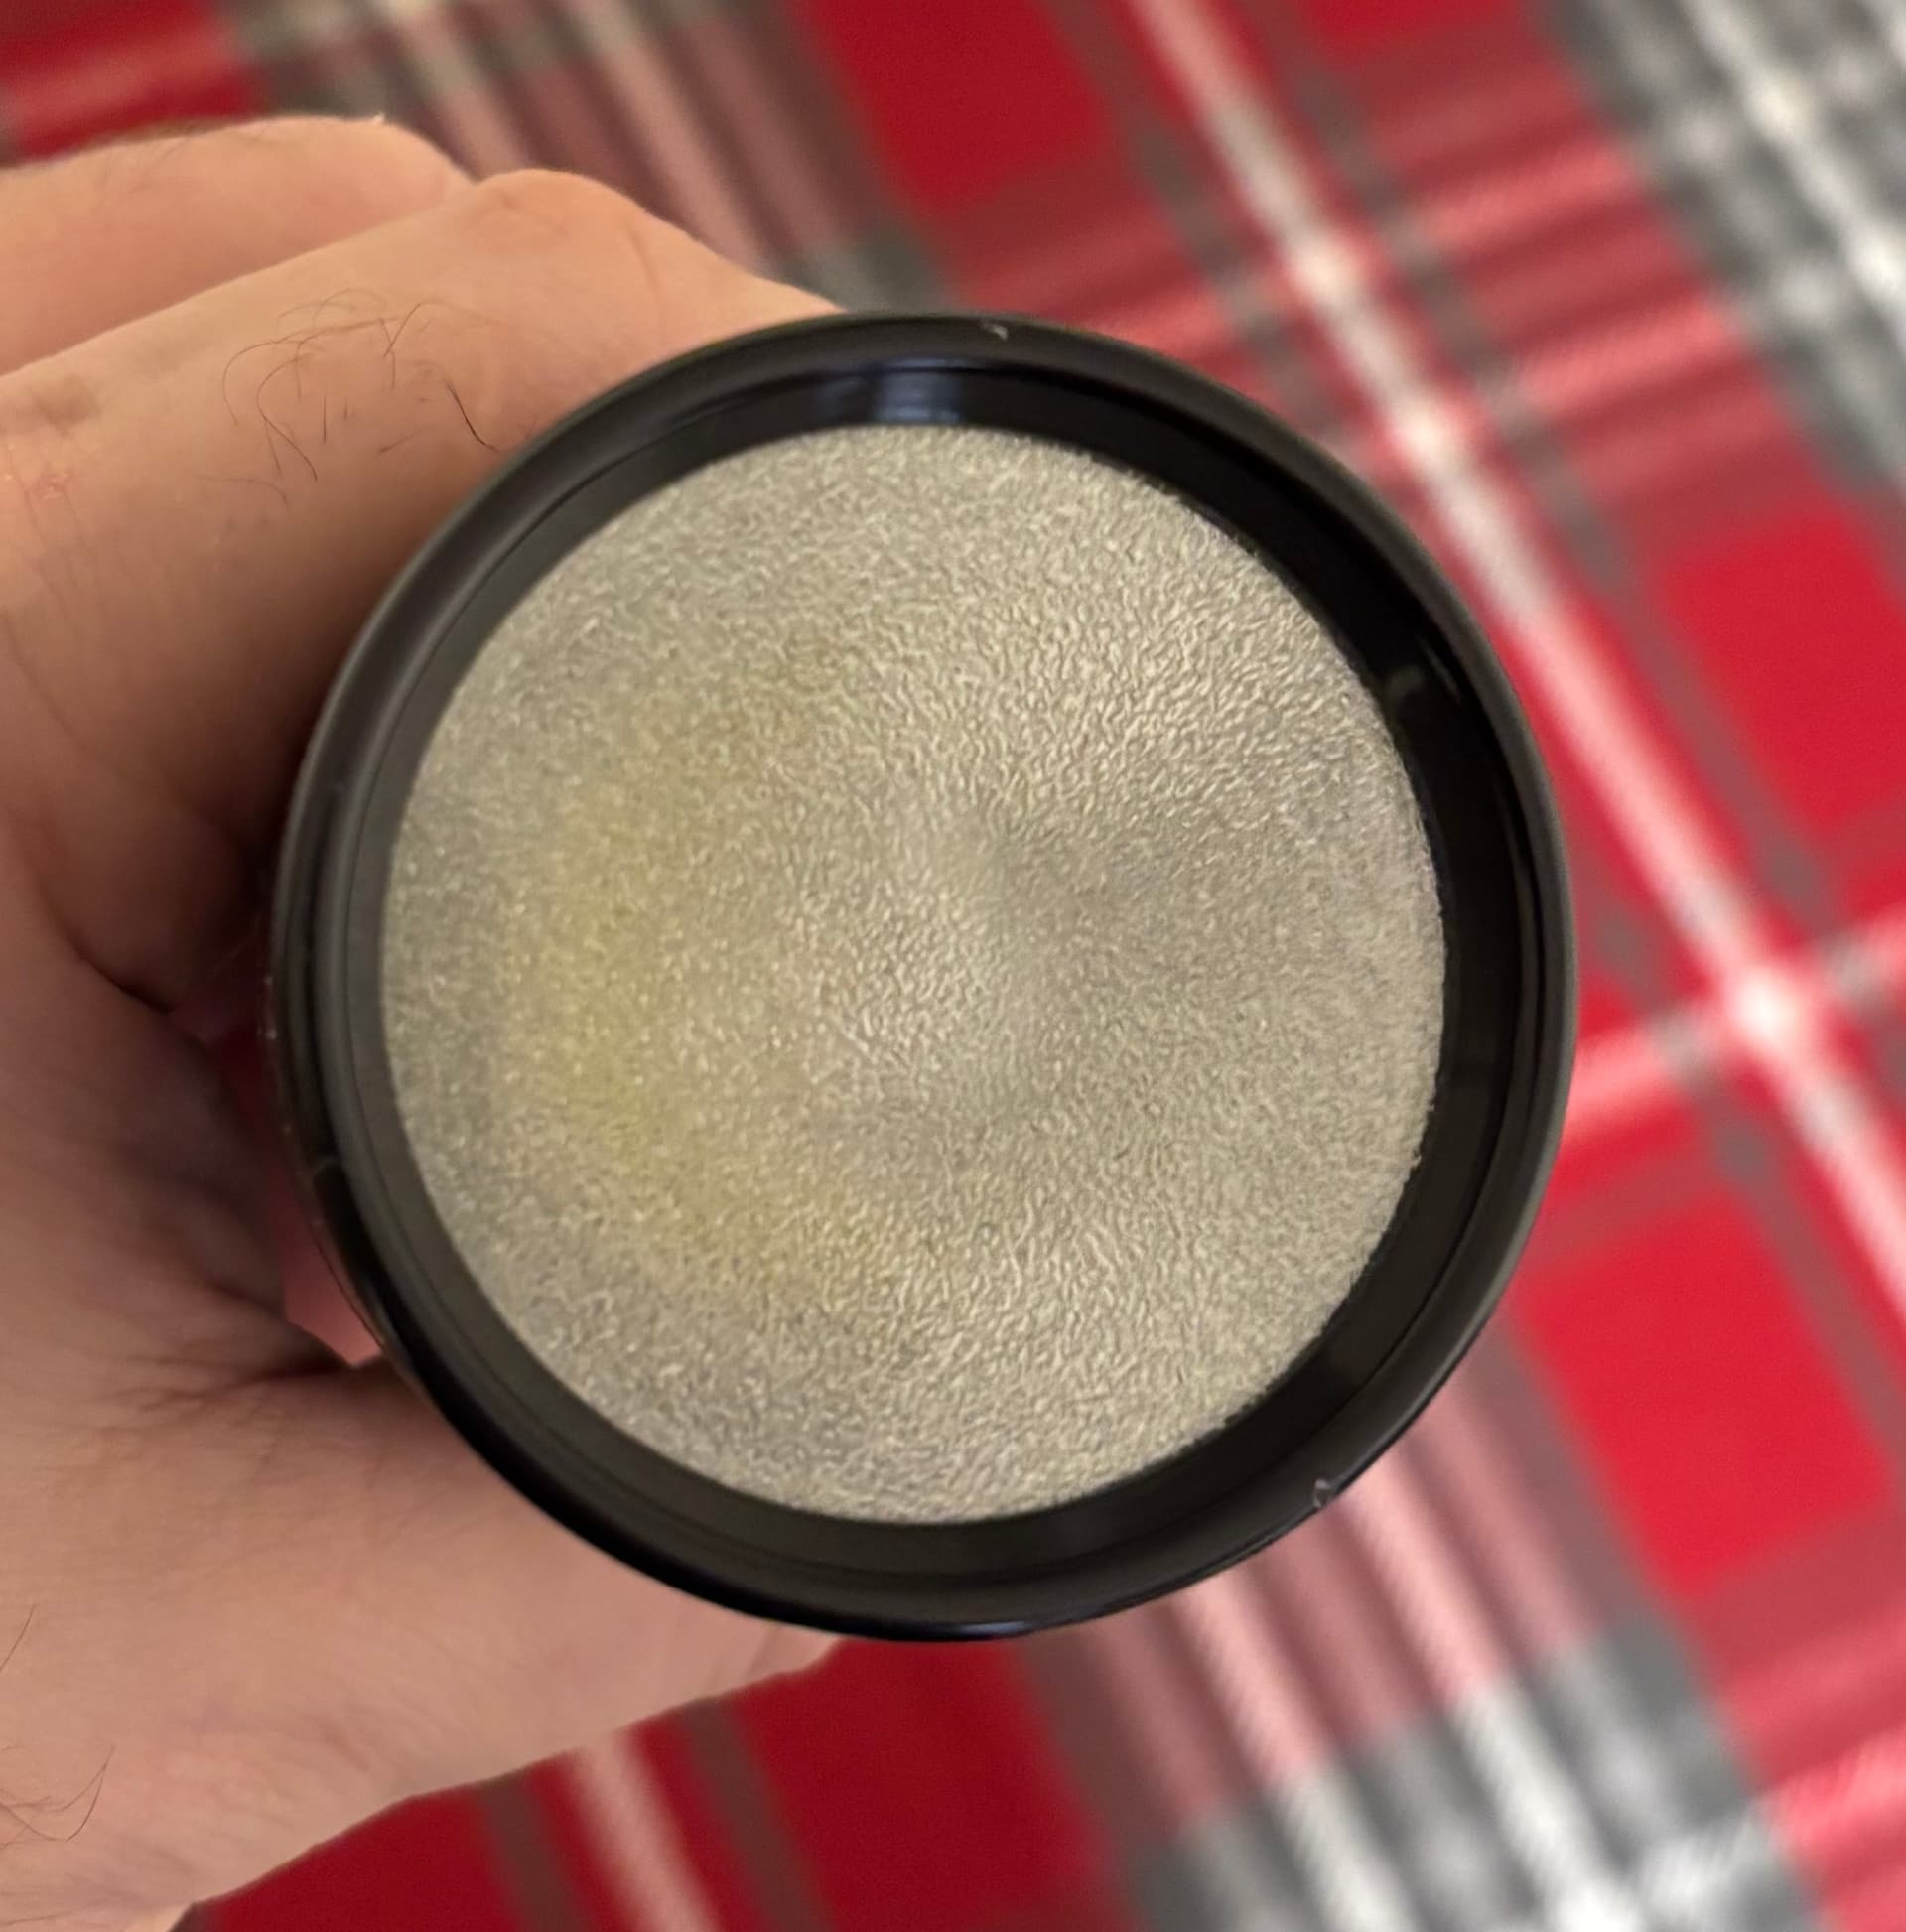
I removed the glass cover okay, then gently tried cleaning the burn marks off using isopropyl alcohol. It seemed like the the deposits on the surface came off, but there were still black marks on the phosphor. I stopped and checked the LED was still working, and it was at that stage.
I figured I might as well just keep cleaning as it wasn’t any good like it was. I didn’t end up getting the black marks off and the next time I checked the LED was dead.
Emisar D1 - came with GT FC40 4000K with orange peel reflector, swapped to smooth reflector and an XHP35 HI 4000K
5 Thanks
I have had the same issue - flux entering from the sides while reflowing. The phosphor is unprotected below the glass cover, so anything on it will destroy it when turned on. Best to just reswap.
1 Thank
I wasn’t even reflowing- the spatter of flux must have been when I was soldering the wires to the MCPCB. I’ve still got one Yinding left- it’s on a smaller MCPCB and in an S2+. I think I’ll give the Yindings a miss in the future.
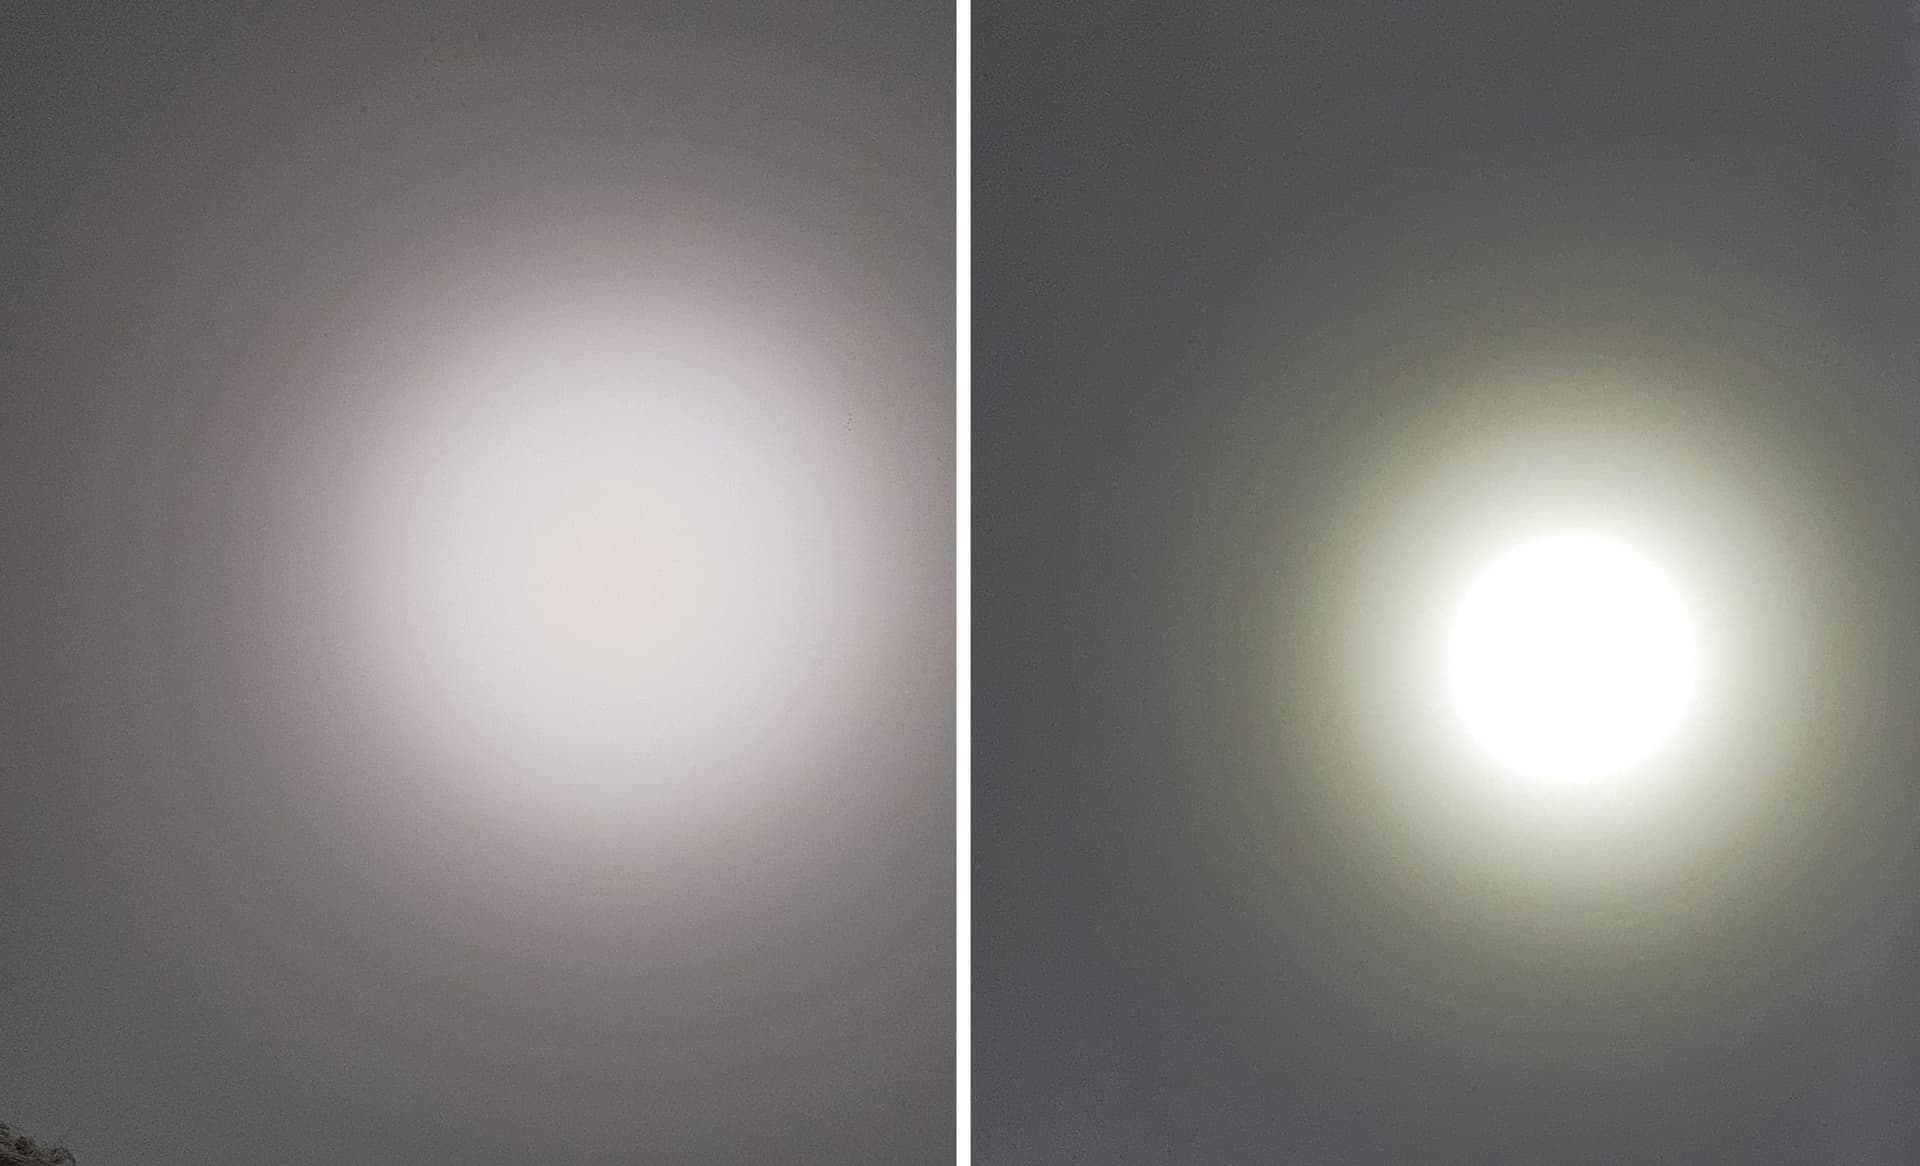
The results in a Convoy Z1 were impressive though. I’ve put together three pics, they’re not to demonstrate the brightness, but the size of the beam spot at around 70 metres.
The ISO and Exposure Time were locked for all three pics, but the Exposure Bias can’t be locked on my mobile. For the L70 and SFT40 it was the same value of + 0.7, but it was -0.3 for the Yinding. So the L70 and SFT40 are directly comparable for brightness, but not the Yinding (which was also hampered by being partially toasted…) Yinding was on a 6 Amp driver and L70/ SFT40 an 8 Amp.

Due to problems mentioned earlier i went with FF emitters, much better to handle and with the same LES
1 Thank
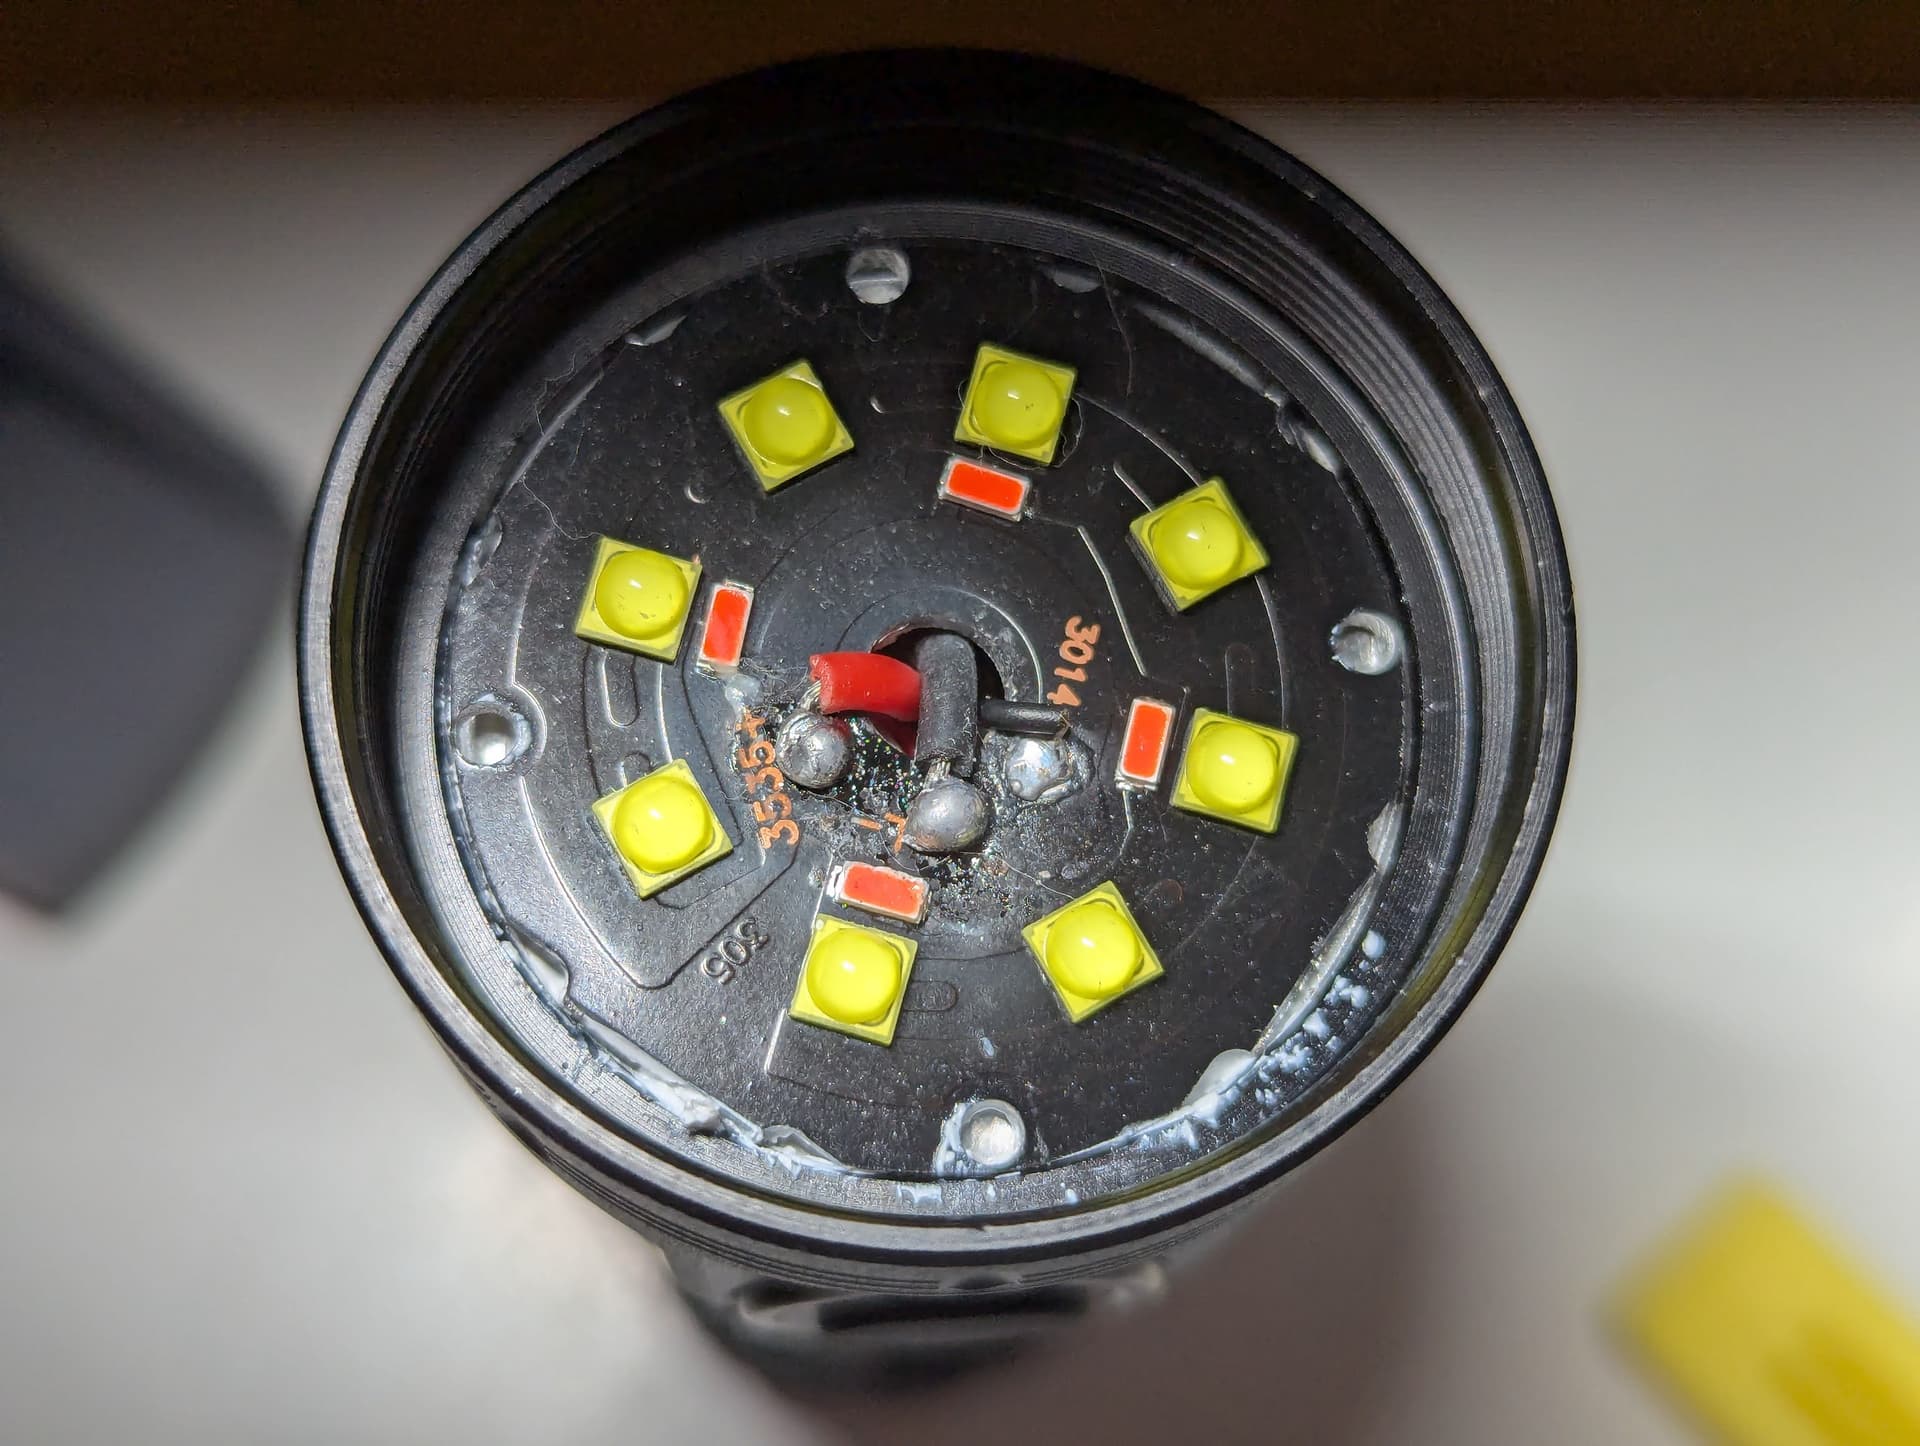
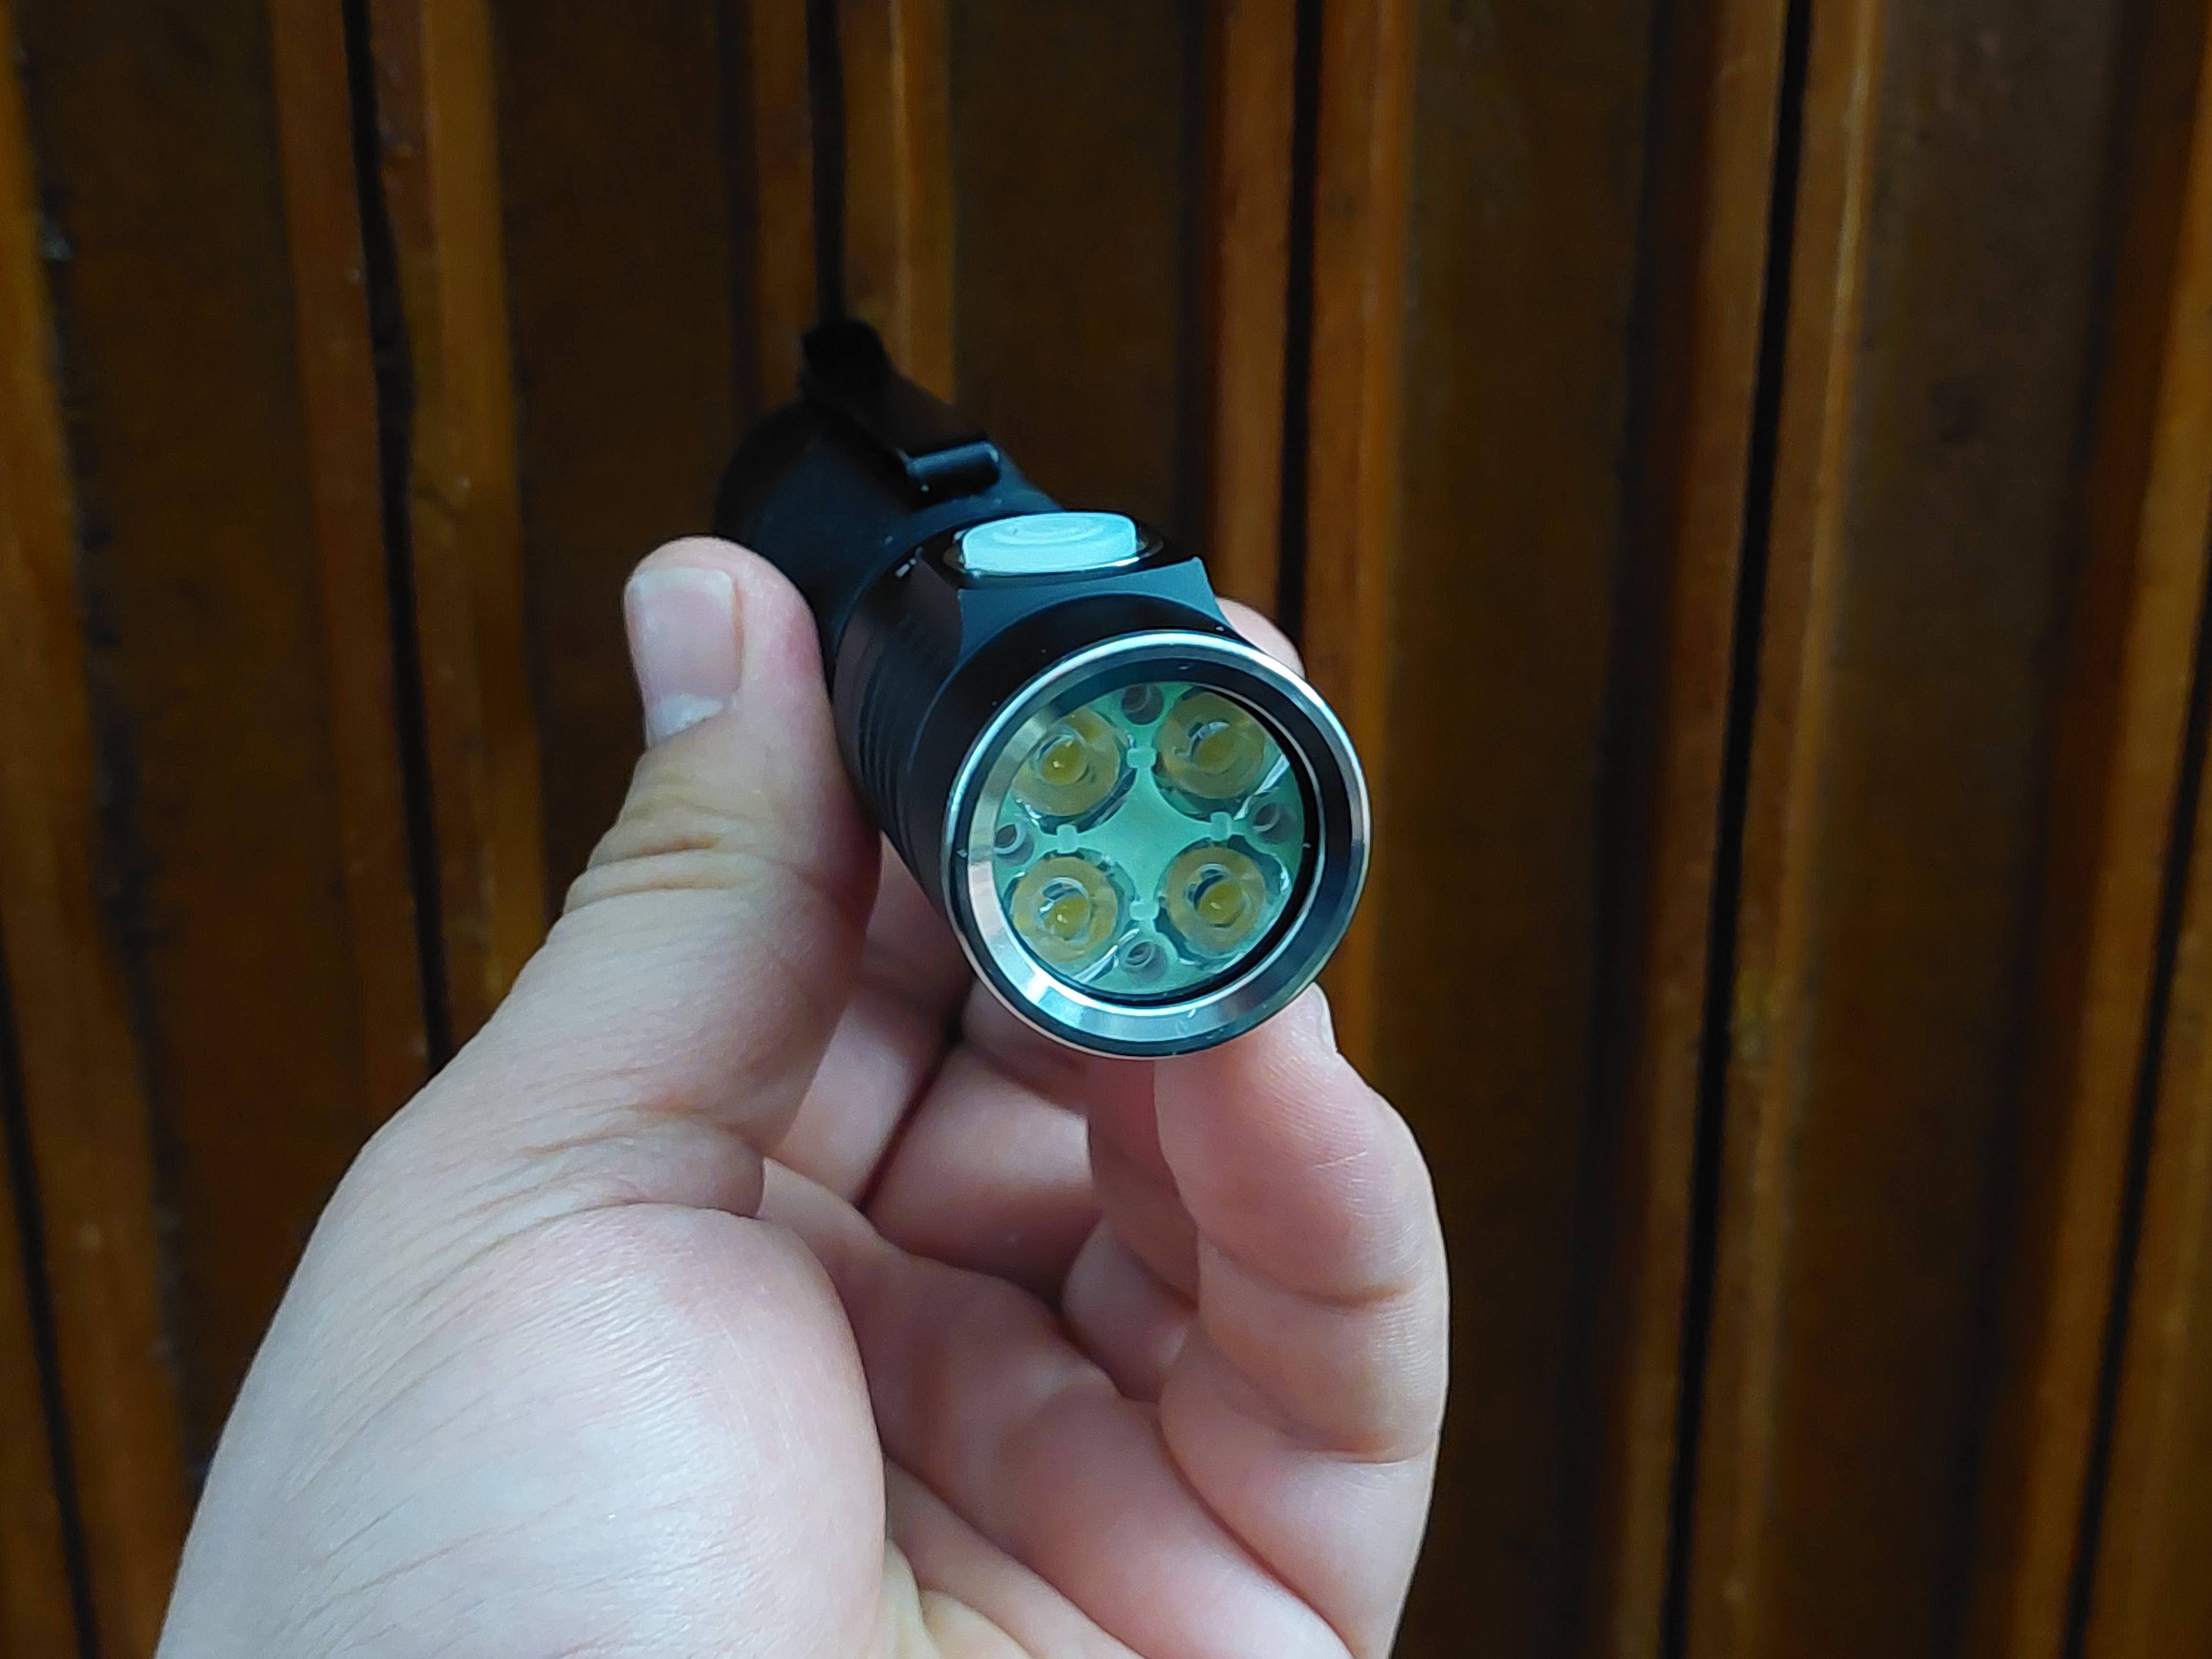
I changed the LEDs of this F82 light: LED-Taschenlampe, hohe Leistung, USB wiederaufladbar, 8 x XPG-Perlen, Laterne, Schwanz, Magnet-Clip, Taschenlampe, wasserdicht, tragbar, Mini-Beleuchtungslampe - AliExpress
Even without modding it is a great light for the little money you pay.
Now it has 3x6500K, 3x5000K and 2x4000K SST20s in it, giving it a very pleasant neutral tint. CRI did marginally increase to around 74.
From
To

Since these SST20s are so cheap in the Convoy store, I will modify at least two other cheap noname Multi-LED lights with them.
6 Thanks
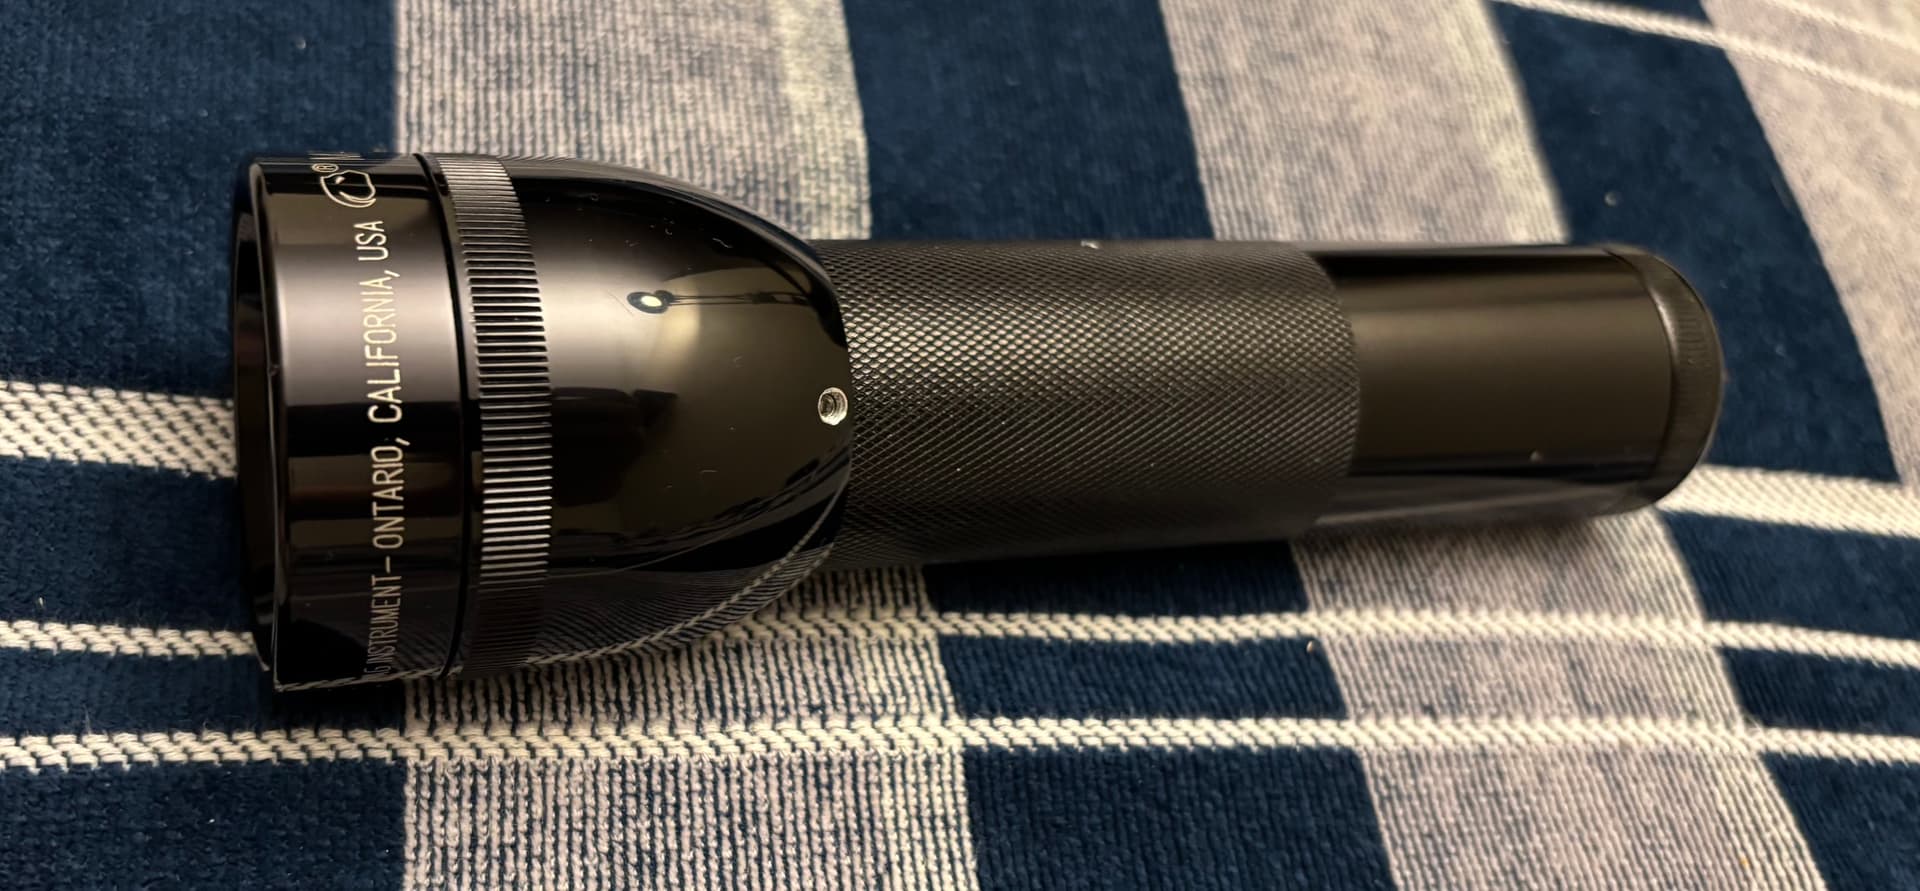
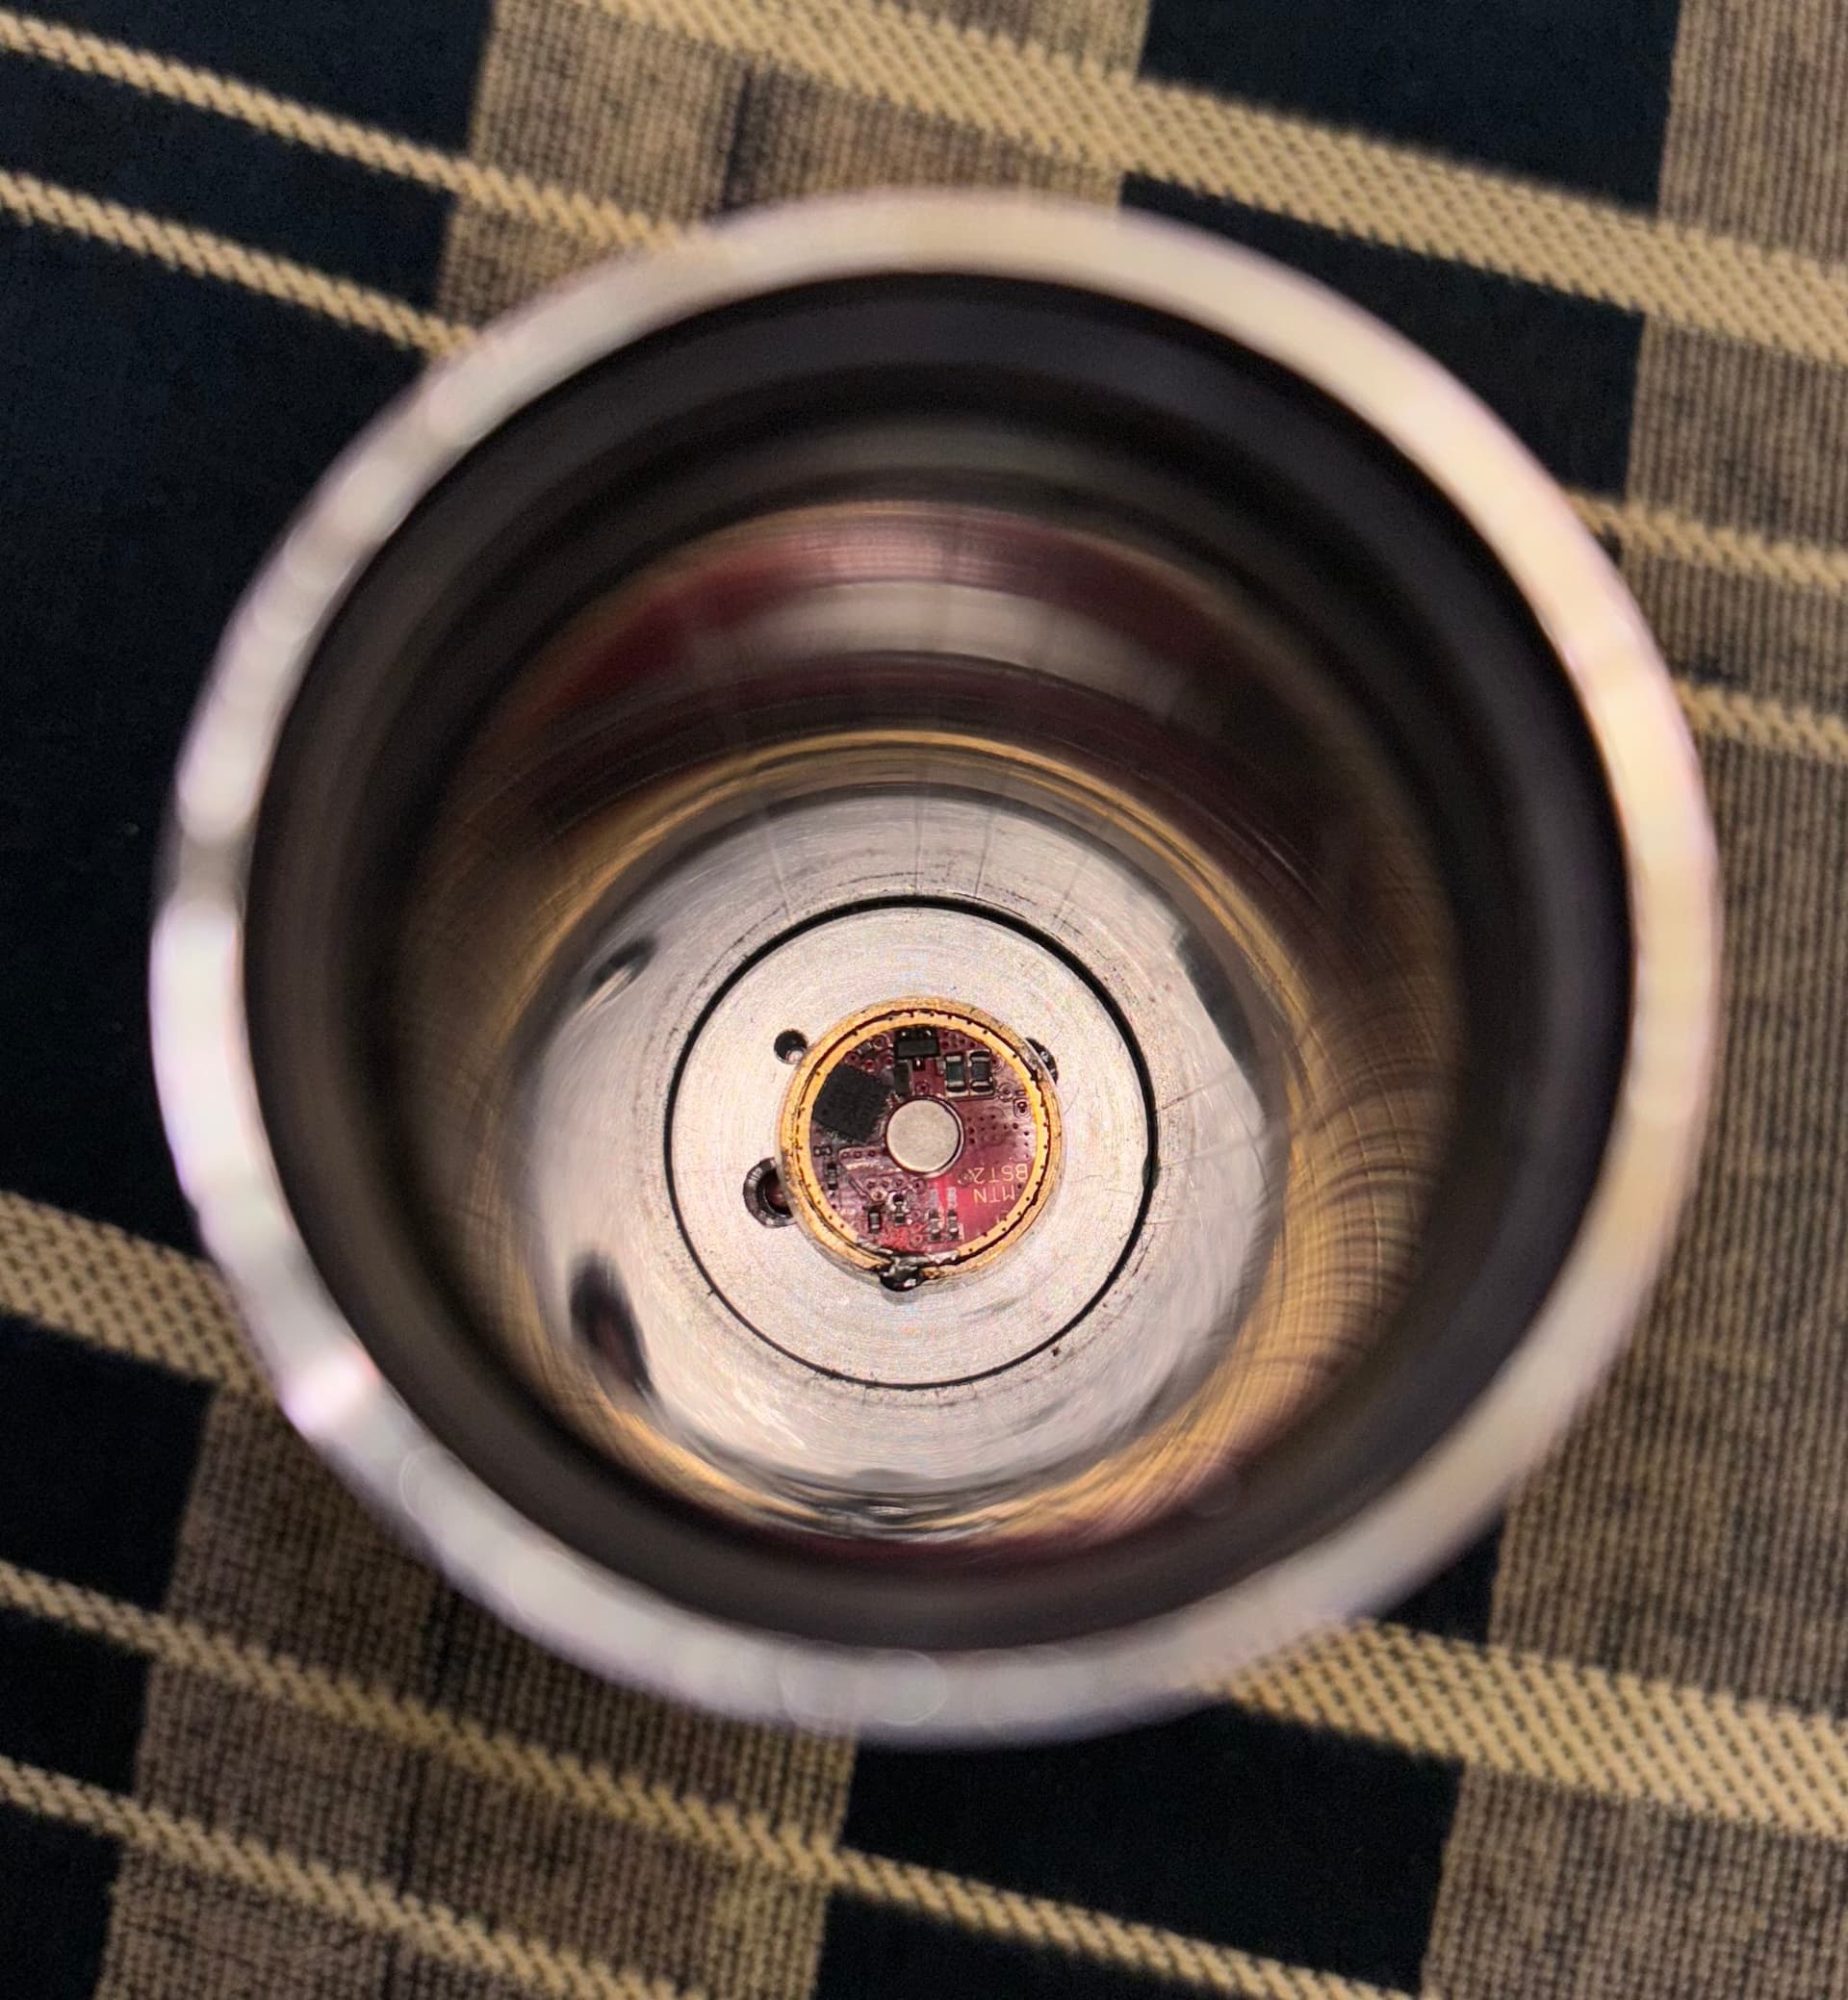
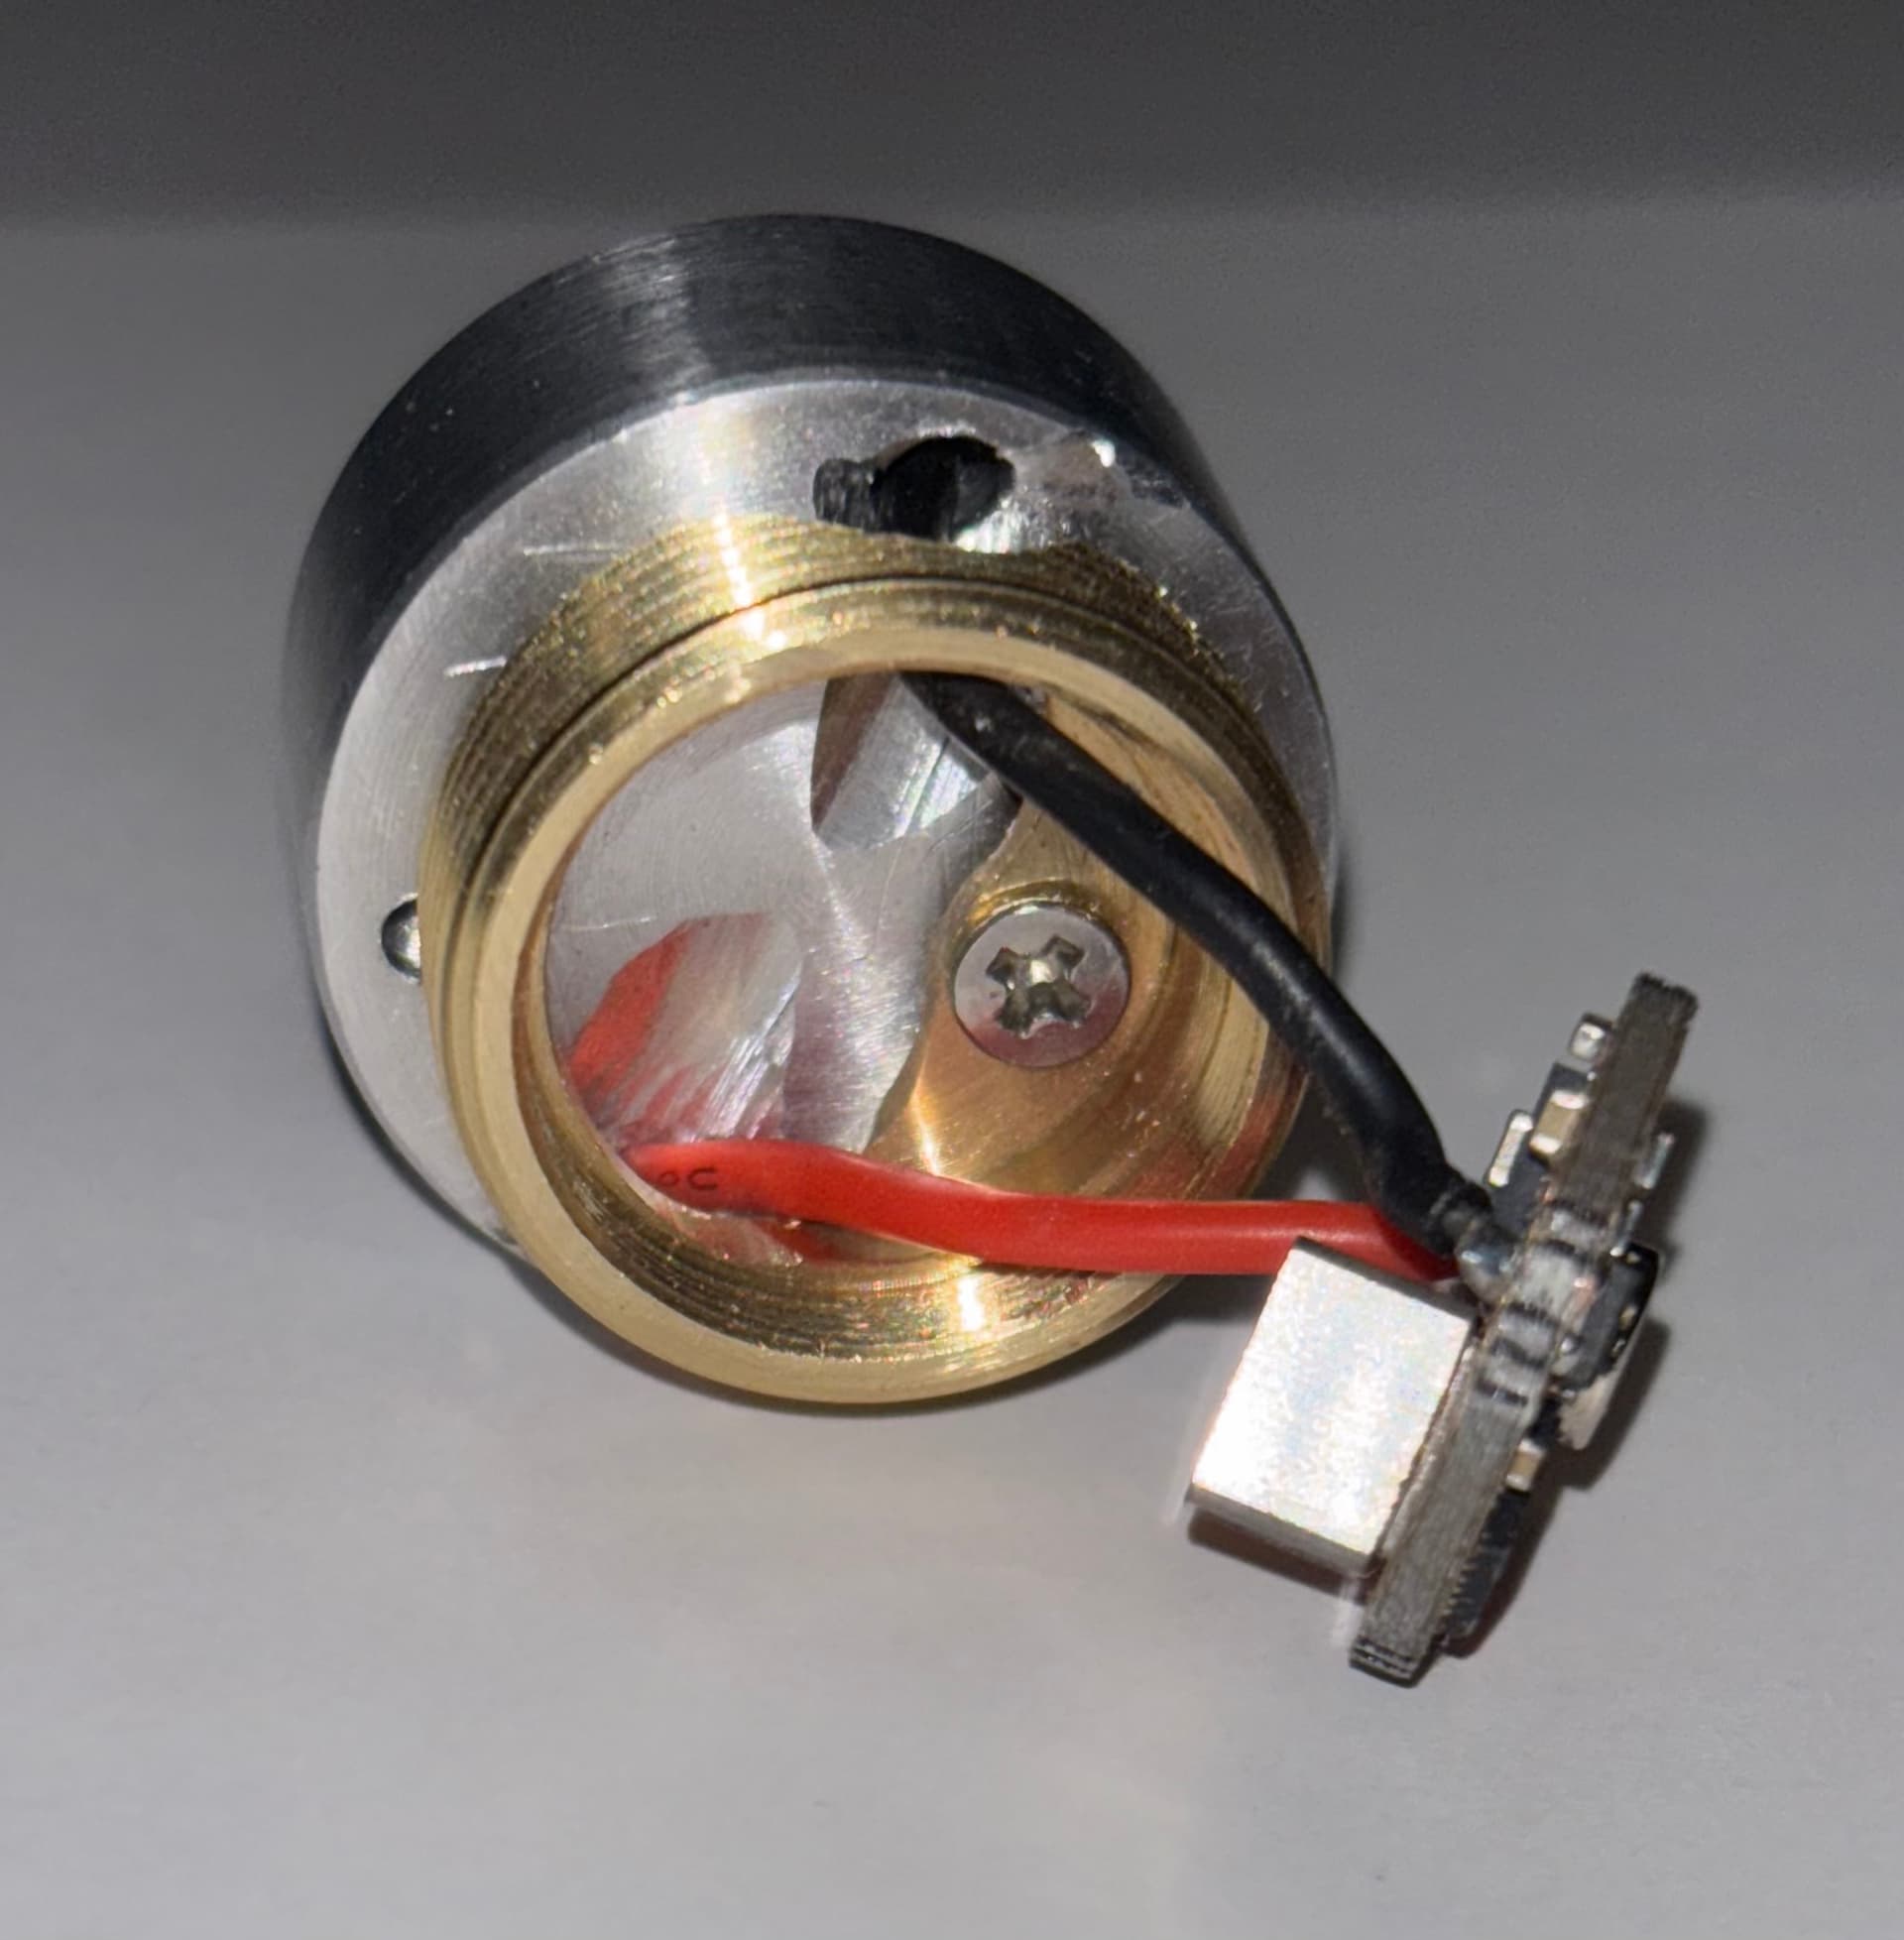
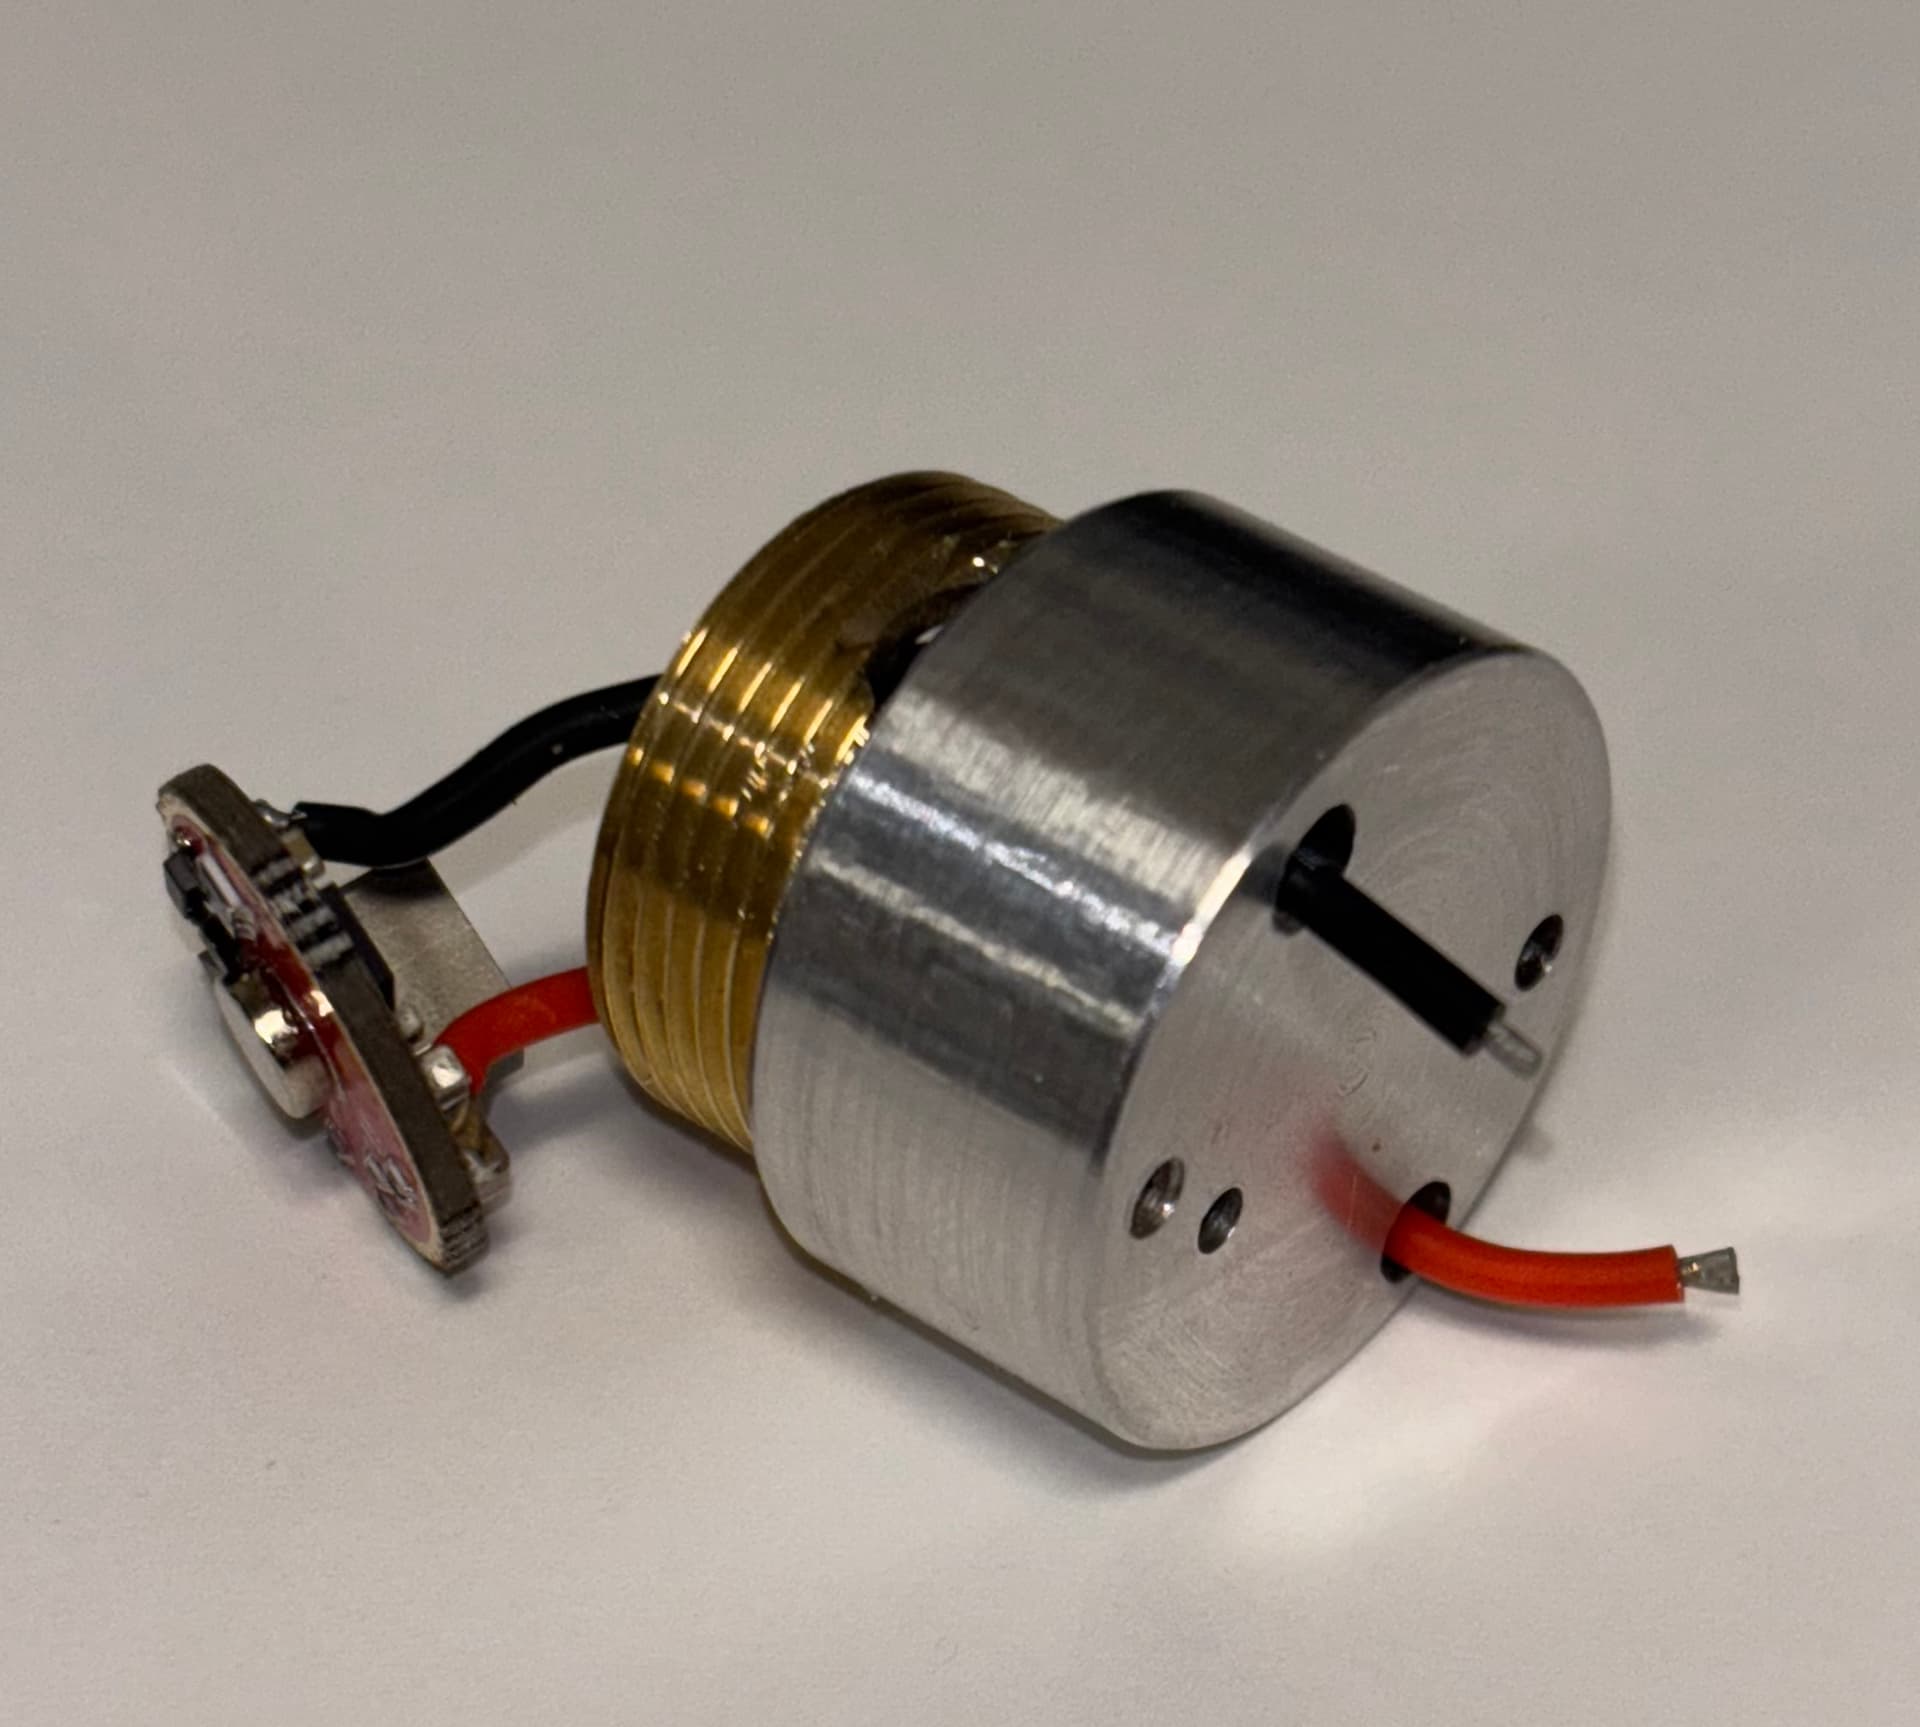
Had this shorty mag sitting around for more a decade, it used to be 4xcr123, mr 16 mod, but battery type and so so mr 16 bulb made it mostly useless. So I’m modding it again more than a decade later. I used MTN Electronics boost driver, 4A out 10 A in, XHP70 led, one of first batches, the led has been sitting for about as long as the light. Used an aluminum puck, about 1/2in high, it fits nicely into the tube. then i used d26 pill to hold the driver. made a pill with heatsink, driver/led installed, , adjusted the position, and used a 6/32 set screw rith thru head and barrel. The reflector is stock led D reflector with cam cut off. the switch that light had was no good for 10A, even stock spring was getting too hot, had to do resistance mod. so I installed no switch, I loosen the tailcap, it shuts off, tighten it, it turns on. I also installed dx fix film which greatly improved the beam. it runs on 1 21700 cell, with i had to make an adapter from a piece of pvc pipe, a plywood disc, and a bolt with a nut, and some rolled up plastic inside for a final fit. It turned out pretty well, so I decided to do the same to another shorty that has never been finished for about as long. next one is 1C. So far i’m building the pill, for the new light. never took pics of the pill for a D shorty, so posting the C pill, except the size, they are the same.


11 Thanks
I modded my Convoy S21E and my Acebeam H20 headlamp.
CONVOY 21E
- Anduril 2 driver from Emisar D4 FET version (from Hank Wang)
- 4 Luxeon V2 4000K (from Led4power)
- copper spacer (from kiriba-ru)
- GITD gasket (from CRX)
- Carclo 10621 TIR optic
- stock lighted switch, stock bezel, stock lens
In this one, I lost the USB charing, but gained eveything else. Except aux LEDs. It to a while to do, to get all the fittings right but in the end, it worked pretty well!!
I needed to:
a) drill a hole in the shelf for the wires
b) file the edges of the driver to reduce it around 2mm (I guess I lost 2 elements from the driver but it works ![]() )
)
c) add a brass ring to secure the copper spaced and avoid bigger oscilation
d) file the Carclo optic to fit the bezel.
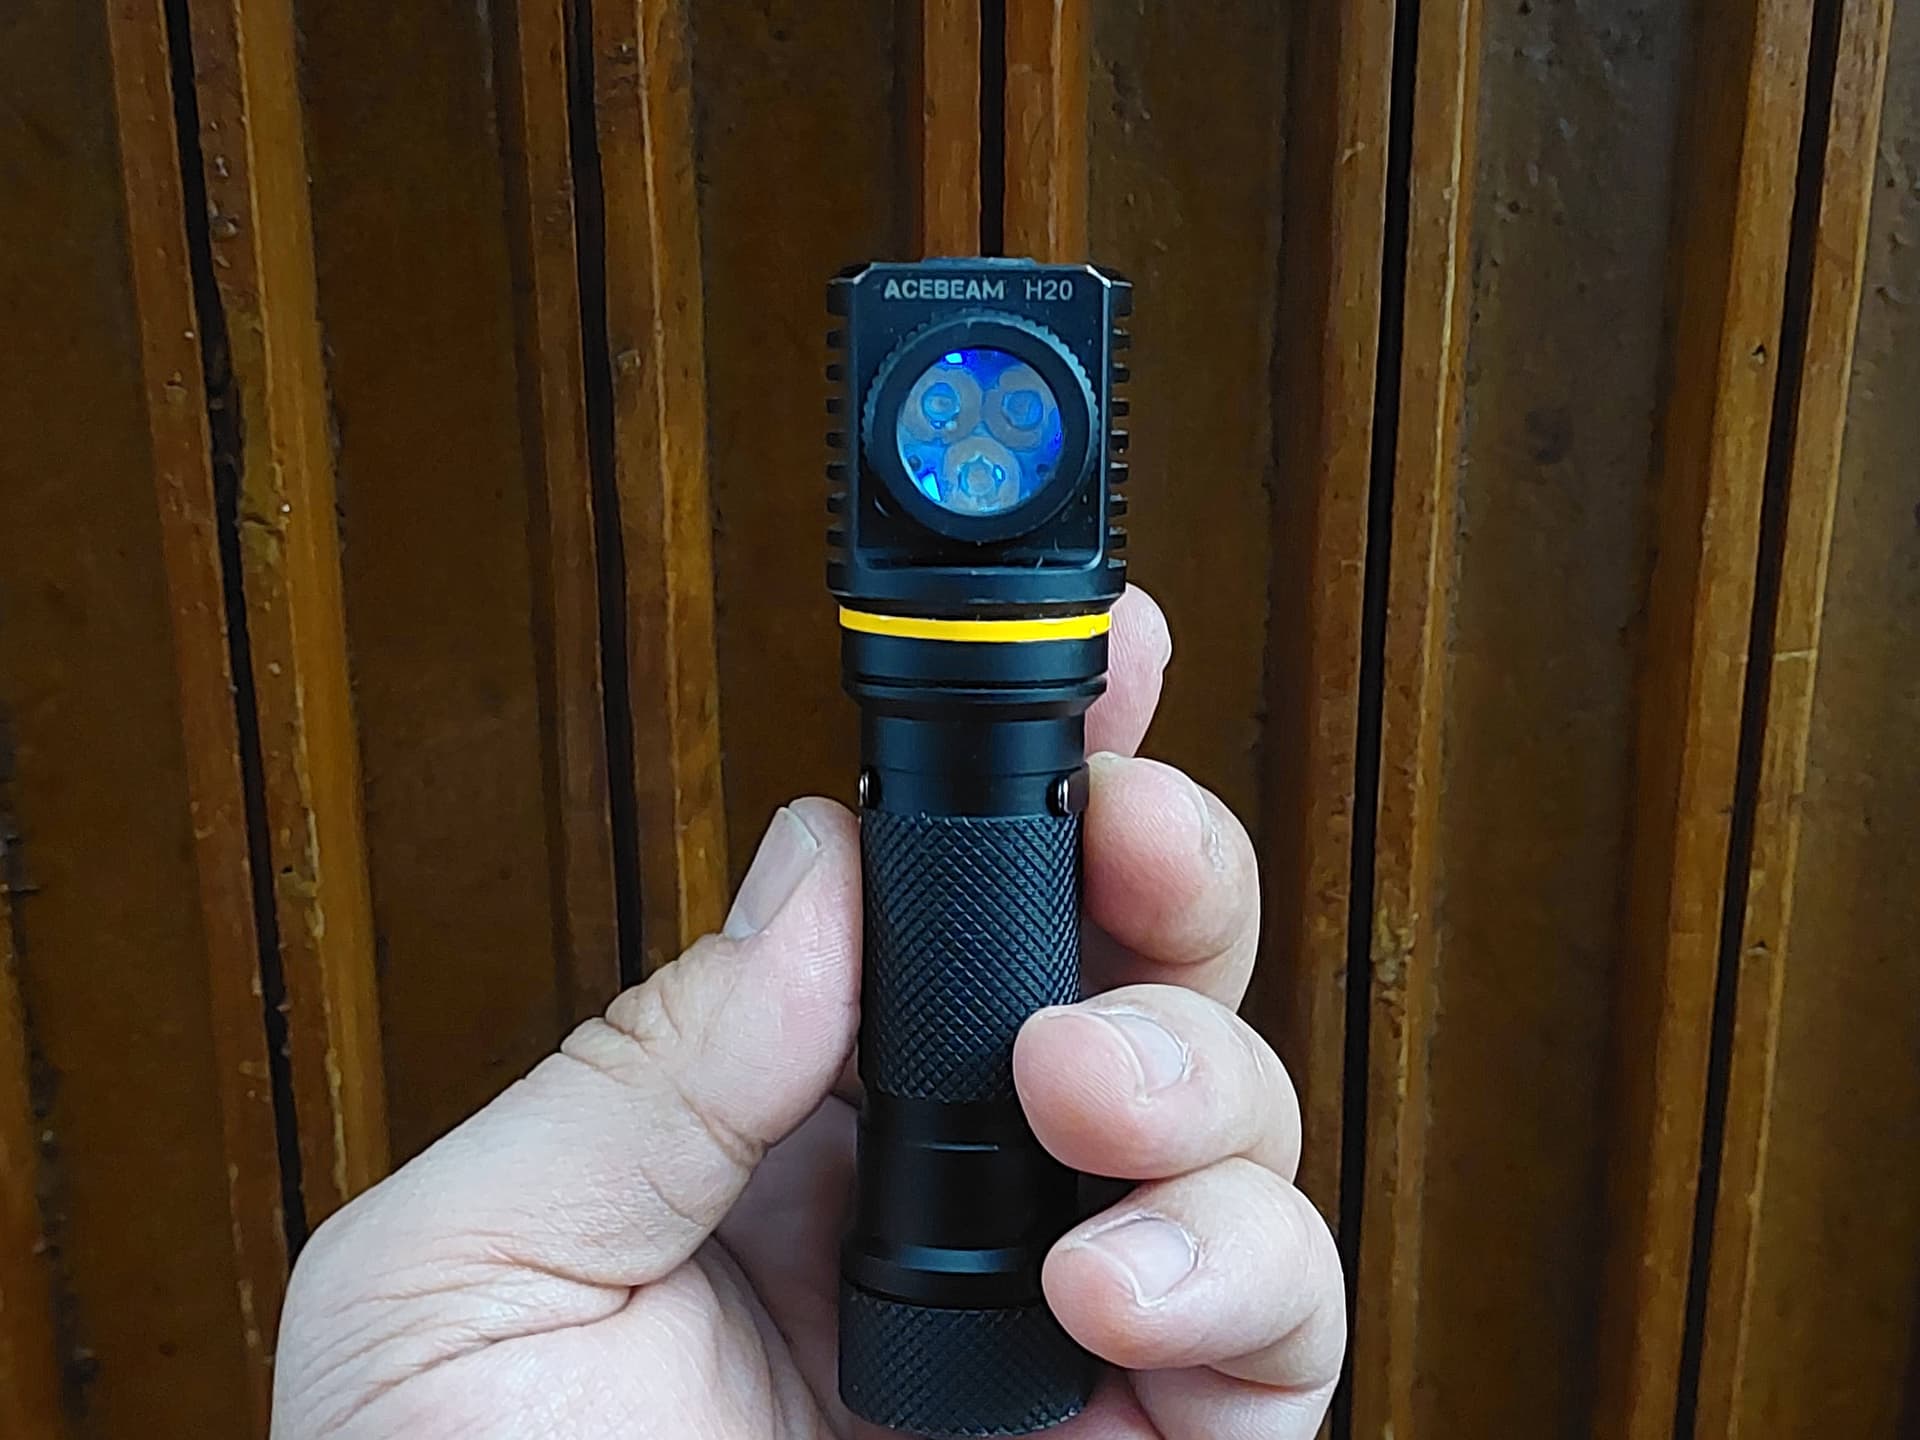
ACEBEAM H20
- Anduril 2 driver from Emisar D4 FET version (from Hank Wang)
- triple 90 CRI CSP 5800K LEDs (from Wurkkos TS10 V2)
- TIR optic (from Wurkkos TS10 V2)
- lighted switch (from FireFlies)
- thin brass spacer
- stock bezel, stock lens
This one was a big challenge for many reasons! But I ended up with a long desired Anduril headlamp w/ Neutral White 90CRI LEDs.
I needed to:
a) drill a hole in the shelf for the wires
b) file the edges of the driver to reduce it around 1.5mm
c) unsolder all the wires from the driver
d) solder wires to the MCPCB (thinner but longer wires, since the driver’s wires were too short to “rise” and enter the inner part of the head)
e) solder all the wires for the aux LEDs to the driver > solder the switch wires to the driver > solder the main LED wires to the driver (with gymnastics, since they ain’t very long…)
f) file the TIR optic to fit the bezel.
In this one, due to the frailty of the wires/leds/soldering, I needed to lower the ceiling to level 100 and to removed the 2C to Turbo to avoid “smoking” the leds and all the work I did there! @jon_slider surely approves this option ![]()
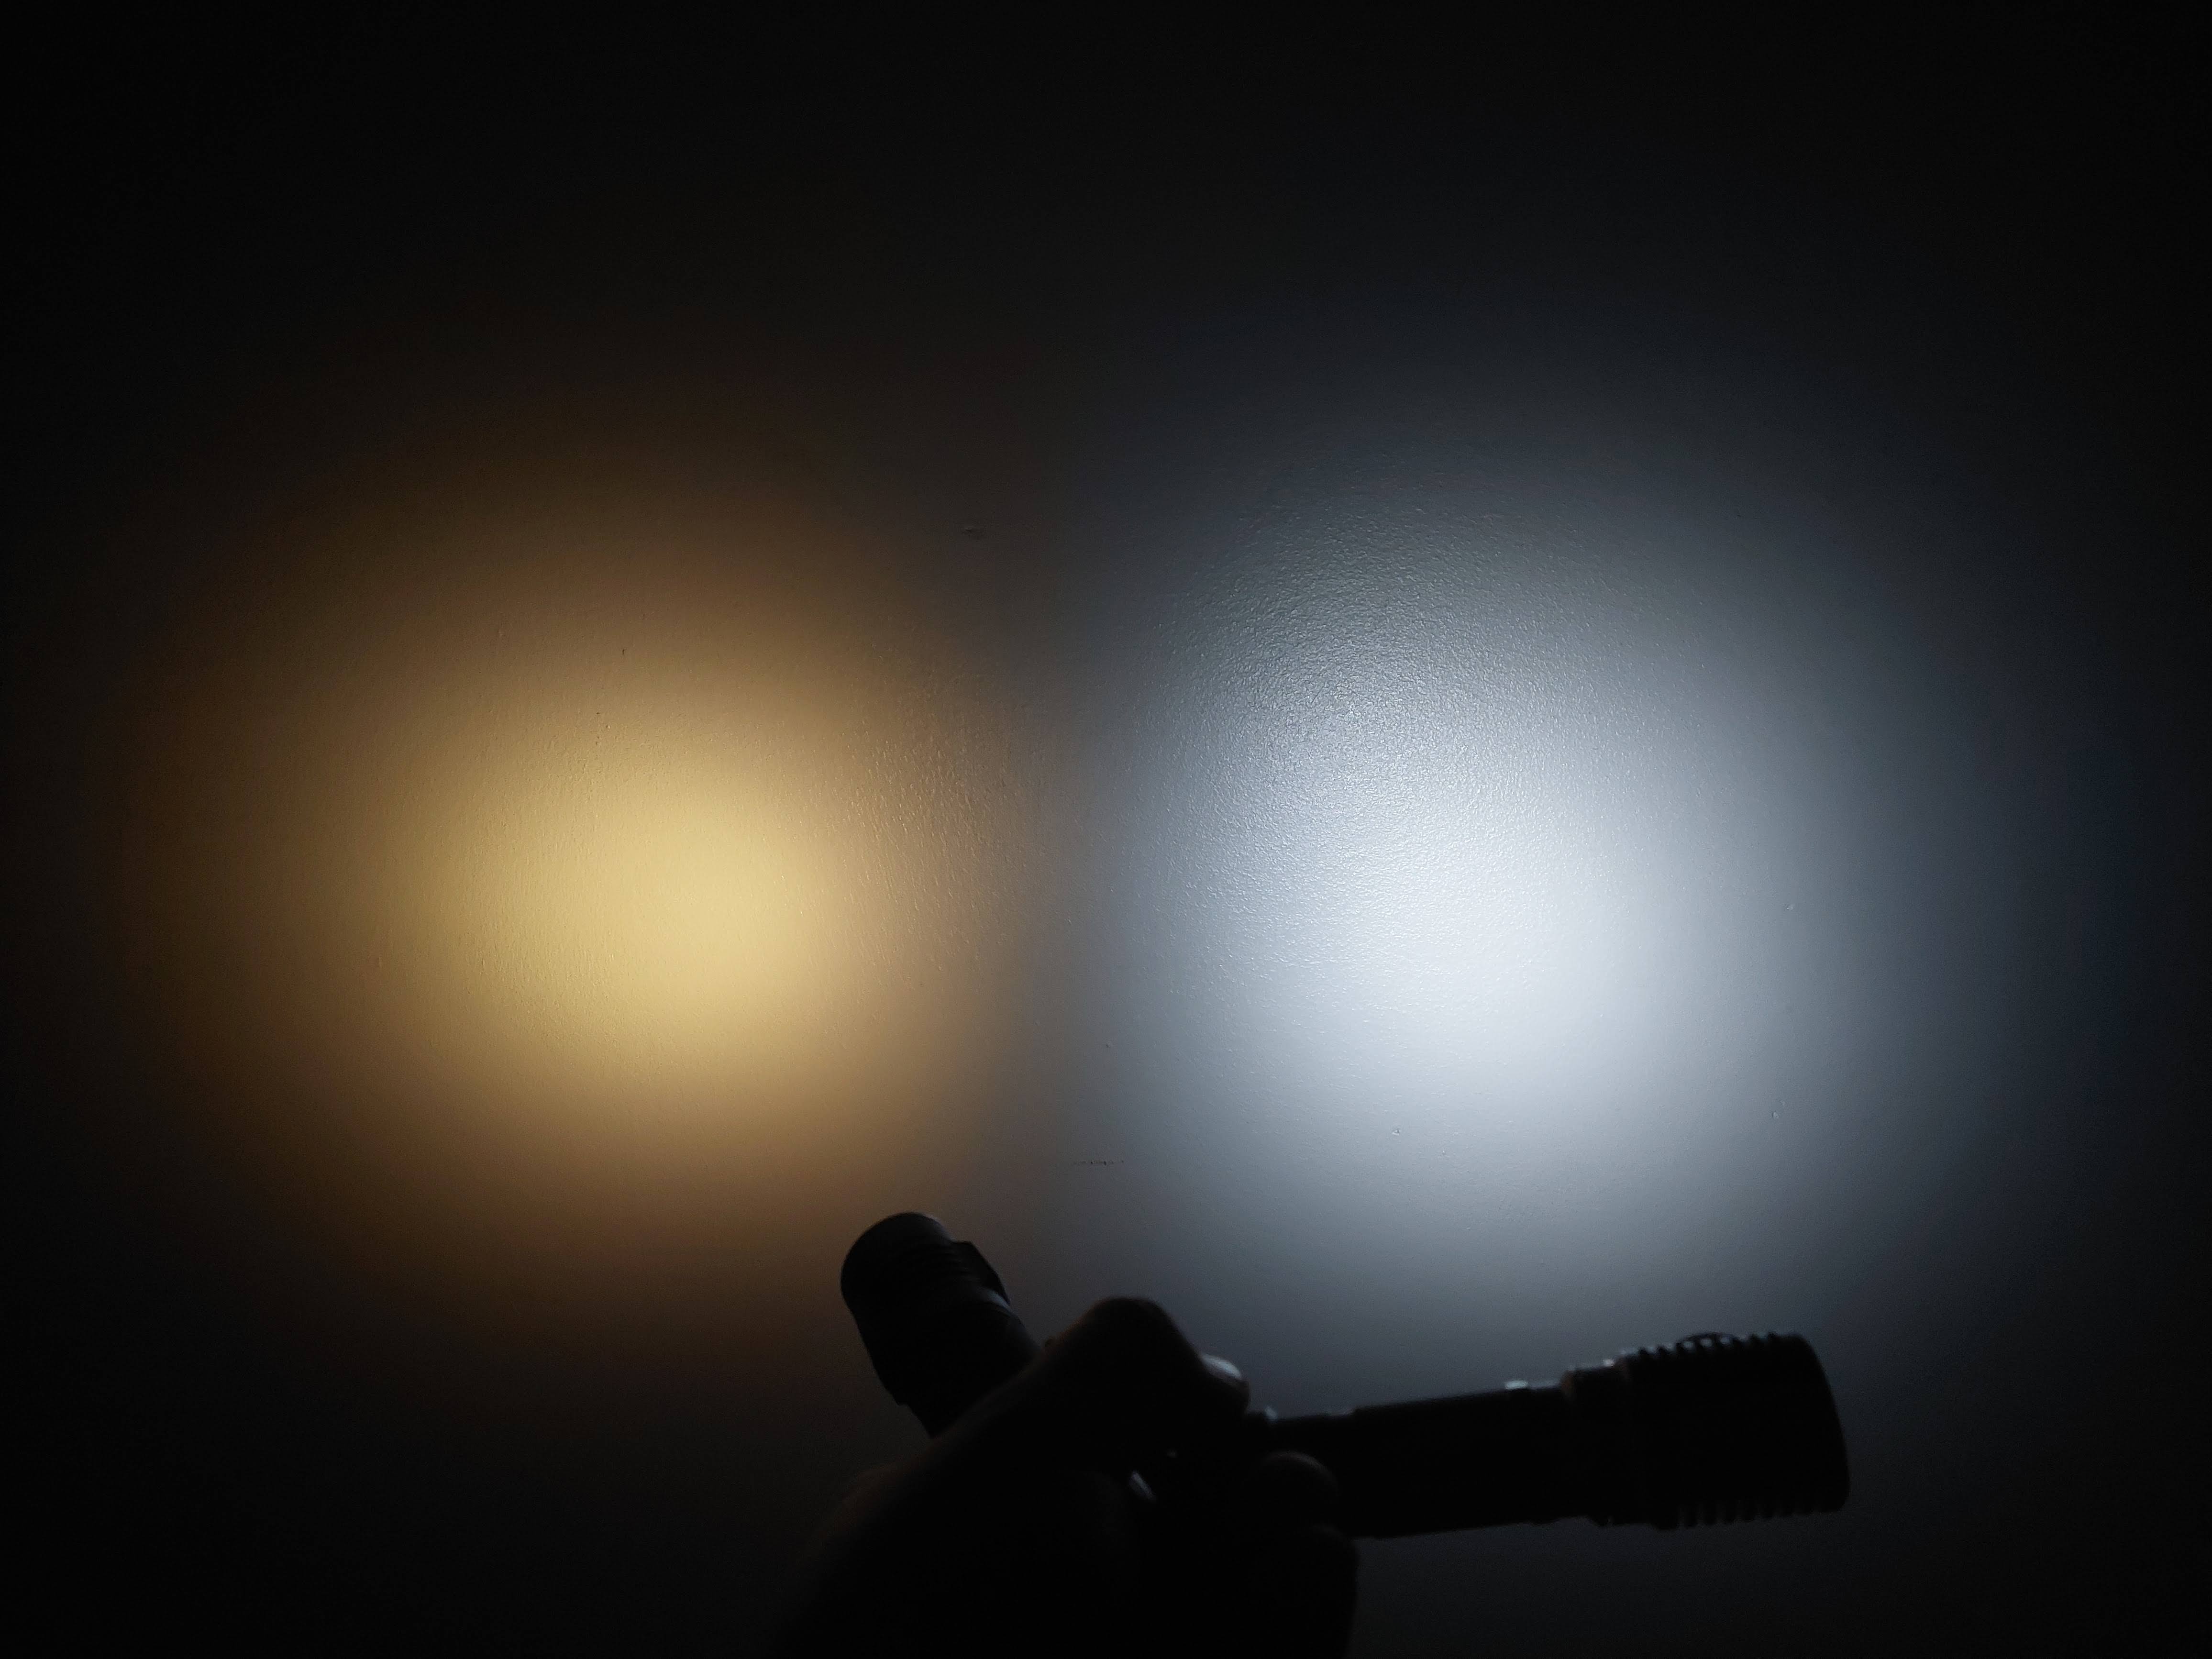
Here’s a beam comparison!
I have some other photos, not the best because I was busy modding, but if needed, let me know!
10 Thanks
Quite a collection of parts! I’ve not seen those guys around here for a long time… ![]()
Impressive mods, nicely done!
Yup, some of those parts go back to my first mod in the OL Contest, while others were aquired/won later on! As for the members I mentioned, they are surely missed around here, all have valuable contributions to our hobby and I miss seeing them arround! ![]()
Thanks for the words about the mods ![]()
1 Thank
Got C mag done too. now two hosts and leds that been sitting for a decade in boxes, will now sit for another decade as assembled lights, lol

9 Thanks
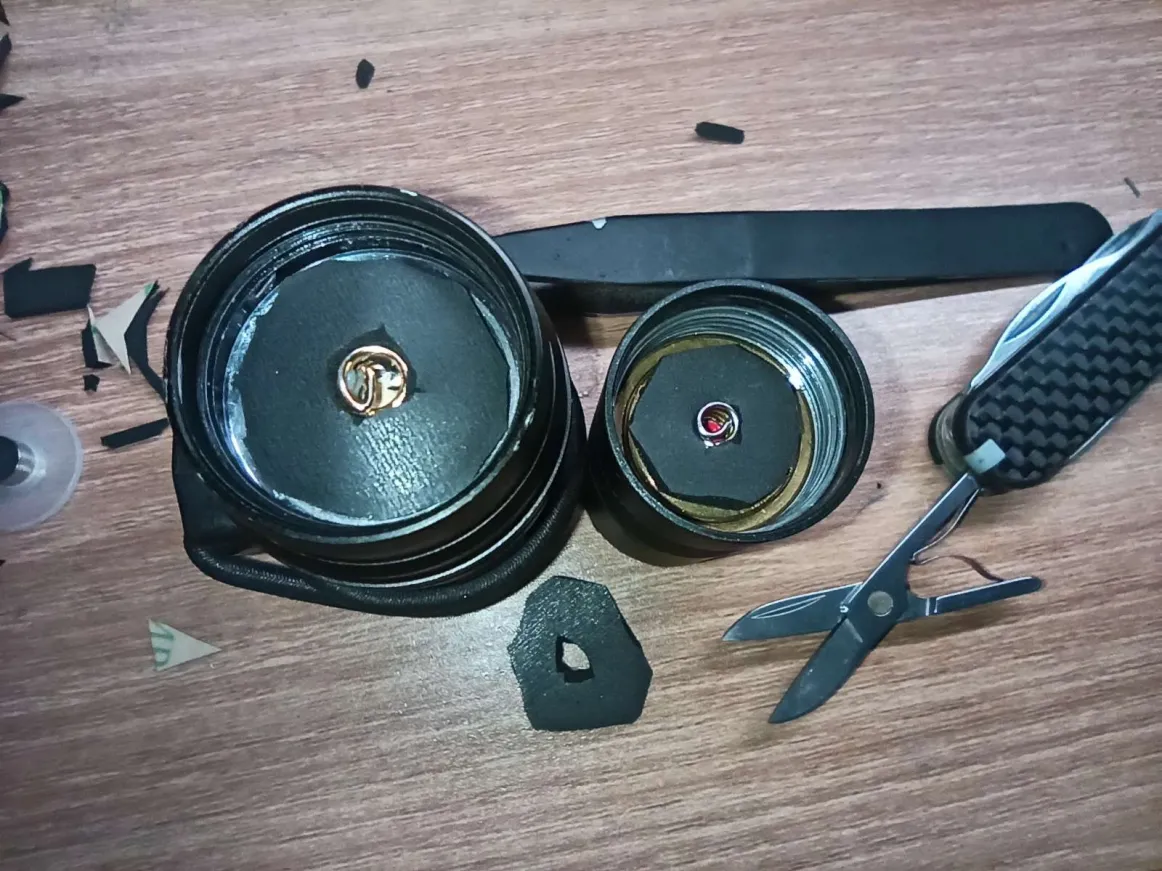
Battery Drop Protection Workaround
(some people call it Battery Bumper)
Basically, the narrow and stiff spring may still dent the positive end of the unprotected flat-top battery when dropped, or the spring itself can be crooked and may even short out the components on the back side.
Using any cushioning material to wrap around the spring should be able to absorb some of the shock.
I used some Poron foam with adhesive backing, height basically flush with the spring or a bit higher(if your material is soft), width is best to fill the entire battery tube inside, perhaps can give some lateral support to the spring.
7 Thanks
Excellent Idea! I wish someone offered these precut.
2 Thanks
Anyone with a hot-wire cutter could make them very easily. It would be very convenient, I agree
2 Thanks
Sounds like I need to invest in a new tool…
1 Thank
It wouldn’t be too difficult to make one if you want to. Could do something like the one in this old instructable guide.
Edit: Found a slightly better design
1 Thank
Wow, fun - Thank you for sharing! Now I wonder if this could be done with a USB-c trigger board using 20V 3A as input.