Great idea, I would love to see if it works out
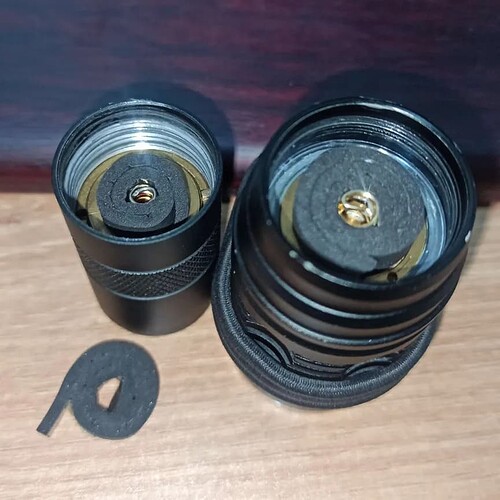
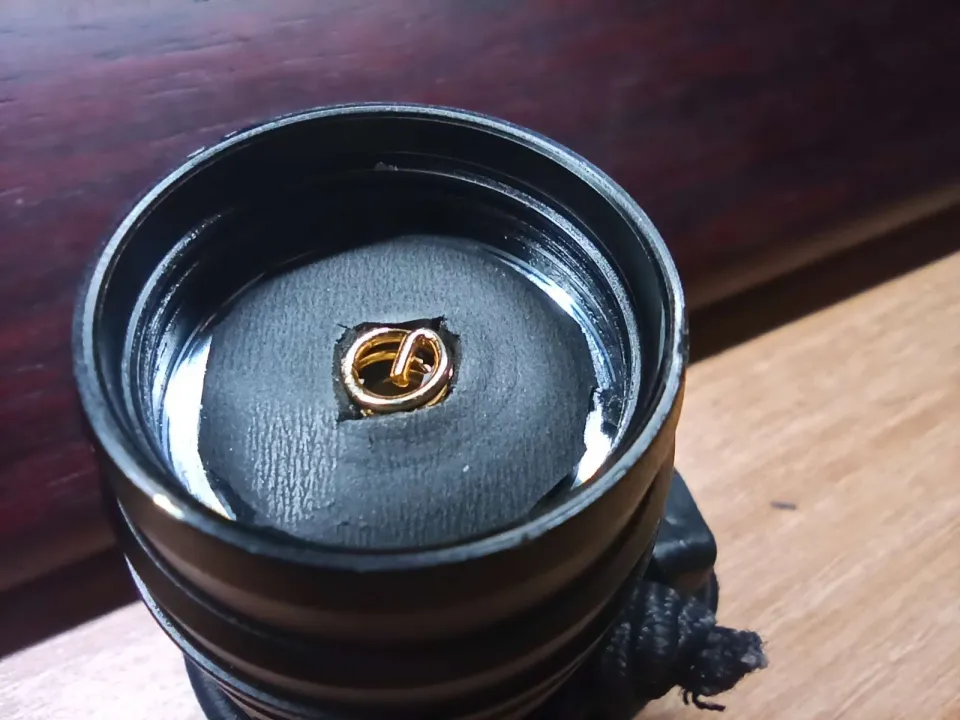
It doesn’t have to be Poron, pre-cut EVA foam o-rings/gaskets are also common online. And relatively soft materials(silicone, NBR) flat/regular o-rings should also work.
And I found some brands like Malkoff sell some thick o-rings with the name “Battery Bumper” for this purpose.
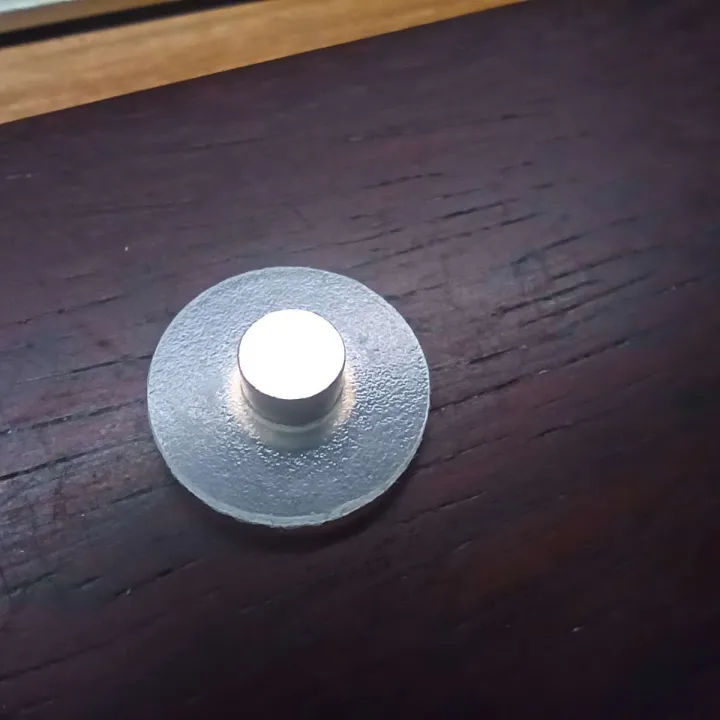
btw, I had a battery spacer to help me cut out the circle.
You could 3D print something in TPU. Doing it with 1 to 2 walls and low internal fill would give a similar effect to foam. Then use double sided tape to fix it in place. (LOL but you’d still need to cut the double sided tape to shape.)
Perhaps the shape could be designed to use the spring to retain it in place without obstructing it’s movement? Negating the need for tape?
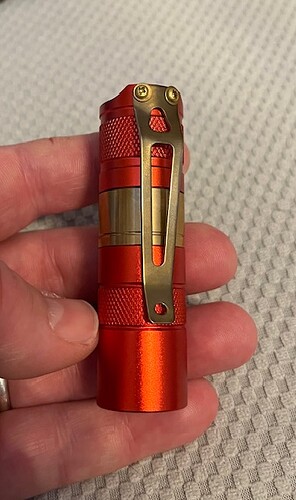
I decided to tumble my stonewashed titanium S2+. I’m happy with how it turned out!
The texture (and the rest of the flashlight) is no longer sharp, but still has plenty of grip. And the titanium now has a slight tacky feel to it.
I have two questions: How long did you left it running, and what substance did you use on the tumbler? Just random pebbles?
I tumbled it for about a week in total, although I spent around a month working on it.
It was an experiment so I tried several types of media. At one point I used sand and that was a mistake. What you see in the pic is what worked the best for me which is small pebbles that I got off the street from the city snow plows.
I also learned that the amount of pebbles impacted the finish. More pebbles in the barrel made the finish smoother. And I learned to plug the head and tail to prevent the pebbles from going into the threads. At one point I almost didn’t think I was going to be able to unscrew them!
That stonewash looks fantastic!!! ![]()
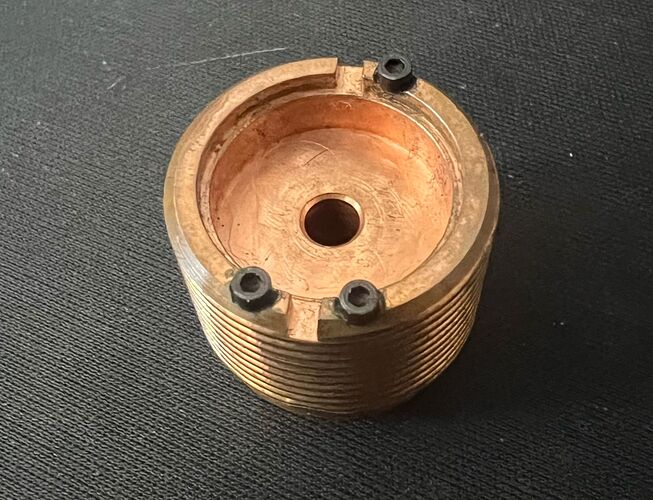
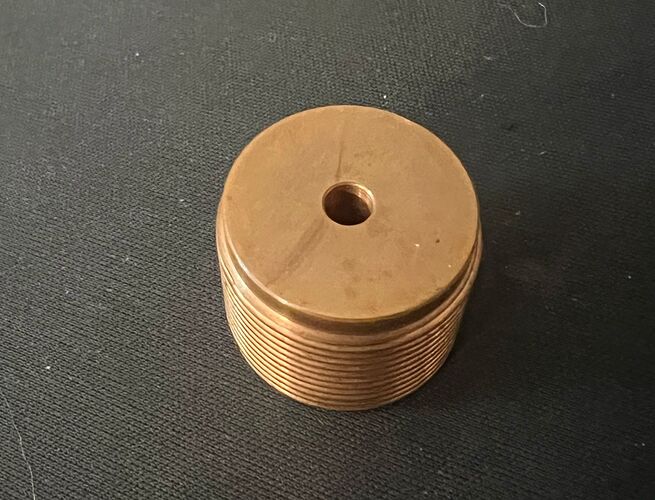
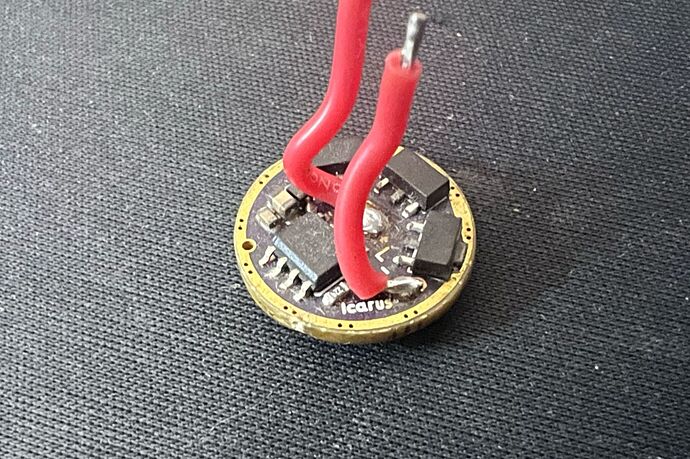
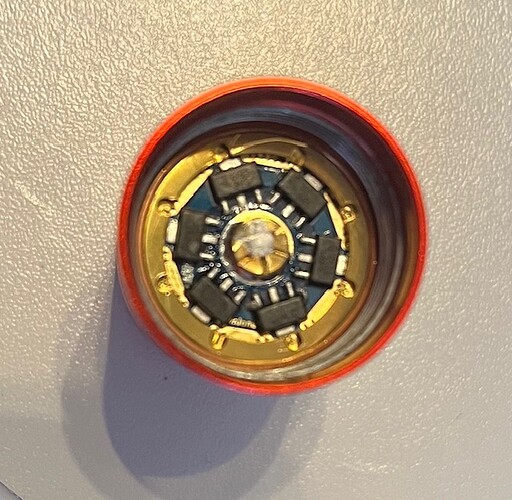
Not a mod yet, but I just found this beautifully machined pill for the S2+ I got from Hoop about 8 years ago (or more). It was well hidden in a parts drawer along with a Dr. Jones Icarus 17mm driver with 9x 7135s. I believe this style precedes his BIG RET version. The quality of machining and screw fitment brings joy just to look at.
Not looking for a high performance or anduril build since I have plenty of hank lights doing that. I want to do something special with them and intend to really use it. I’ve been a bit distant from the modding world and I’m not sure about the fitment on the current S2+, what build would you suggest?
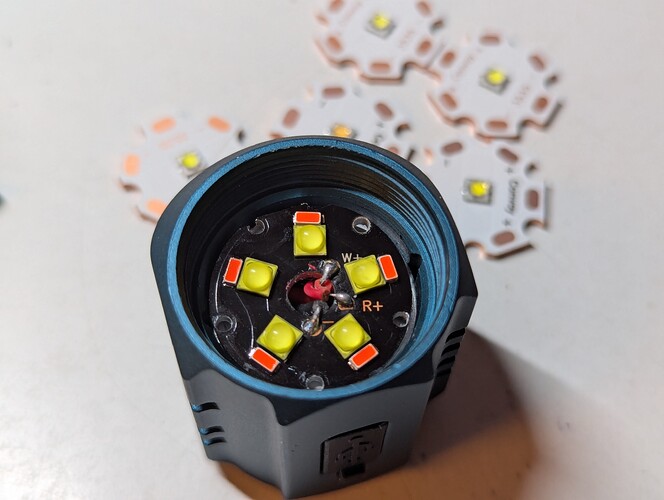
Got a Coast XT20R zoomie today and tried to mod it.
Not too bad out of the box. I like the narrow shape with no bulbous head. Quite rare in a AA size zoomie.
The light is too long due to the very long tailcap. Fortunately that was easily fixed by swapping in the tailcap from a Sipik 68 clone. The light worked out of the box like that with a Vapcell L10 flat top.
I tried to take it apart to upgrade the emitter and driver. Previous Coast zoomies that I disassembled tended to be fairly easy to take apart once you got past the threadlocker they use on the bezel.
Unfortunately this one is a huge pain.
- Unlike most zoomies, the bezel on this one did not even appear to have noticeable threads after I managed to break whatever glue was holding it and twisted it off the head. It looks like it was press-fit with glue.
- I couldn’t get the pill apart without destroying anything. Unlike previous Coast zoomies there are no screws holding the plastic cover that surrounds the LED and driver wires. I suspect it is press-fit and glued and goes fairly deeply into the pill. Same for the driver.
- The driver wires were soldered to the pill through tiny slots in the side of the plastic cover. This is awkward to desolder unless you have a VERY fine tip on your iron (which I did not). That plastic cover melts if the iron touches it.
- I didn’t have any need to remove the optic from the head, but it has a metal retaining ring that is probably also glued in.
I gave up for tonight, but will probably try destructive methods next.
- I’ll probably dremel through the bottom of the driver destroying it. Hopefully I’ll then be able to push out the plastic cover from the inside.
- If not, I’ll start taking chunks off the plastic cover from inside the pill until I can remove it. Worst case, I’ll use a dremel sawing disk and cut it off just above the edge of the pill.
- Once the driver and cover are free from the pill I’ll then do an emitter swap to an SFT25R 5000K neutral white.
- Not sure about a replacement driver though. At a guess, the driver is maybe 14mm. I used up my last 15mm FET guppydrv driver that I had on hand in a different light. A driver from a Pokelit AA might fit, but I like pocket rockets and would rather have more power.
- If the driver and emitter swap are successful:
- I plan to glue the remaining portion of the white plastic cover into place with epoxy on the inside of the pill. Hopefully it won’t get too hot and lose grip when the light is used.
- I’ll replace the bi-directly clip with a one-way one, or I’ll modify the bi-directional clip into a one-way clip.
The current Convoy S2+ have square threads now, but the KaiDomain S2 Plus still have the trapezoidal threads.
KD also sells a Brass 18350 tube and it looks great with pretty much every color host.
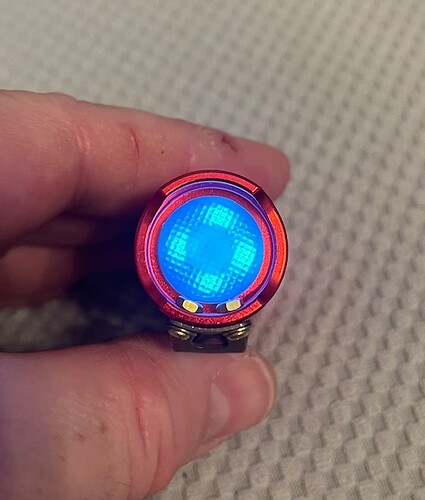
I made an Ironman light with my Hoop BigRET and Dr Jones driver:
Led switch is from Simon or your usually nerd work?![]()
That’s a very nice build you have there!
I was hoping for the titanium or MAO host to be compatible ![]()
I do have a couple older S2+ but quite beat up
It’s a LVP CC illuminated tailcap designed by gchart.
The old S2+ had truncated triangular threads, (60 degree included angle, with the crest chopped off) the newer ones have trapezoidal threads (29 or 30 degree included angle, which is not a square thread). Convoy gave incorrect information about the thread types years back and no one who isn’t a machinist knows the difference.
I didn’t want to confuse anyone so I call it what Simon calls it on his site.
Plus, I’m one of the ones that doesn’t know the difference, lol.
Do you have a SP36 Pro by any chance?
I do not.
any info on the current S2+ thread dimensions and pitch?
I think its M22x1.5
The current S2+ has a trapezoidal profile thread, either ACME or ISO Metric Trapezoidal. The difference between the two is a mere 1 degree of included angle, 29 degrees for ACME and 30 degrees for ISO Metric Trapezoidal. Simon can not confirm which it is. I would assume ACME. It may be possible to determine which it is by cutting a stock pill in half and taking photographs of it and examining them in Cad. I haven’t done this yet.
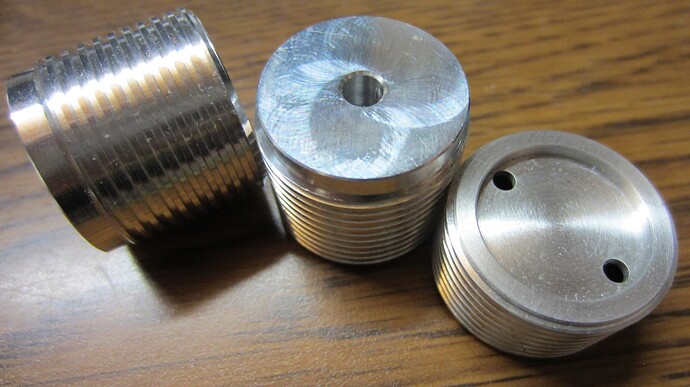
But I have cut some aluminum pills for the new version with a 14 TPI ACME threading tool, which thread in just fine. The pitch is 1.5mm.
