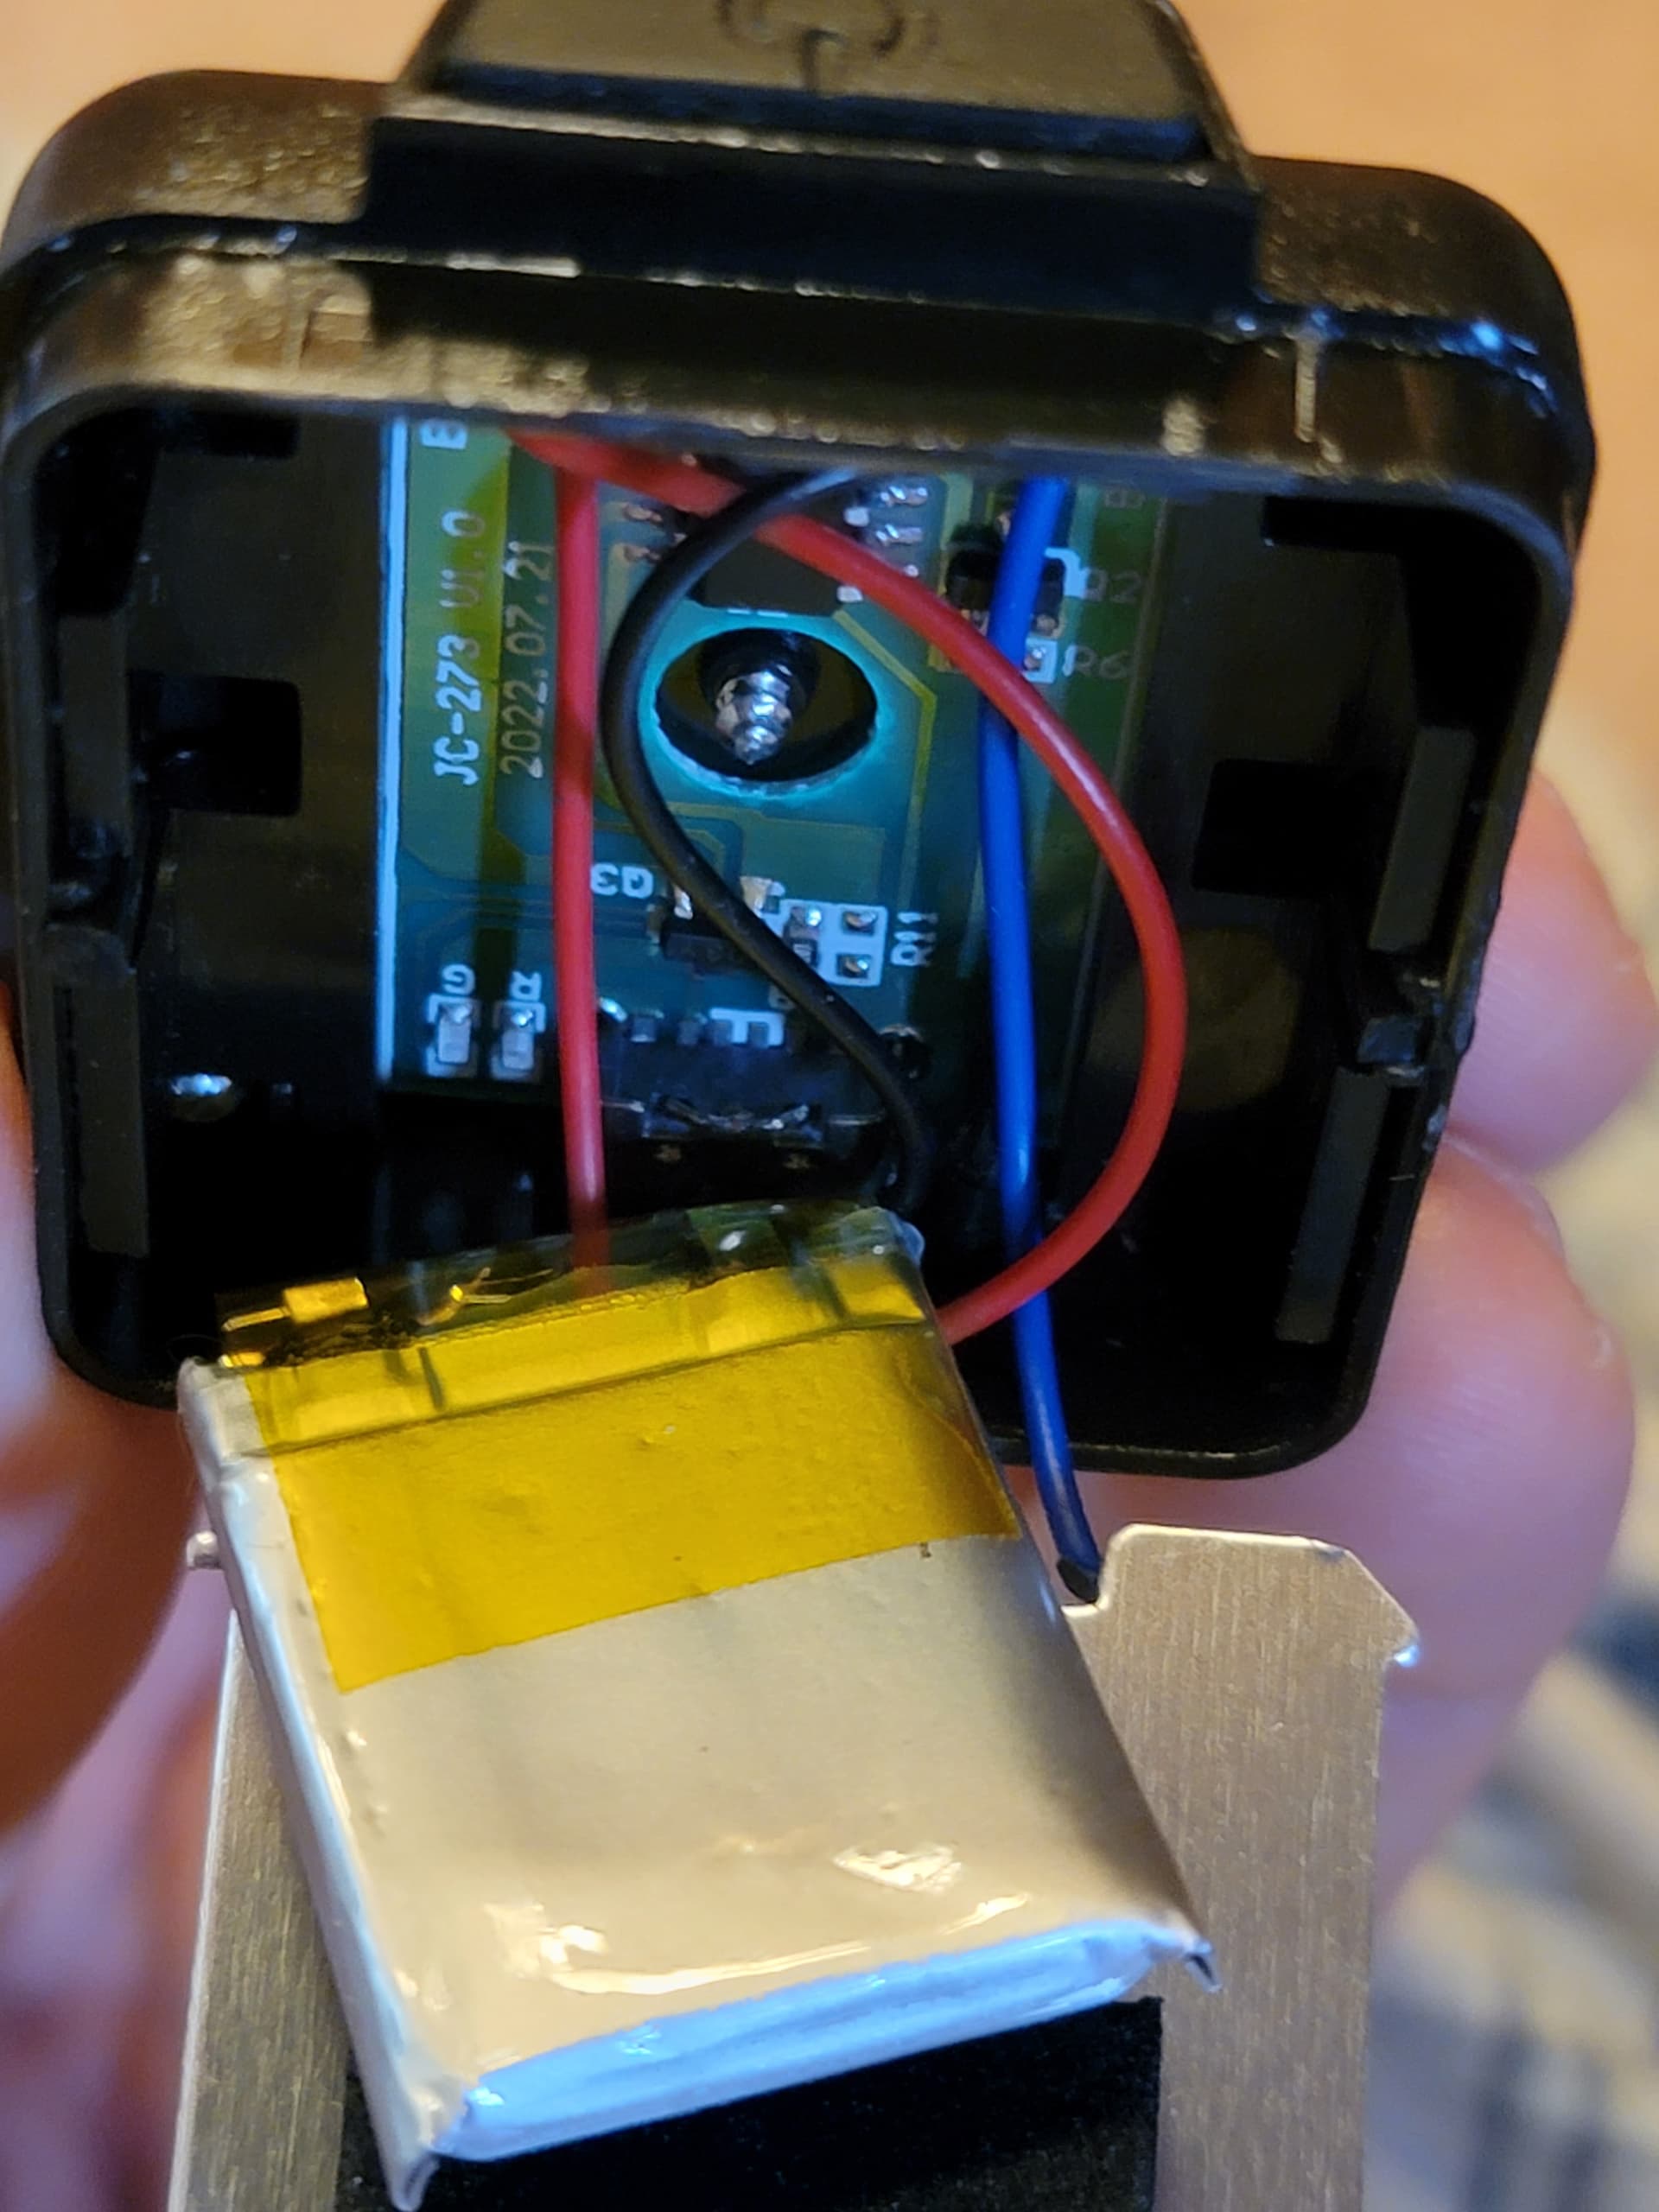
So the first keychain light I got fell apart in transit and I noticed there was a sharp screw (apparently used to secure the metal cup the rear magnet is glued into) poking through in contact with the pouch battery.
I didn’t like that very much so set it aside to make a housing.
One year later: the pouch has ballooned and I still hadn’t designed a new home for my easy to carry incendiary.
But I also got another one so went ahead and whipped up a housing in tinkercad with the kids, and then ripped that new one apart.
It looks like they’re still using the screw and PCB with the hole, but have both blunted the screw and put padding between to avert poke. Good job wurkkos! You fixed the problem, and the light itself is far more robust! Which really worked against me this time, so mixed feelings on that.
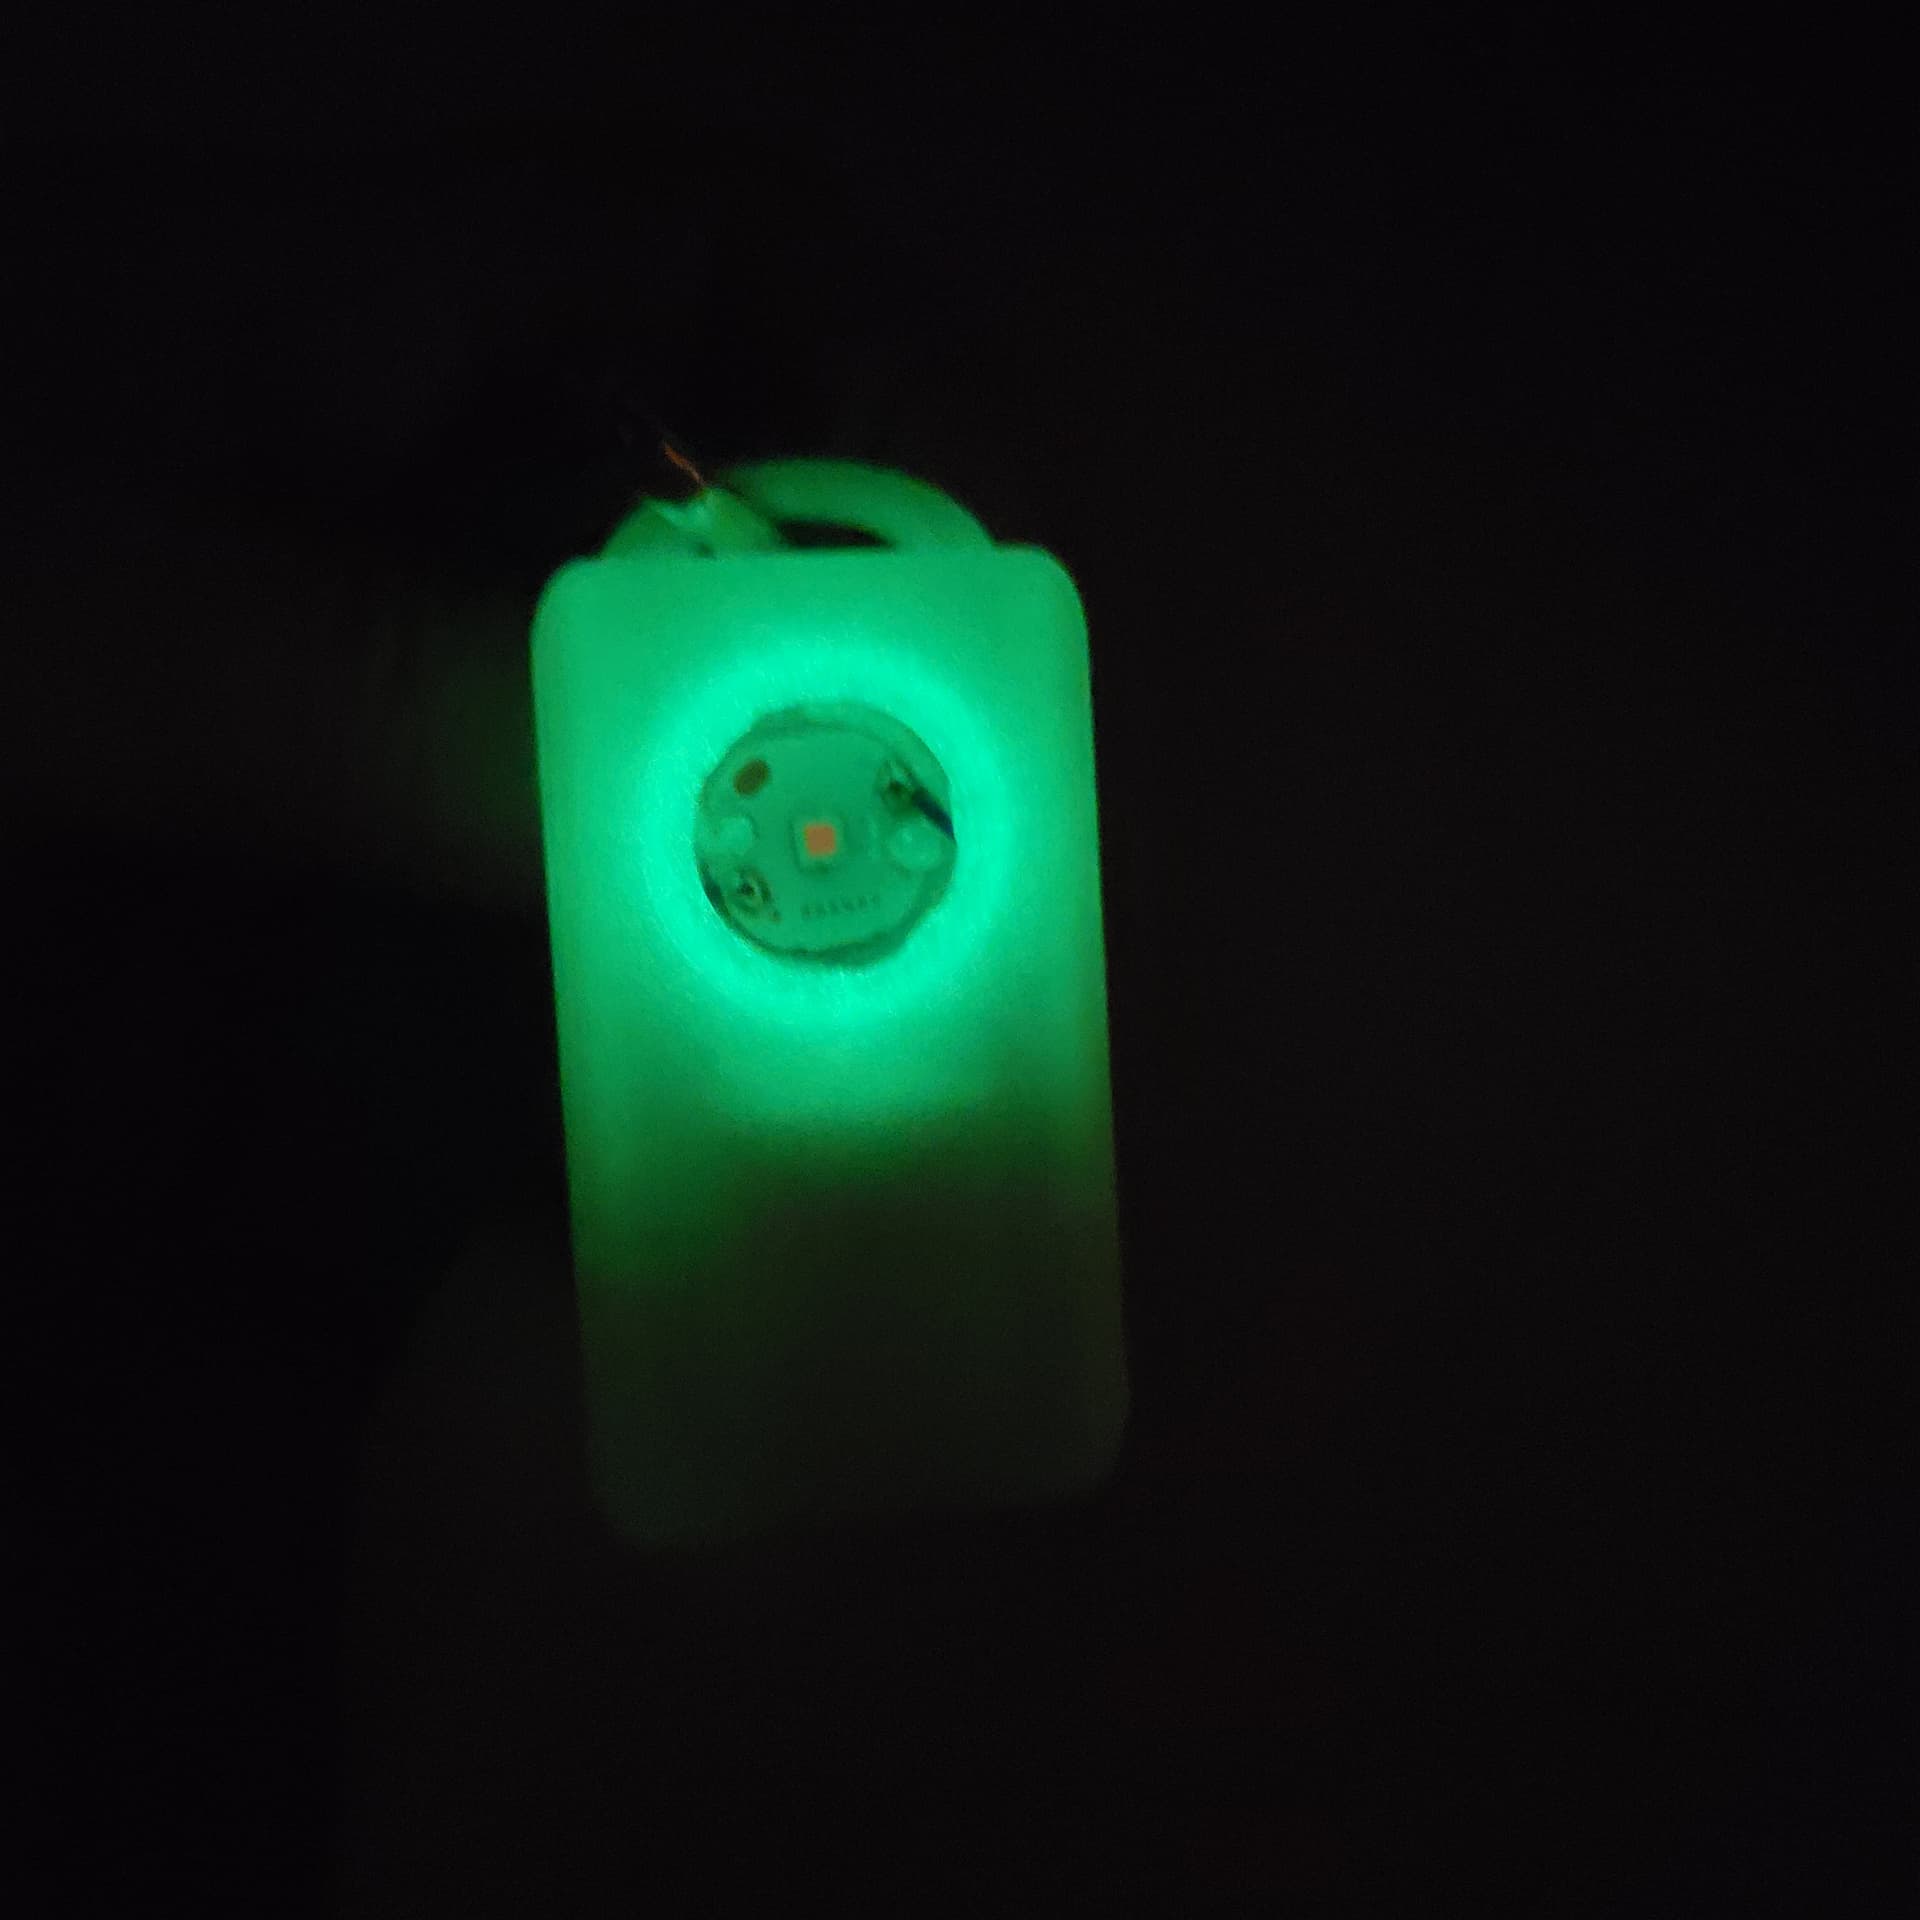
I didn’t like the big LED thing, so went with 519a 4000k from convoy that I had left over as a back up to a sc21 swap.
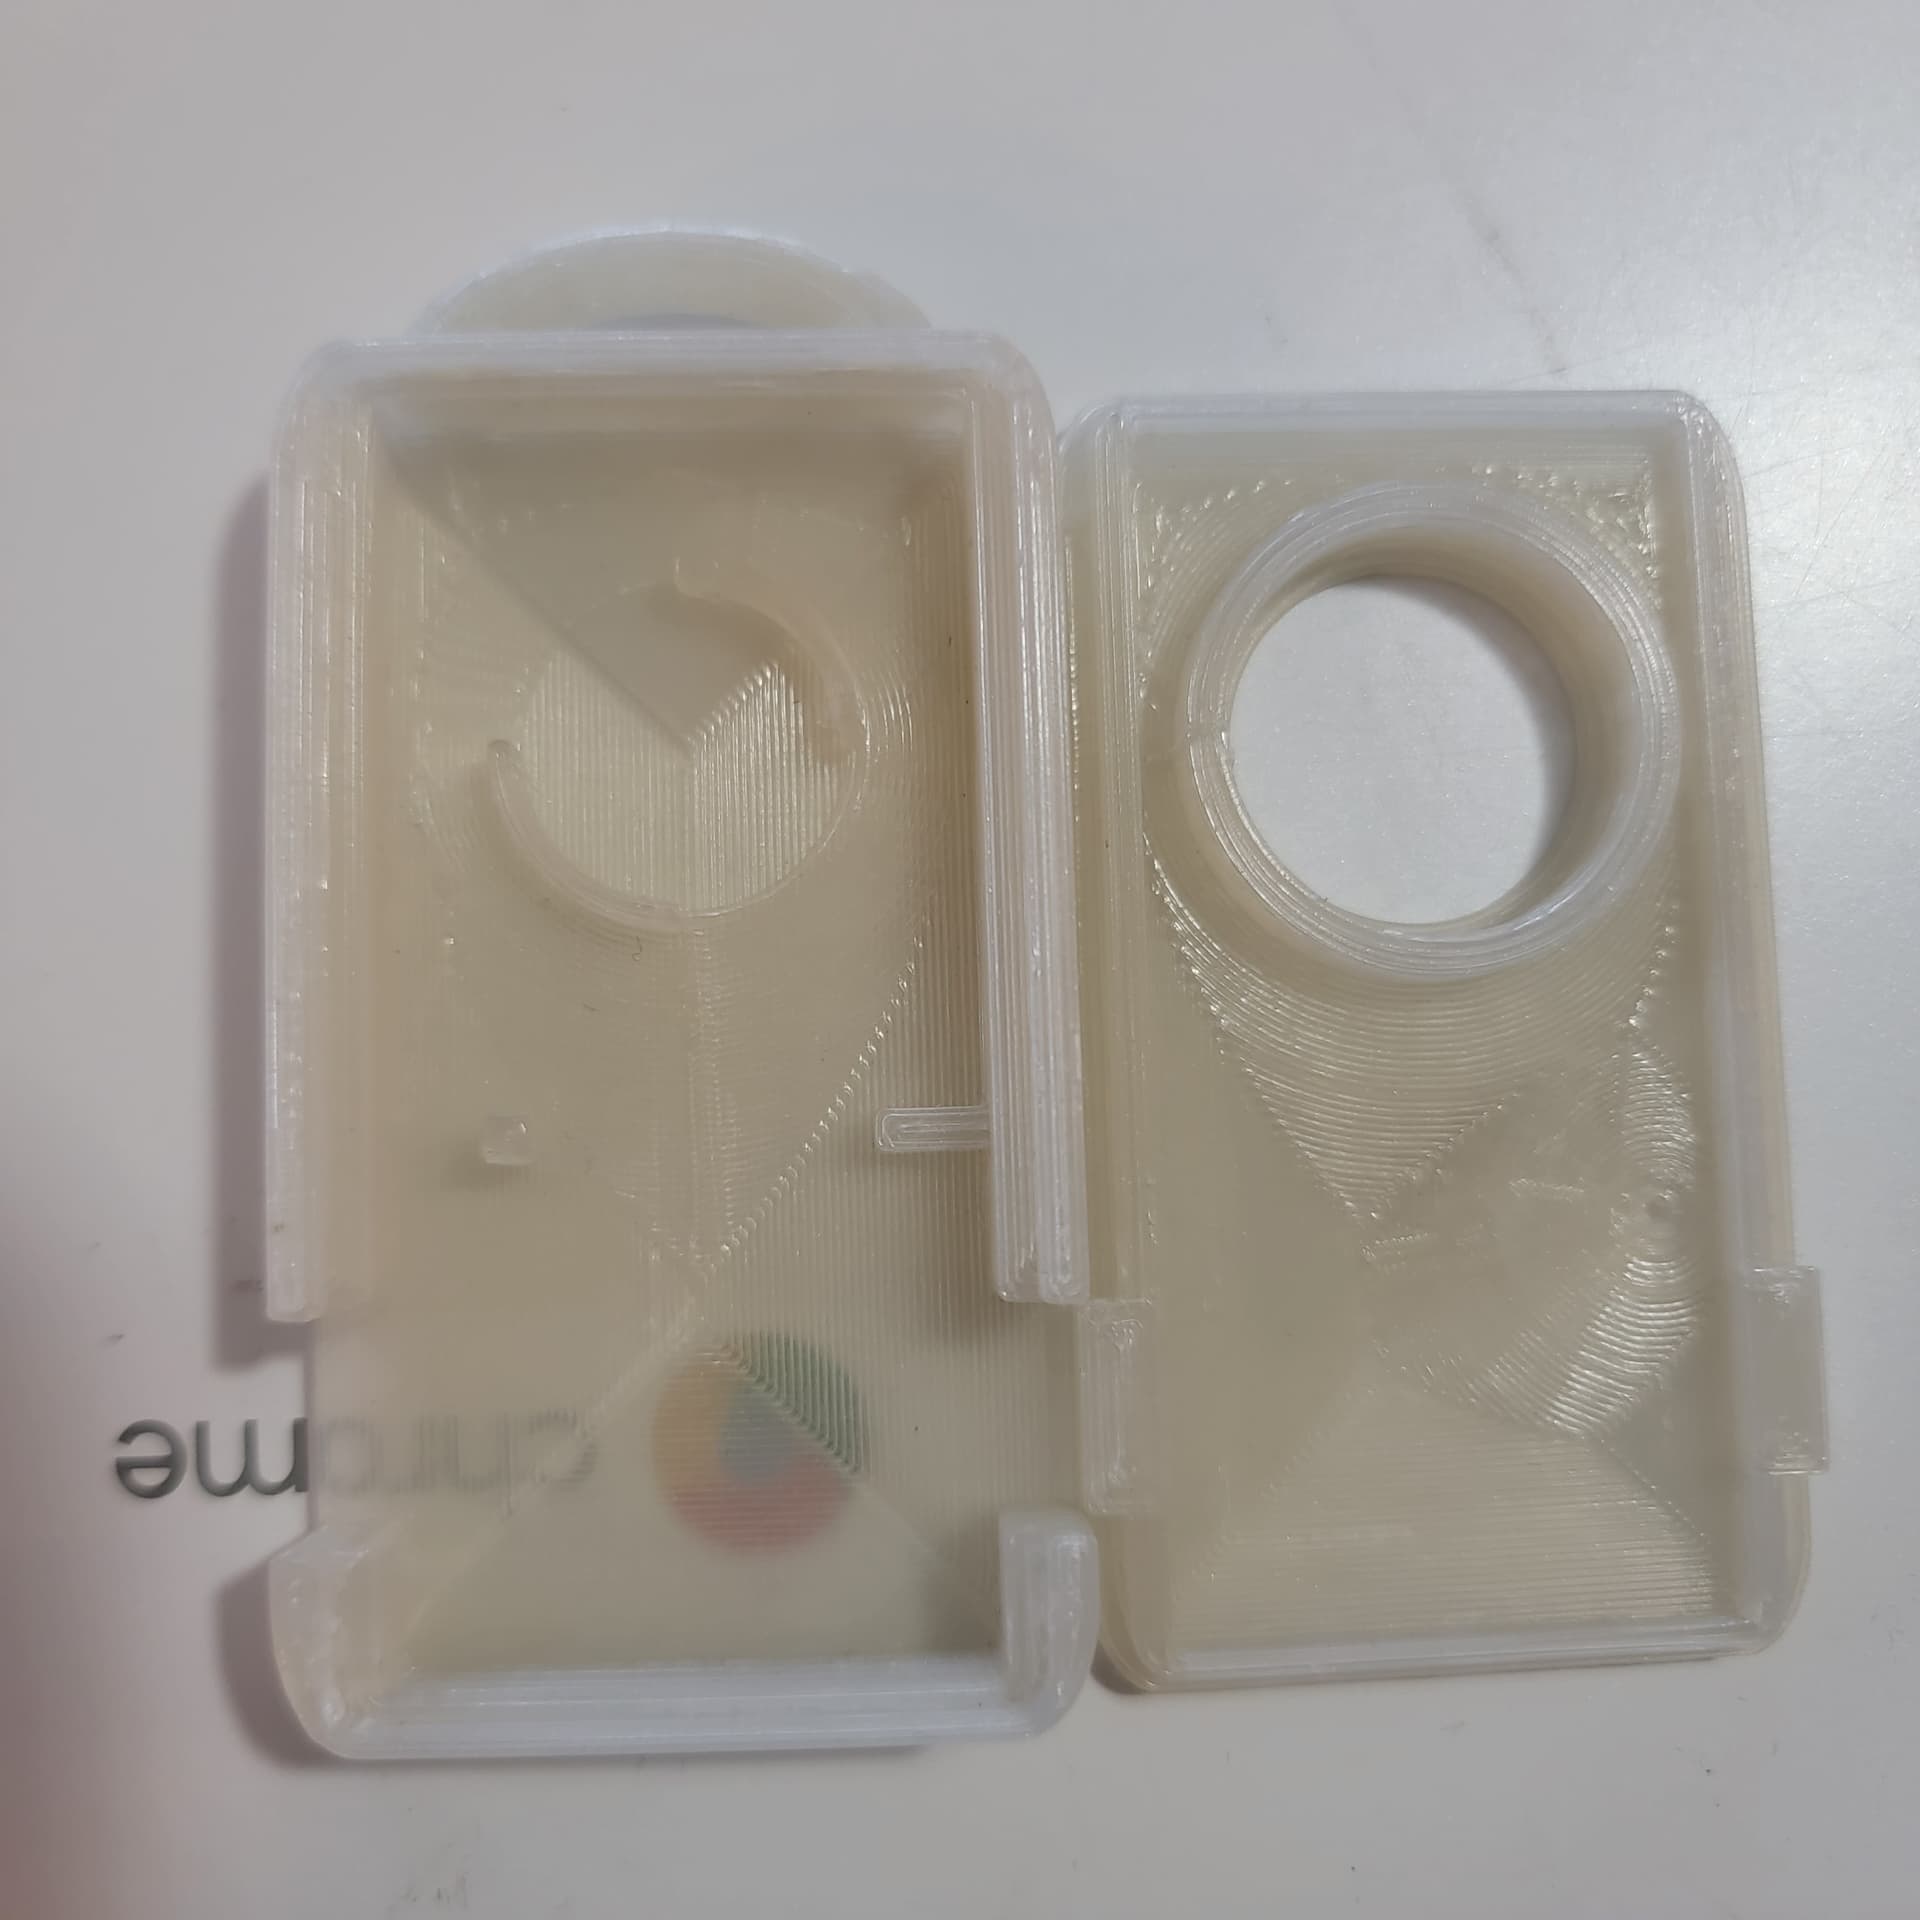
I used some ancient glow in the dark filament that snapped twice during the print (after drying, it’s just old) and printed with transparency as the goal, so hot and slow. This is version 1 that didn’t have room for the lens and had a hole so I could see the charging light, but that design was before I planned on printing in GitD so I removed it in V2.
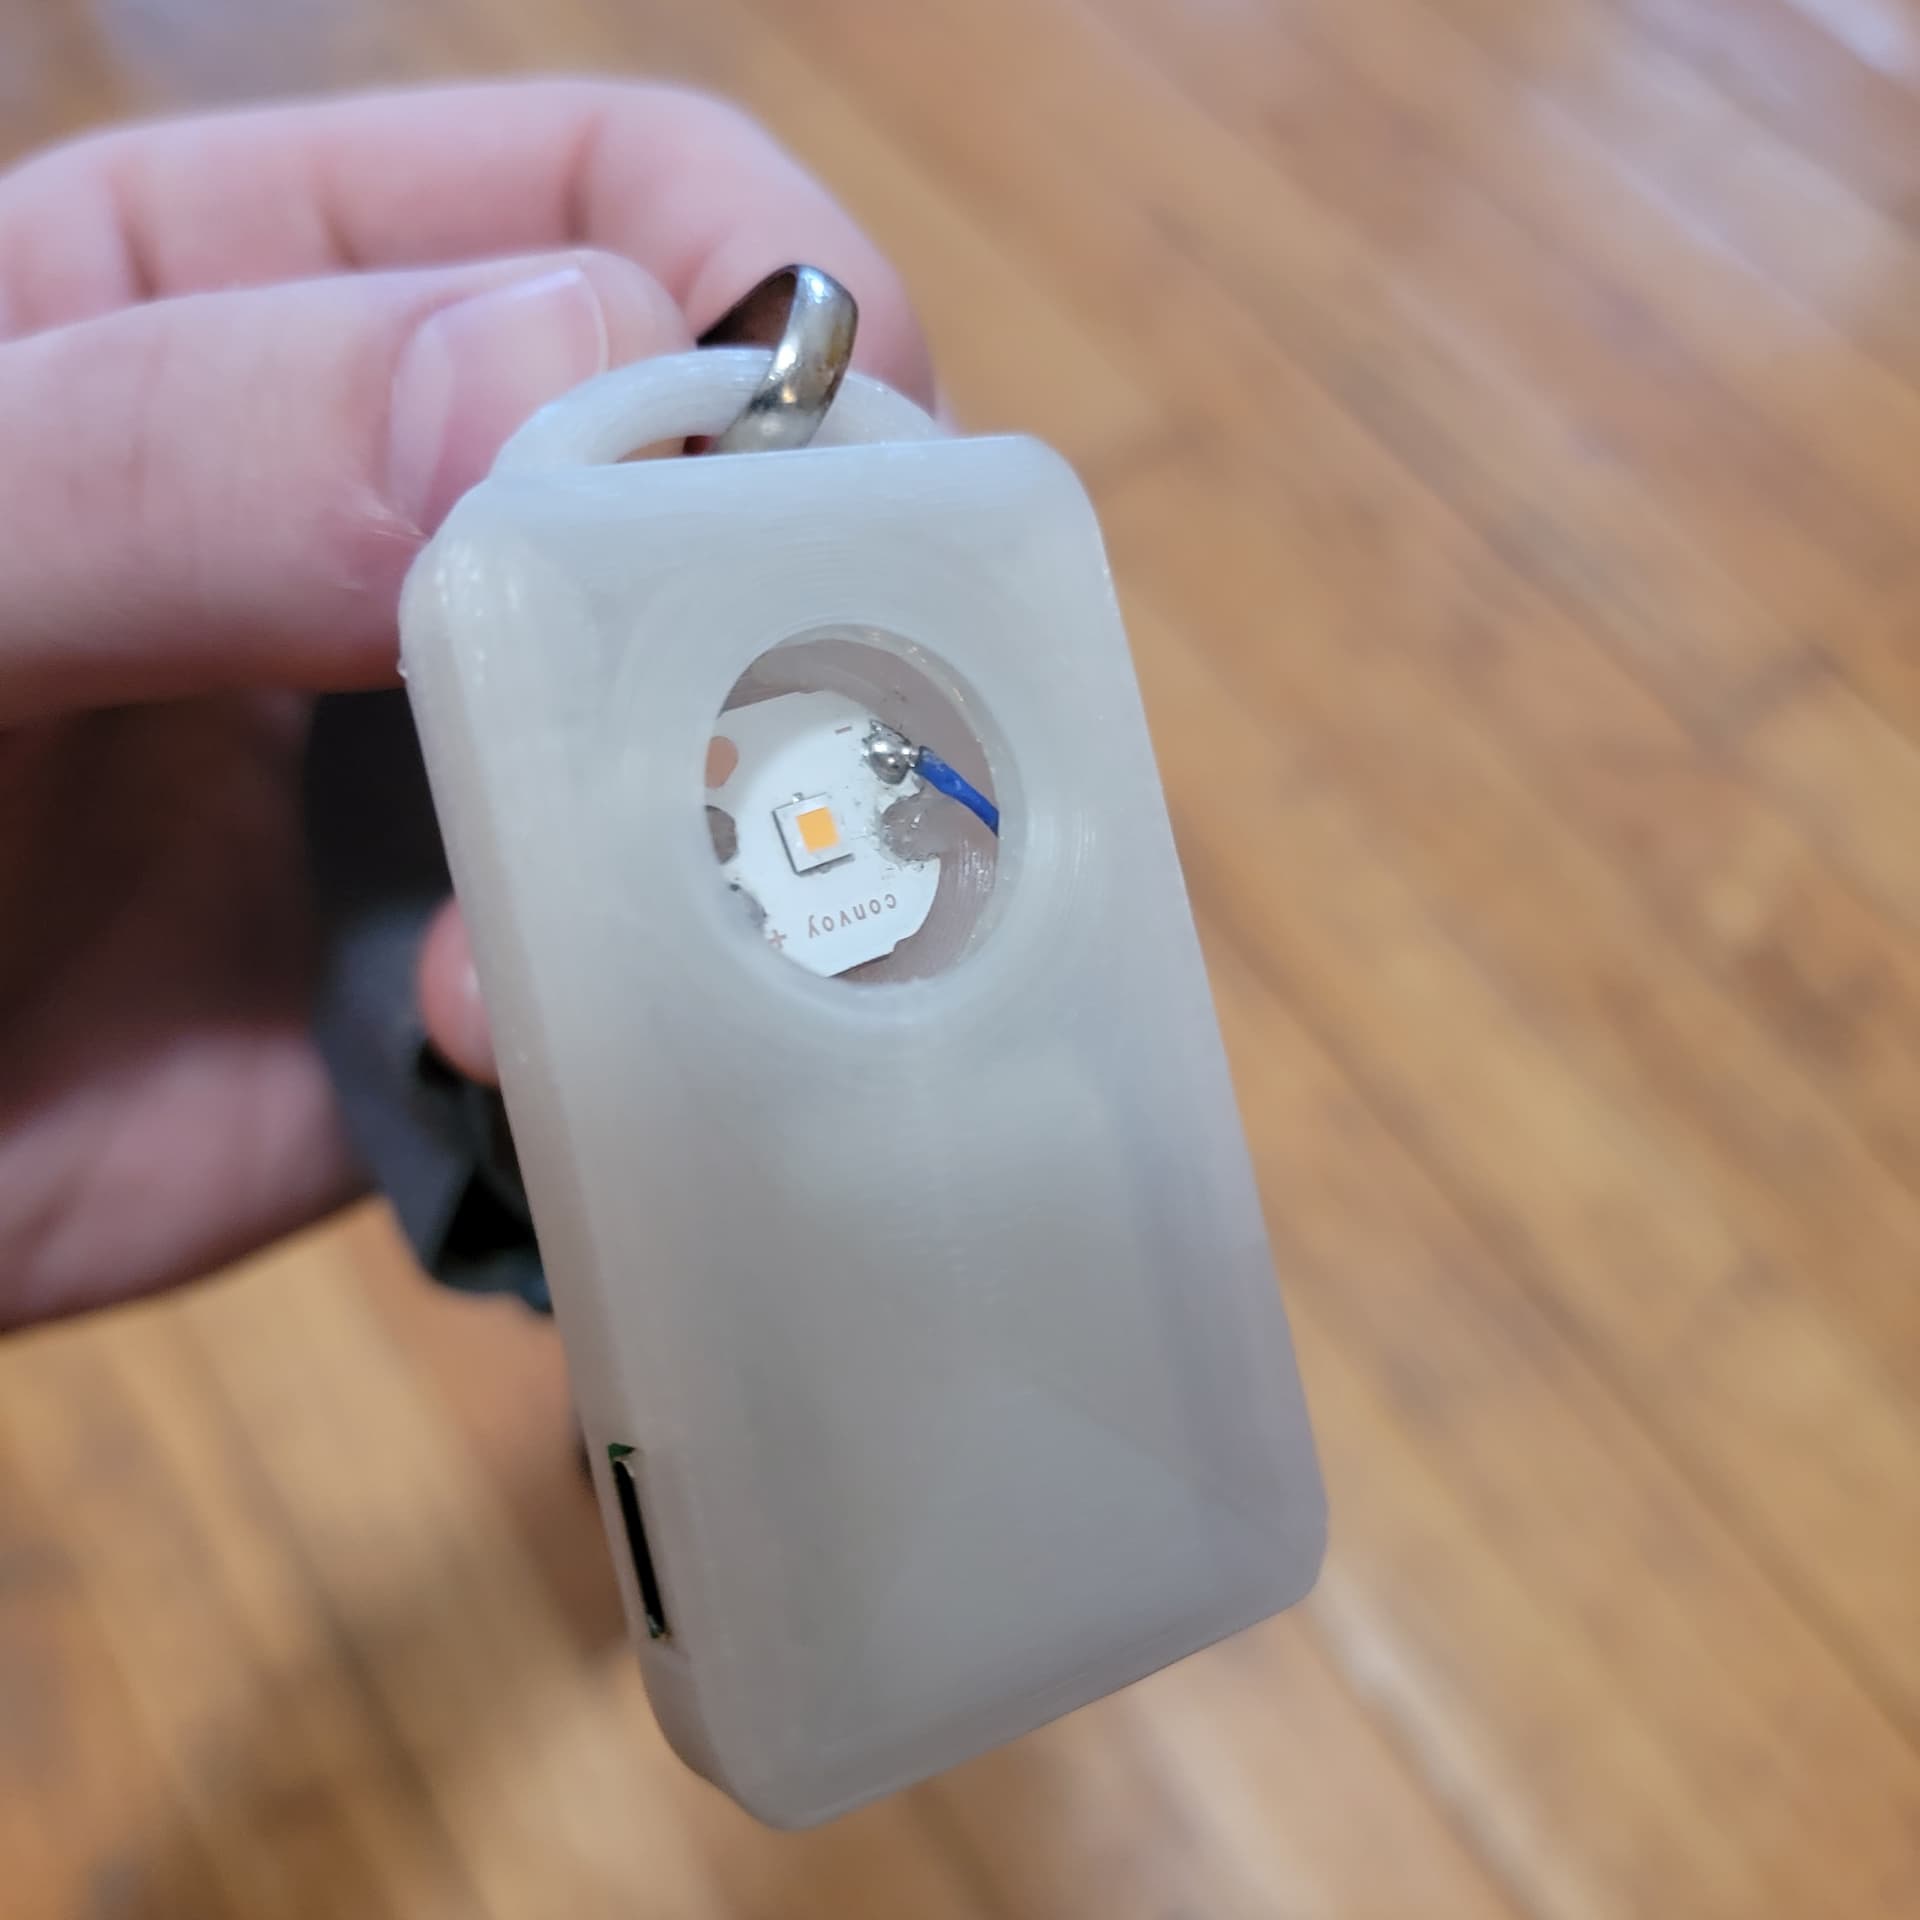
The MCPCB was secured by putting globs of filament into the wire cut outs.
Back side
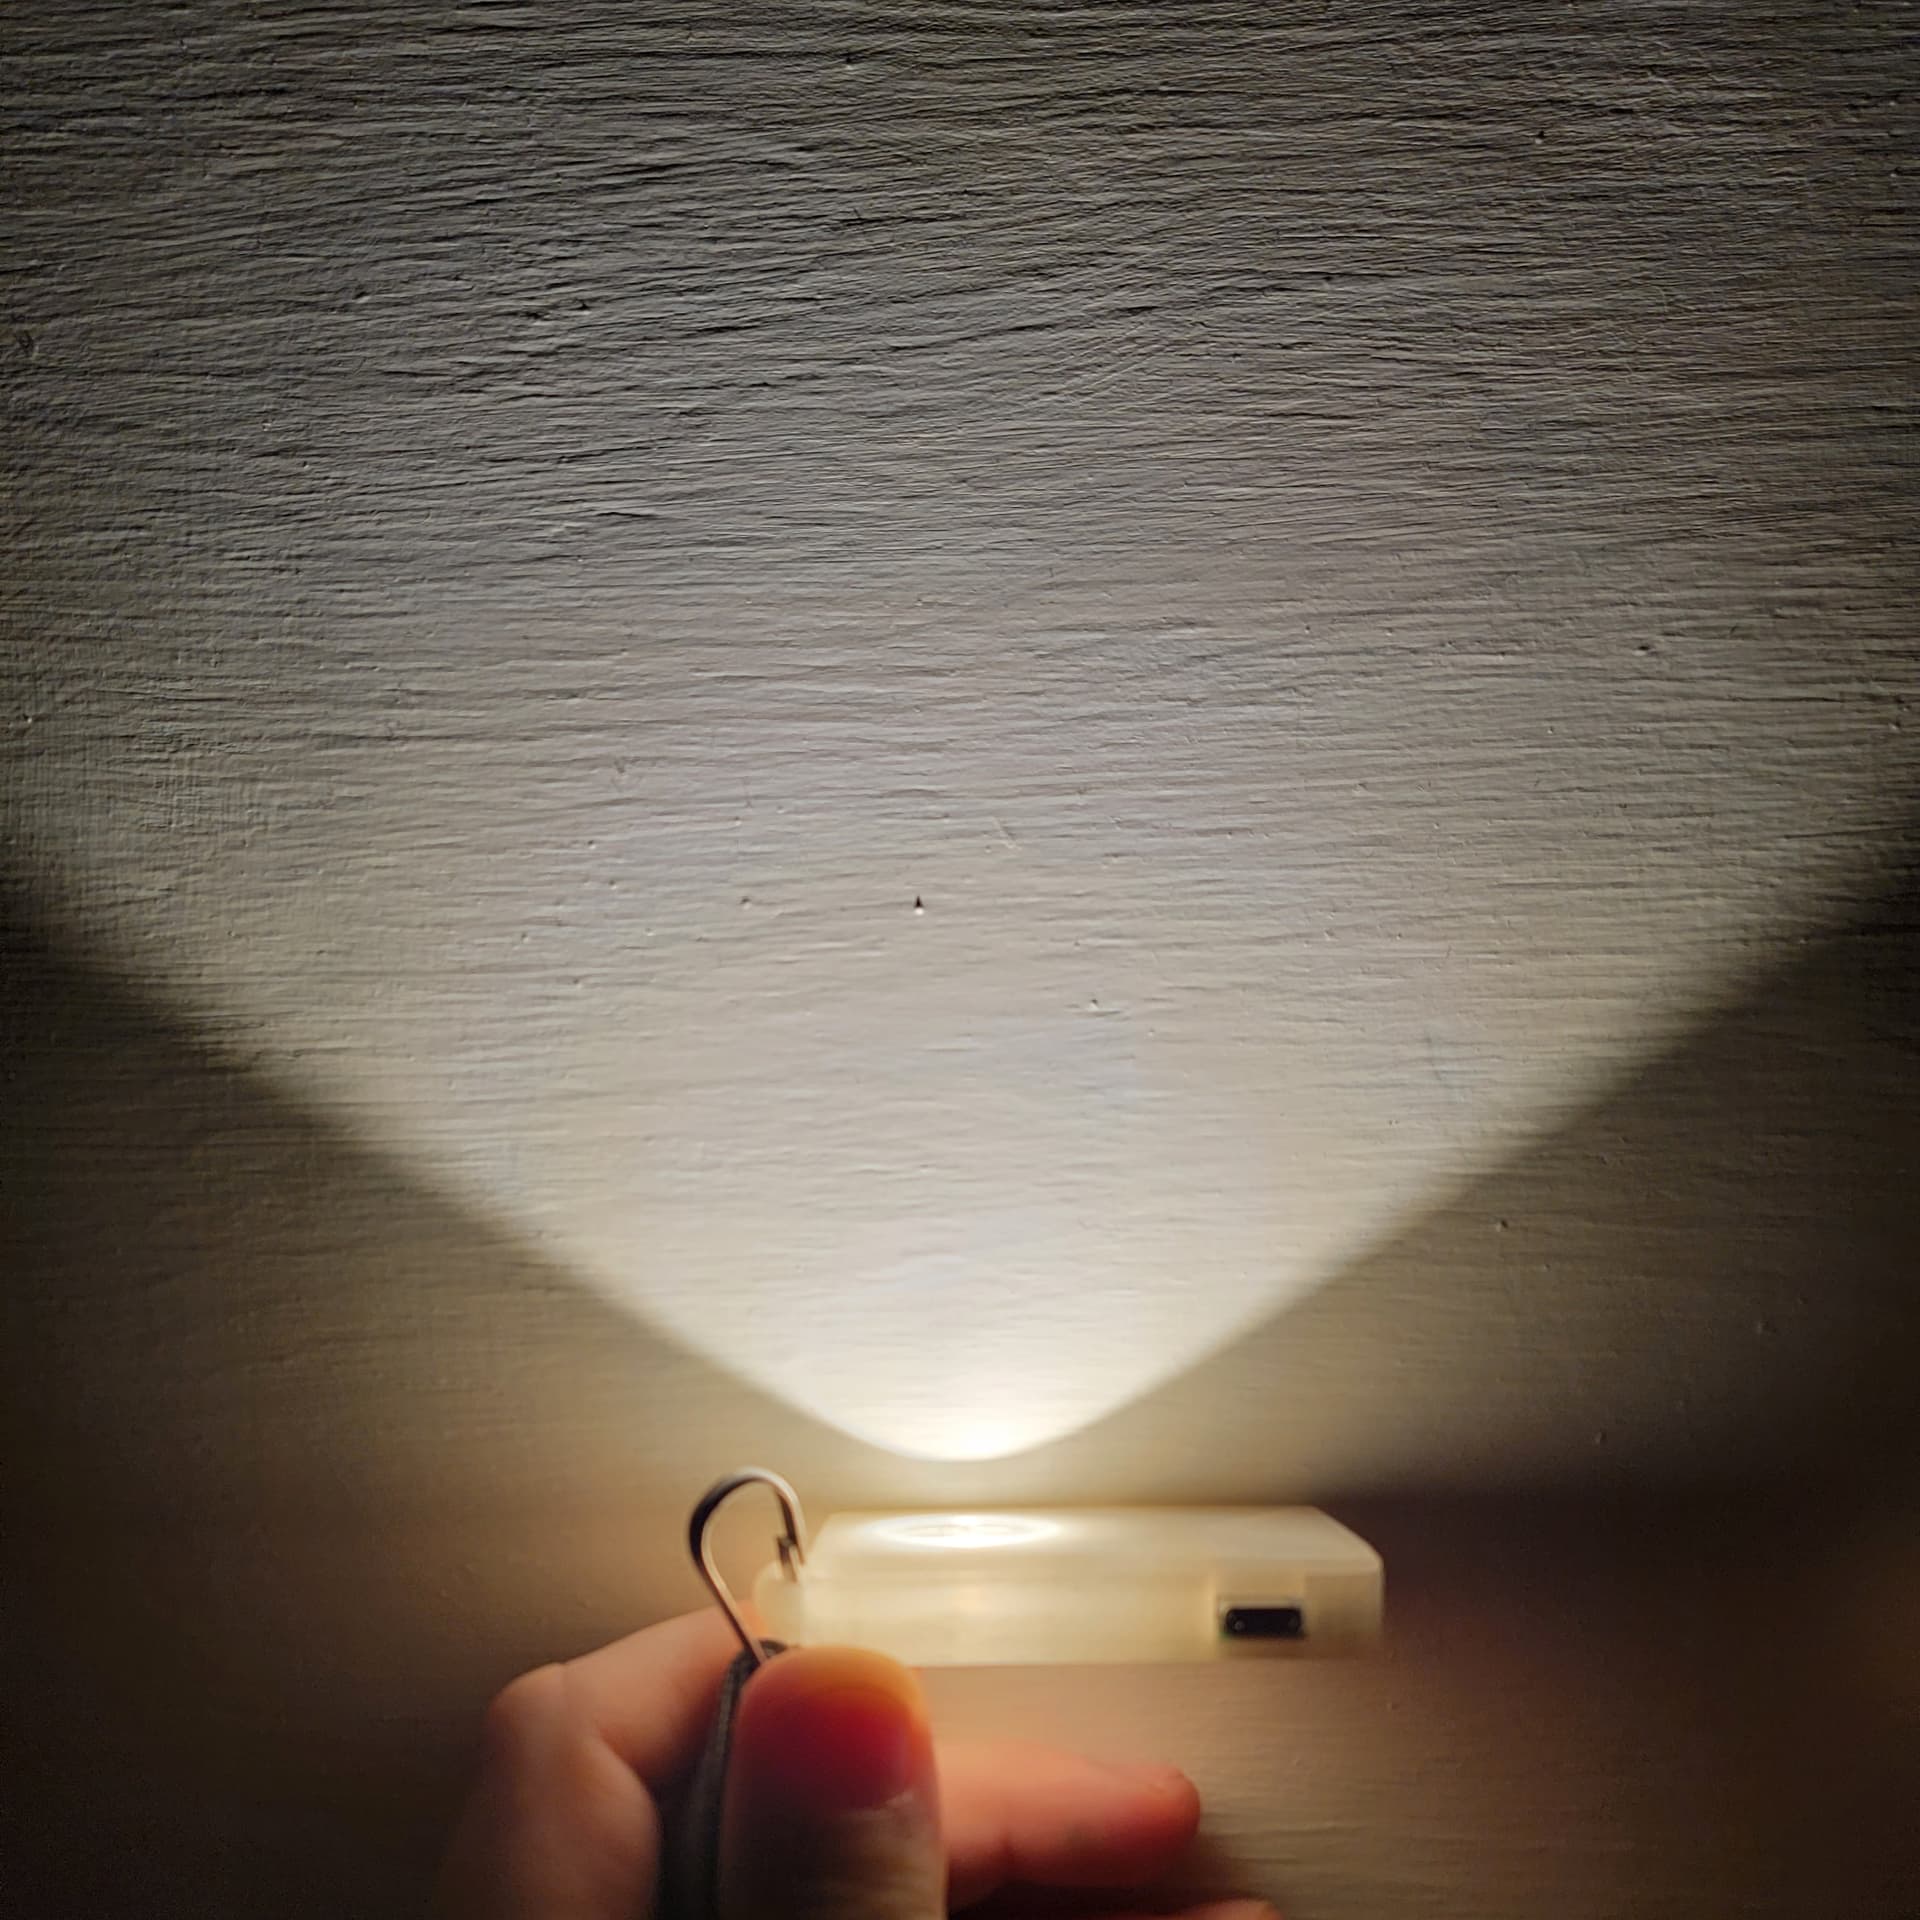
I may print a cone to narrow that down some.
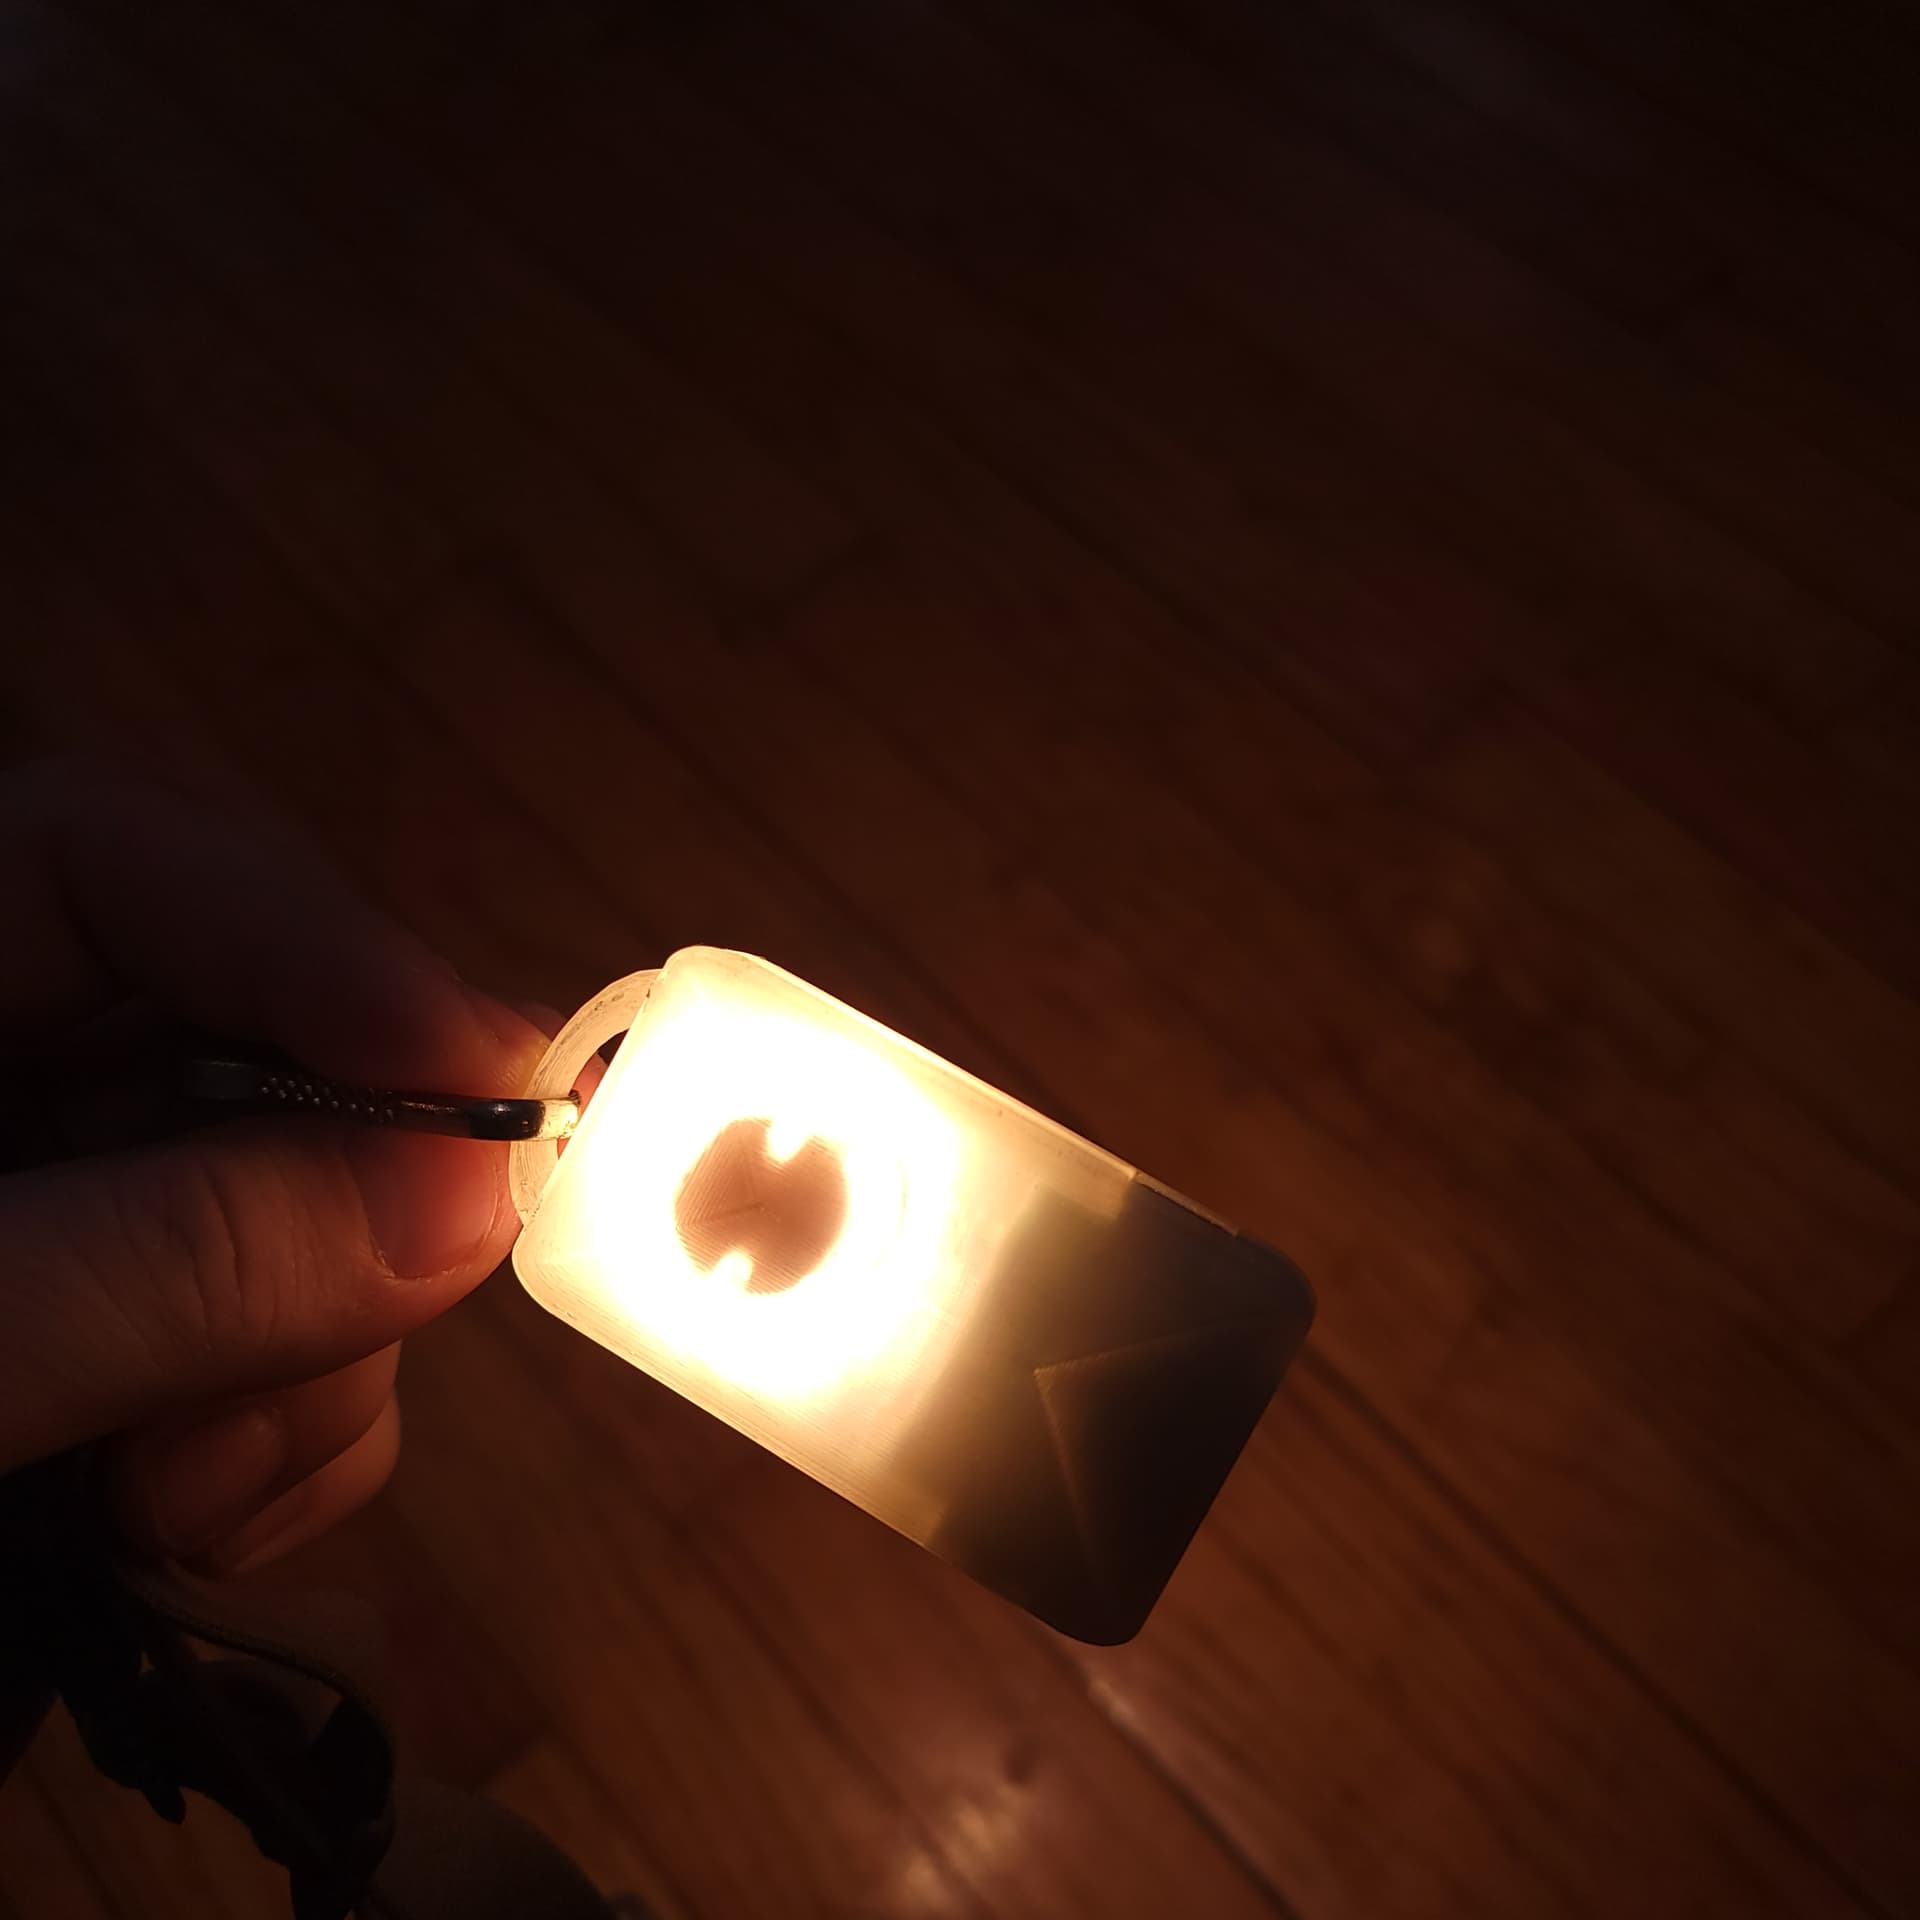
I used the clear glass lens from my UV s2+ to protect the LED, but no TPU USBc or button covers because I didn’t think of that until now writing this sentence. The next keyfob light I get from them will have that in the design.
The LED doesn’t seem to get hot enough that plastic deformation is a risk, but I’ll update this if that changes.