Two FET transistors AOFV (Turbo & reverse polarity protection)
I changed to such a transistor DMN1019USN-13 https://www.diodes.com/assets/Datasheets/DMN1019USN.pdf
The maximum current in turbo mode now 3.37A.
I=100mV/Rsc
Resistance Rsc= R000 + Rmosfet
One FET AO4468 I changed to IRF6201
Small open-channel resistance of the transistor is good for turbo mode
Increase the current in the low mode up to 37mA (10Ohm=>2.7Ohm)
No fancy photos or even beamshots (sorry!), but I dropped one of my brand new 219b sw45k r9080’s from the latest Clemence group buy into an HDS Clicky. Fan-freakin’-tastic! This thing is just beautiful. I was afraid it might be overly pinkish but its not at all. It does have tons of red in it as you’d expect, but I guess there’s enough of all the other colors that it really just balances out in a great way — just a beautiful 4500k neutral white. Walking around my yard right now, the red holly berries just glow from across the yard. And things like my kid’s toys have more vibrance to them than with any other emitter I’ve got to compare with, including lots of other nice 219b’s. I’ve only tried them in one light so far, and a pretty low powered one at that, but they may be my new favorite emitter, ever. They’re just that good.
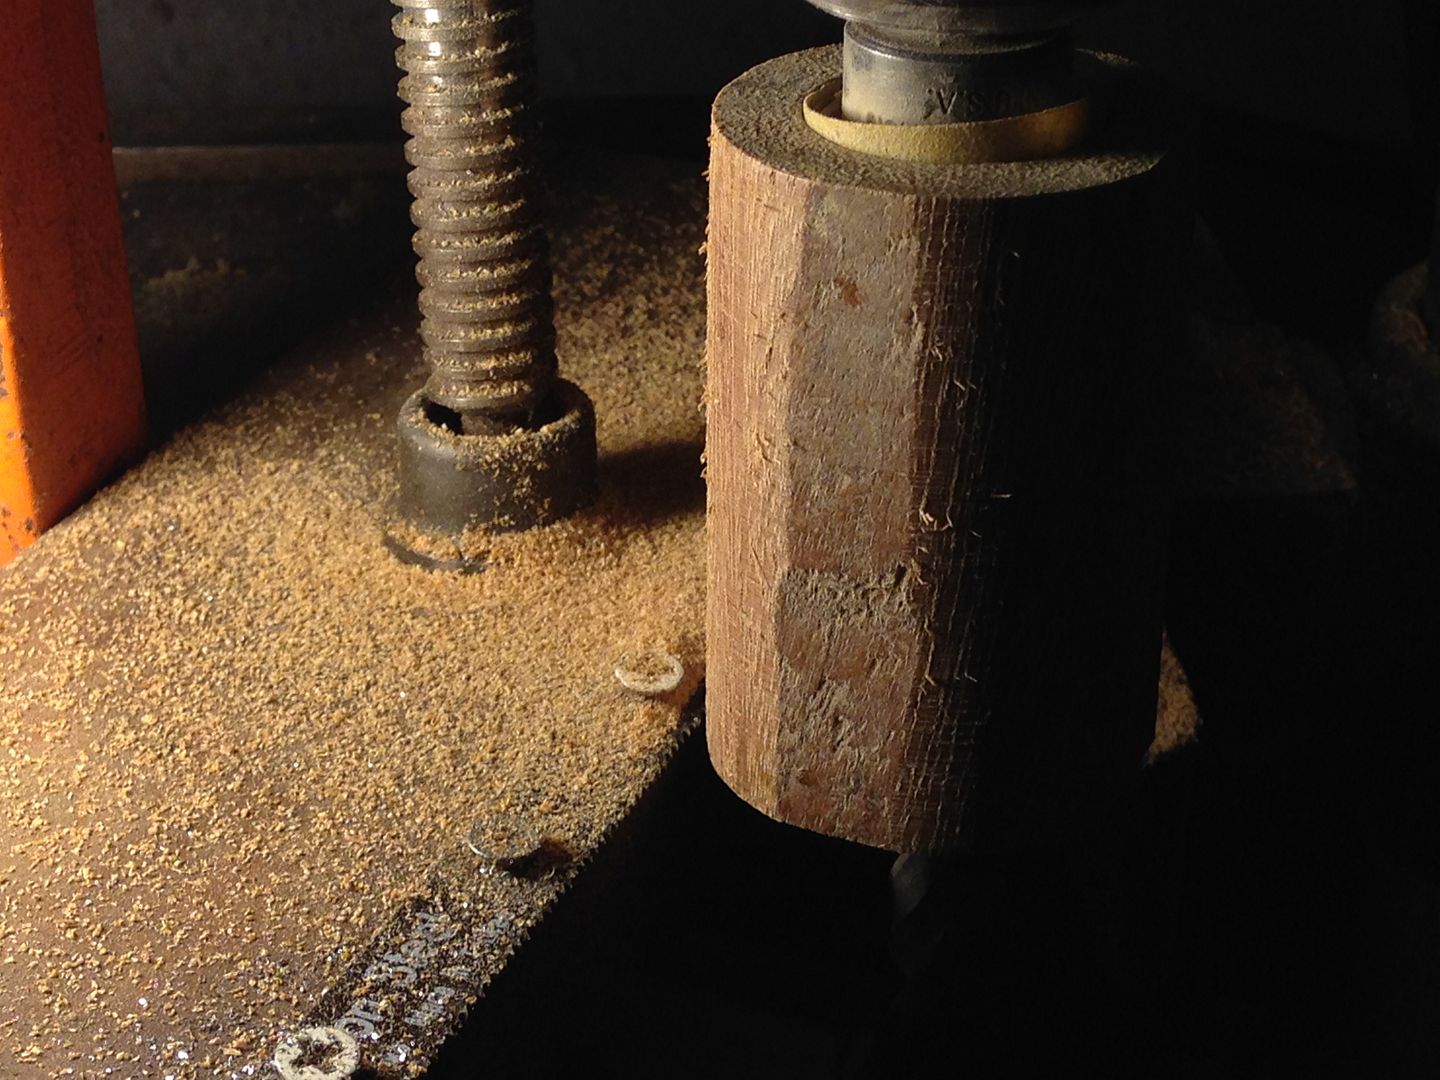
Bored and turned a chunk of teak for my B158, then brazed a copper sleeve out of .5 mm copper sheet as a base for some fins, all to replace the aluminum mounting knobs. Here is the teak being turned. And here it is about halfway to size. It’s about 65L x 38od x 25 id but all those dimensions will change before its done. I hope to mill out those angled flaws you can see. To make the sleeve I cut a 1 1/4” wide by 3 9/16” long strip of copper, the length being determined by pi x D + sheet thickness and made sure the ends and one edge were true and square. Then it was annealed on the stove top and rolled into shape. A second anneal helped relax the ends so the seam would braze acceptably straight. It fits the diameter just right. You can see a remnant of the Baggie ties I used to wire it shut while brazing, that gets ground off.
A friend had given me a Legacy HDS a few years ago and I’ve been thinking about making it a triple.
I’d given up carrying HDS cuz they’re just too expensive, but this was a gift for doing some modding so it’s a perfect candidate.
I have a lathe at work but there’s never time for personal work there and the boss is damn nosy. Could do it before but I can barely get up for normal arrival time.
Lacking a home lathe I ran a screw through the reflector, fastened it with some washers and a nut, and chucked it up in my Foredom hand-held rotary tool. I used some milling bits in a vice to cut it.
Super primitive but I’ve been waiting for years to do this. Took a while to get it mounted true.
I’ve measured HDS putting out a little over an amp, it’s been a few years since I messed with them. Won’t be a monster, but nice for most nighttime needs.
I’m not actually done with the mod, but turning the reflector has been holding me up for a couple years at least.
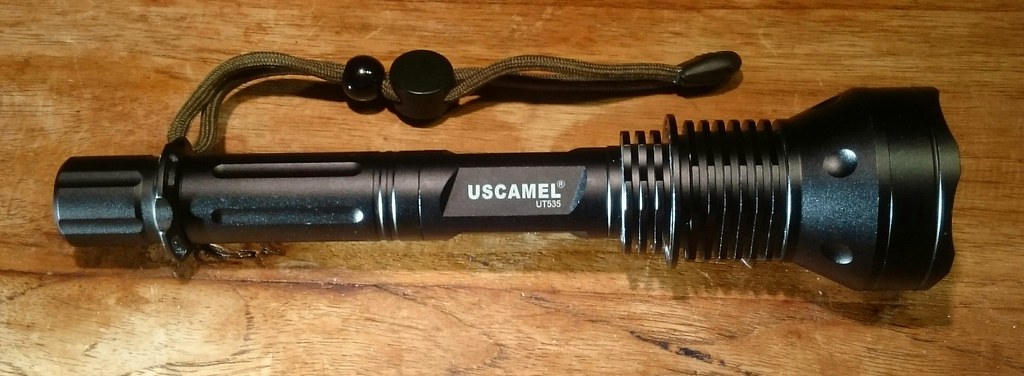
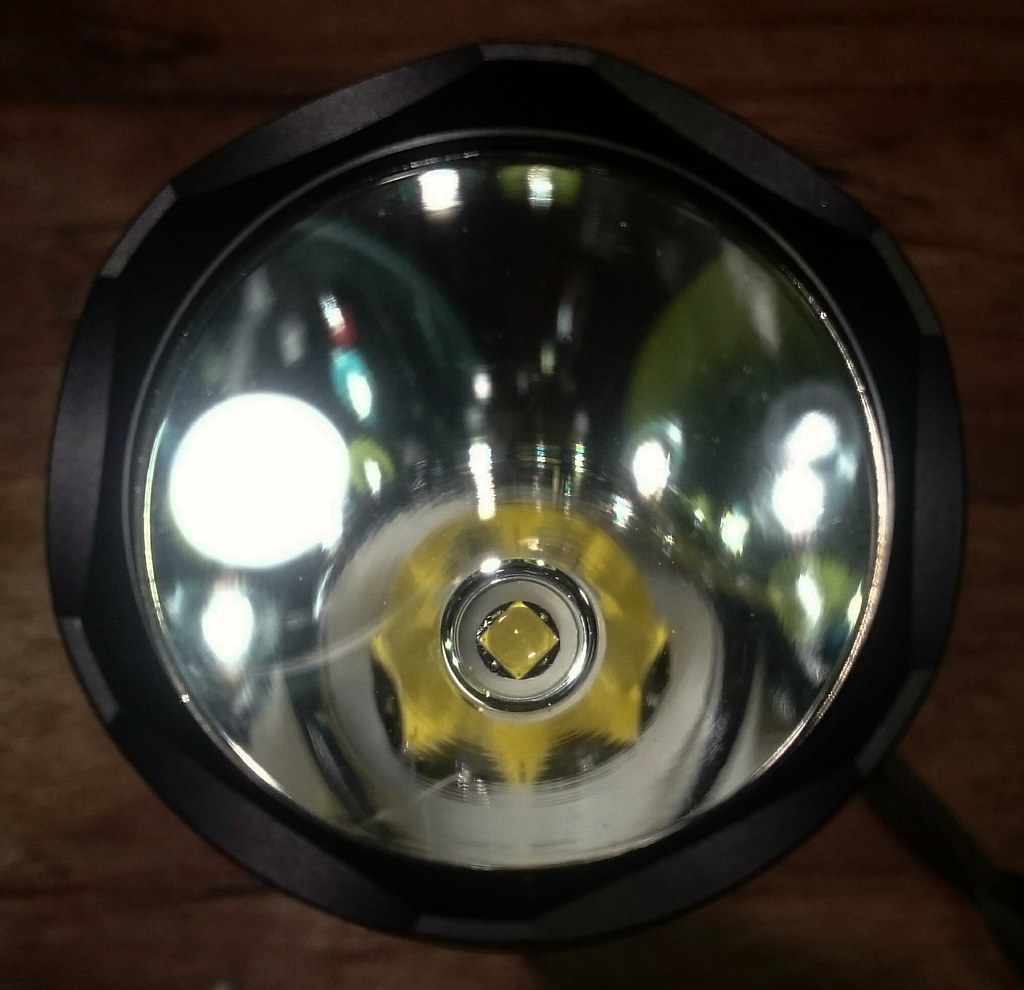
Last night I fitted a XHP50.2 J4 3A in this lightweight 45mm-reflector thrower (bought it cheap a while ago on Aliexpress, could look up the link but it is not a great host to work with).
The led is on a 20mm KD-light DTP board. The ledboard-shelf is a separate aluminium disc loosely press-fit in a hollow pill. Not a great construction but at least it allowed me to sand that disc completely flat so that it mates the ledboard perfectly. Thin layers of Arctic Silver were applied under the ledboard and where the ledboard shelf meets the hollow pill.
The driver was taken out (was a pain because it was behind a rim bended around the edge of the driver, also a new construction to me) and cleared from components, ledwires directly soldered to batt+ pad and ground, I kept them fairly long, the pluswire is 20AWG, the minuswire is 24AWG. The flashlight is direct drive without driver.
The stock switch was toast after a few clicks so I replaced it with a standard small Omten switch on 16mm board (roasted one of those during soldering as well, you have to be d*rn quick soldering them!) . Had to rebuild the tail section a bit to fit that. I used a really long tail spring to make it to the batteries, also good for limiting the current a bit.
Numbers on two slightly drained 30Q’s (4.05V):
Current: 10A
Output: 3900 lumen at start, 3150 lumen at 30 seconds
Throw: 70 kcd
Temperature: head near pill way too hot to hold after a minute, this light is not for continuous use (70W) :innocent:
White wall shot at 4 meter (underexposed, what you see in reality is very bright):
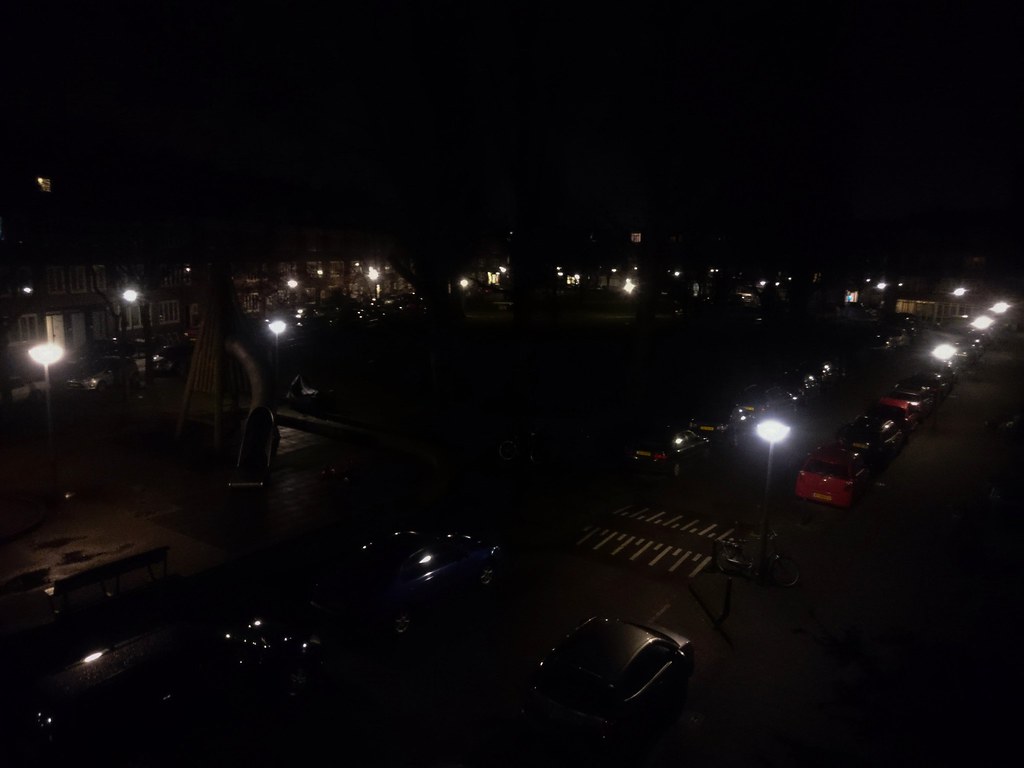
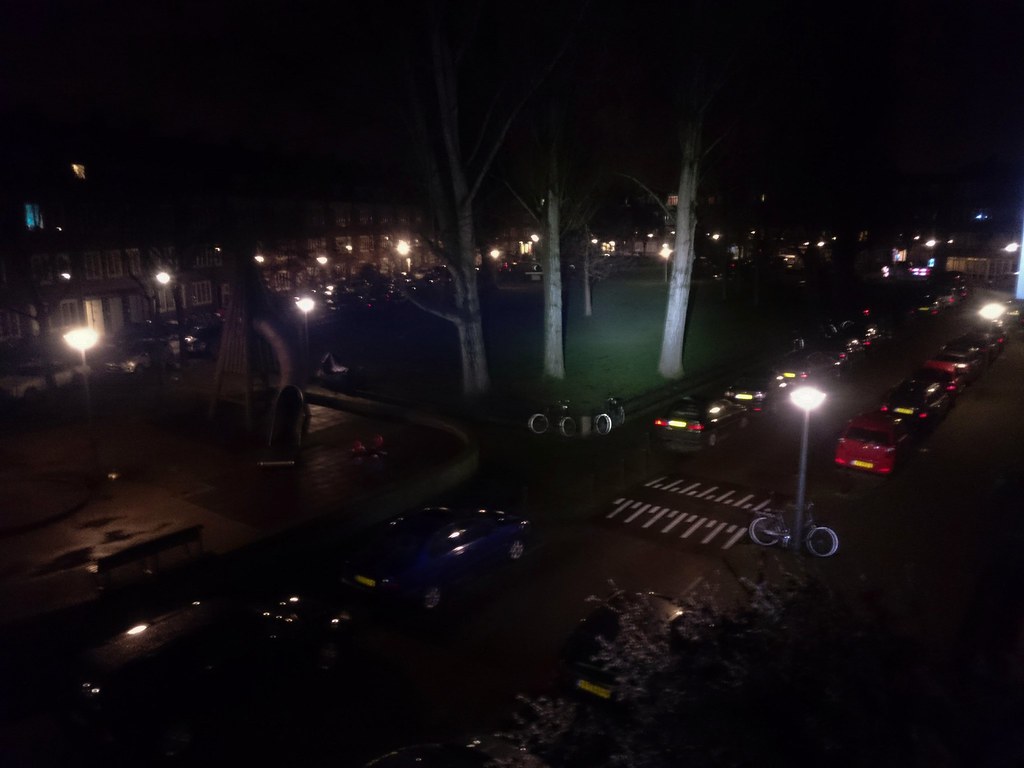
Outside on the balcony, big trees at 25 meters, thin post in the grass at 90 meters, first pic is control:
Nice jozz, it’s a thrower of heat eh! 70W!! :person_facepalming: Maybe I should put the 50.2 1A in the T90-2 it is a huge light with a massive heat sink!
Nice Jos, perhaps I will be able to use these in triple configuration as a food warmer, to keep fries hot or something.
Overall beam profile looks nice to me, should be a pretty good general purpose light. Especially when the sidewalk is snow covered, your way will be cleared as you progress along. lol
I’ve found that for exploration underground I really like the side switch functionality as the light is much easier to hold and change modes, and as I like the size of these single cell Convoys it was time to build a quad with this configuration.
It’s the first light I’ve built with my v4 series of drivers that utilizes the OTC less design for off time measurement. Off time timing is now much more precise, not affected by voltage differences or heat.
The driver of choice for this light is my F2, a single sided driver with a SIR800DP FET and two AMC7135s (each on separate channels):
Instead of a spring I have the bare wire from the LED+ through a via which is coiled on the back side, soldered to the + pad and filed down. E-switch wires pulled out through a drilled hole in the side:
Nice fully rounded switch for the drilled hole. I had to pull out the legs a little so the opposite side of them wouldn’t have contact with the host:
The round switch is a snug fit:
I think this light is going to replace my old work hoarse (S3 triple with dual switch). Next weekend I’ll be breaking it in underground so I guess I’ll found out
Built a 26650 Triple.
Eagle Eye X7. Used Kiriba-Ru copper spacer with XP32 MCPCB soldered to it with MtnE reflow XP-L HI V3 3C on top. Used MtnE 20mm Fet+1 Bistro, springs bypassed.
Copper spacer thermal paste into head. Triple does well with this light. Feels great in the hand with the tube length and diameter, Full grip on the light.
Older SolarStorm K2 26650 same as the FandyFire K2. Recently acquired 2 of these… Nice light for a few years old. Like the green and red Leds under the E-Switch for battery status indication. Simple emitter swap to an XM-L2 U4 1A on a 26mm Maxtoch. Well not really a simple direct fit as I redrilled and tapped holes to 3mm and decked the top of the insert flat.
Fought to get this thing’s tailcap off, but finally prevailed with a scratch on the tail. Bypassed the tail spring.
Kept the driver original and it pulls 2.4A on high, will run for 2.5 Hours on high with a 5000mAh battery until light turns red. Forgot to check voltage after it turned red.
My Second K2 is already apart and will get XP-L HI V3 3A on same Maxtoch and driver will have resistor mods. Waiting on resistors. Would like to see what differences each have.
came with a very low spacer, still has slight 4 pedal flower around the spot. I did manage to remove the chrome ring that showed outside the flower in the beam. Slight ream inside the reflector took off the flashing from plating and gave it a slight taper to the outside without reflection.
These were an Amazon deal couple weeks ago, $8.00ea prime.
I tried to follow traces and from what I can figure they go to resistors on the driver board. Real hard to follow as they pass under the switch board on angles.
Tom E. Has modded one when they were first out. He did sense resistors on it and kept the original driver because those lights are cool.
If I am able to trace them back, I would like to E-SW Fet the other, gutting driver except the SW and its components.
Suggestions for a 1S e-SW fet to piggyback in there?


 And here it is about halfway to size. It’s about 65L x 38od x 25 id but all those dimensions will change before its done.
 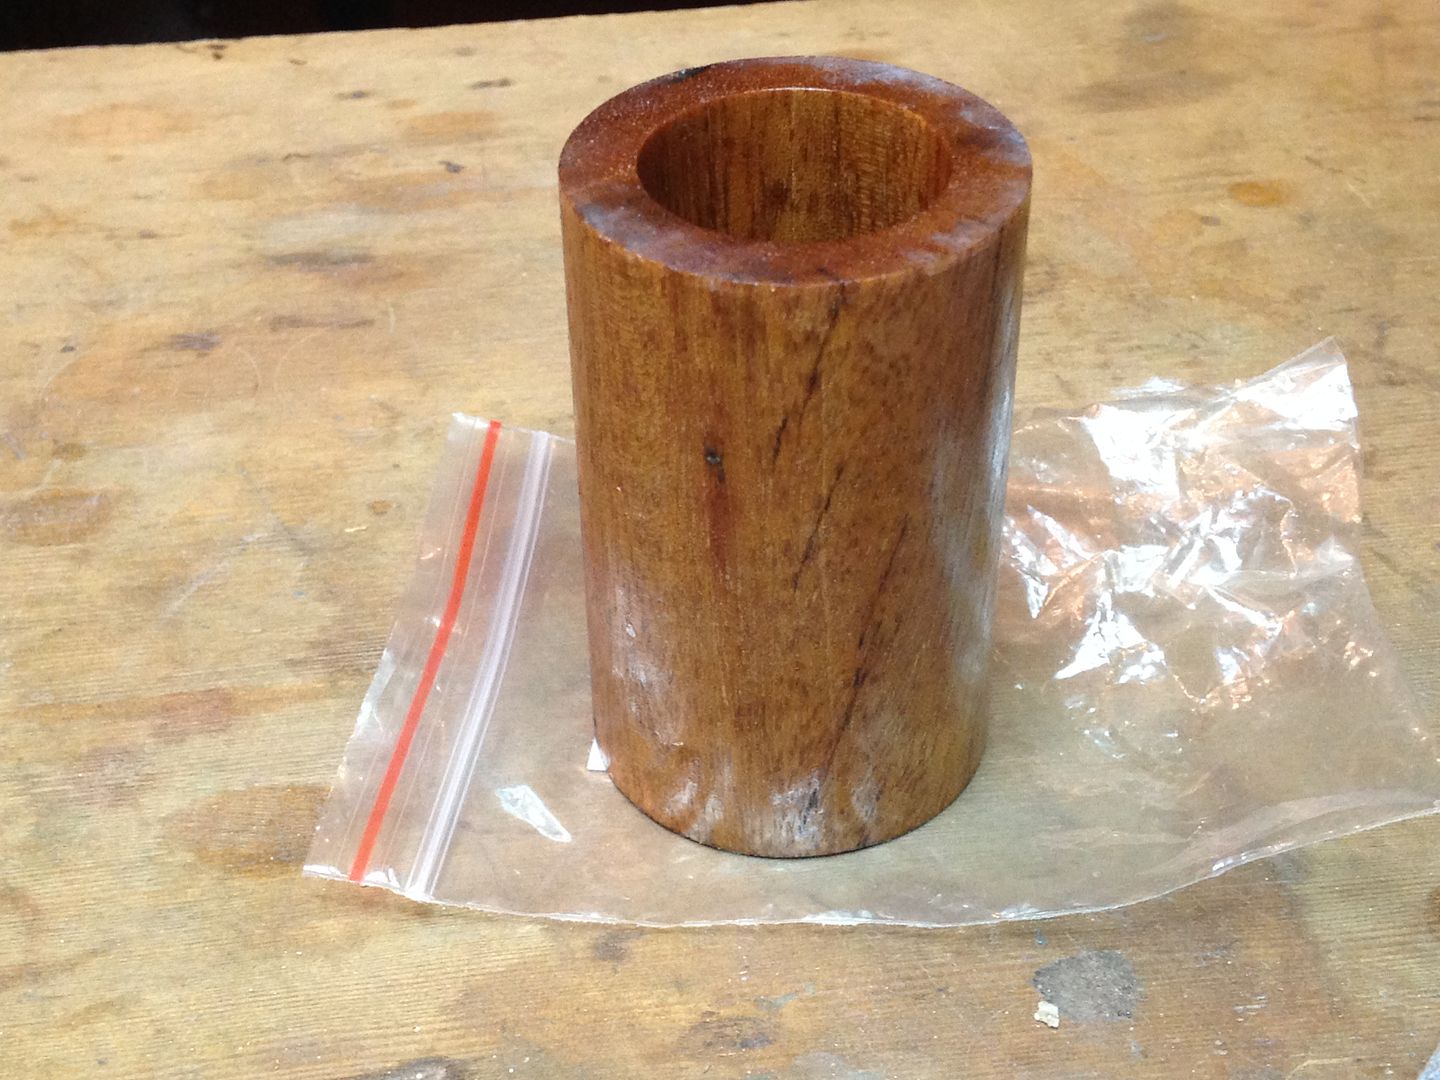 I hope to mill out those angled flaws you can see. To make the sleeve I cut a 1 1/4” wide by 3 9/16” long strip of copper, the length being determined by pi x D + sheet thickness and made sure the ends and one edge were true and square.
 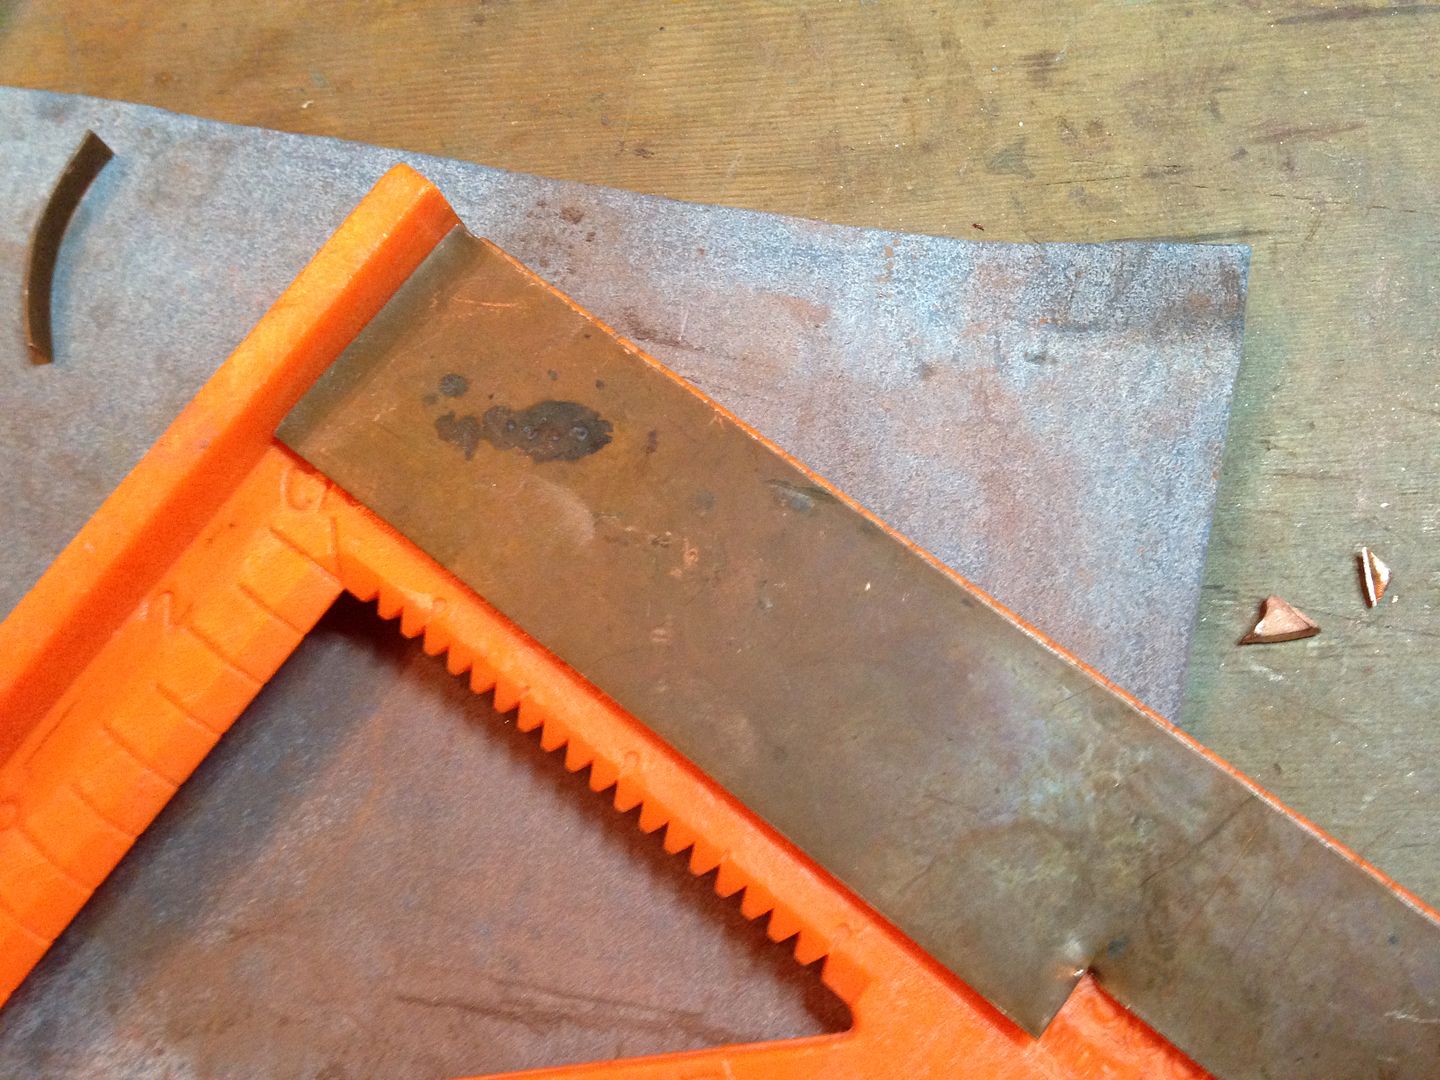 Then it was annealed on the stove top and rolled into shape. A second anneal helped relax the ends so the seam would braze acceptably straight.
  It fits the diameter just right.
 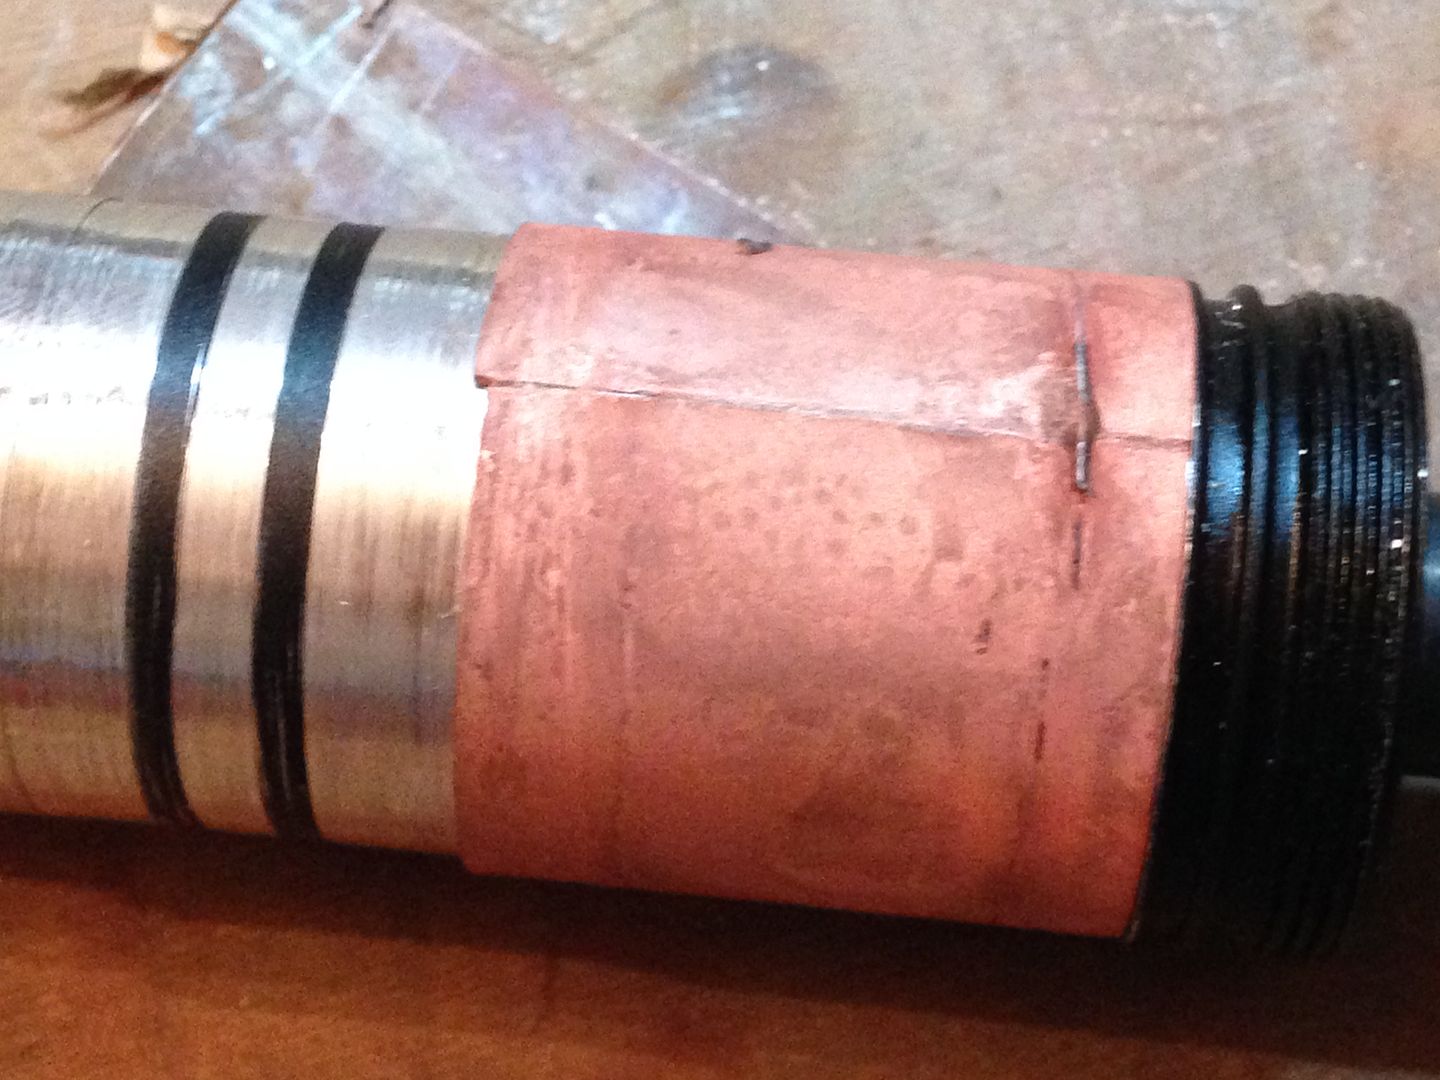 You can see a remnant of the Baggie ties I used to wire it shut while brazing, that gets ground off.