Triple XML
- Lumapower MVP host
- 3 x XML, NW
- 2.8A, 3-mode driver (high, med, low)
- custom heat sink
- 3 x 18650 cells
- side and tail switch
- glass lens
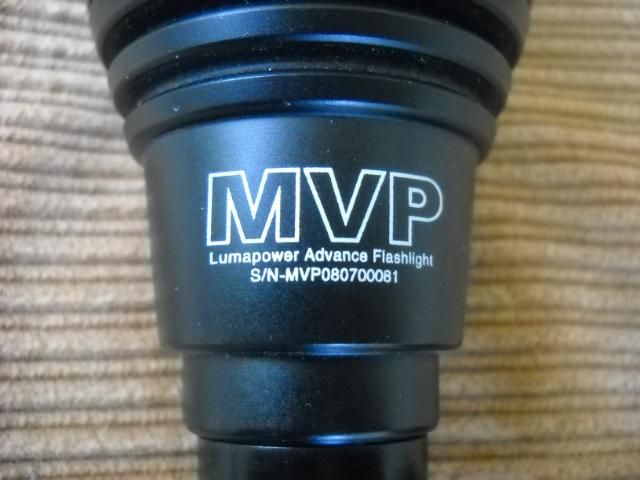
I've been working on this build for a while now, and much of that time has been in the planning stage. When I first saw the Lumapower MVP 3 x Cree Q5 torch, I really liked the look of it and thought it would make a great host for a custom 3 x XML light. Unlike most of the triple XML lights, this one had 3 separate reflectors instead of the typical single. They were also fairly deep and I predicted it would give a nice combination of throw and flood. I scored a stock host from CPFMP and purchased an additional tube extender from Lumapower to make it run on 3 x 18650.
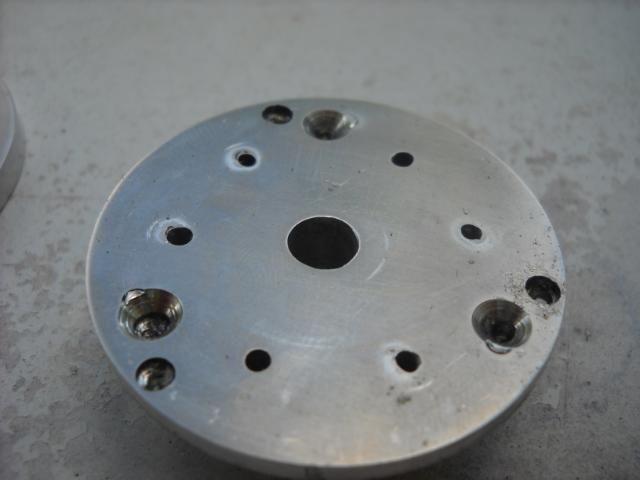
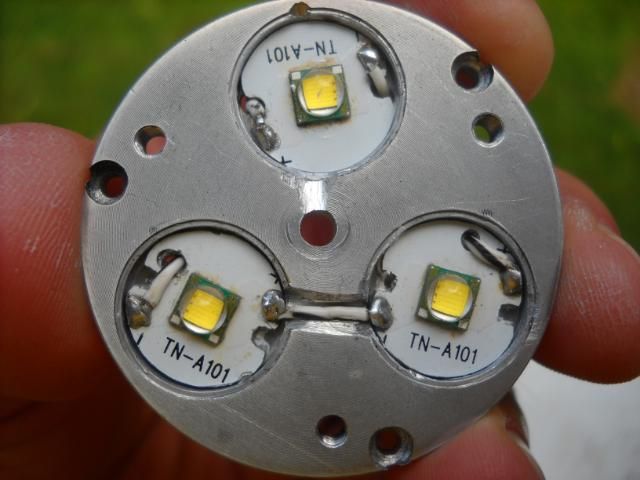
The first order of business was to beef up the heat sinking since this would obviously run much hotter than the stock Cree Q5 emitters. This was the most time consuming process since I had to cut and grind the heat sink using hand tools (hacksaw, dremel) to fit inside the contoured head. I removed the stock driver, driver housing, and negative contact ring and replaced it with my custom cut and fitted heatsink. I kept the original heat sink the emitters were mounted on because it was custom machined to fit the 3 separate aluminum reflectors. This would sit directly on top of the new heat sink with ample thermal compound between them.
Stock heat sink with grooved cut for wires
Custom heat sink, top side
Custom heat sink, bottom side.
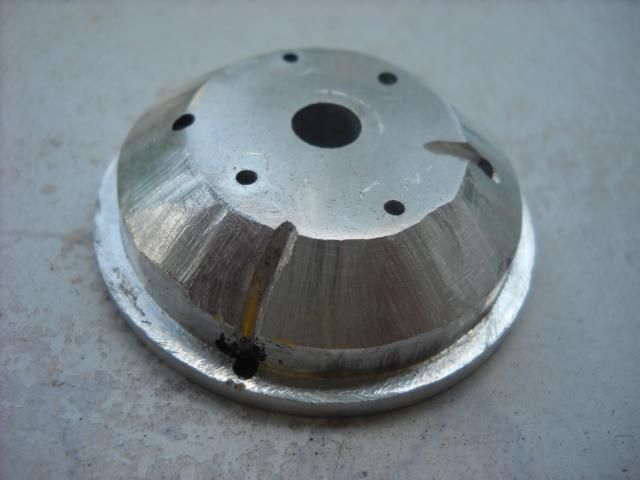
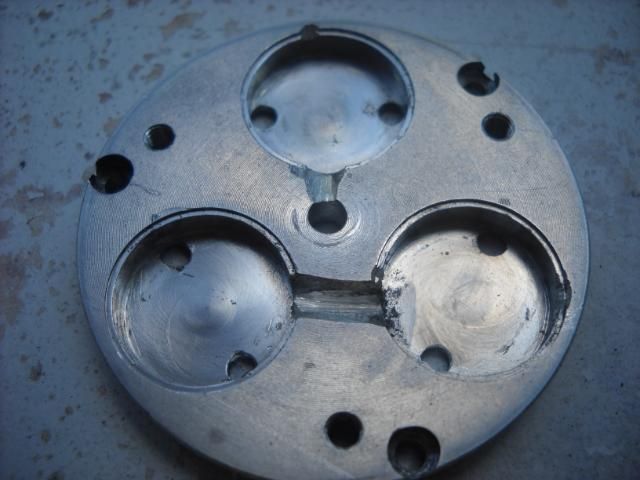
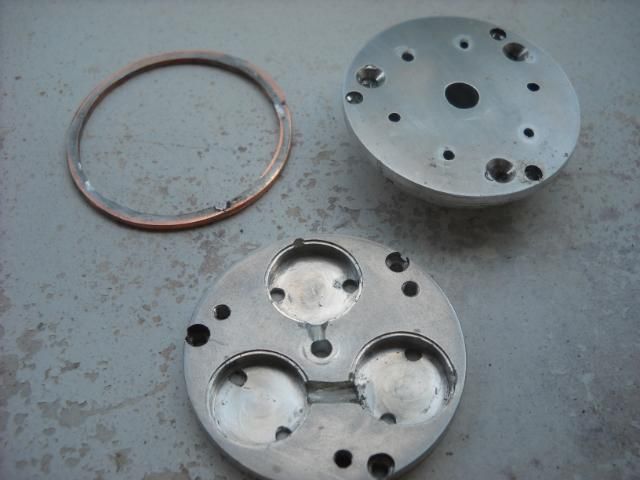
And here is the head it has to fit into. I had to cut a step into the heat sink to align with the narrow opening. Inner contoured side is anodized. Negative contact will made on bare aluminum.
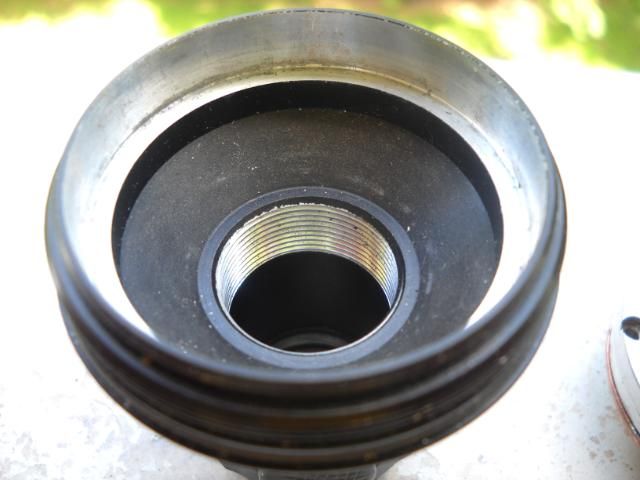
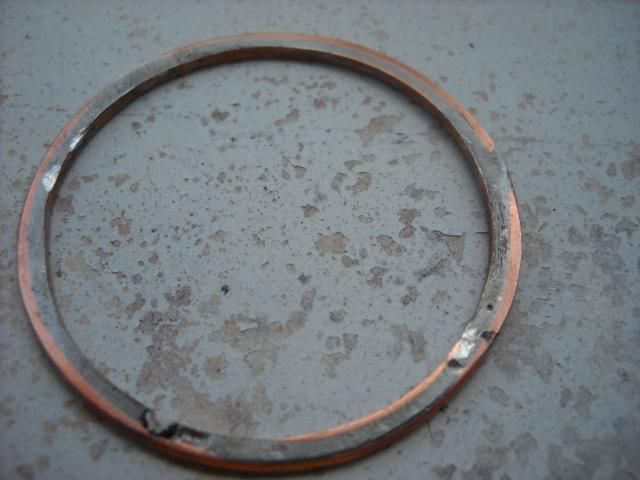
After test fitting into the head, and screwing down with the stock metal ring, the heat sink was still loose, so I fabricated a copper ring using 2 thick wires soldered together and sanded down (credit to Old Lumens for the idea). This gave me a good tight fit inside the head and would facilitate making the negative contact point.
Custom "Old Lumens style" copper ring fabricated from wire, soldered and sanded flat.
All three components together
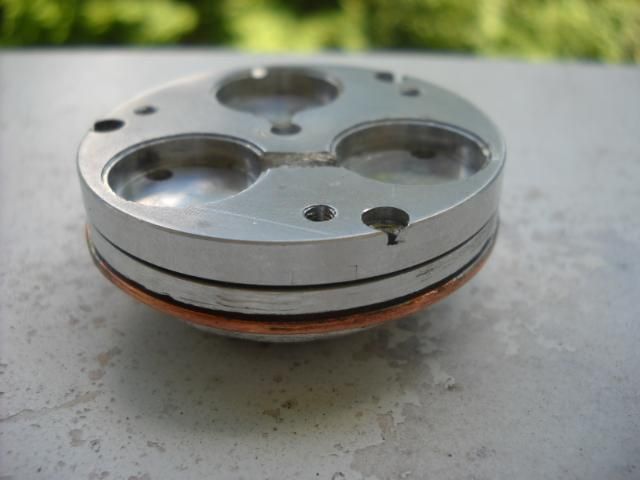
Test fit into head
Perfect fit. Just about 1 mm protruding from the top to allow a nice snug fit when the outer ring is screwed down.
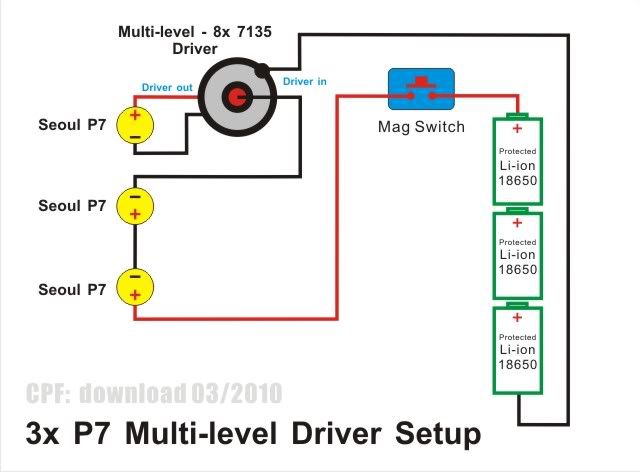
Next up was to wire the XML emitters. Since I'm running an 8 x AMC7135 board, I cannot wire the 3 x 18650 cells in series since it will burn out the board. Wiring was done according to CPF member Download's 3x P7 Multi-level Driver Setup which supports running 3 x 18650 without blowing the drive. I used 24g wire since this would be running at higher current.
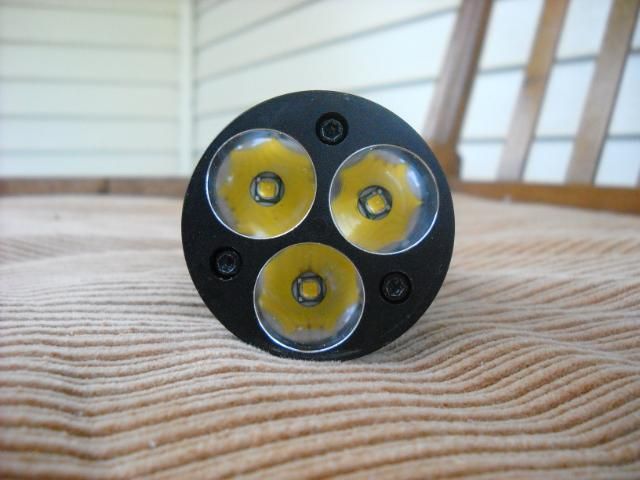
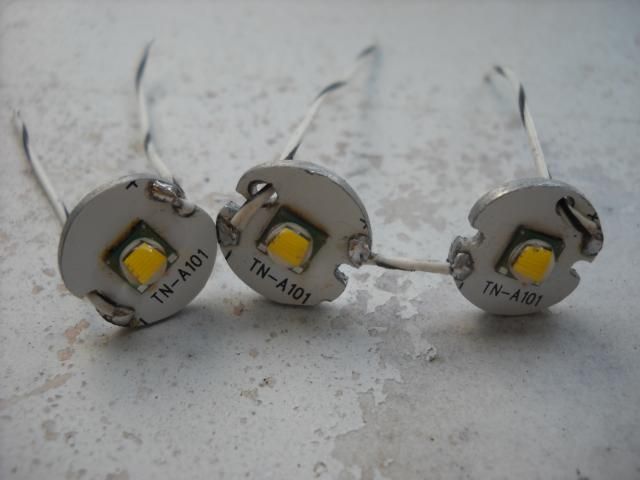
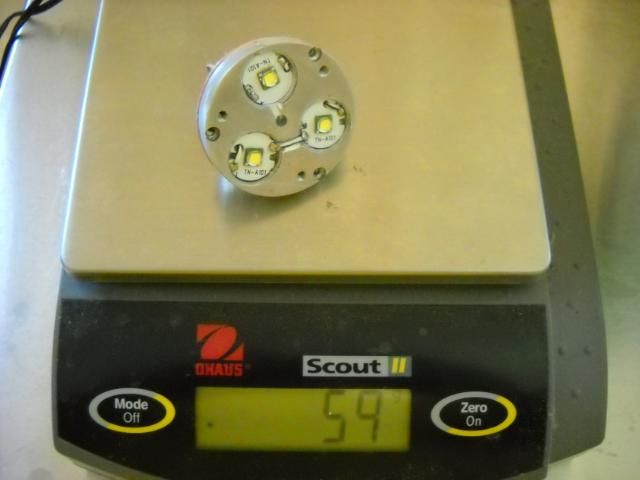
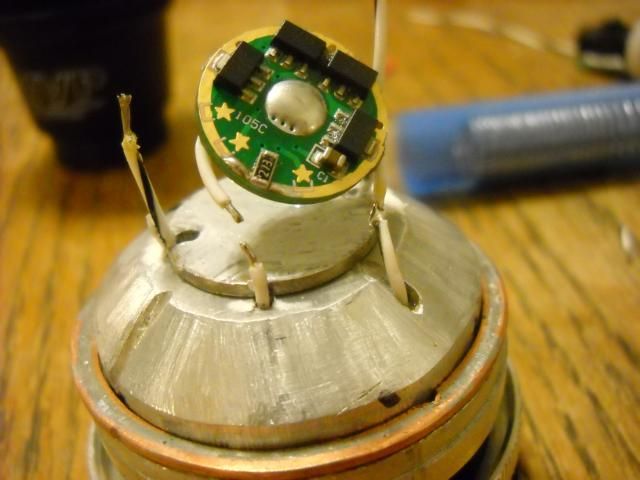
The 16mm XML boards had to be shaved down slightly to fit into the custom machined heat sink. Emitters were re-flowed onto the boards using a hot plate.
Emitters wired up
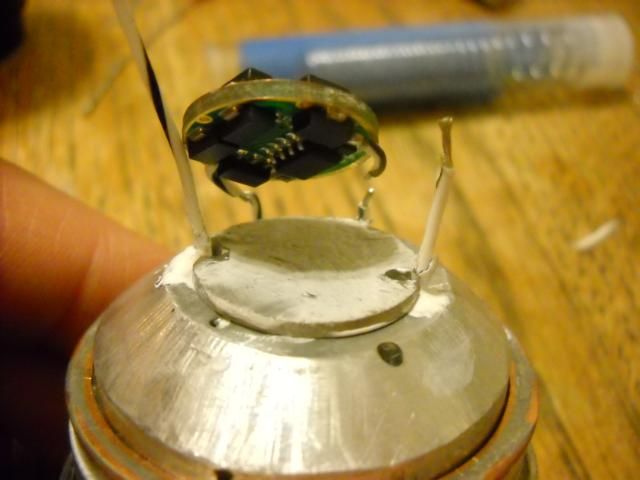
Test fit into heat sink
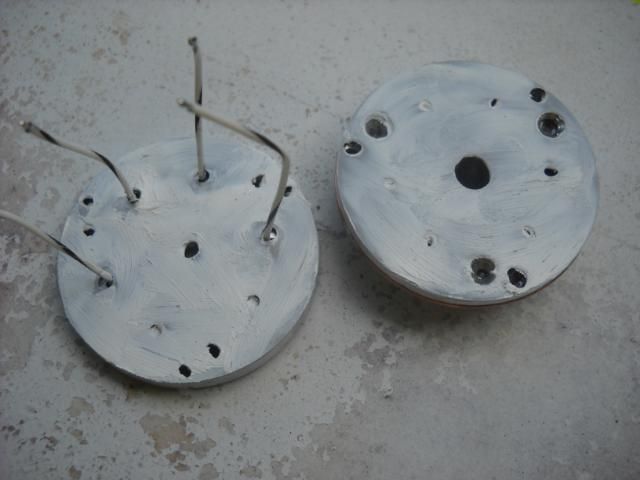
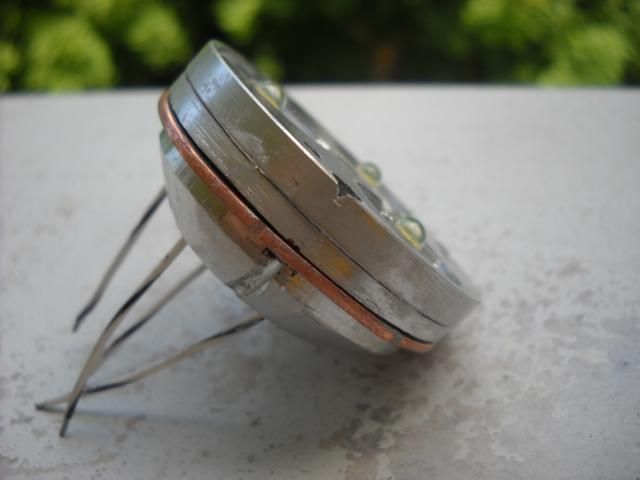
Bottom side. Reminds me of a jellyfish :-)

Ample heat sink compound between the two heat sinks.
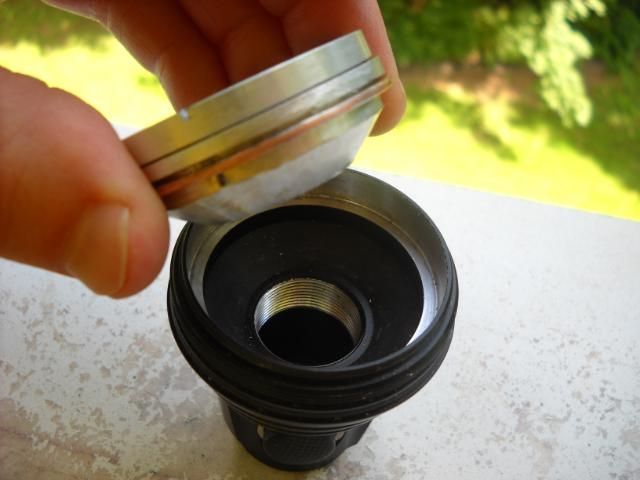
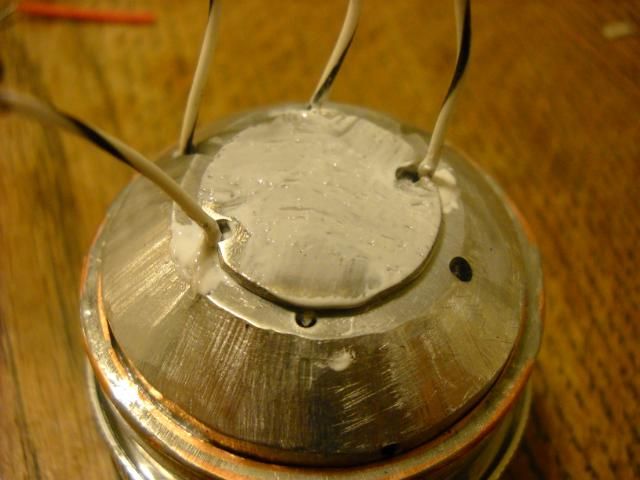
Everything put together and wires fed through
She's a heavy sucker!
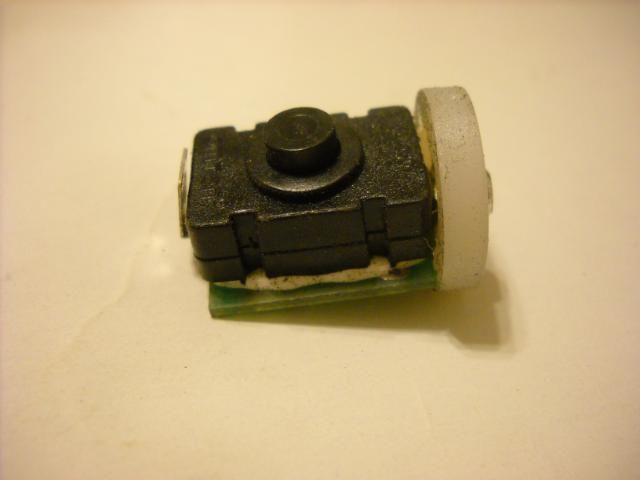
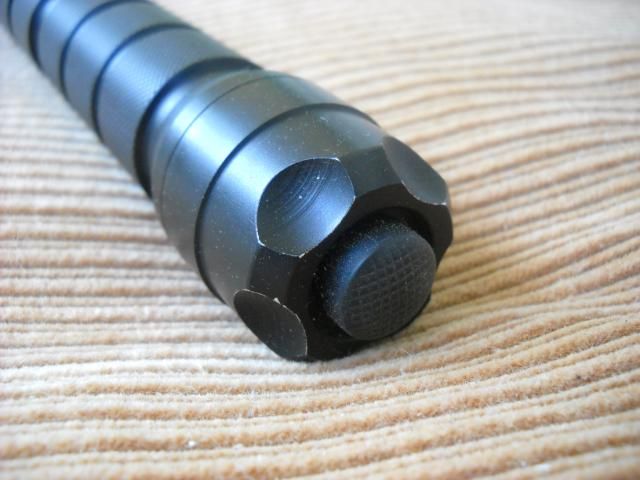
I removed the stock switch since it wouldn't handle the high current, plus it was a three way which wouldn't work for this project. I kept the PCB the switch had been mounted on (I had burned it out previously) which would help position it inside the switch holder, and glued on a high current switch I purchased from Manafont. The battery positive contact was fabricated with a delrin O-ring and thick copper wire rolled up and gaps filled with solder. I created a solder nipple at the battery side to allow for flat top batteries.
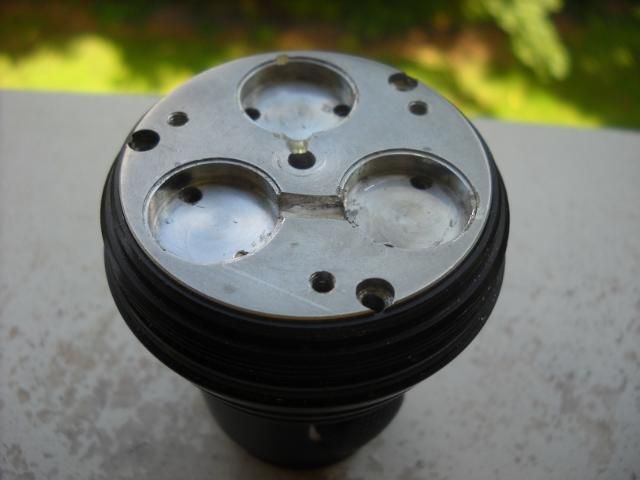
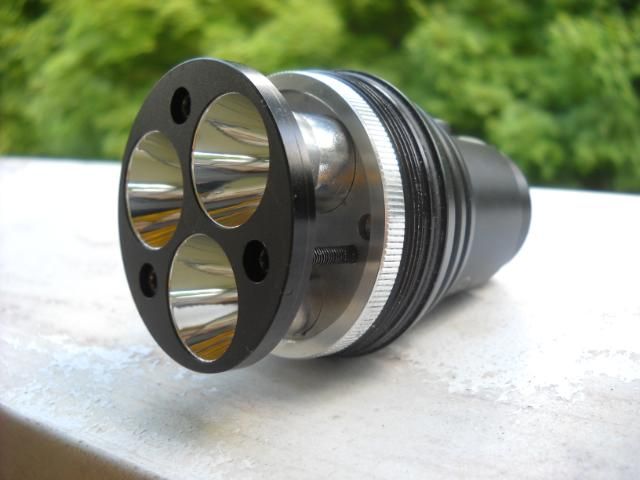
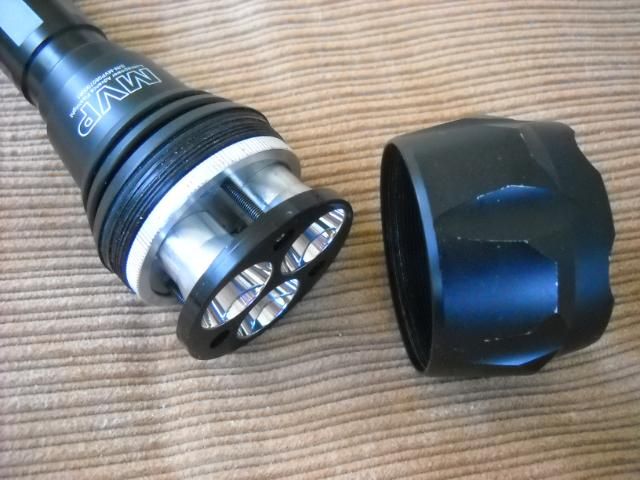
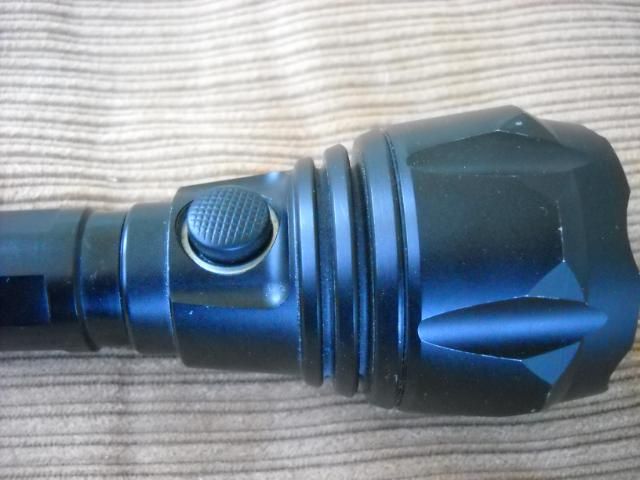
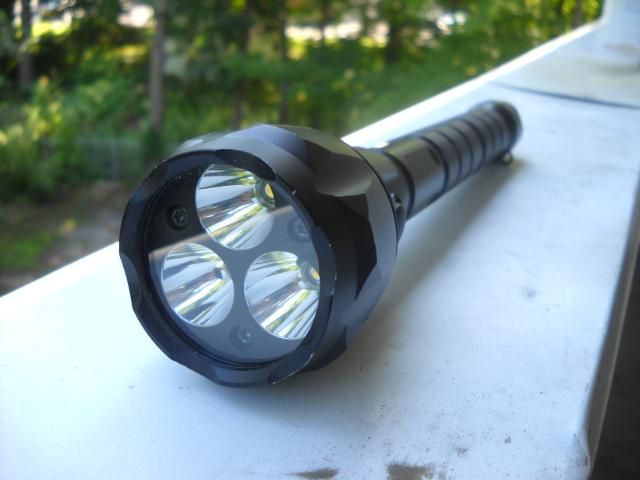
Heat sink screwed down and reflectors mounted and secured. I really like the design of this as it has a very clean, professional look.
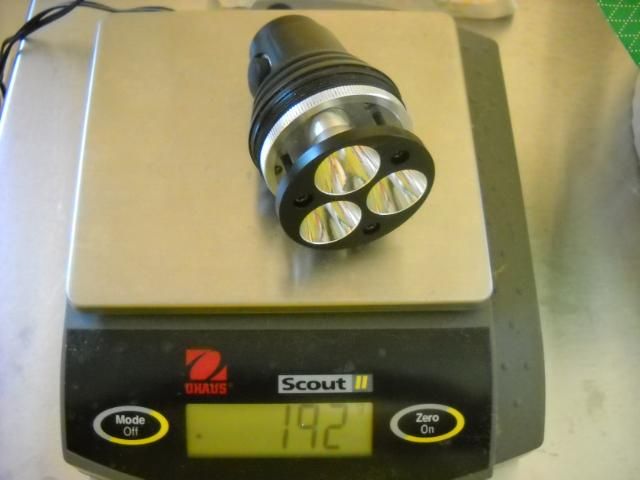
The weight increases significantly once mounted. In fact, just this part is heavier then some of my larger torches.
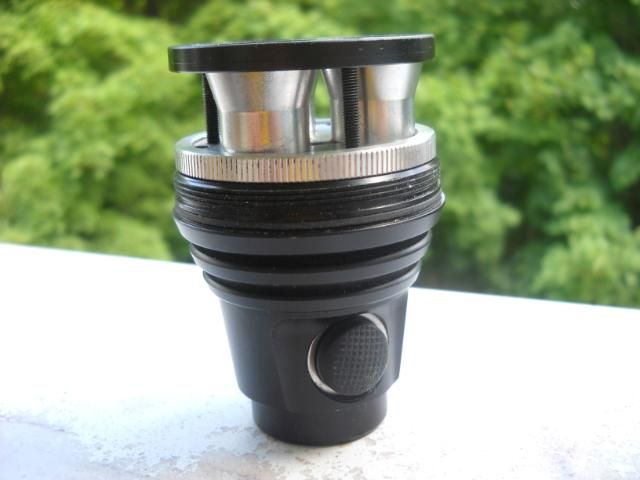
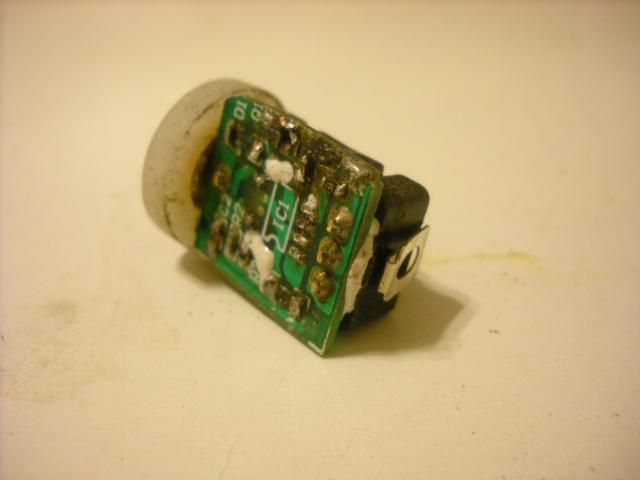
Switch assembly
I removed the stock switch since it wouldn't handle the high current, plus it was a three way which wouldn't work for this project. I kept the PCB the switch had been mounted on (I had burned it out previously) which would help position it inside the switch holder, and glued on a high current switch I purchased from Manafont. The battery positive contact was fabricated with a delrin O-ring and thick copper wire rolled up and gaps filled with solder. I created a solder nipple at the battery side to allow for flat top batteries.
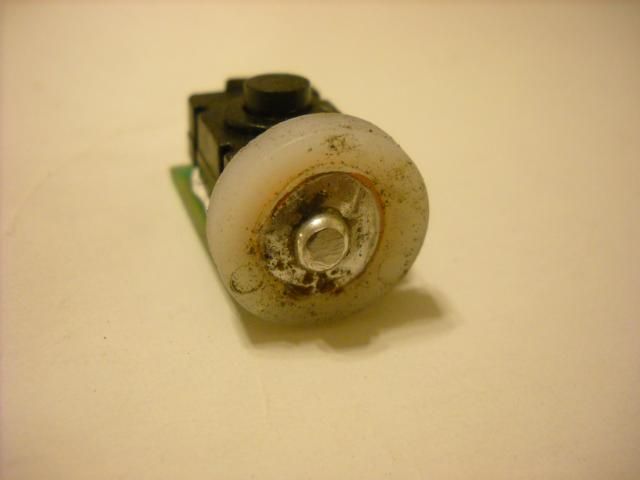
Bottom side. None of the circuits are being used here, just the PCB for mounting.
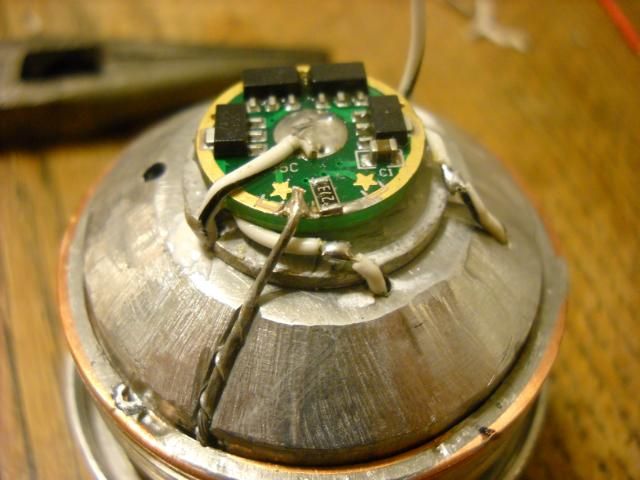
Wiring the driver was done according to the scheme posted above. Normally, I wire up drivers first, then feed the wires through the heat sink and solder to the emitters last. In this case, I did it in reverse since it worked out easier to have the emitters, heat sink, and reflectors preassembled. I had the heat sink and emitters already wired up and fed through the guide holes, so the driver was wired up second, and then two ends of each wire soldered together.
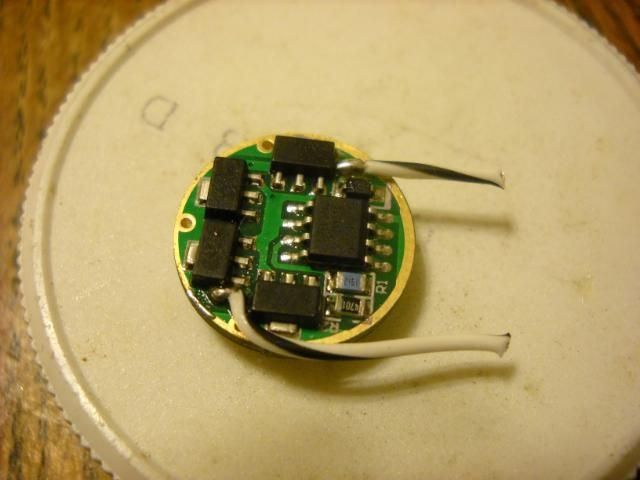
Driver heat sink added to bottom of main heat sink and coated with a thin later of thermal adhesive to prevent short circuit.
Soldering driver onto head assembly.
I know, I know, the exposed solder joints could create a possible short circuit. I plan to coat those with thermal adhesive eventually, but since I don't have enough spare wire to cut back, I wanted to make sure I had good electrical contact before making that permanent.
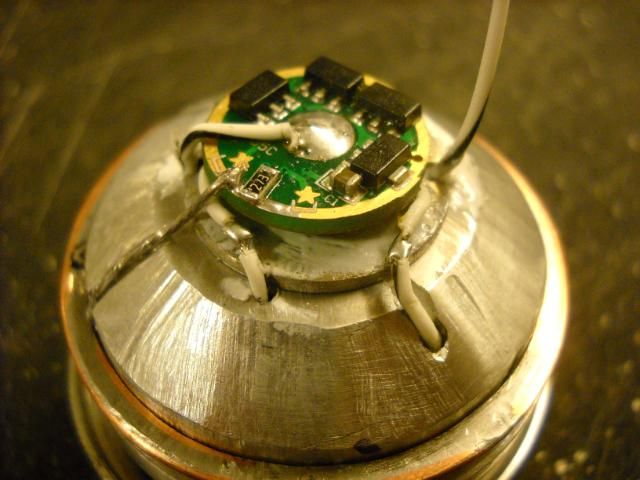
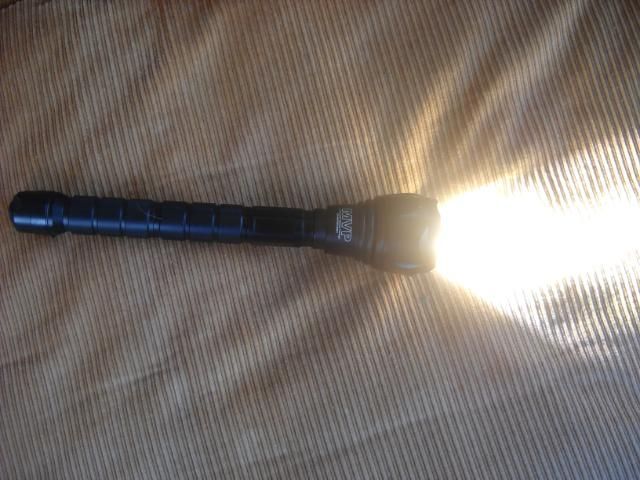
The final wire not connected in the picture above was soldered to the switch positive contact. The fit was tight, but I managed to squeeze the light engine into the light, screw down the head, and fire it up. All three modes worked with no flickering, but I noticed if I had the head screwed down all the way, I only had one mode (high). If a loosened it slightly, then all three modes worked fine. On high, it heated up pretty quickly which indicated good thermal contact.
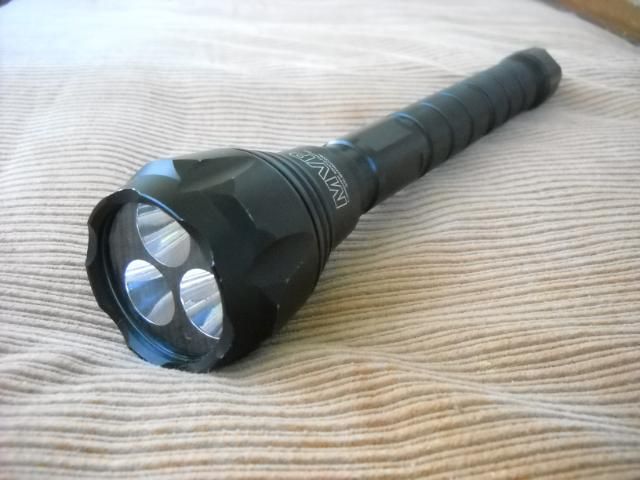
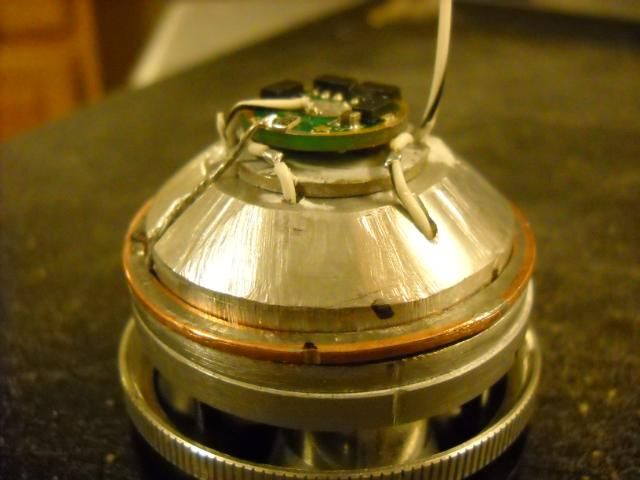
Here's the completely assembled beast in all her glory.
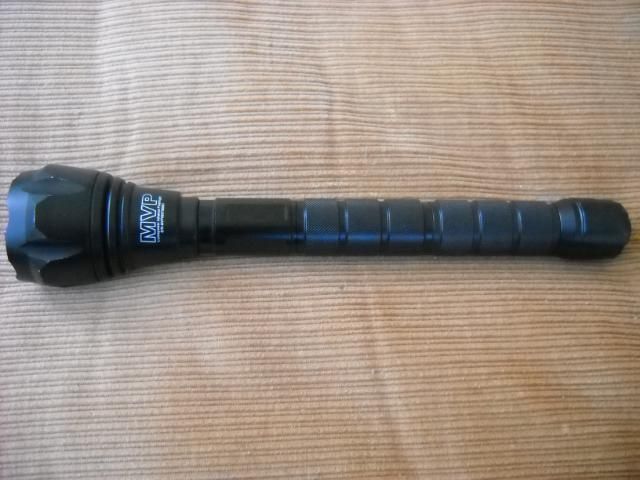
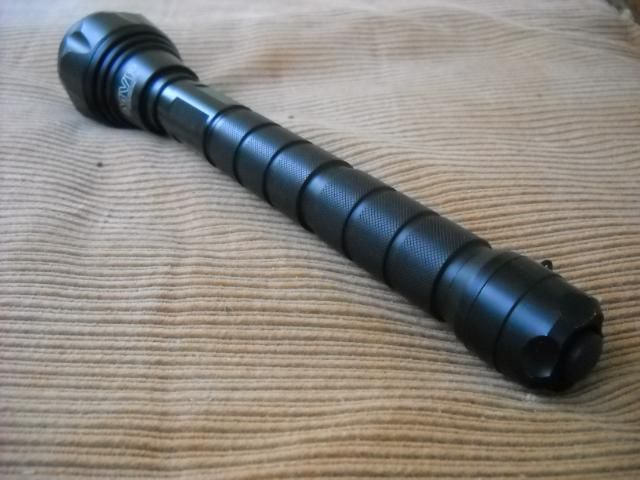
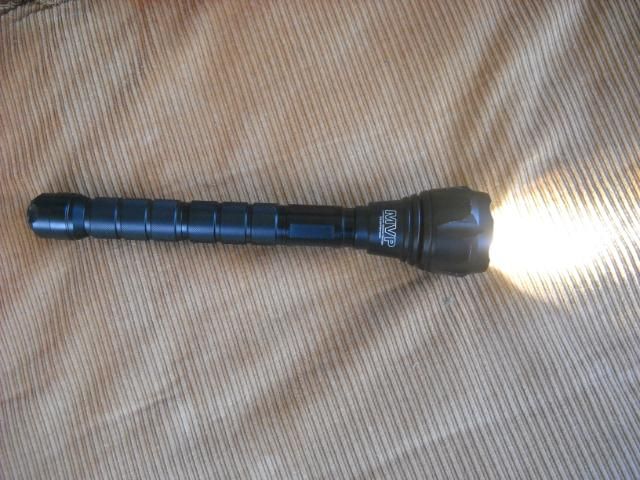
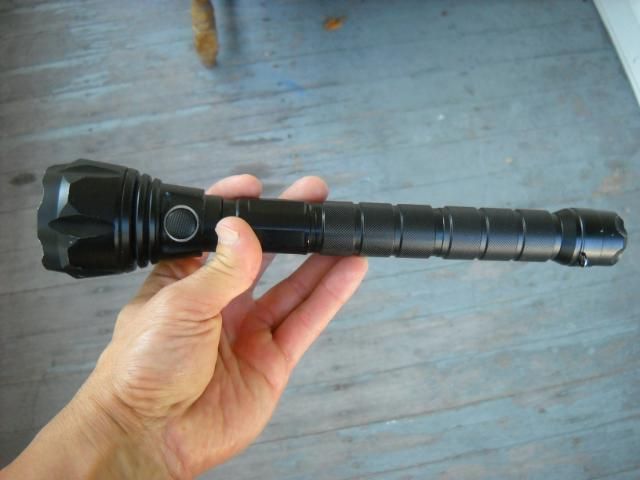
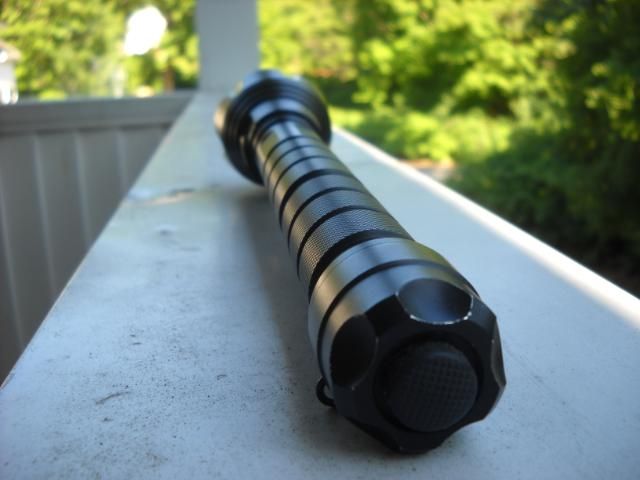
She's no light weight either. Almost 1/2 a kilo without batteries!

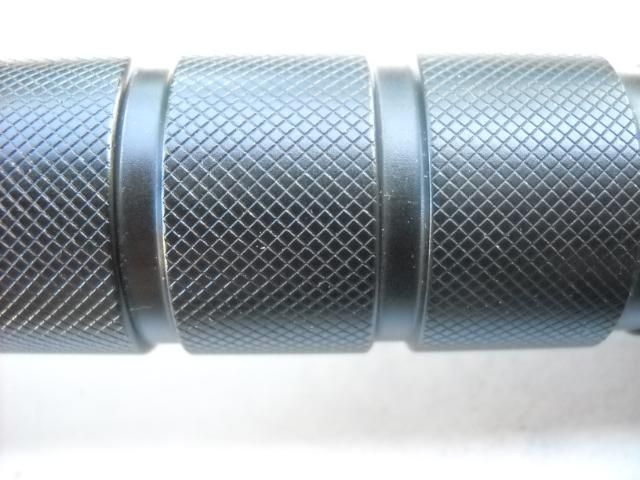
She's also quite lengthy
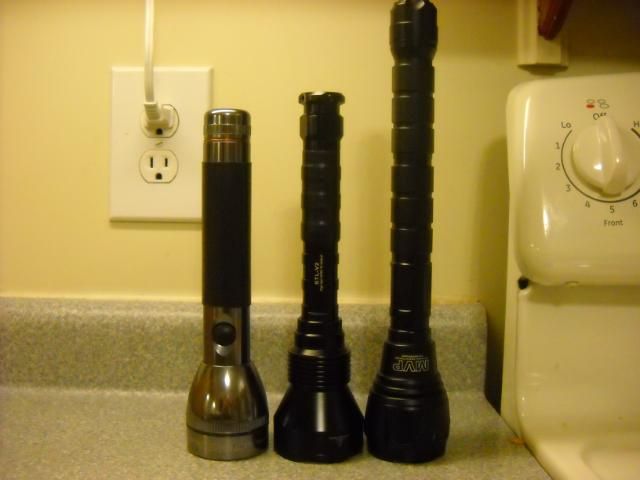
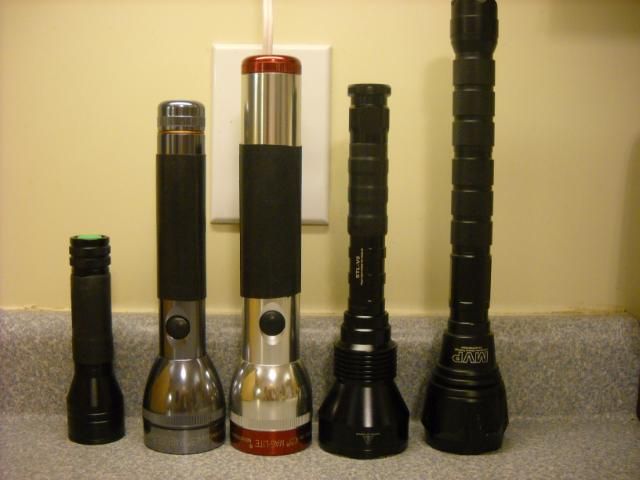
(Left to right) 2c Mag, SR STL-V2, MVP 3 x XML
Current and lux output
Current draw, 3 x 18650 cells
| Setting | Triple XML |
| High | 2.80A |
| Medium | 0.89 |
| Low | 0.15 |
Ceiling bounce, lux
| Setting | Triple XML | SR STL-V2 |
| High | 201 |
91 |
| Medium | 78 |
47 |
| Low | 14 |
10 |
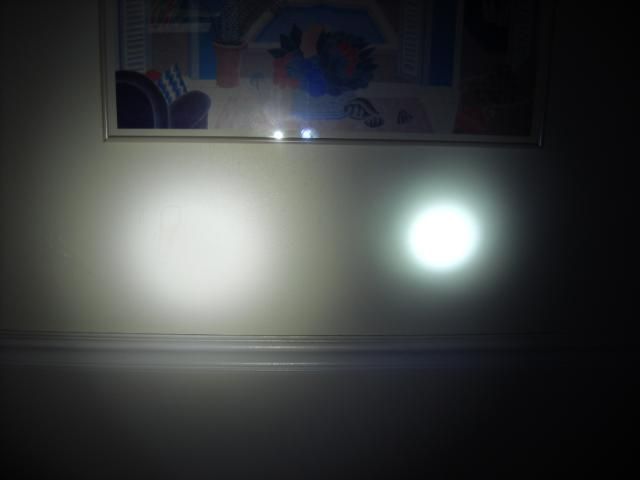
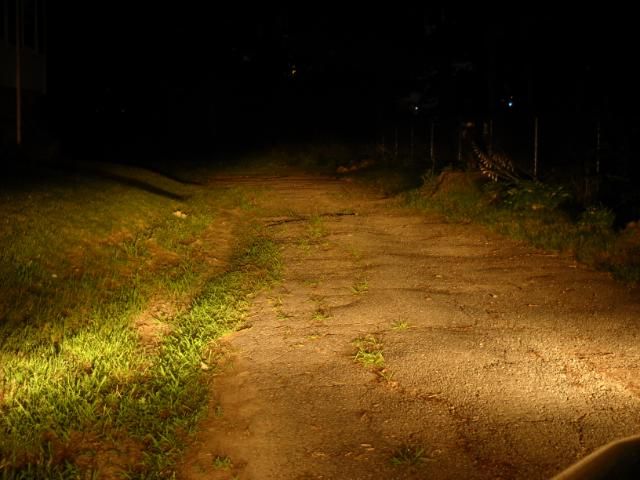
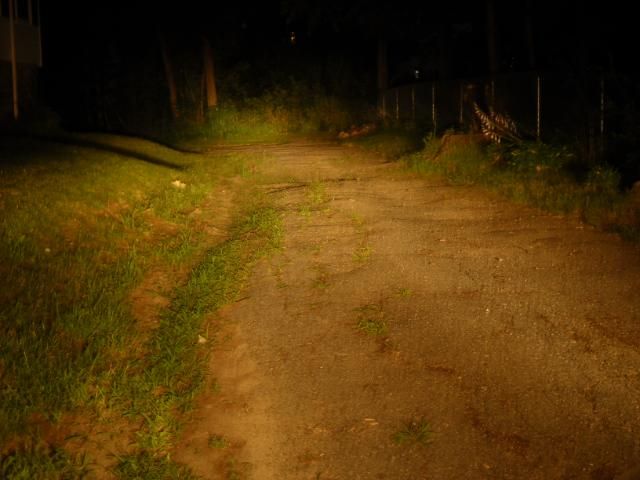
I know everyone wants beamshots, but this is all I have for now against a white wall.
MPV on left, SR STL-V2 on right. Both on high setting.
The SR has a much tighter hotspot of course, but the MVP blows it away in total output. I can't do it justice outside, but let me say this sucker pumps out huge amount of lumens, and kills my triple MCE, both in output and throw.
-------------------------------------------------------------------------------------------
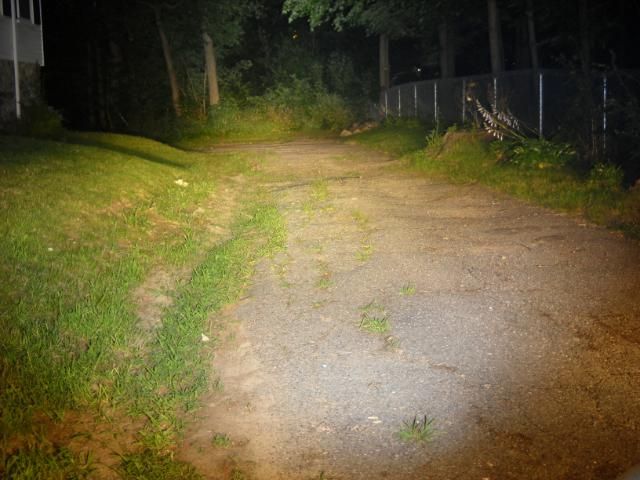
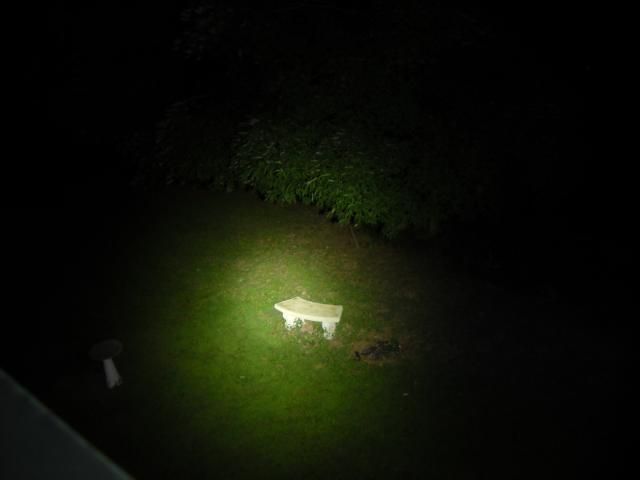
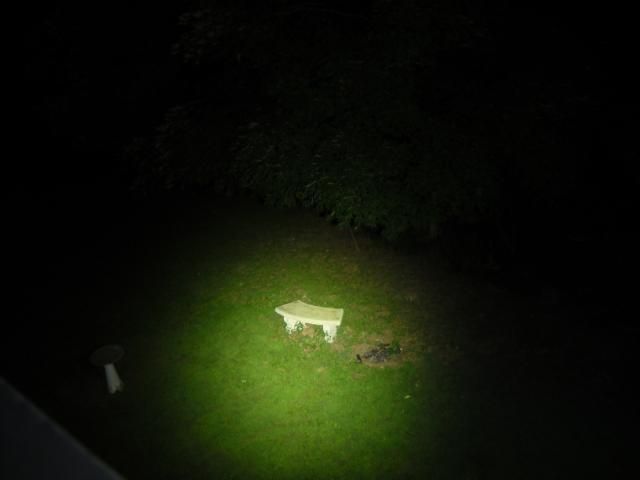
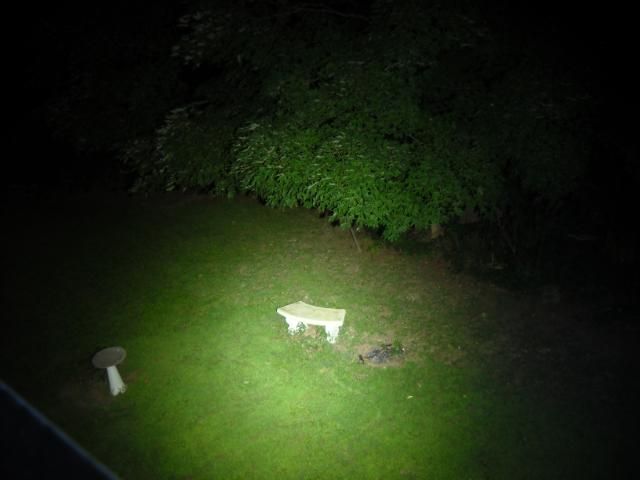
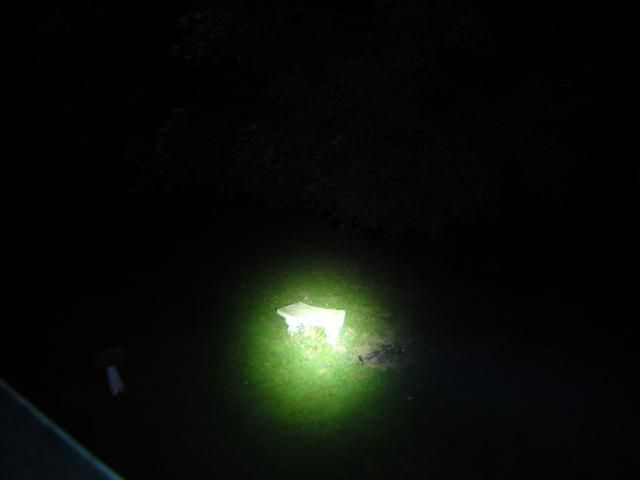
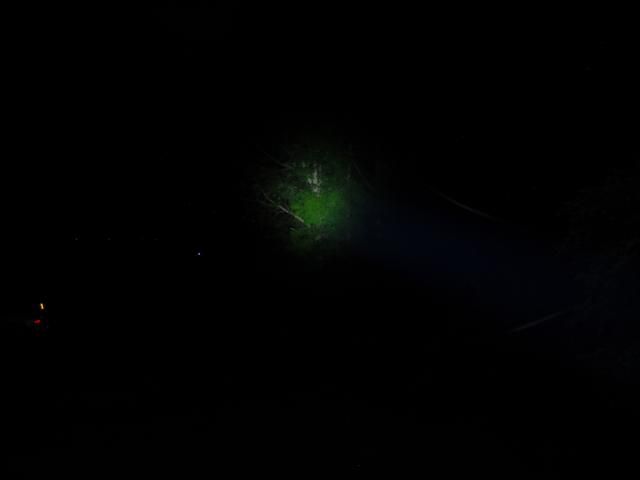
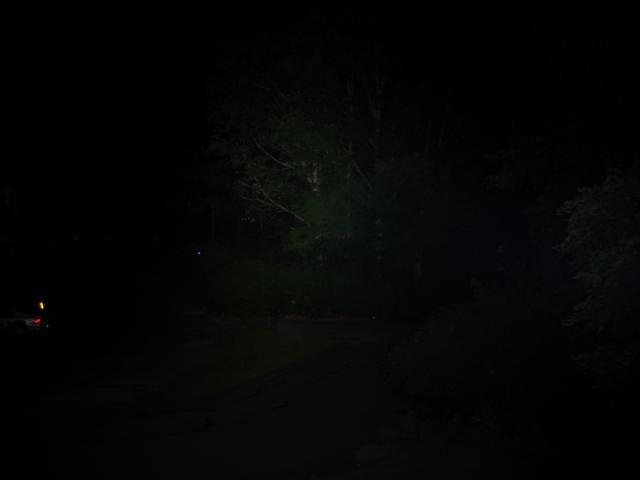
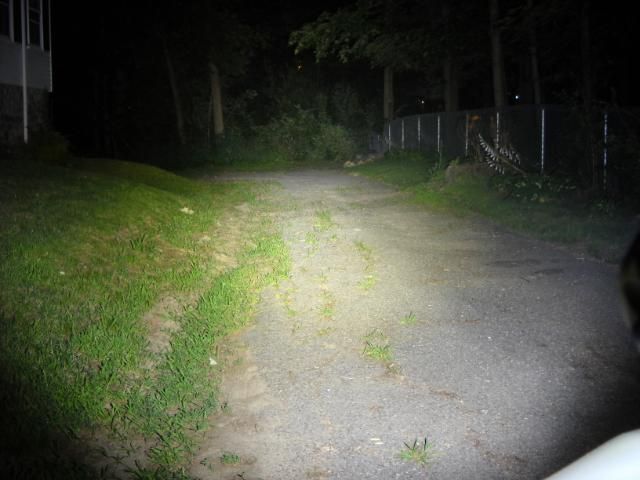
Outdoor beam shots. These were taken with my budget camera set on "fireworks" mode.
The line up (left to right)
Sky Ray 1JC8 XML, 2C mag Quad XPG, 2D mag triple MCE, SR STL-V2, MVP triple XML
First, off my balcony to a bench below, ~ 50 yards. Order same as above. All set on high.
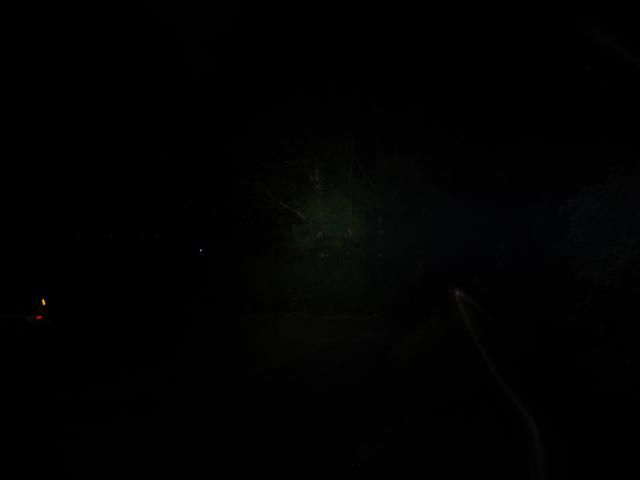
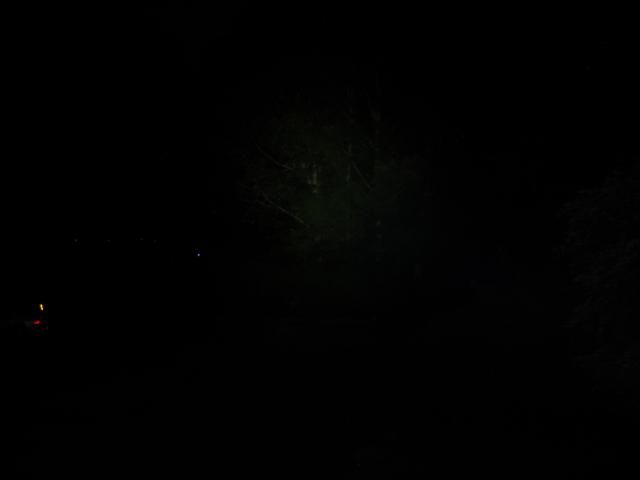
Now a distance shot across the street, ~150 yards


 !
!