Yesterday I got the UniqueFire UF-X6S from Wallbuys. It arrived 11 days after it was ordered! Impressive! Fasted package I got from the sale. (The others are right around the corner)
I always look at lights from a modding perspective, so just wanted to share some pictures and thoughts. This is not a review. But maybe Ill turn it into a simple mod thread.
Compared to ZY-T13

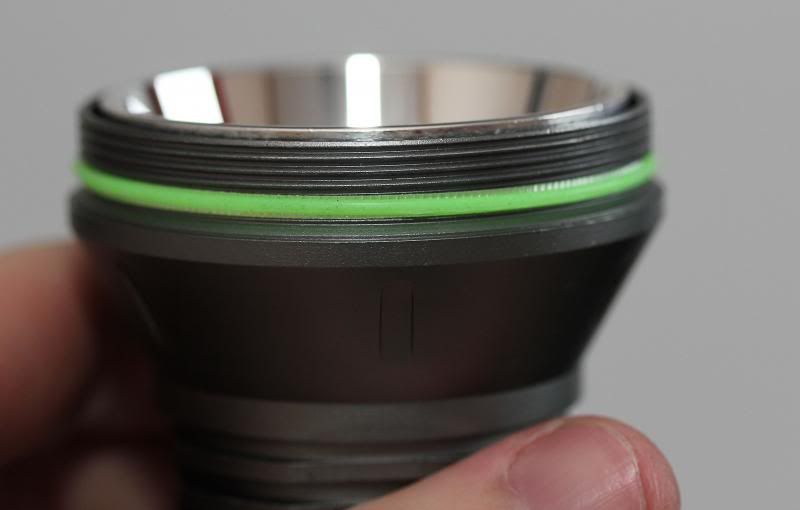
I changed to blue tail cap, from green.
Two very long batteries will not fit in this light with the stock springs (typical protected 3400maH NCR1680B or Protected 2600mAh Sanyo from FT) At least I did not dare to tighten it properly. The slightly shorter than usual Panasonics NCR18650B from intl-outdoor fits though…
With XM-L2 U2 on copper, and 3+ amps to the emitter, the modified ZY-T13 kills my new light. No surprise really. Stock vs, stock they were probably quite equal (based on tail cap reading, and beam).
Hot spot is actually slightly smaller on the X6S, and so is the spill. The spill was expected, considering the smaller diameter reflector that is about the same depth as the ZY-T13.
And ZY-T13 are very similar to other know throwers like HD2010 and ZY-T08.
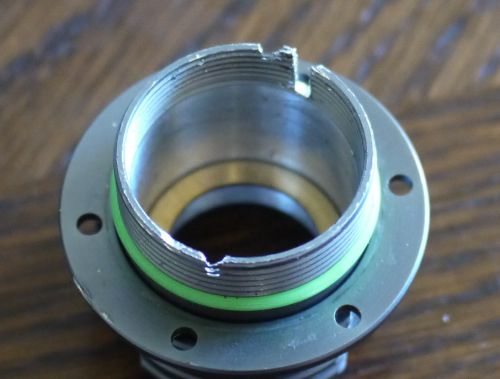
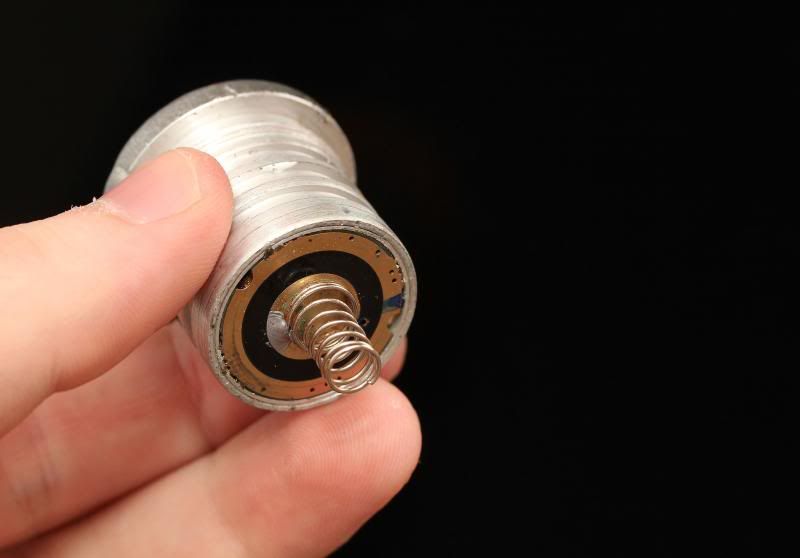
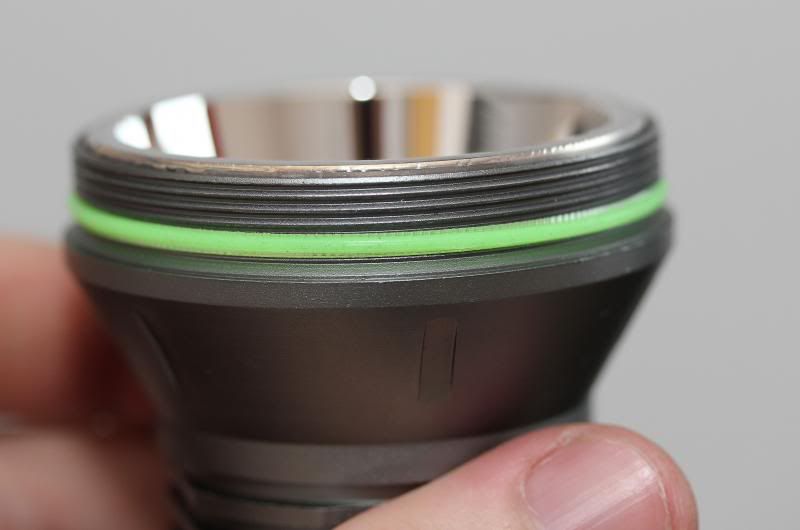
Lets look at the switch, which was screwed in by a typical retaining ring.
Once the ring was out, everything was press fit… Not meant for high output…
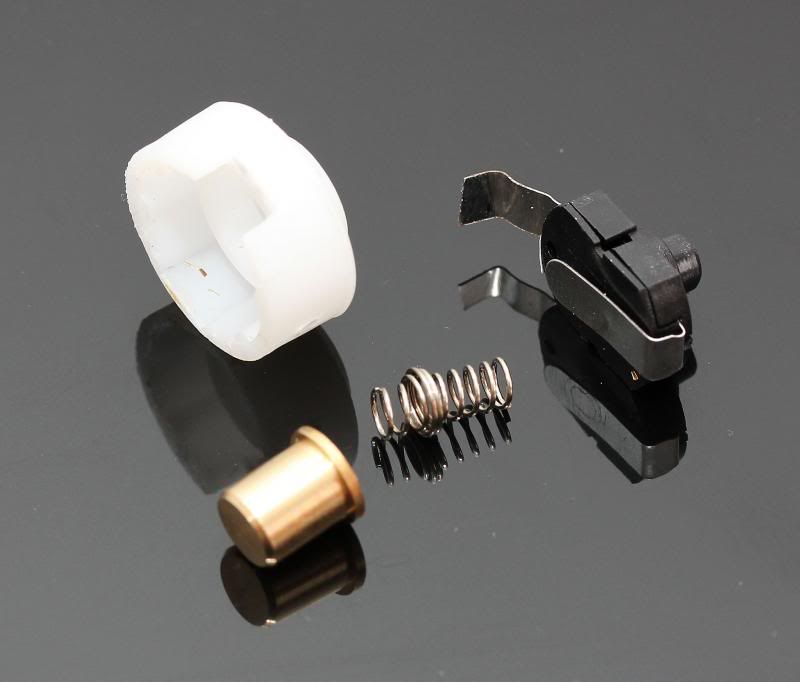
Cheapo spring on the driver circuit. You can see that a ring holder the circuit board properly in place.
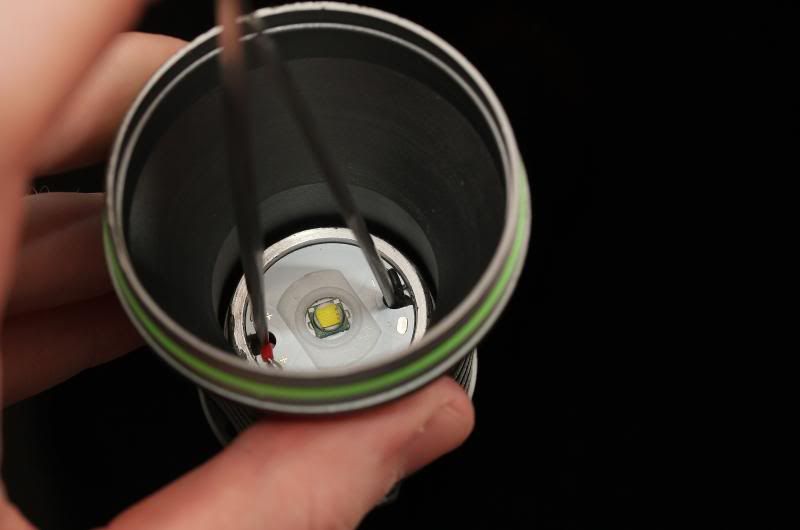
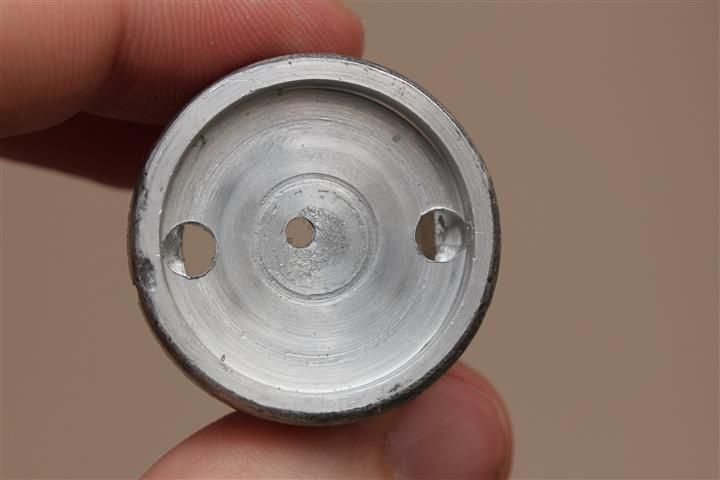
The pill is screwed out from the front. It is screwed out clockwise… Those who had put it in had scratched the pill. A drop of thermal paste was under the emitter.
Pill is very light and spacious (for the size). 22mm Circuit board.
Driver circuit. 1 amp on the tail with two batteries. It will also work with one battery, showing 2 amps on the tail. Despite that the body looks to be capable of using 1 battery, it isnt. It will not screw together. There is also a color difference between the tubes. One really crappy thing about the light. NEXT MODE MEMORY! It should not be legal in such a light!

Like 98% of the lights I buy, its a mod-host. I bought it on sale, so it was super cheap.
I plan to put a 5 amp driver from lck-led in it. Emitter, time will tell. XP-G2, XM-L2, or MT-G2? When I bought it, I was curious how the SST-50 50mm reflector from FT would fit.
It is not as deep.
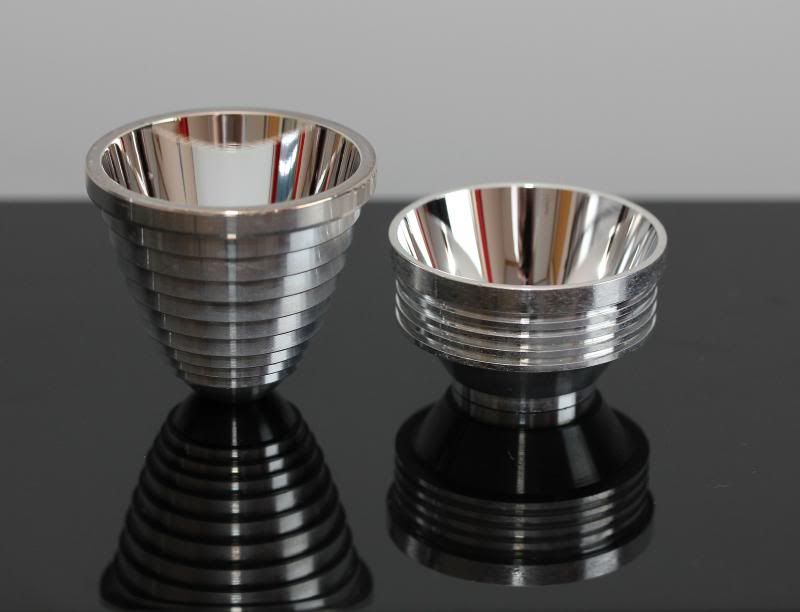
But if fits perfectly!
Stock
Maybe MT-G2 will work nicely in stock reflector?? Time will tell…. No matter what, It will be very bright when finished.
I think it looks quite nice too… ![]()
Mod update 28.06.2013
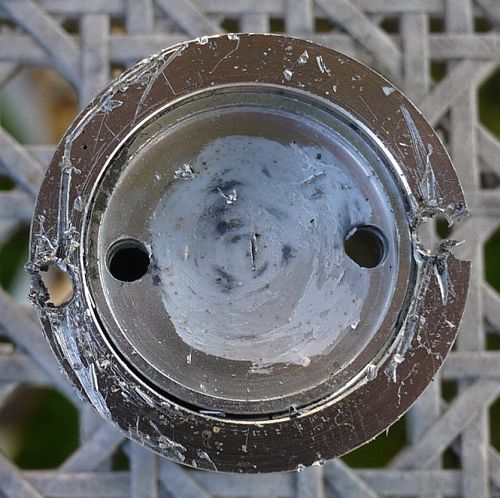
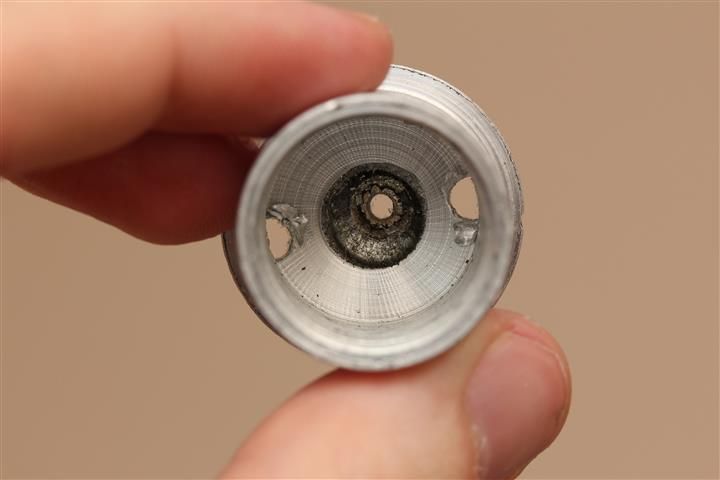
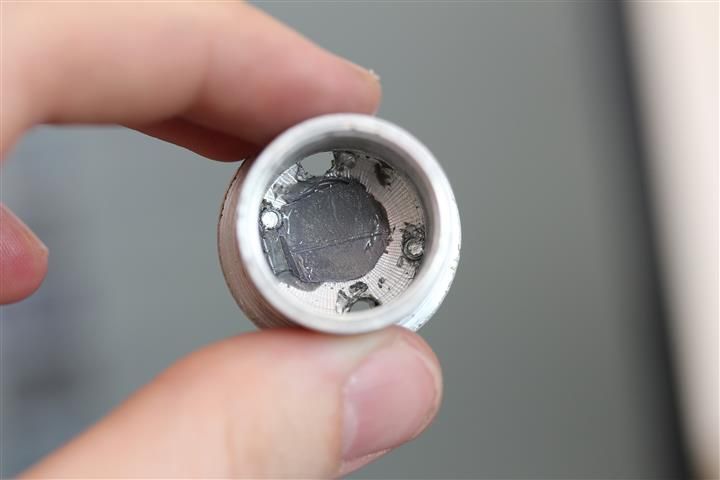
Never took proper pictures inside the pill.
It was a very strange “burn mark”. Where that mark was, the aluminium was very thin. There was even a hole… I cant accept holes in my pill when doing high current.
Drilled a hole and made a copper piece/plate to fit…
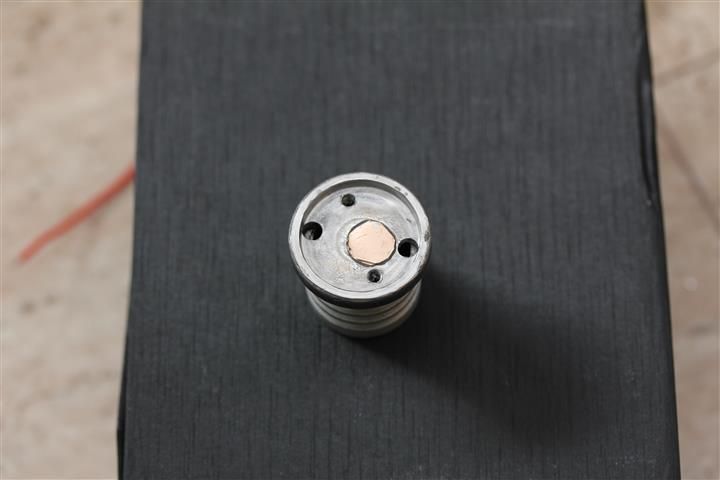
Used JB weld around it and under it… Originally I had some extra copper plate parts JB welded together on the underside too, but they fell out due the the screws getting into them…
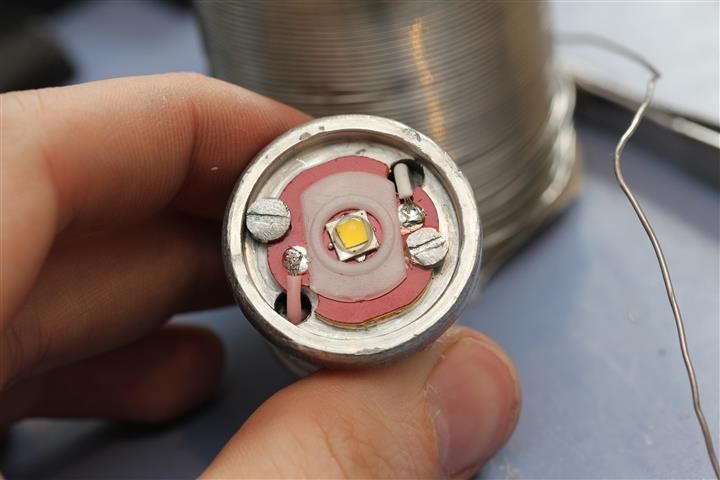
When pushing 5A to a copper mounted XM-L2 T4 5B1 (80 CRI minimum), I though it was best to secure the MCPCB as good as possible. Needed to do some work to the screws and such in order for them to not crash into the reflector.
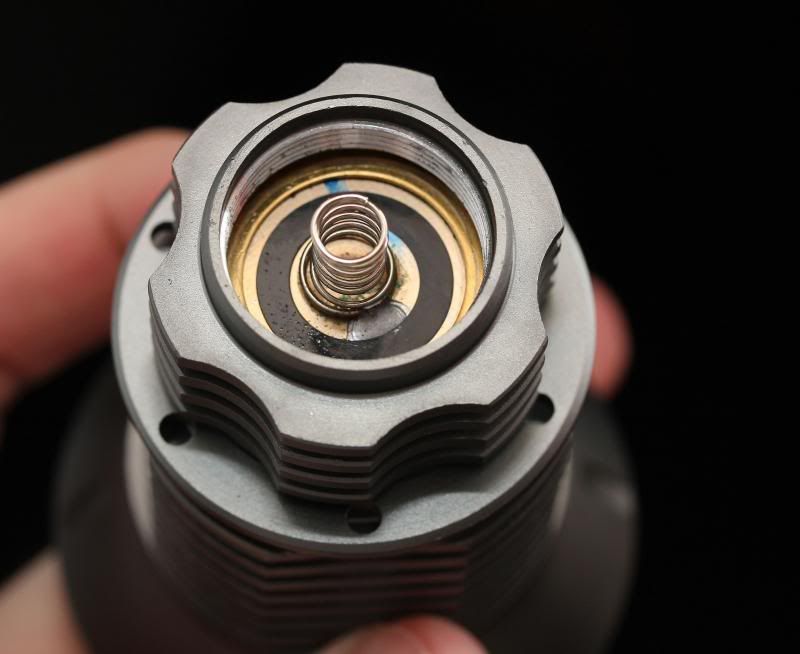
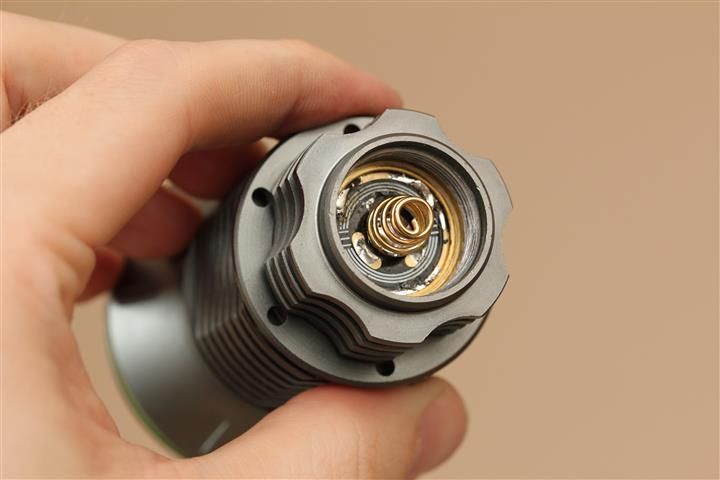
The FL-2 driver got a high current spring. The contact board was also attached to the pill by having a few wires around the contact board. Making it a decent press fit. On top of that, it had a ring pressing on it. In other words, the pathway for the negative driver current should be nice.
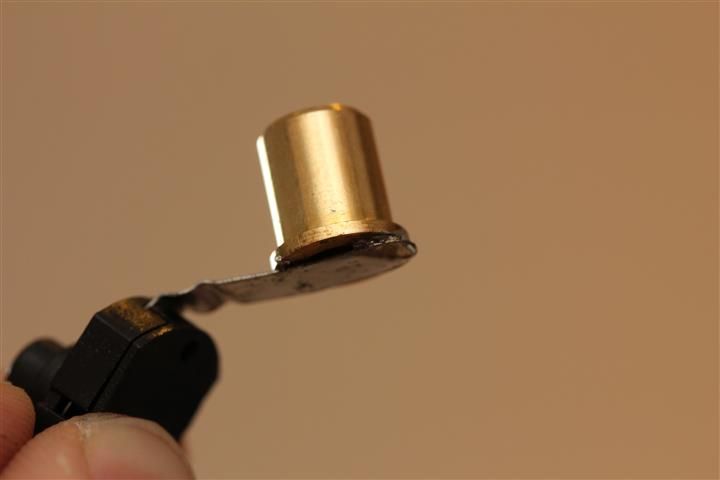
In order to optimize contact on the switch side, I just removed the spring and soldered the piece touching the batteries directly to the switch. Reason being. There was not much flex in the little flimsy stock spring. And with long protected batteries (which I always use) it was always fully pressed in when the tail cap was on and batteries were in.
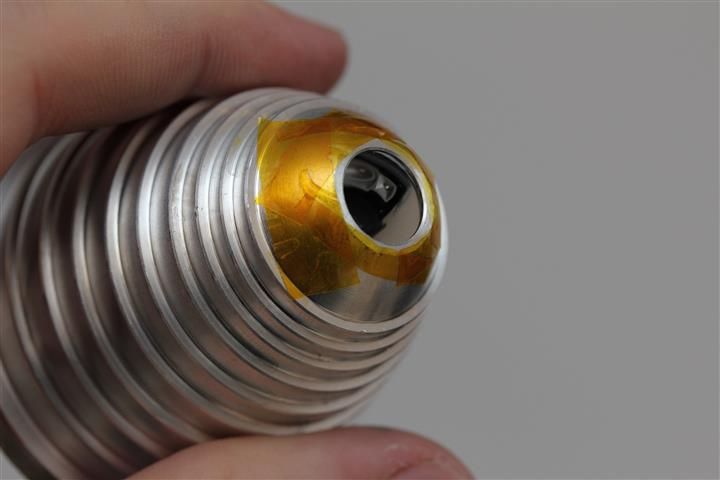
Wires or anything should not touch the reflector. But the gap was only about 1mm, so just in case if shit happens. Kapton tape to the resuce… ![]()
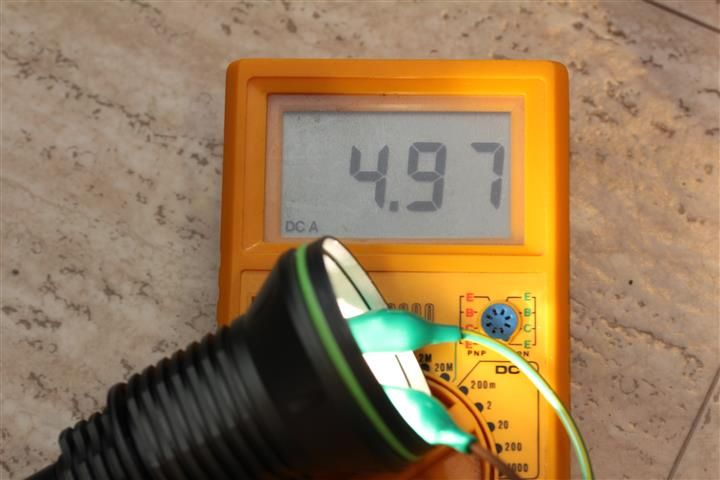
Yupp, that should do it! ![]() Starts right above 5A, and goes down below 4,9 depending on how long I wait… It might sink below 4,8A if I waited long enough. I tried before and after tail cap spring mod, and I think the difference was up towards 0,05A higher after that mod. I actually played with the resistor on the top of the driver to see if it could output more current. It could, but only a little bit. There was another resistor group on the driver as well that already had extra resistors stacked. For those who want 5A+ I might be possible tinkering with those. Lowering output is probably easy, although I have not tried it. I decided to leave it stock, 5A. Even stock the driver heats up quite fast. 5A should be sufficient too.
Starts right above 5A, and goes down below 4,9 depending on how long I wait… It might sink below 4,8A if I waited long enough. I tried before and after tail cap spring mod, and I think the difference was up towards 0,05A higher after that mod. I actually played with the resistor on the top of the driver to see if it could output more current. It could, but only a little bit. There was another resistor group on the driver as well that already had extra resistors stacked. For those who want 5A+ I might be possible tinkering with those. Lowering output is probably easy, although I have not tried it. I decided to leave it stock, 5A. Even stock the driver heats up quite fast. 5A should be sufficient too.
The driver uses PWM on medium and low. Its audible.
Finished! I call it my tint-thrower… ![]()

Not much darkness here, but Ill probably do a beamshot comparison later in the year. Im very happy with the tint and output from what I have seen indoors so far. ![]()