Deal! ![]()
Seriously, if you could build one for me too, I’d be more than happy ![]() .
.
Edit: ISP - in system programmer. Or so.
Deal! ![]()
Seriously, if you could build one for me too, I’d be more than happy ![]() .
.
Edit: ISP - in system programmer. Or so.
K, I'll keep my progress posted here. Think I was posting in a E3 thread as well.
Wherever the line’s forming for this driver I’m +1.
Frankly if the ramping UI would simply always start at lowest level, that’d be enough but going full Anduril would be awesome.
I did pm Quadrupel and he replied almost immediately and left me a new set of Gerber files for the driver with slightly larger diameter and the switch located closer to the edge. So I should order a set asap since it takes a while. I could still take an attempt with the drivers I have. Just think'n, maybe I'll simply solder on the switch, mount it, and see how the switch feels.
That’s a good idea. :+1:
Ok - I did mount the switch, tested it - felt pretty good actually!
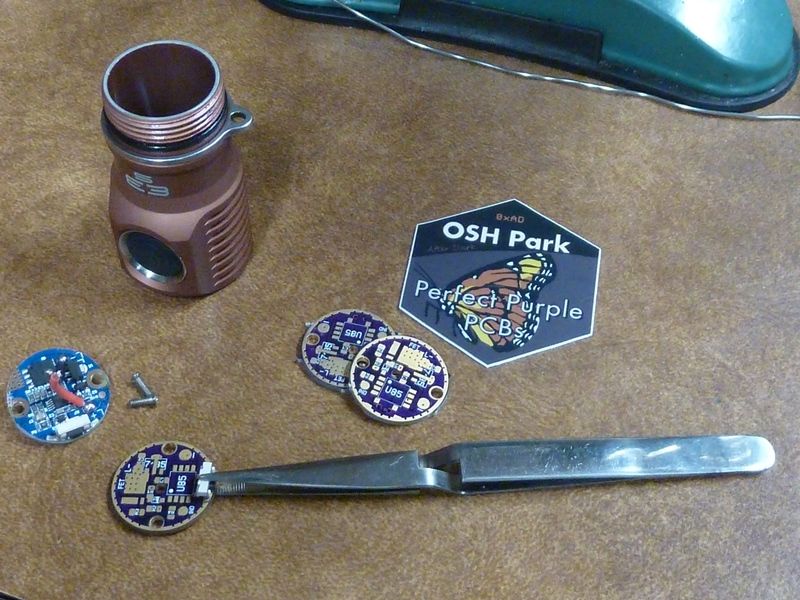
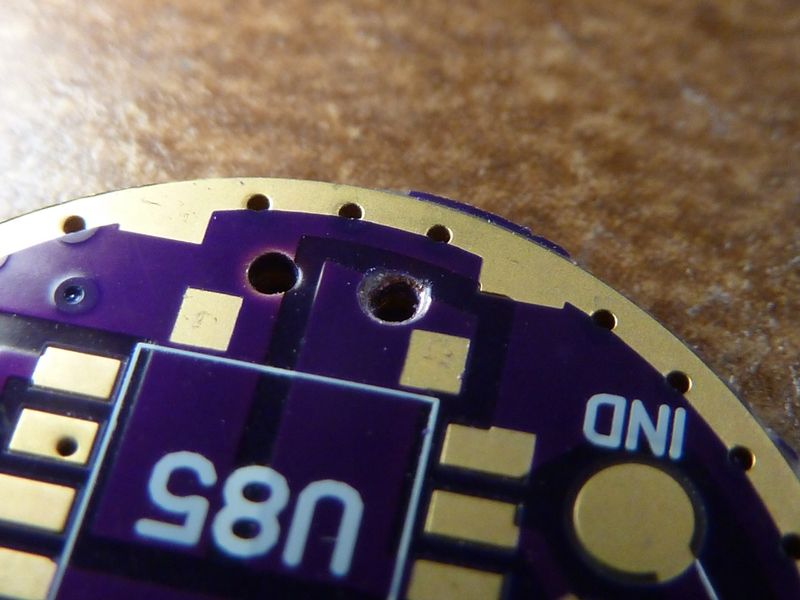
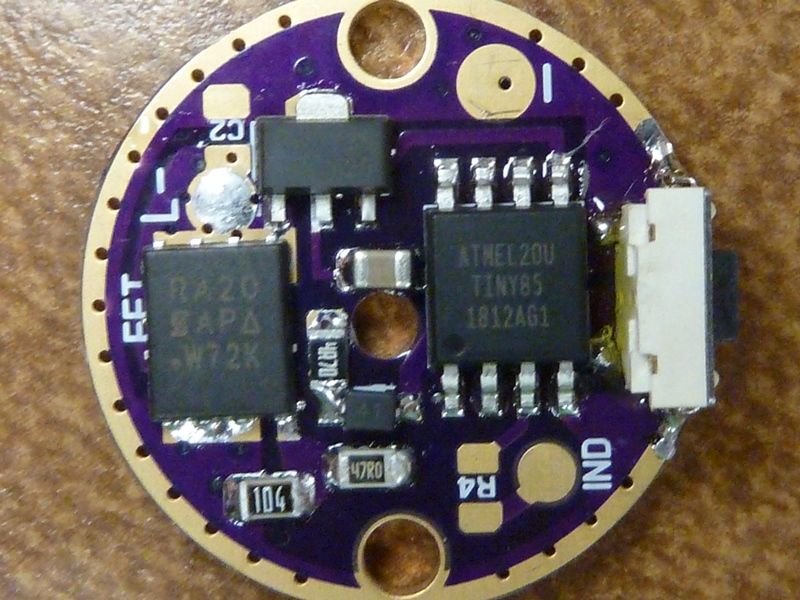
Here's some pics showing the breakdown and the new driver:
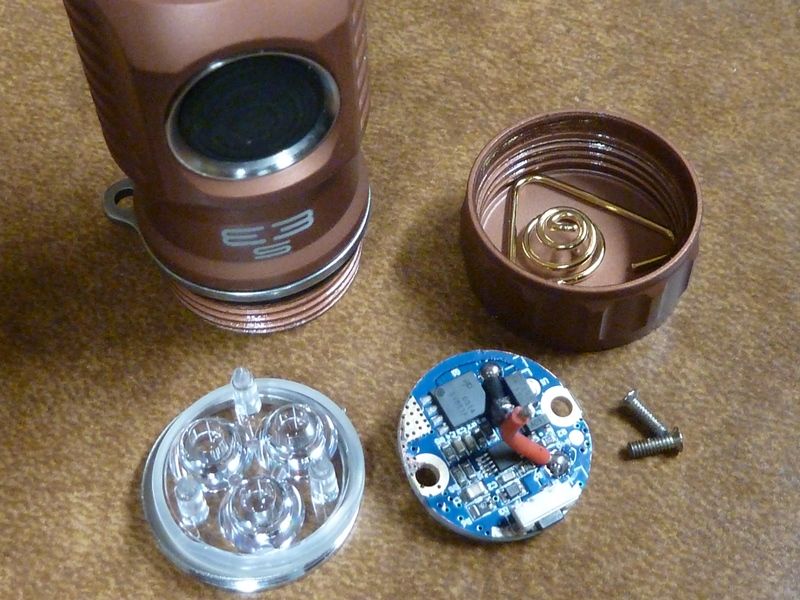
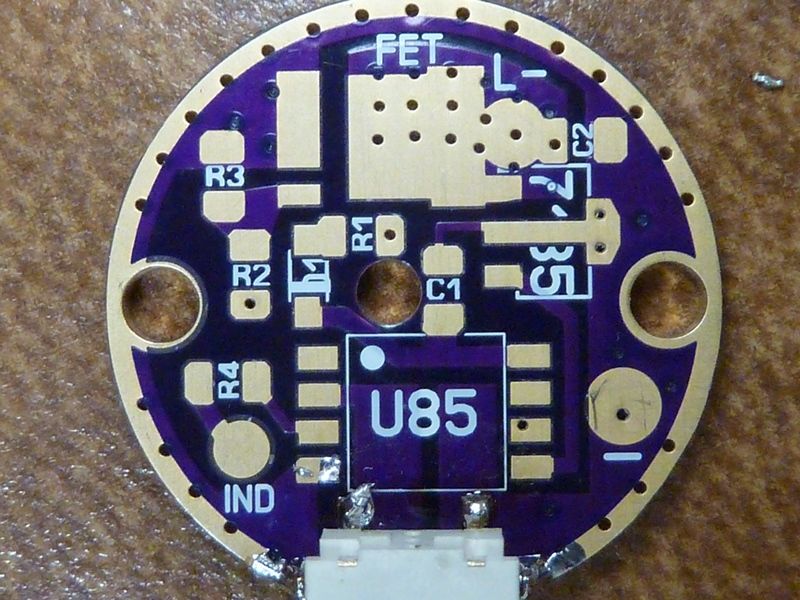
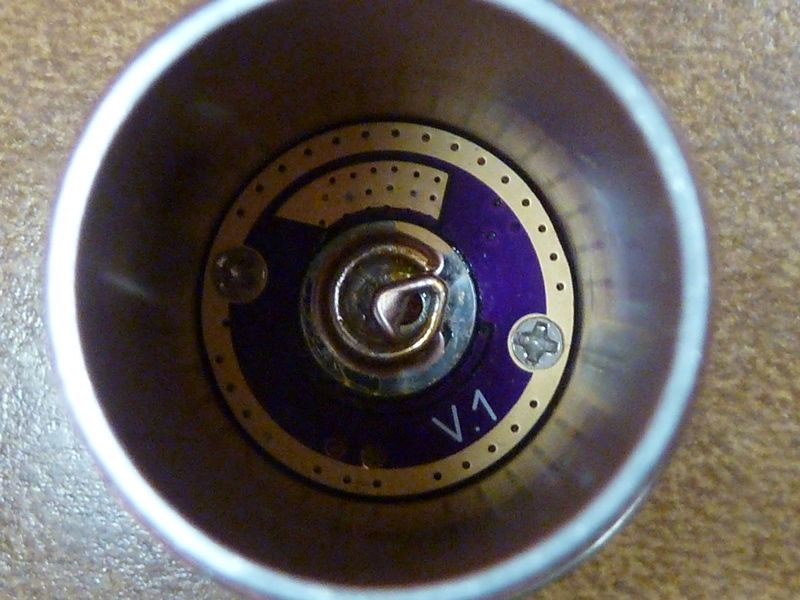
With the driver removed. Nice they beveled the center hole, removing sharp edges:
a bypass would work well with this spring:
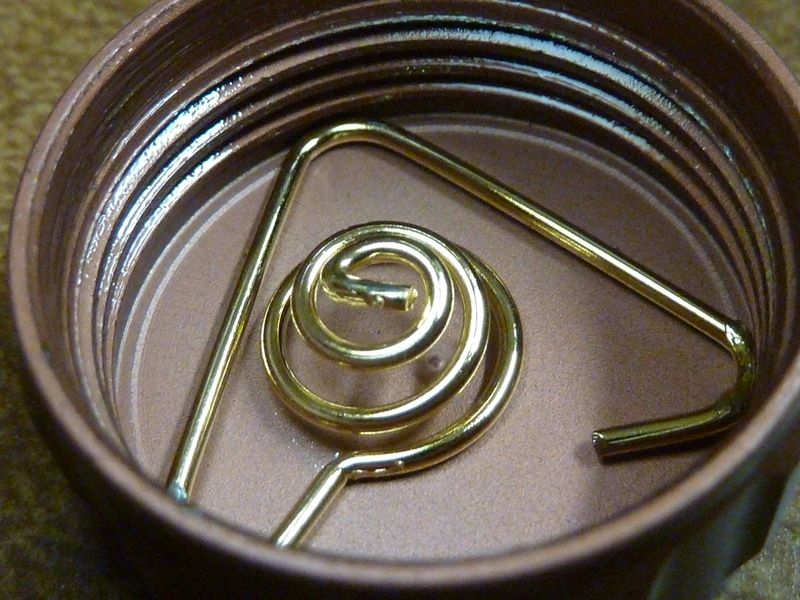
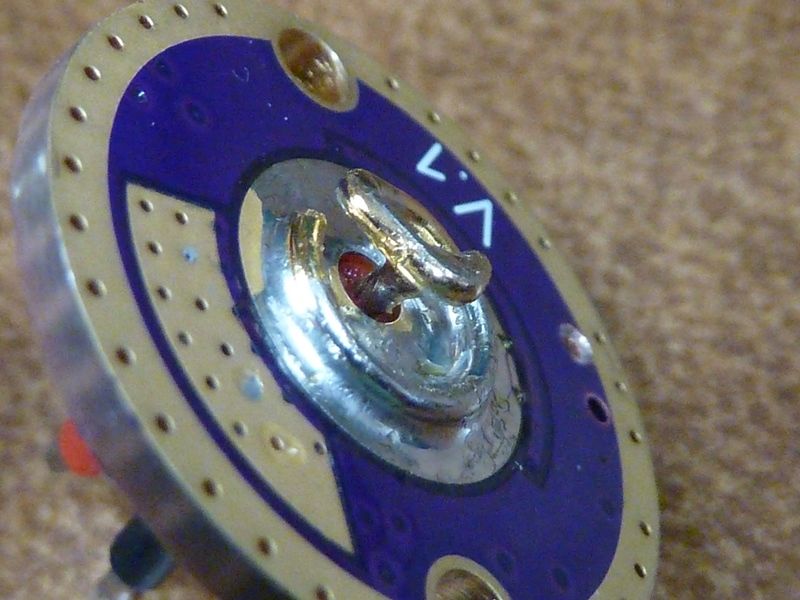
Tailcap logo:

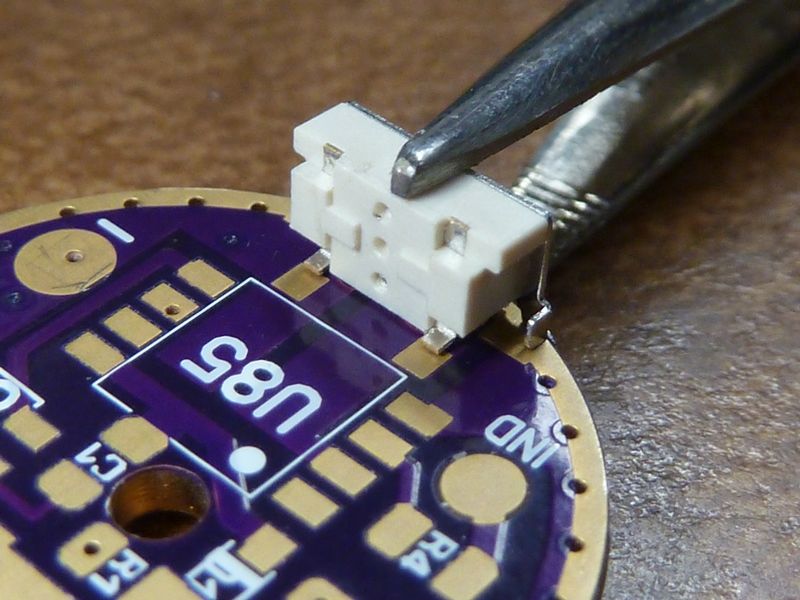
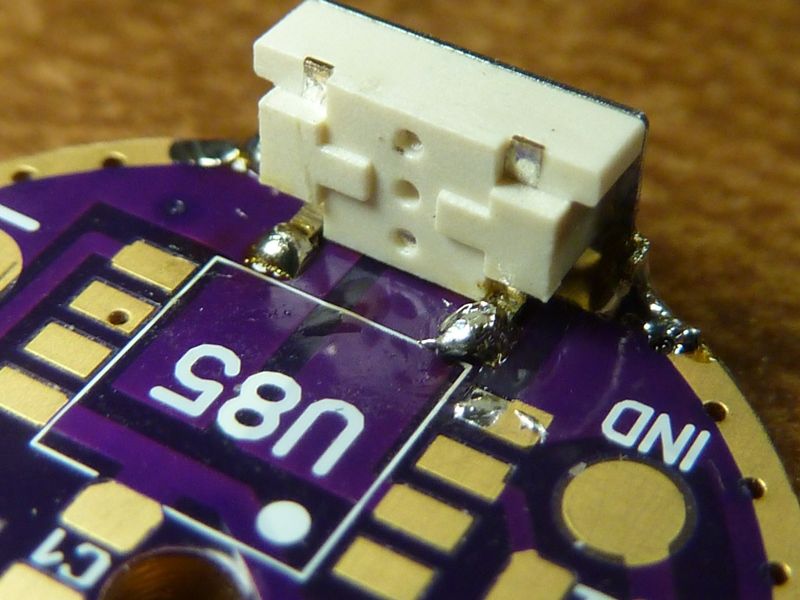
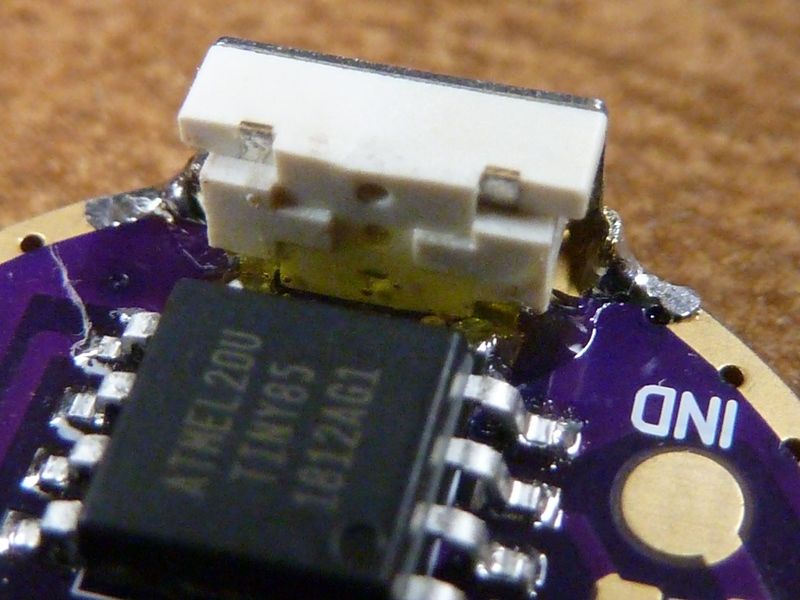
I used this tool to pinch the switch in place in order to solder it down:
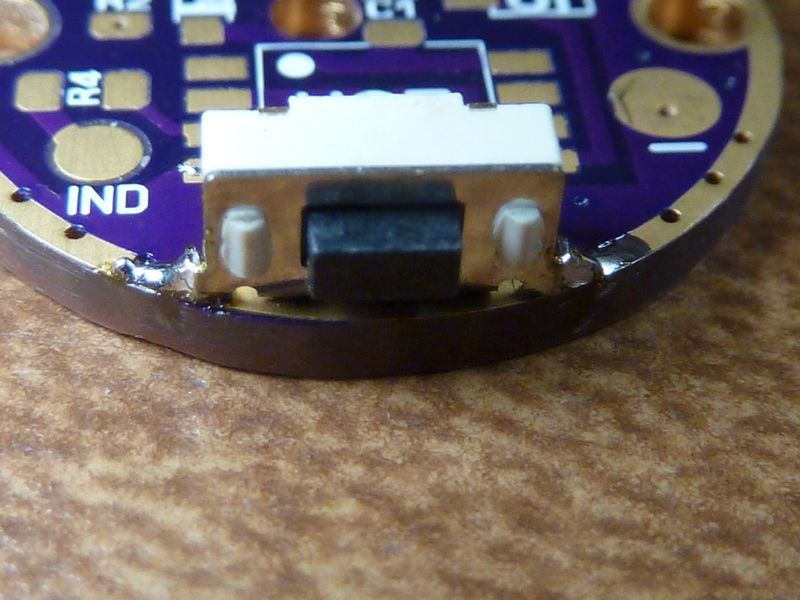
Tried to align it up even, it's close:
Done!
I'll be adding epoxy to the backside of the switch to help secure it, keep it from getting bent back. Not much space there because of the proximity of the MCU, but a little could help a lot. I actually had to trim some of the solder blob on the right side below in order to get the MCU to fit:
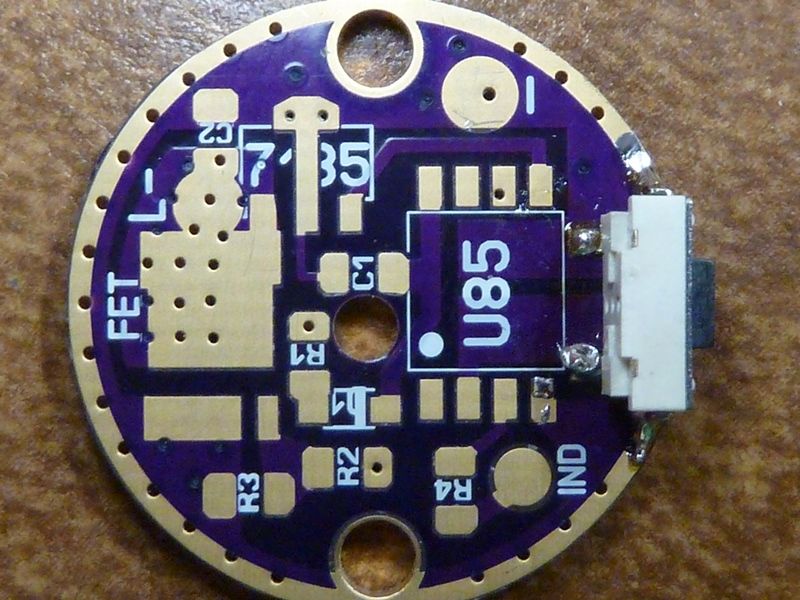
Switch is sticking out over the edge about the same amount as the stock driver:
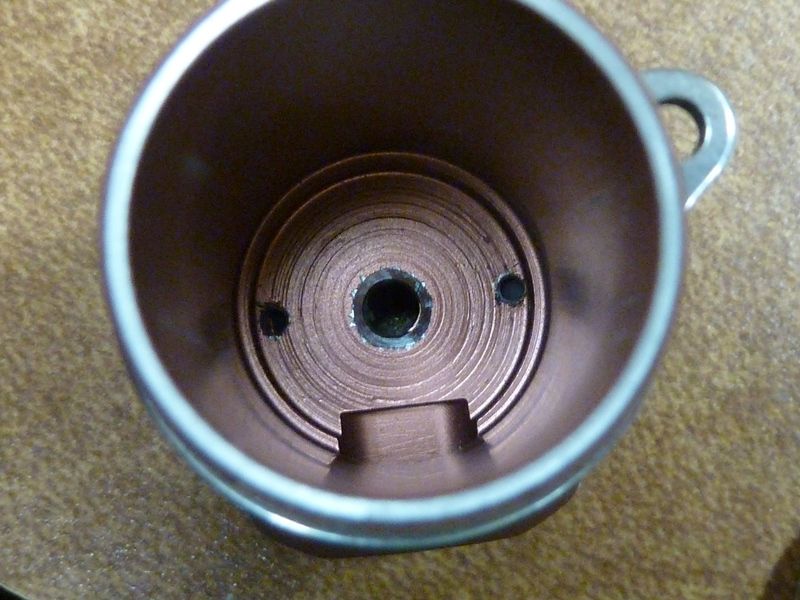
Blank driver installed with stock screws:

One more top view:
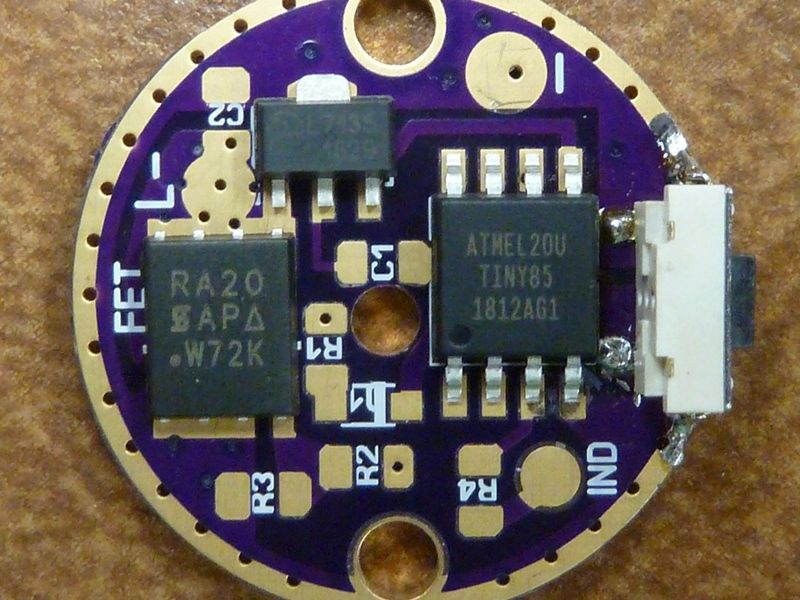
Major components in place - seem to fit well. I'd use my favorite FET - the SIRA20. The rest of the parts all seem to be in the proper places. Notice the R4 and IND pad? It's set up for an AUX LED on pin #3. Actually a triple AUX LED assembly from Lexel would probably look cool in this tiny light 
Well, that's as far as I got this evening. To Be Continued...
Yes, AUX LED on pin #3, for Anduril C2 is not necessary, it is for experimenting to get lower moonlight, im using it on Zebralight like UI.
I ques for better contact anodizing need to be scratch here :

Wow ![]()
Was wondering about that C2 cap.
Yes, you got a good point. Looks like the only contact point are the 2 screws. In the tailcap, the end of the tube makes contact with the spring directly, so should results in a short twist lockout.
Good to know about the C2 - was wondering.
Regarding C1, looks like it's connected to Batt+ after the D1 diode. I've been checking other layouts and the ones I've found from DEL, CK, and I think TA has the C1 cap connected after the 4.7 ohm but before the diode. Did you do this intentionally?
After or before probably is the same, maybe before is better. Already fixed in V2 for the peace of mind ;))
Ah, ok, thanx! Yeah, probably no difference. Maybe the D4 layout was like that - didn't check.
Looks like OSHPark has a screw up - the switch thru-holes came out coated, so the switch was grounded out. Easy fix though, just had to bevel off the edge:
So went ahead and reflowed:
You can see the clear epoxy - does turn a little yellow under heat of the hot air gun:
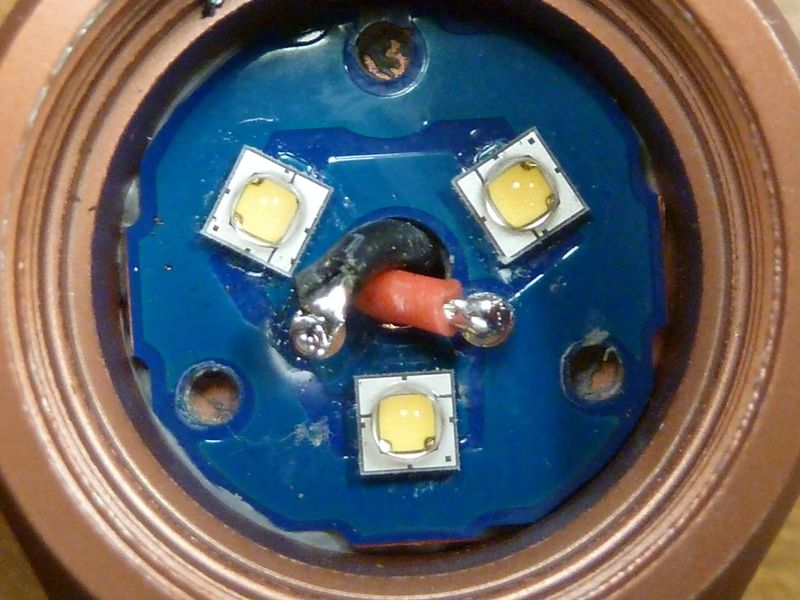
Transferred the stock spring, but now the LED+ wire is directly connected:
20 AWG, replacing the stock 22 AWG wires:

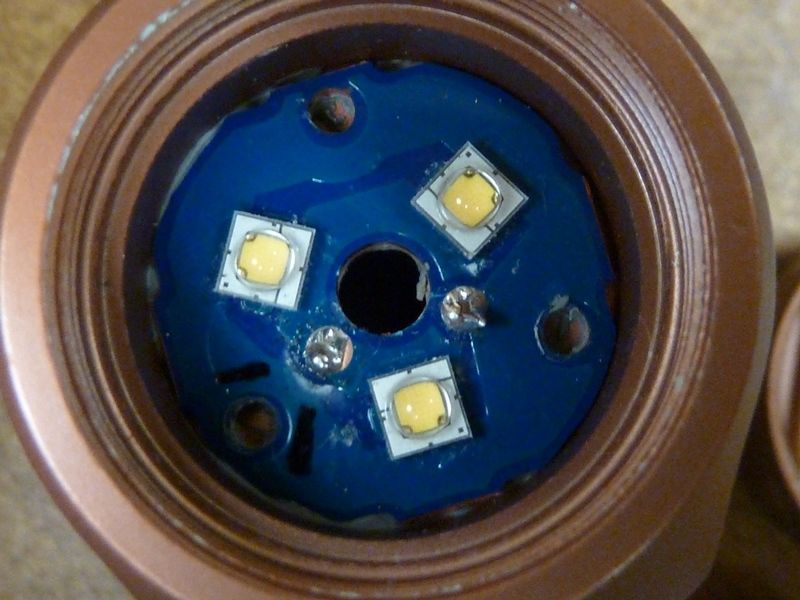
Installed, and it's all working, running my flavor of Anduril:
Didn't do the tail bypass yet. Also looks like I did't record any readings in the stock form (before) so can't tell how much better it's doing :FACEPALM:
Ahh… this button hole… ![]() Fixed in V3.
Fixed in V3.
You fixed the direct bypass? ![]()
Ah, sorry.
You people are amazing ![]()
Nice work gents.
Tom E., if a small list will exist for Anduril driver, please add me to it.
I'll make a few. I should make up a separate thread to take orders. Will take time though - roughly 2 weeks from date of order, then another week or 2 to get them out.
I'll post a link here for the thread. Not sure of overseas orders, but US should be no problem.
This driver option now tempts me to get one of these… Wish there was a buck option like the Lume1, but alas, beggers can’t be choosy. Thanks TomE
Mine came in this morning, and it’s got my panties in a bunch.
I’ll see about adding pics when I find time, here’s the list of things I’ve noticed.
1. No lanyard ring included, just instructions in Chinese and a very small o ring.
2. Ramping driver doesn’t ramp. Read this thread in its entirety, google searched ES3’s which brought me back here to read a second time. Tried every combination of clicks that my not so bright azz can think of. No rampy. Just click click boom
3. Dirty black crap on LED’s, Looks like someone who didn’t know how to solder melted some of the plastic casing off of wires, and that hot plastic found a home in the dome.
4. Scratches off anodizing INSIDE the head, not a big deal, but I’m sassy now.
5. Threads in the head are funky, and chrome bezel has more lateral play then I’d like, it does make it easier to get off, though.
6.Grand finale, head broken off of the lone screw holding down mcpcb, which I don’t seem to see one in Tom’s pics?
Looks to me like I got someone else’s return, or at the very least, was assembled by the drunkest guy in the factory that day.
It do be bright tho, still a heaping pile of crap imo, fitting for the color I chose.
NotSoBright gotta NotSoGood. Yea, mine didn't have a screw to hold down the MCPCB.
Yikes, no lanyard ring?
For the ramping mode, press&hold from OFF. Then when it lights up, release. Now it should be in ramping - press&hold should ramp up.
I saw the SS (not chrome) bezel threads a little funky in mine, but don't recall slop space.
The mess on the LED's just ain't right. With just the lanyard missing and LED crap, I'd try to get s hold of Amutorch. Please try first, even try pm'ing them here.