SECTION 4: MODS and TING
Here's the rest of the things i've done that are not complete light builds.
One of my first proper mods; an simple Aspheric Thrower using an EZ900 XR-E through the Ahorton lens and mounted into the simple Skyray P60 host.
Only the tiniest bit of cutting was needed on the host to remove the lip which usually holds the lens in place. The LED pill sits in a threaded copper tube to allow subtle adjustment relative to the lens.
More details on the build Here on Multitool.org
I got a modded triple E-series head back from Tana recently and decided to give it a e1 type body but being a high powered drop-in i wanted as much battery as i could get so i made an 18350 sized body for it.
This is my old-school pineapple build, the body is an old E-series compatible PEU Pineapple while the head and tail are my own creations (although the tail is a close facsimile of a McGizmo Aleph tailcap). My inspiration came from these pictures of previous pineapple builds by wave_particle:
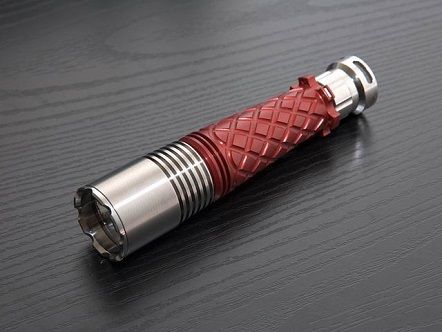
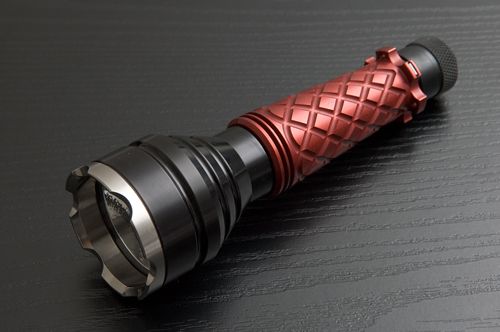
I love the shape of the light in the first picture but it looks like it has a titanium head and tail and as i want to give this light a triple LED head titanium is not a sensible option and since i don't like bare aluminium, i decided to go with the red and black colour scheme of the light in the second picture.
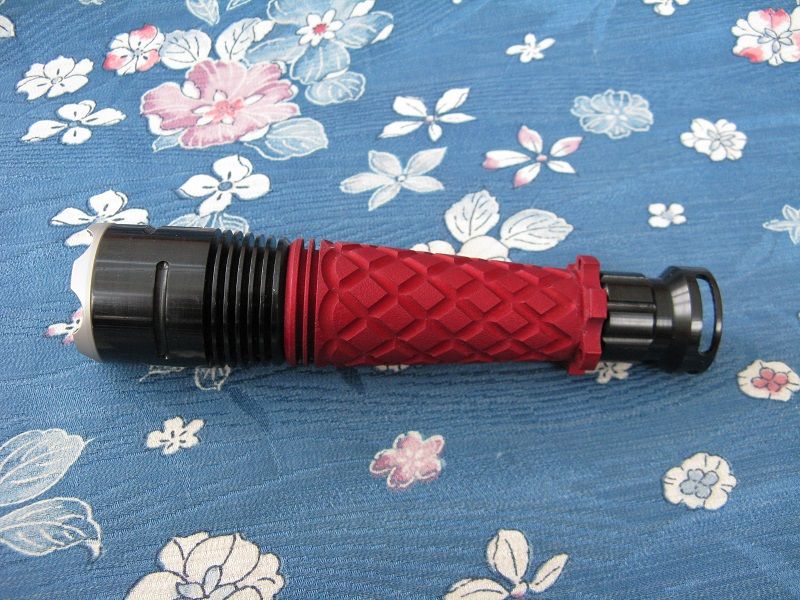

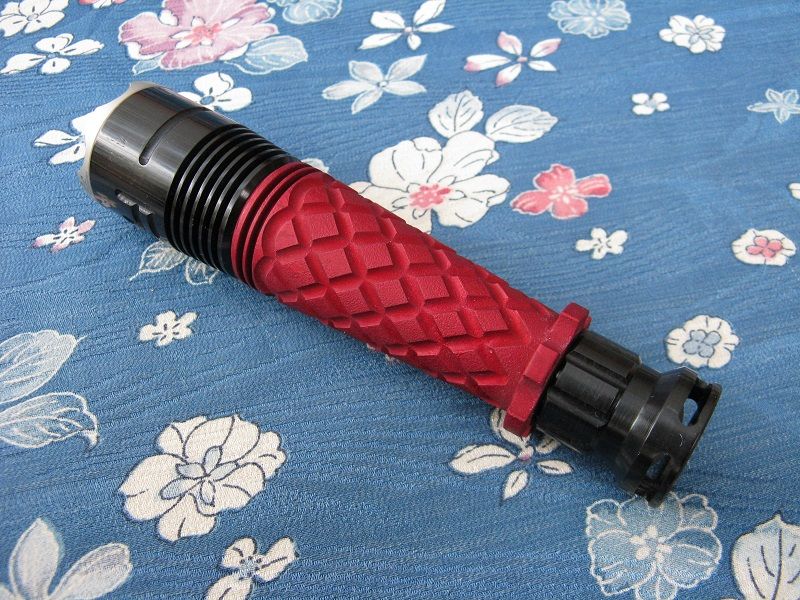
Unfortunately while trying to remove the original anodising on the body i etched it quite badly which is why is has such a matte finish. The black body i have looks alright with the head and tail but i'll probably get another pineapple body and try again to get it anodised red. It might also have another go at making a head and tail as there are a few improvements i would implement.
I really wish i hadn't cut the text in the head but luckily it being black has made it a bit less obvious. A copper triple drop-in hasn't been made yet.
Both the e1 body and pineapple build are discussed: Here on CaramelisedPlumFritters and Here on Multitool.org
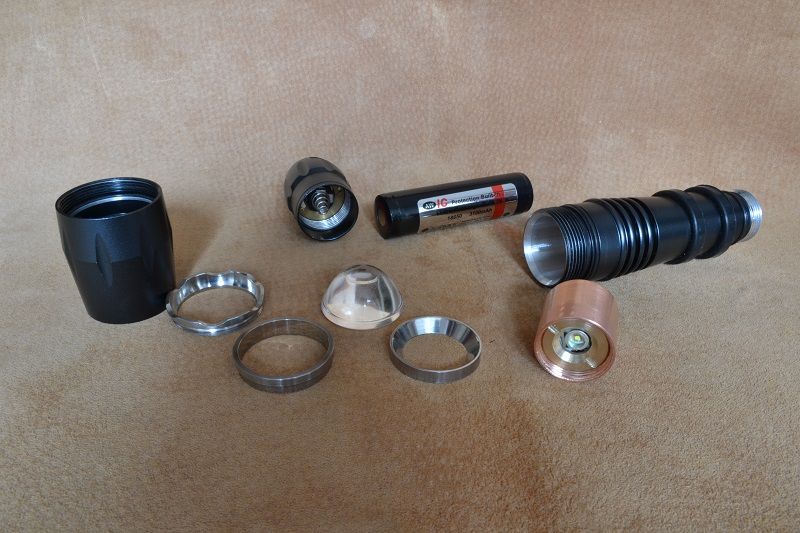
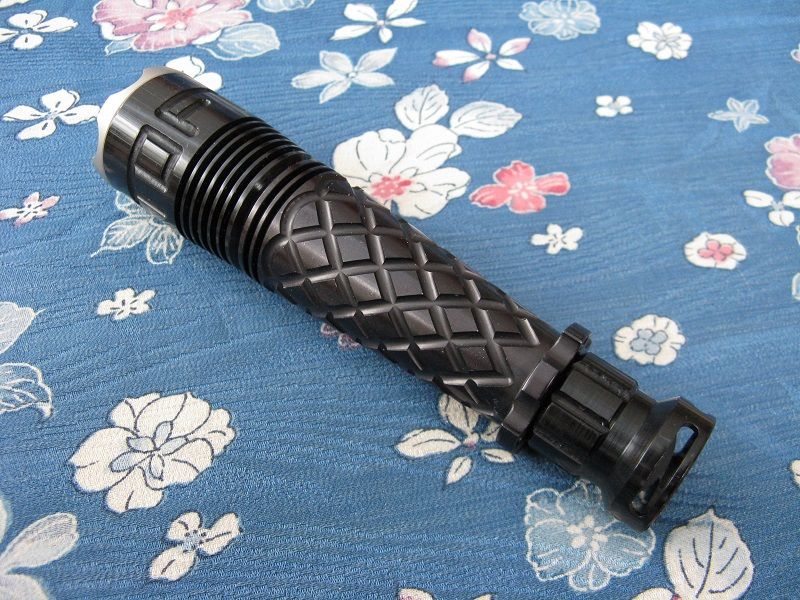
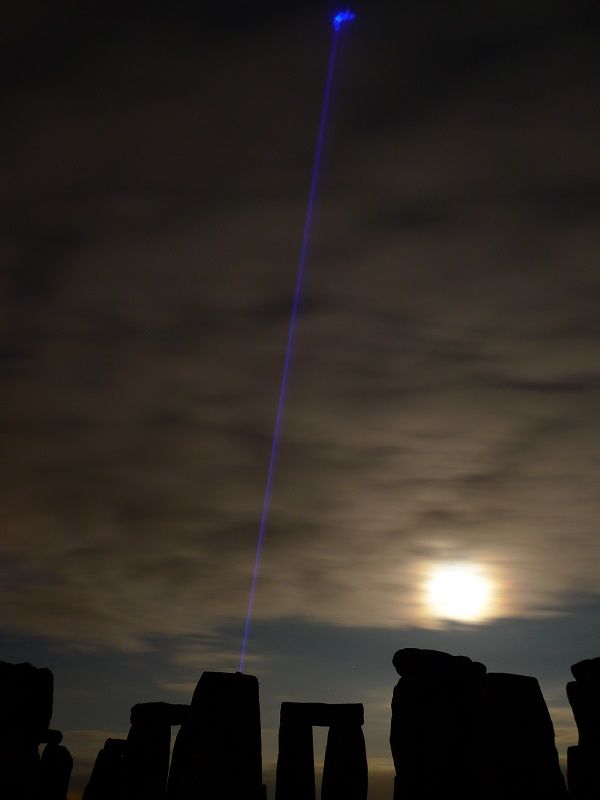
2W 445nm Blue Laser Drop-In.
This thing is just dangerous, i'm not entirely sure why i made it but it does work quite well. The bezel ring is titanium and the host is an aptly coloured Solarforce L2P. The tail has been converted to a reverse clicky as it seems like the safer option.
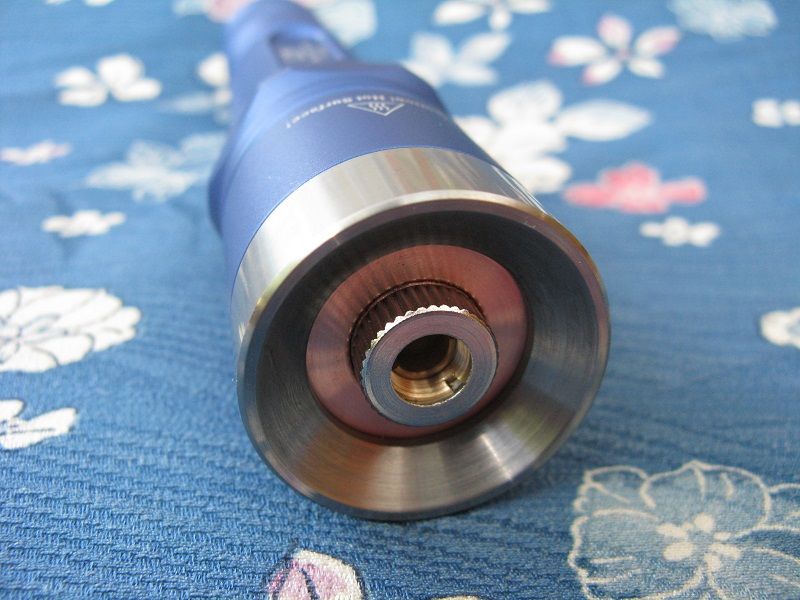
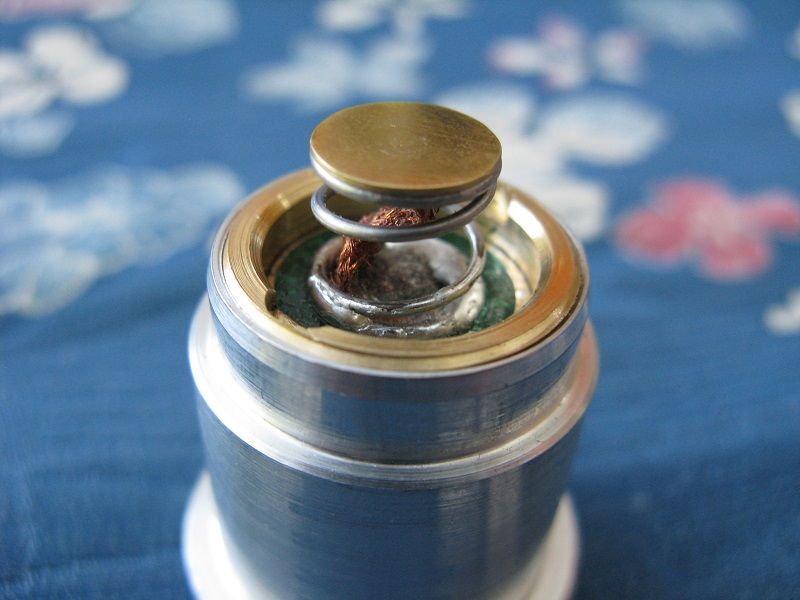
As thermal path is very important with laser diodes due to their low thermal operating temperature maximum i used as much copper as possible.
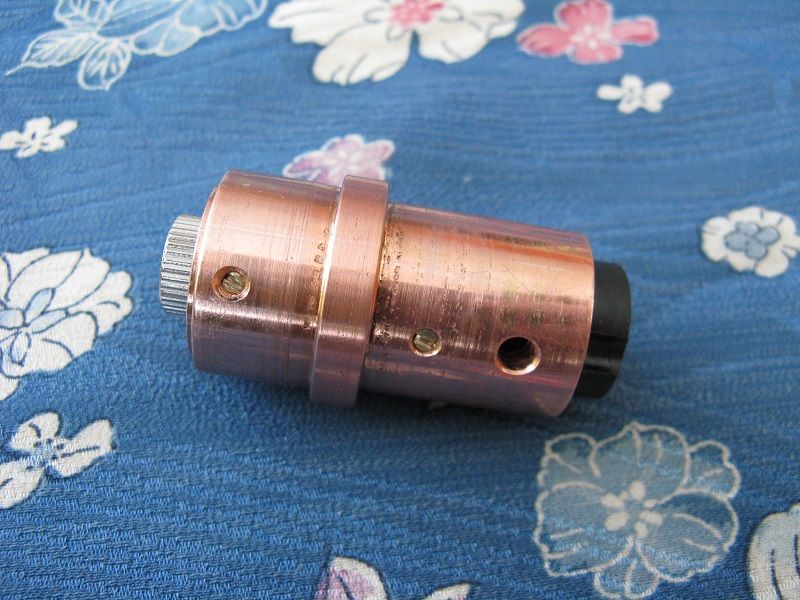
I designed the drop-in to be dismantleable so the leads are screwed in place and the central 12mm module removed and replaced if need be.
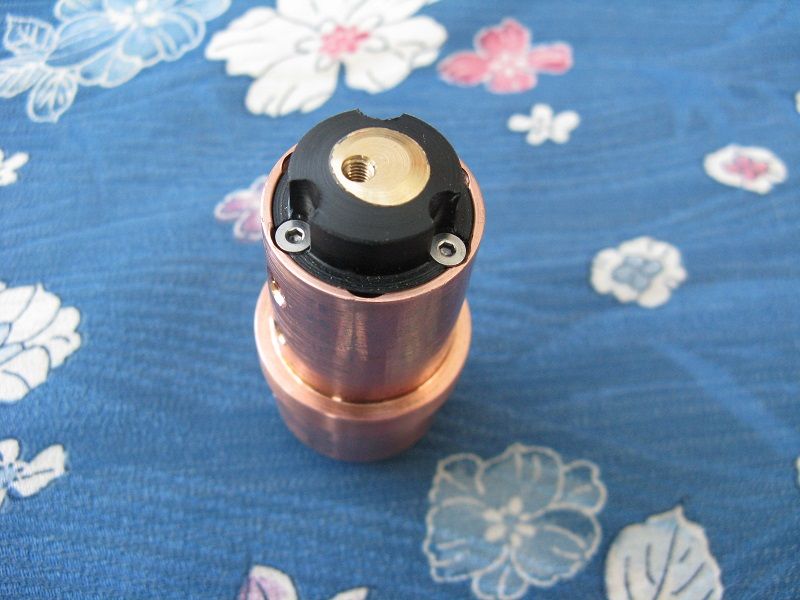
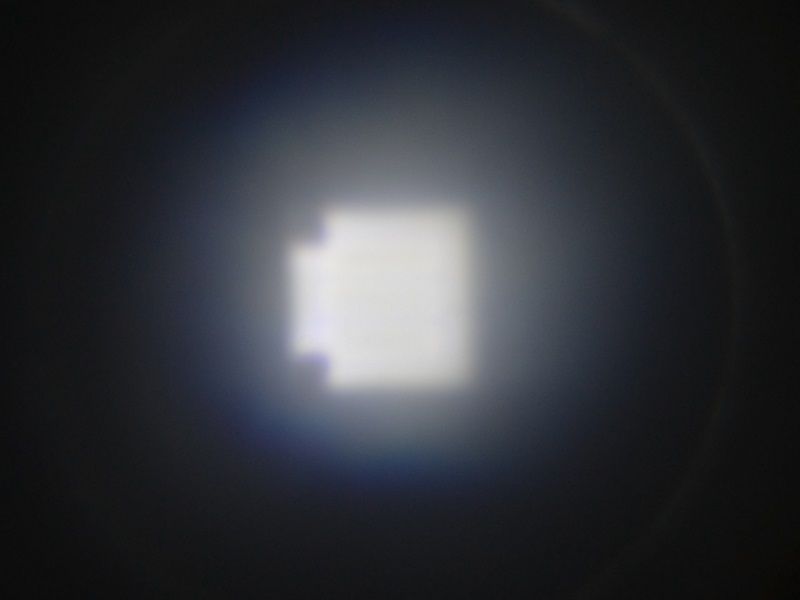
Pretty.

This laser build is also discussed more Here on CodPosterFactory
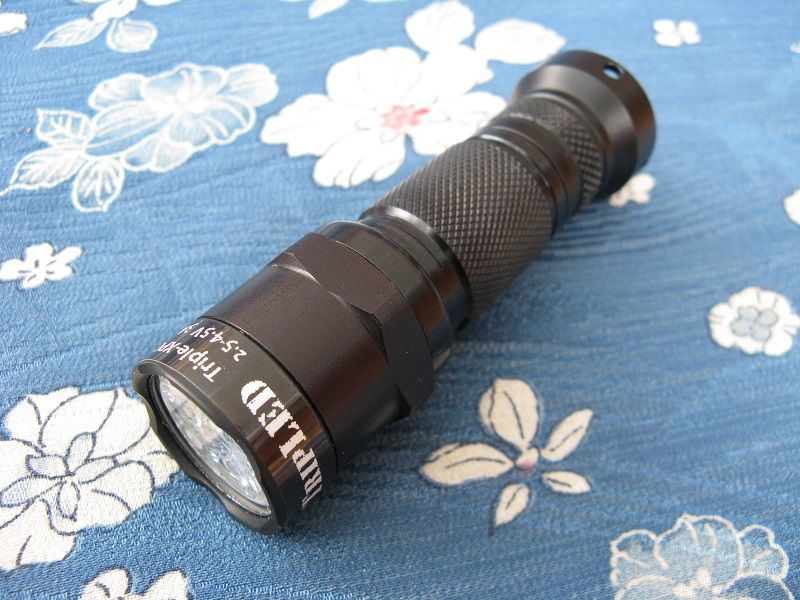
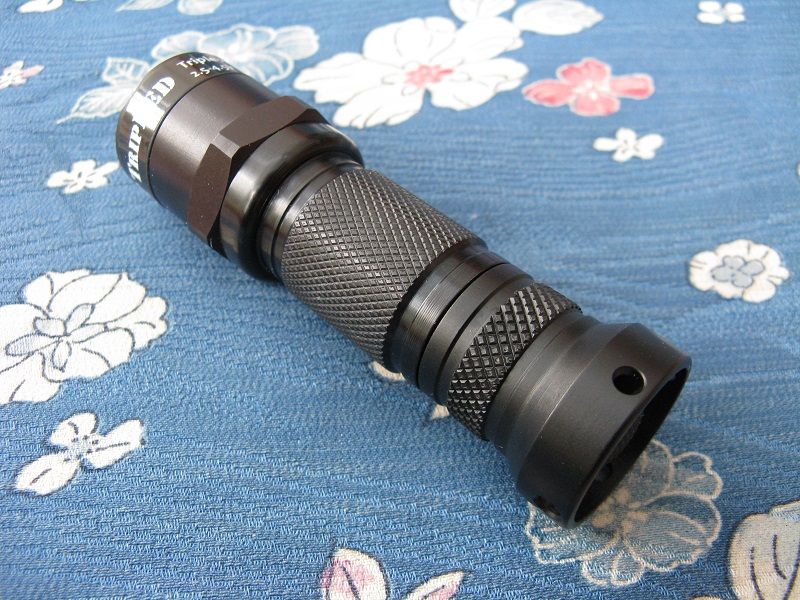
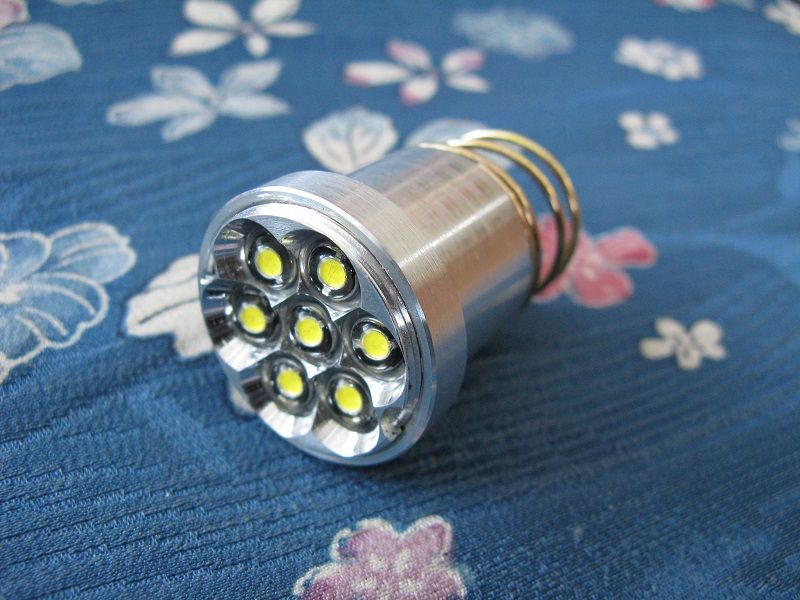
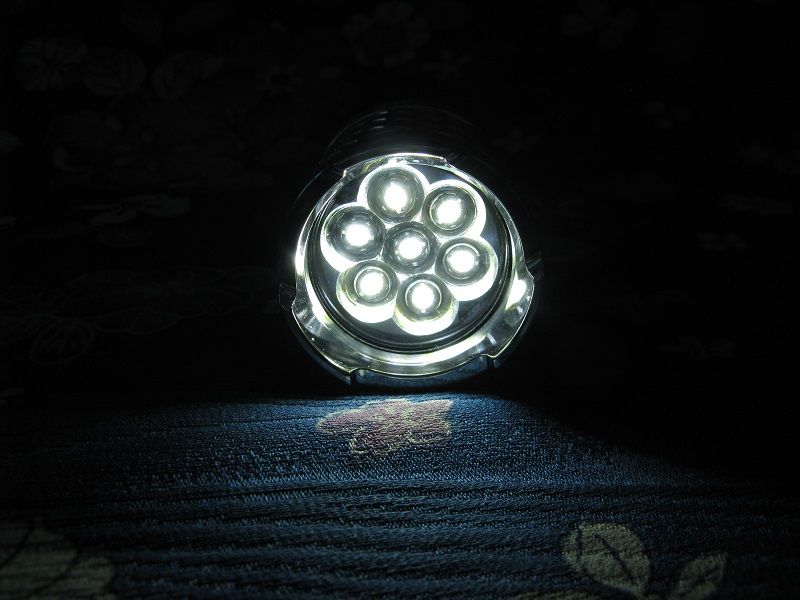
5mm Nichia GS Array P60 Drop-In.
It doesn't work very well but it was an interesting experiment and some features will be used on future projects.
The original build thread with more pictures can be found here.
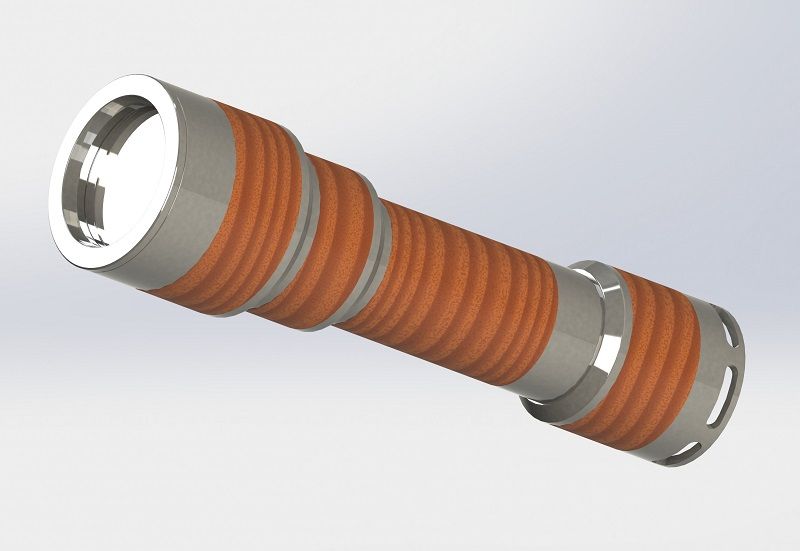
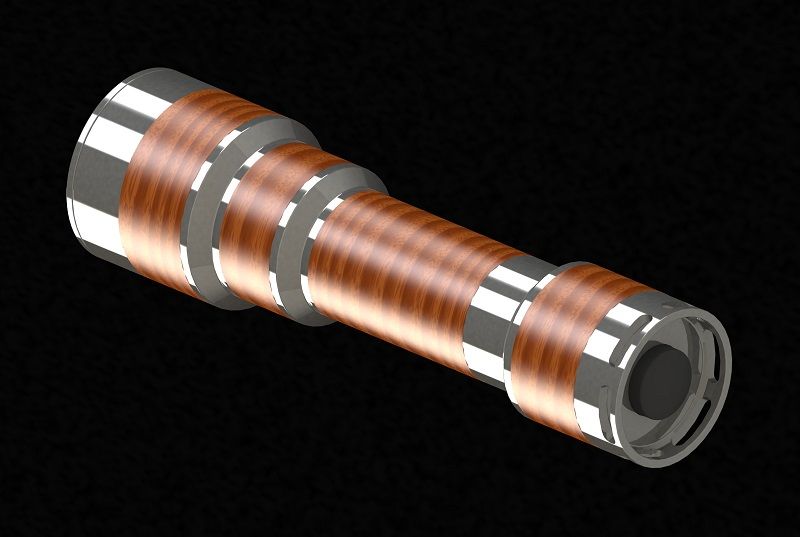
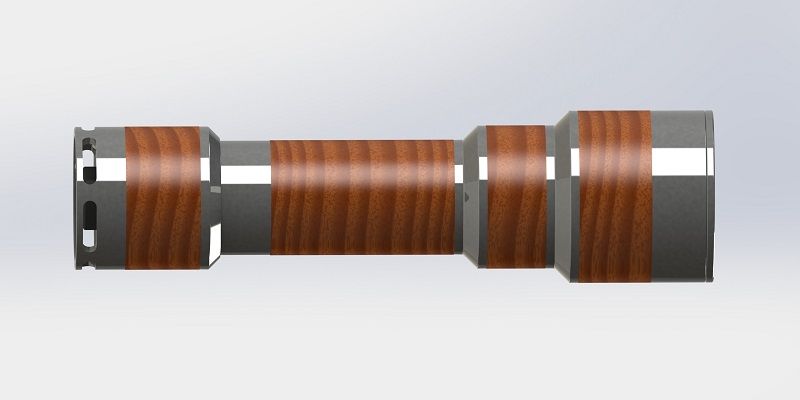
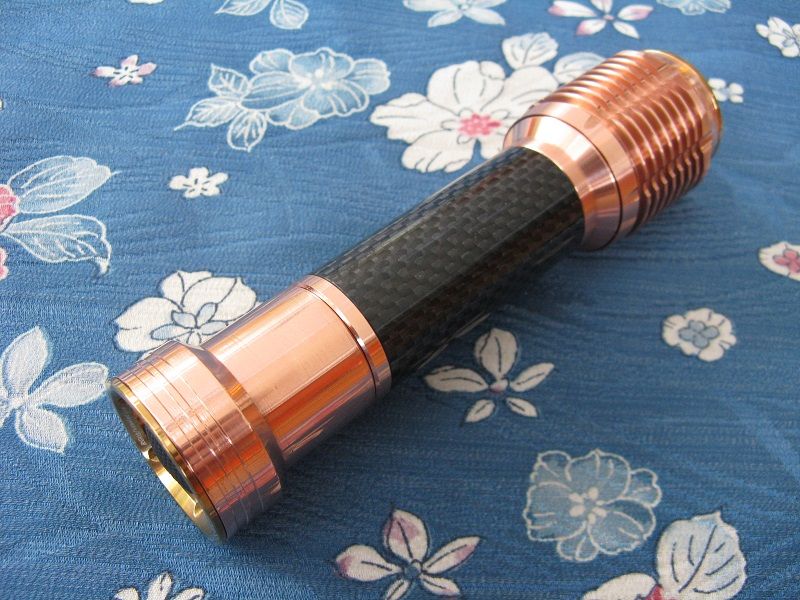
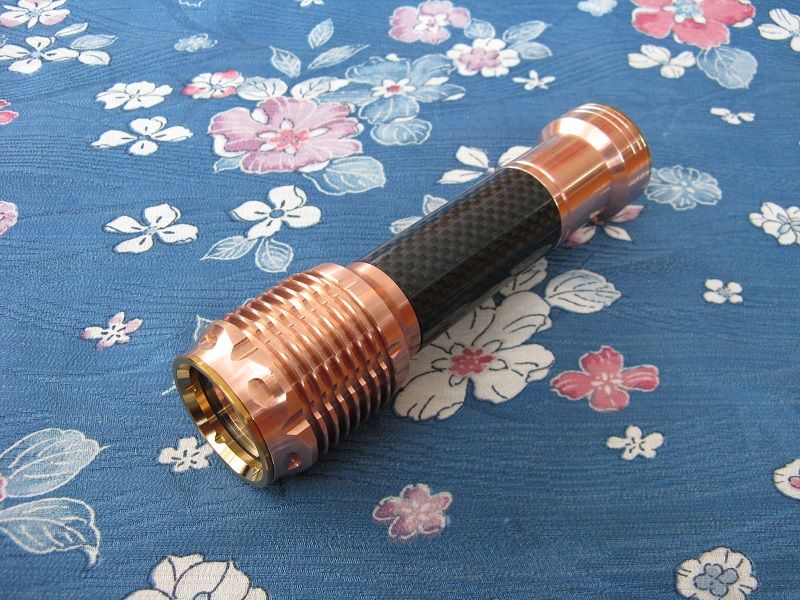
This is my copper tail cap machined to match the copper Cryos Cool Head and copper/carbon fibre Cryos Body.
The host now has a Hit Man direct-drive LED-Tech copper mounted XML2-U2 drop-in and runs off an AW IMR 18650.
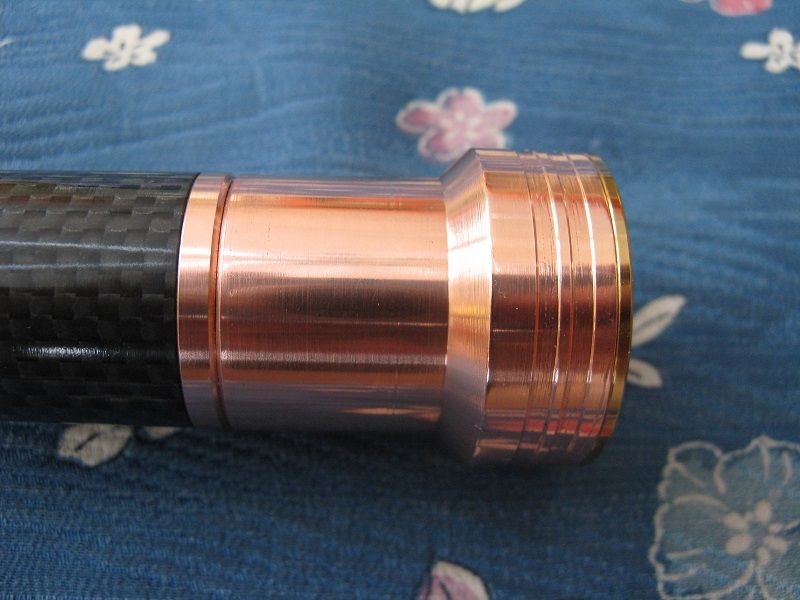
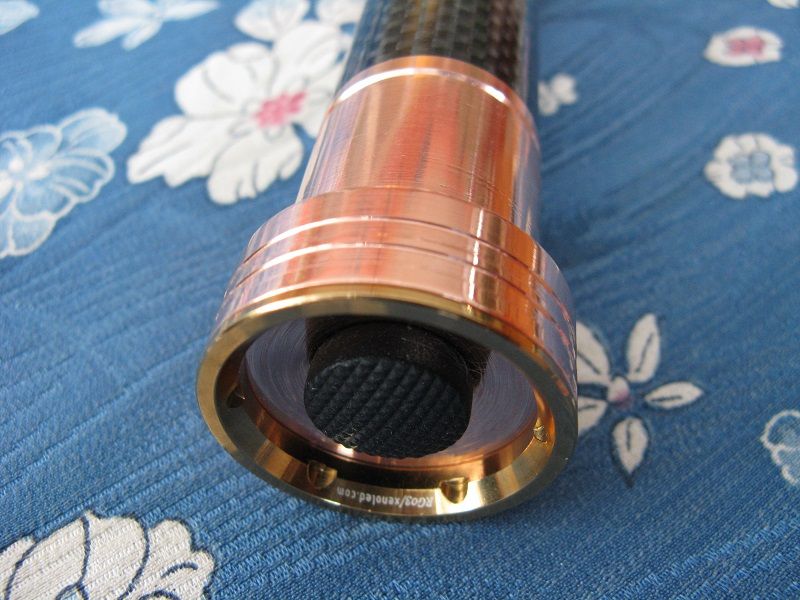
The switch is a McClicky and the bottom plate is separate from the main tail section and is retained by the bezel ring.
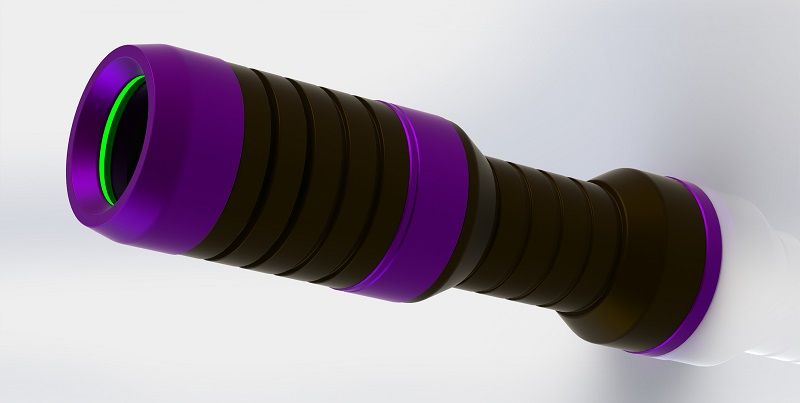
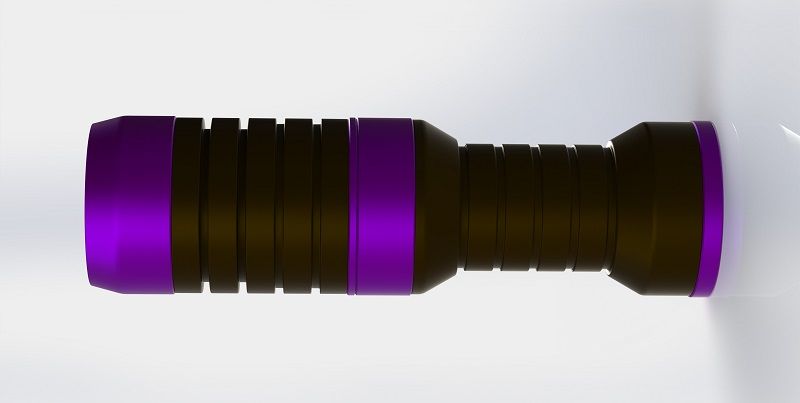
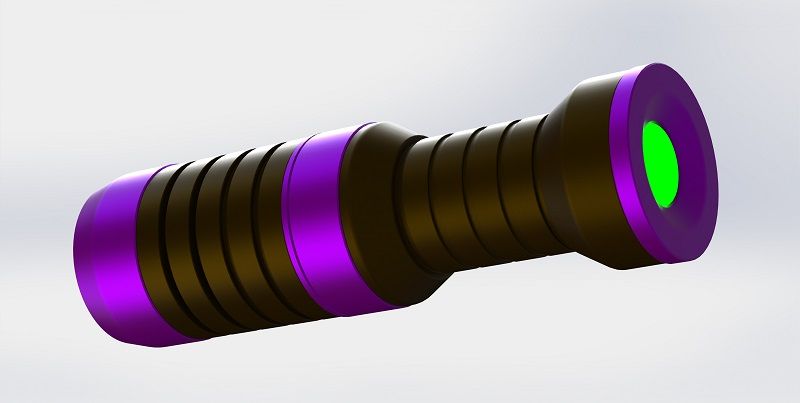
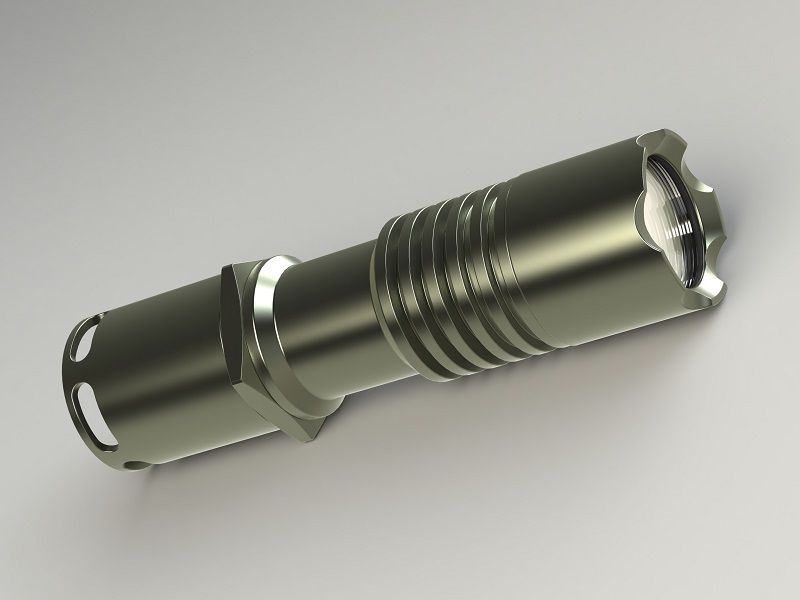
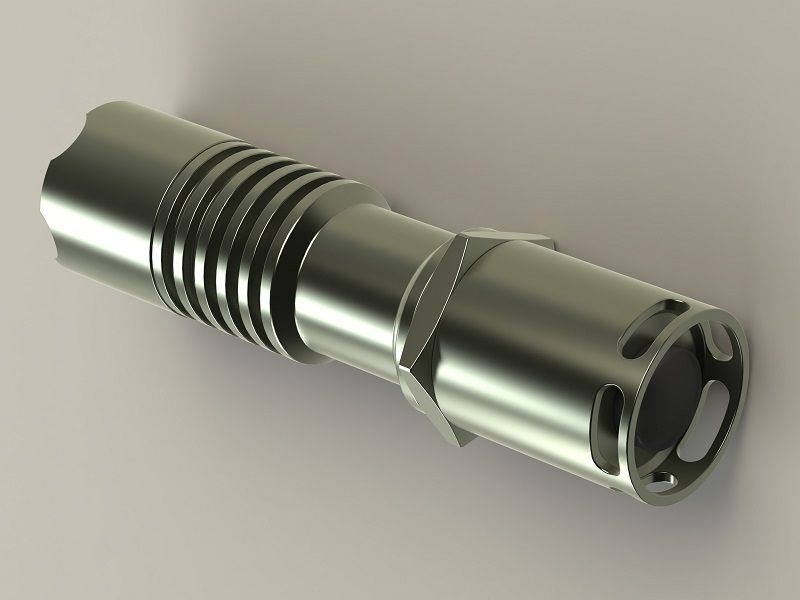
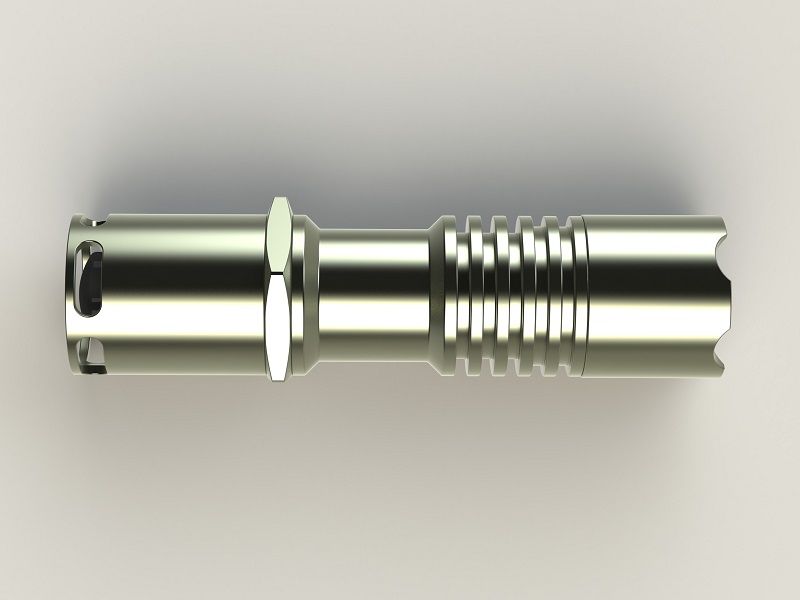
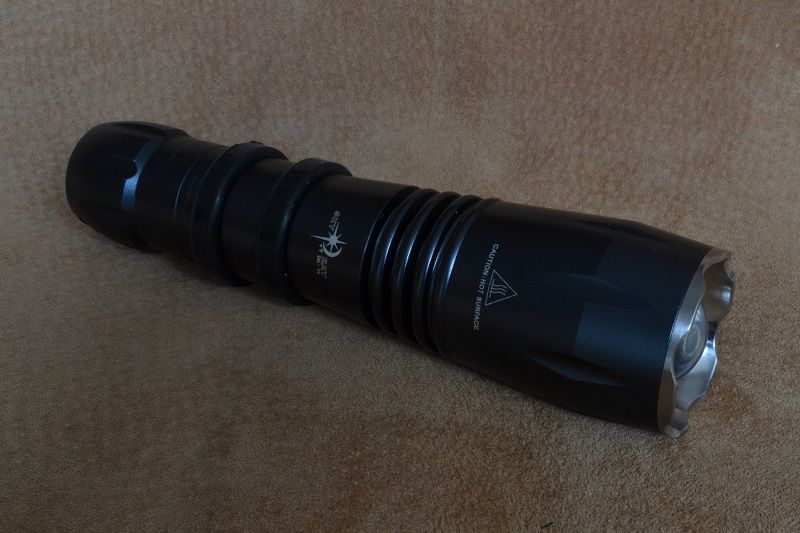
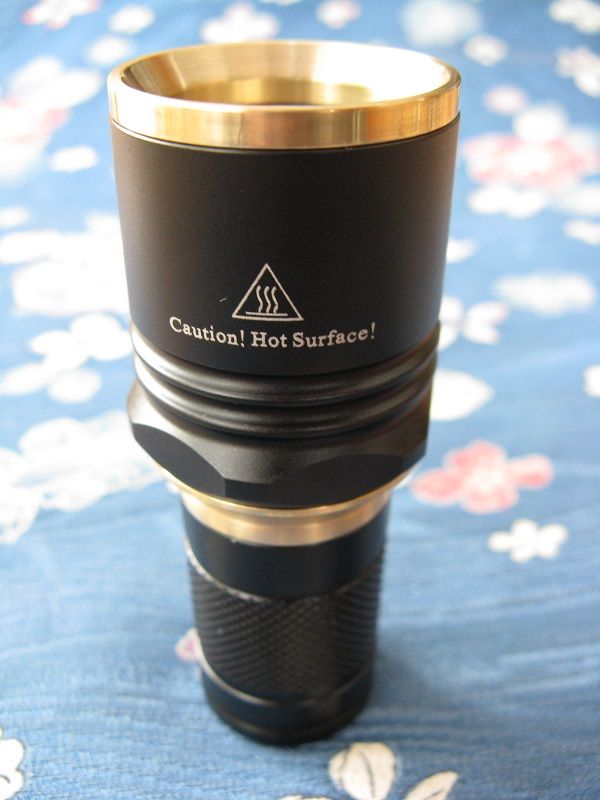
What to do with all those left over Solarforce parts? Build a stubby host of course.
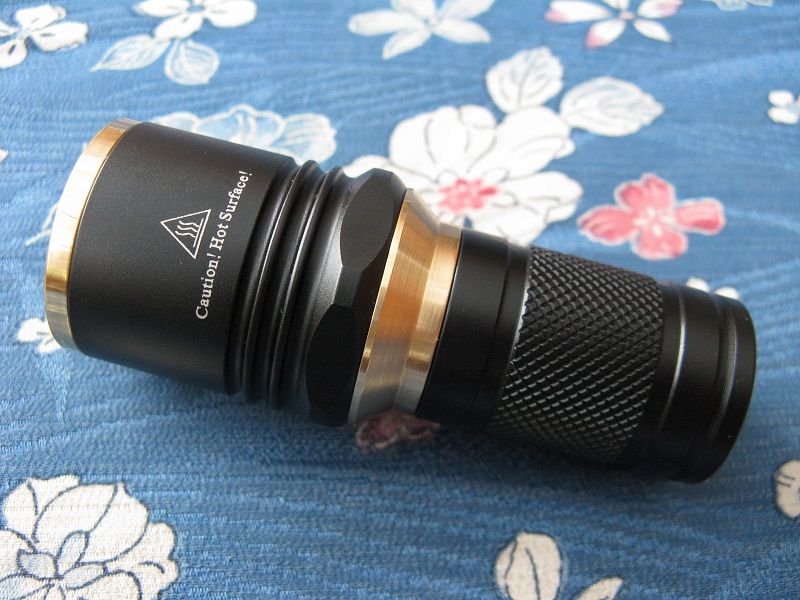
The body section is just a cut down version of the L2 body with the full P60 cavity, although the bore is only 17mm. If someone made a 16250 cell then a standard P60 could be used but i plan to make a custom triple drop-in for the light and use it with an IMR 16340. There will be a 5mm copper puck between the MCPCB and 3A driver board.
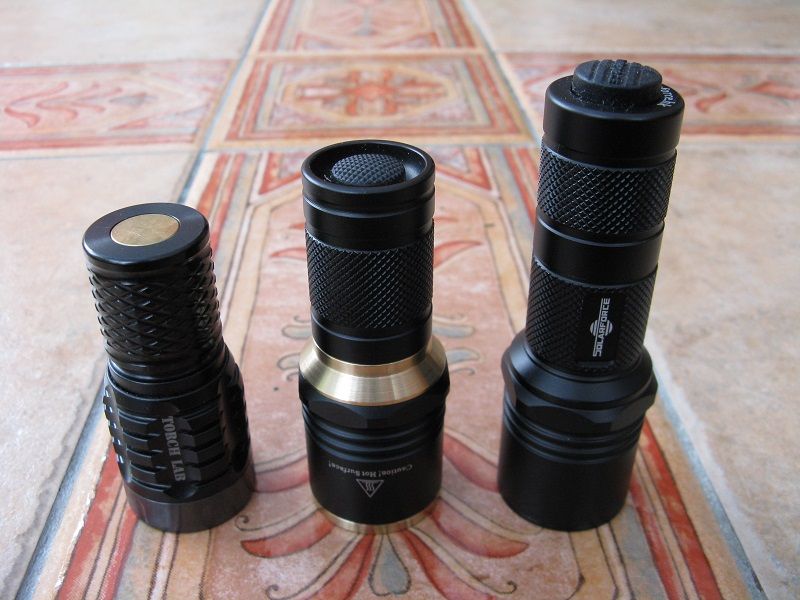
The light is a bit longer than the Torch Lab Pocket Stubby but that's all just in the extra length of the clicky switch.
My 10 amp reverse clicky switch for Solarforce tailcaps.
This is a project to construct a higher current handling clicky switch for 6P architecture lights. The switch has been sized to fit snugly into a Solarforce S1 tailcap and be secured in place with the Solarforce aluminium retaining ring. However the basic design should be able to be altered to match the McClicky switch profile and perhaps other similar switches.
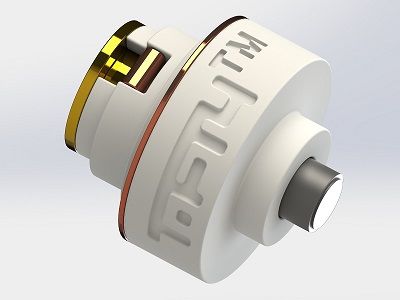
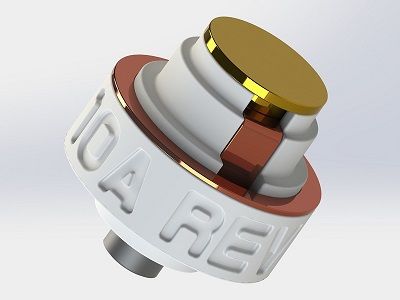
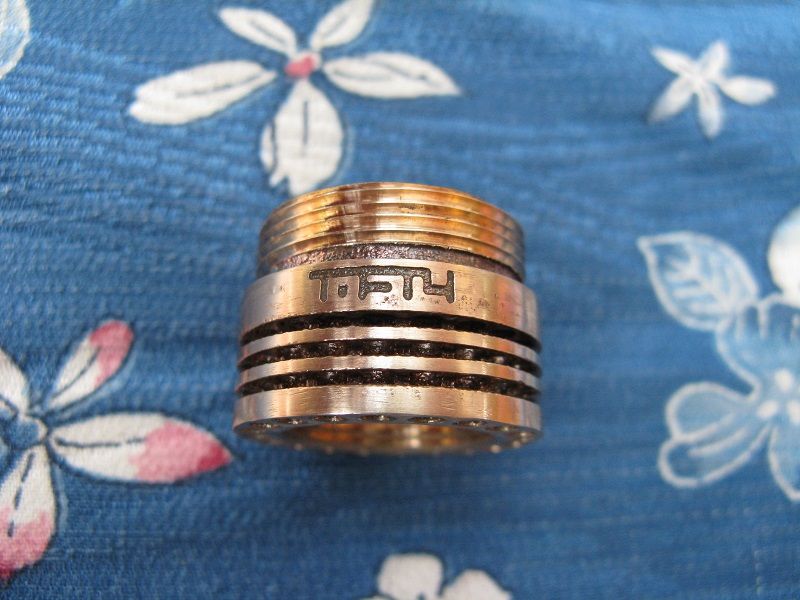
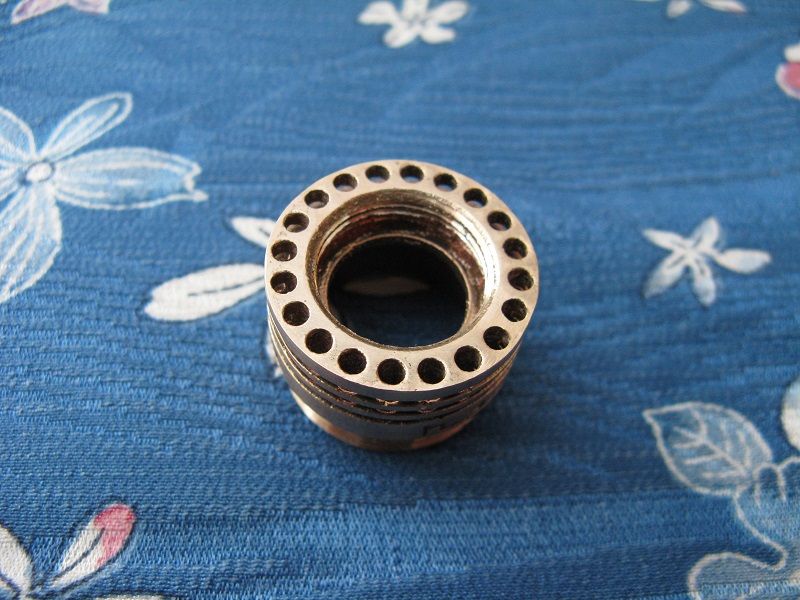
Renders of my original 'Tofty Switch 0', which has gone through a number of alterations to become the finished 'Tofty Switch 1' shown below.
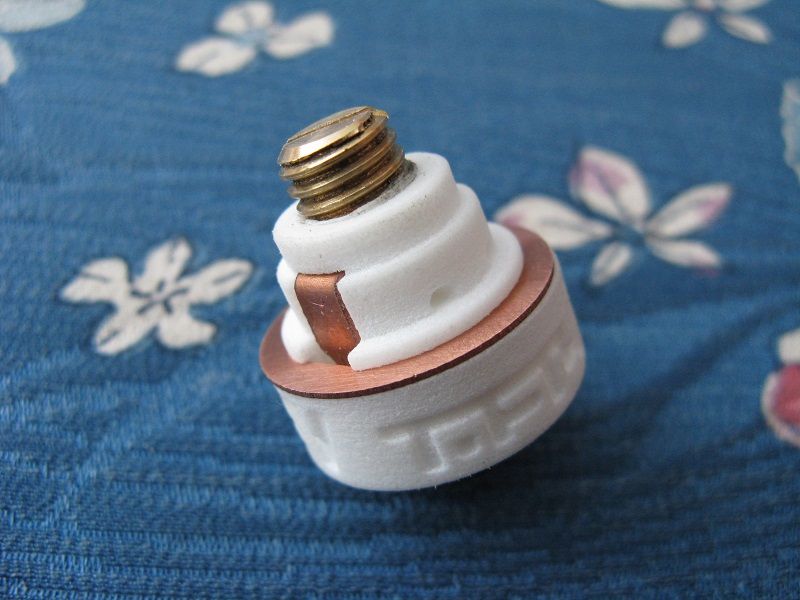
A number of switches have been sent out into the community for beta testing and small scale switch production will begin soon, so long as the testing feedback does not flag up any serious problems.
The original project thread with more information can be found here.
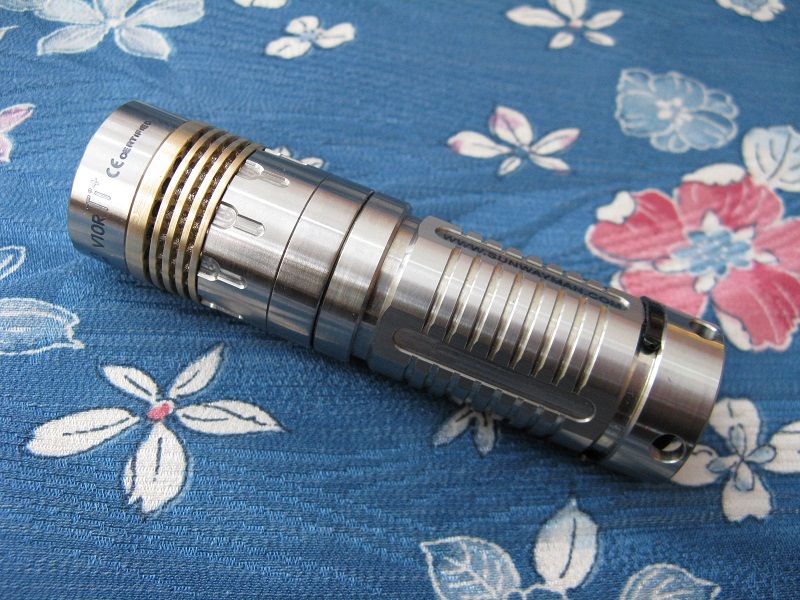
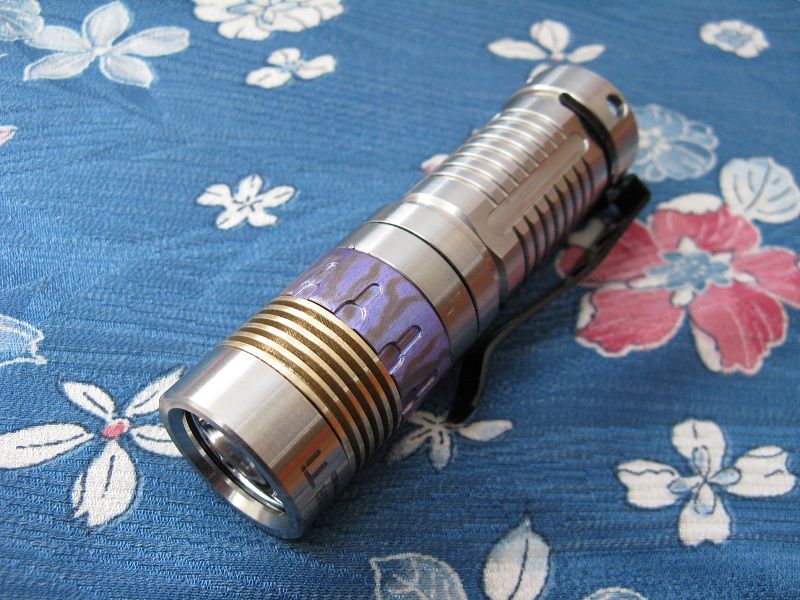
Brass V10R heat-sinks with tritium holes.
This was a bit of a failed experiment but not entirely. Installing tritium into the heat-sinks of the Sunwayman V10R Ti and Ti+ is quite a popular mod but quite an expensive thing to get done by a professional modder. I was therefore asked by a previous client of mine whether 3D printing could allow a heat-sink to be made with tritium holes pre-formed and these are the results:
the version above is in bronze and can take 20 of the 2x6mm tritium vials. The biggest problem with this project is that the threads still need machining, which is difficult as the heat-sink itself isn't perfectly round so centering it into a lathe chuck is very difficult. I had this made in bronze as Shapeways had an discount on the material at the time but from my research i concluded that it's thermal properties are pretty awful and unsuitable for use as a heatsink, being only slightly better of thermal transfer than titanium.
The version below is in brass and can take 20 of the 2x8mm tritium vials. Although not as good as brass can be, the brass alloy Shapeways use should have reasonably good thermal properties and be suitable for heat-sink applications as a valid upgrade.
The version below is also in brass but with no tritium holes, so was designed be be as efficient a heat-sink as possible, which realistically is a bit pointless as the thermal path between the LED and heat-sink involves a lot of titanium and therefore a rather large bottle-neck.
In conclusion i realised that the hassle of having to machine parts of the printed heat-sink out-weighs any advantage gained. It would probably be easier and cheaper to completely machine a new heat-sink from brass including the drilled tritium holes.
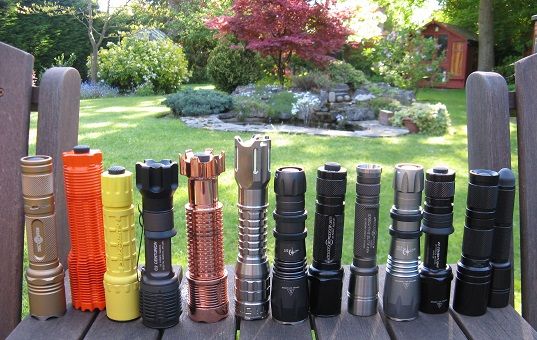
As may be apparent i have a fair interest in the P60 drop-in format and have been collecting both hosts and drop-ins for a while now.
This picture was taken about seven months ago.... Two months ago....
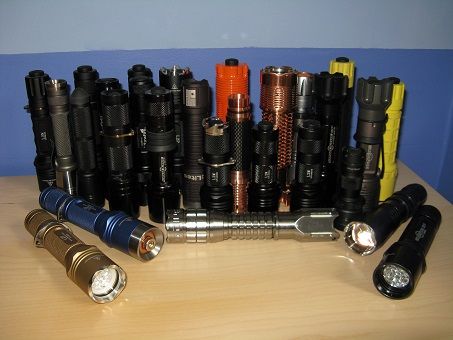
And just this morning.
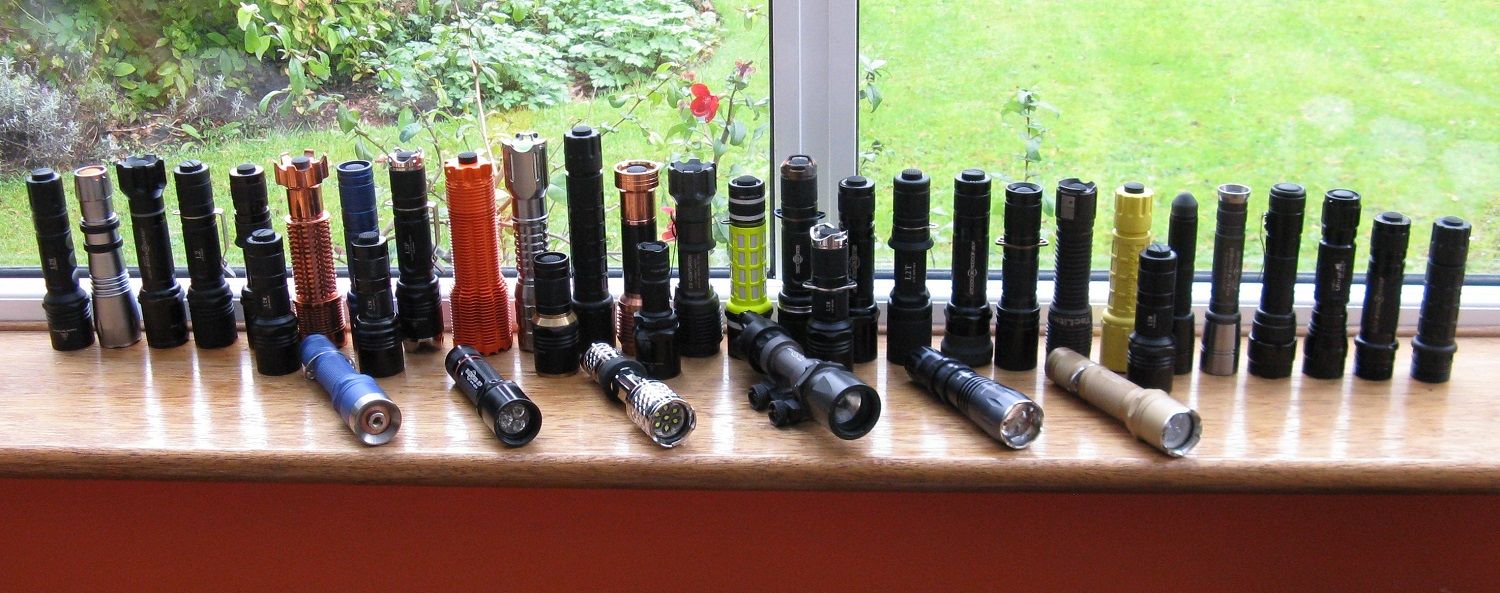
Now all i have to do is make a load of drop-ins for the empties.
Updates will continue until morale improves.