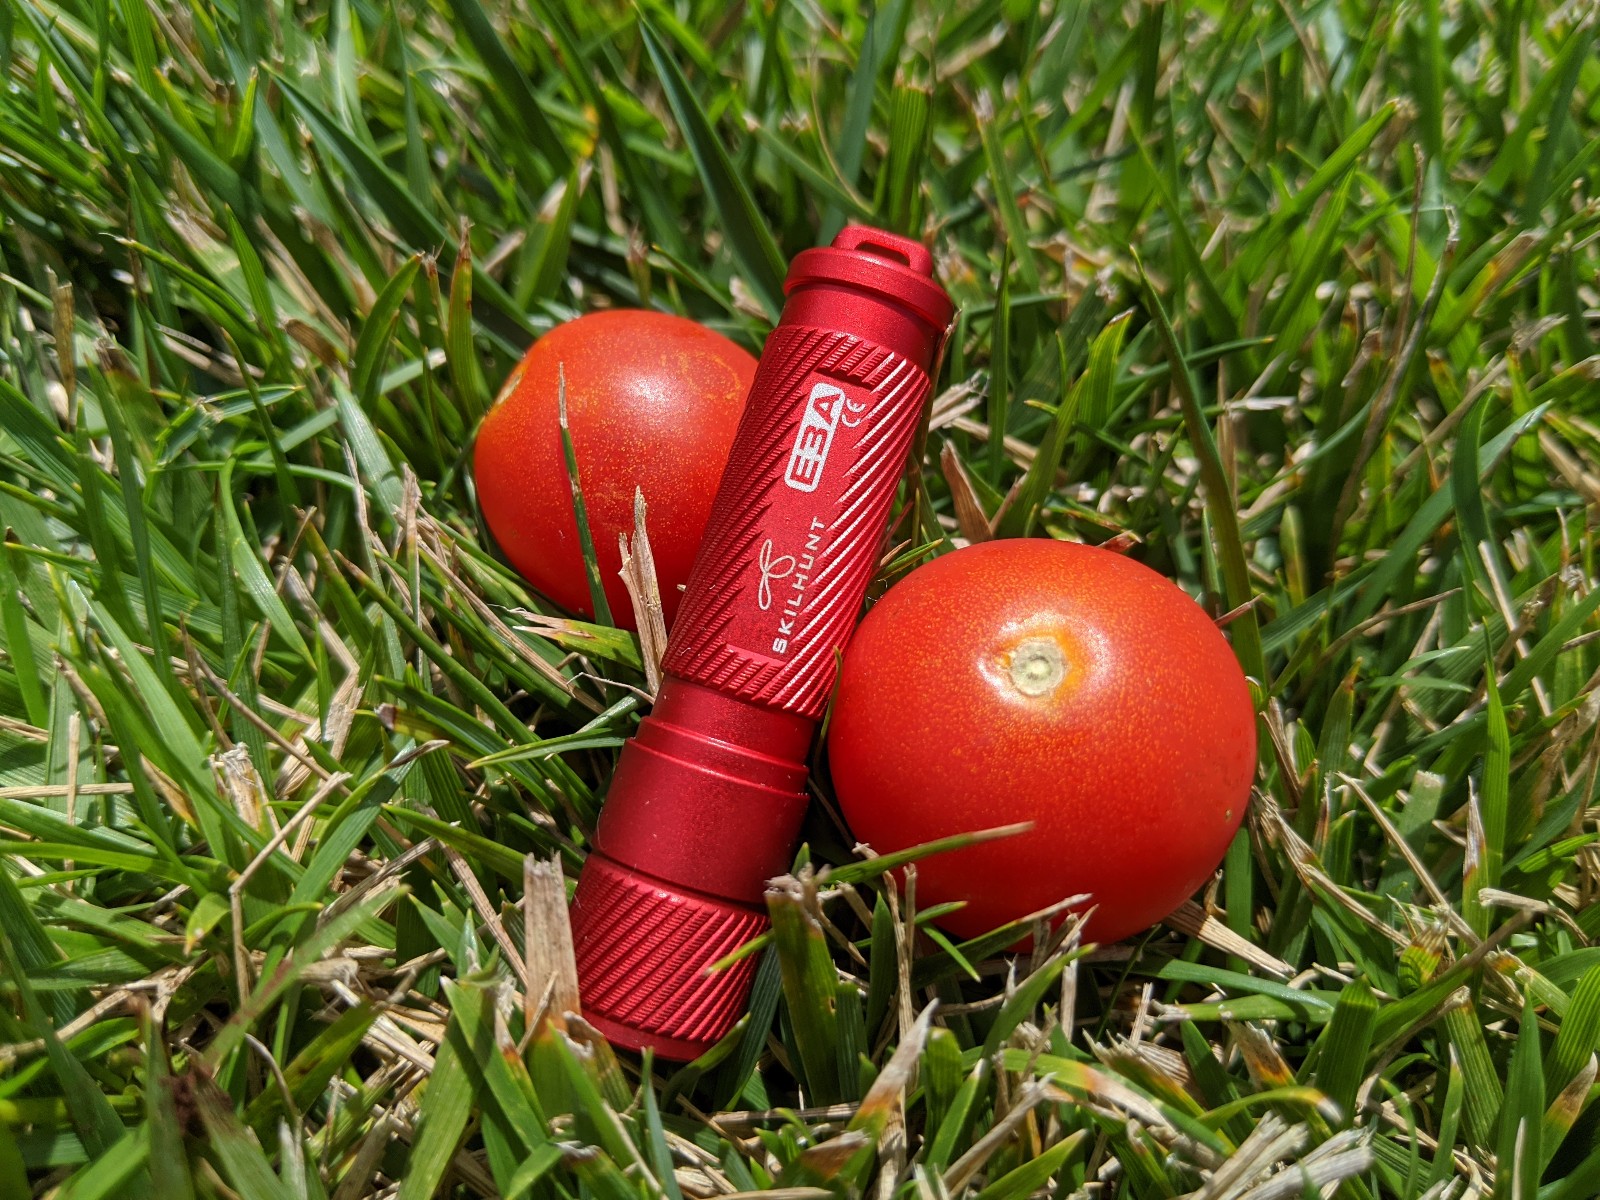
I bought the Skilhunt E3A in Slate Blue, Neutral from AliExpress as soon as it was announced. But while I’m waiting for that to arrive, I noticed some are being sold on Amazon (US) so I picked up a Carmine Red one to check it out. I just got it today, so I haven’t done a full teardown, output check, or runtime test so I’ll revisit once those are done.
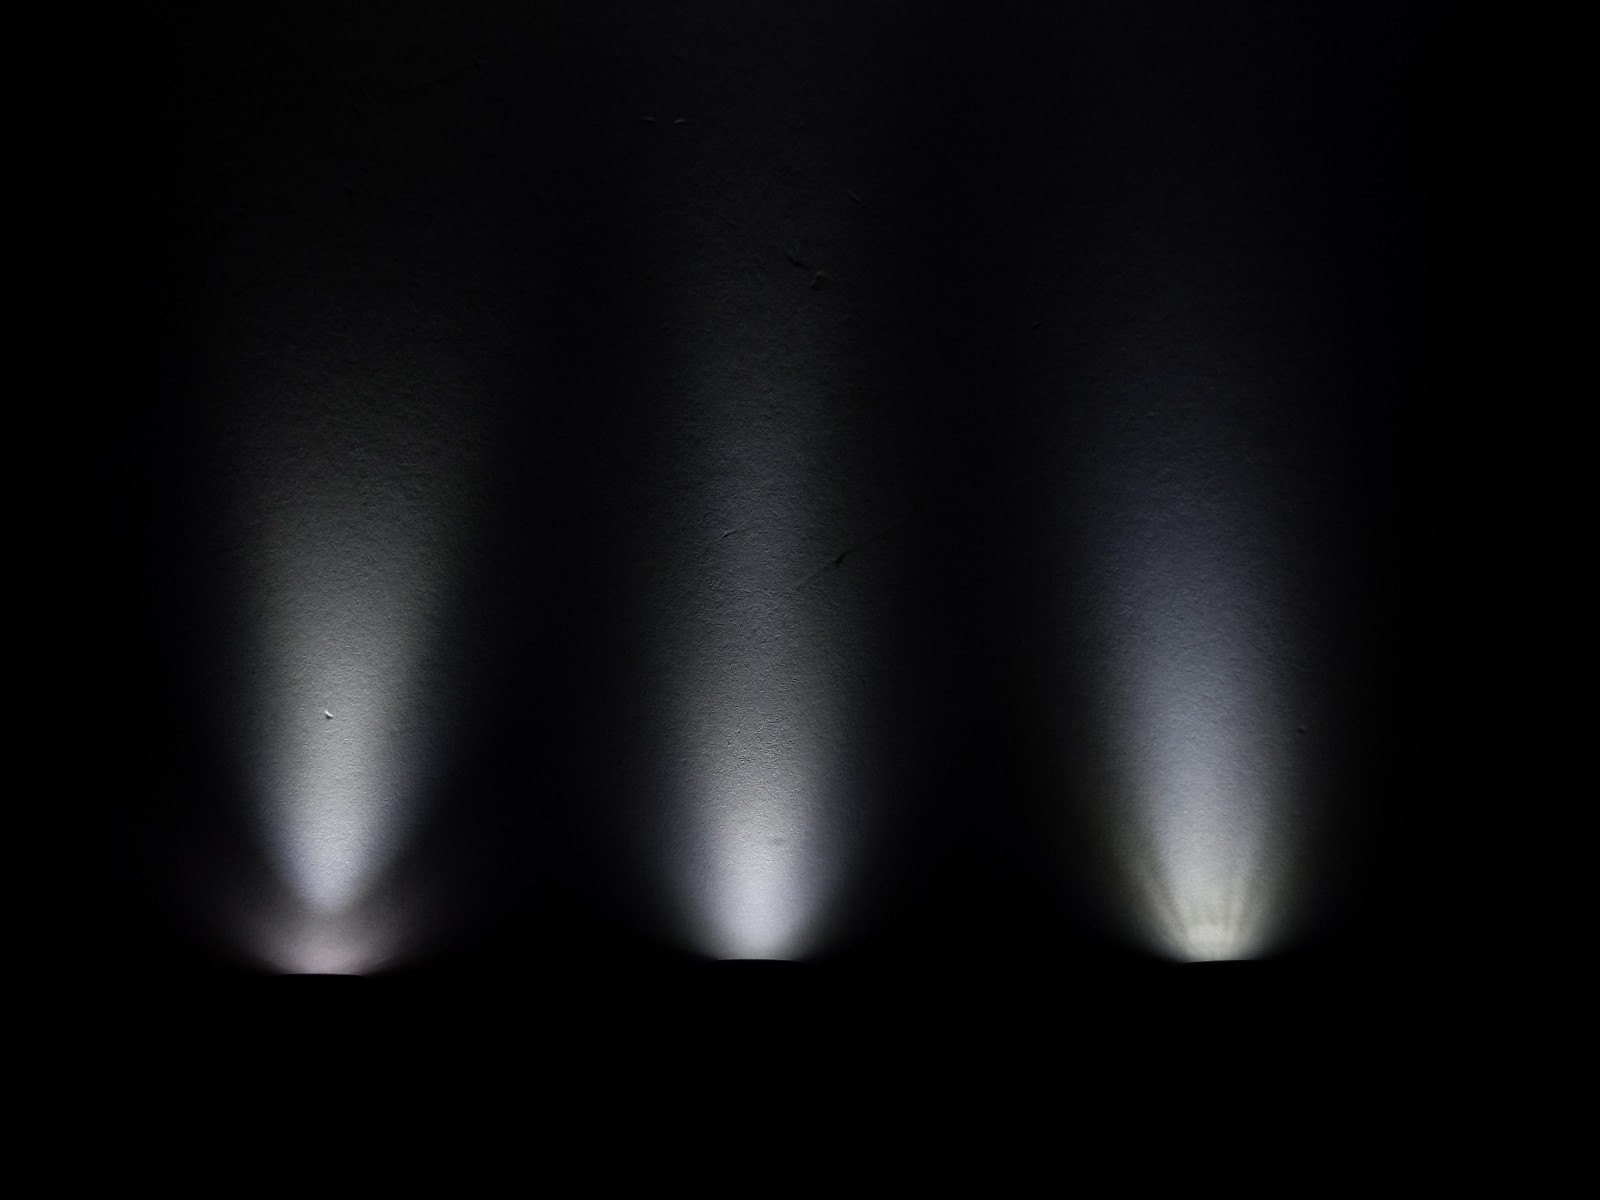
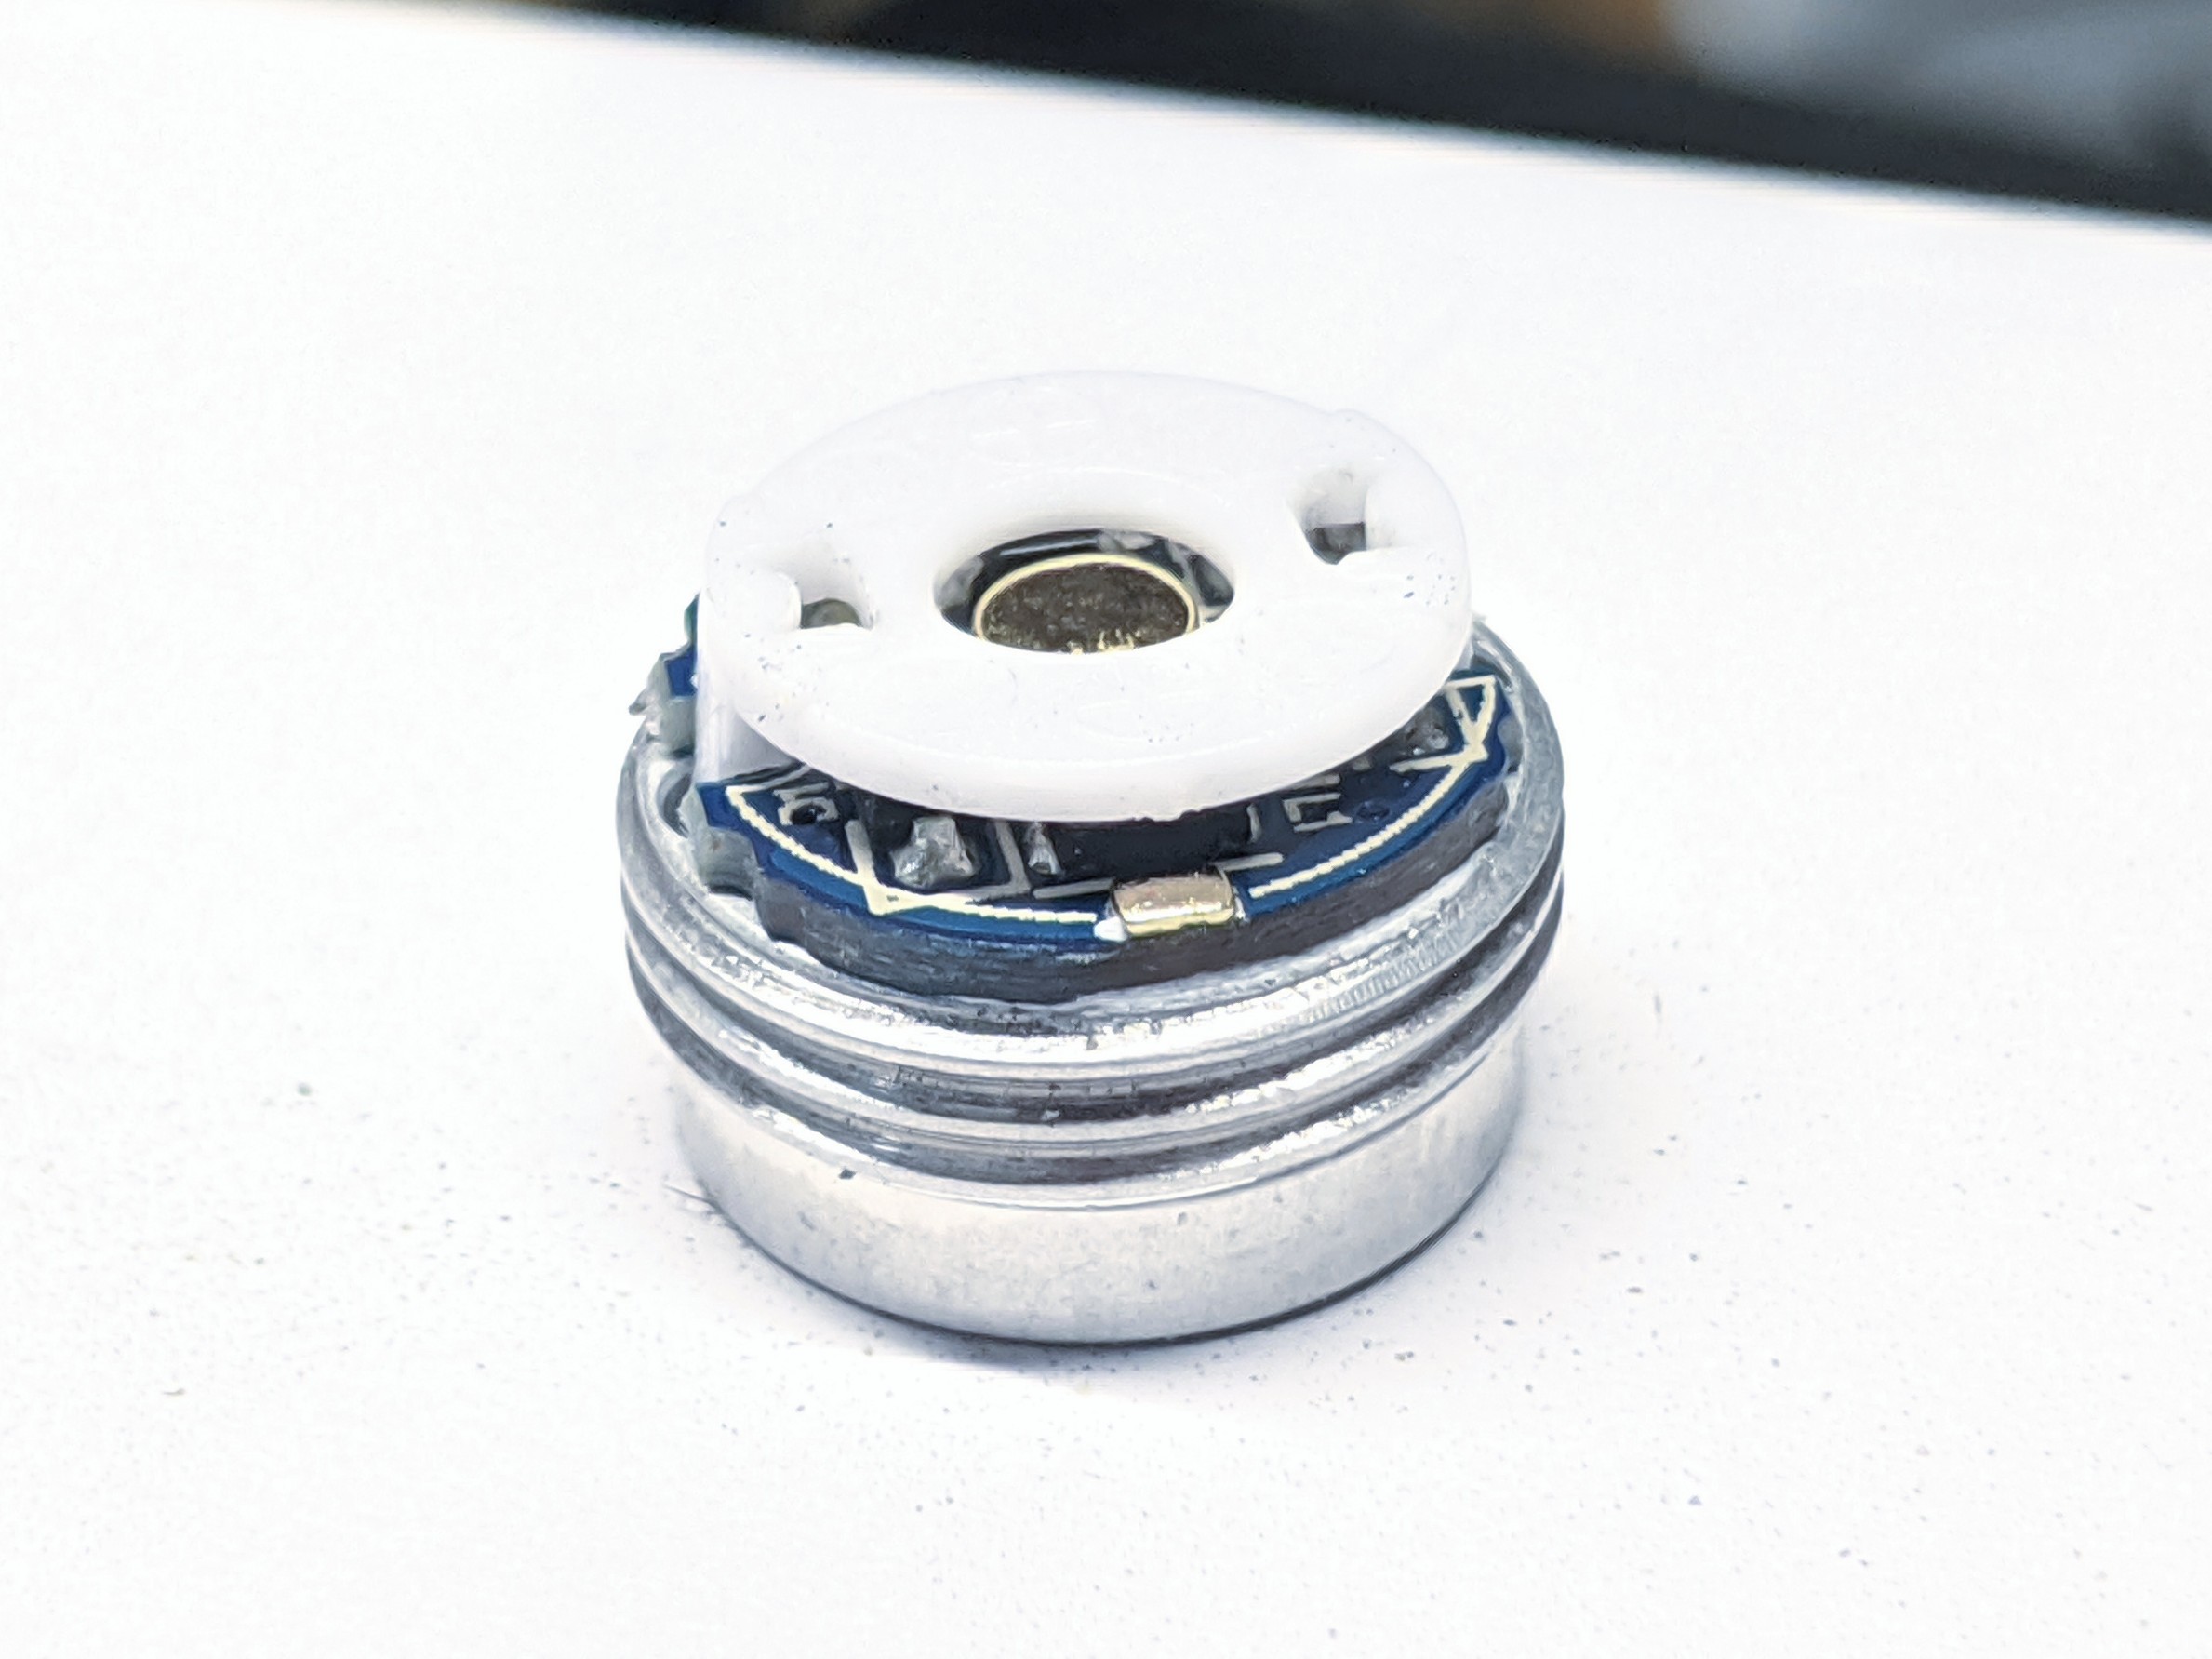
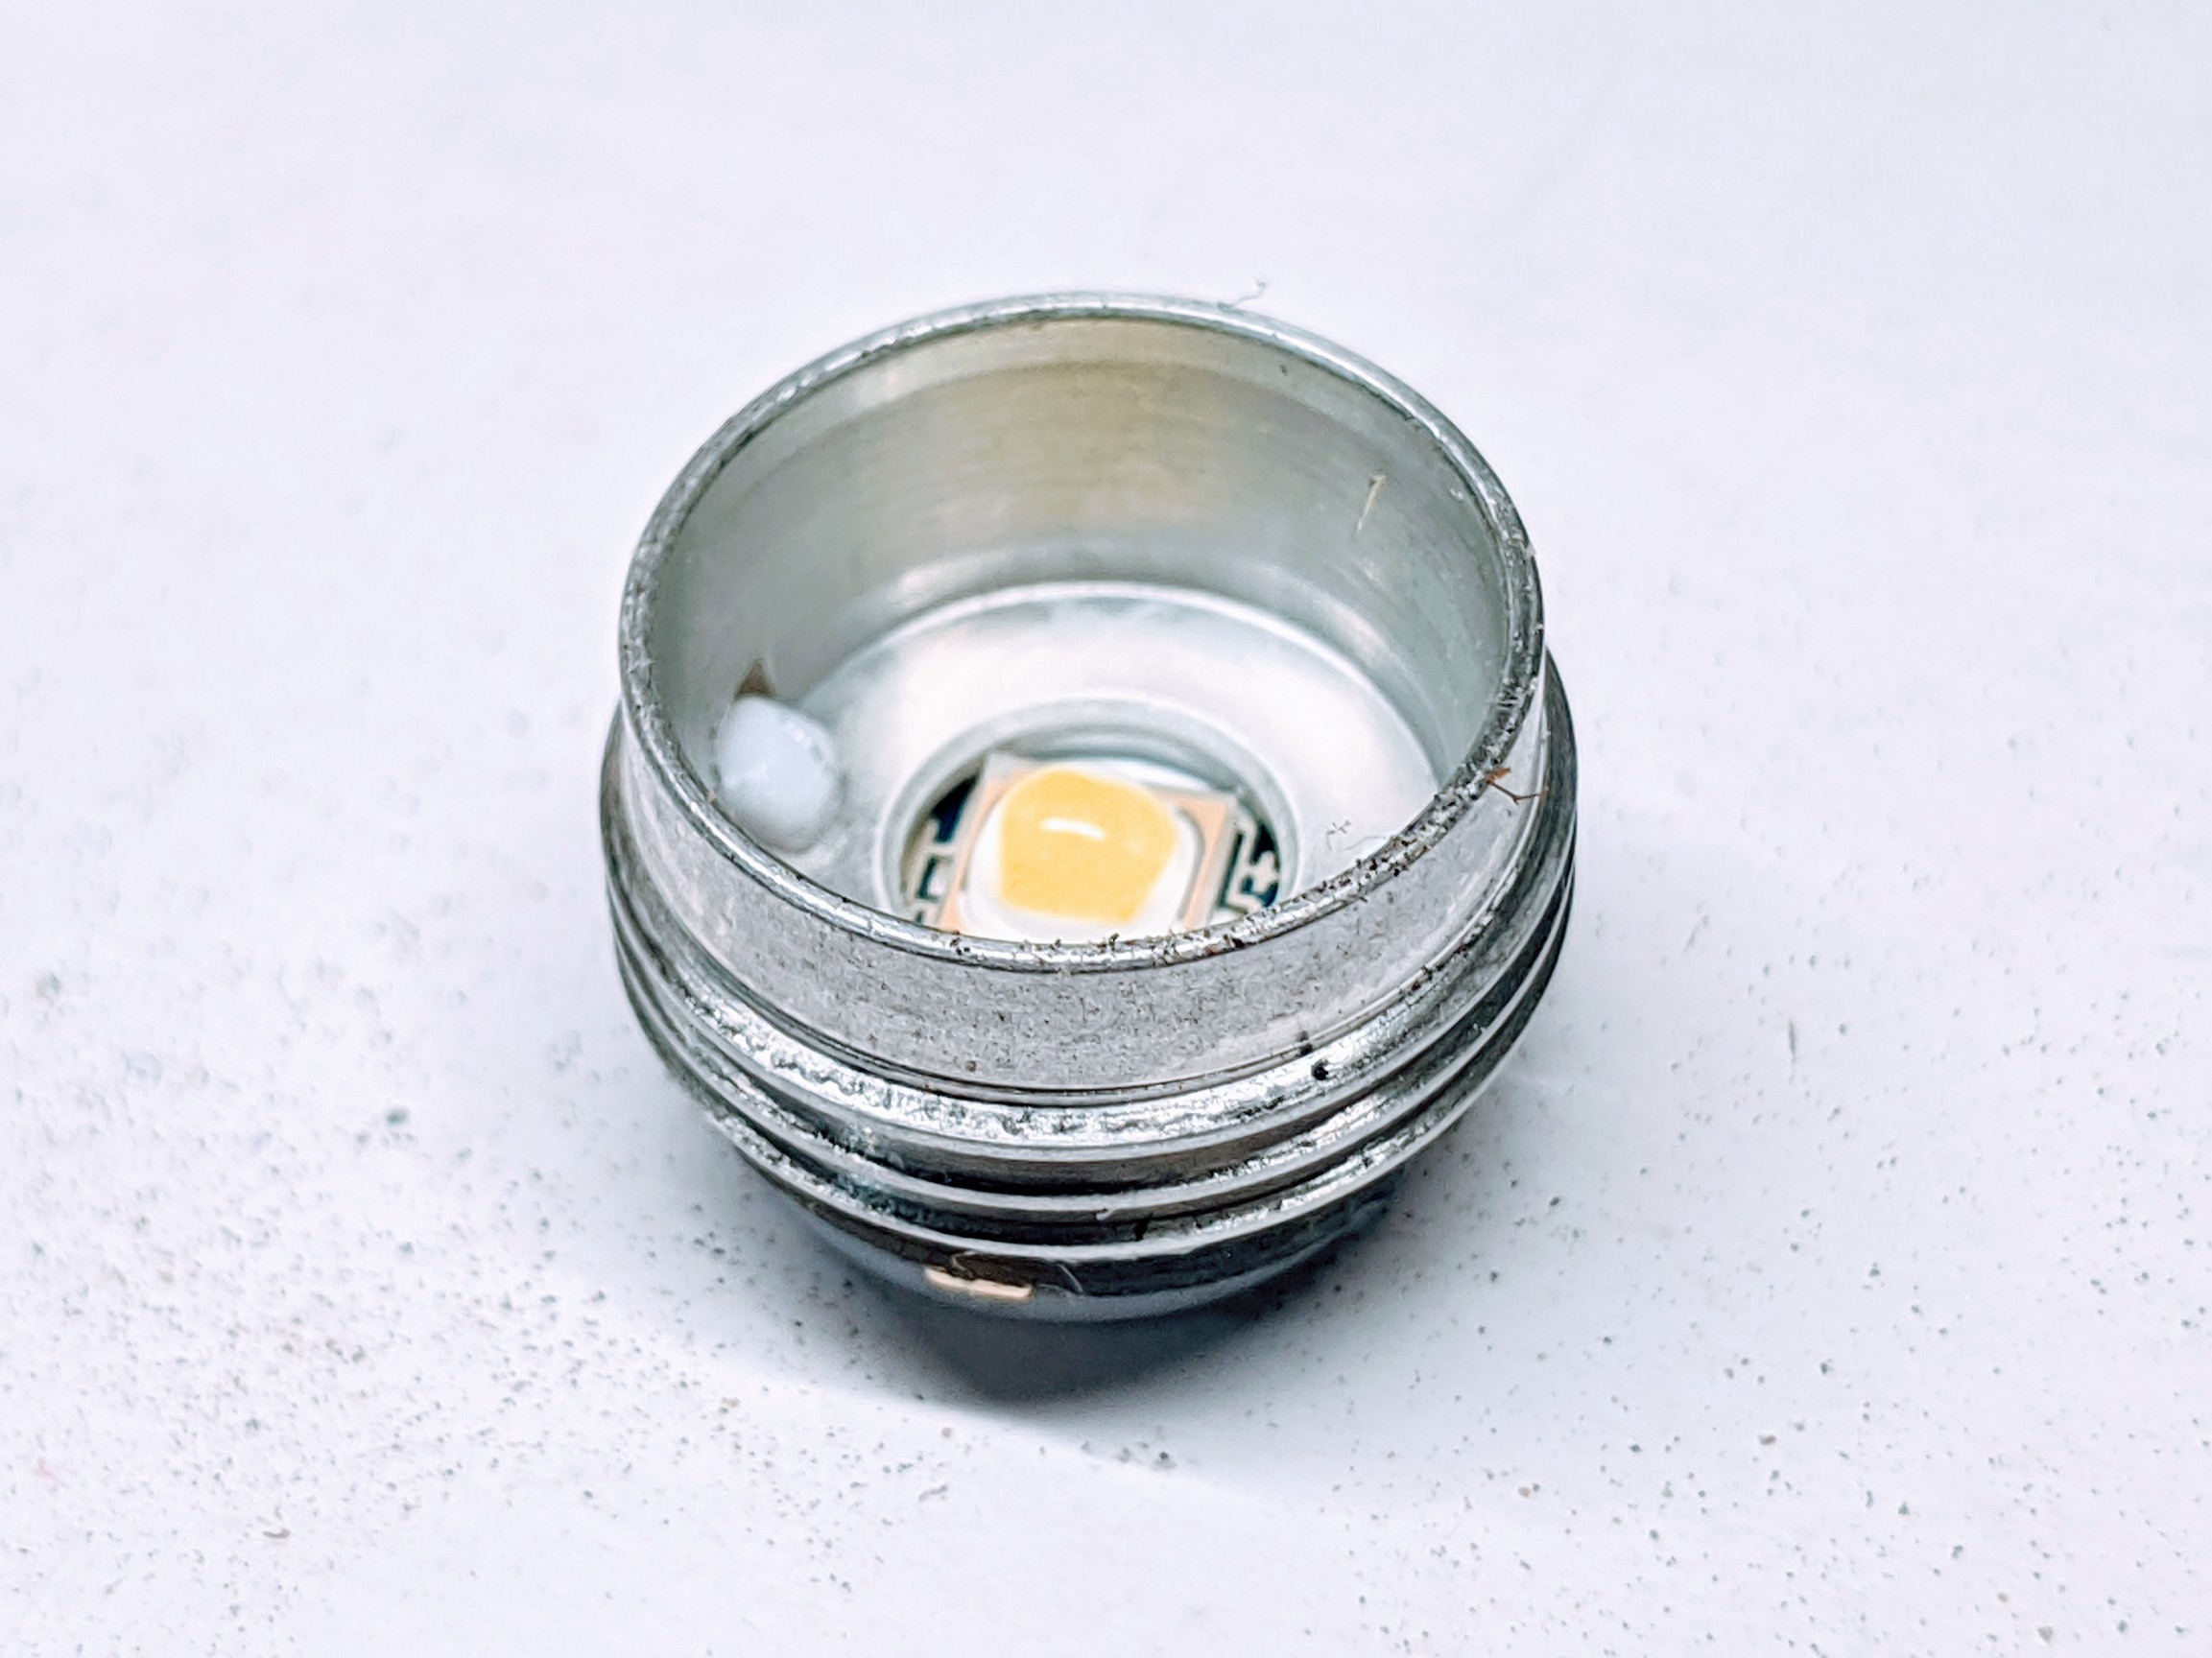
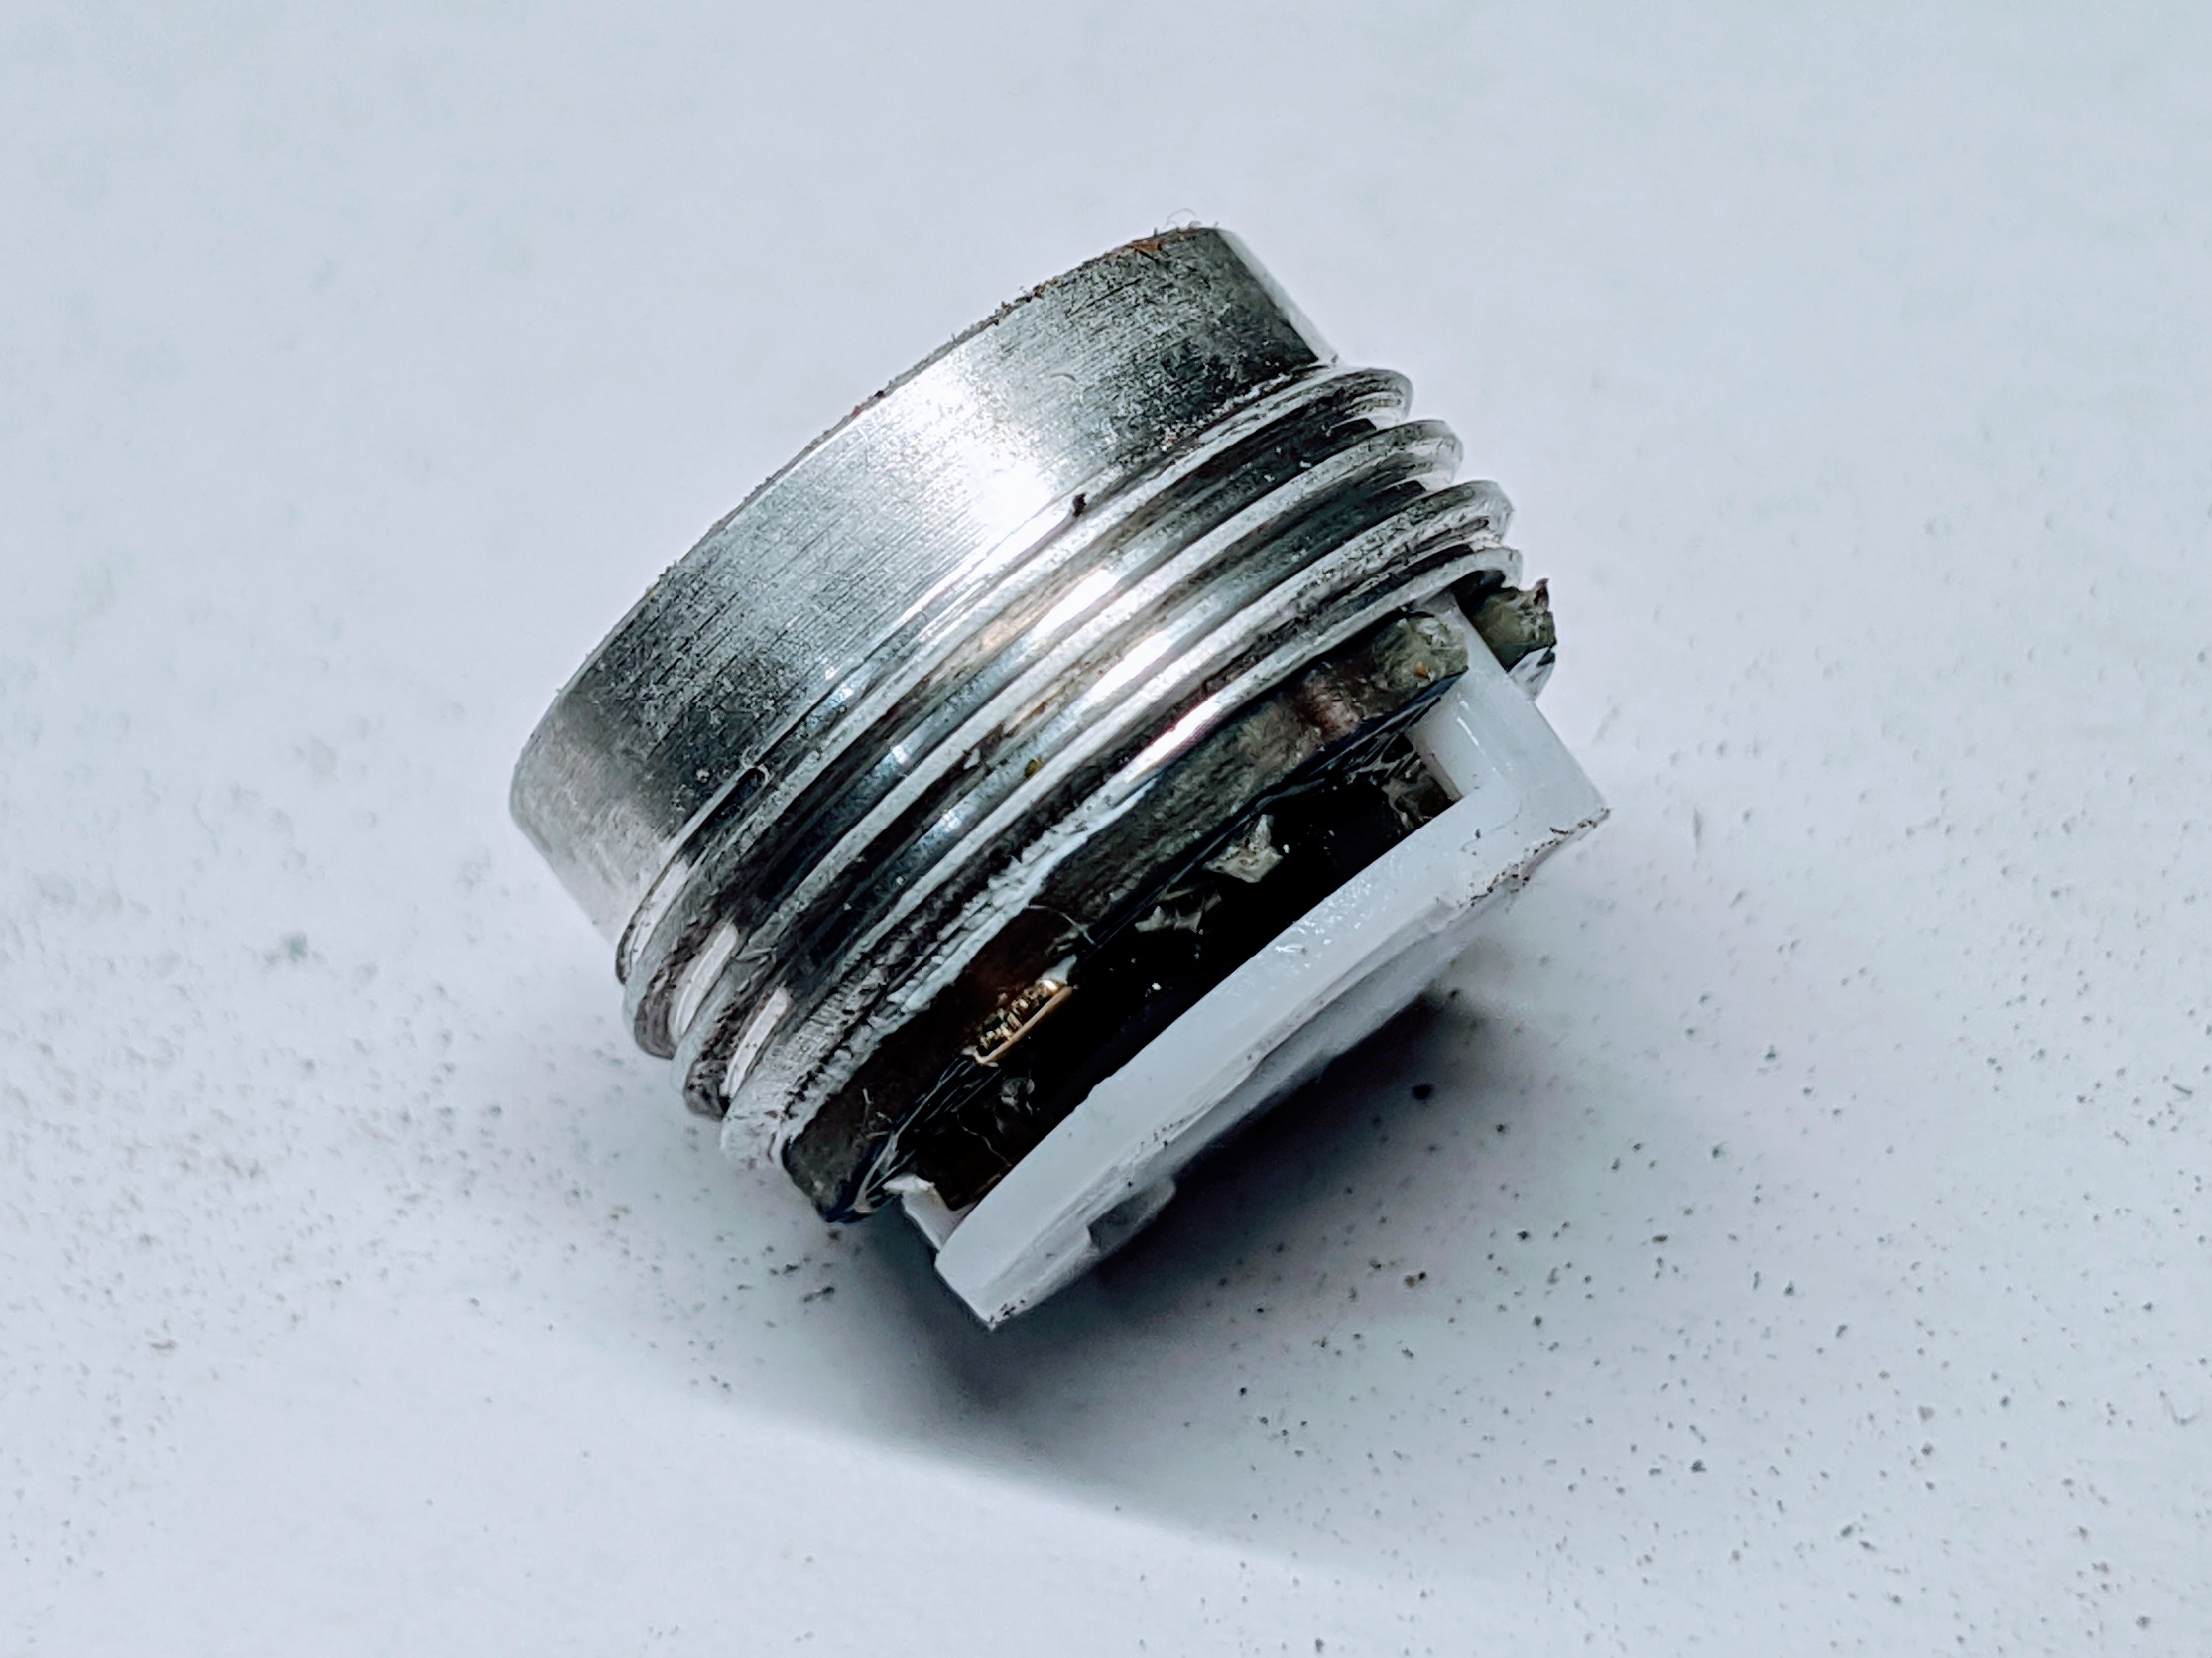
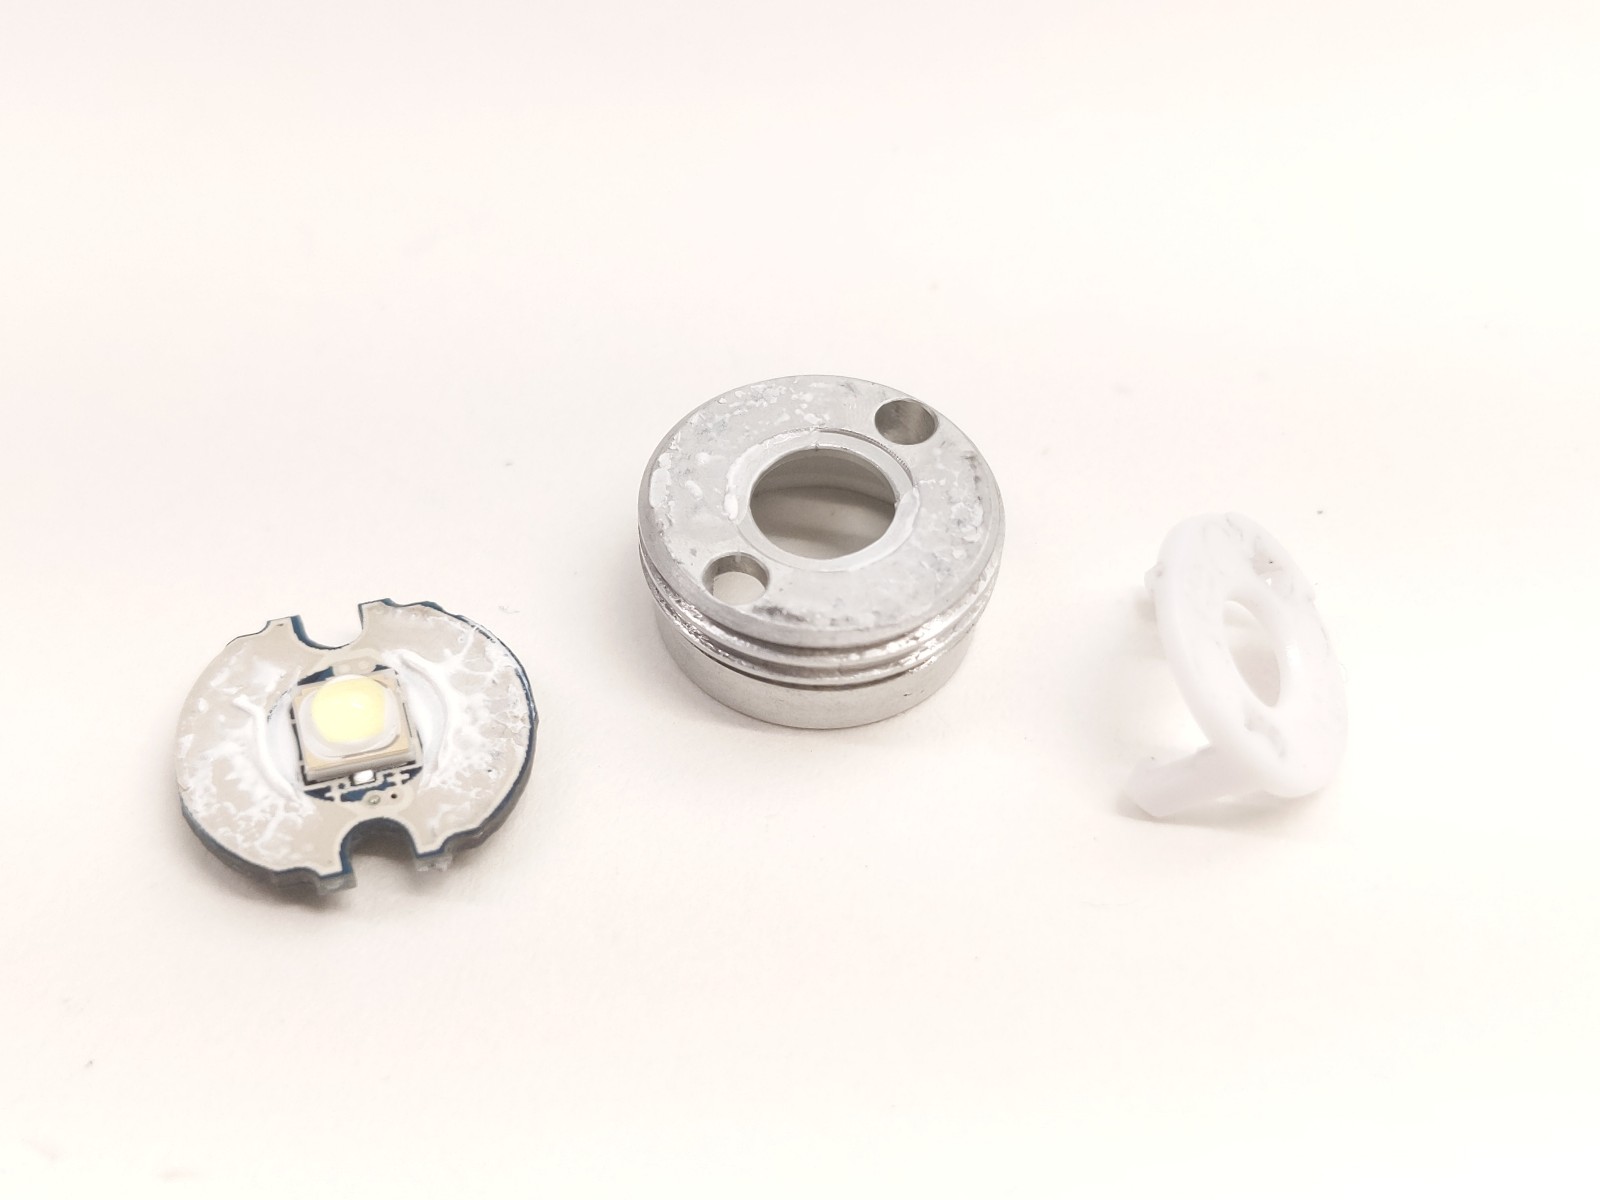
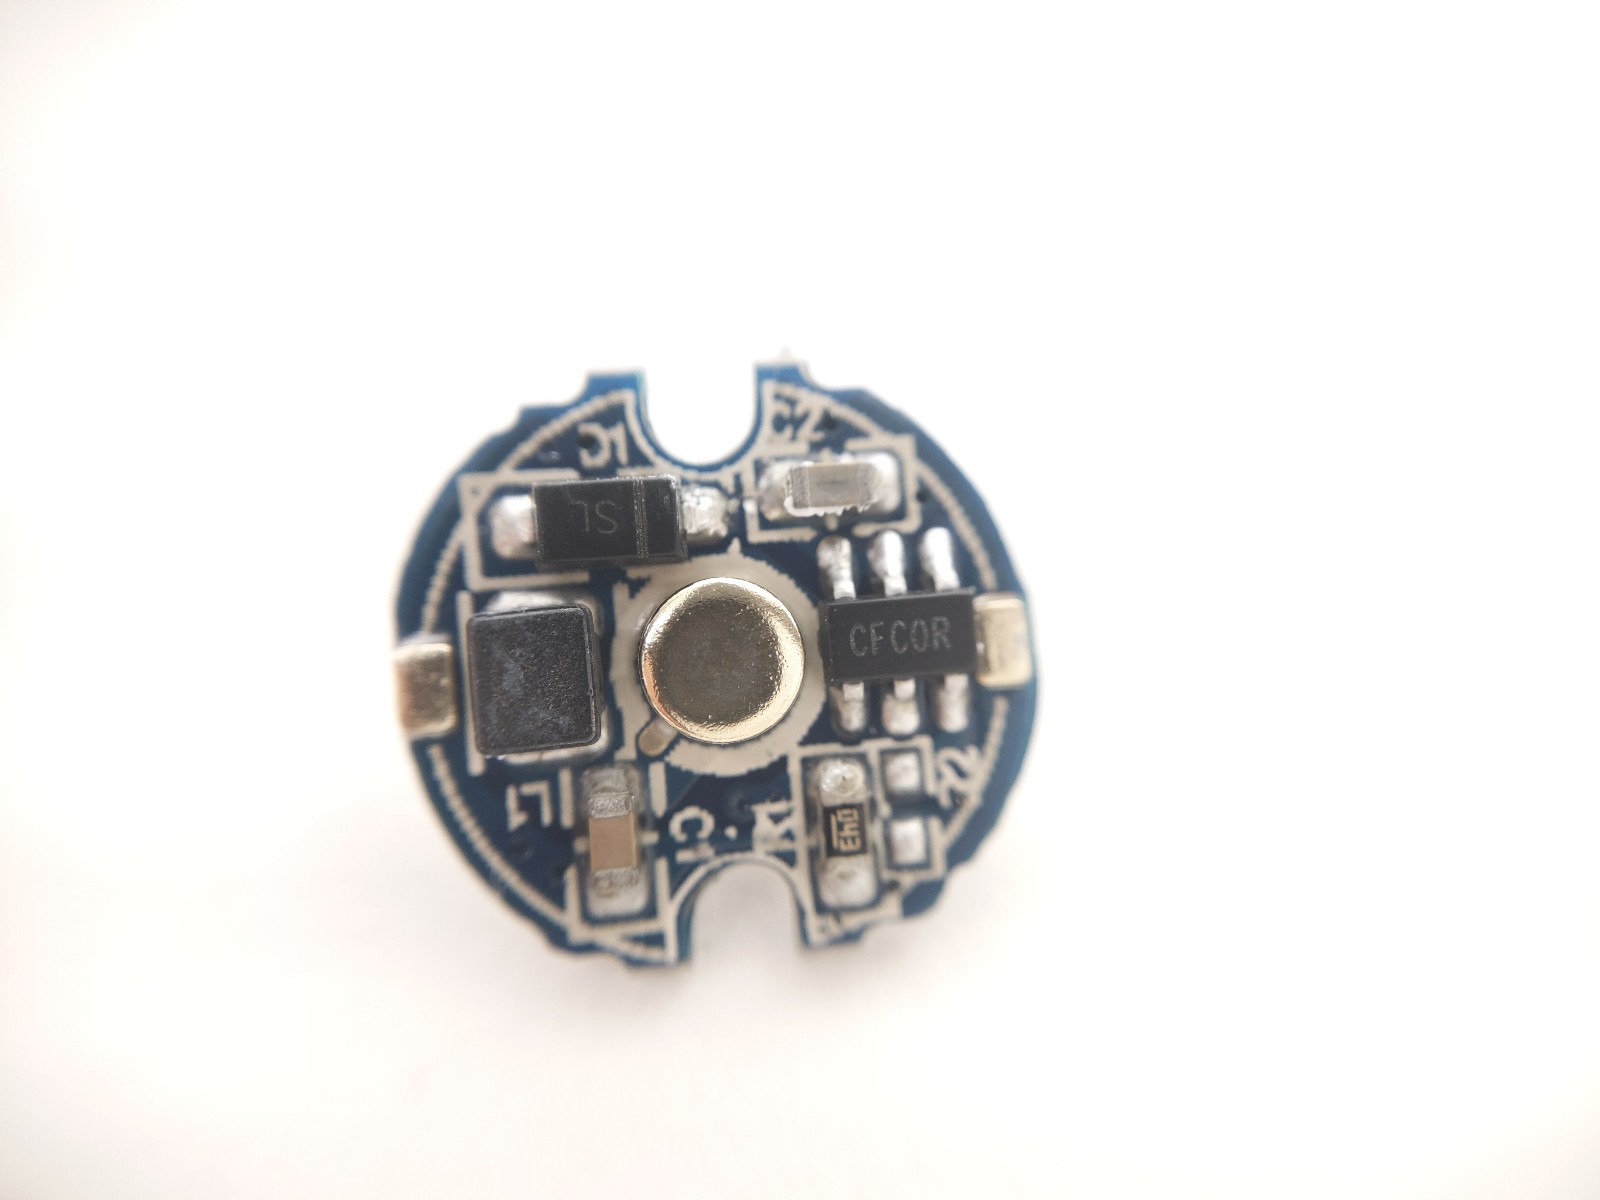
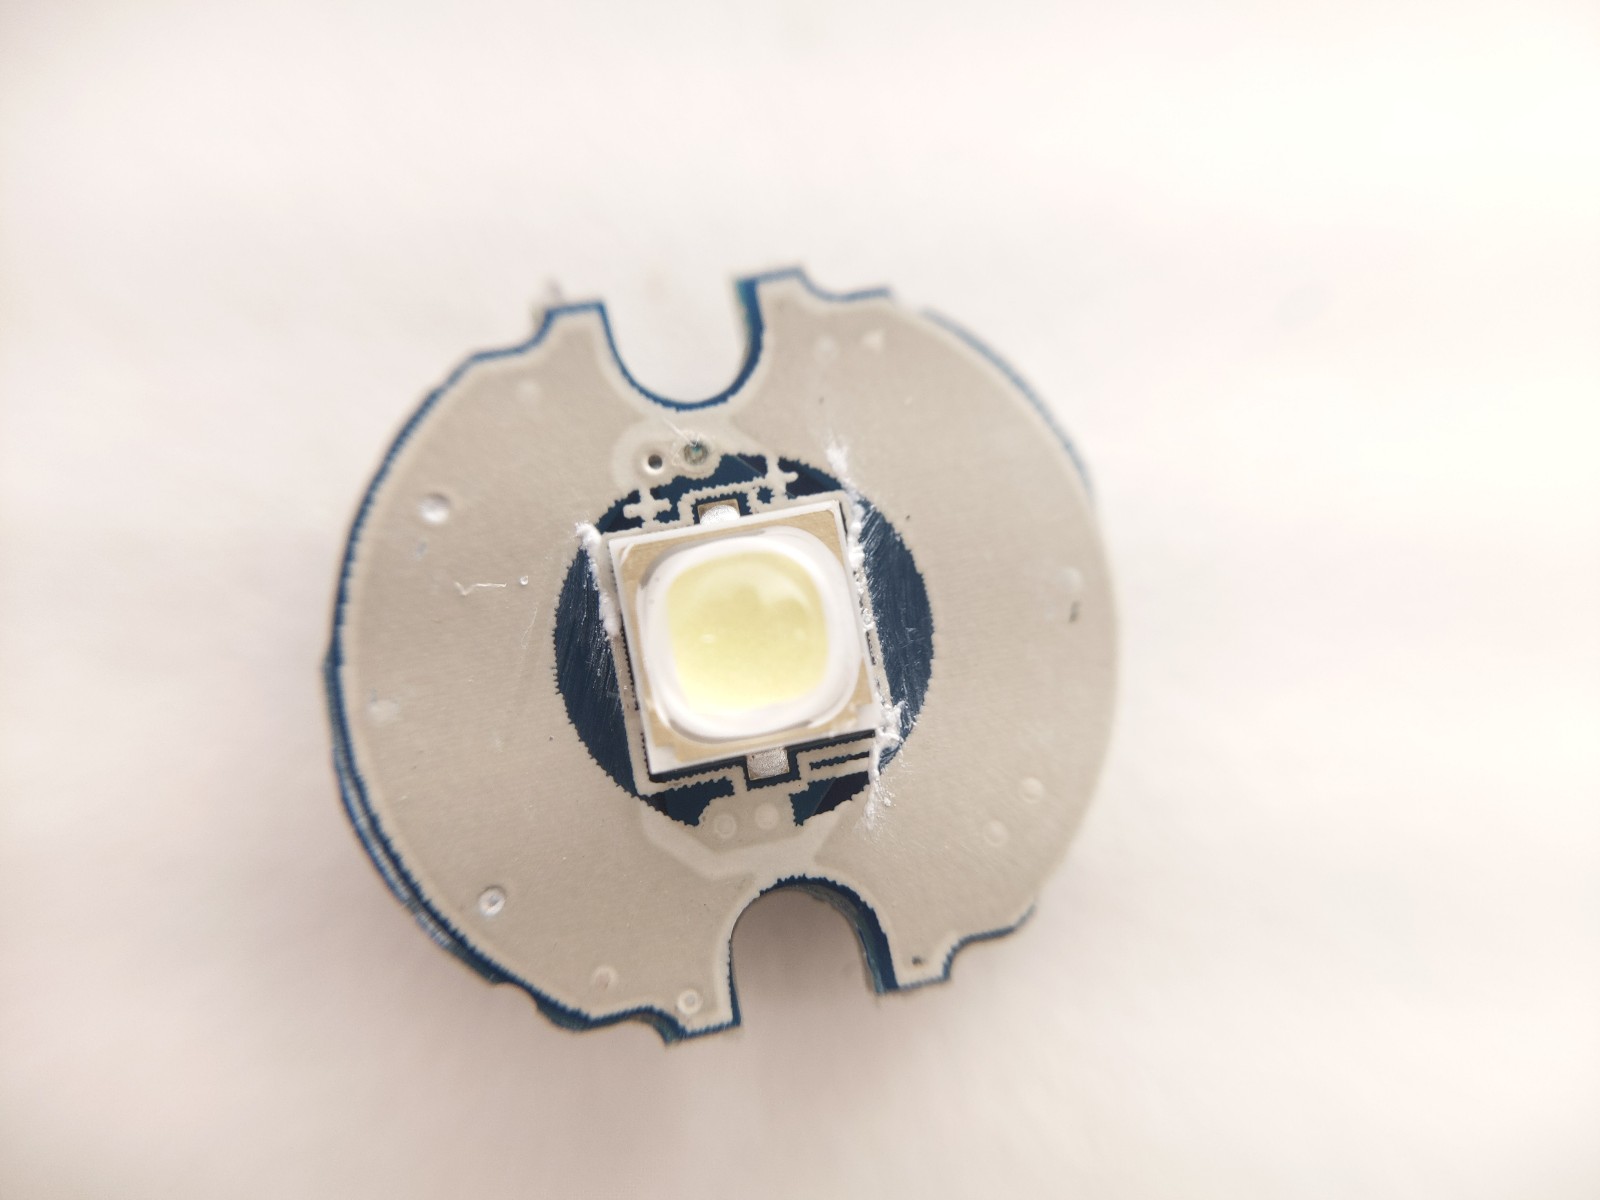
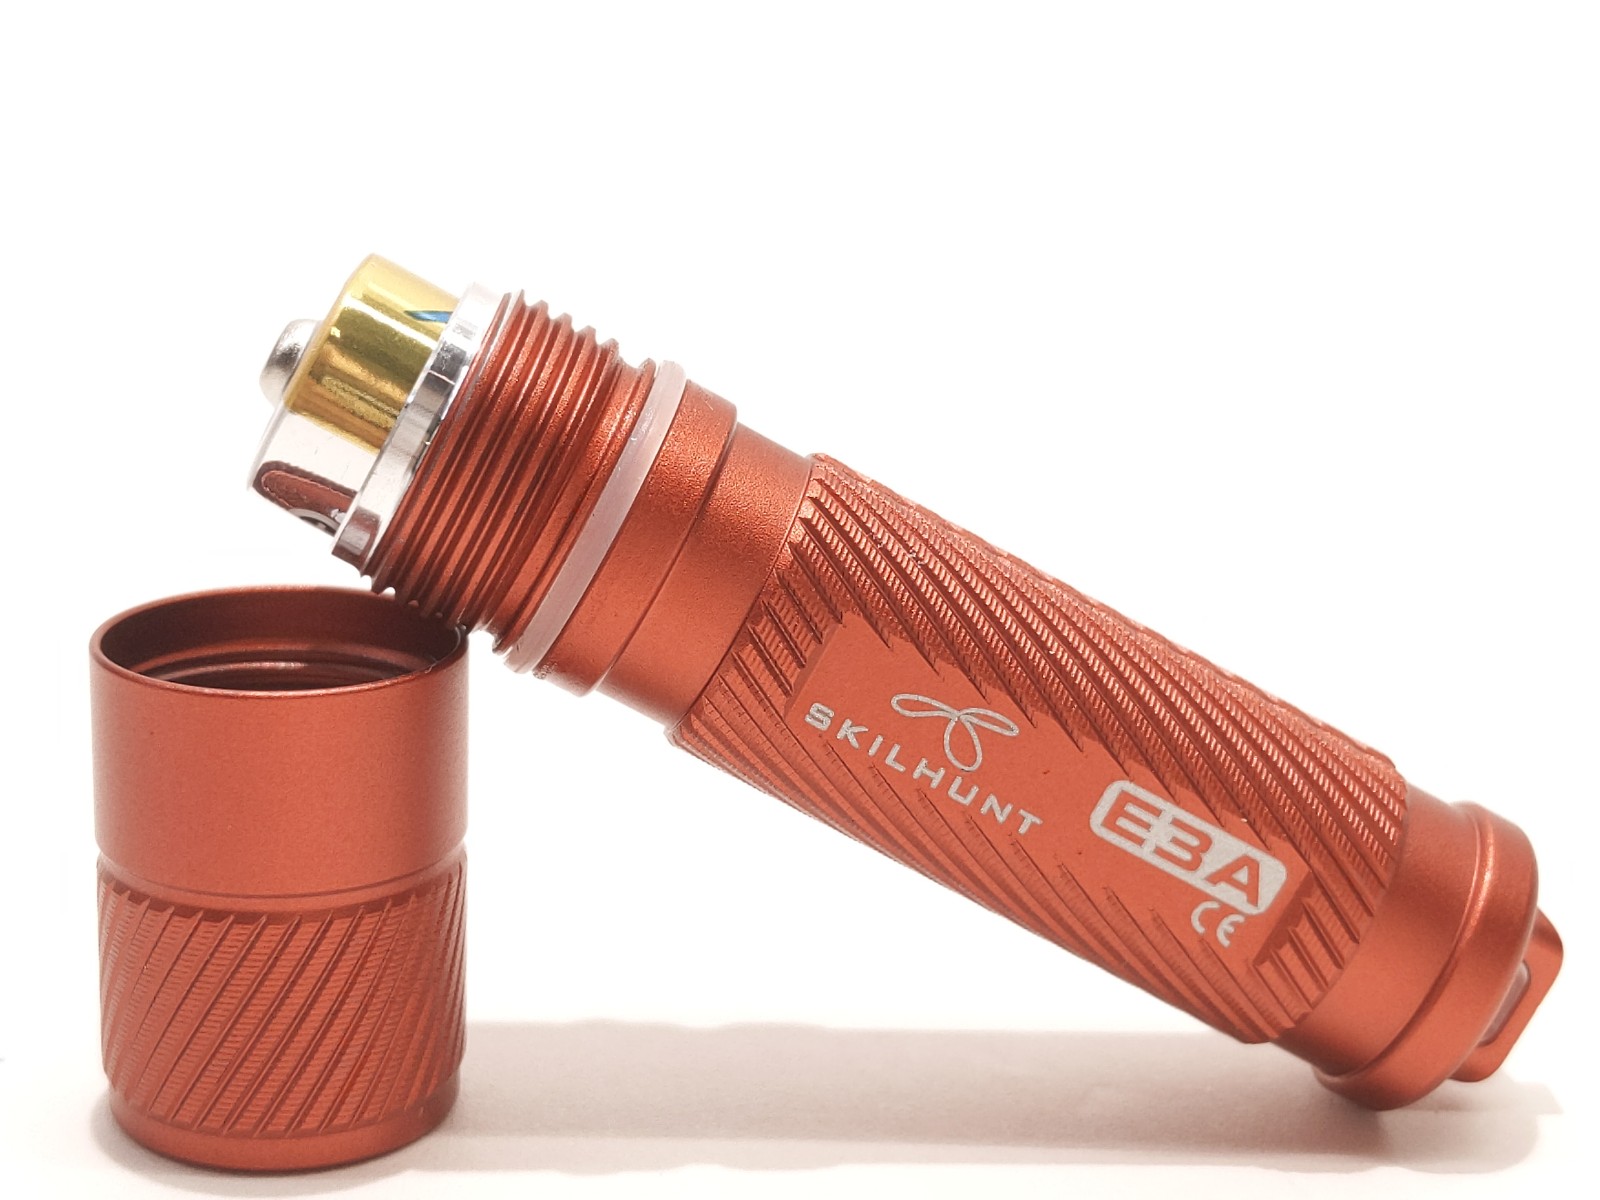
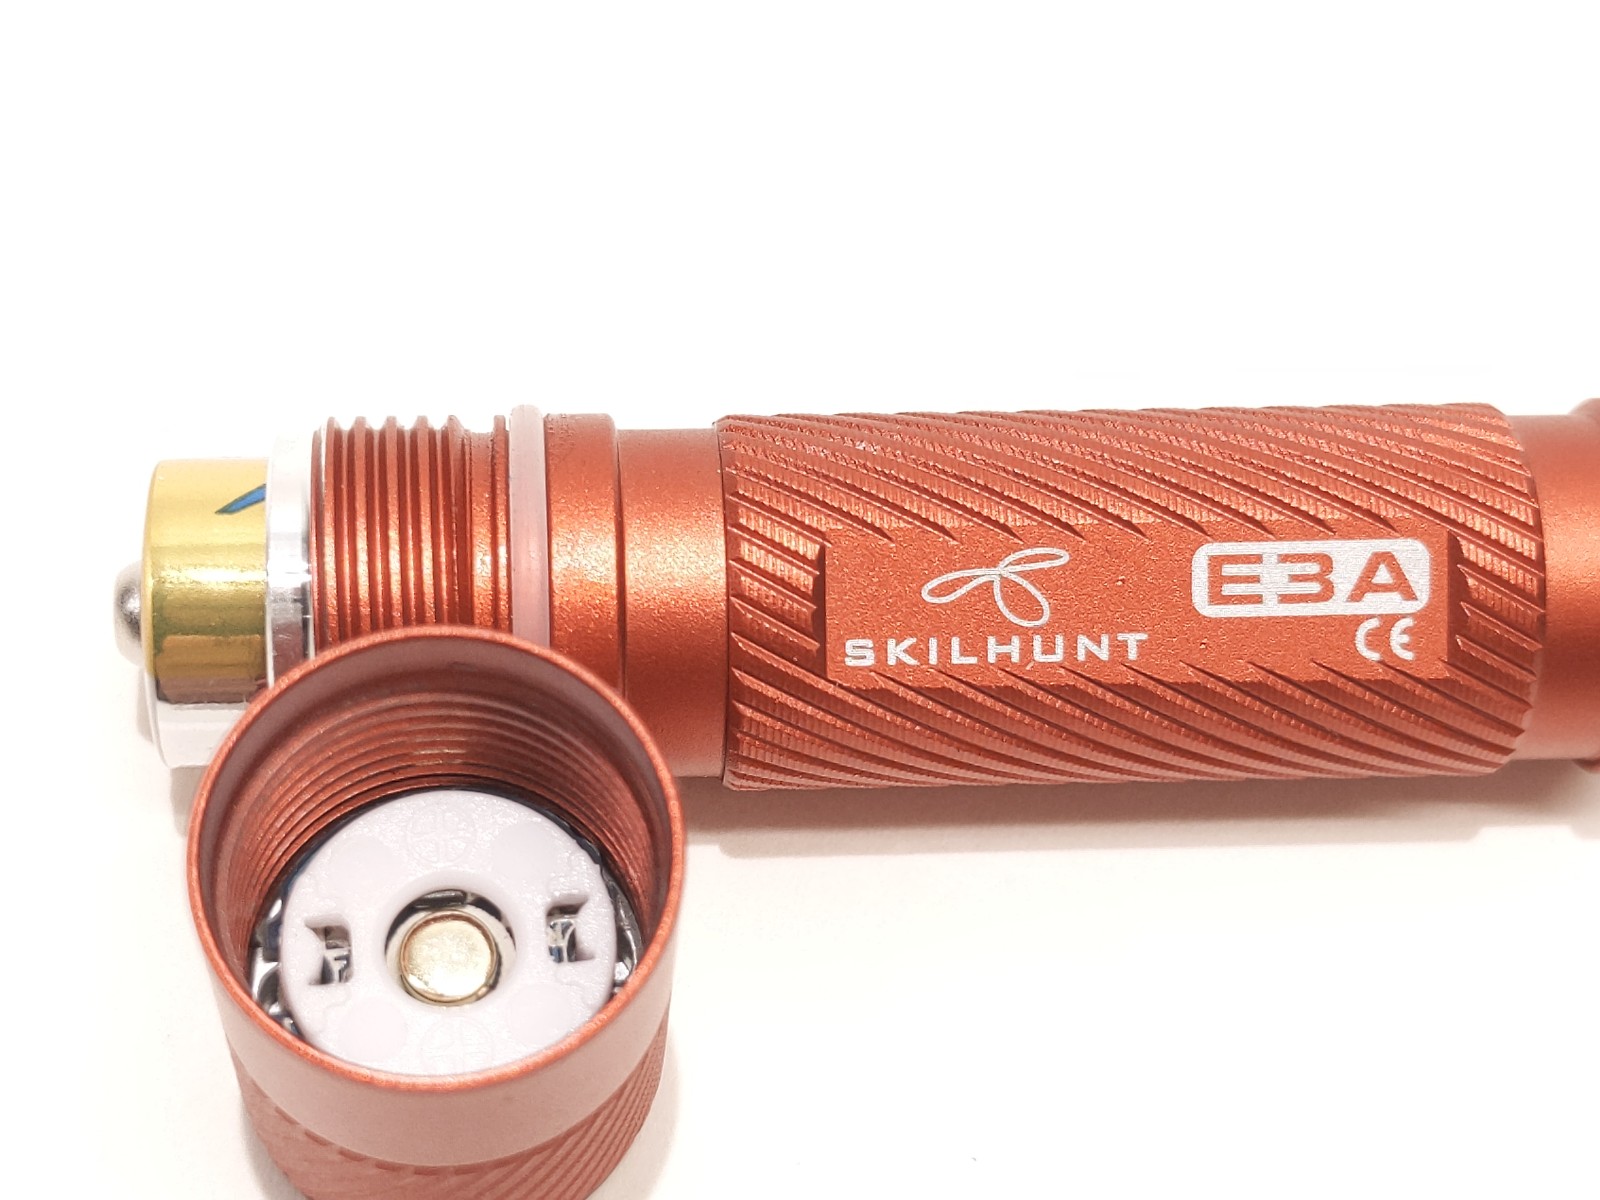
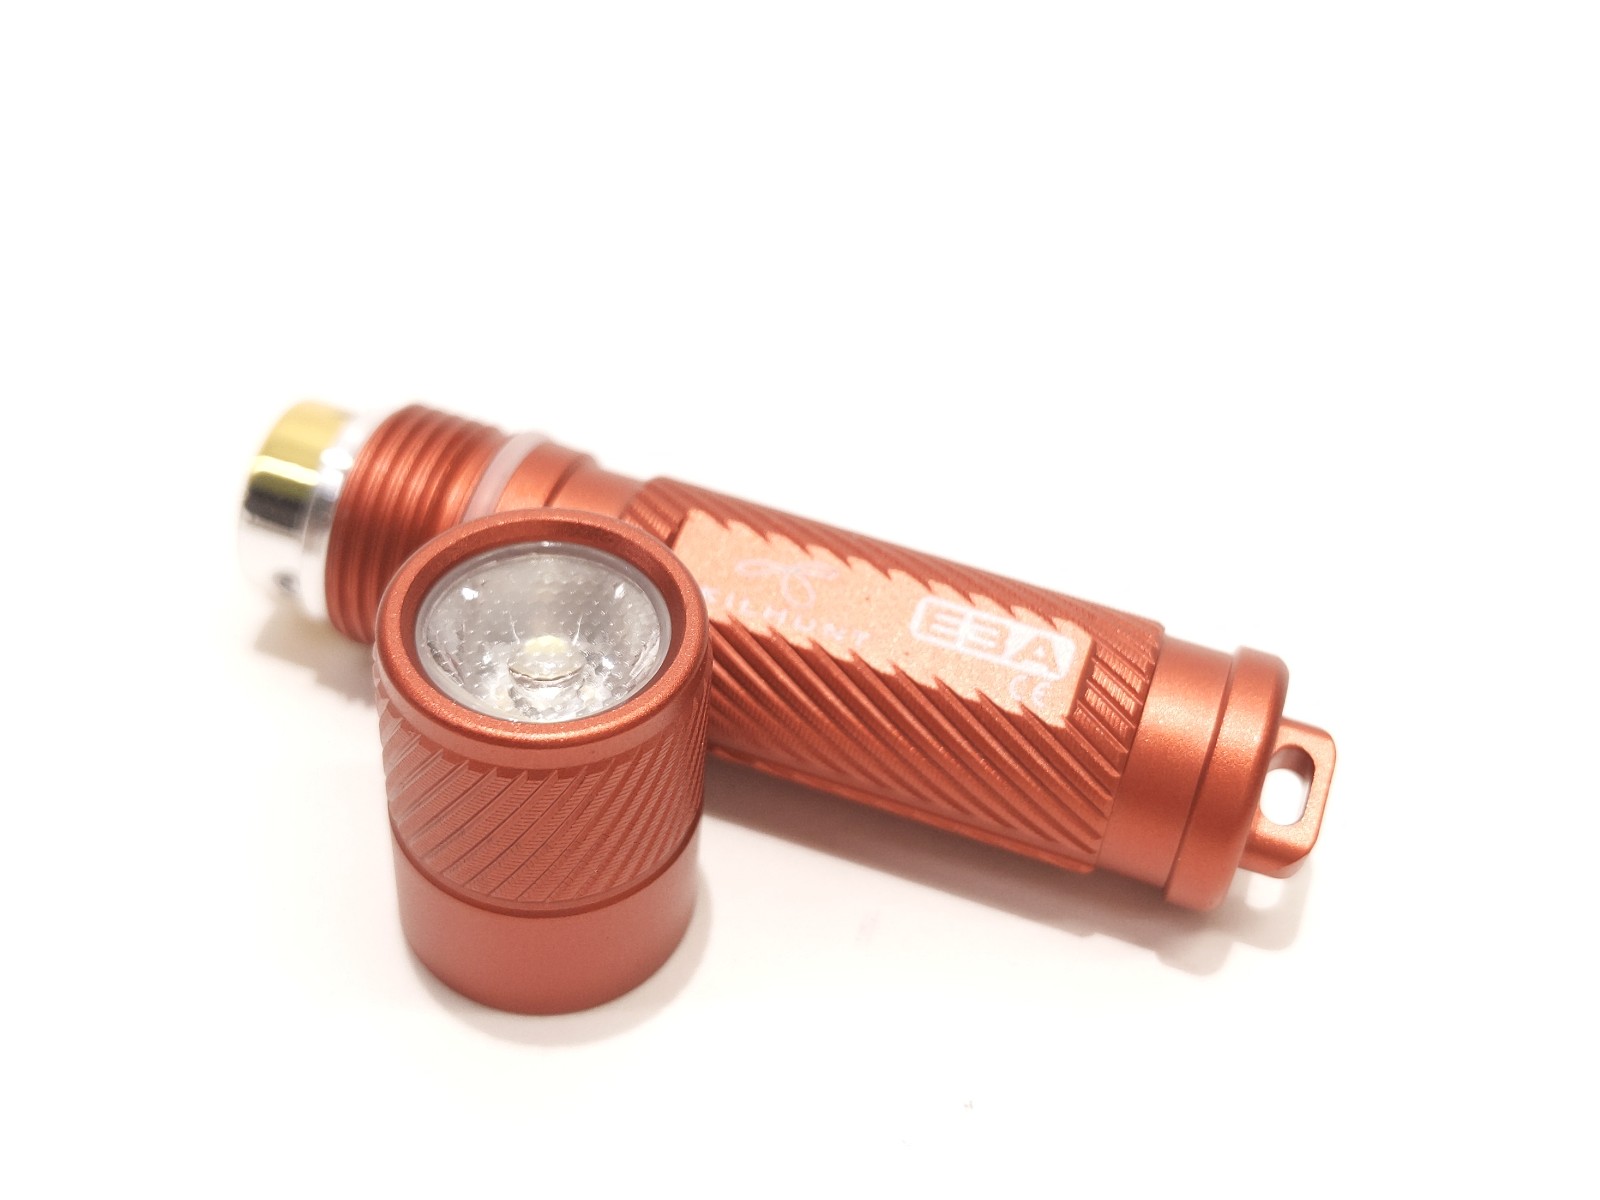
What I received from Amazon was the cool white version - unfortunate, but means that I’ll probably be tearing this down to (1) see whats inside, and (2) see if the LED is replaceable. Everything looks and feels great. The anodizing is great. The TIR is lightly pebbled and quite floody.
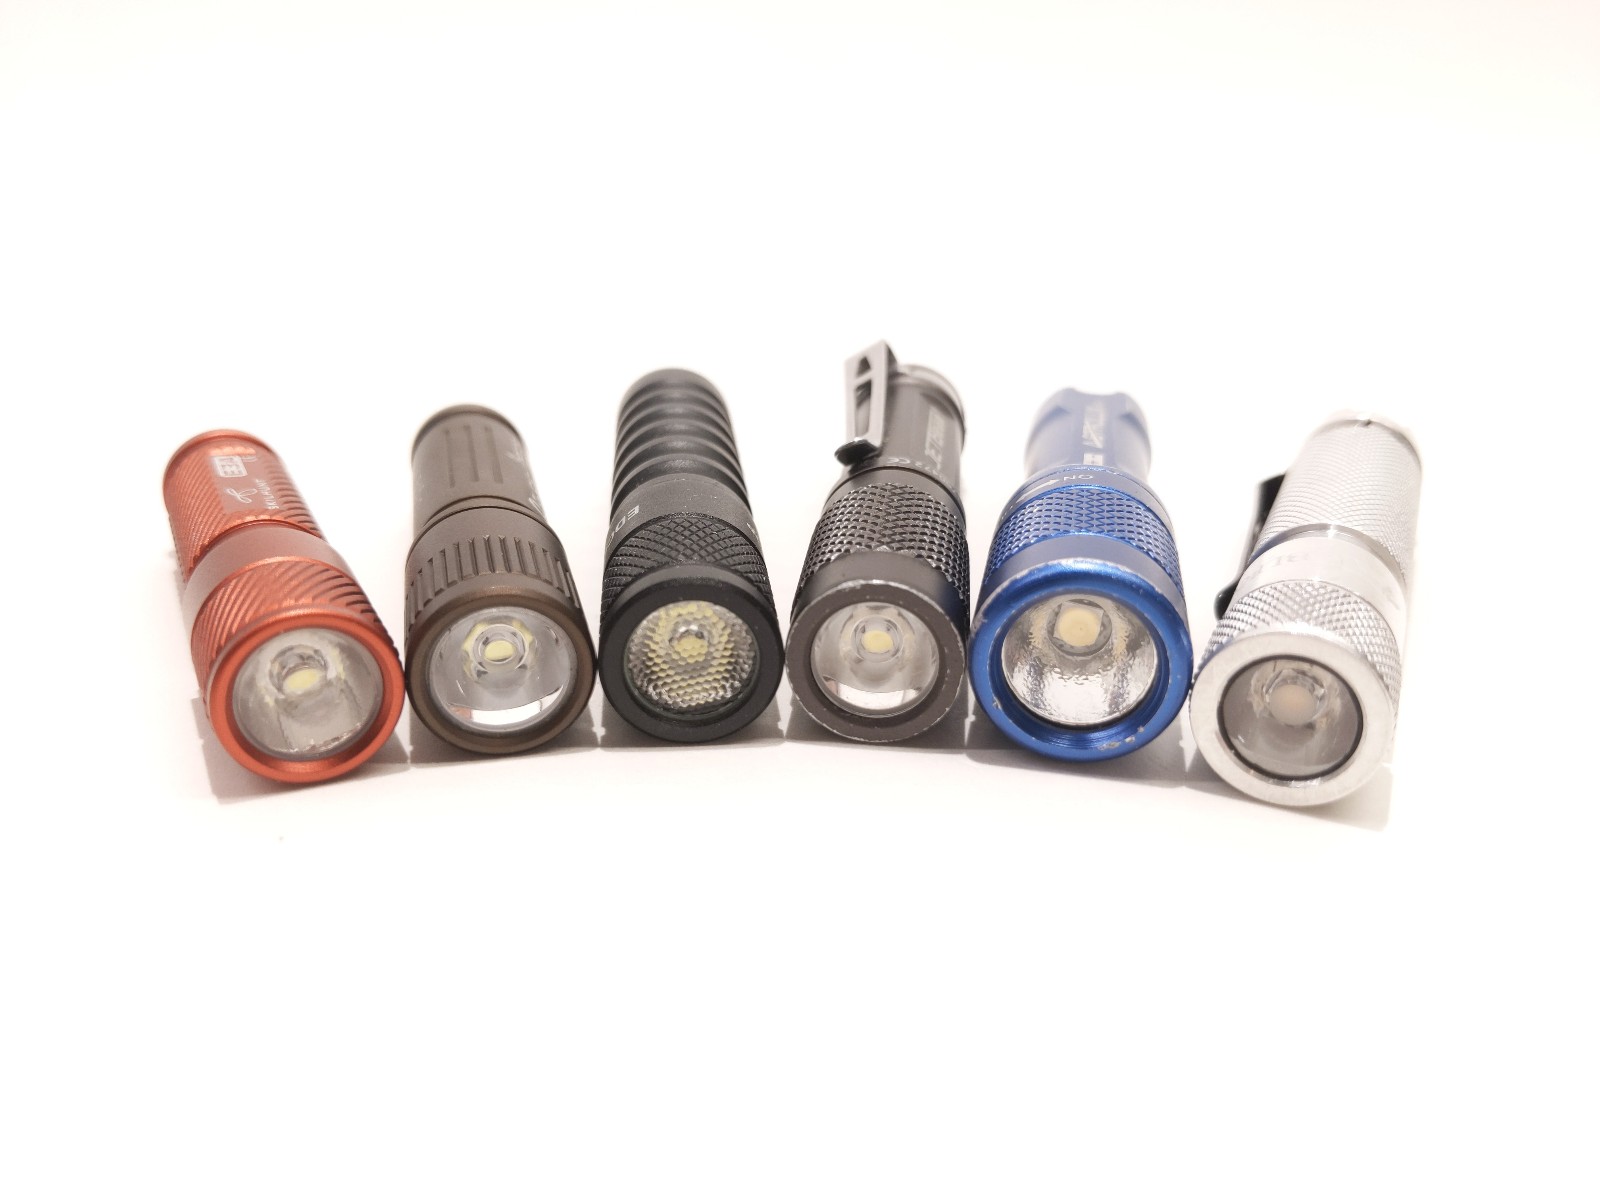
AAA battery, AA battery, Skilhunt E3A, Olight i3E, Lumintop EDC01, Jetbeam Jet-u, Astrolux A01, Sofirn C01S

Skilhunt E3A, Olight i3E, Lumintop EDC01, Jetbeam Jet-u, Astrolux A01, Sofirn C01S
Skilhunt E3A, Olight i3E, Lumintop EDC01
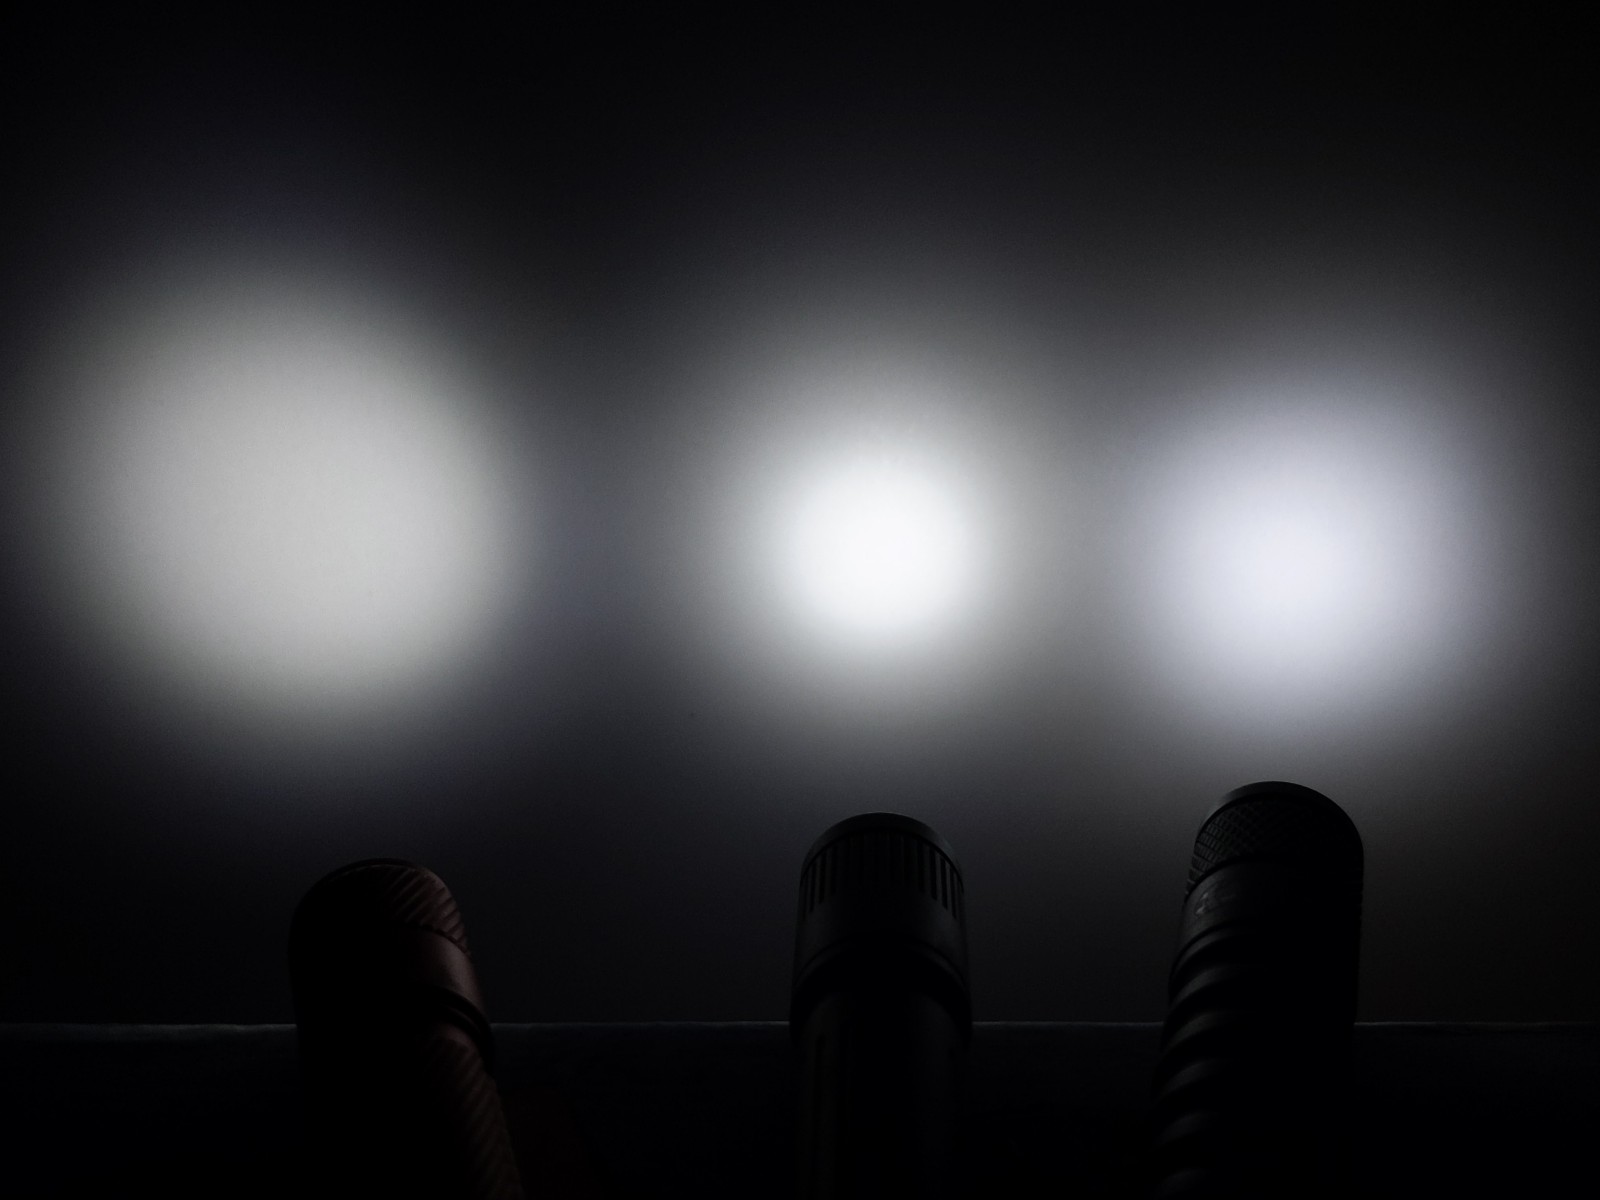
Skilhunt E3A, Olight i3E, Lumintop EDC01