I think every build ought to have a song attached to it. Here's the theme song for this build of three green Maglites.
The Lemon Peppers - Green Tambourine

OK, you now know for sure that I'm going over the edge, rather quickly, so I will get to the Modding.
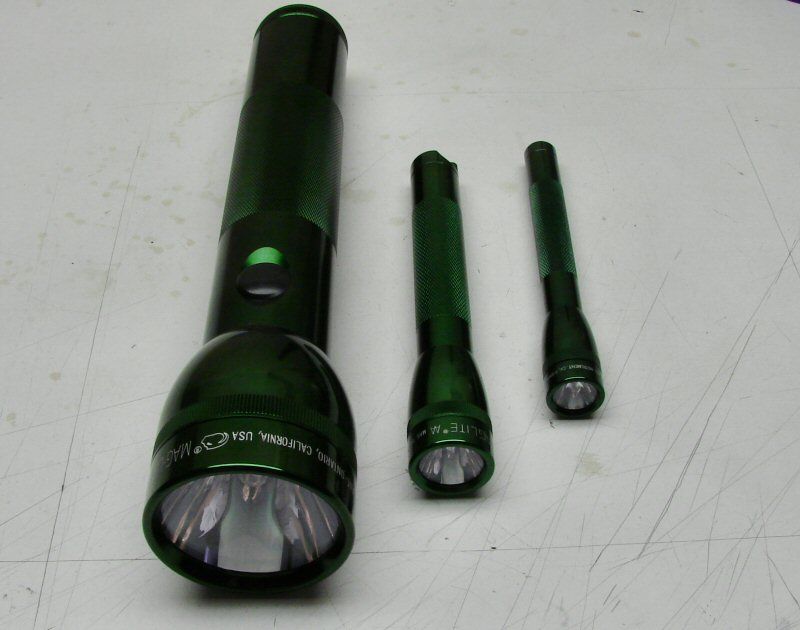
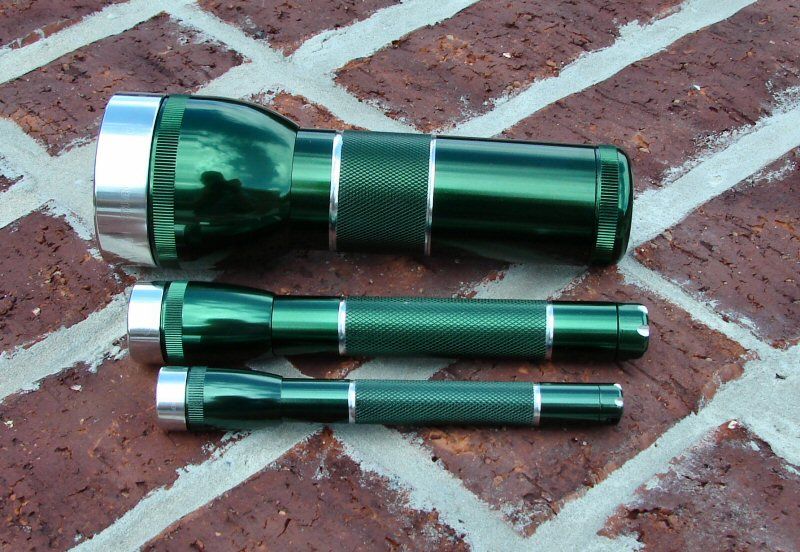
I am going to mod these 3 Green Maglites. The 2D will become a 1D with a tail cap switch. The 2AA will become a single 14500 light and the 2AAA will become a single 10440 light. EDIT: 10/19 I can see major issues with making the AA and AAA into single cell. The wall thickness is terribly thin, so I am going to leave them 2AA ans 2AAA. If someone wants to use Li-ion, I can always make a dummy cell for them. Also, I imagine I will just use a TIR optic in the AAA instead of an aspheric. The problem is with using the tail cap as the on/off. The tail cap threads inside the body are not anodized well enough and just screwing the tail cap on, would make contact in the threads, so there would not be any off, till the tail cap was taken out. That's no good, so I will leave it as a TIR and use the head for on/off, like I always do.
New ideas are great, but they don't always work out...
I have already thought out what I can do with the reflectors and optics, so here's what I got.
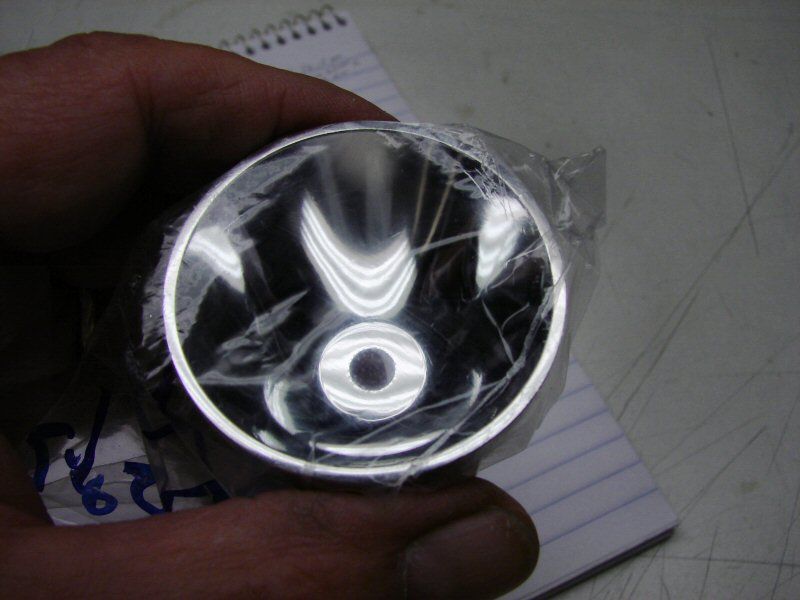
The 2D/1D will use an XM-L led and it will use this reflector. I use this reflector because it has a good spot, with plenty of spill.
Also, since the 2D/1D will have a tail cap switch, I need to decide on which button for that. It's either a Nickel Silver button, or an abalone shell button.
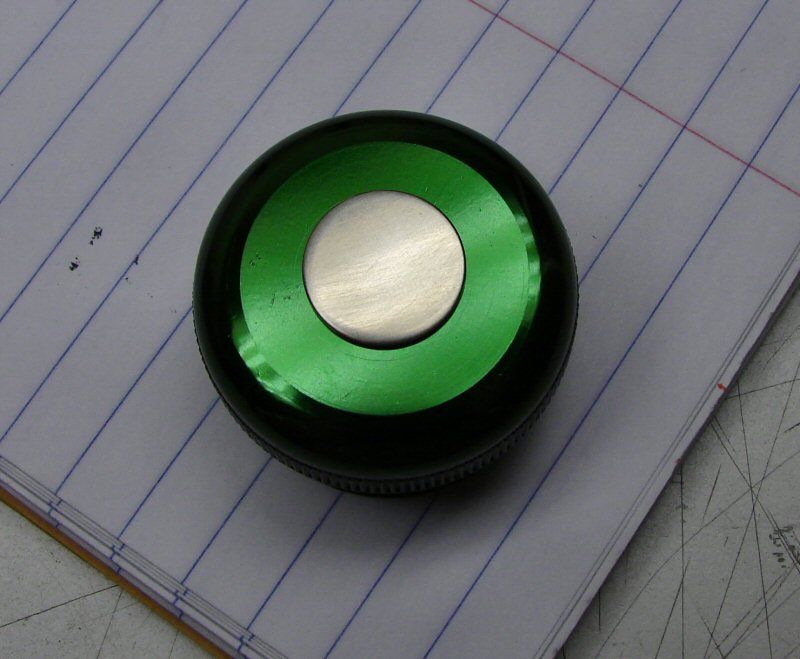
This is a mouse over shot, use the mouse to see the two buttons.
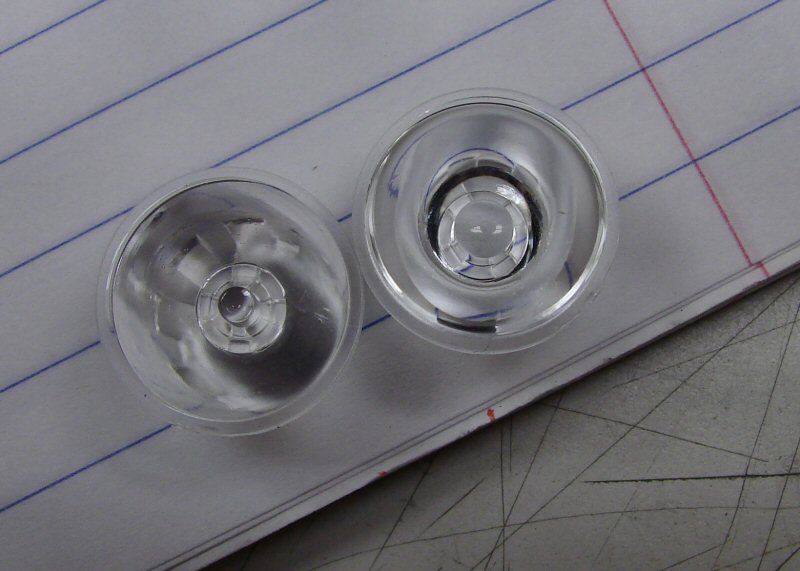
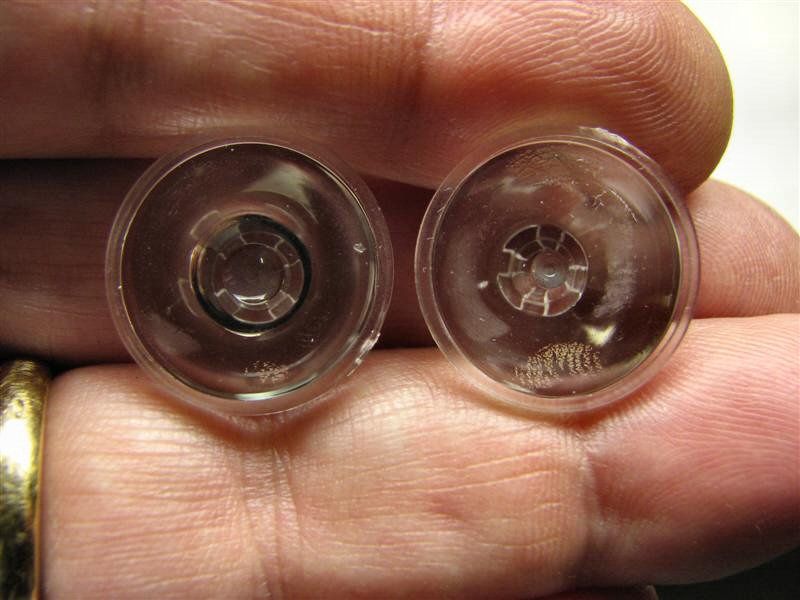
The 2AA/14500 will have a Nichia 219 led and use either or these TIR optics. In fact, I may include both of them. One is a 15 degree and the other is a 45 degree.
The 2AAA/10440 is going to be an aspheric. Yes, an aspheric. EDIT: 10/19 - Nope, it will be a TIR optic.
The 2D will use one of E1320's 5 mode drivers and the other two lights will be direct drive.
That's all I have right now. This build will take some time, as I will be doing quite a bit of modding and quite a bit of cosmetics, so that the lights will look like a matched set.
-----------------------------------------------------------------------------------------------------------
I did manage to get the 2D cut down to 1D tonight and I didn't even do it like I showed in the video. It's shorter than I have done before.
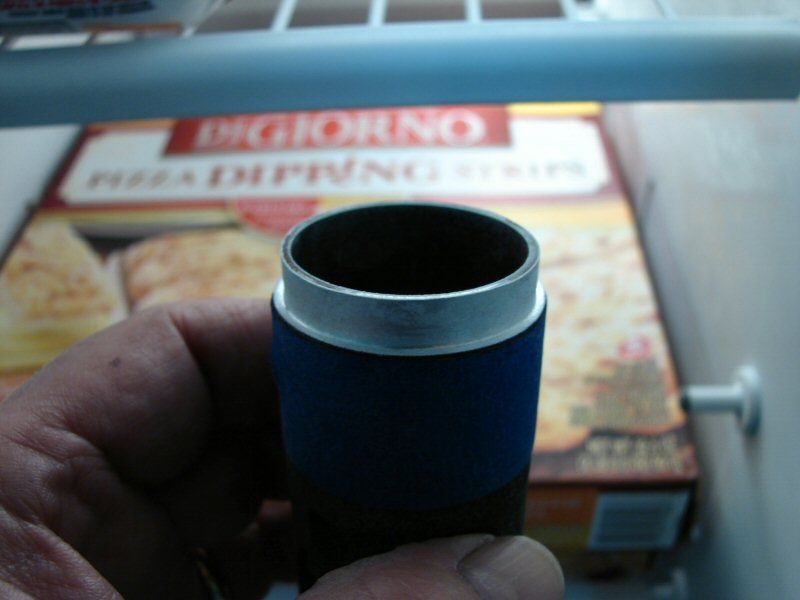
Here's the lower part of the body and it has the cut done around the OD, with the dremel tool. It's in the freezer getting cold, so it shrinks down. Digiorno anyone?

Here's the top section. It has the cut done to the ID and I made a plastic washer, with a copper center, for the positive contact. The top section has been sitting under a 100W bulb, to heat it up.
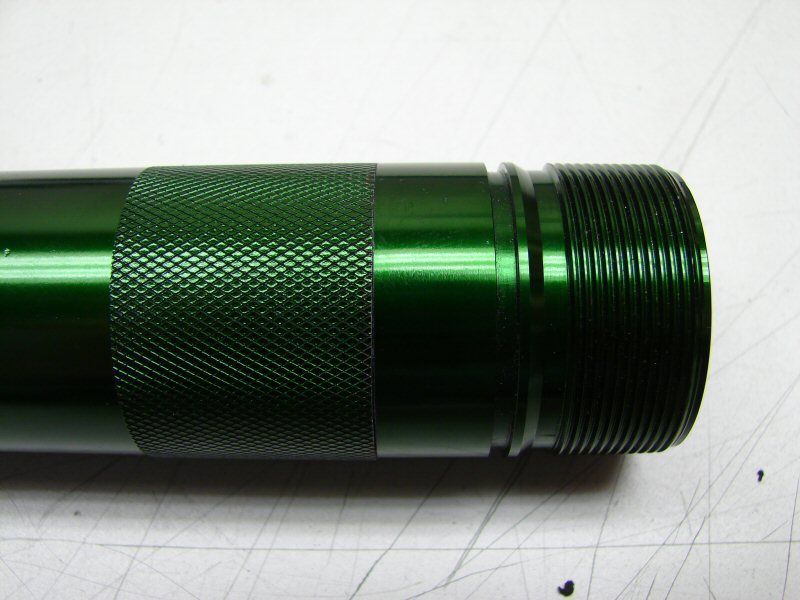
The two pieces are now together... for good. They are very tight and even with hot and cold, it took a rubber mallet and some hard pounding, to get them together. The seam is OK, but not good enough to leave it as is. I will have to turn this seam into a shiny ring around the light.
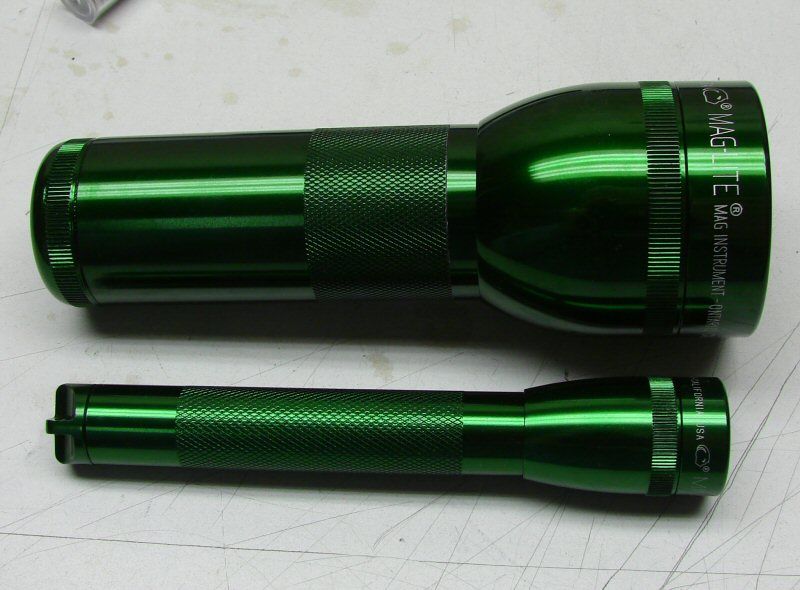
I said this was about the shortest 1D I have done and here is the comparison to a 2AA light. Almost the same length.
That's all for tonight.
--------------------------------------------------------------------------------------------------------------
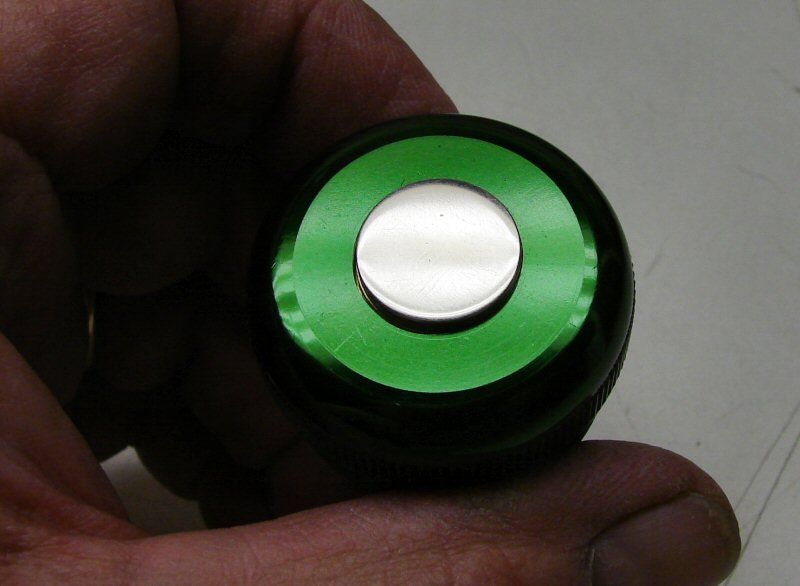
Tail Cap Switch is done
Not much to tell, but all the info is in a video in the next post, where the videos are.
---------------------------------------------------------------------------------------------------------
As usual, once I get close, I just finish the build and don't take many photos. I will show what I have and try to describe it.
Pill for the AAA light consists of a Nichia on a 10mm star, a copper round, a copper tube for the positive lead, with a plastic cap and copper contact.
I had to drill out the AAA light, to fit the pill. 1/2" drill bit.
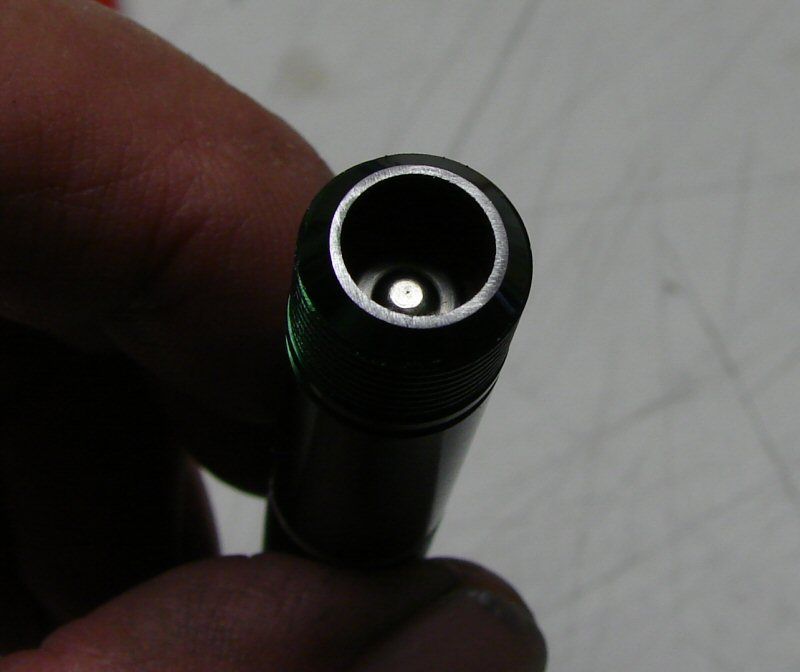
Remember to remove the ano on the top of the tube, to make contact with the pill.
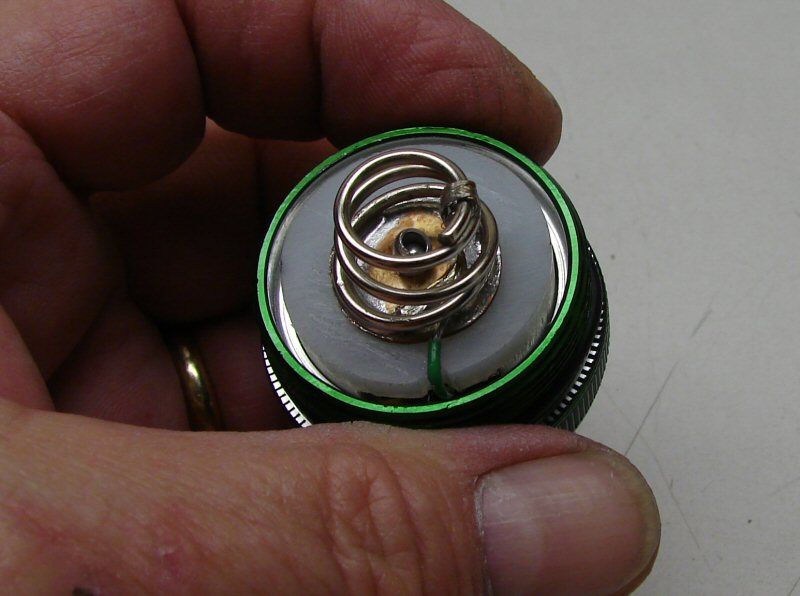
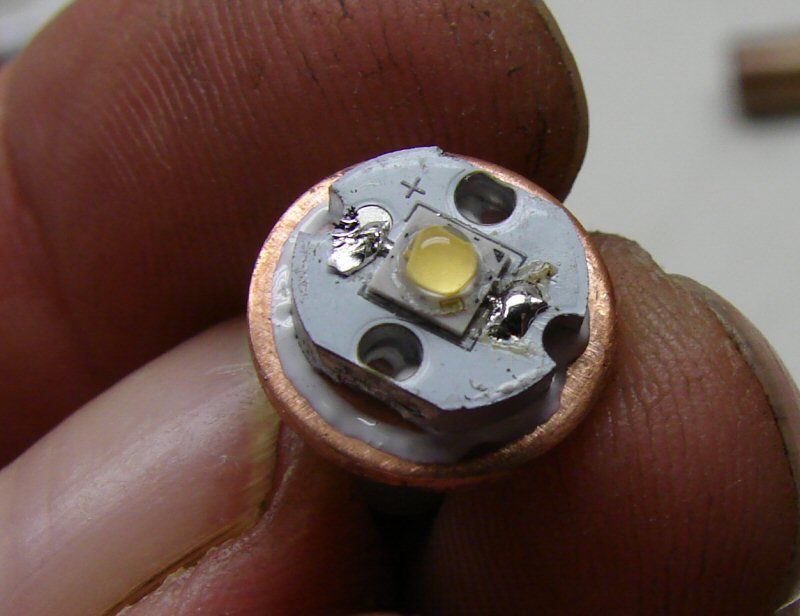
The AA pill, shows how I made the positive contact. I did some with plastic, but I wanted to make them more durable, so I soldered copper tube to the back of the heat sink and places a plastic isolator on the end. Then I used a copper positive contact and soldered it to the wire, ran it down and used AA to glue the plate on. Now it's solid and won't tend to break off very easy.
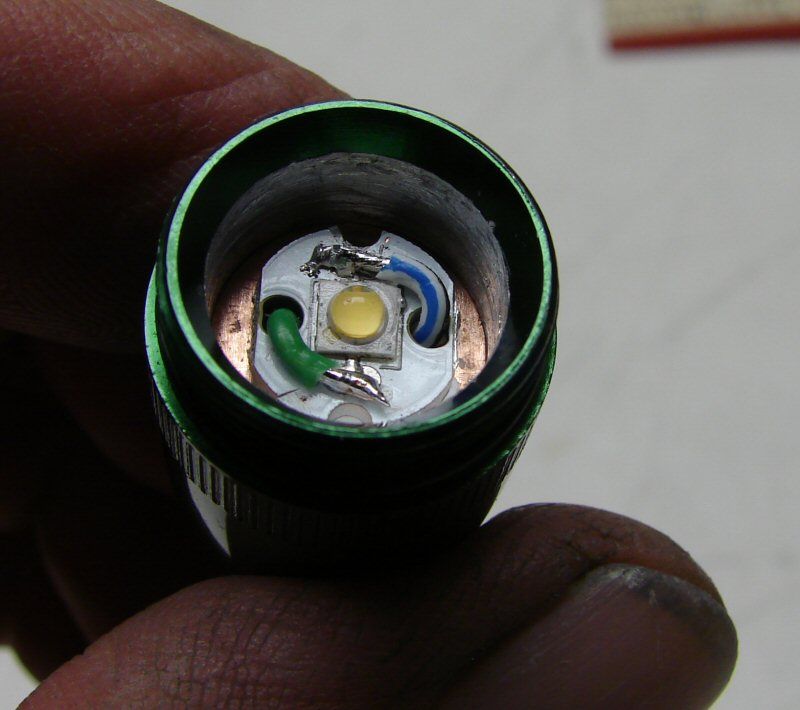
The pill in the AA light.
I don't have shots of the 1D heat sink, but it is the stock way I do all of them, with an aluminum round and copper shim to make it tight. I have been drilling and putting in 3mm screws this year, to hold the heat sink in and to make good negative contact and it seems to work well.
3AA battery holder for the 1D, redone with copper contacts.
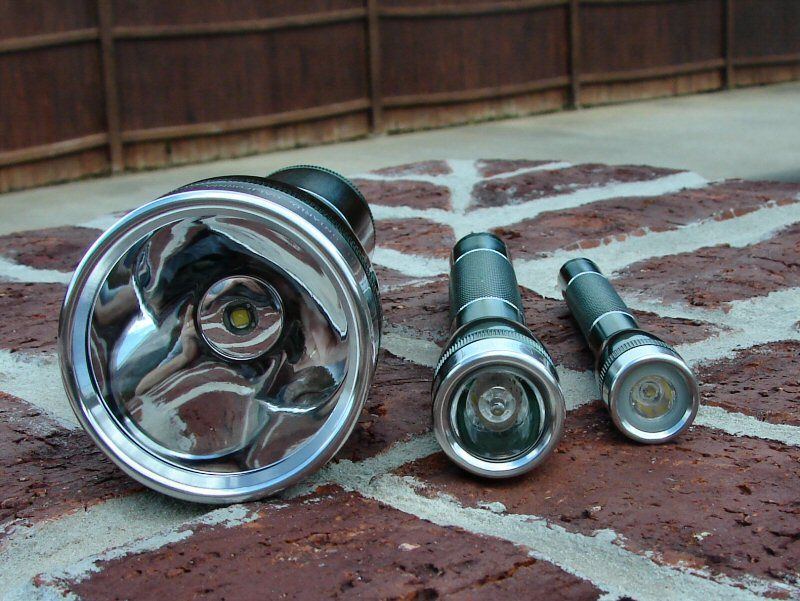
And..... here's the finished trio!
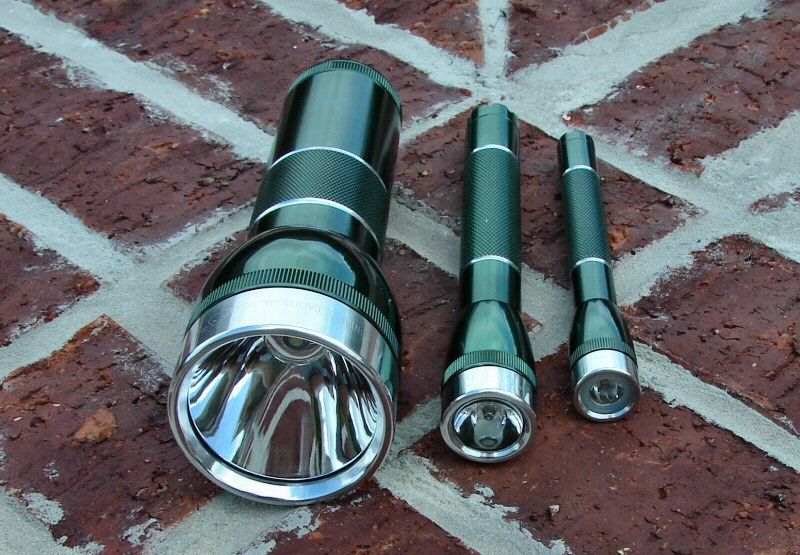

I wanted to keep a theme and keep the lights with some similarity, via cosmetics or other means. The 1D is using an XM-L T6 3C led and it is direct drive to 3AA NiMHs. No driver, just on off.
The AA light is using a Nichia 219 led and is direct driven off 2 AA Alkalines. The AAA light is using a Nichia 219 and is direct driven using 2 AAA Alkalines.
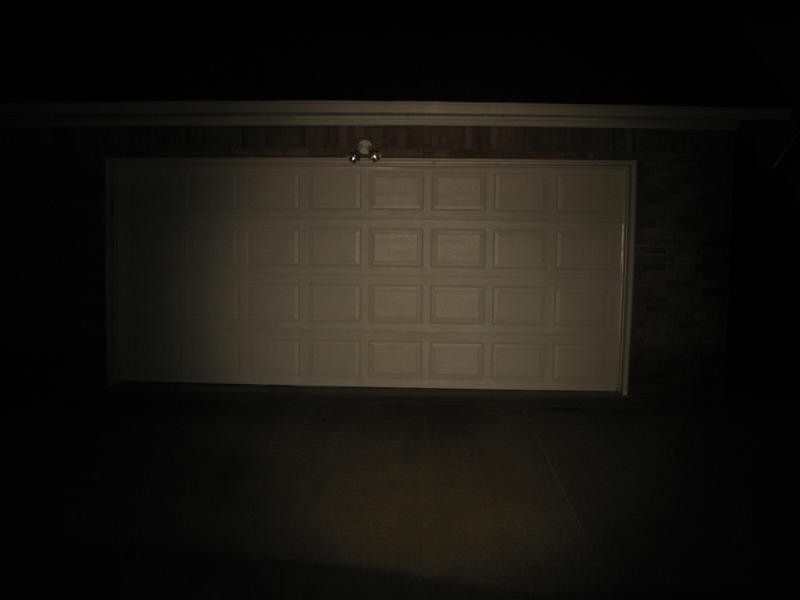
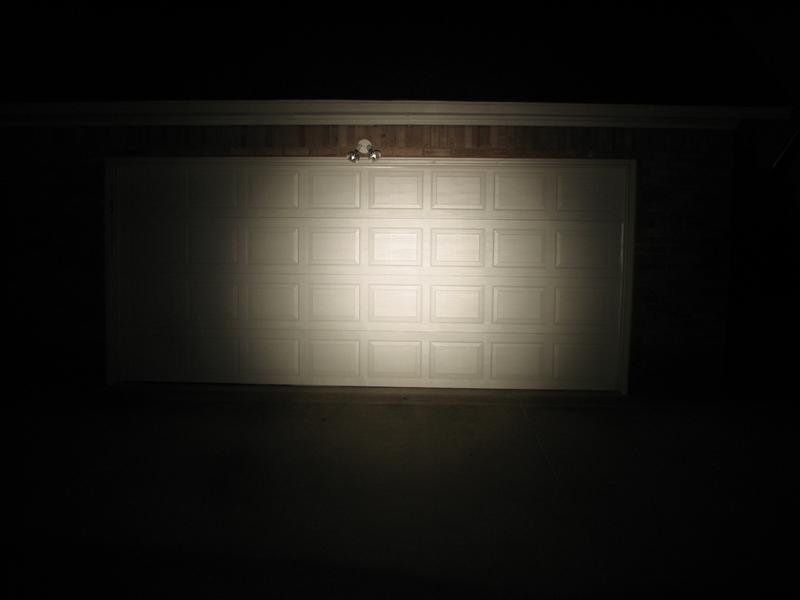
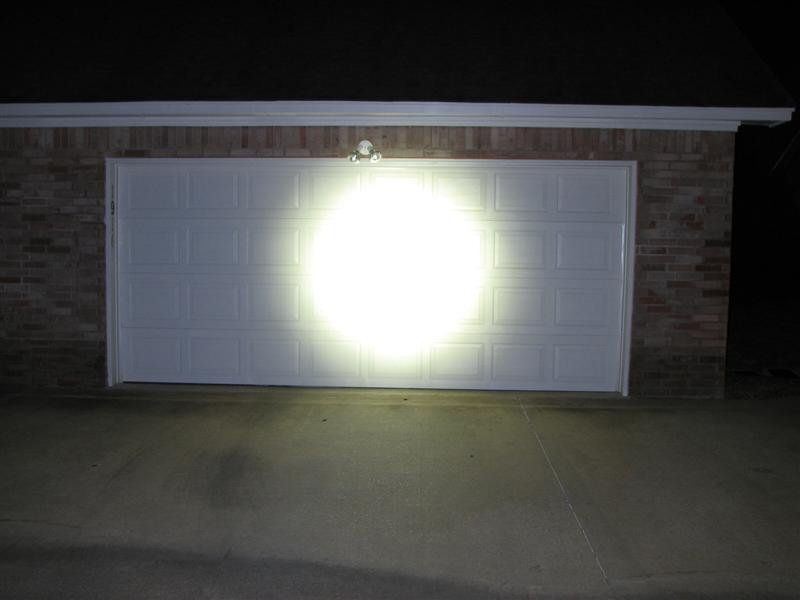
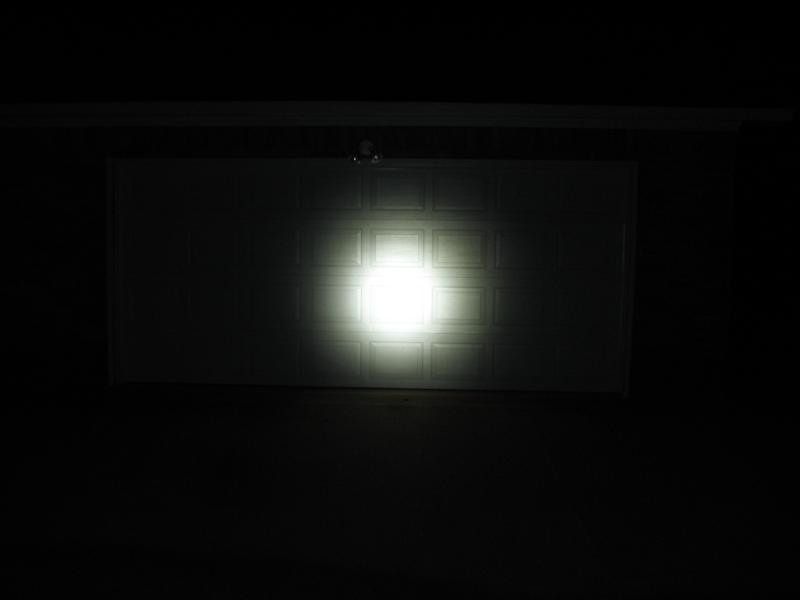
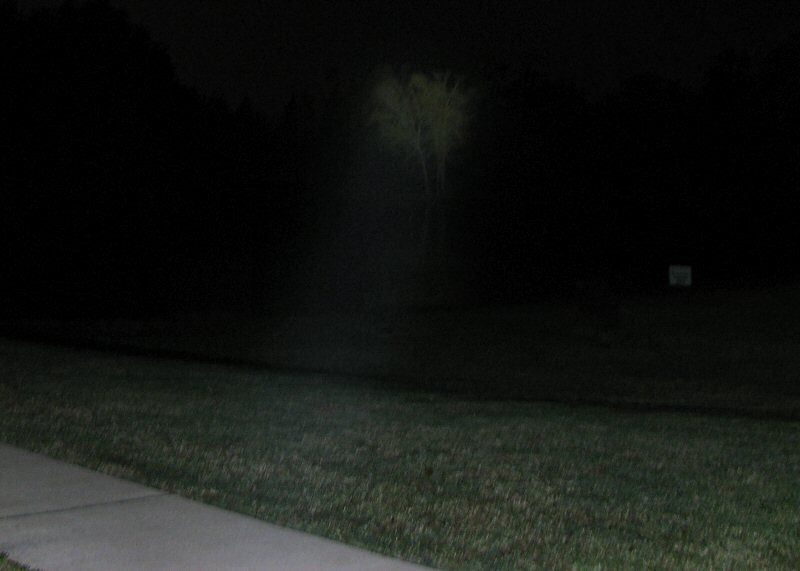
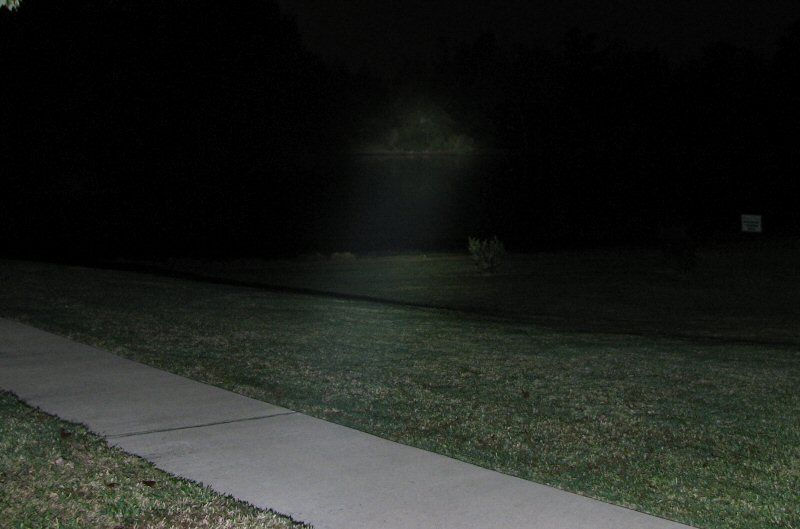
The AA and AAA lights are using TIR optics and the 1D is using an aluminum reflector and a glass lens. I have not stippled the reflector and probably won't, even though I don't like the beam, it's more of a thrower now and I will show what I mean, when I do beam shots tonight.
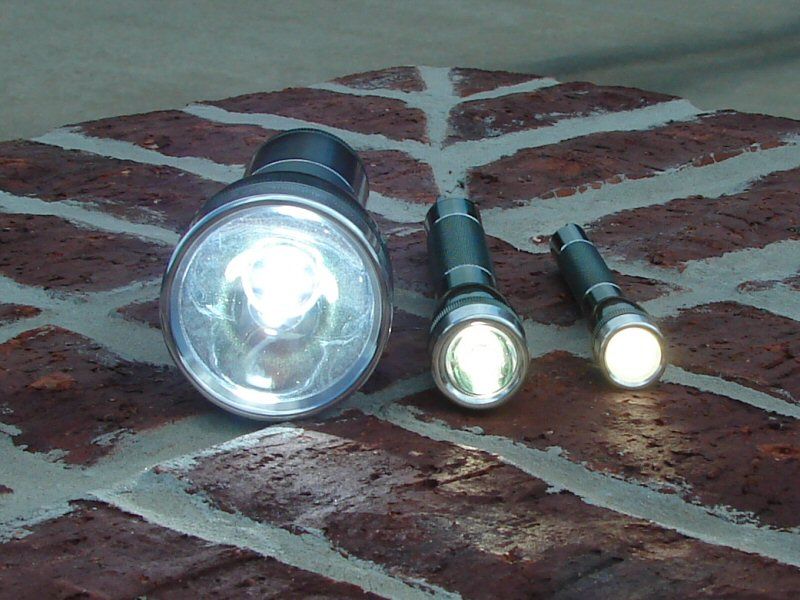
OH, they all work too!
That's all except for the beam shots, when I get home from work, after midnight CST.