Maglite Twins - Build thread. Beam Shots are up

I really wasn't going to bother, since there is nothing really new about a Maglite build, except for the driver, which is new to me and the first I have tried.

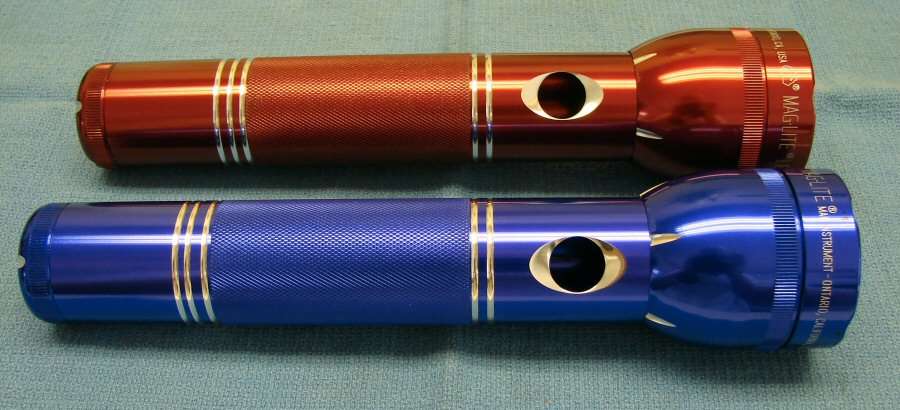
The red one is a 2D LED and the Purple, (which looks blue), is a 2D Incandescent. Both have file work done on them. Nothing really new here.

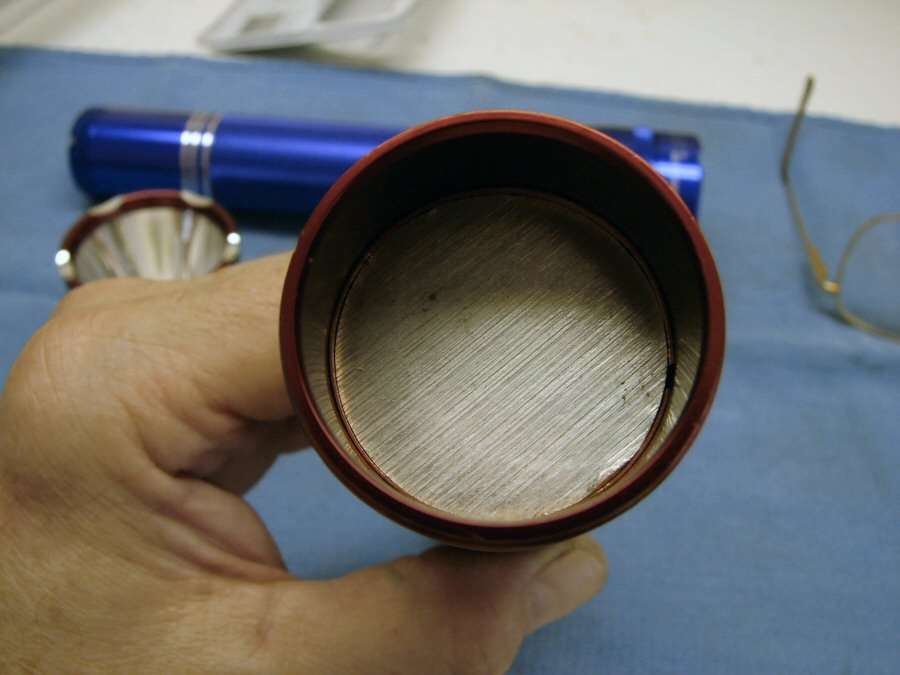
The incan will have a short reflector, that came from CNQG, nothing really new there.

The LED light will have the stock LED reflector, nothing at all new there.

Both of them will have aluminum heat sinks, with a copper wrap, to keep them tight in the body, nothing new there either.

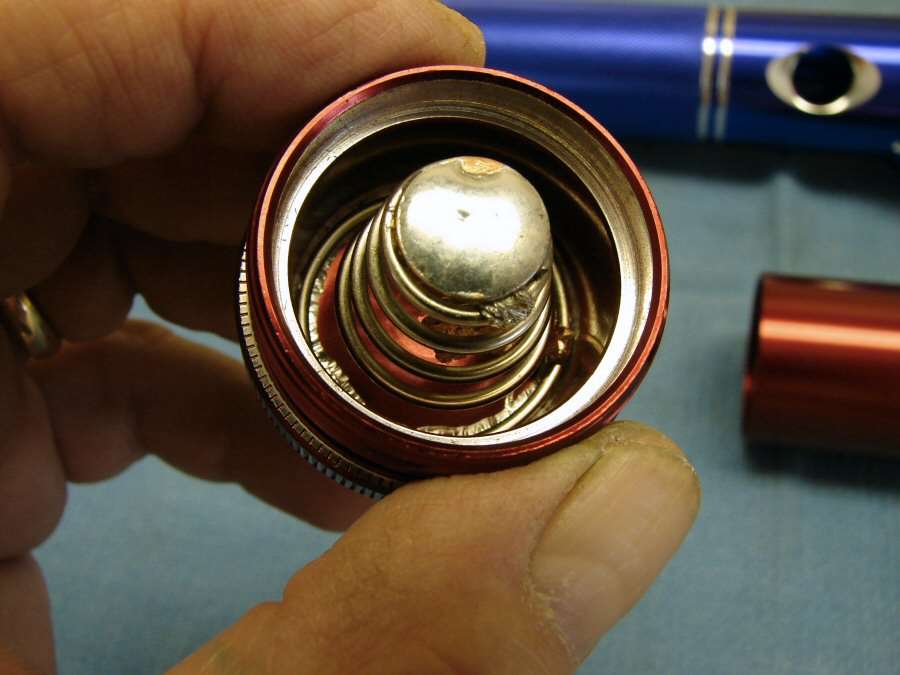
Both of them use C mag springs with copper braid and a top cap of a copper disc, so I can get 2x26650 or 2x18650 batteries in them. Nothing new.

The stock switch has the guts taken out, so I can run the positive straight through and use a momentary in place, where the stock pushbutton was. Nothing new here.

Well, finally something different. This driver board was designed by Mattaus, so I could use a linear driver that fit in Maglites and I could use it based on the NANJG drivers, but I can go up to 9 amps, (or more if you stack) and I can do either normal leds like the XM-L2 or I can do MT-G2, by just using a zener diode and 200 ohm resistor. It's fairly versatile. At least I think so.

That's all I really wanted to show you guys. I thought you might be interested in a driver that fits in the Maglite D tube and can be used with 3.--V or 6V leds. Of course, it needs an MCU with a good program and that's where DrJones comes in. He burned his lumodrv program onto some ATiny13a MCUs for me and I used them on these drivers. RMM provided the other resistors and diodes and Fasttech was the source of the 7135 chips.

These first boards are using 0603 components, but future boards will have the 0805 pads. I intend to make nothing but Maglites from now on, unless the weather changes. So, I wanted a driver that was easy for me and something that was adaptable to XP-L, XM-L2, MT-G2, even 3-ups and I think this one will work well for me. It can be driven with as many 7135 chips as you want, up to 9 amps. Above 9 amps, you would need to stack chips.

I have added the links, so that you can find out the info you need and you might want to try some of these boards too.

Mouse Out/Mouse Over I set these up with mouse overs, so you can look at any differences between the shallow reflector and the deep reflector. ALL of them will have the Shallow CNQG reflector as Mouse Out and the Mag LED reflector on Mouse OVER.

Shallow seems to be a smaller spot, but it isn't. Looks are deceiving. The shallow reflector has a much wider spill, so overall, there is less light around the spot. The deep reflector has a much smaller spill, so more light is concentrated, not only in the spot, but right around the spot, making it seem to be bigger. The next photos will explain better.

This one shows much better, what I am trying to explain. The shallow reflector seems like it has little spill, but it's because it is spread way out, where as the deep reflector has a brighter spill, only because the spill ring is smaller, thus making the light brighter.

Looking nice OL, subbed :bigsmile:

Got to say OL I love the look of your maglites.

By far my favourite looking torch it’s a shame maglite cannot sell a torch as good as yours

Nice board. But would you not need a 1S2P battery carrier for the batteries in case you are driving a xm-l2 or similar 3 volt led?

Kinda sounds like that is not necessary from your description but I just don't see anything that bucks the voltage down..

Sorry if this is a dumb question. I may not be entirely... myself right now.

Usually, I would do a 1D for those, that only held one cell. Just about not enough room for the holder, to make it into parallel, due to length constraints.

Where do you get your copper wrap from? Is it foil/tape/other? Thanks!

Copper sheet .012" from etsy or other sources.

This driver is not tested yet. I will be testing it in a day or so.

If you are going to be selling one or both of these then my wallet might hate you :wink:

Ive wanted one of your mag builds for a while now but nwver had the cash or timing to buy one. Fingers crossed these dont go as fast as your others, if not next time. Awesome looking as always

Maybe nothing new, but I like them a lot anyway! :slight_smile:
Maglites were those flashlights I wanted all my childhood trough but never could afford. (There were and still are rather expensive over here.)
Seeing one or taking one in the hand still brings a smile on my face. I even bought a couple in a sale so good that I couldn’t resist any longer and am happy for any modification inspiration I can ‘borrow’. :stuck_out_tongue:
Beautiful work! :slight_smile:

Not much left to say. everything is wired up and it all works, so it's just a matter of sliding it all in and it's ready to go. I used 18ga wire. I drilled for a set screw through the body and into the heat sink. I added a ground screw on the heat sink and I am using both the stock ground in the switch and the one on the heat sink. The MT-G2 leds are screwed down to the heat sinks.

Beam shots tomorrow night.

Unless I missed it are you happy with the driver? It looks like a work of art.

OL 0805 components will fit on 0603 pads, the pads don’t stick out as far as 0805 pads, they are classified as 0805 (high density) pads

Either way…INCREDIBLE build man…beautiful…you are an artist!

Yes, I am very happy with it.

Having Mattaus design a board specifically for the Maglite D was the ultimate fine detail touch for Maglite builds. Up to 9 amps, or more with whatever program you want on the MCU, fitting inside the tube and not even taking up 5mm of stack height has been my dream for a while now.

Having the DrJones lumodrv program in the Maglites I am doing is just the icing on the cake.

Looks like a fancy little gem. Thanks for sharing!

Which reflector from CNQG did you get for the incan maglite?

You going to be selling these ornadding thrm to your collection (wink wink)

nice build OL, would u happen to have a parts list to that driver ?

The shallow reflector is here and a deep one is here. Neither one “fits”. They have to be engineered into the head. There is no after-market reflector that does fit correctly. Well, there is a plastic one, but the quality of it is poor at best. There is also no three up that fits correctly either. All of them take some modifying with a dremel or drill press, or lathe, to fit.

The parts are the ones that are used on a NANJG driver and the zener is listed at RMM’s place. The other resistor is 200 ohm, to replace the normal diode. I will try to make up a list. 0805 components are just a little larger and easier to handle, than 0603.

EDIT: Here's a link to a cart with the parts. http://www.digikey.com/short/1q195

C1 is the Capacitor

R1 is a 19.1k resistor

R2 is a 4.7k resistor

R3 is for the 200 ohm resistor, but if you do not want to do the zener mod, then just put the Schottky Diode there

Z1 is for the zener diode, if you want to do MT-G2, otherwise leave it blank

I get the 7135 chips from Fasttech, because of the price and Digikey does not stock them.

I will tell you, you might ask someone more knowledgeable about the components. I cannot say that what I have in the cart is the best ones to get, so back yp what I show, by talking to one of the other members here, to make sure, or to find better ones.