Hello,
I need some music to complete this mod...
So...
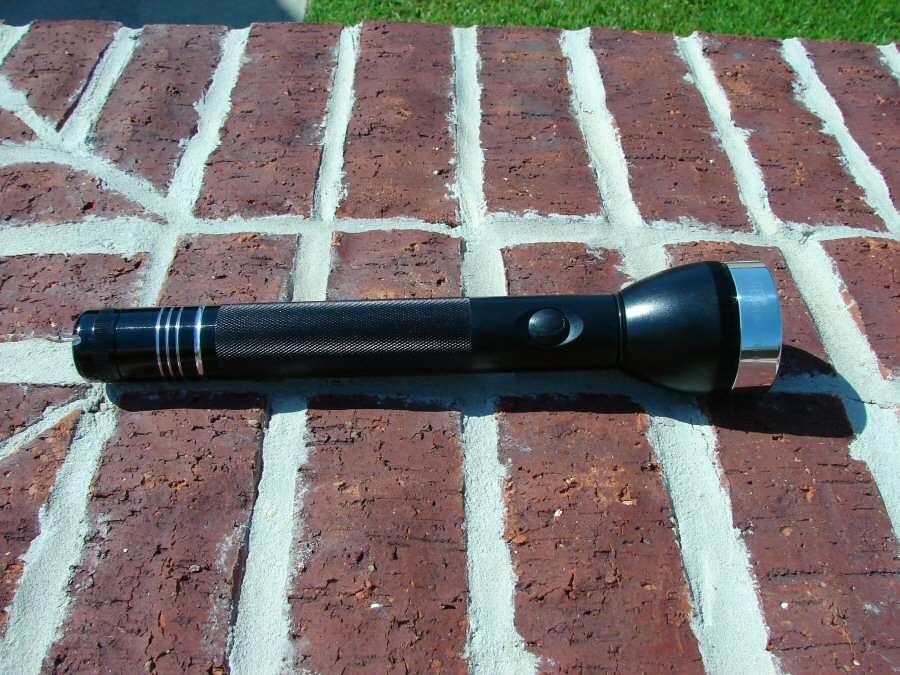
It's a 2C 3C, my apologies. I ordered a 2C and I got a 3C, but I never checked till I actually put the batteries in today. It's a 3C Maglite and I'm putting an MT-G2 led in it with a DrJones ramping driver, using comfychair's mod (Thanks cc), to make a NANJG driver work with higher voltages. I am using two 18650 Li-ion cells and well,... hell, just go look at the derned photos.
 This is one that I've had sitting around for a long time, never completed and I figured I would clean up all the leftovers around here. Spring cleaning in the fall.
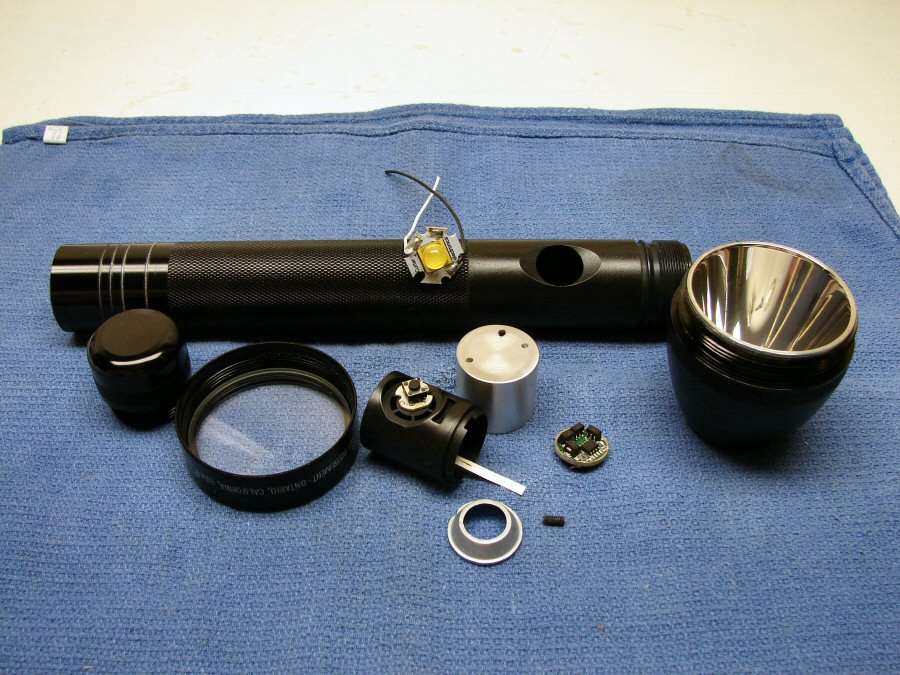
2C Mag, MT-G2 led, "O-L ring", polished reflector, 7135 driver, momentary switch, glass lens and the Heat sink was made by Texas Lumens (Thanks Dan!!).
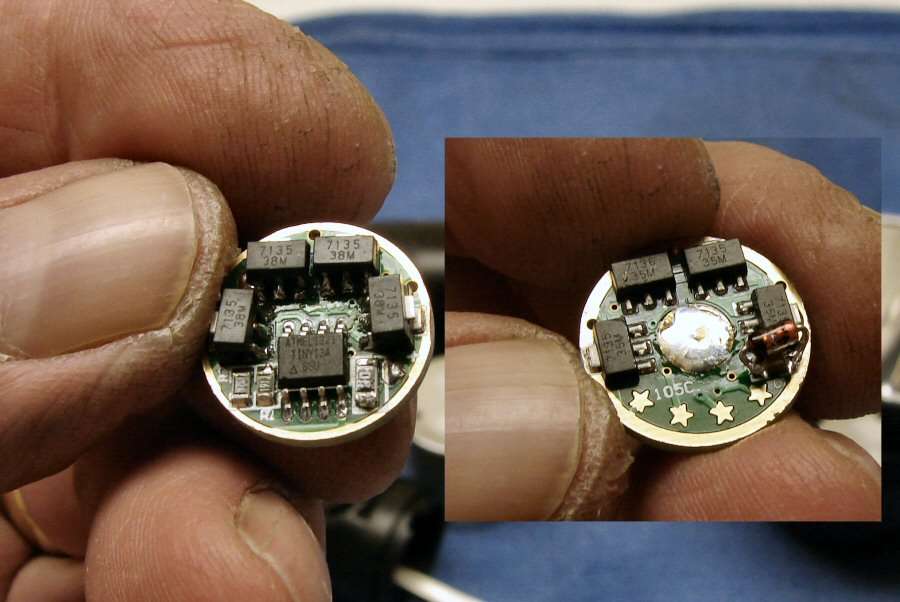
The photo of this modified driver is not the one I actually ended up using. I thought it was a DrJones driver, but it wasn't, so I had to do another one. The one I am using in the light involves a zener diode and 200 ohm resistor, don't ask me, I had to PM comfychair and he had to hold my hand through the whole process. It is beyond me, I just followed instructions. I also added six extra 7135 chips to the driver. No, it won't produce the full amperage, but it will get to at least 4 amps and that's enough for me.
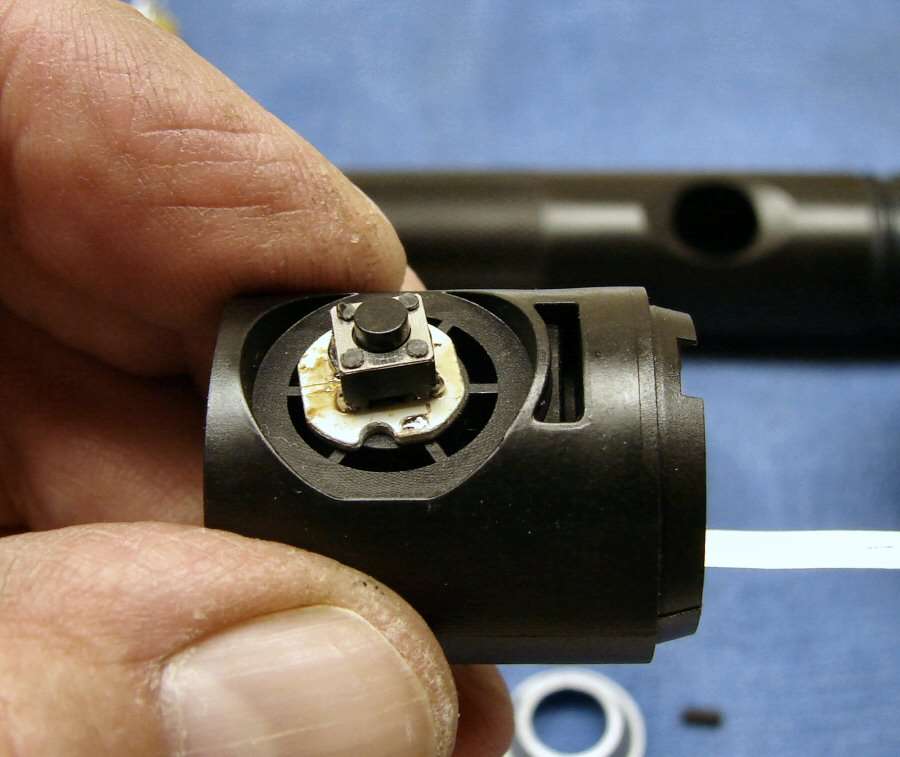
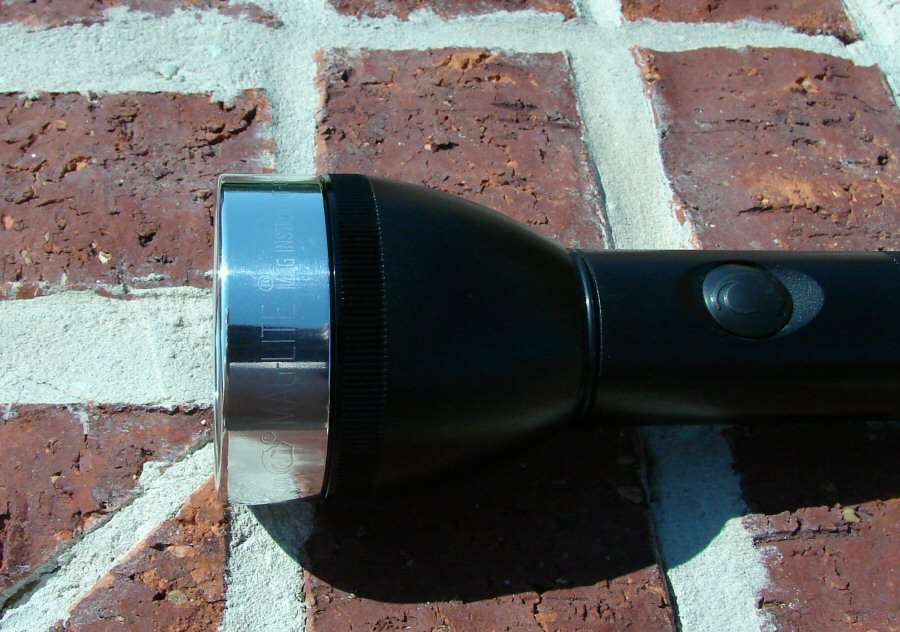
I will be fitting this momentary switch into the stock switch housing. Just a little dremel action should do the trick.
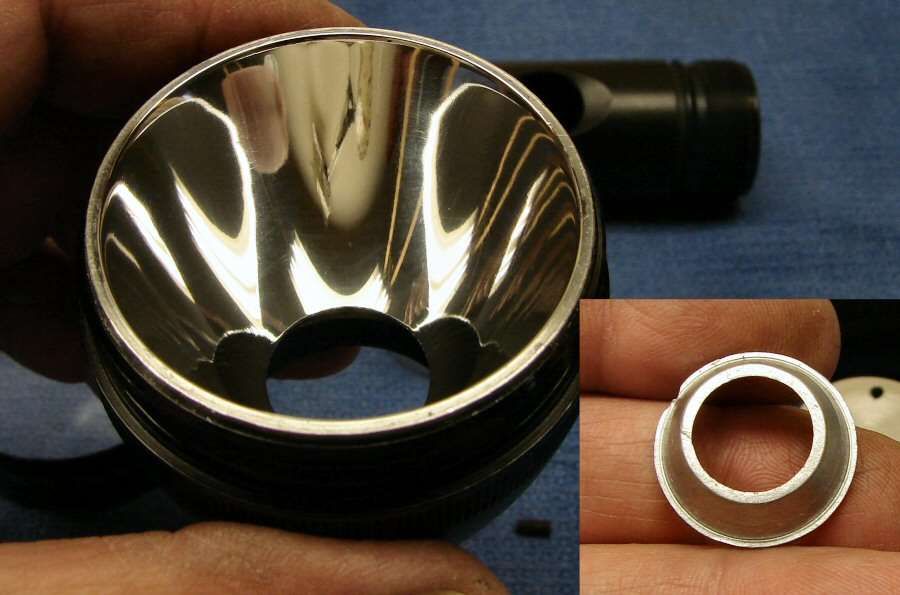
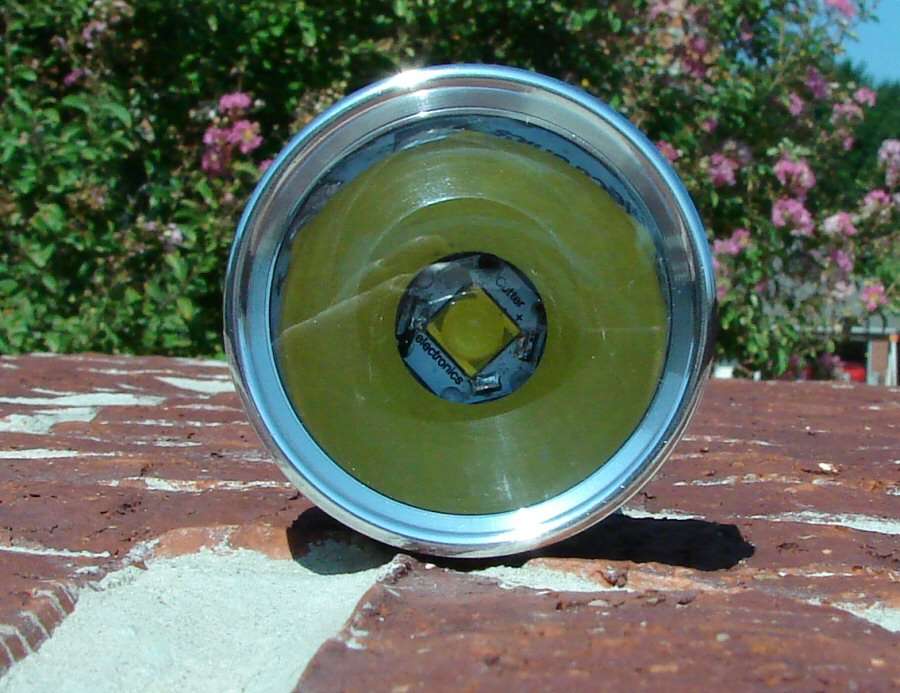
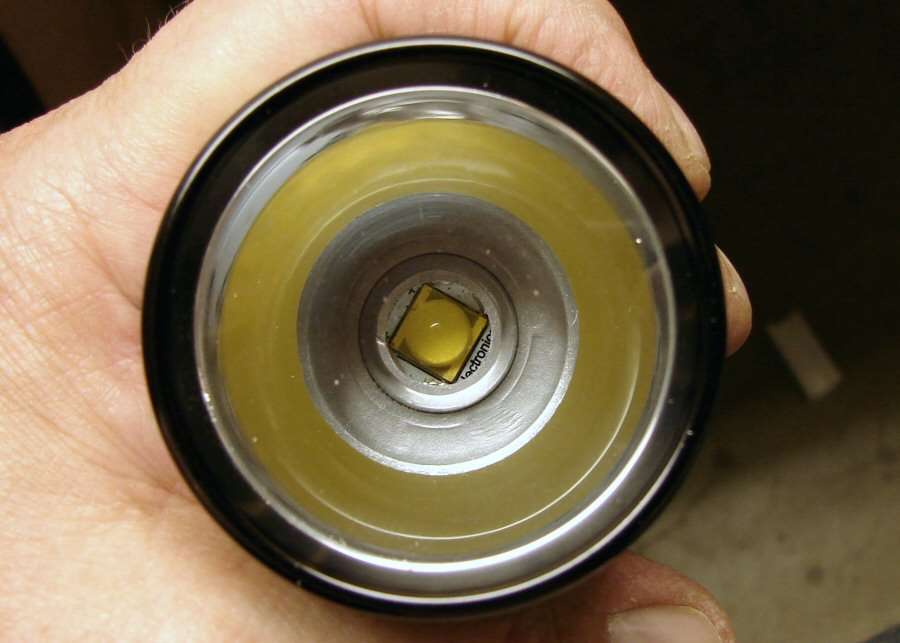
The reflector and ring are what I did the testing with a while back and I have hand polished the reflector. It was one that I ruined many moons ago and I decided to salvage it if possible.
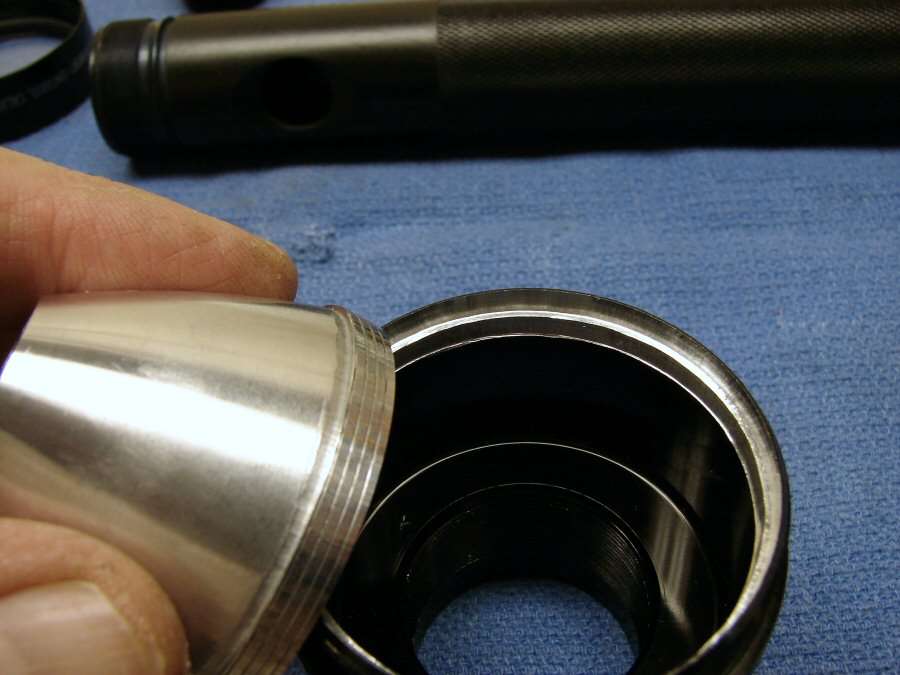
I used a dremel cutter bit and the drill press to open up the head of the Maglite and to cut down the reflector major OD so it would all fit tightly together.

The heat sink is courtesy of Texas Lumens. He did a real good job with it and even made a threaded hole for an allen set screw.
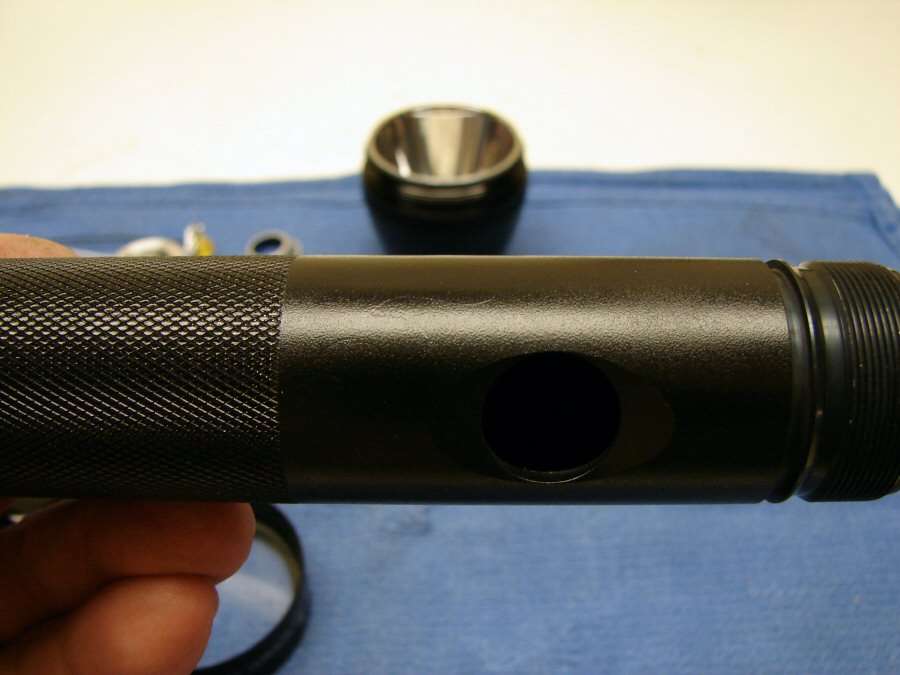
I was going to make this another "Flame light" and I bought some 3m film that is supposed to be for masking in plating operations. It didn't work well at all and in a few minutes, the de-anodizing solution got under the tape. Now you can see the outline of the flames. The paint is VHT caliper paint and it's baked on.

I painted the head too.
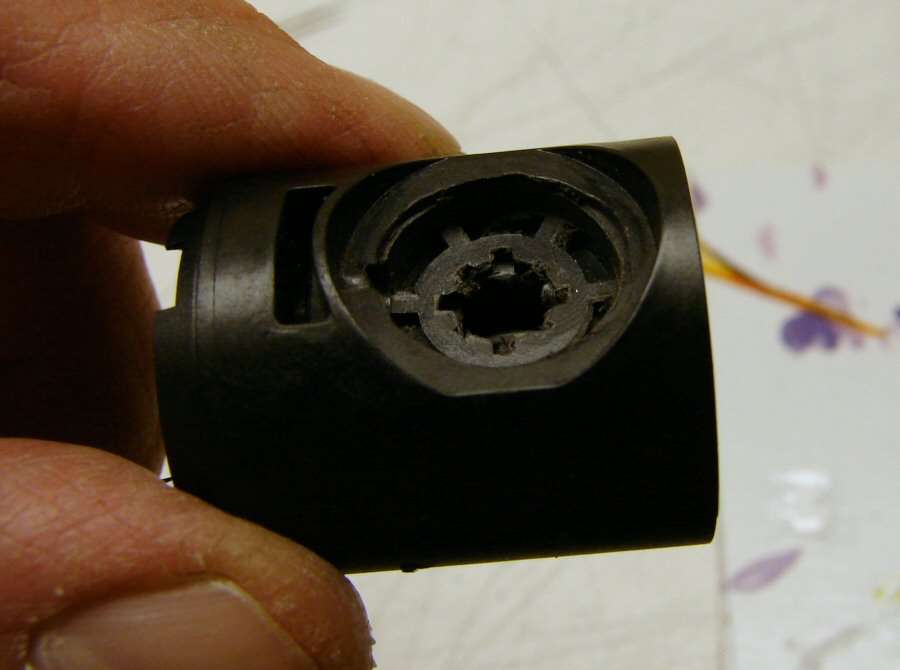
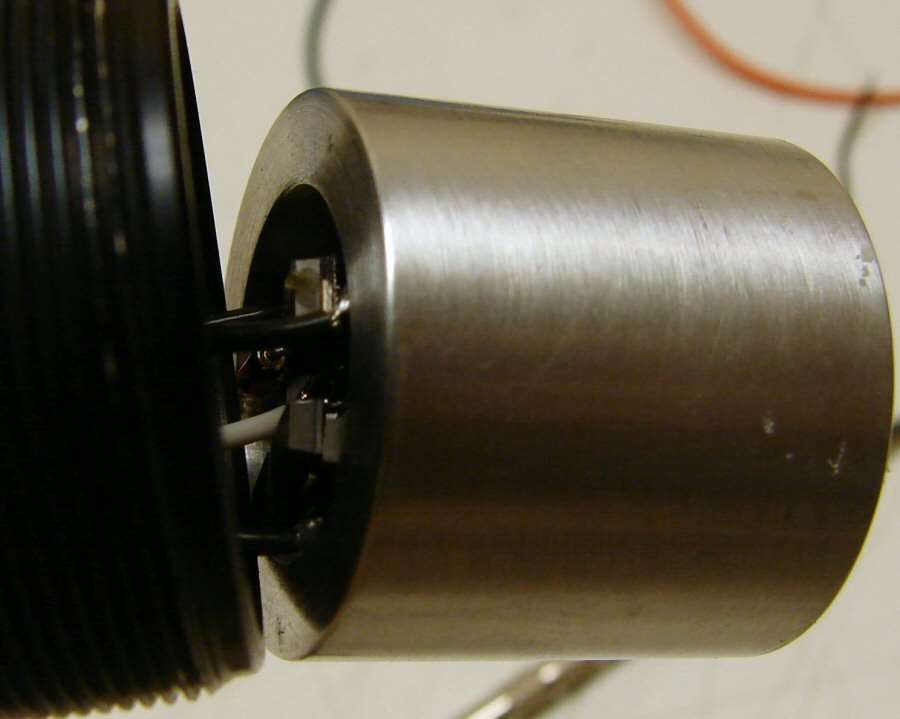
The switch housing has been opened up so that the new momentary switch will fit in flush.
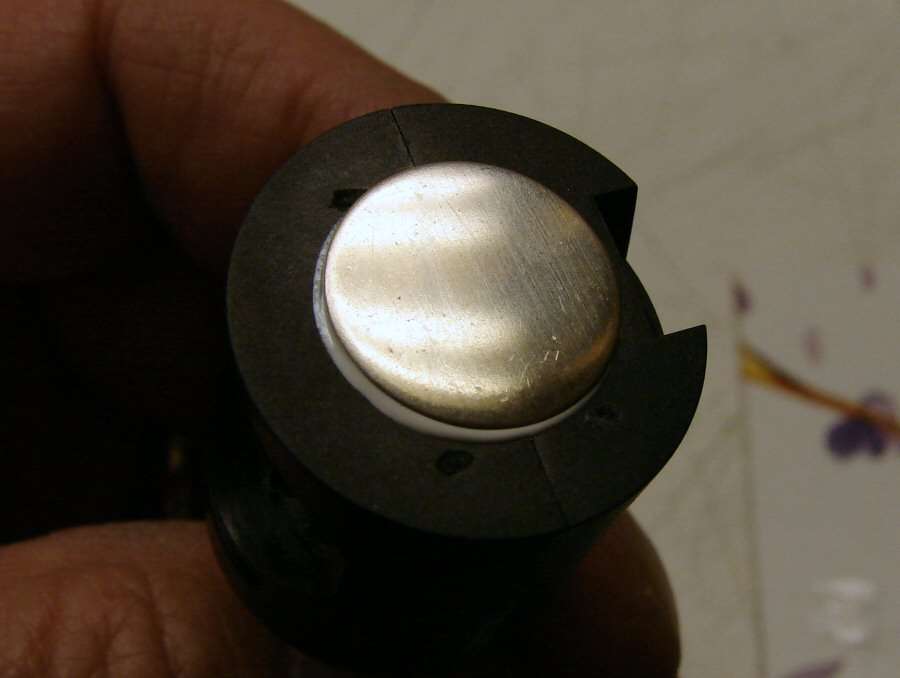
The positive contact for the battery is on the switch housing.
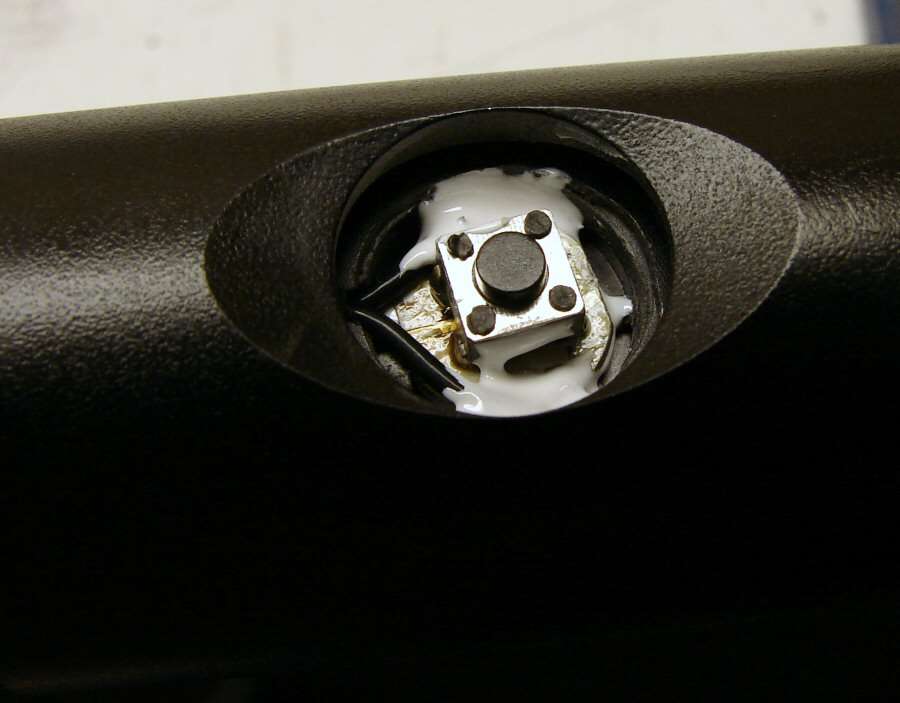
The housing and switch are in place.

Looks like a stock switch to me.
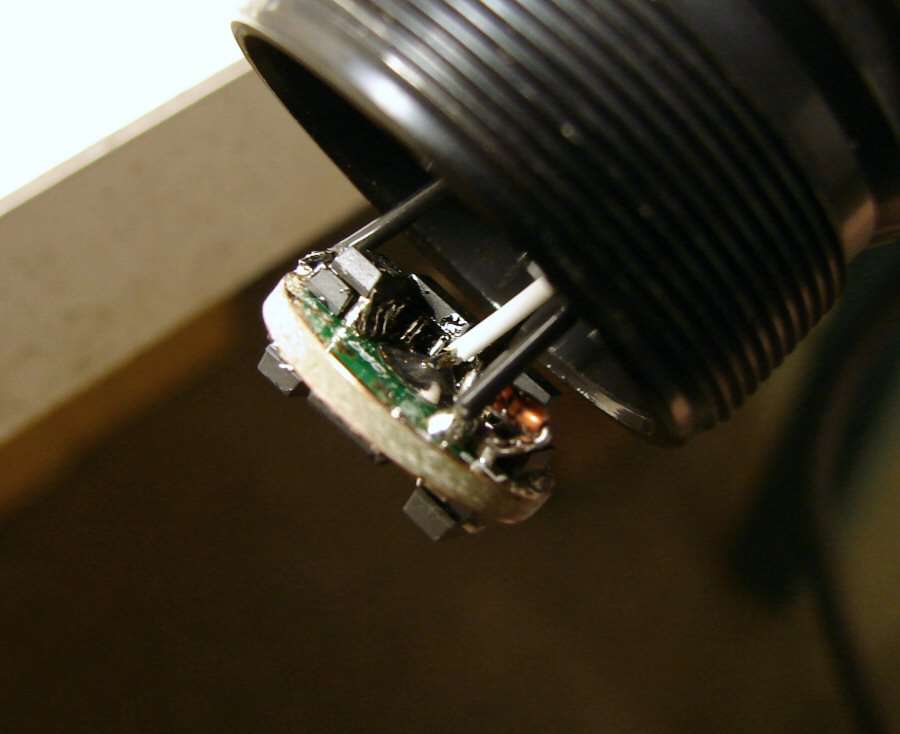
The driver is wired up to the switch and to positive and negative. The stock negative contact in the Mag switch is where I am getting negative for the driver.
The pill is wired to the driver and it's all ready to slide in.
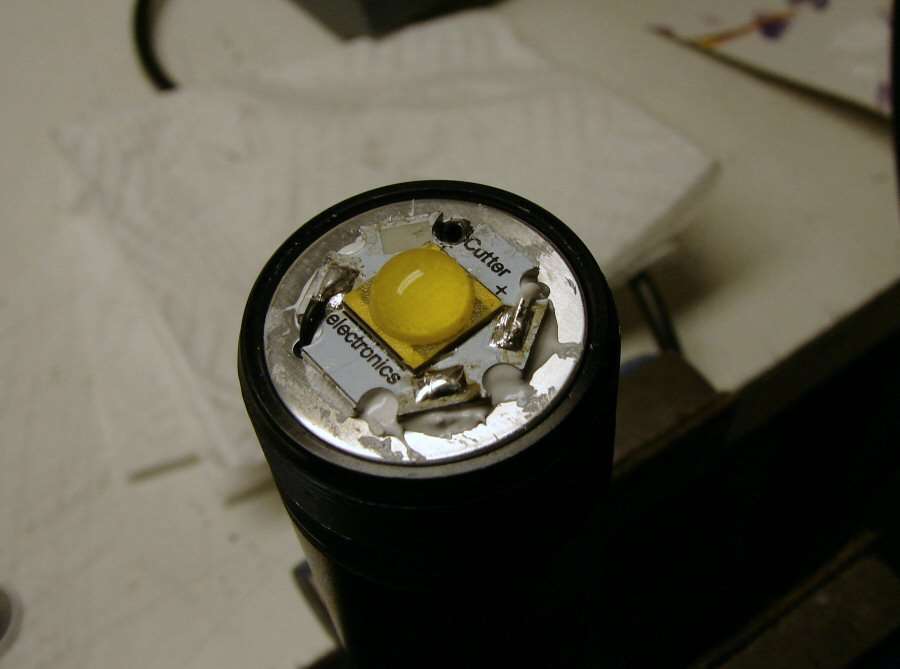
There you go. In place and the set screw is tightened to keep the heat sink from moving.
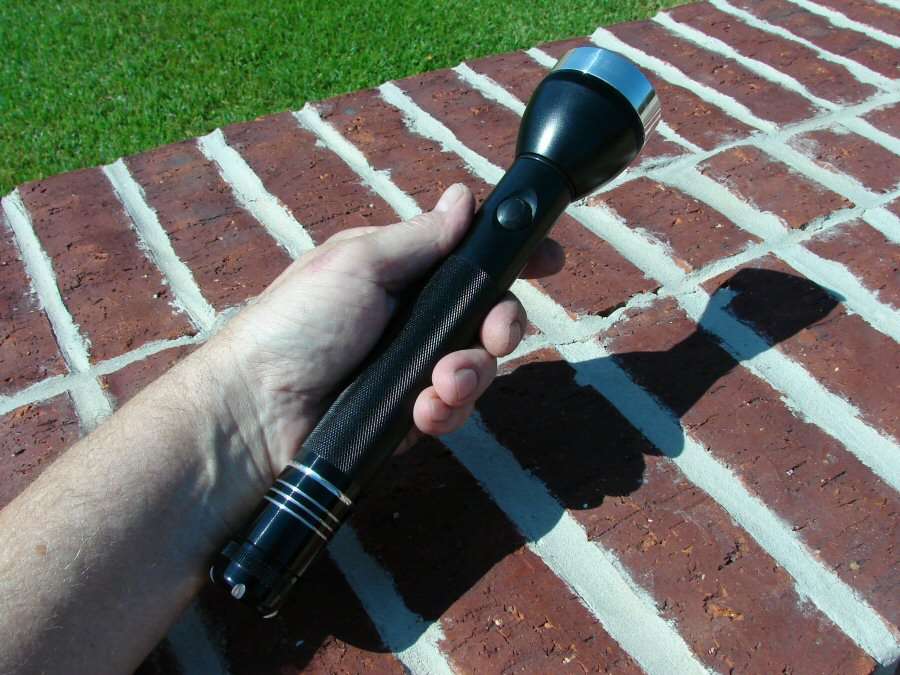
It even works. I am getting a consistent 4.2 amps on high using the 18650 batteries.
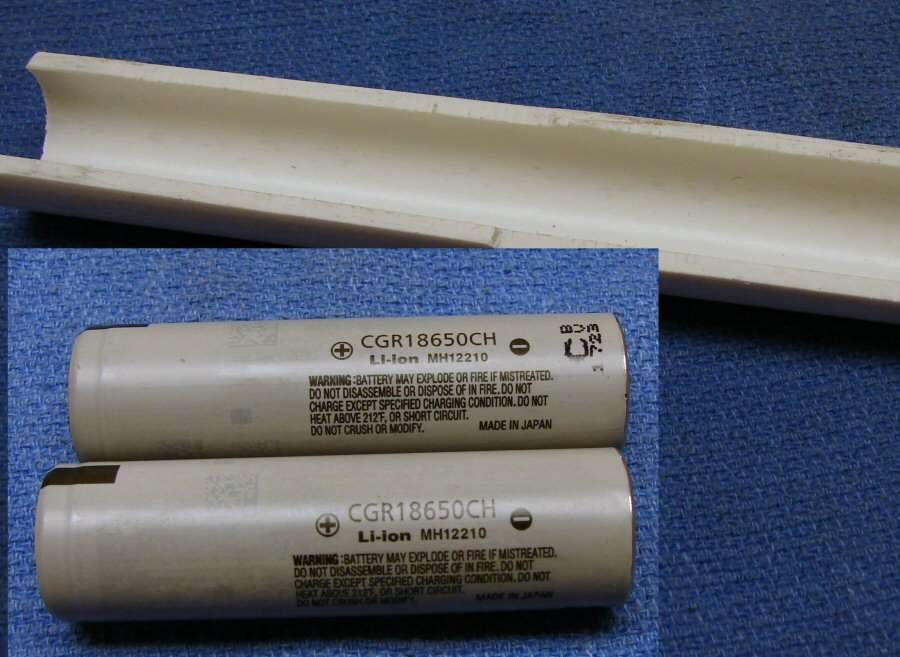
I bought some decent 18650 batteries and this is the temporary holder. I will be making a better sleeve later on, but I gotta try this light out!
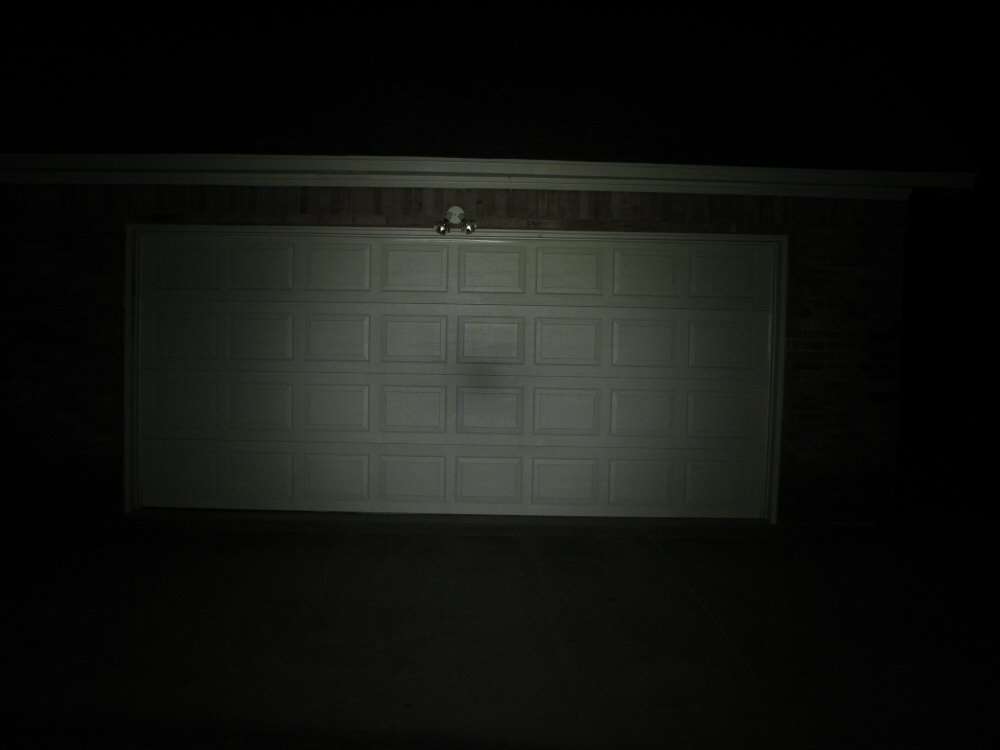
When I turned it on high, the camera shook in fear, LOL. It's a fairly bright light.
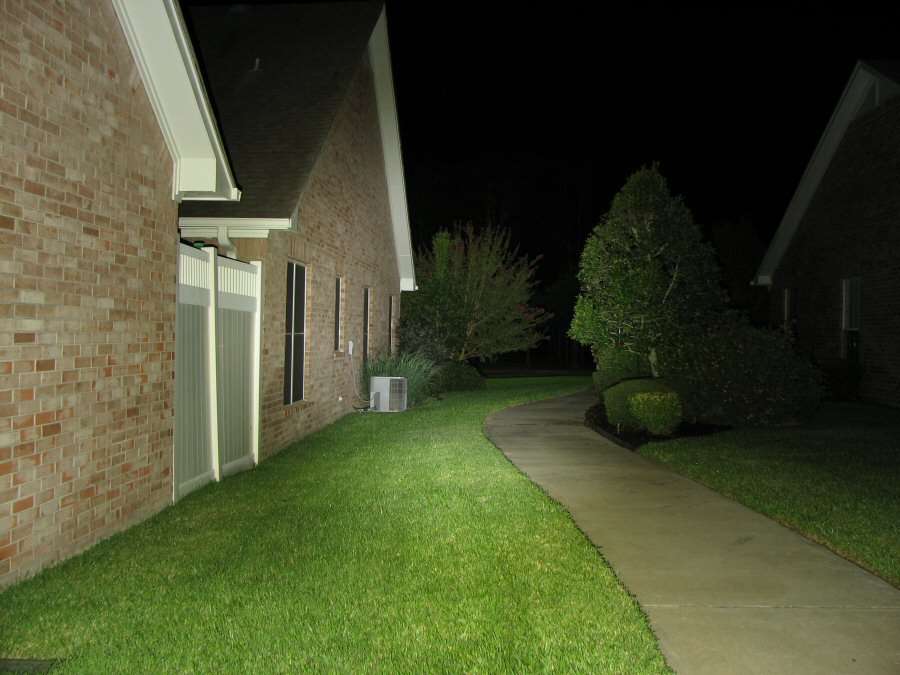
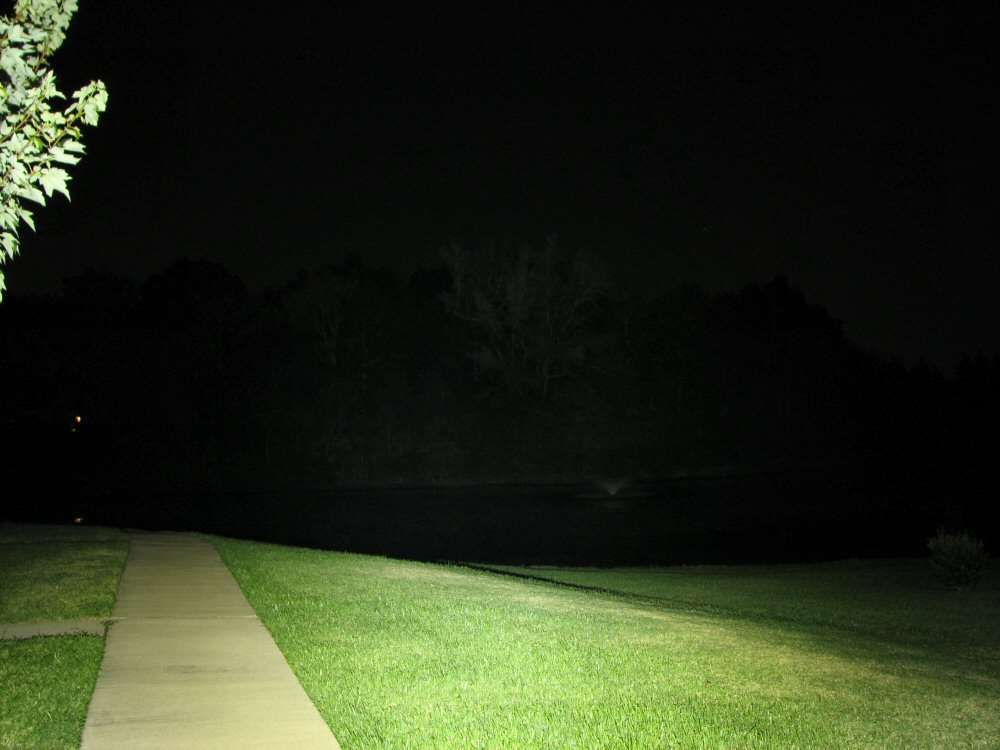
Not much to say, it's a floody light. It won't be a thrower, but I didn't want a thrower. It's a very big hot spot and some spill. A deeper reflector would produce more spill, but this is good enough.
I still have to do some cosmetics before it is done, but it works and that's good enough for now...