I bought a Convoy C8 XP-L HI V2 1A with guppydrv firmware from Mountain Electronics. I also bought a 42mm anti-reflective (AR) coated lens. Swapping out the stock lens with the AR lens was a very simple mod.

Overall the flashlight is a great value. It has great throw and I really liked all the modes (22 total) that came with the guppydrv. But I felt it was a little underpowered compared to the other flashlights I have. My family thought it was pretty cool since it throws really far for such a small flashlight, but it did not have the WOW factor that some of my other flashlights have (such as the Noctigon Meteor M43).
So I got the mod bug again and bought some cool parts from Mountain Electronics:
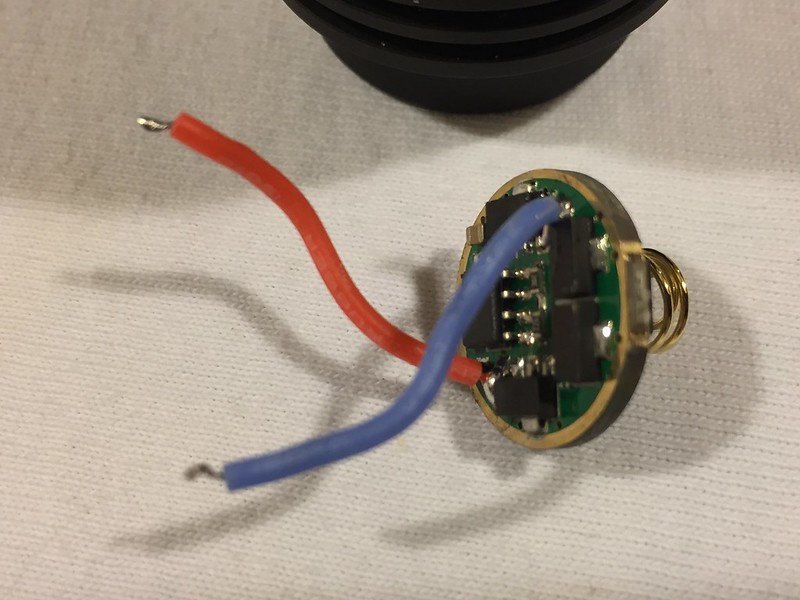
17mm FET + 7135 driver (MTN-17DDm)
- Bistro firmware (attiny25)
- Battery check
- Moonlight mode
- Temperature regulation
- Low voltage cutoff
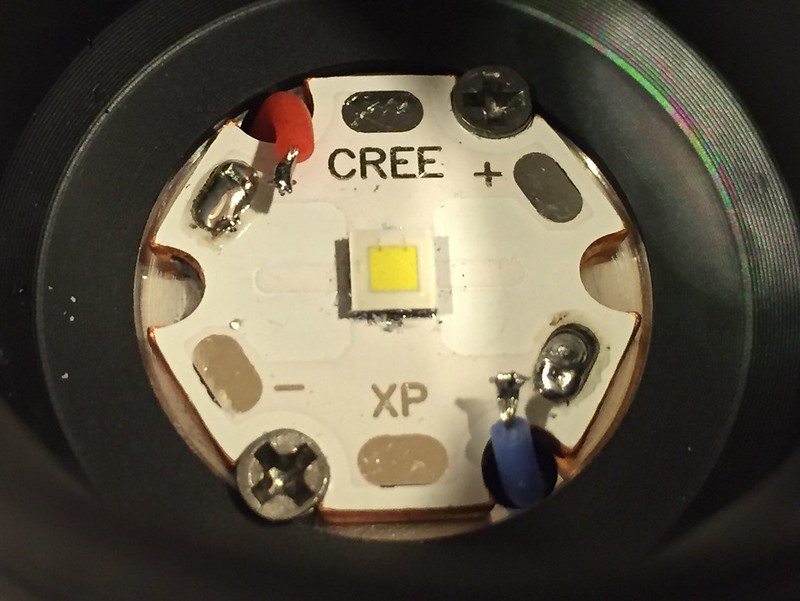
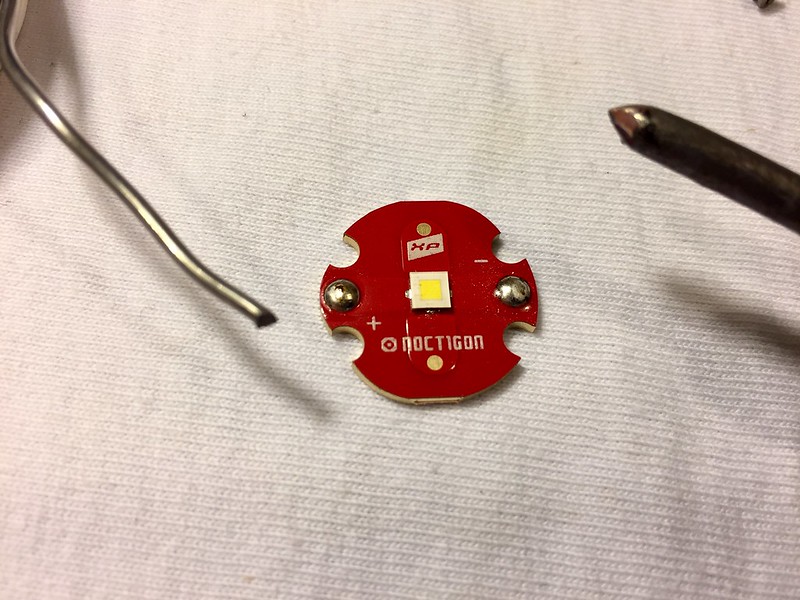
20mm CREE XP-L HI V3 3C on Noctigon (metal core printed circuit board) MCPCB
- Neutral white tint
- Direct thermal path (DTP) LED
22 American Wire Gauge (AWG) silicone wire

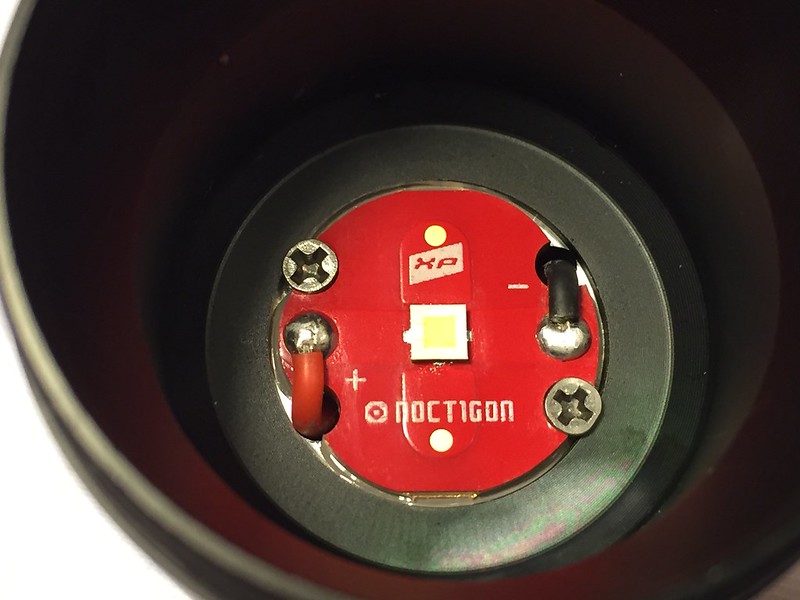
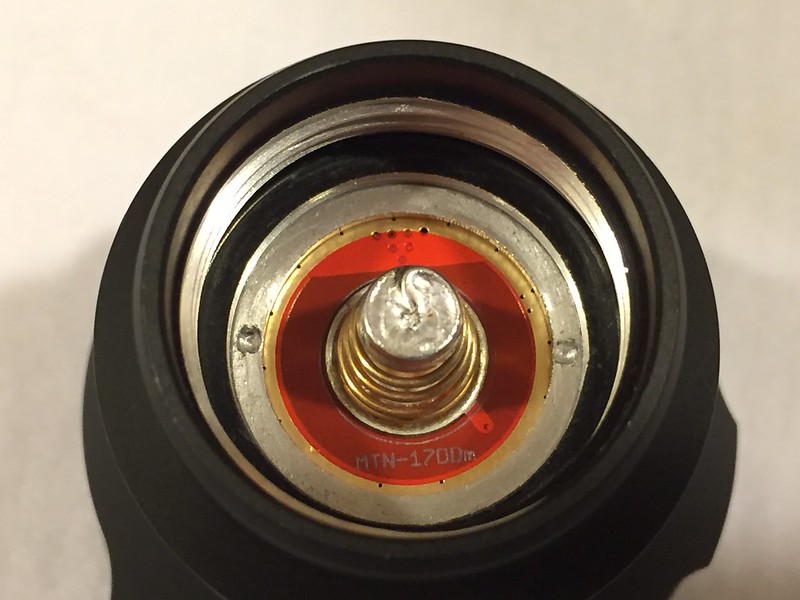
I ordered the 17DDm driver with the spring and wires installed. The positive wire is soldered to the top of the spring and will be connected directly to the LED MCPCB - nice design.
Rationale for these parts – The stock LED does not have a DTP to the MCPCB. With the increased current from the new driver, the LED would heat up too much and eventually fail. An LED with a DTP MCPCB is needed to help dissipate the heat. The tail spring also needs to be bypassed (hence the 22 AWG wire) in order to support the increased current. The spring alone would have too much resistance and not allow the current to get to the driver.
A new switch is not needed since the switch that comes with a Convoy C8 is a quality Omten switch which can handle the increased current.
First, I had to take the flashlight apart. The bezel is easily unscrewed. The driver and tail switch are held in place with retainer rings. I tried with toothpicks and other items to loosen them, but they did not budge. My needle nose pliers was too big to fit into the divots on the retainer rings, so I filed down the ends to make them smaller. Then I was able to use the pliers to loosen them. They were on very, very tight! The driver retainer ring was loosed with the normal counter-clockwise motion, but the tail switch loosened clockwise.


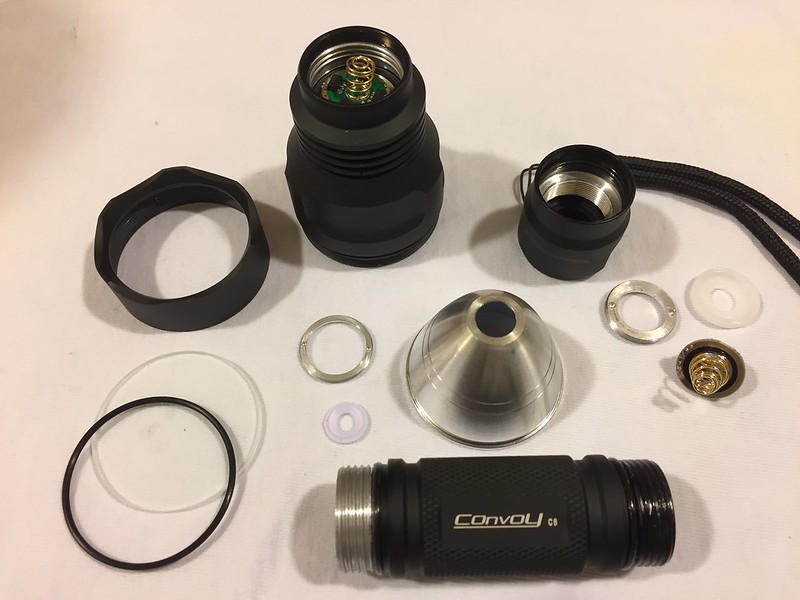
I de-soldered the wires on the LED MCPCB and removed the driver.
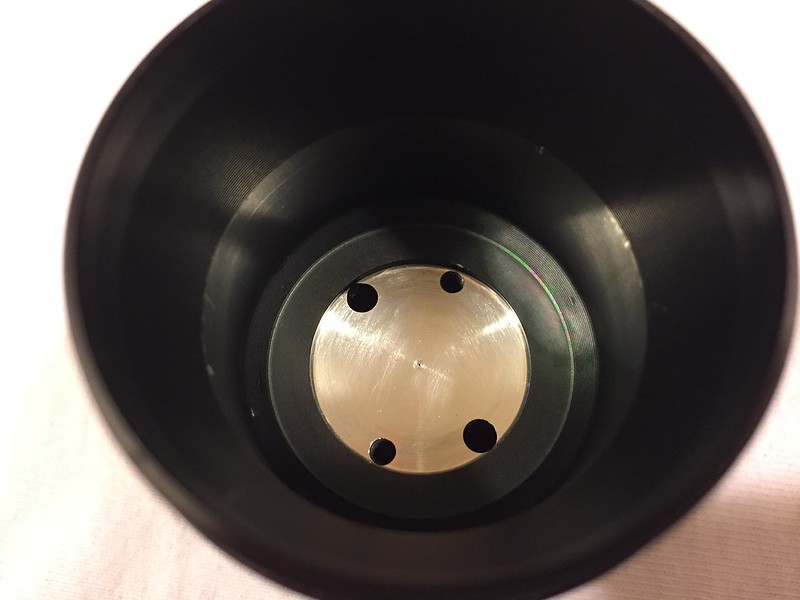
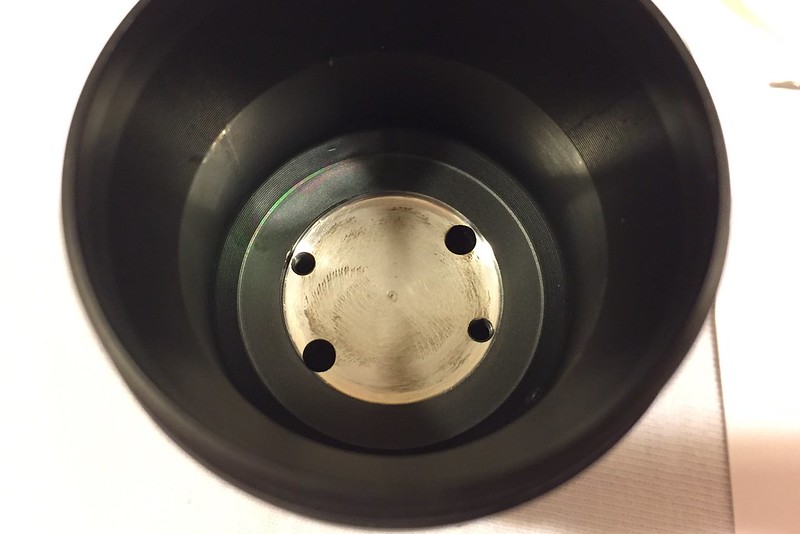
I took out the 2 screws holding the LED MCPCB in place and pulled it out. Then I removed the remaining thermal compound using a cloth and isopropyl alcohol. This Convoy C8 comes with an integrated LED shelf.
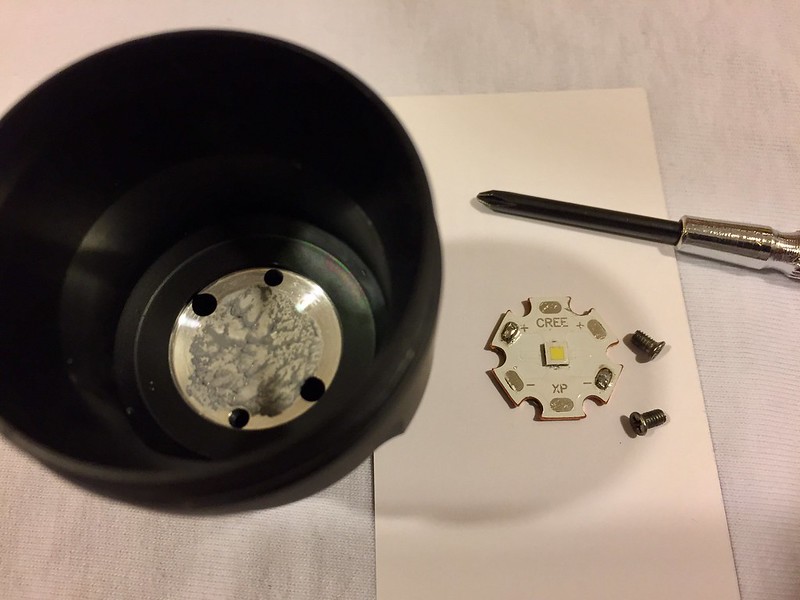
I “tinned” the new LED MCPCB by putting some solder onto the solder pads.
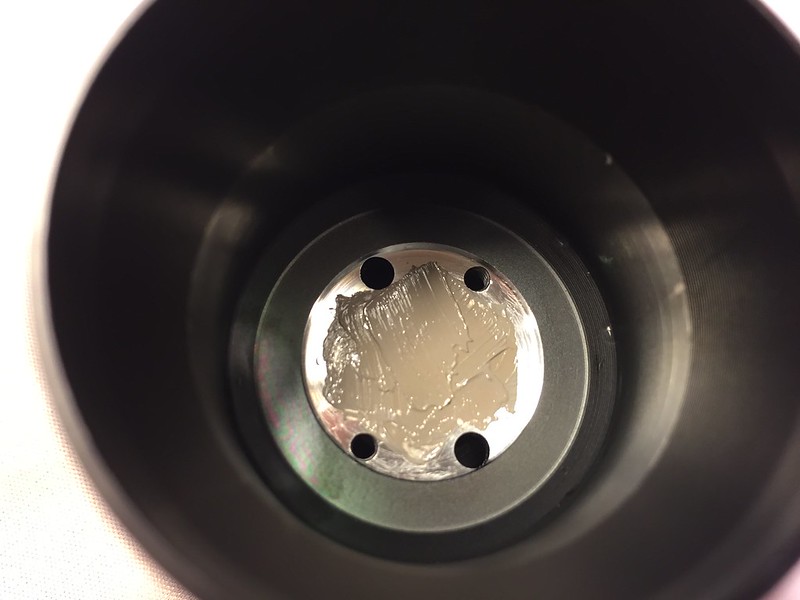
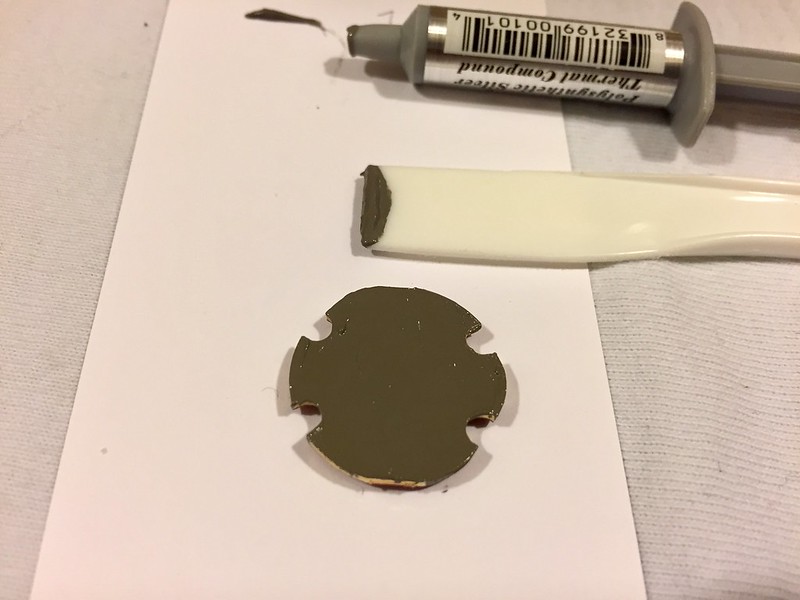
After doing some research on applying thermal compound, I put some thermal compound on the shelf, spread it around with a flat plastic tool, and removed the excess with a lint free cloth. I applied a thin layer of thermal compound on the back of the LED MCPCB with the same plastic tool. I pressed the MCPCB onto the flashlight shelf and slightly twisted it back and forth a couple times. I then screwed the MCPCB securely to the shelf.
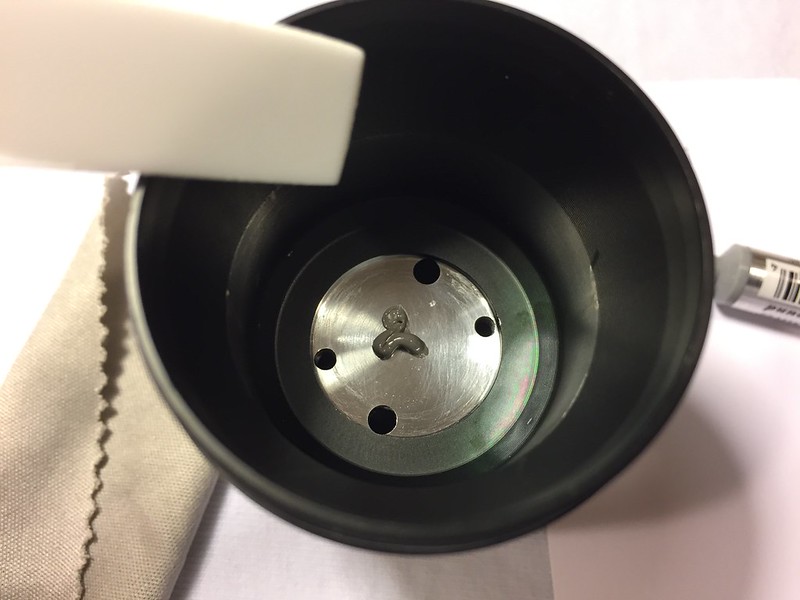
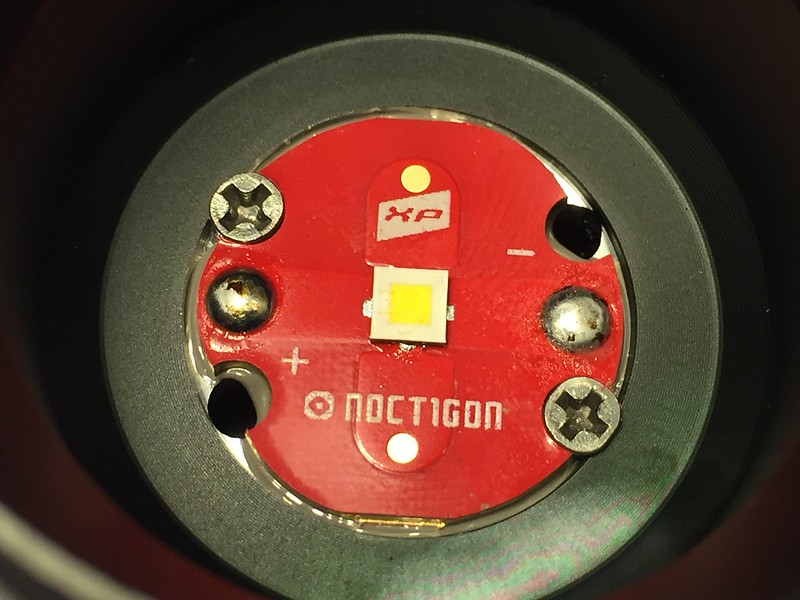
I pushed the driver wires through the holes in the shelf and soldered them to the LED MCPCB. I filed the excess off the sides of the driver PCB in order to fit it into the flashlight head. I rotated the driver a little as I put it back into the flashlight head and screwed the retainer ring back on. Rotating the driver allows the spring wire to more easily flex when the battery is placed into the flashlight.

I put the reflector spacer, reflector, and AR lens back into the flashlight head and tightened the bezel back on.
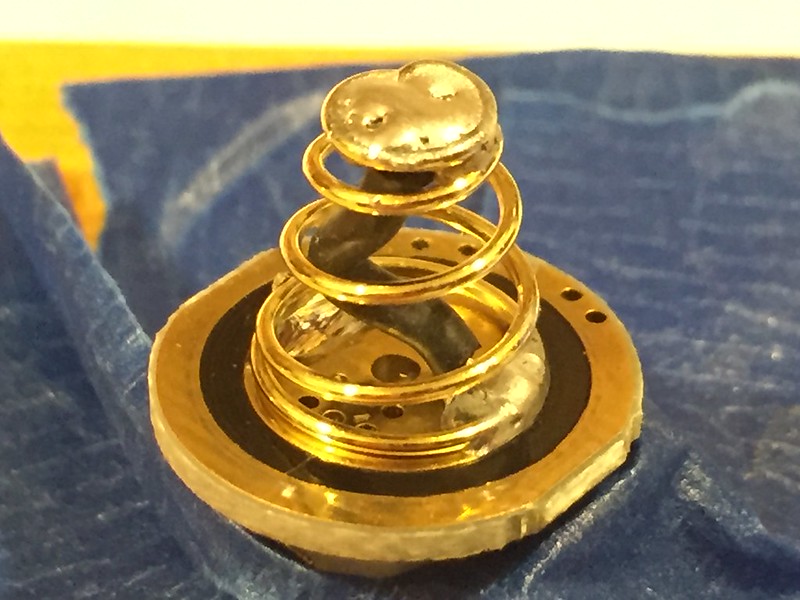
Now to the switch and spring assembly. I cut a small piece of 22 AWG wire, stripped both ends, and soldered 1 end next to the bottom of the spring onto the switch PCB positive contact. Then twisted the wire a little and soldered the other end to the top of the spring. I made sure there was a little extra length in the wire to be able to flex within the spring. I put extra solder on top of the spring to provide good contact with the battery.

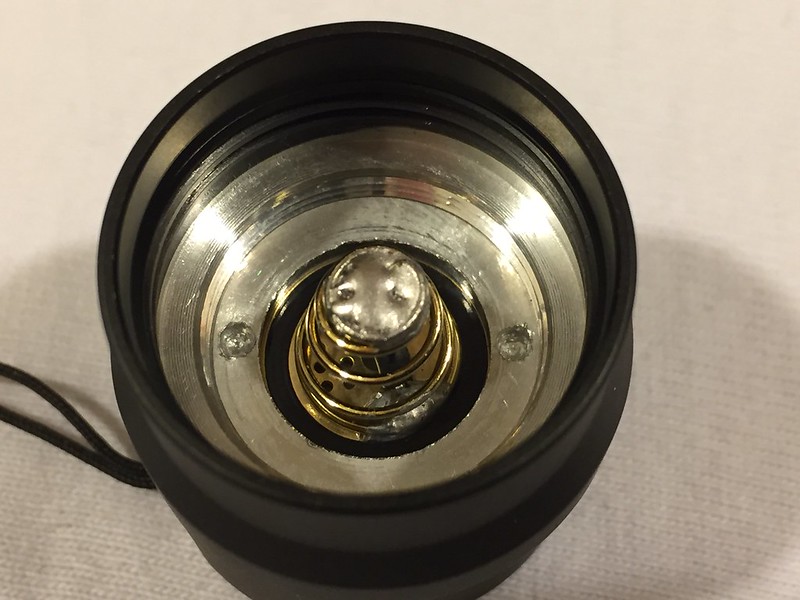
I then put the switch and spring assembly back into the flashlight tail and screwed the retainer ring back on by rotating it counter clockwise.
Overall a pretty straightforward and not that difficult of a mod due to the high quality of the Convoy C8 flashlight.
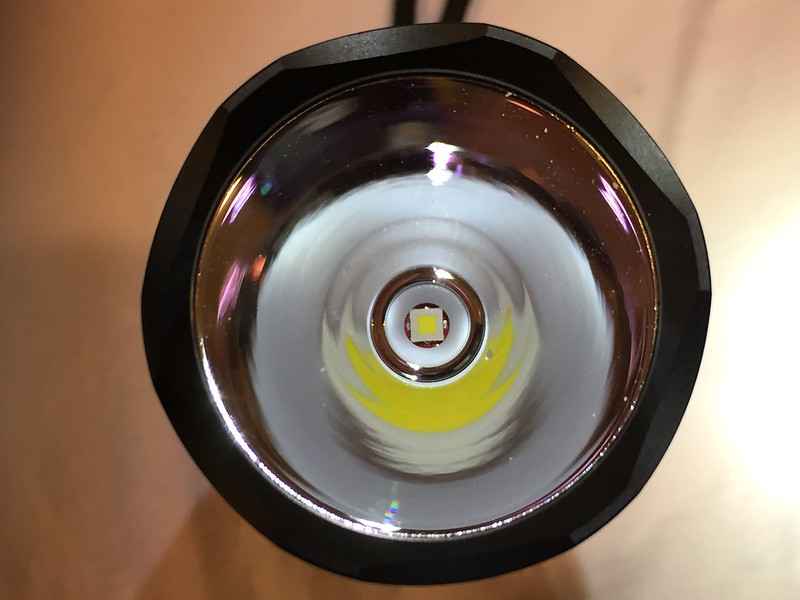
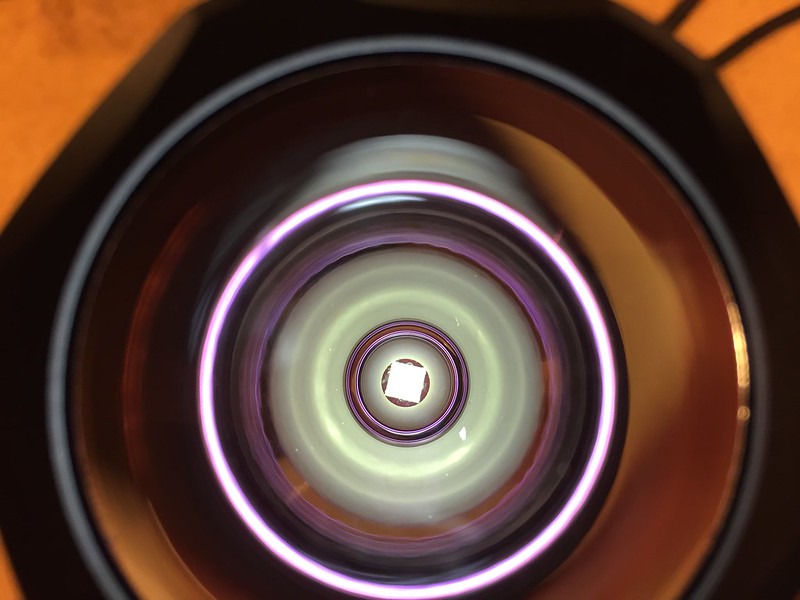
Here is a neat moonlight mode picture.
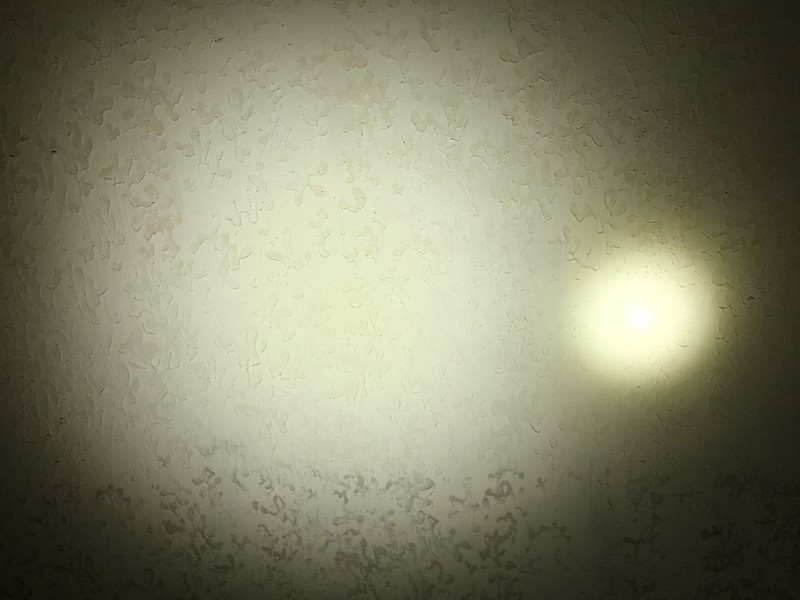
To demonstrate the intensity of the modified Convoy C8, left is the Meteor M43 with Nichia 219C on turbo at 6,000+ lumens, right is the modified C8 creeping into the middle, both at 3 feet.
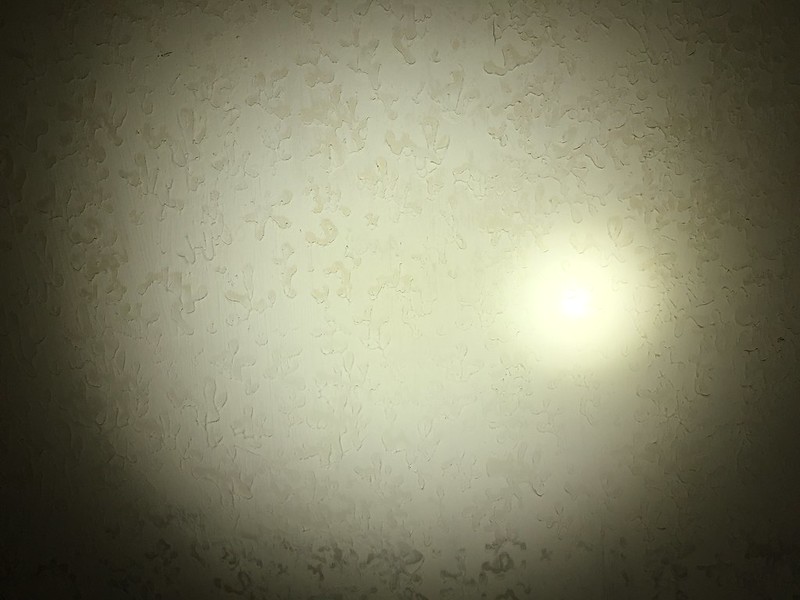
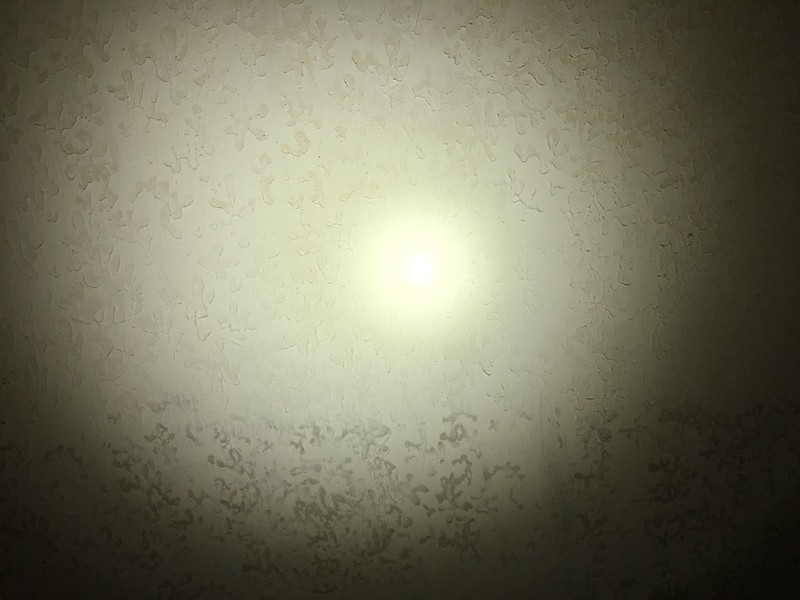
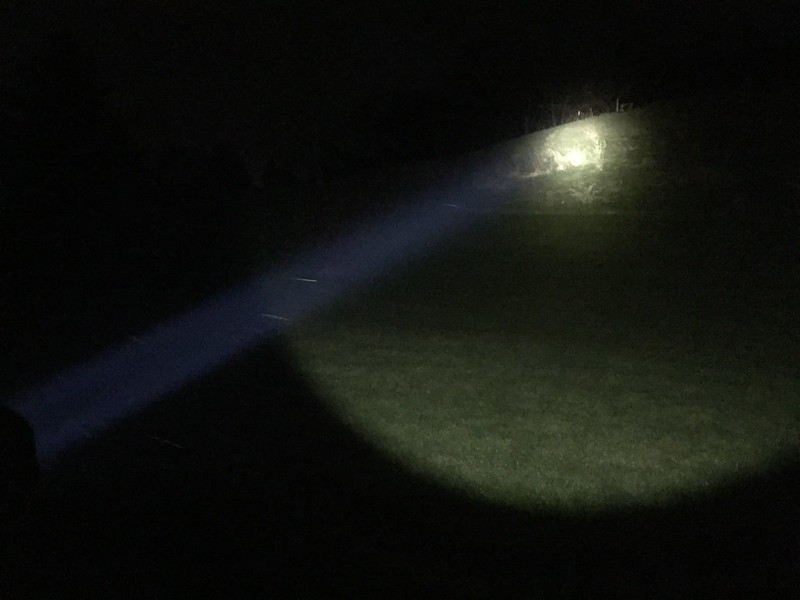
Here are some outside beamshots.

I am very happy with how the flashlight turned out and as my family can attest, it now has the WOW factor.
