ebastlers electronics corner

I figured since I’m doing a lot of electronics projects, many led related, some not, I’d use this thread that started out as a thread for the repair of a single floodlight as a general “I post things” thread for my projects. Moved it to offtopic for that purpose.

You’ll see some electronic repairs, flashlight modding, and completely custom designed electronics in here eventually. Just posting whatever feels like fun.

Hope you’ll like it in here. Cheers!


My uncle bought some big 180W LED floodlights with 3 COB LEDs for his workshop a while ago. Not after long all three broke.

Upon inspection it was pretty clear - it uses one 20-48V 60A constant current supply, and 3 COBs in parallel with a V_f of ~30V, so 60W each. Paralleling LEDs that are not thermally coupled very tightly is already a no-go (although less bad for COBs), but the other issue was - whenever I looked up similar size and V_f COBs, they were 40-50W range, while here they are loaded with 60W. 60W is a best case estimate, it can be more due to manufacturing tolerances that amplify themselves. Hot LEDs have lower V_f, therefore get more current, therefore get hotter… Vicious cycle unless the LEDs are tightly coupled on a single MCPCB.

So I ended up buying “neutral white 75W COB LEDs” from China, without much more specs to go by. I wanted it to be cheap, since I was not sure the PSUs are still okay (no test load to try them properly, idle voltage was ok) and it’s not easy finding LEDs with these specs anyway.

I then forgot about the flooders and left the pack of LEDs in a drawer for some months, until I visited my uncle and noticed the crate full of dead floodlights in a corner. Decided to take them home and get working. Luckily my dad helped, so we were pretty quick with tapping new holes, cutting the “reflectors” larger to accomodate the larger COBs, and solder in new LEDs with a lot of thermal paste.


On this pic you can see the new LED, next to one of the old ones - note the size difference in active surface (spacing and size of chips inside the active surface is pretty much the same, can’t see on the pic).

Plugged it in and - to my surprise - no magic smoke! Man, those things are ridiculously bright.


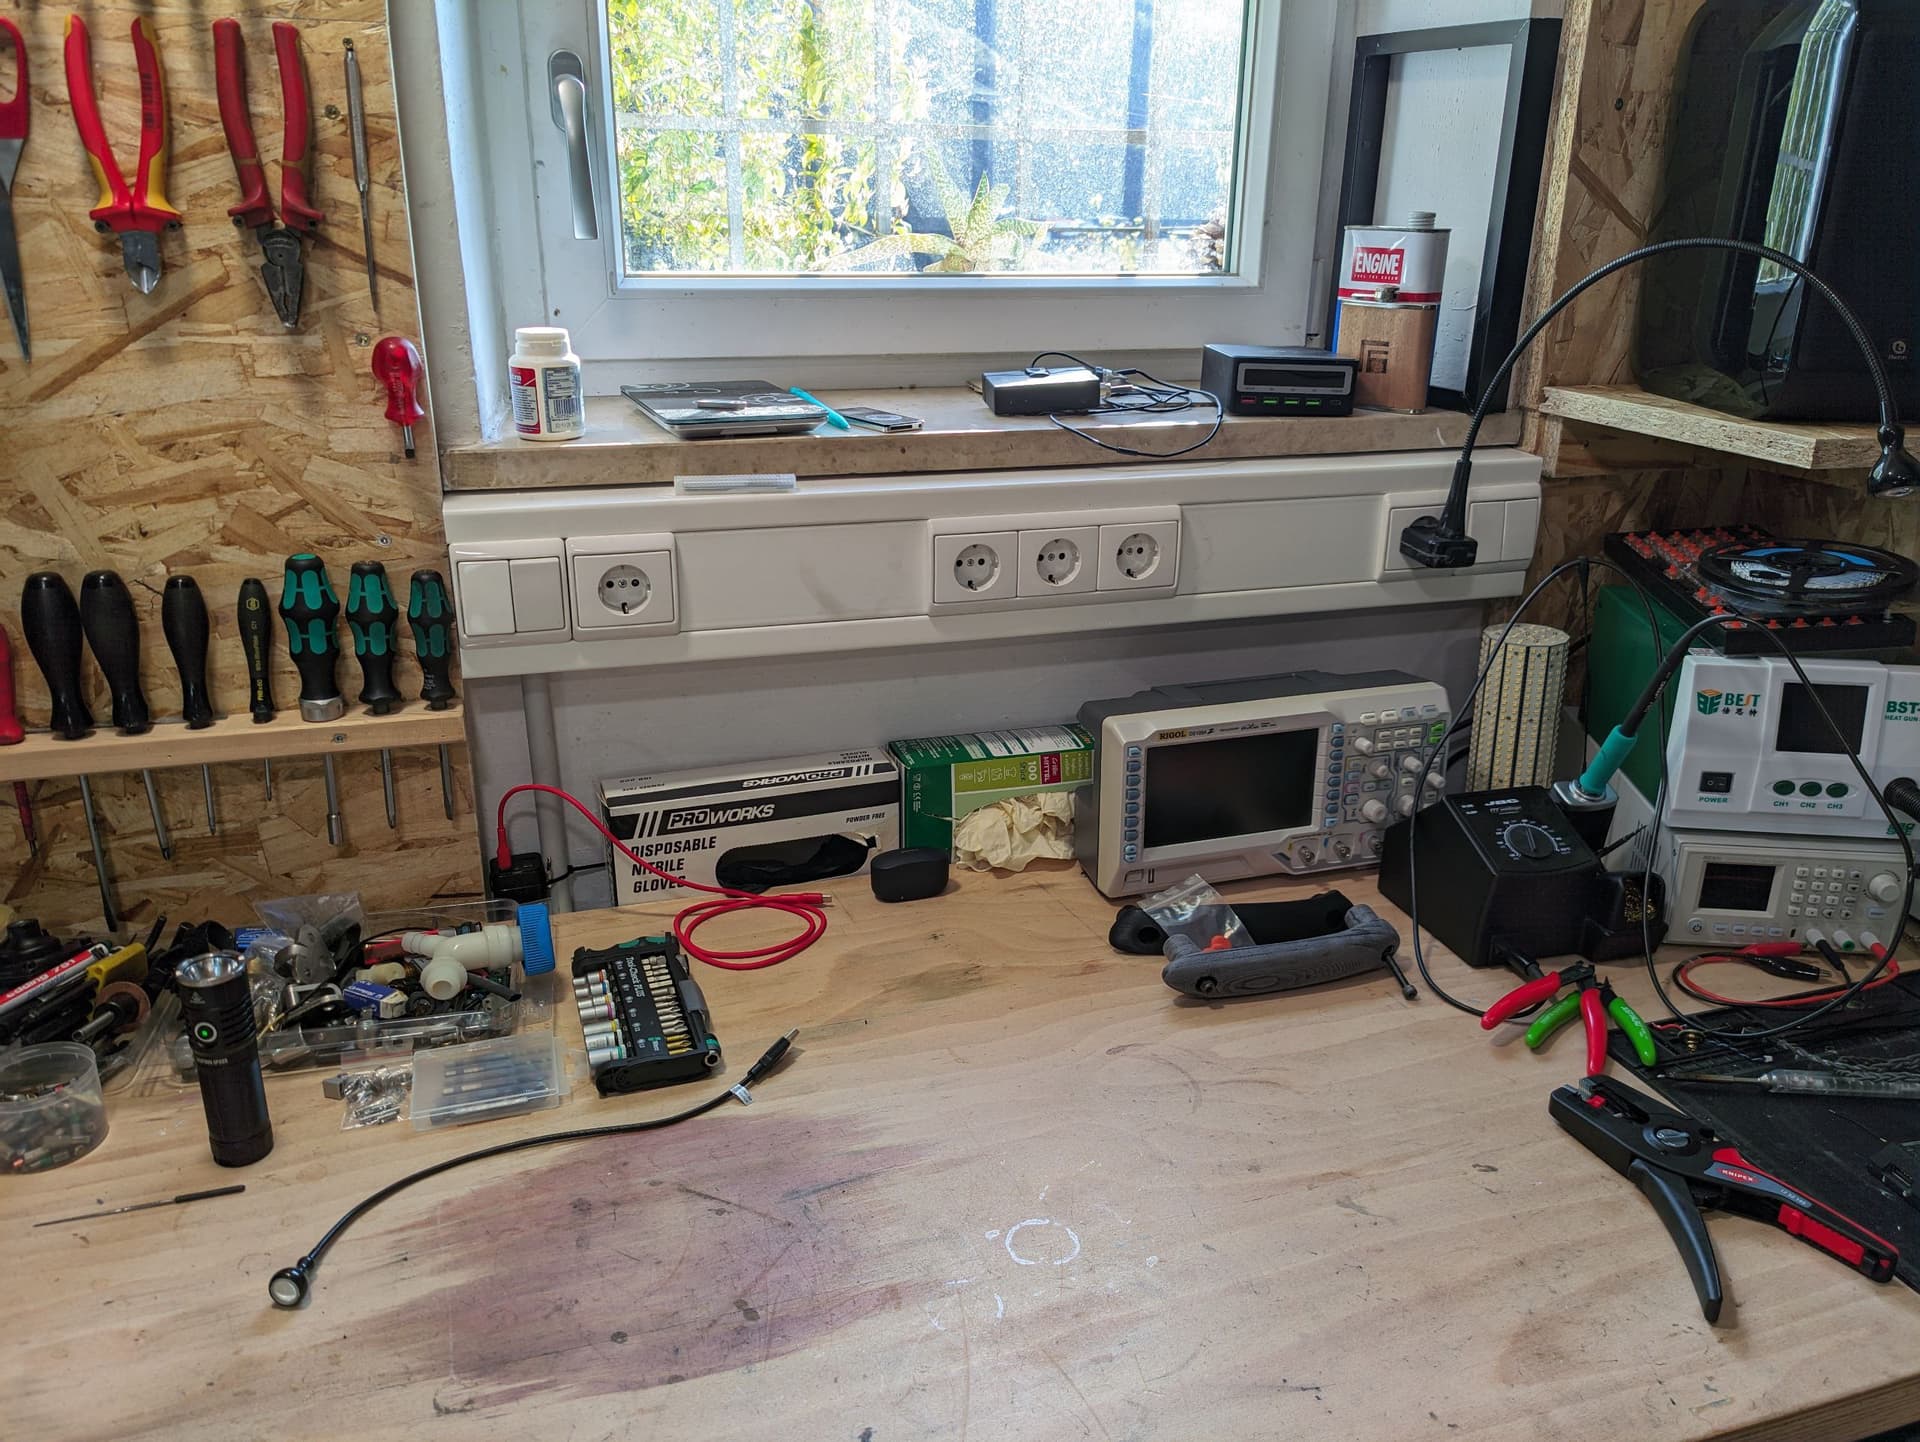
Also, note the big cylindrical multi-led-lamp on the desk in the background… Different light for another day.

This would explain the brightness :wink:
We got ~225V AC here, so this is almost 200W. Leaves ~180W of power after the PSU for the LEDs.

We’ll keep 1 or 2 for ourselves (uncle already bought other ones for his workshop) and give him the others back to keep in storage as spares. These will make a great working-light in the garage.

Bonus pic, dead LED:


The others had no visual flaws, but would not light up on my lab PSU at all, even up to 60V, so they must be somehow fried inside. 0A current draw on all of them. Maybe bond wires blown out? Do COBs even have such a thing? Dunno.

5 Thanks

COBs have the same electrical connections as pretty much all LEDS, just more of them since the dies are non homogeneous and wired in series/parallel. You may have 40 or more individual light emitting dies on a single COB LED. The bonding wires are either under that yellow part or visible (under magnification). If the entire LED is dead, then it’s likely many of those bond wires are broken which causes the entire COB to go open circuit. If its partially blown, you’ll have segments of the cob not lighting up. Usually whem that happens the rest of the led is not long for the world due to the increased voltage and current pulled by the working emitting segments causing them to blow. Yes, quality makes a big difference!

1 Thank

Very interesting! Thanks for sharing.

1 Thank

One of them had a single strand flickering and occasionally lighting up when I push on the surface, the others are just dead - so very much sounds like blown bonds!

Thanks for the info - I never really checked out COBs before this repair project. Interesting.

1 Thank

I’ve worked with them before and good quality ones are way better long-term for reliability and even efficiency. The multi die LEDs we have in flashlights like the sst70, xhp50x and 70x have nearly the same layout.

They get really bright and are good for floodlighting. You can also get them.in really high cri and warm tints.

1 Thank

If you can have access to the driver and are able to find the current sense resistors, try to increase the value to reduce drive current. It will extend the service life of the LED considerably. A 10C drop in temp will result in at least double the life.

1 Thank

It’s a sealed 120-230V AC input, constant current LED driver power supply. No way to modify (and even if I could, I don’t think I wanted to tinker with it…).

Edit: I just decided I’d rename this thread and push it to offtopic, then use it to post random electronics projects and repair works of mine in here.

Replaced the LED of yet another floodlight today. This is just a small 20W flooder, and it wasn’t broken - the led just had the most terrible light I have ever seen. CCT probably around 7000 and a CRI approaching zero. Absolutely unusable.

It happened to be 30V_f too, so I just swapped one of the spare 70W warm white COBs in. Seems to work nicely, still ~20W but way better light. Love it.


The old LED looks kinda like it was degrading? Maybe they didn’t seal the phosphorus well enough and something oxidized? This looks terrible lol.

Bonus pic: definitely not me doing sketchy shit on my test bench :see_no_evil:

This was only for a 30 second test (and insulated with electrical tape before plugging in) and the flooder will now be mounted back on the wall, with proper WAGO clamps.

4 Thanks

Nice, I also like to see stuff like that!

1 Thank

Nothing electronic today, the door handle of our VW Lupo got brittle over the years (got the car almost 25 years ago) and eventually tore to shreds. Had a friend print me a replacement and mounted it today. Carbon fiber reinforced PETG material, should last longer than the rest of the car now.

I think I’ll take it out, clean and clear-coat it, but I’m pretty happy with how it looks, and most importantly - it works again.

3 Thanks

I like it! Did you do the other one too so they match?

Didn’t mount it yet, but had the matching one printed as well.

1 Thank

I recently got new Knipex wire strippers, today was the day to actually put them to action - I had to strip lots and lots of short 2.5mm² mains wires.

Those were needed to daisy chain power sockets:

Work in progress…

After all was done, 10 socketstotal, I wired them up to the connection coming from the top the my workbench (leftmost socket is always on, the others are switched):

Done!

The leftmnost switch on top of the bench switches 9 of the 10 sockets below. Those are for stuff like oscilloscope, soldering station, hot air station, lab PSU, stereo amplifier, phone charger… The always-on one is for the workshop fridge - gotta have a cold beer at hand :smiley:

My goal was to have all stationary devices wired all the time, without any messy cables on the desk, or extension cords below the desk. And some leftover power sockets on top of the workbench to use for temporary devices.

The good quality Berker sockets and switches were all left over from when my parents tore down their old house and built a new one - we ripped those from the walls beforehand for future use. Guess I found a good way of reusing them.

4 Thanks

Something very different, a picture of one of my PCB designs. This was sent to me by the factory, as you can see there is some scratches and scuffs, but those do not matter much since this is a prototype only - third revision for this particular PCB which is a new record for me. Mostly I get my things working first or second rev, but this is also more complex and we shifted design goals mid-way. Customer logos/names are censored - while it is not secret I am working on this project, I still did not want to publish their name here.

Colors are not the final ones, we wanted to try it more colorful during prototyping. Final rev will most likely be all black.

1 Thank

Custom keyboard? 75% ?

Split 75% custom keyboard, with one USB-C port on each side, and the port not actively used to connect to the PC turns into a USB hub port to connect a numpad, cellphone, or whatever.

2 Thanks

Very cool! Do you run a small business doing this kind of thing? Or just make stuff occasionally when asked?

For now, occasionally. I am currently about to finish my degree, and am allowed to freelance up to 5000€/yr without paying income tax - that’s what I did. I have a few regular customers, and made myself quite a name in the keyboard scene, so a few keyboards per year were a nice side-income.

Now that I’ about to finish, I have to rethink whether I want to turn this into some sort of proper organized business/sidejob, keep doing occasional work, or stop altogether, since I plan on taking on a full time job now.

3 Thanks