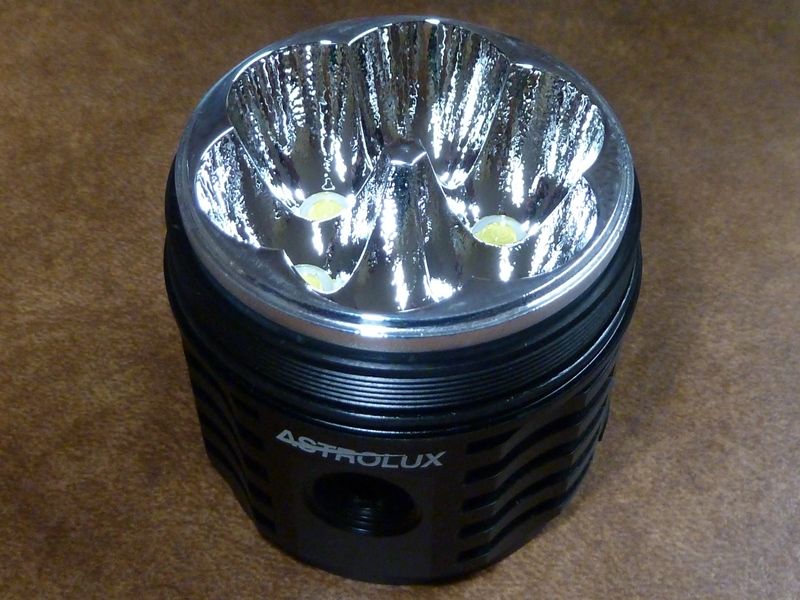
The Astrolux EC06 is a new C8, soda can style light with some interesting features:
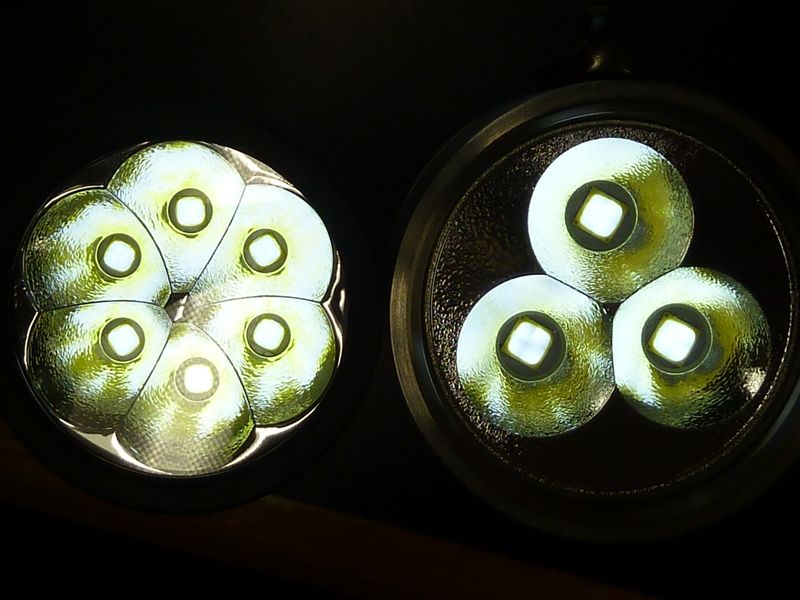
- 6 XHP50.2 3V's, as opposed to 4 LED's in the Q8 or Q8 Pro
- 3 21700's instead of the classic 4 18650's
- designed for high amps with heavy gauge spring bypasses and a triple high performance FET+1 driver circuitry
- 3A rated USB-C charging w/power bank feature
Unpacking
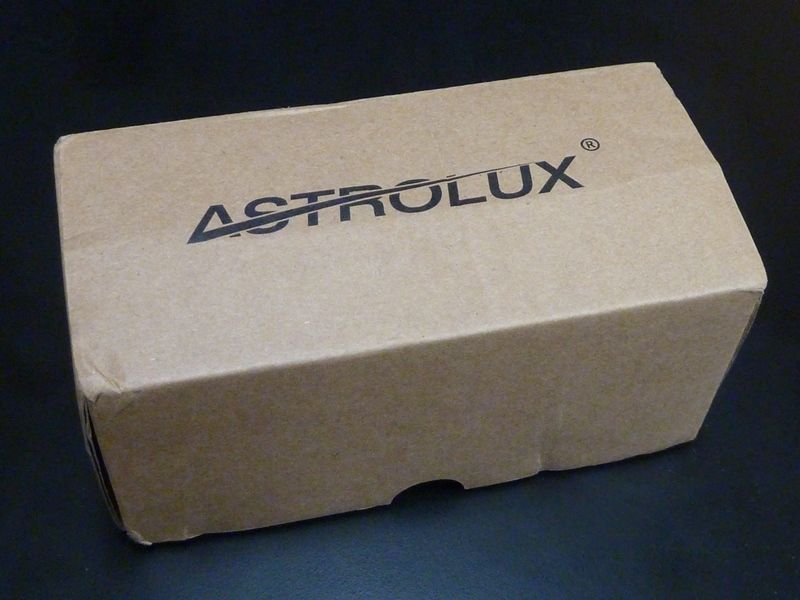
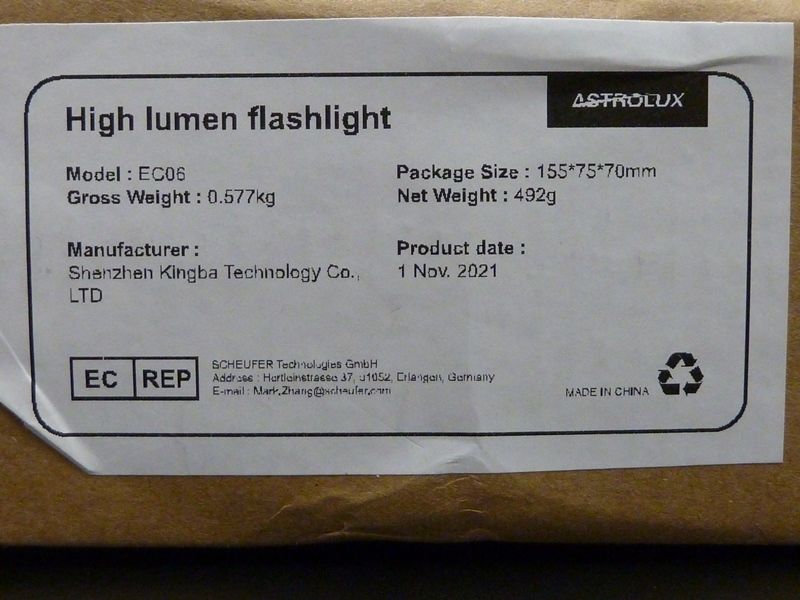
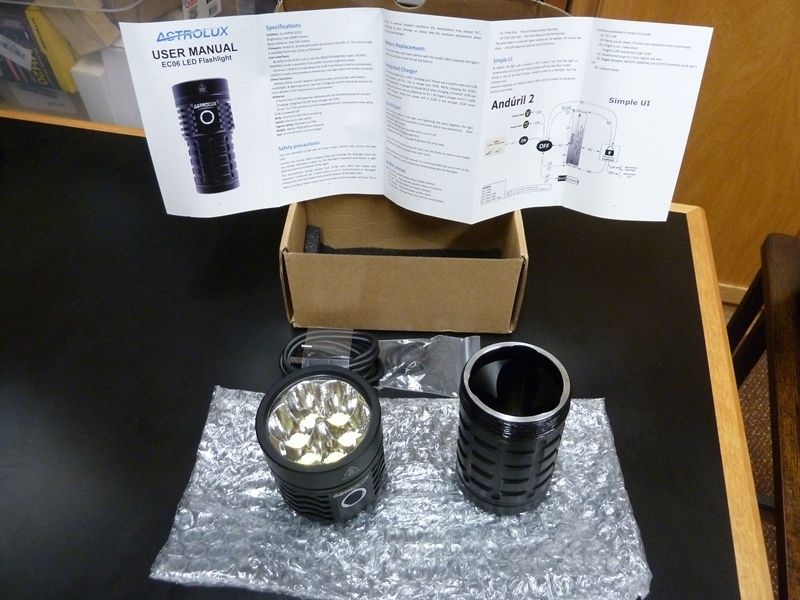
Plain, simple brown box:
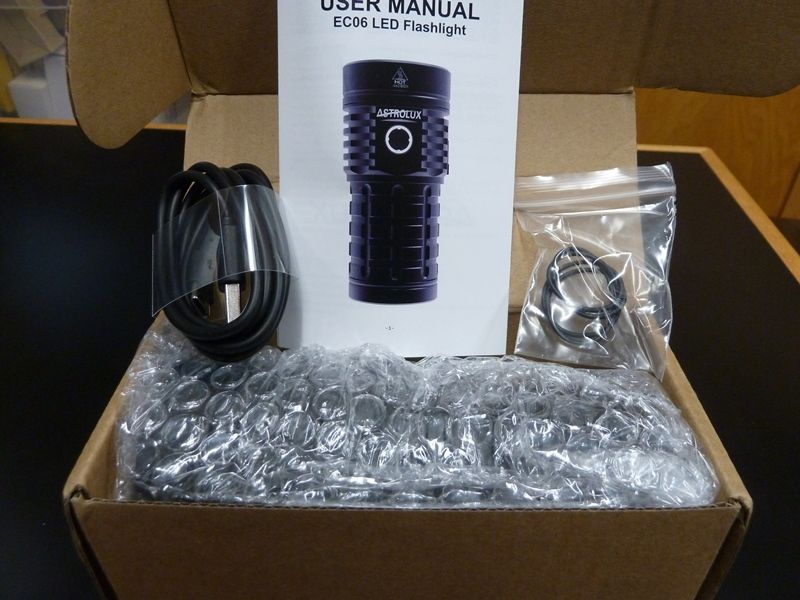
What's included:
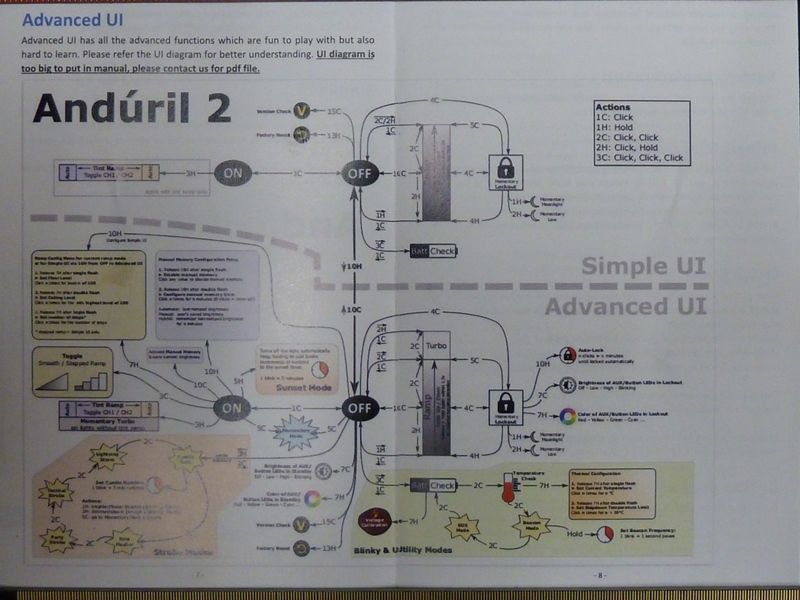
Packed simply but well - heavier bubble wrap, foam inserts in the box, a true Anduril 2 manual:
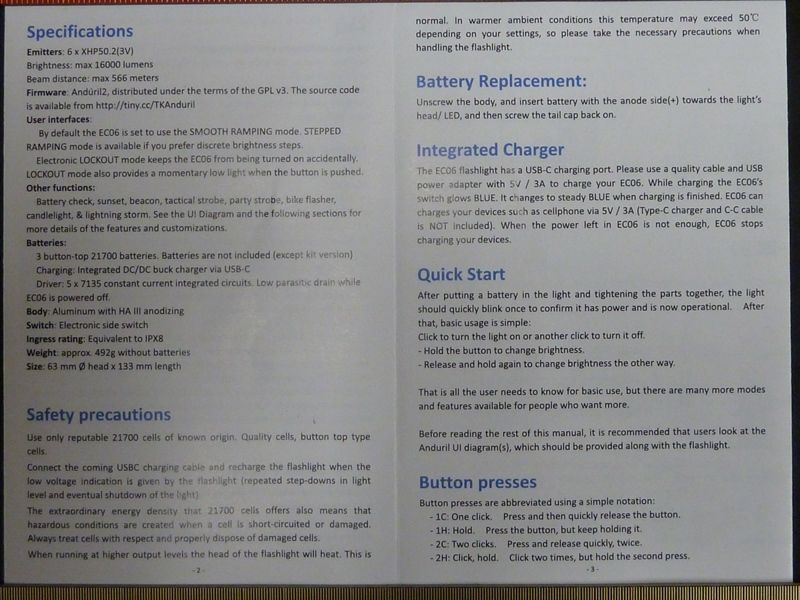
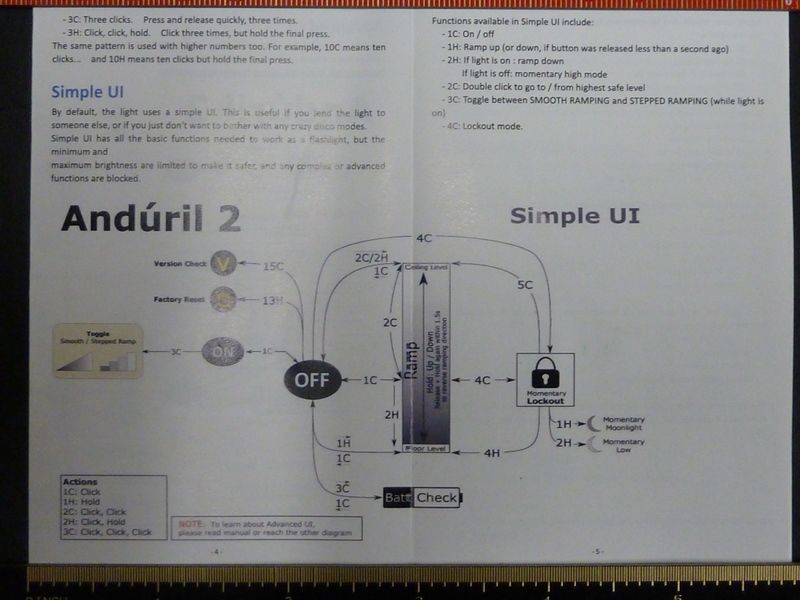
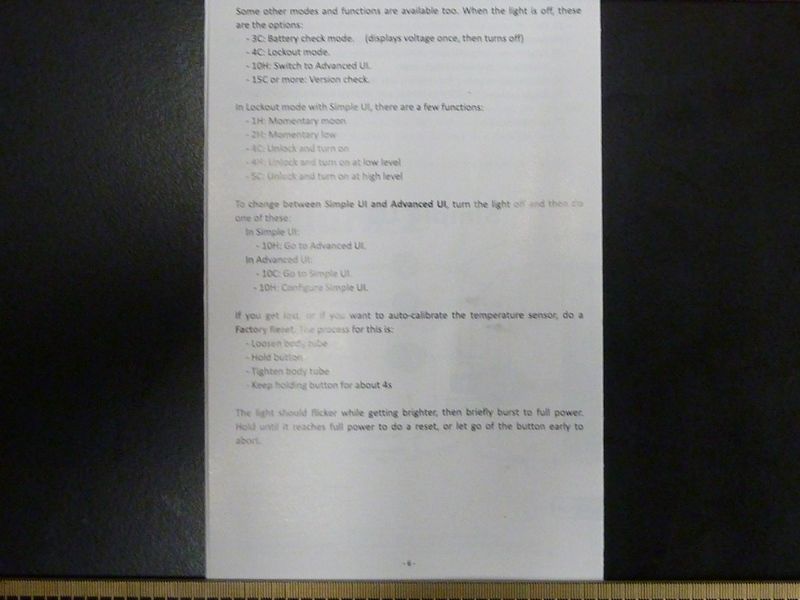
User Manual
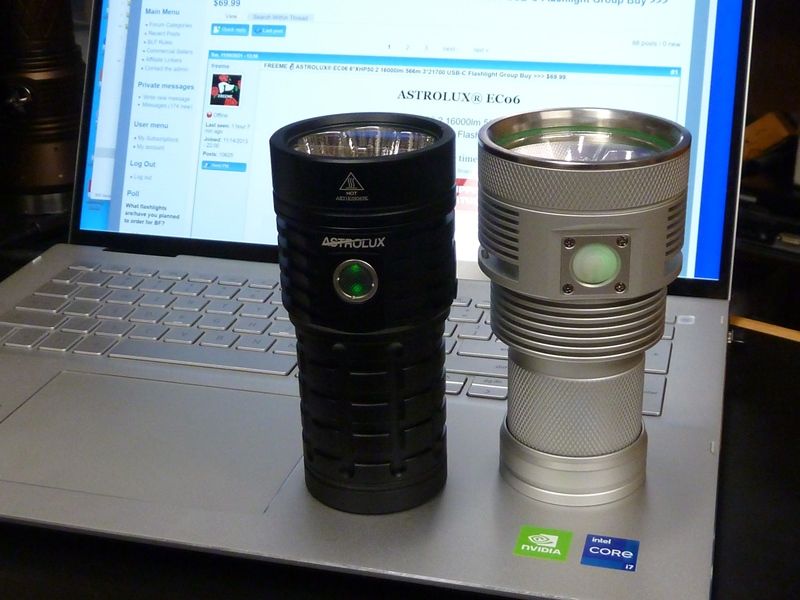
EC06 vs MT03 TA
Similar size and capability, but done with 3 XHP70.2's, though the EC06 is cheaper, has USB-C charging/power bank, uses 21700's, plus comes with Anduril 2 installed:
Battery Tube and Contacts
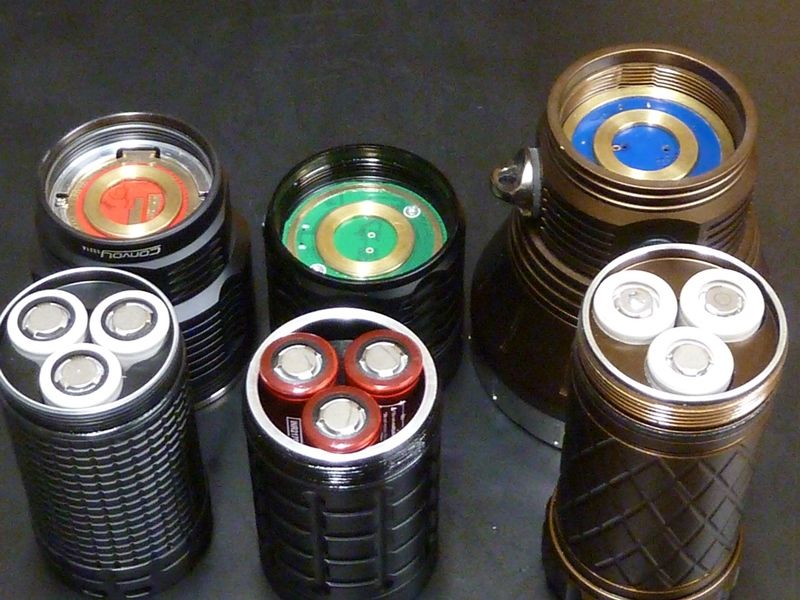
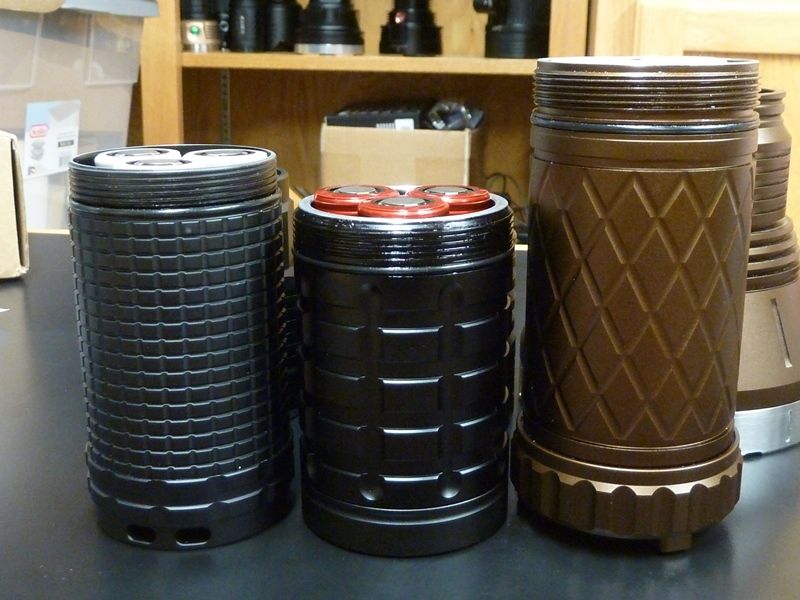
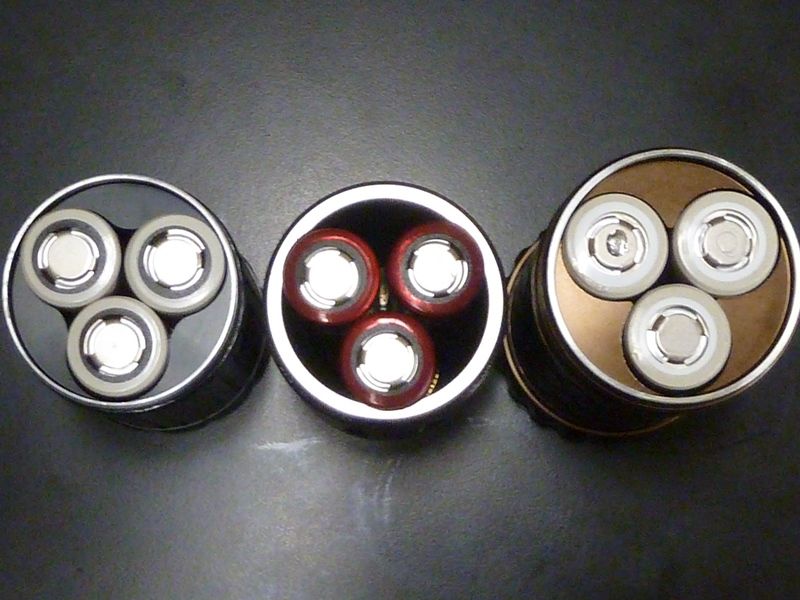
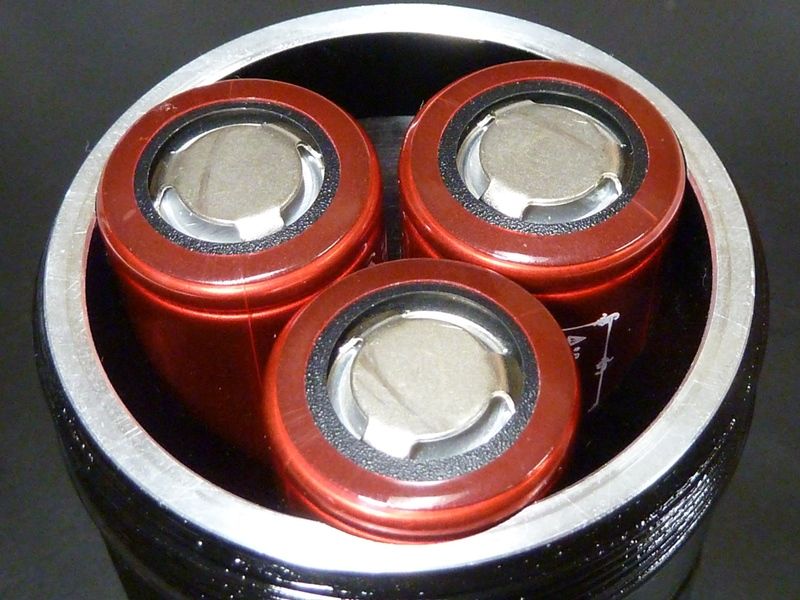
compared to other 3 21700 lights with no carrier (3X21A, EC06, HK90):
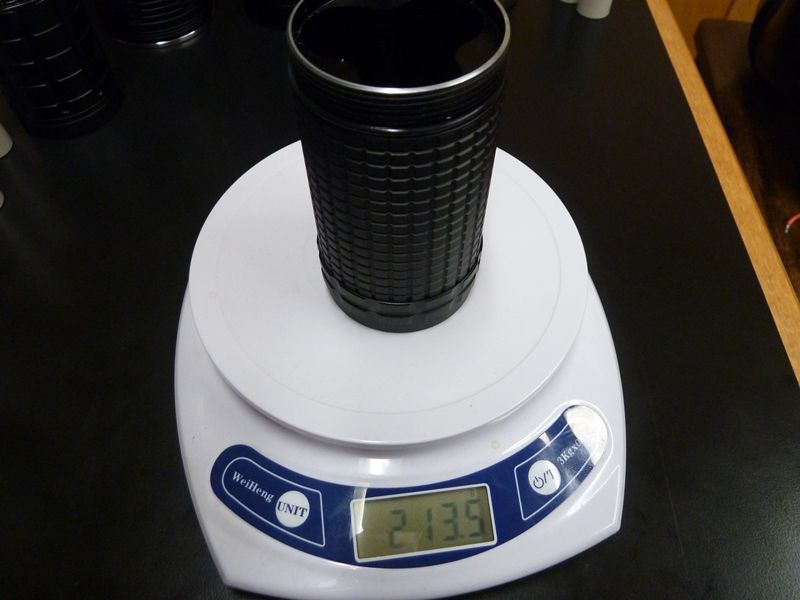
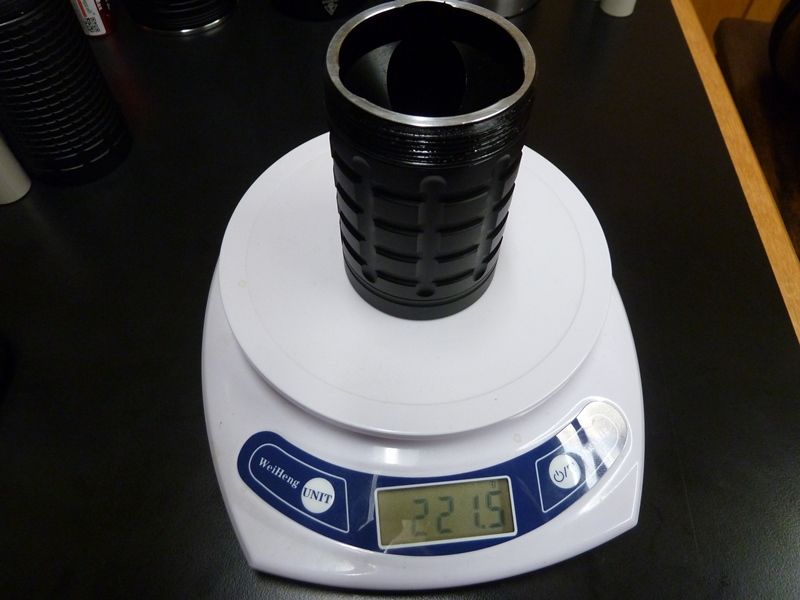
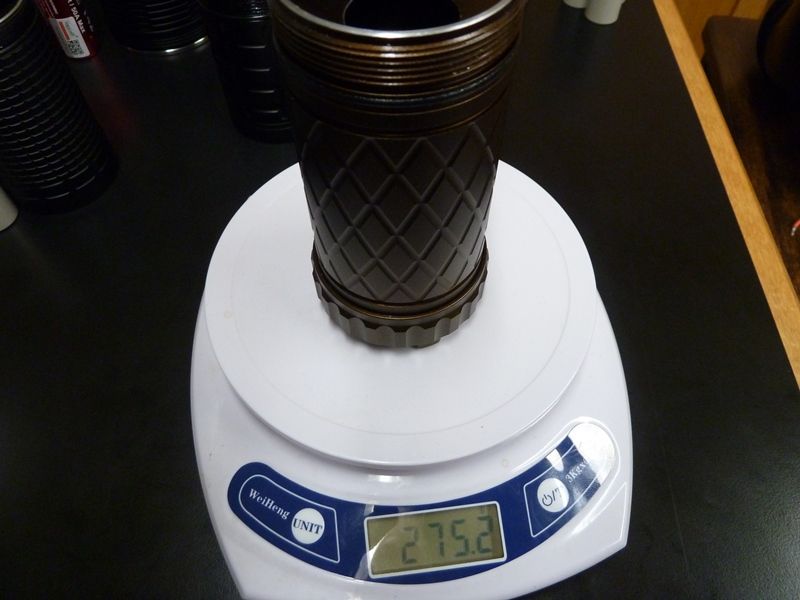
The EC06 has the thickest wall of the 3, comes in heavier than the smaller 3X21A:
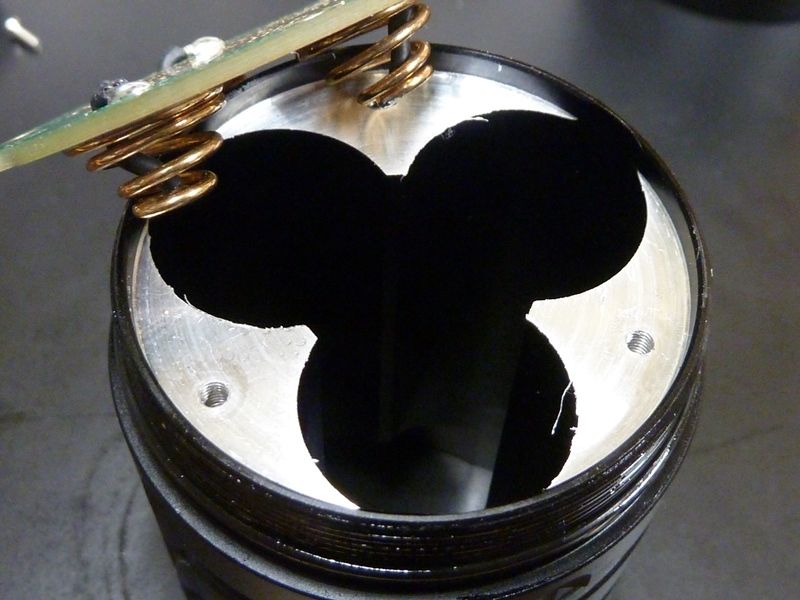
Thick tube means solid ground contact with the driver's ground ring:
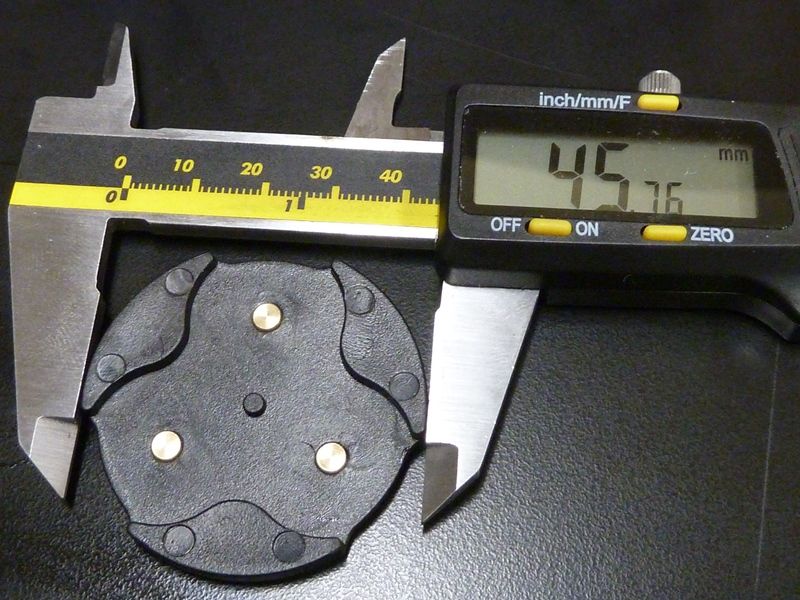
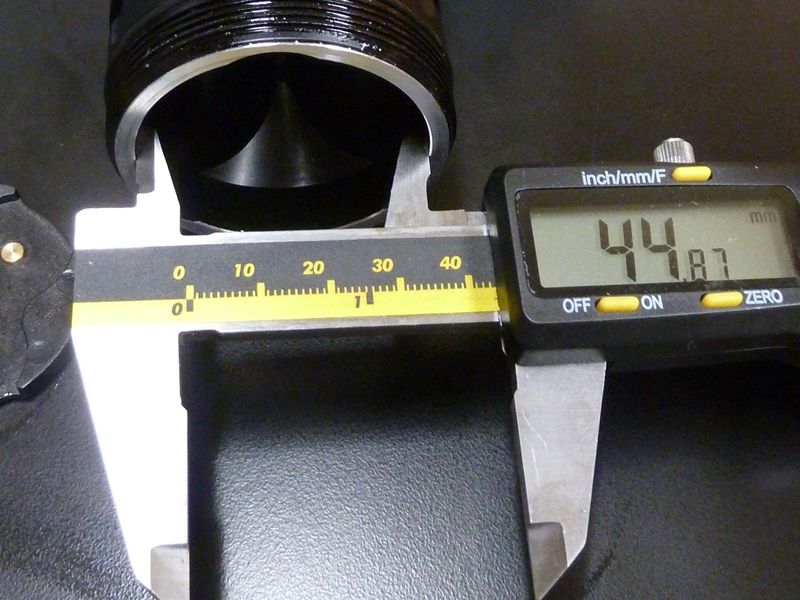
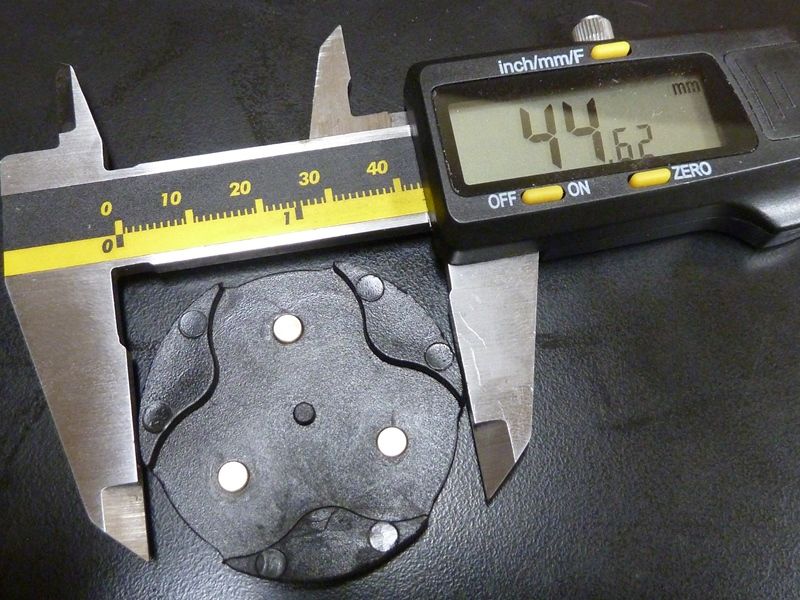
Here's the stock Convoy 3X21A flat top adapter:
Opening is slightly smaller so won't fit:
After some dremel sanding:
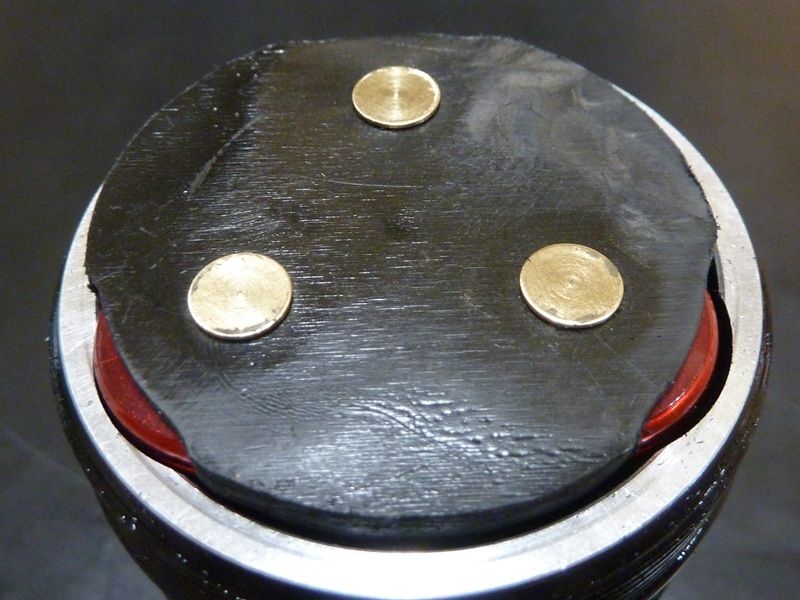
Fits perfect now:
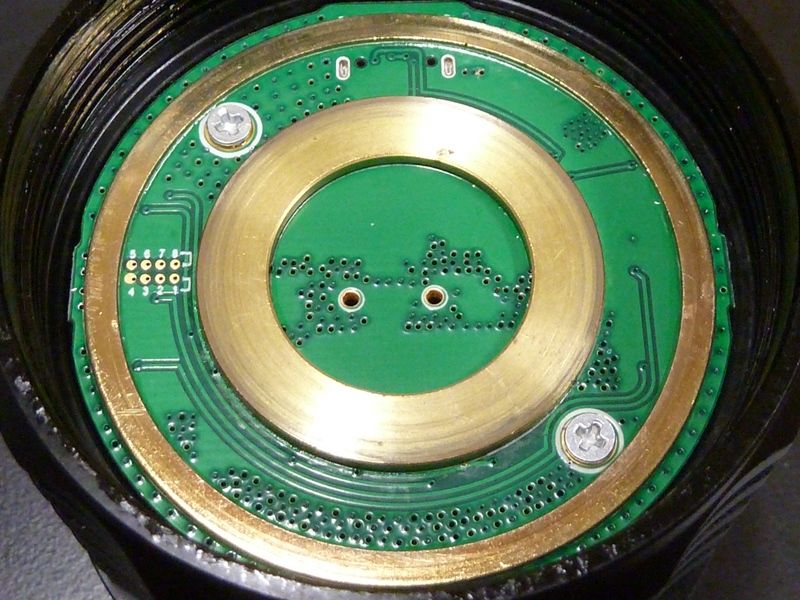
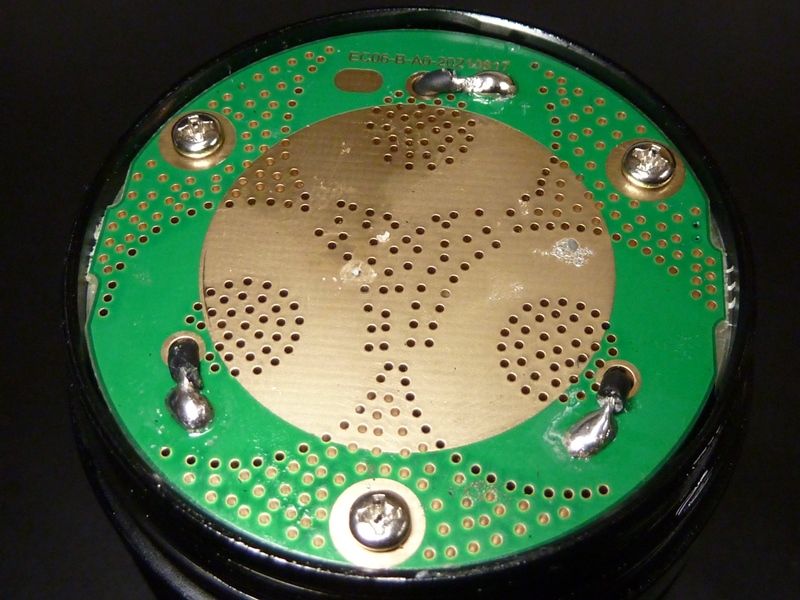
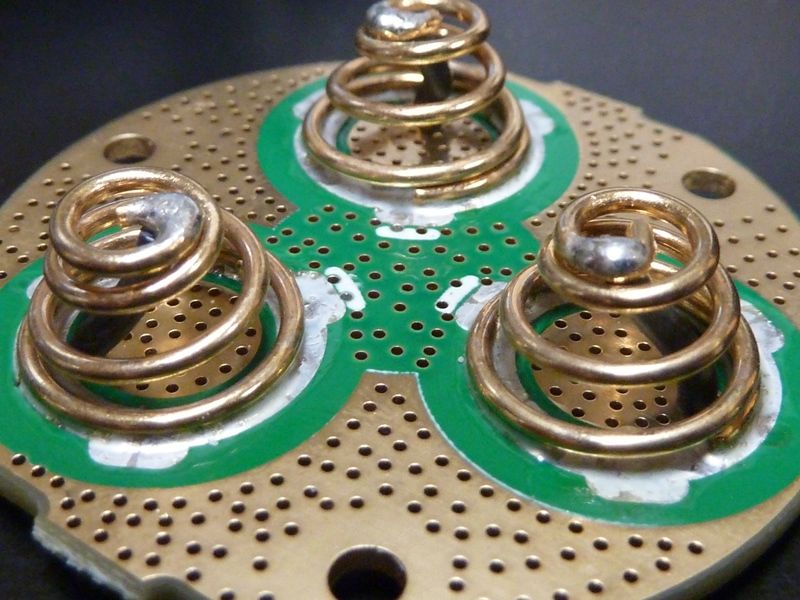
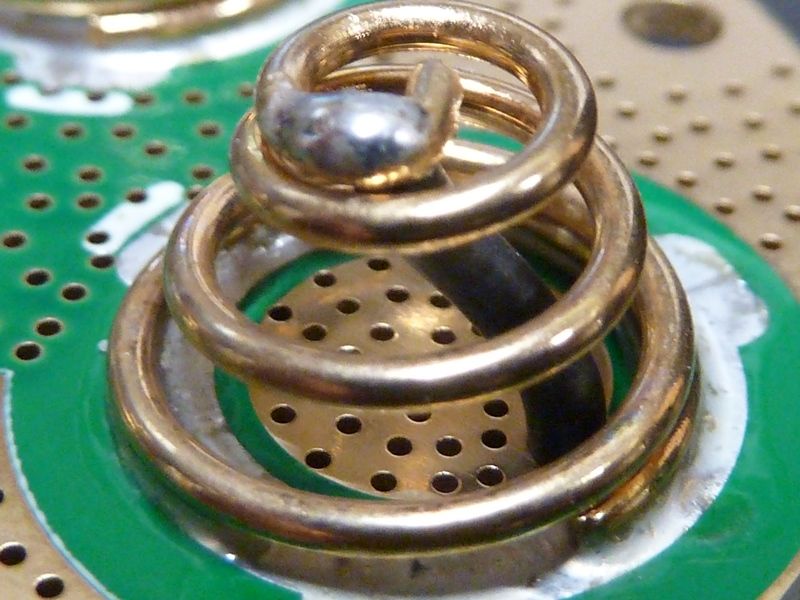
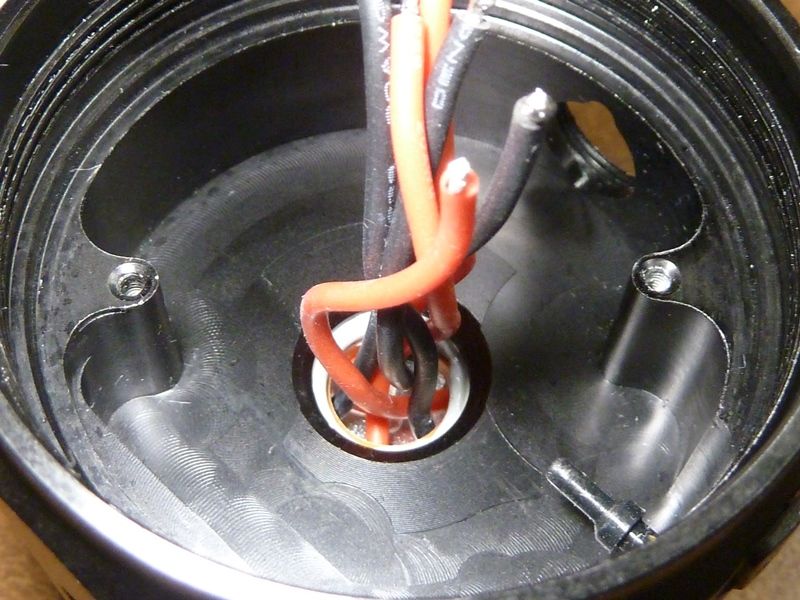
They did this tail/spring end the right way. Not sure I would do it any much different. Lots of coated through holes, bring the spring bypasses to the backside. It's maximizing conductivity, reducing resistance:
These are quality done bypasses as far as I can tell. It's either 22 or 20 AWG wires. This is the best setup - always beats double springs, or even high quality springs:
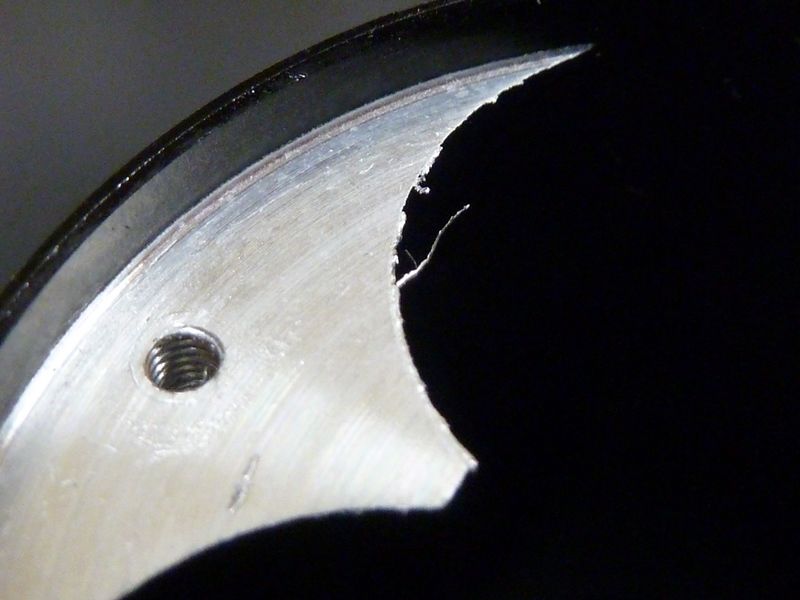
Here they left very rough edges, though it's in a spot where it won't have any possible contact with fingers or batteries. I would still prefer this be cleaned up though. Again though what they did right is having the un-anodized contact surface to the spring PCB. I've sanded these surfaces down myself to improve electrical contact, but they already did it:
The Driver
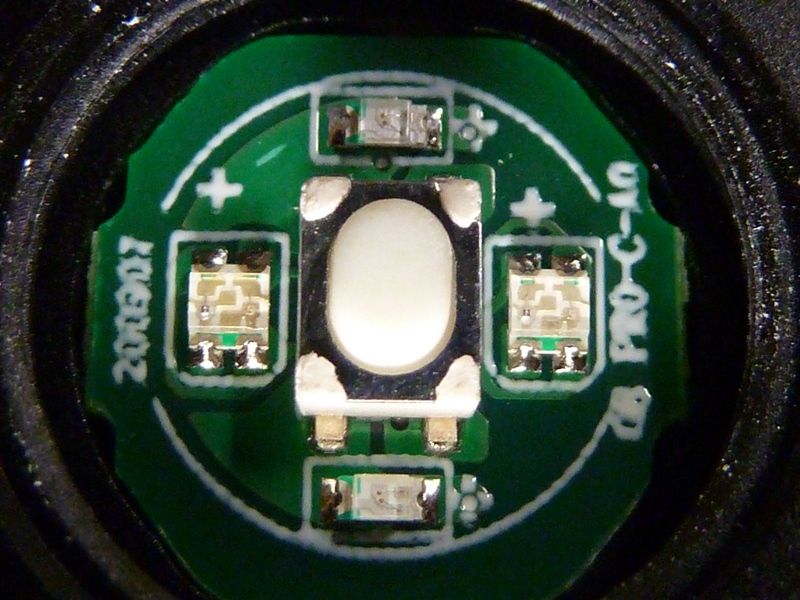
Starting with the switch PCB, there are 3 separate colors, top and bottom are single greens, while the side ones are 2 LED's of blue and amber each. The greens are wired directly from pin #3 of the MCU, controlled by Anduril 2, while the blue and amber are controlled by the USB-C charging circuit:
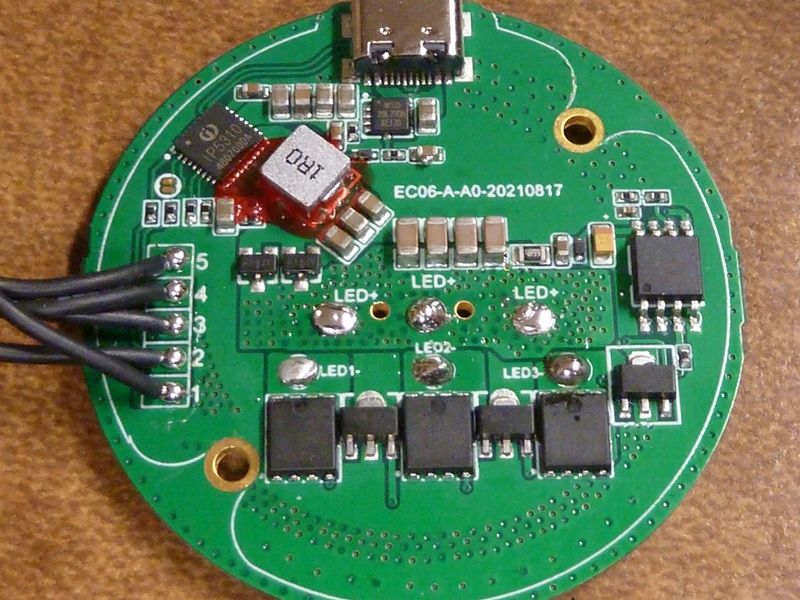
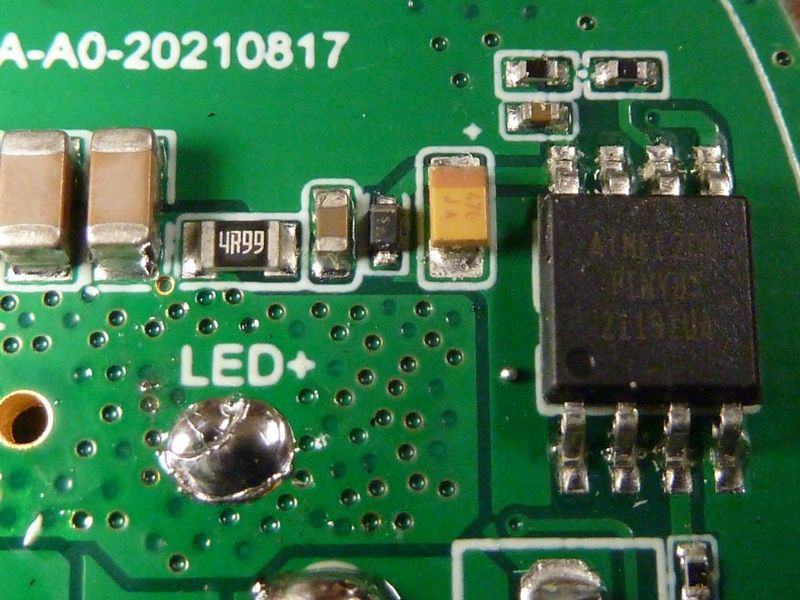
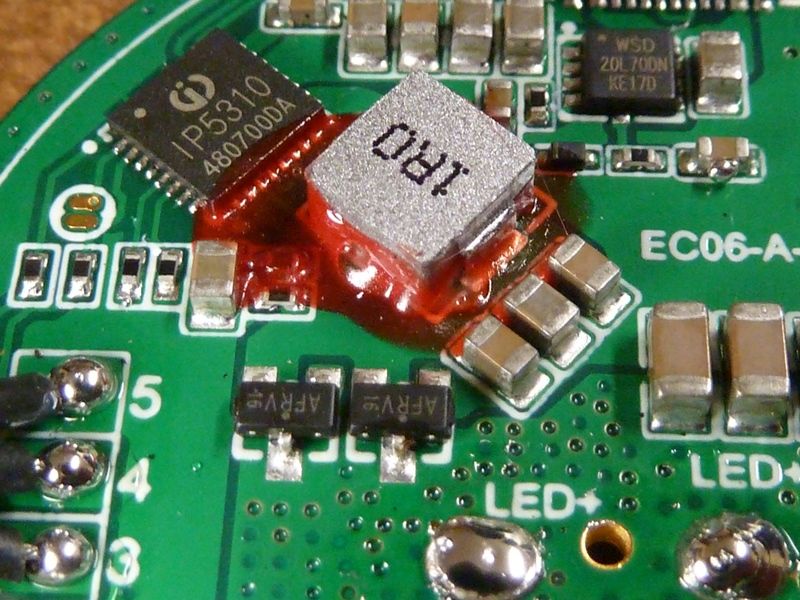
Detailed views of the driver:
The Injoinic IP5310 is the USB-C controller, datasheet PDF found here. It has a lot of capability and options, depending on how it's wired for use. I assume it's configured for 2 LED's to show charge/discharge status - BLUE is D1, and AMBER is D2 (pg 15 of datasheet). The Amber LED's are coming on often on my EC06 when in use - doesn't seem to be right, wonder if anyone else is seeing this.
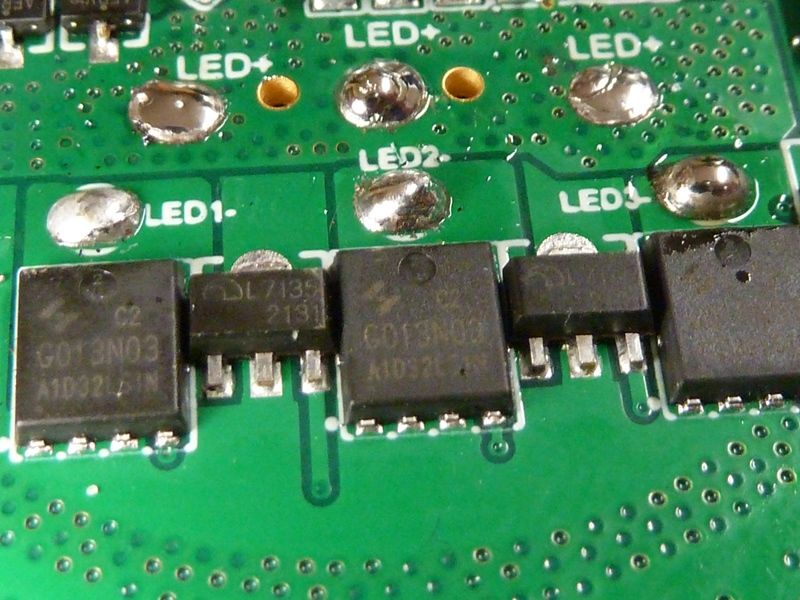
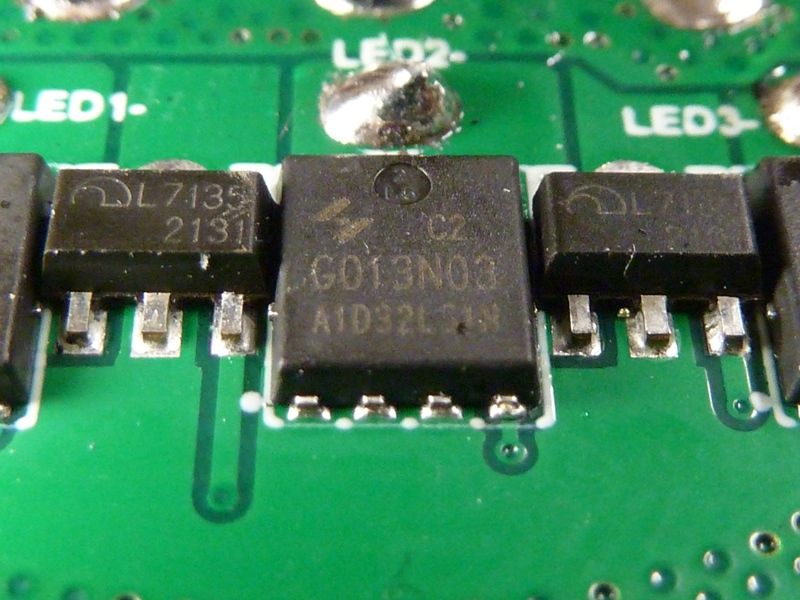
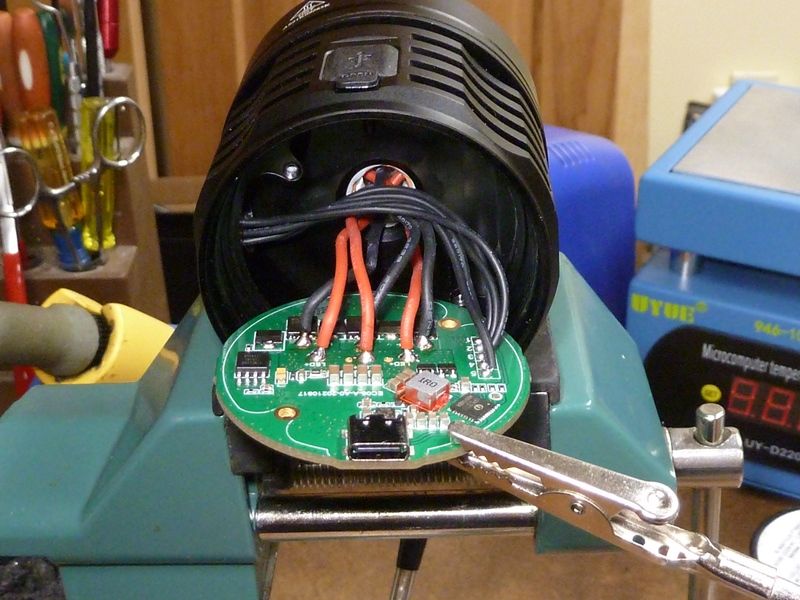
The driver circuitry is a unique style, least to me. It's a FET+1 but in triple, repeated per pair of LED's. The input to the FET+1 are coming from the same input source (pin #5 for the 7135's, pin #6 for the FET's), but the outputs are kept independent with three separate pairs of wires, each pair connected to two LED's in parallel. The FET is the ChipSourceTek HYG013N03LS1C2, labeled: G013N03 (C2) they are using I haven't seen before, but the specs on it look pretty good, so I'd rate it up there with the better Infineon's and Vishays we use.
The Business End
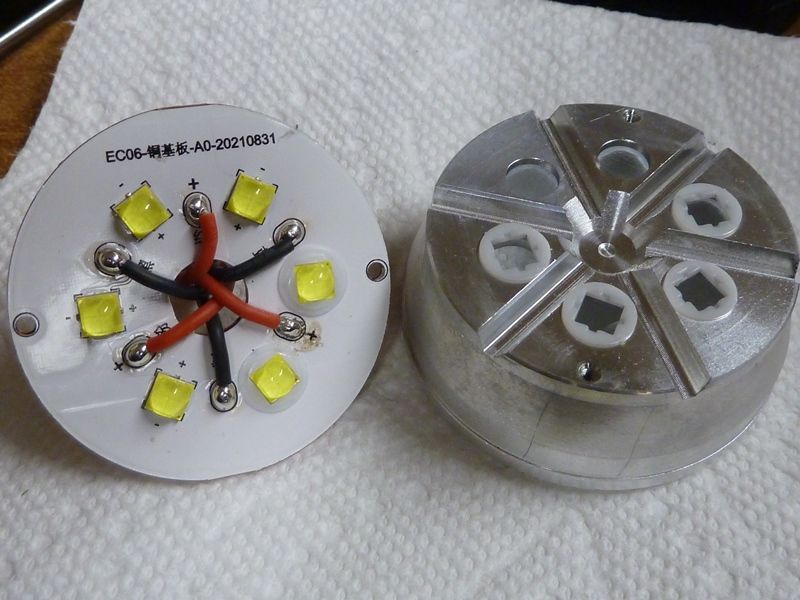
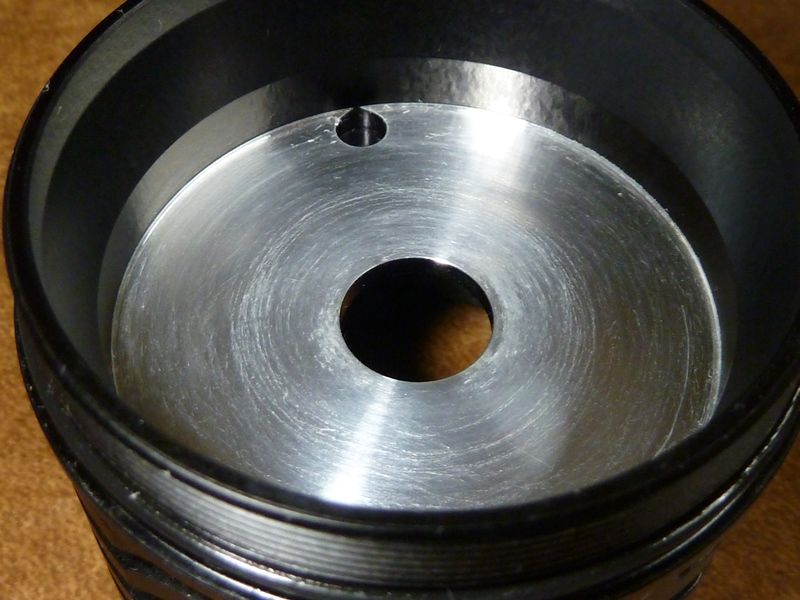
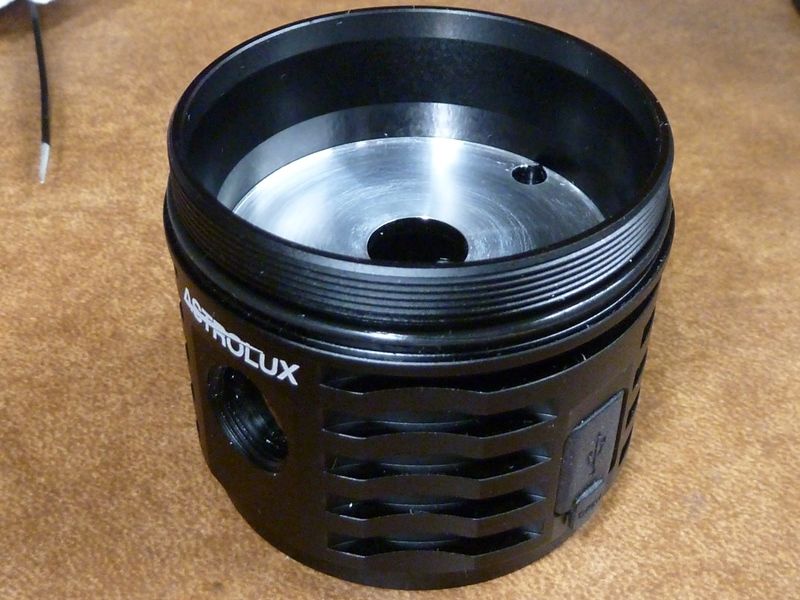
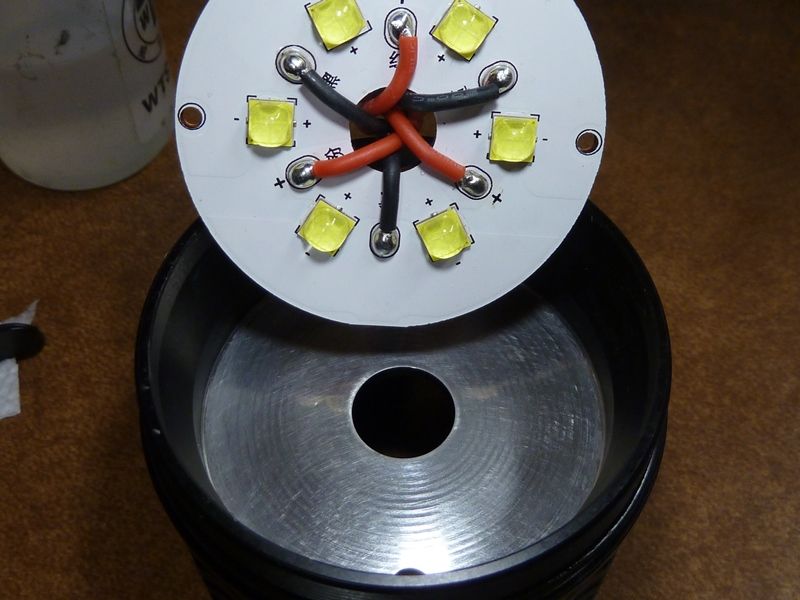
The trick to dis-assembling this head is to first unsolder the LED wires from the driver. Once that's done, the reflector and MCPCB can be removed as one assembly - all you have to do is pull up on the outer edges of the reflector to break the vacuum seal of the grease on the flat surface of the shelf/MCPCB.
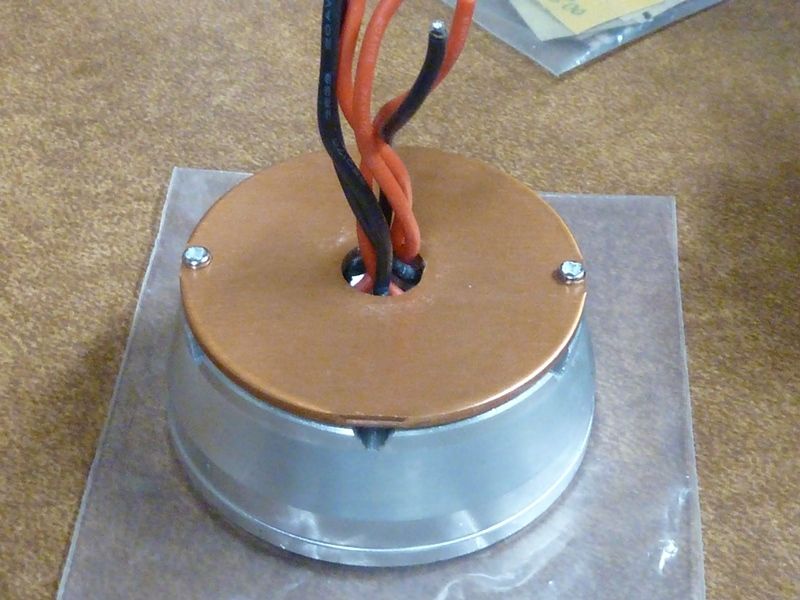
The MCPCB is screwed to the reflector, while the MCPCB is just floating on the shelf, secured down by using pressure from the tightening of the bezel:
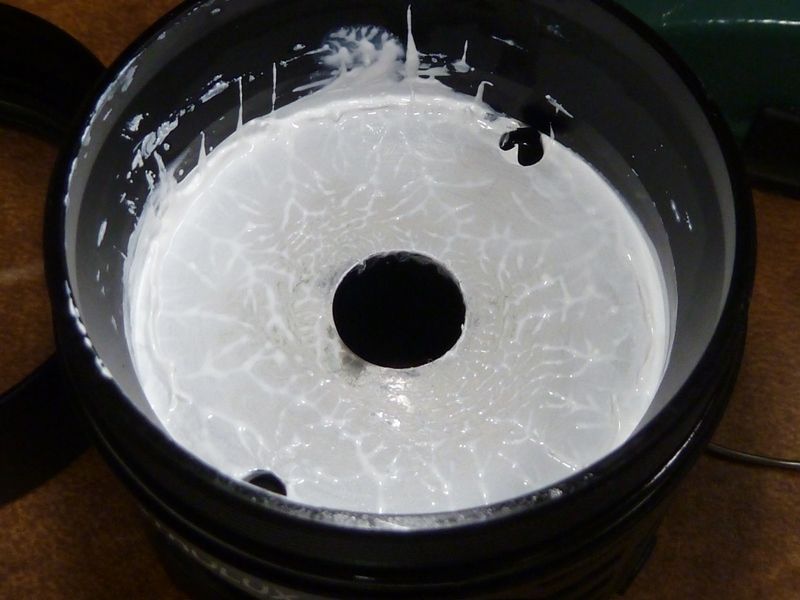
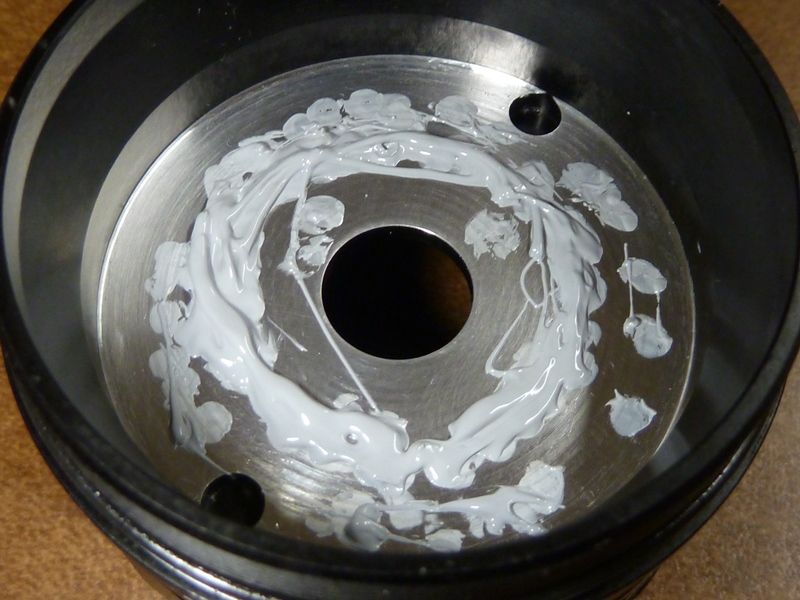
The 2 outer holes are just for clearance of the screw heads. Plenty of thermal grease is applied:
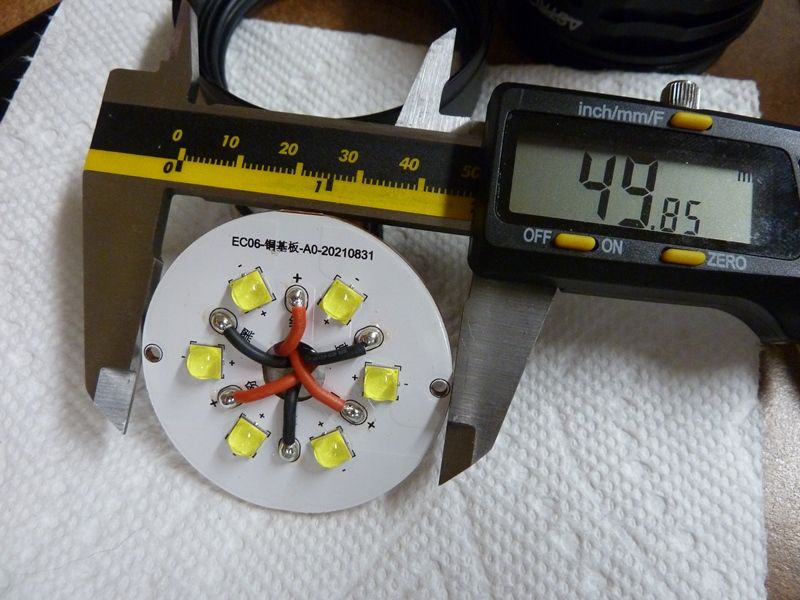
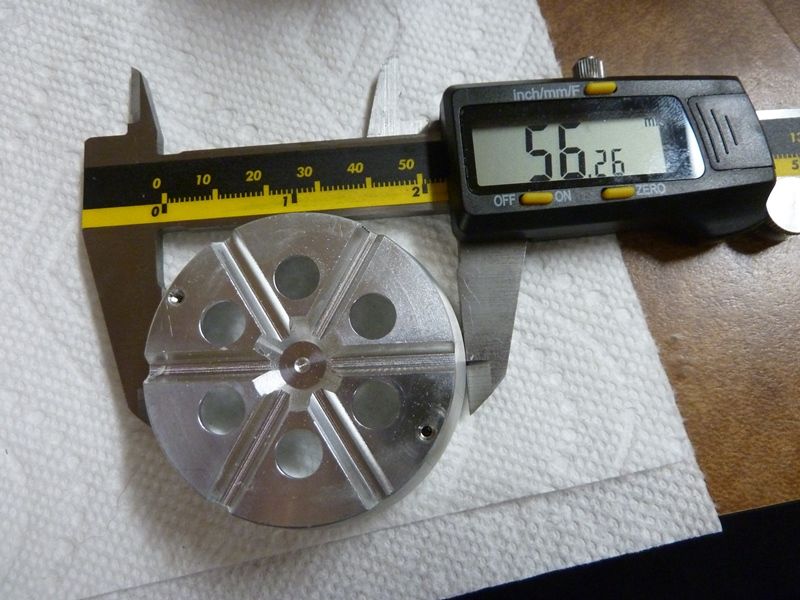
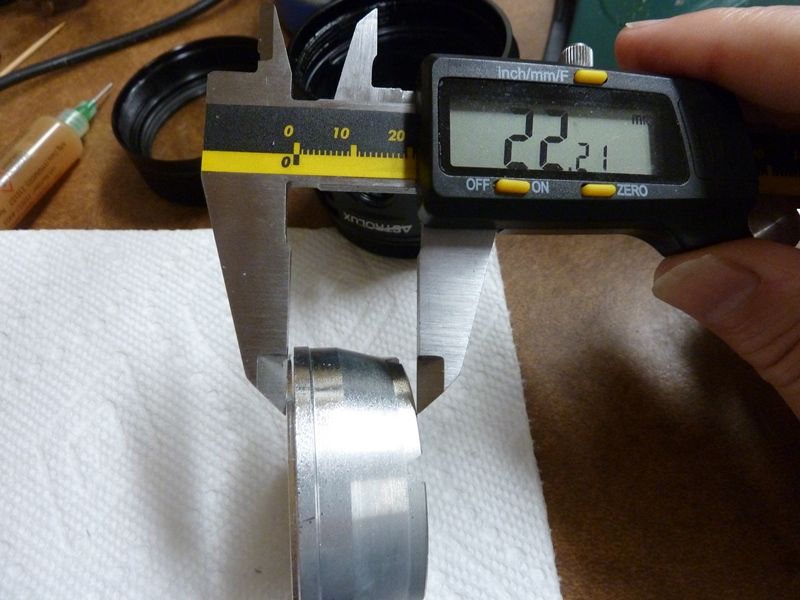
Some measurements:
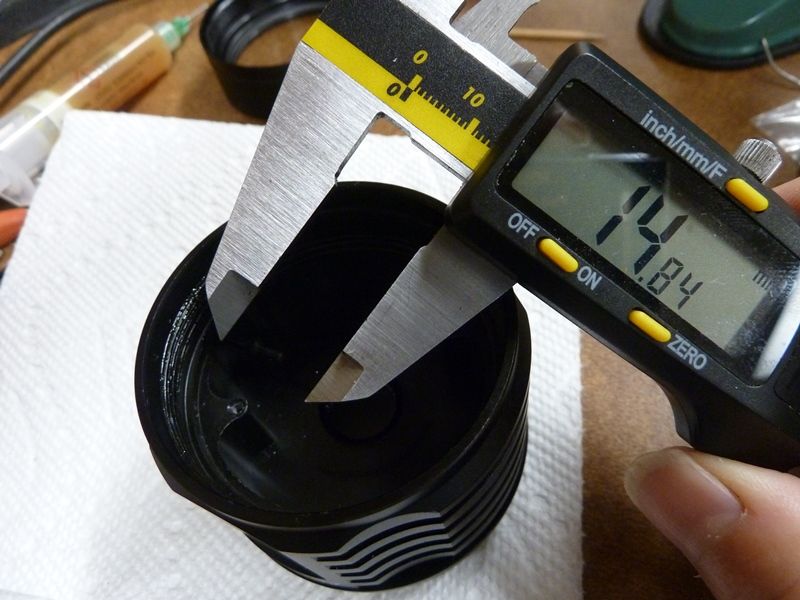
Depth of driver cavity:
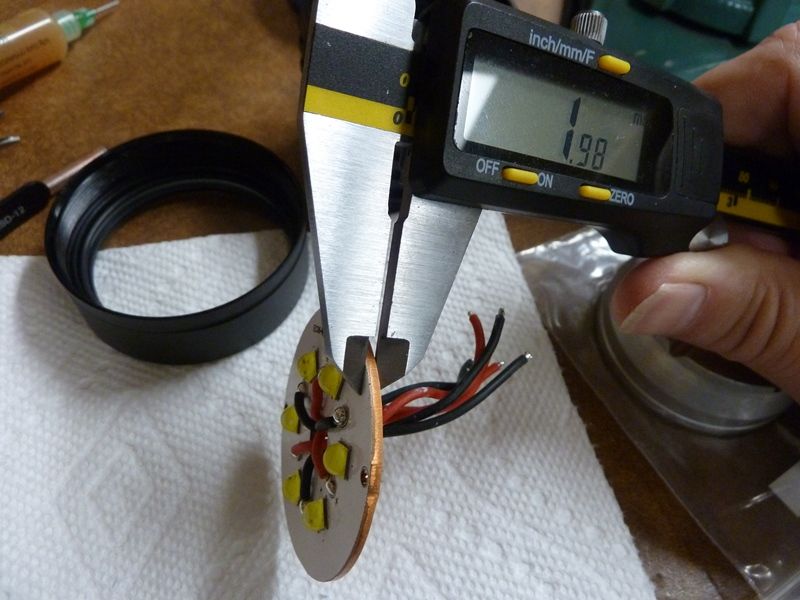
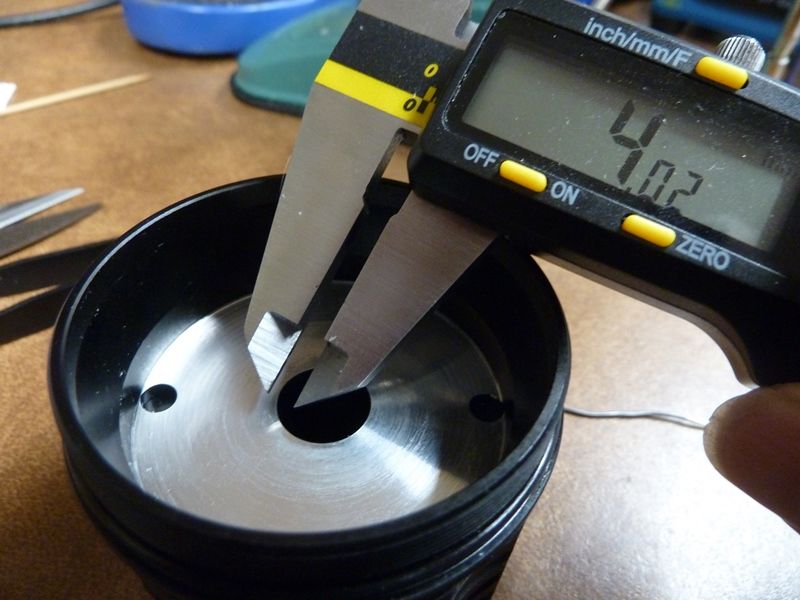
Thickness of the shelf:
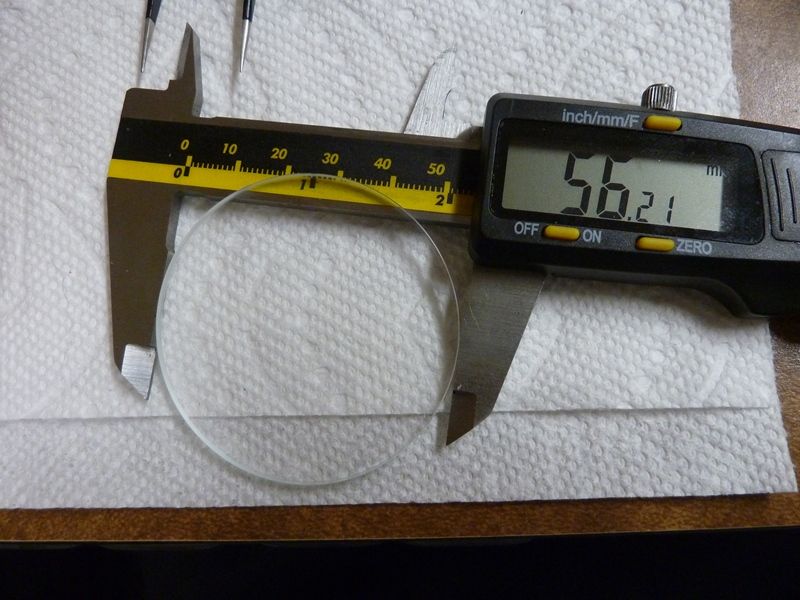
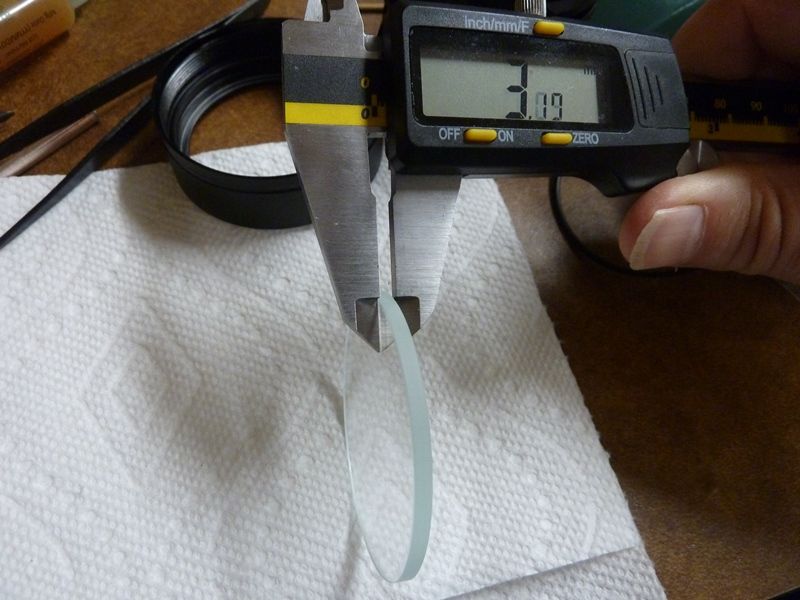
Glass appears to be untreated. Can AR help?
All cleaned up. No burrs or contaminates were found on these critical heat transfer surfaces, as I've found before in other tear downs:
I did sand the surface though to 2000 GRIT to dampen the fine machine marks:
Re-assembling:
Applied MX-4:
Easy, just pop it in, align to the holes for the screw heads:
Driver cavity with the MCPCB and reflector mounted:
This setup makes the wiring easier:
Output Measurements
Taken on a set of VapCell T42's fully charged to 4.20V
.png)
Measuring of parasitic drain, the meter does not have a steady reading - it jumps up and down about 20 µA. I haven't seen this before, and can only assume it has something to do with the charging circuitry. Might be related to the amber switch LED's coming ON/OFF for unknown reasons.
Pros
- high power in a small package - stock spring bypasses, 3 sets of 20 AWG LED wires (usually requires modding)
- great value
- Anduril 2
- quality of manufacturing looks above average
- USB-C high amp charging, power bank features
- convenient tripod mount
- no glue used in the assembling of this light (
 )
)
Cons
- high power in a small package (yes - a "pro" too)
- high parasitic drain with switch LED on High
- amber switch LED's go ON/OFF while in use (not frequently)
- glass lens is not AR coated
- no Stainless Steel bezel or switch plate
- only available in black and 6500K
- no lanyard or holster
Conclusion
The EC06 seems to be yet another well designed, good quality, great value Astrolux product. We'll have to see how it fairs in quality issues in the first batch, but so far it seems to be doing well. It will be debated if there is just too much power for such a small package, and it competes with several other offerings in the 20K lumens market.
I've found far more problems with other light tear downs, so the basic design and manufacturing quality is there.
I haven't seen a light deliver at the high end of a LED's capability in a multi-LED light like this with a limited battery count. Of course it can't handle the heat and power draw for very long, but if you keep the output limited in ramping or level selection, it can do just fine, comparative to other lights in this size category.
