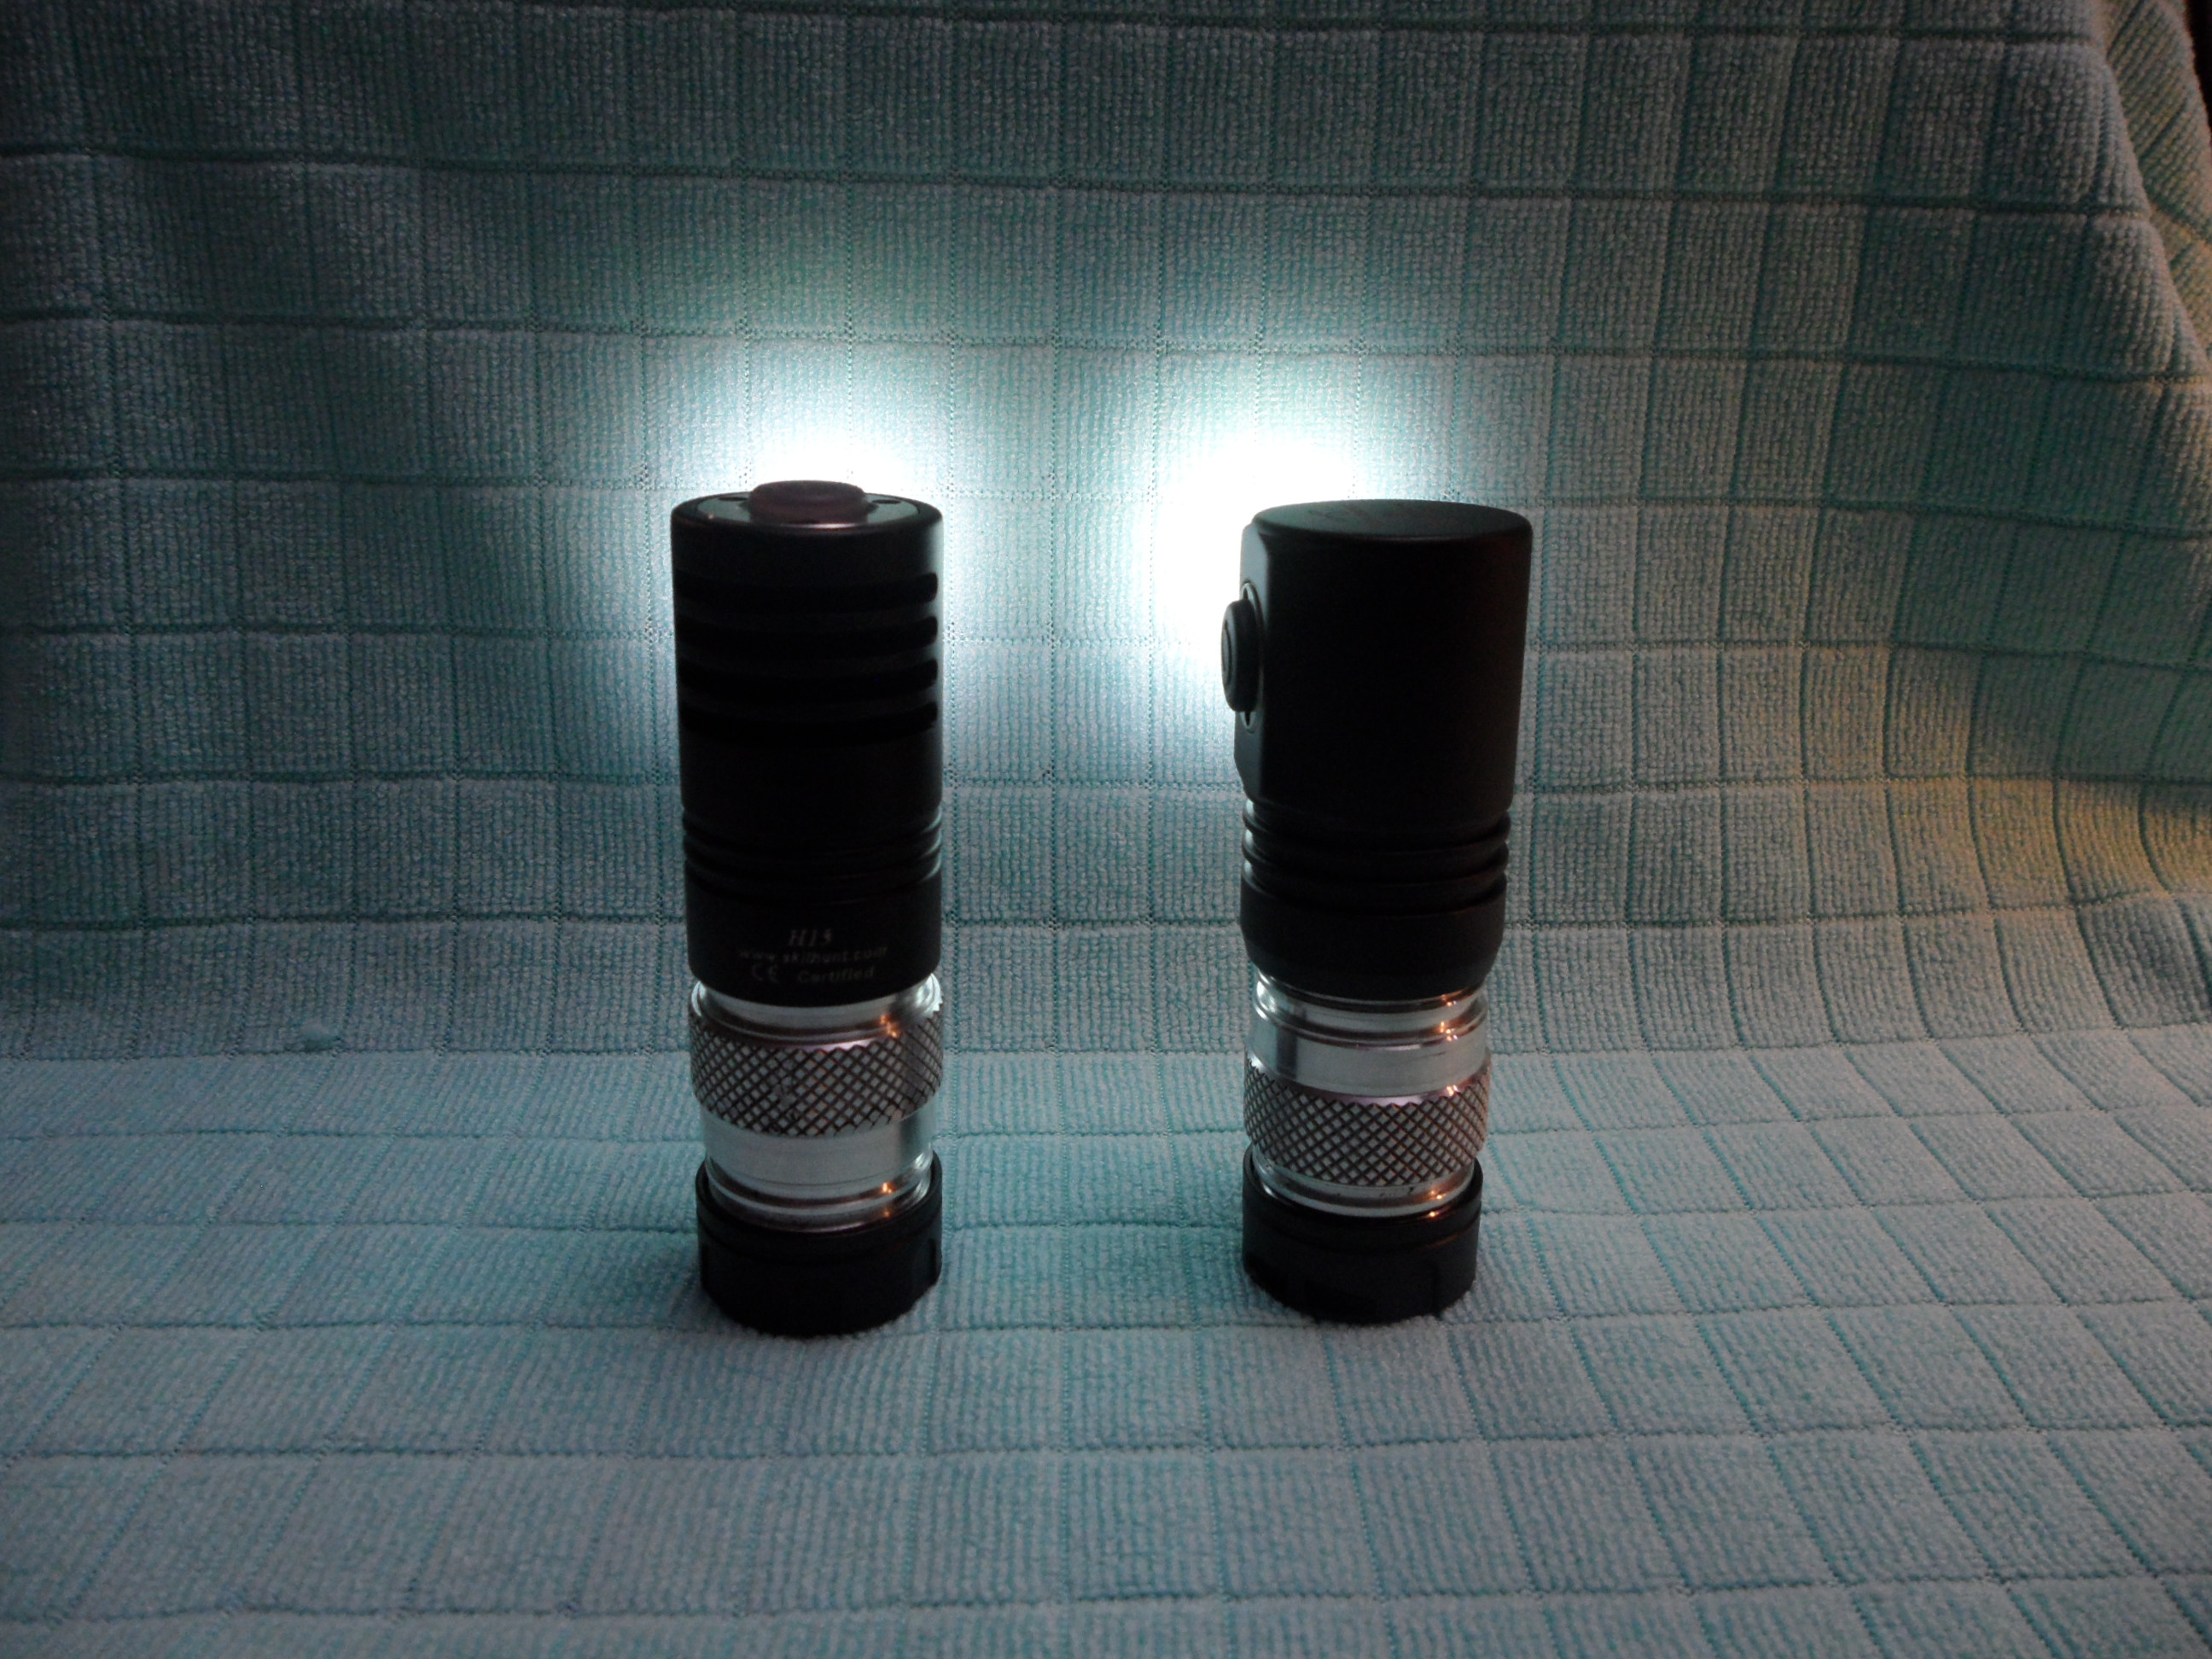
Anyone looking to do an emitter swap on this, the 16mm Noctigon fits perfectly with whatever choice of emitter you would pick.
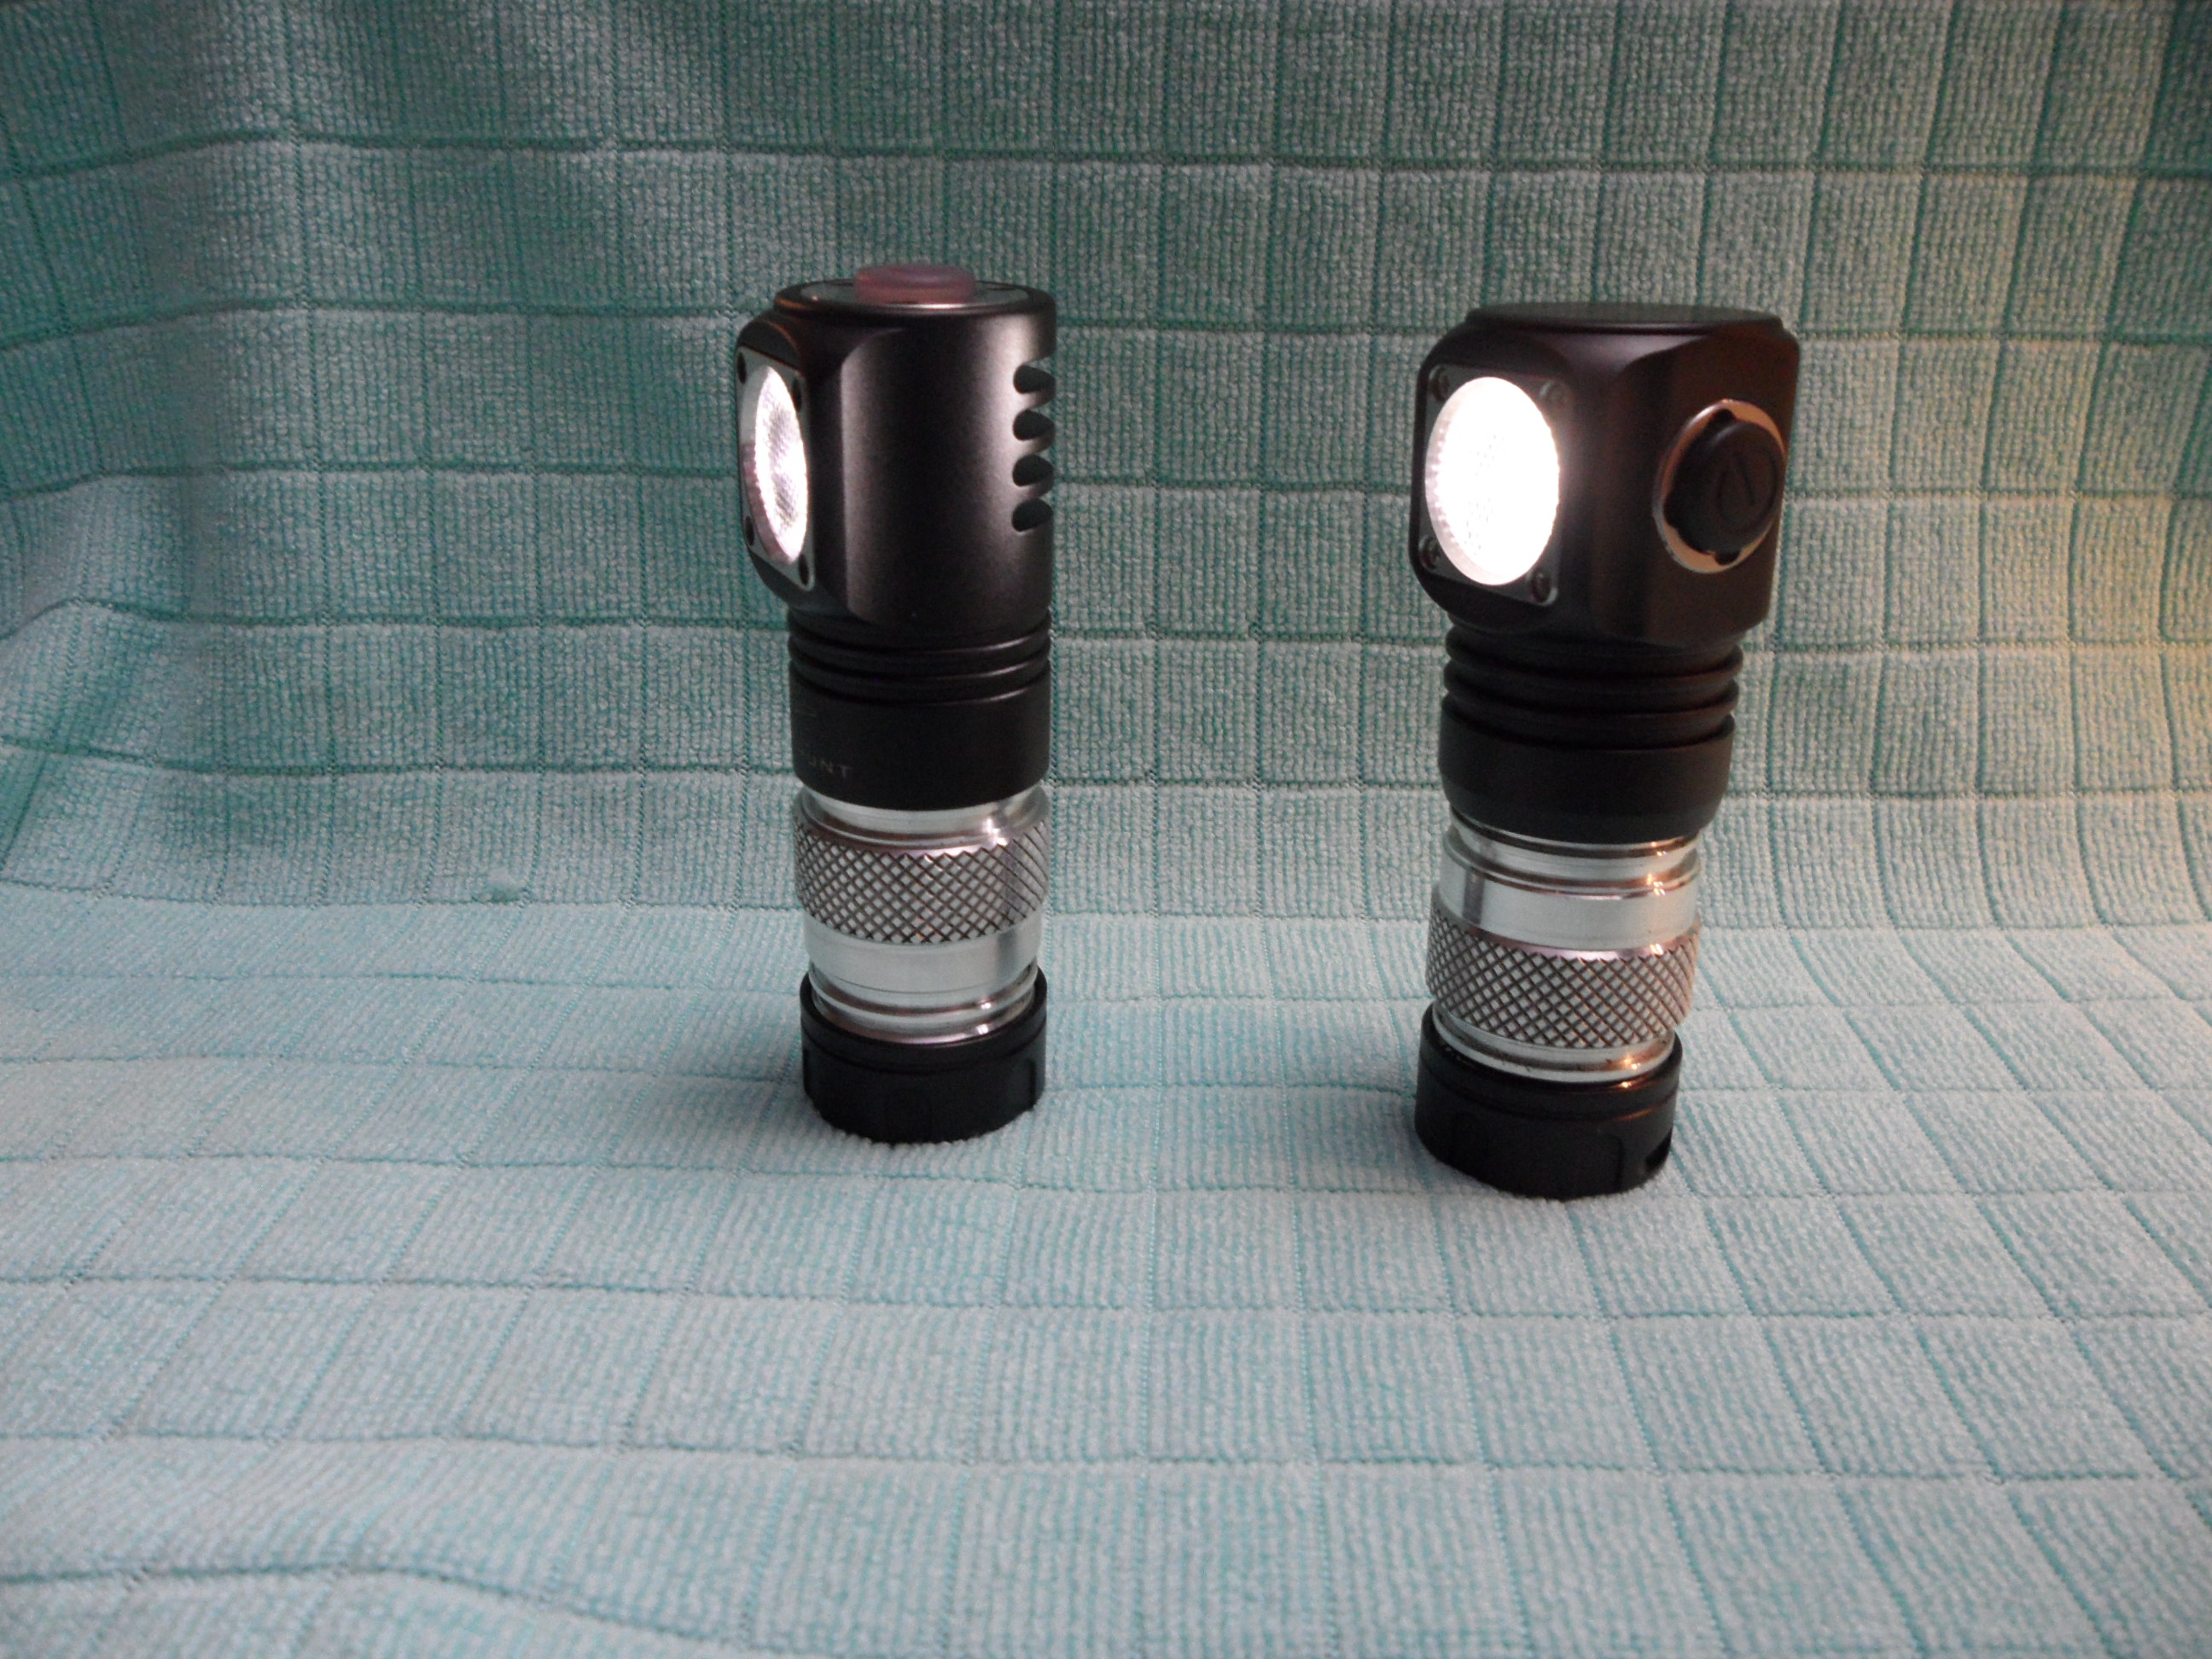
I swapped the emitter in mine to a 3000K XP-G2, the beam is a bit narrower (due to smaller die of the XP-G2 vs XM-L2), but still nicely diffused. I would say it is 25% narrower at the most for beam size at the same distance.
The Optic fits over the XP-G2 nicely with no wobble. I could not find an XM-L2 in a tint I liked, so I ordered a XP-L U5 7A3 from RMM. The die on the XP-L is the same size as the XM-L2, so it should be back to a super floody, high bin 80+ CRI Warm White headlamp. As the optic fits the XP-G2, I figured I would try the XP-L, which is the same size, but floodier.
Process has a couple of quirks to change out the emitter. The good, it is overall easy, plenty of wire length to get the emitter out and around before having to desolder it. The Bad, the board is held by two phillips head screws and some thermal grease. Hard to reseat the screws when the new emitter is in, just tricky, not impossible.
The front bezel in stainless is held in by four small torx screws, hit up a harbor freight or other cheap tool place to get you one of those micro driver sets with the small torx bits. My set was $3, and works on glasses and knives as well, good purchase for flashlight modding anyway.
Unscrew the four torx bits, and put them on a piece of double sided tape so you do not lose them. Then flip the light bezel down and knock the bezel out into your other hand with a couple of hand to hand smacks…
The TIR may come out too, there is a clear O ring behind it, mine stayed on the TIR, but make sure you find yours if it sticks on the light… Looking into the void (batteries out of the light I hope) then just unscrew the two Phillips head screws holding the emitter down. Using a pair of skinny pliers or a pick, lift the emitter star up from the back of the light. Now grip it with the pliers from the side and carefully work it out of the front of the light where the TIR was.
It will look like the board does not fit out at first, but use the two grooves in the side of the emitter board to “walk” it out. Tape on the needle nose pliers will keep damaging the board to a minimum. Once out of the light, desolder the board and replace it with the one you selected… On my light, no extra thermal grease was even needed, there was plenty left on the board mount in the back of the light. DO NOT over torque the Phillips screws, just a 1/16-1/8 turn after they snug the board down. Same with the bezel screws, or use some light torque threadlocker if you are worried about it.
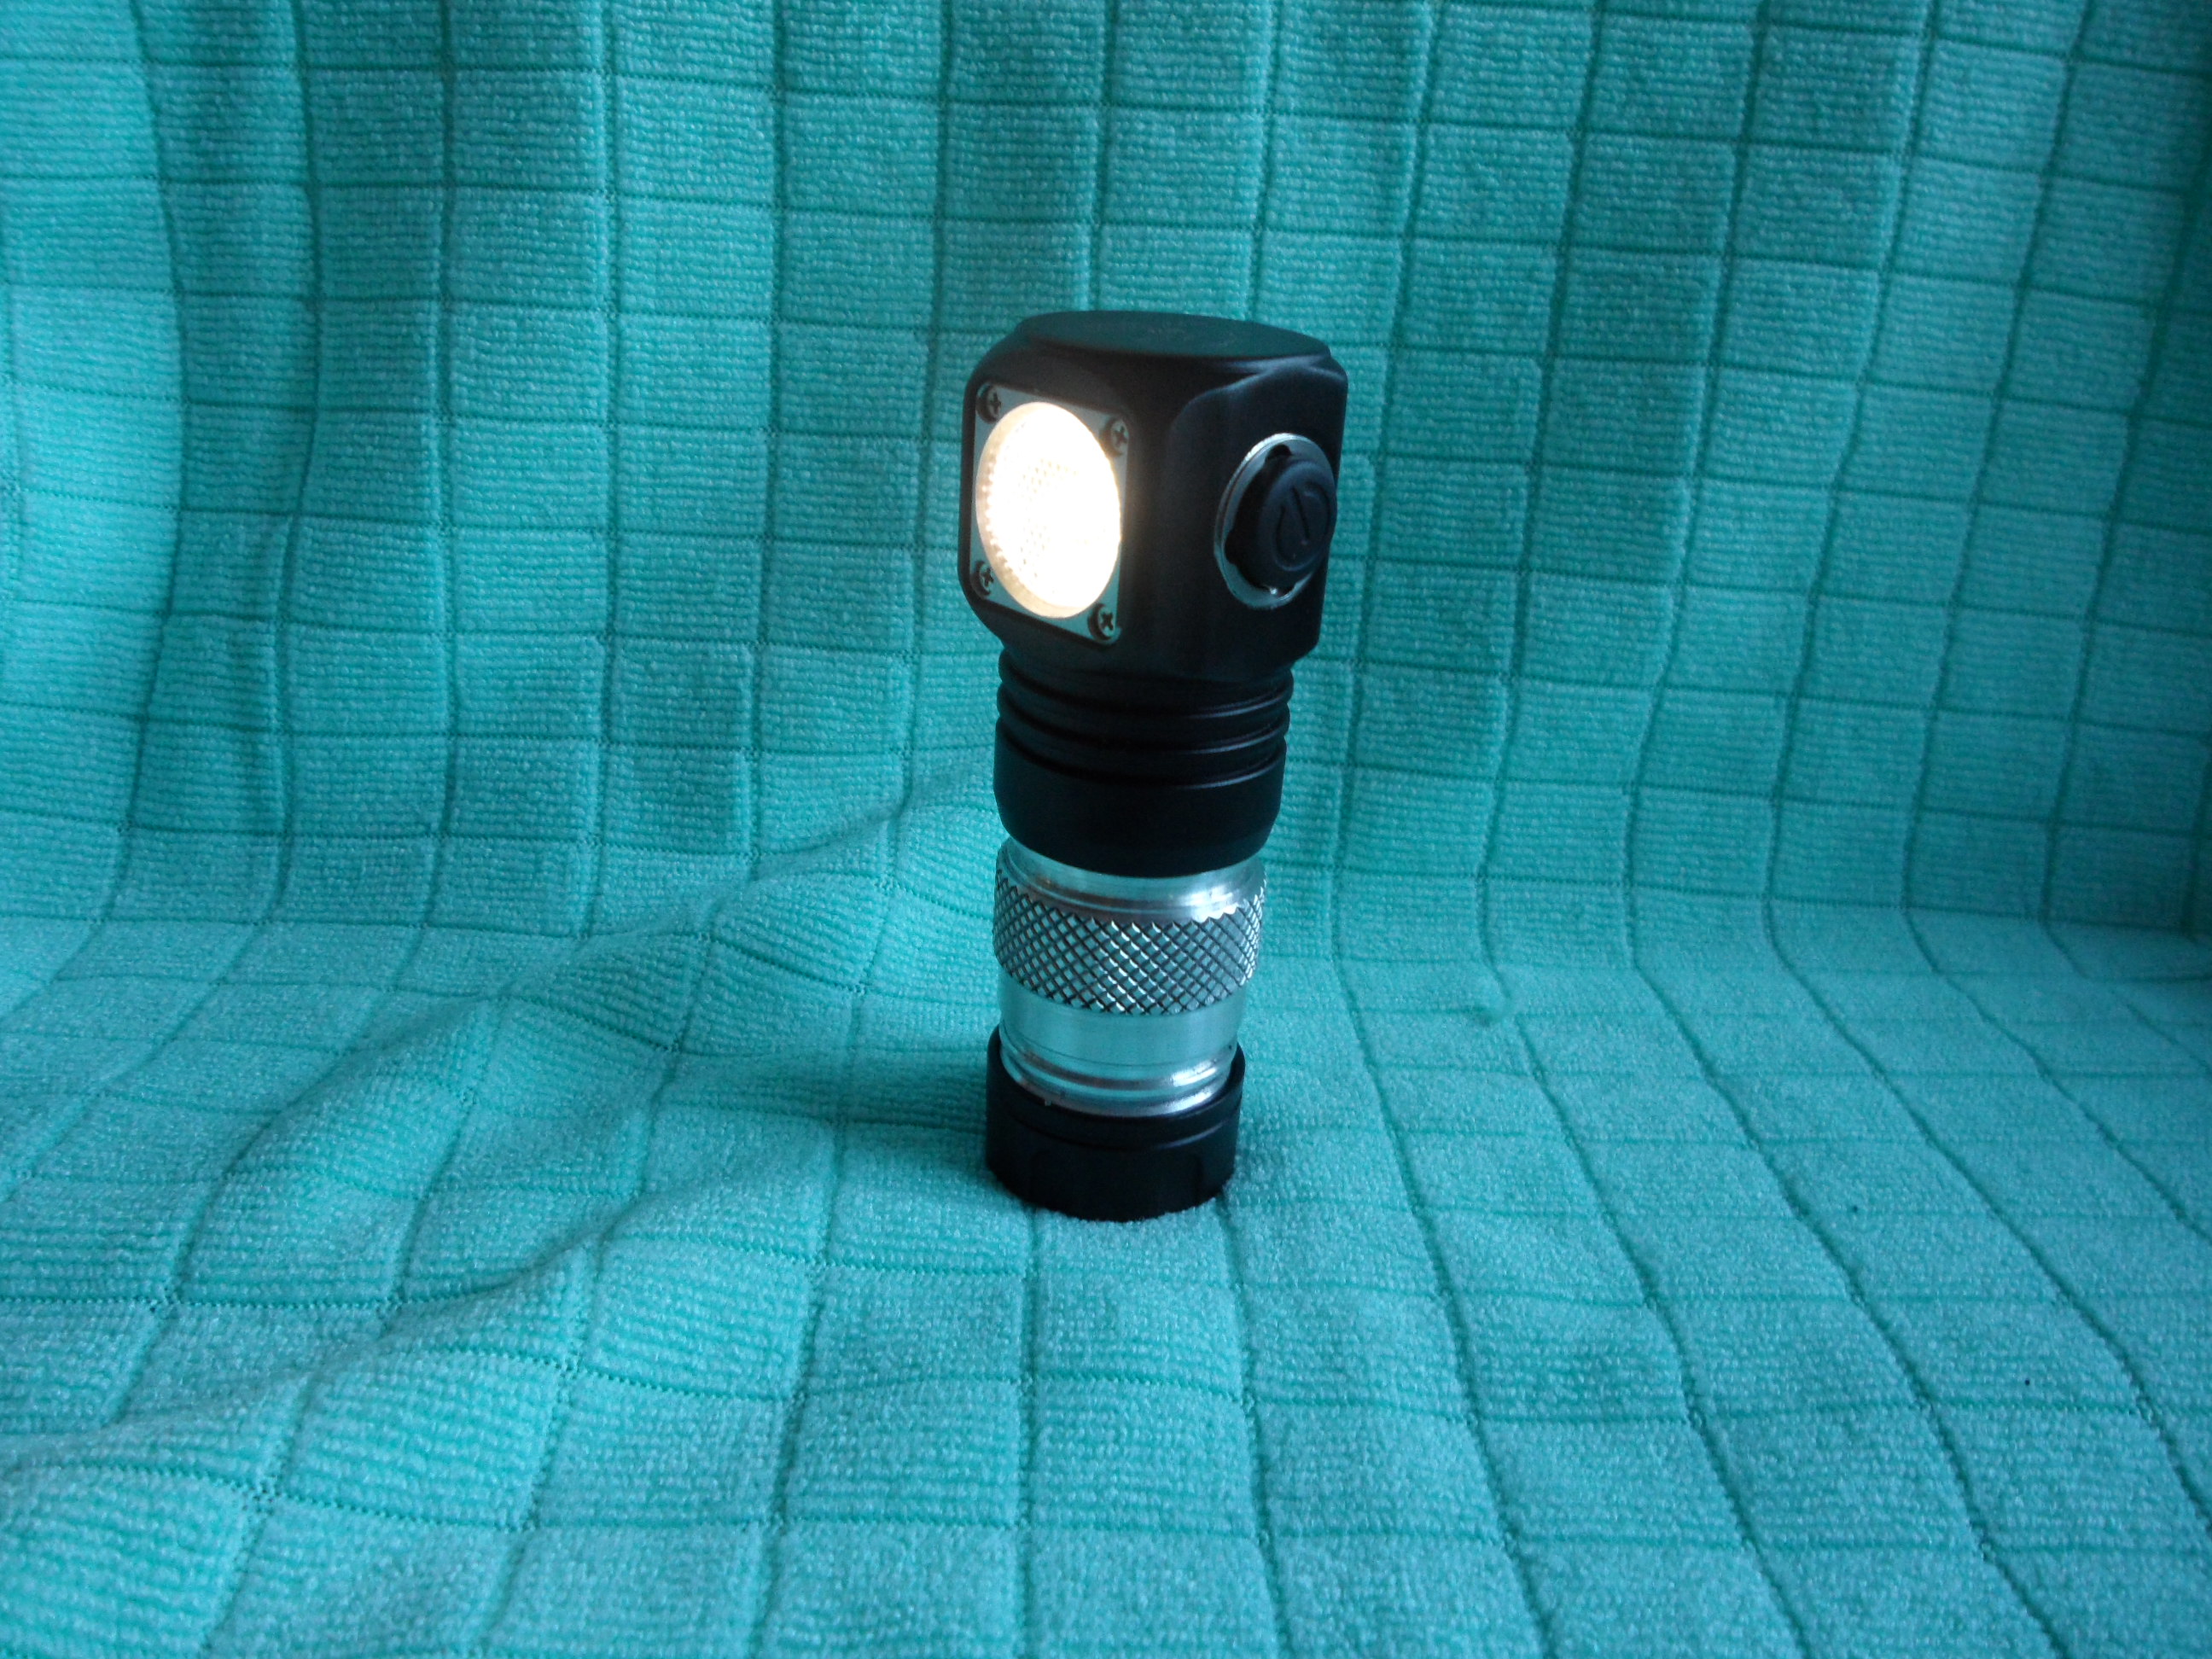
This light is great stock, so no need to do this if you do not want a different tint…
Good luck!