Hey guys!
there are a lot of good reviews showing the acebeam K40M as anyone can see it.
I try to get inside…
a pic of the well known batteriecarrier - works both sides
my Panasonic NCR18560B with 70mm fit - but tiiiight!
yes - 3S1P
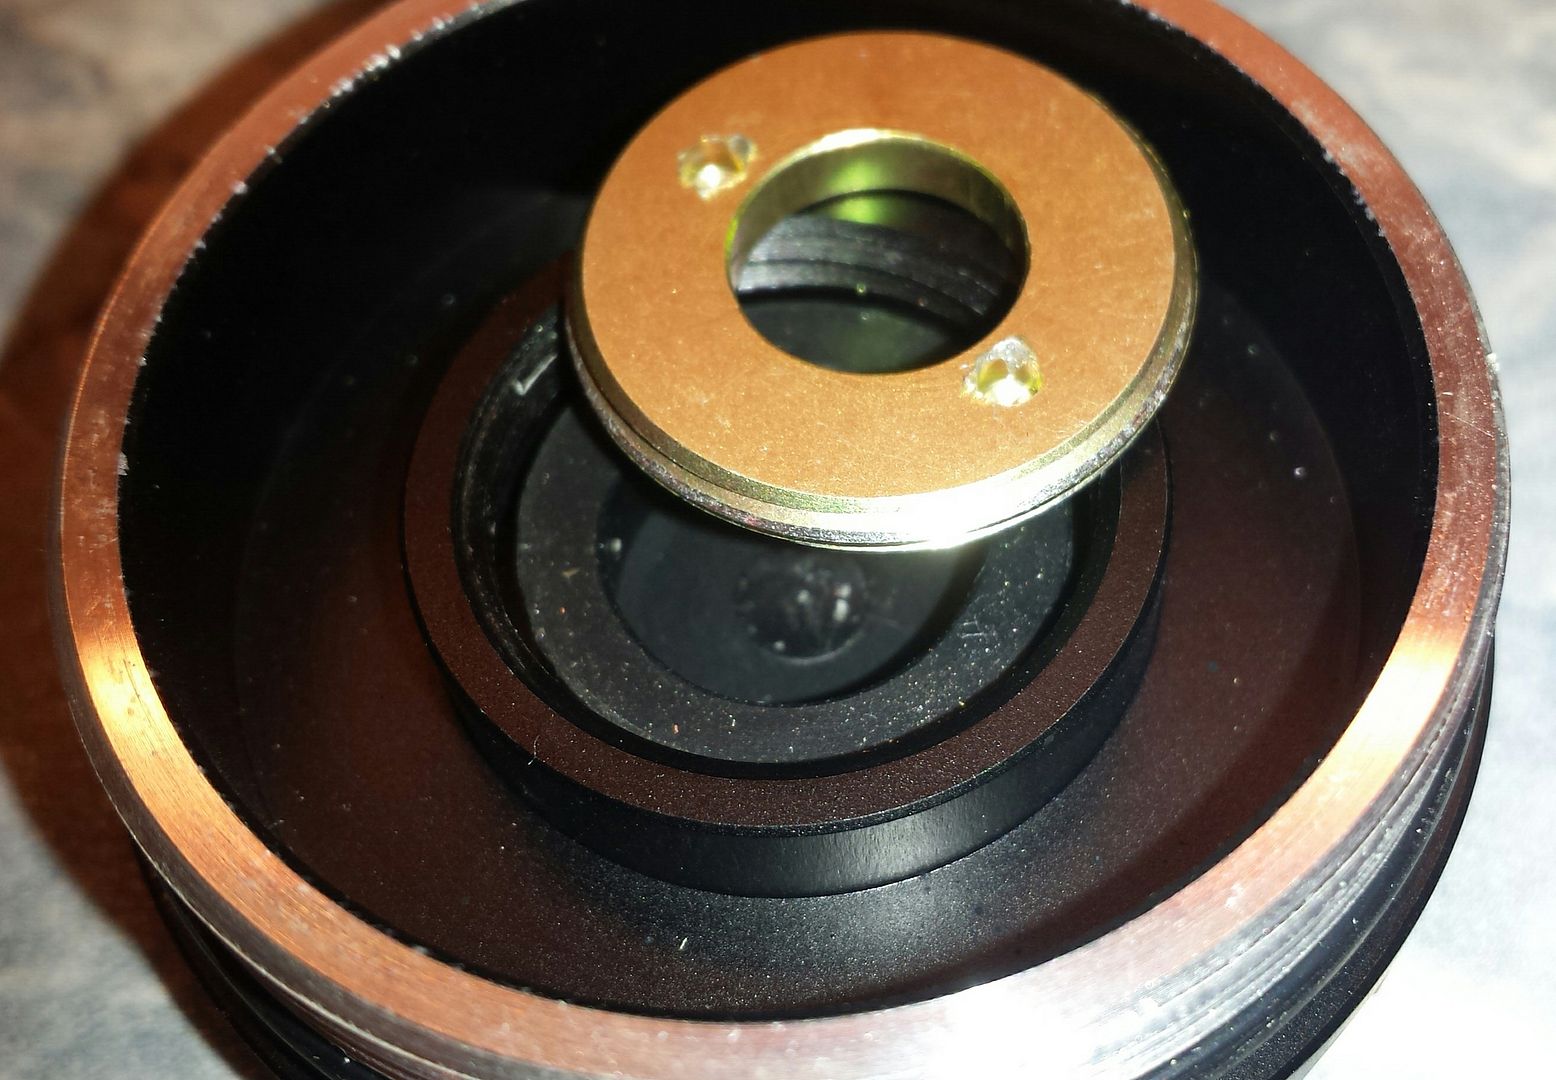
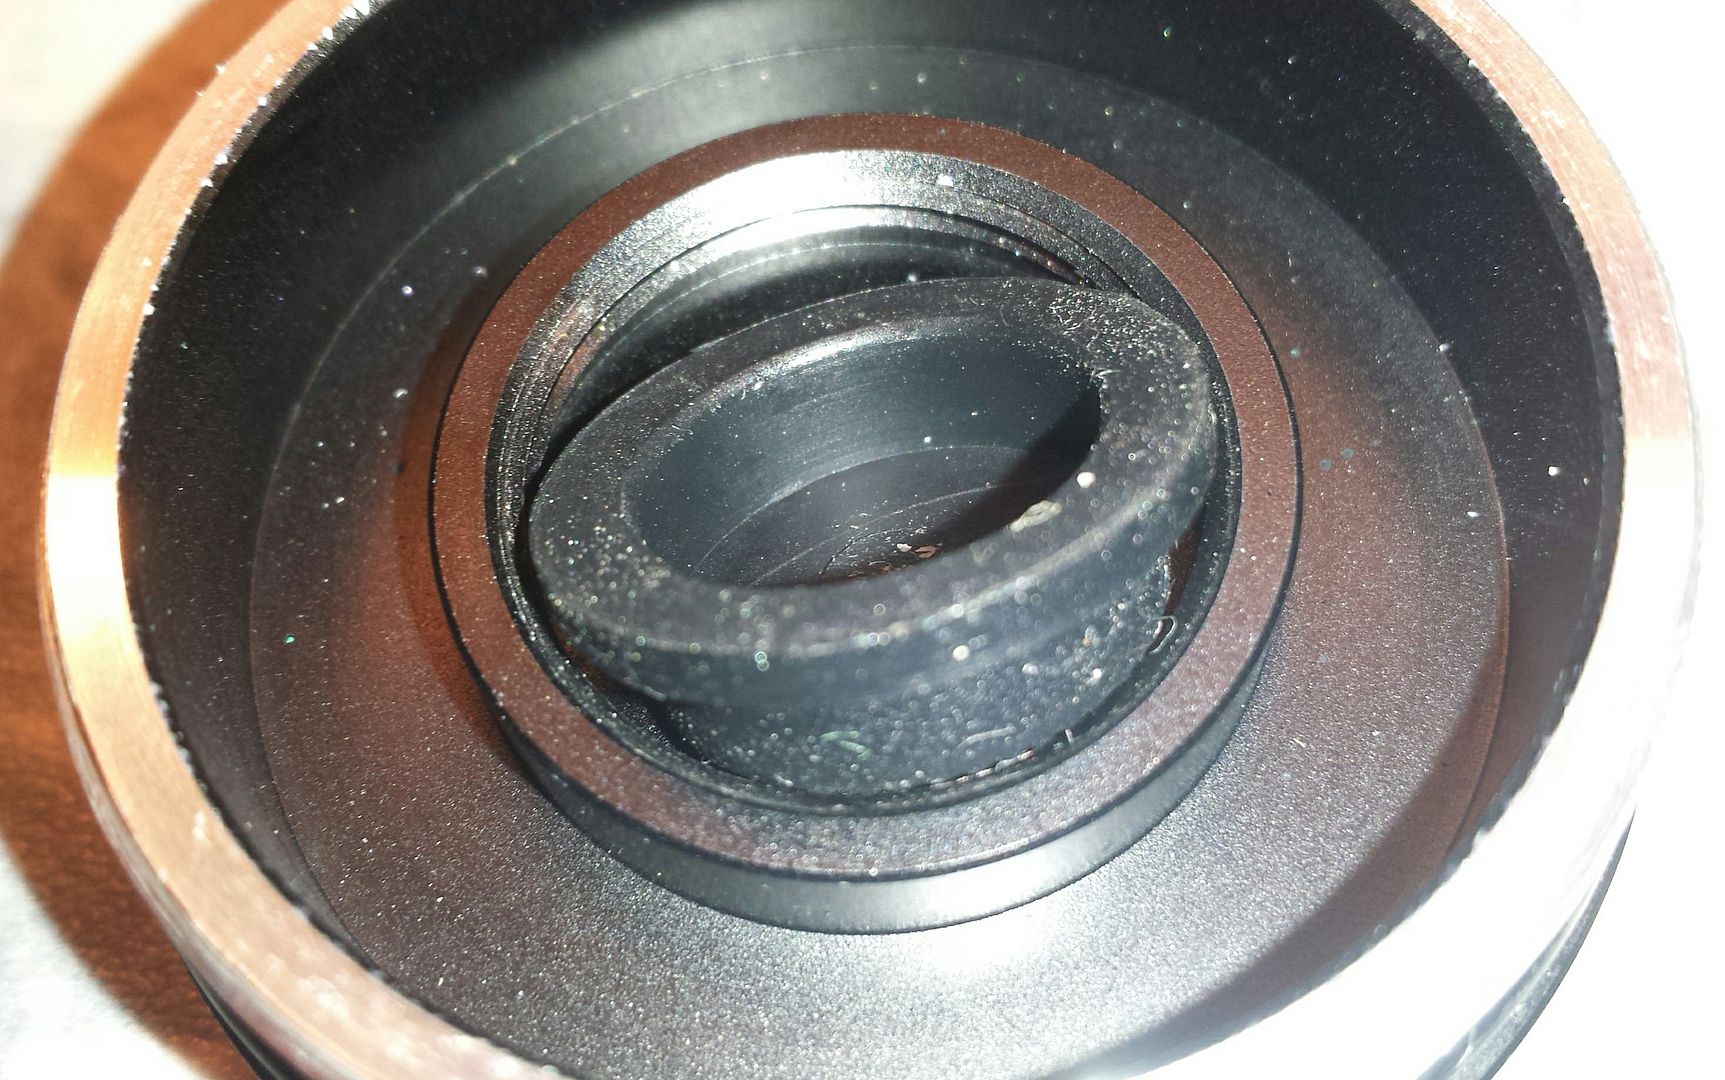
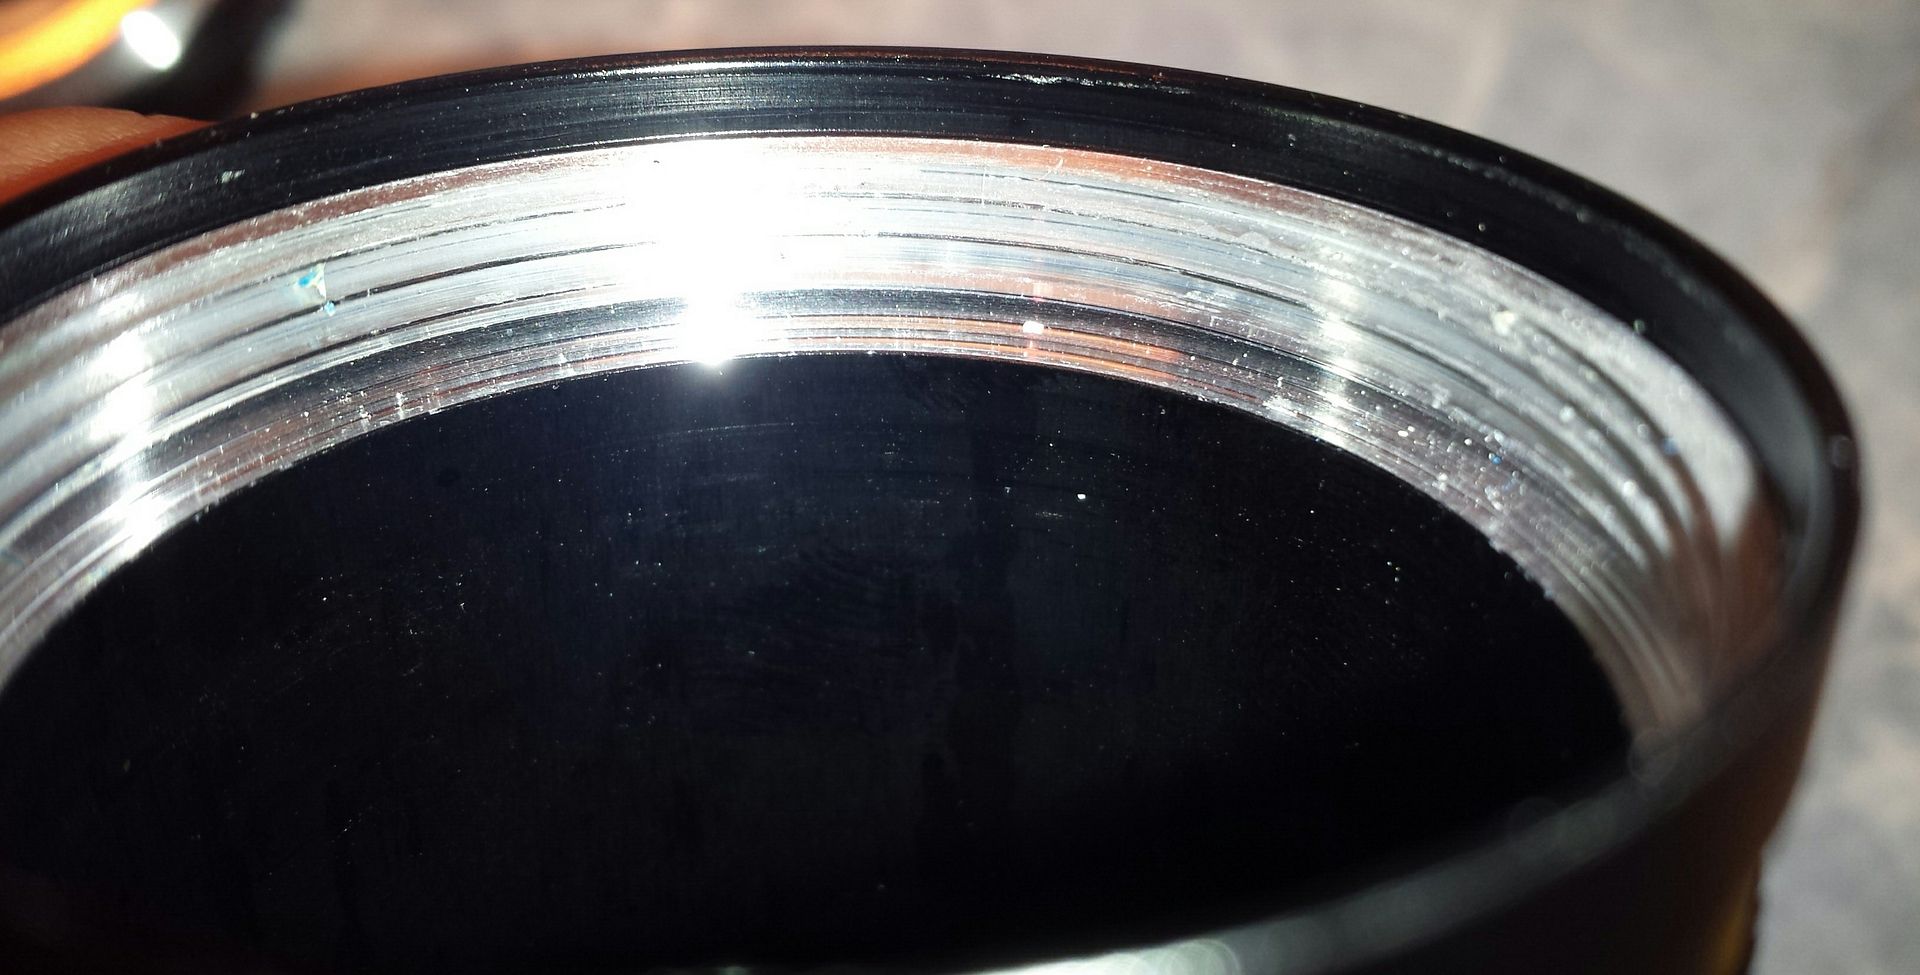
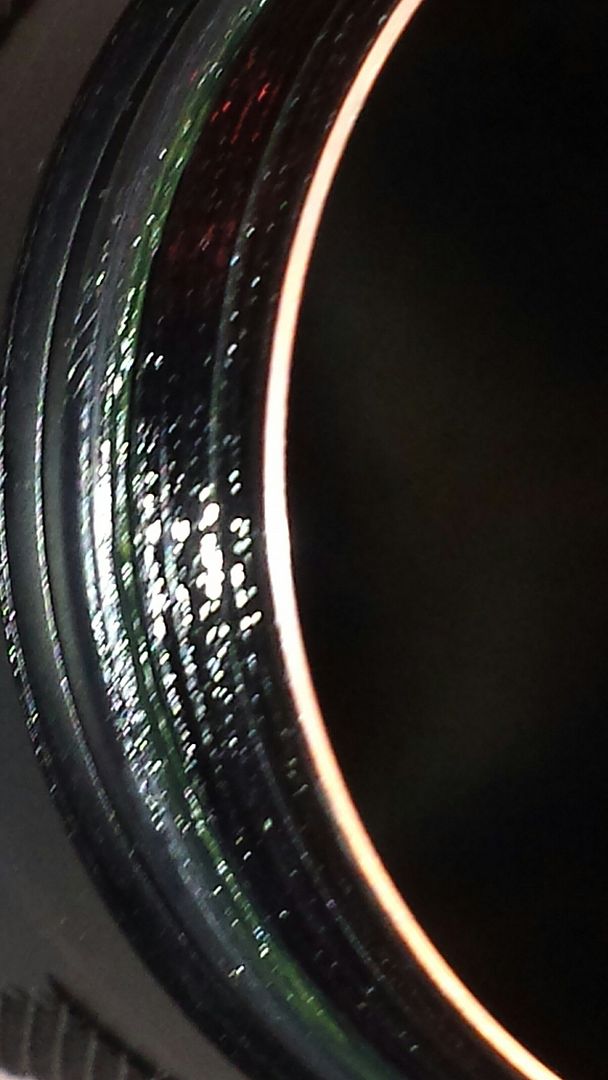
if you look inside the tailcap you see a brass retaining ring (the scratches are not from me!)
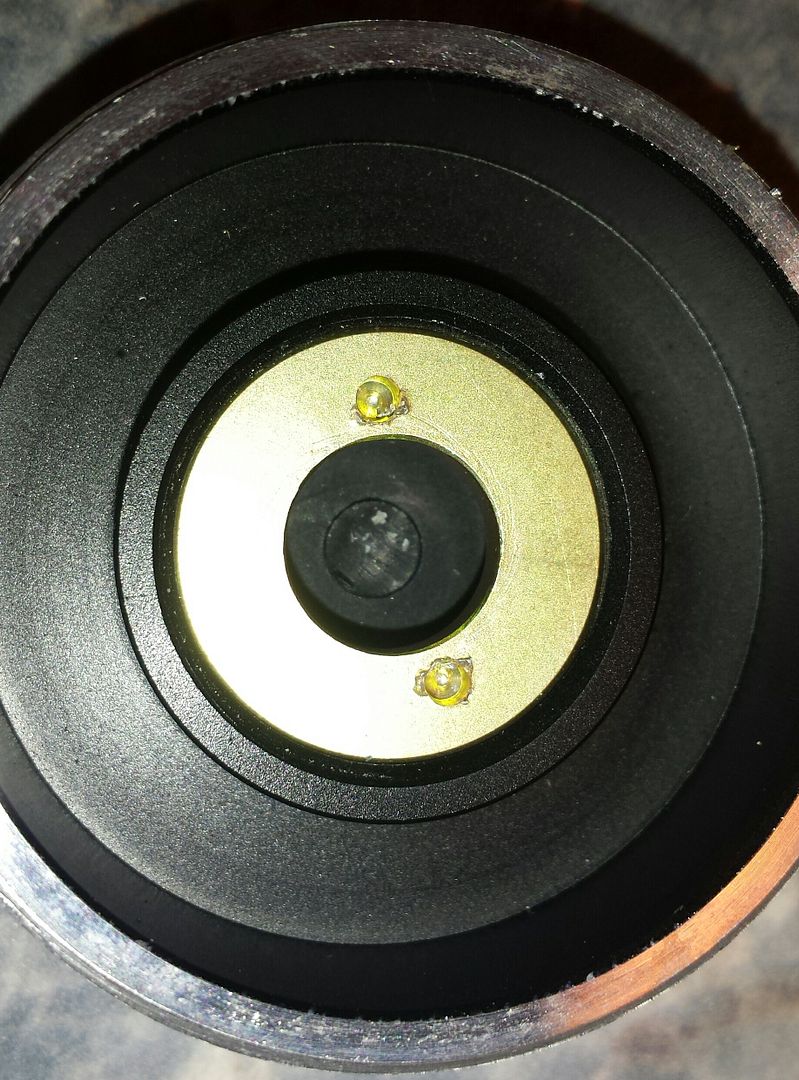
using needle nose pliers to unscrew lets you get to the tailcapswitchrubber…
a slightly press and it pops out so you can replace it
the parts
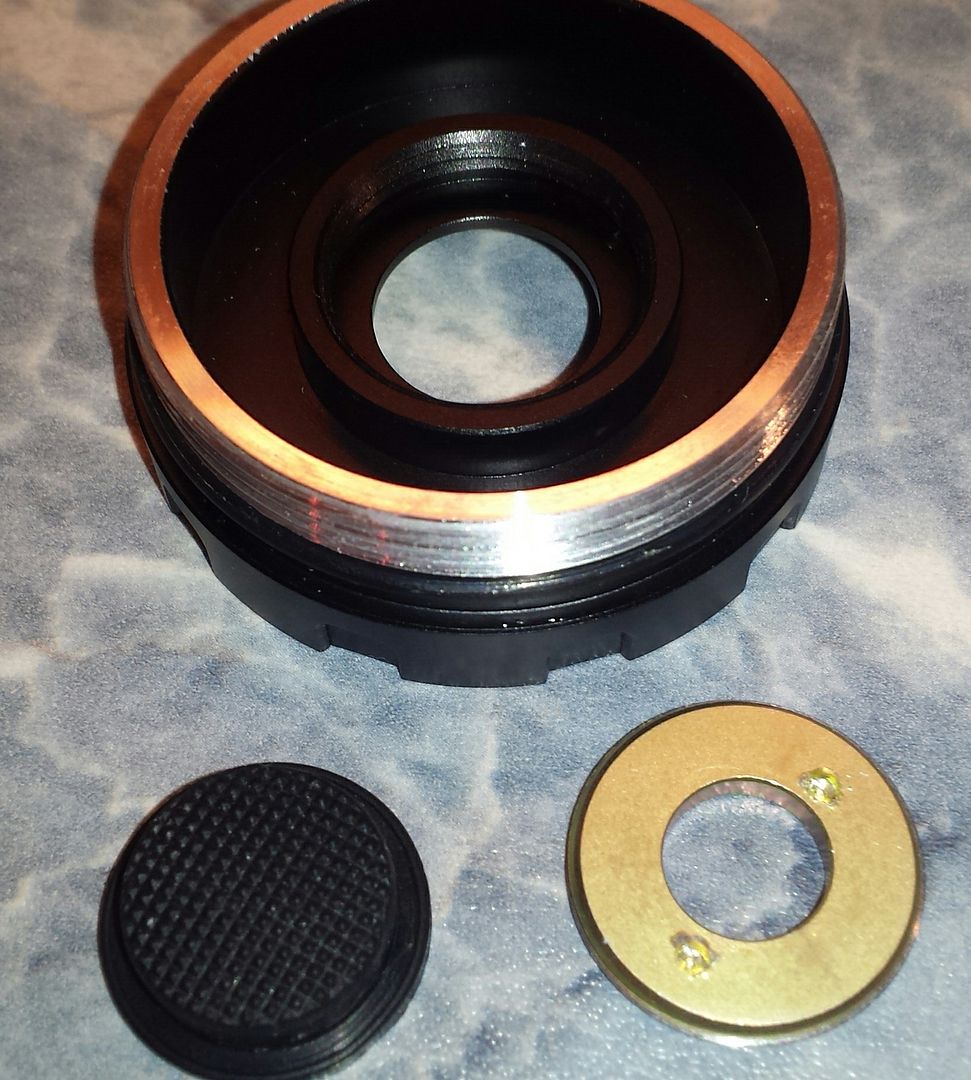
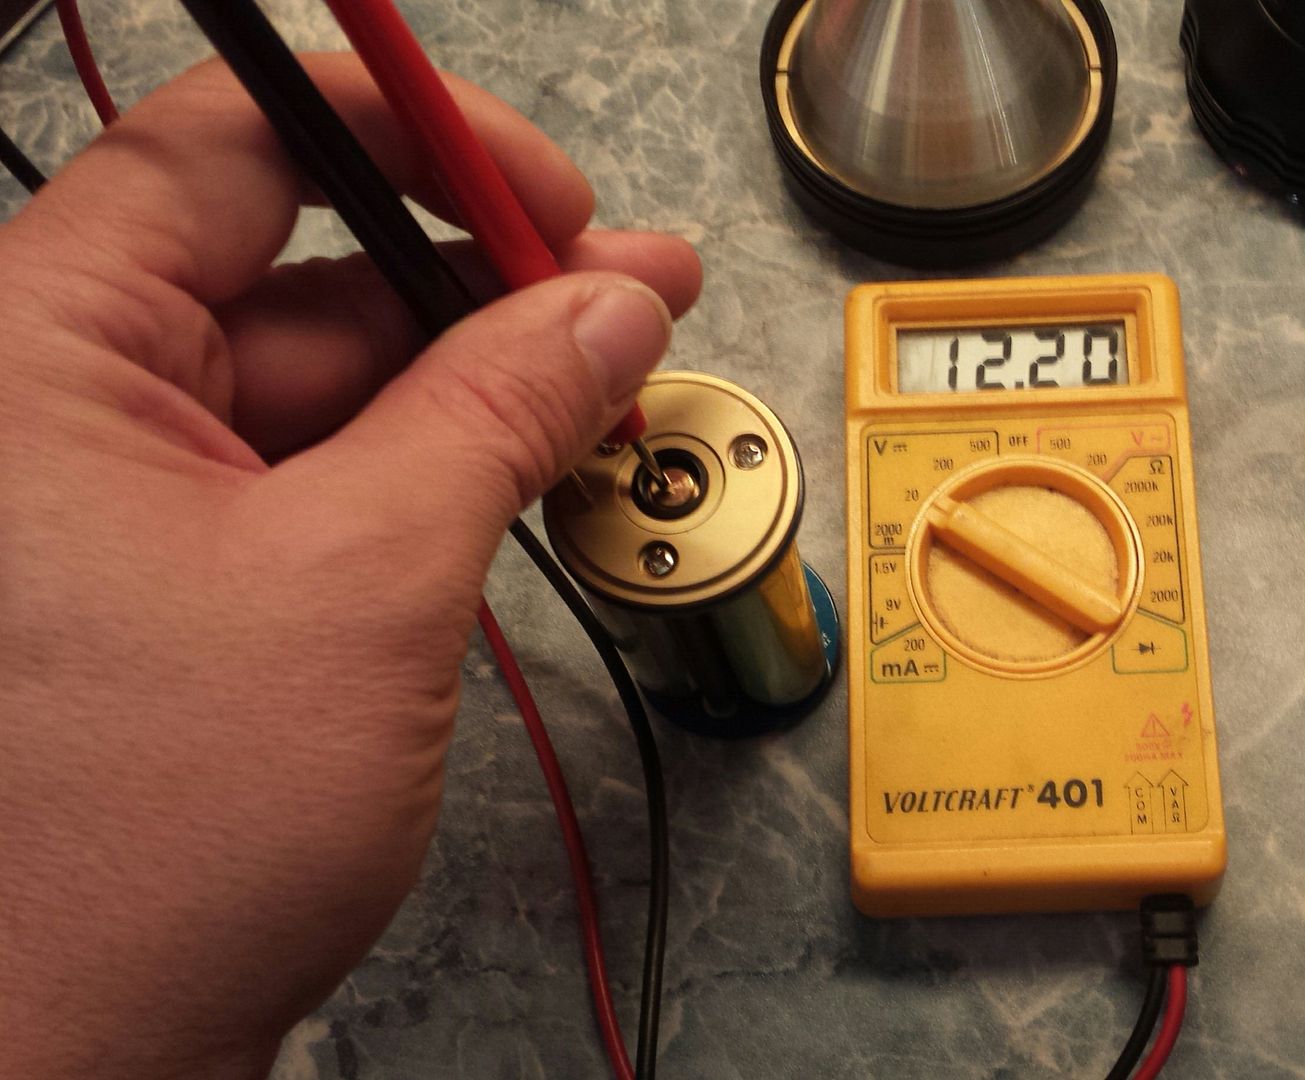
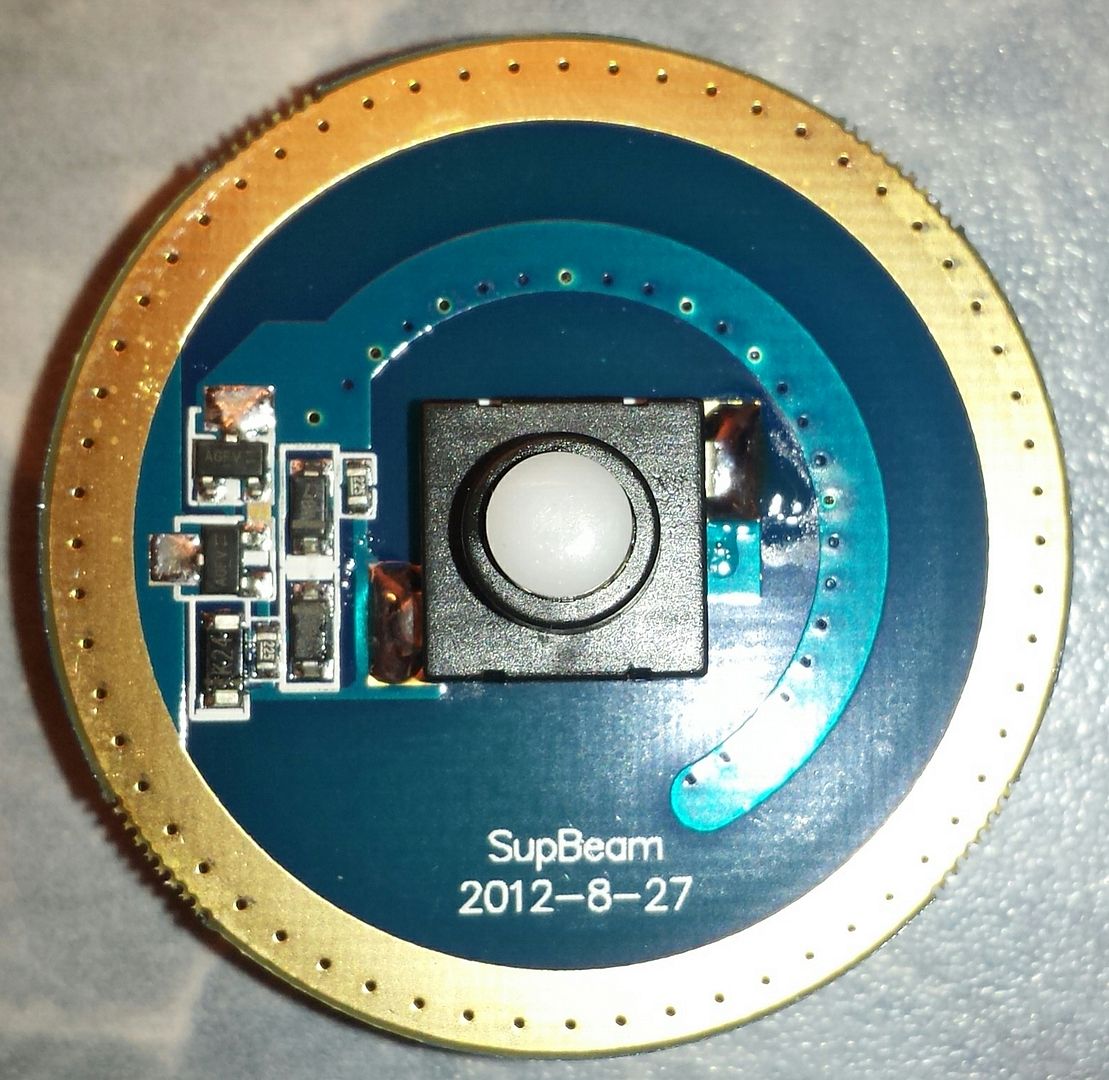
the swich itself (supbeam labeled)
what are that electronics for?
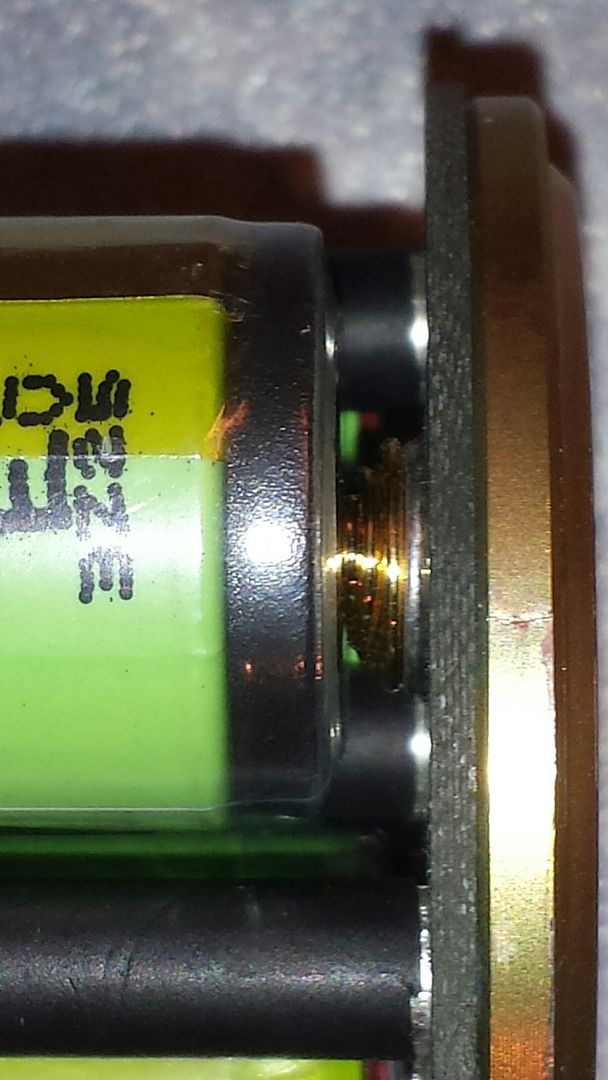
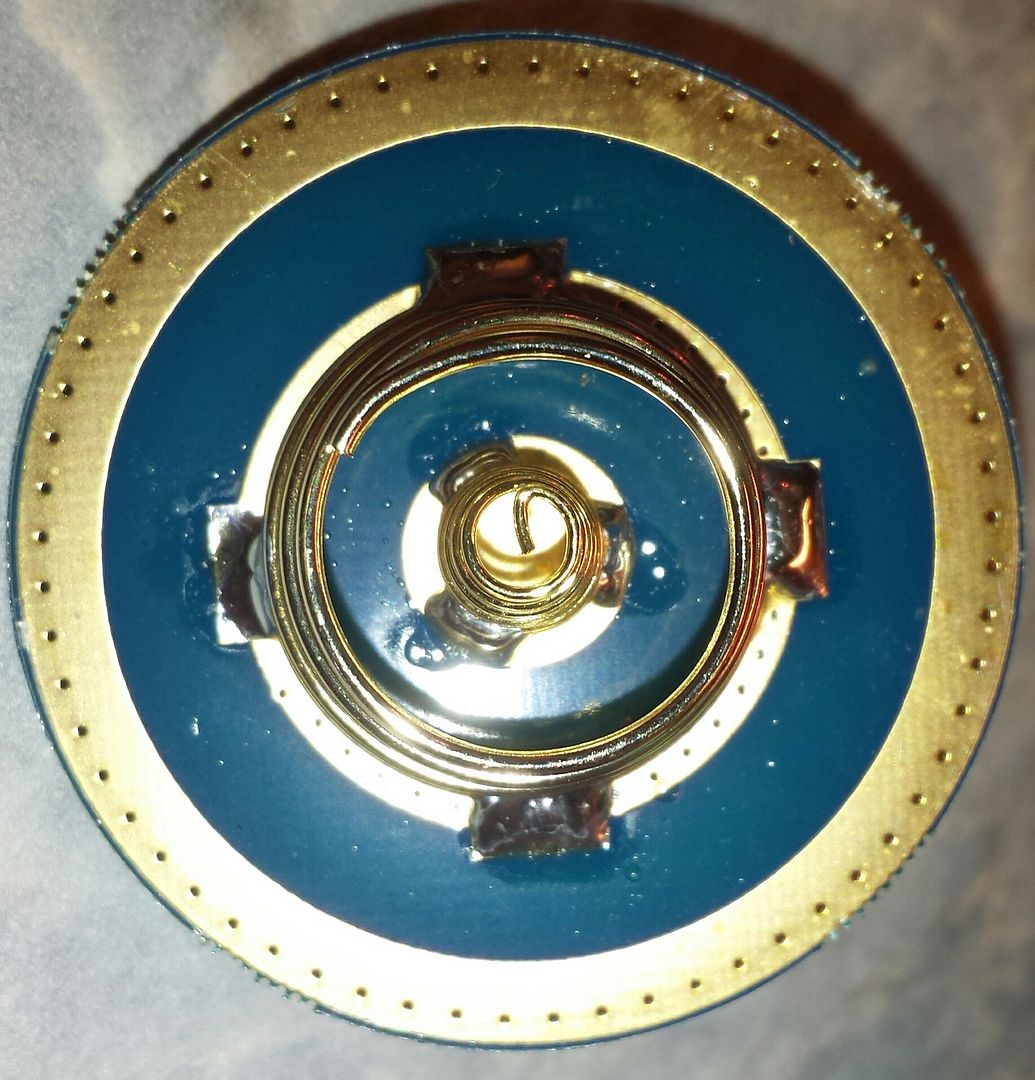
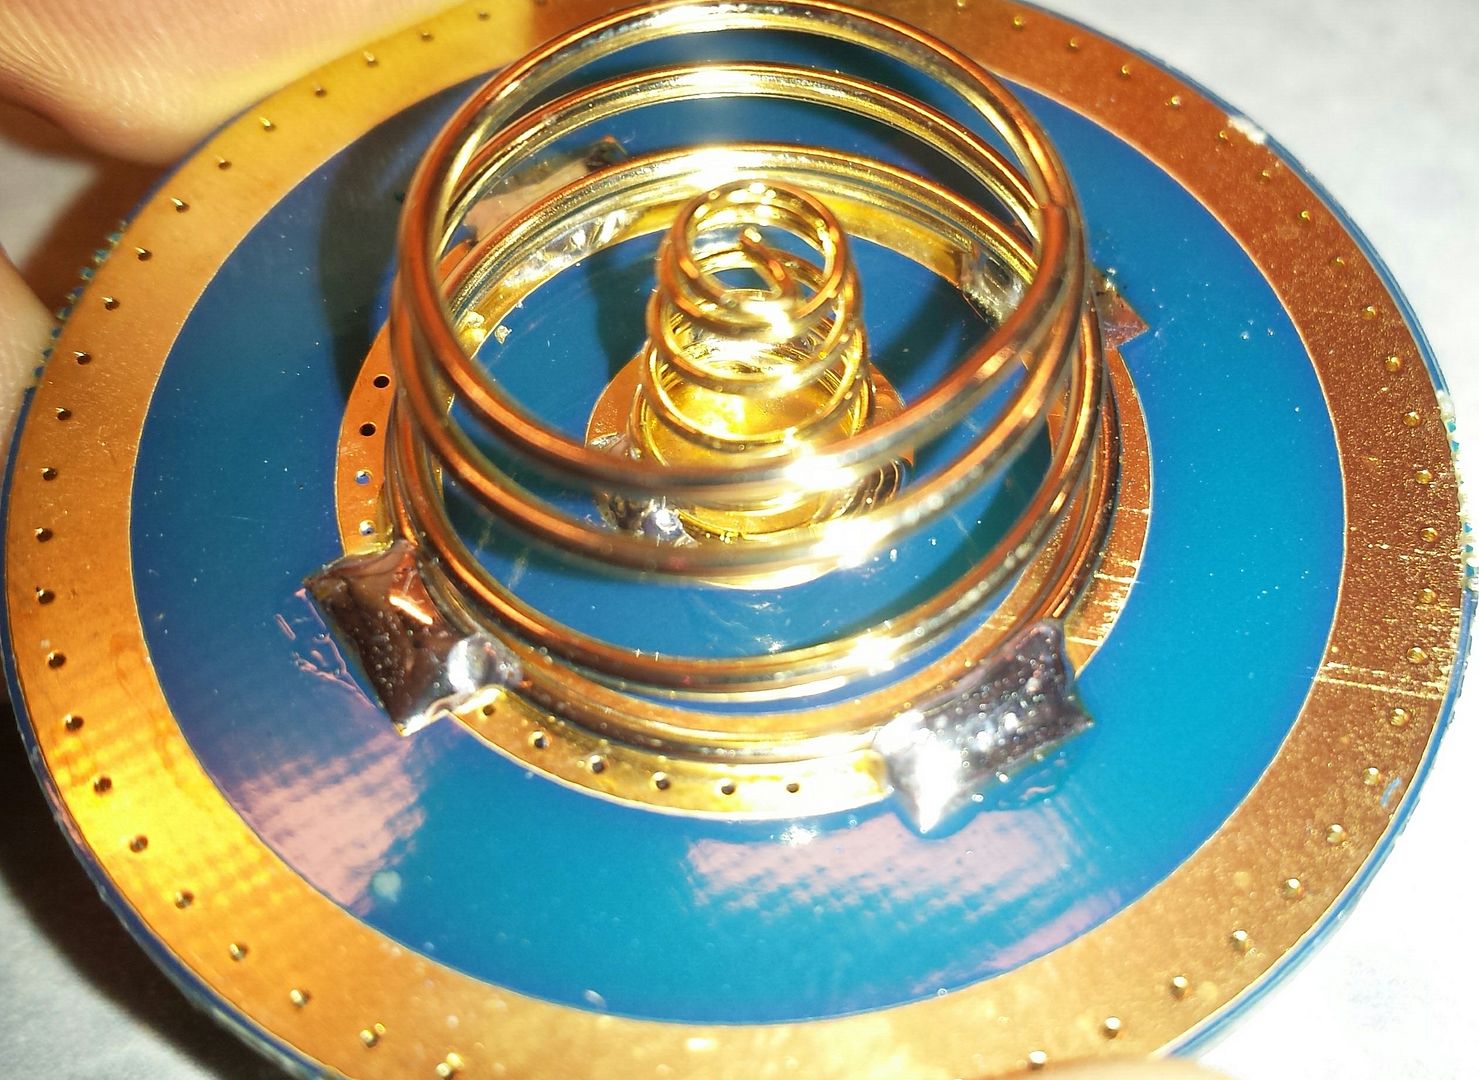
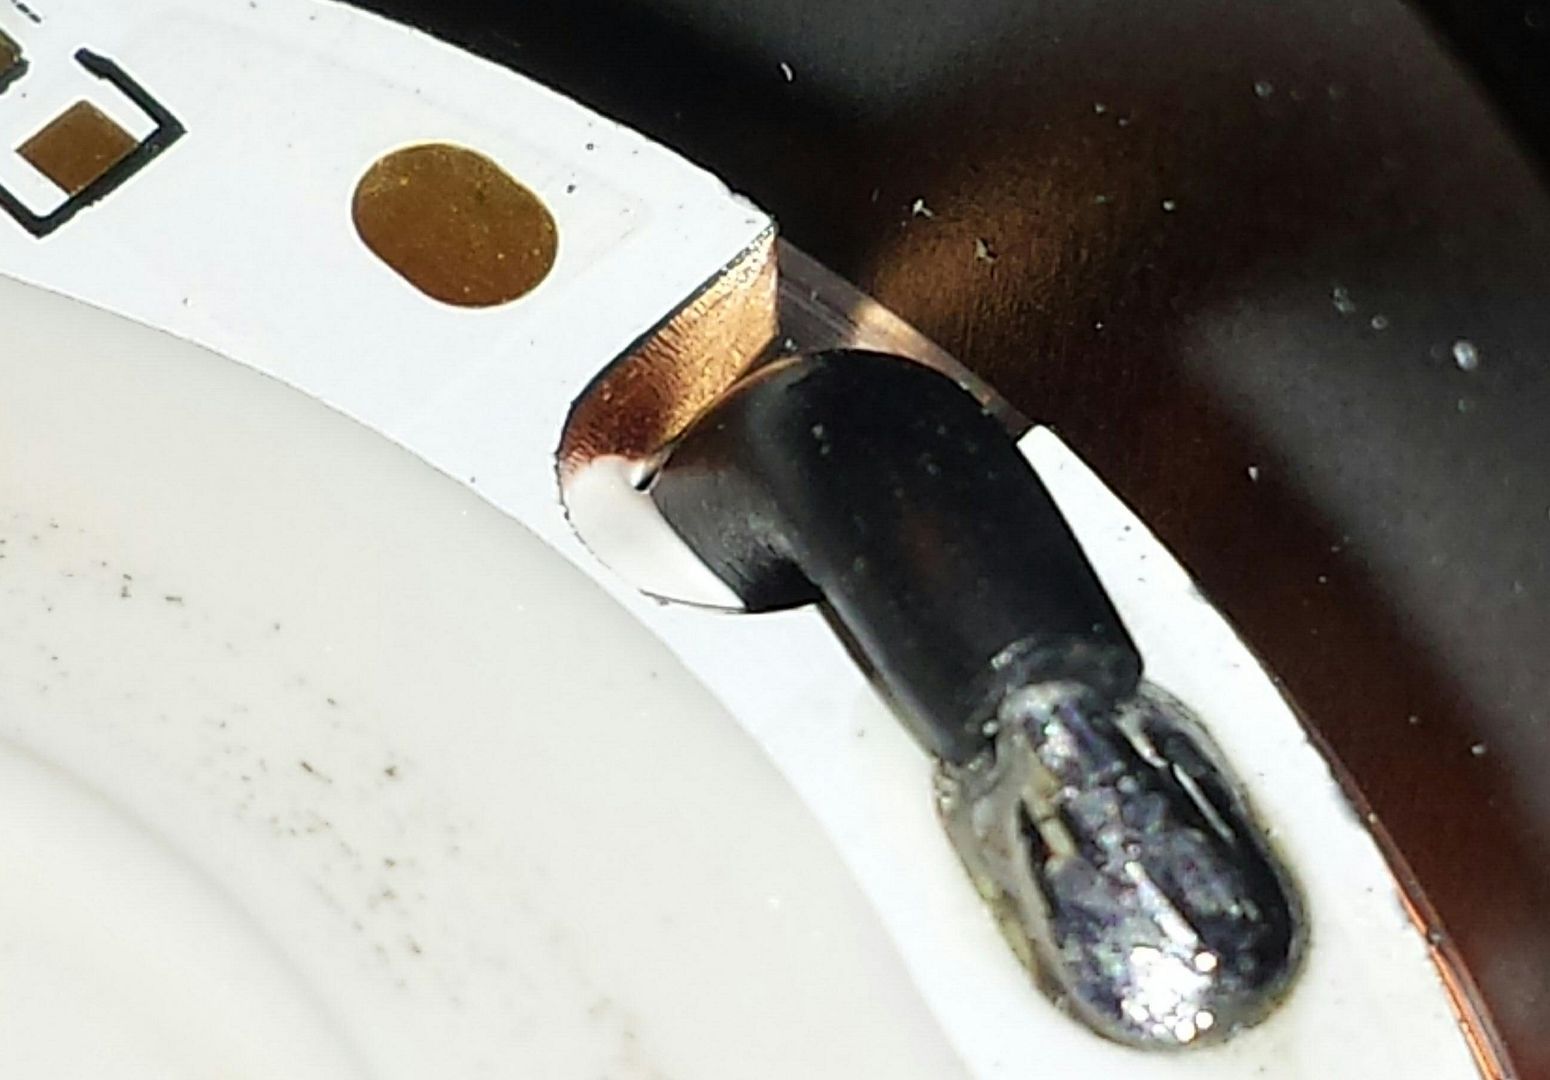
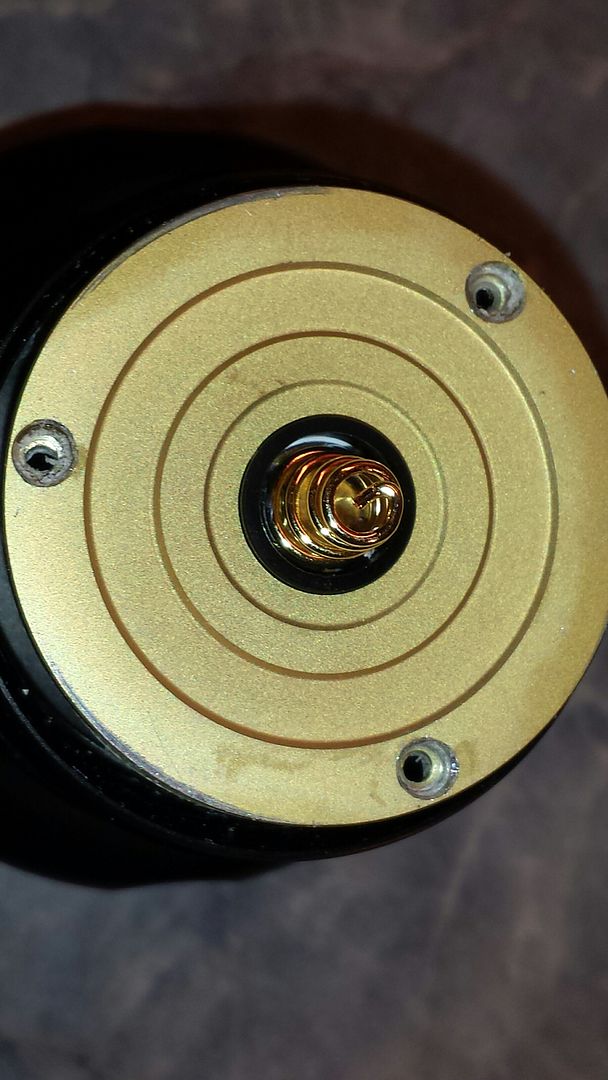
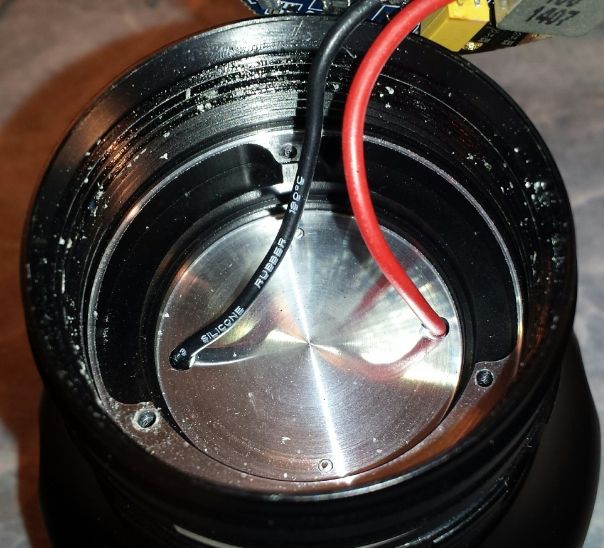
well centered, massive springs - good soldering work
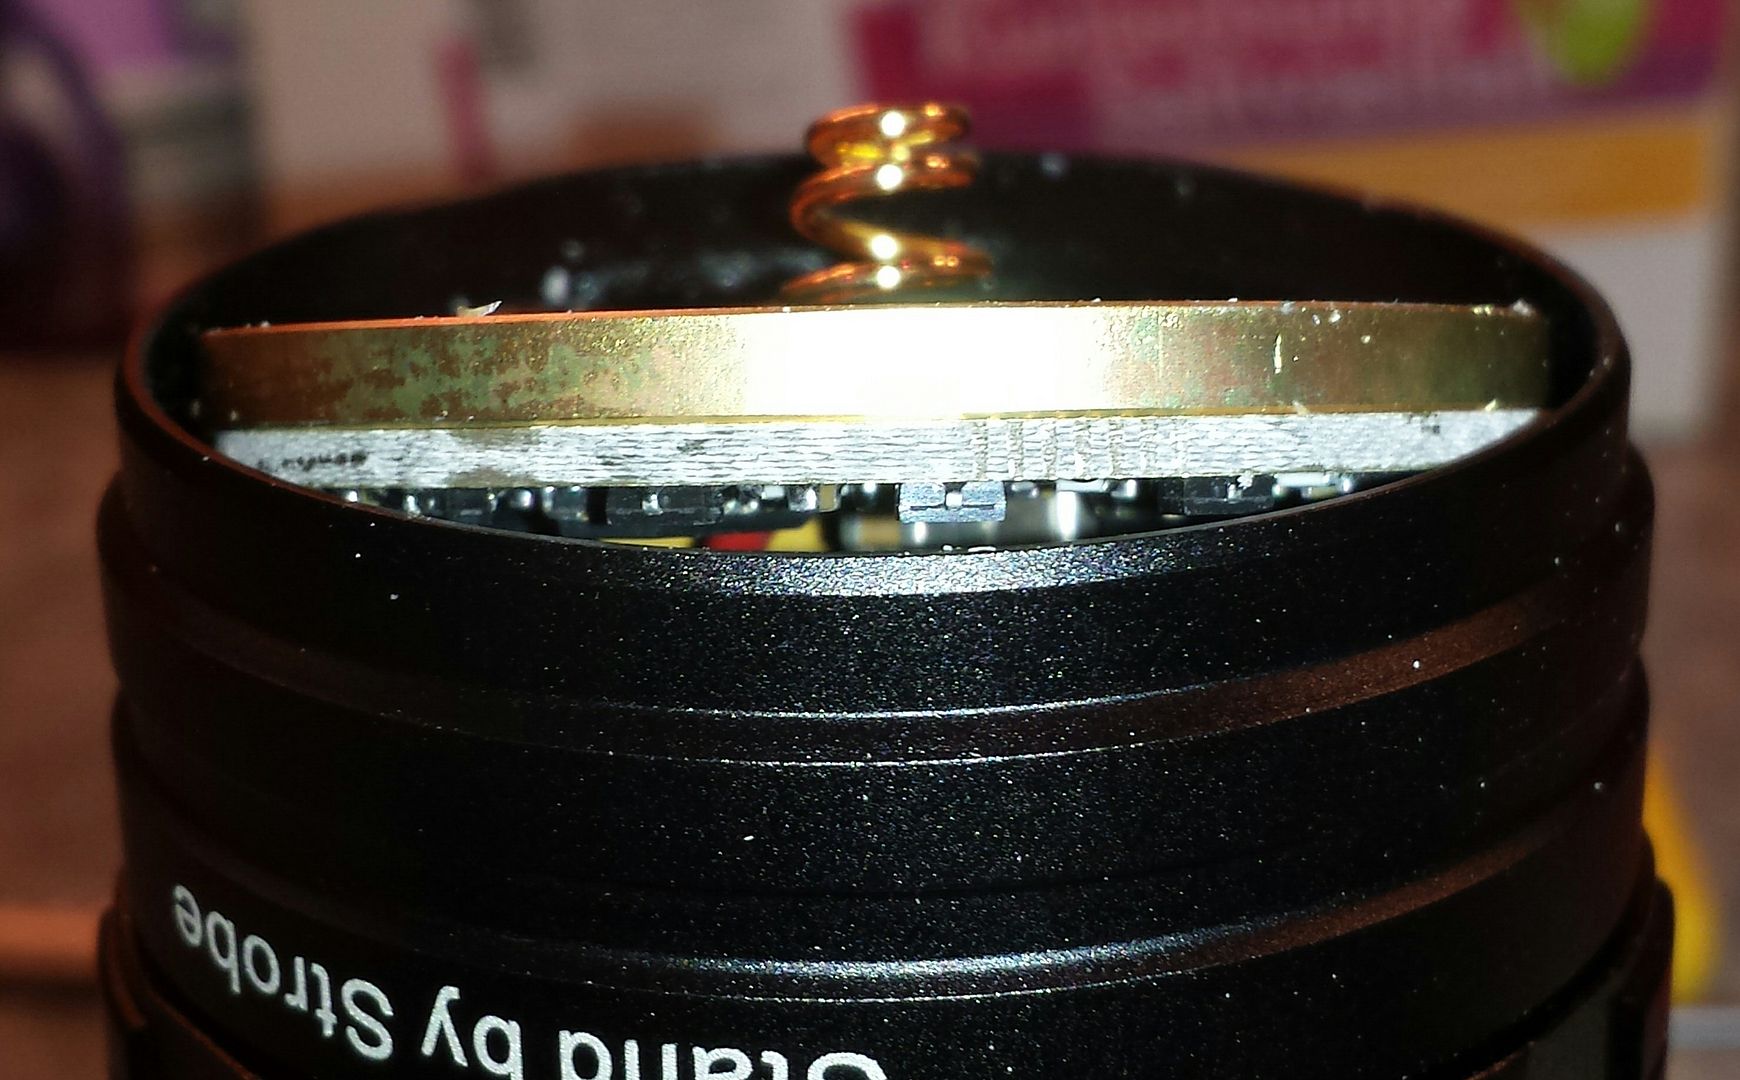
the switch PCB is placed in that groove (threads dry as desert gobi!)
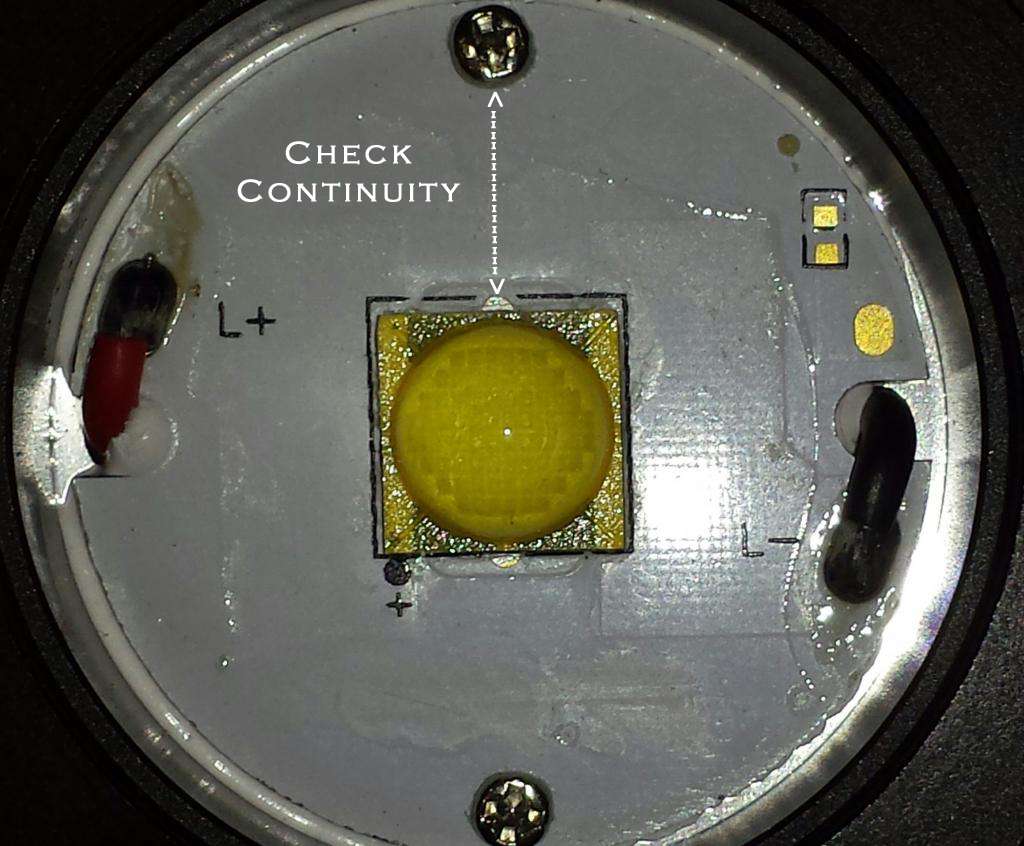
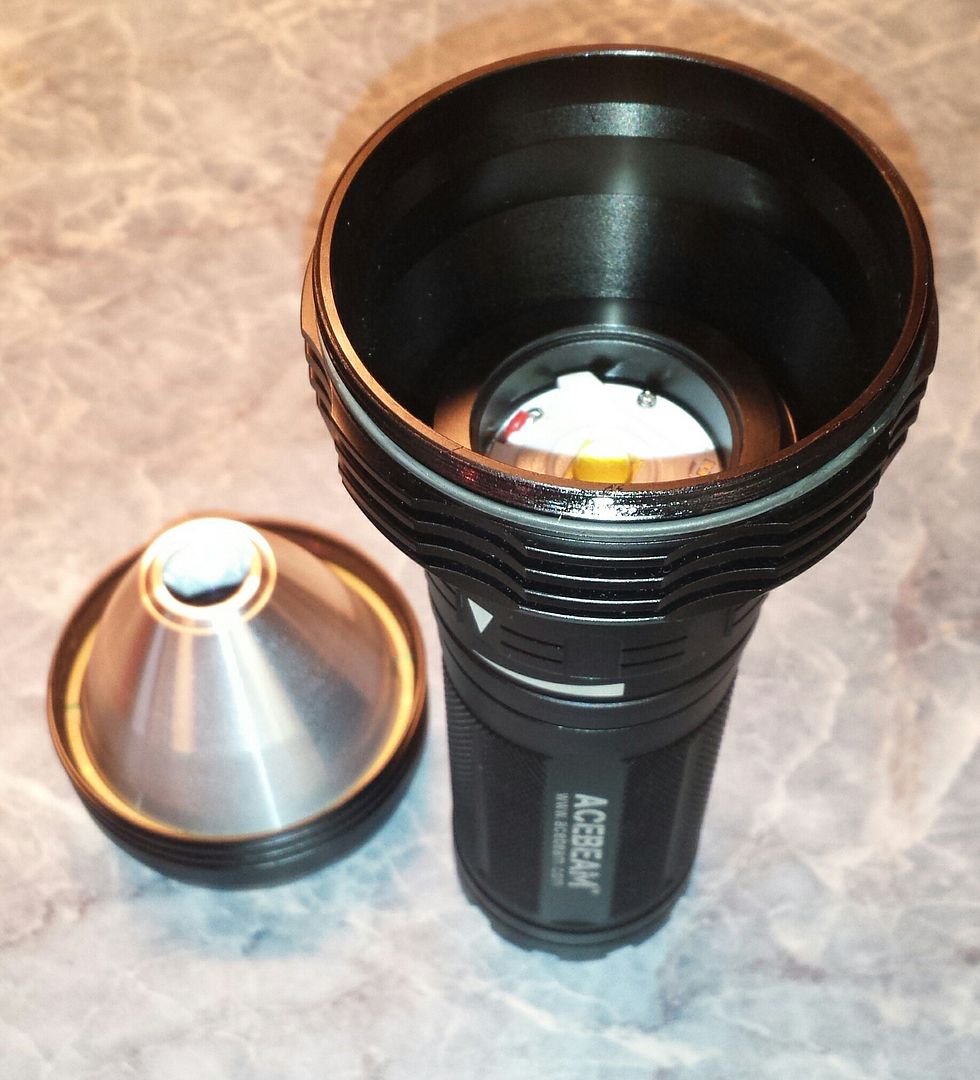
lets take a look at the other side…

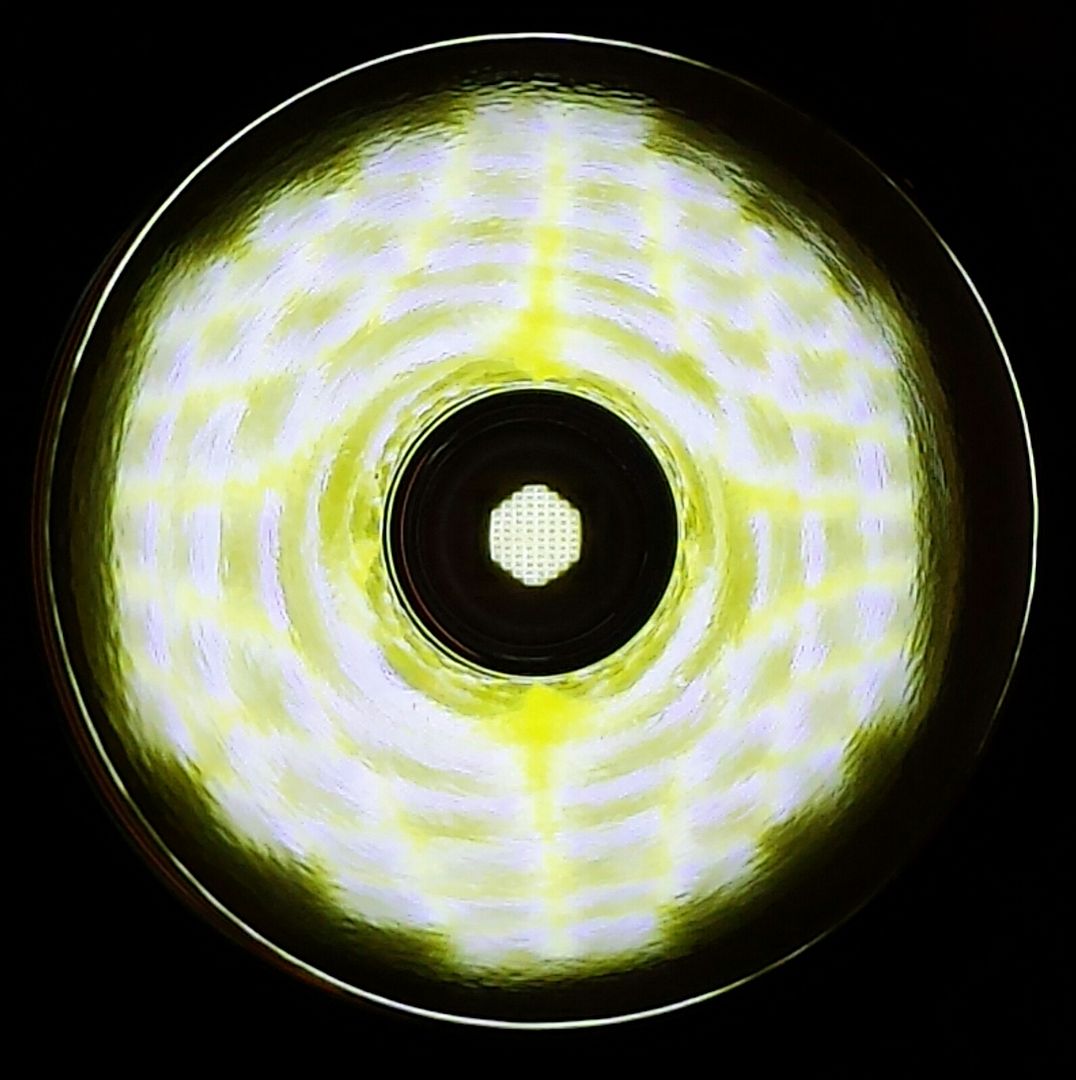
yes - there is a scratch on my LEDs Lens ![]()
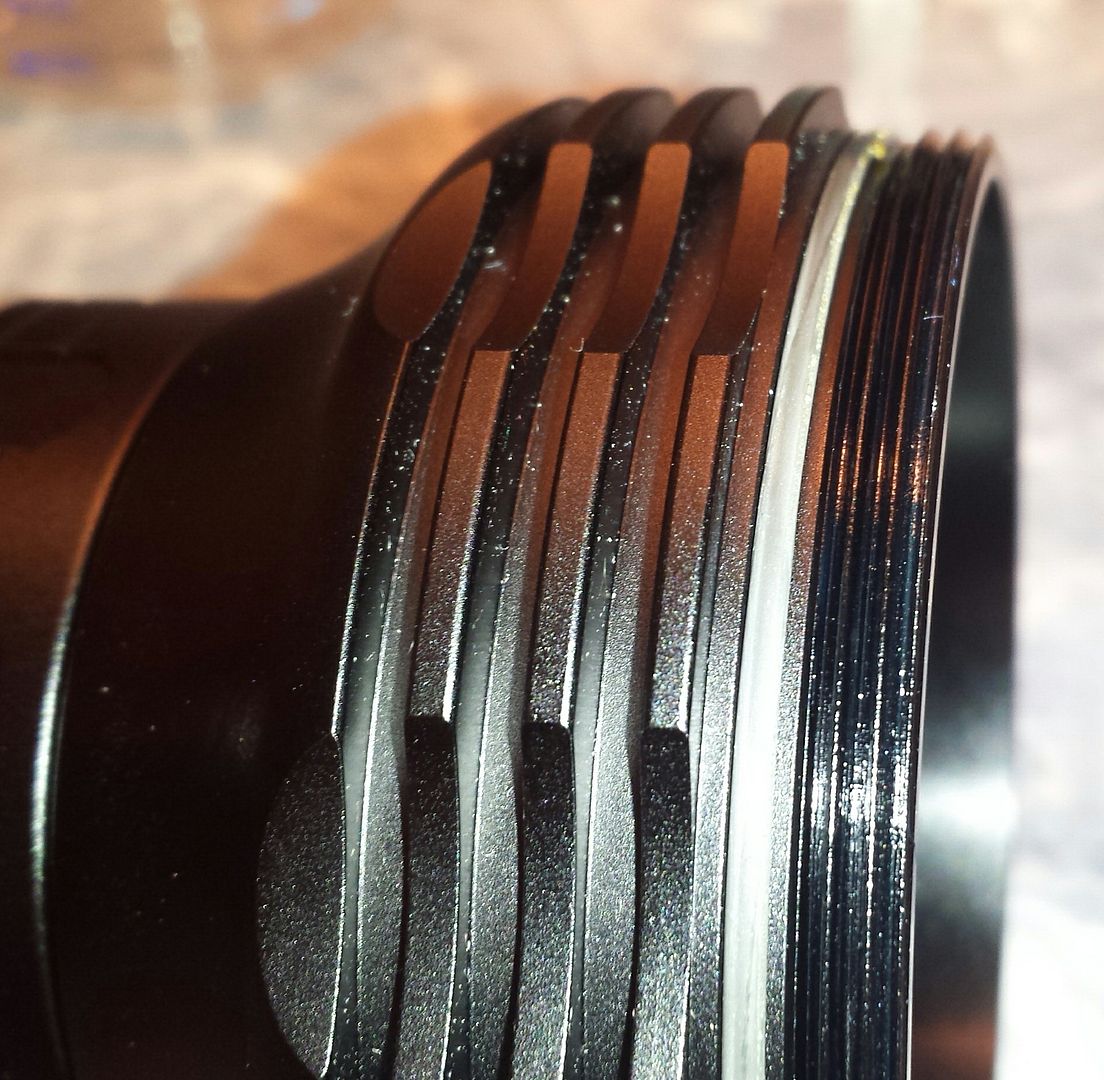
opening the unglued! Bezel
a Oring and a little dry, good cut threads
the reflector is held in place with the AR-coated lens with a retaining ring (i didn´t open)
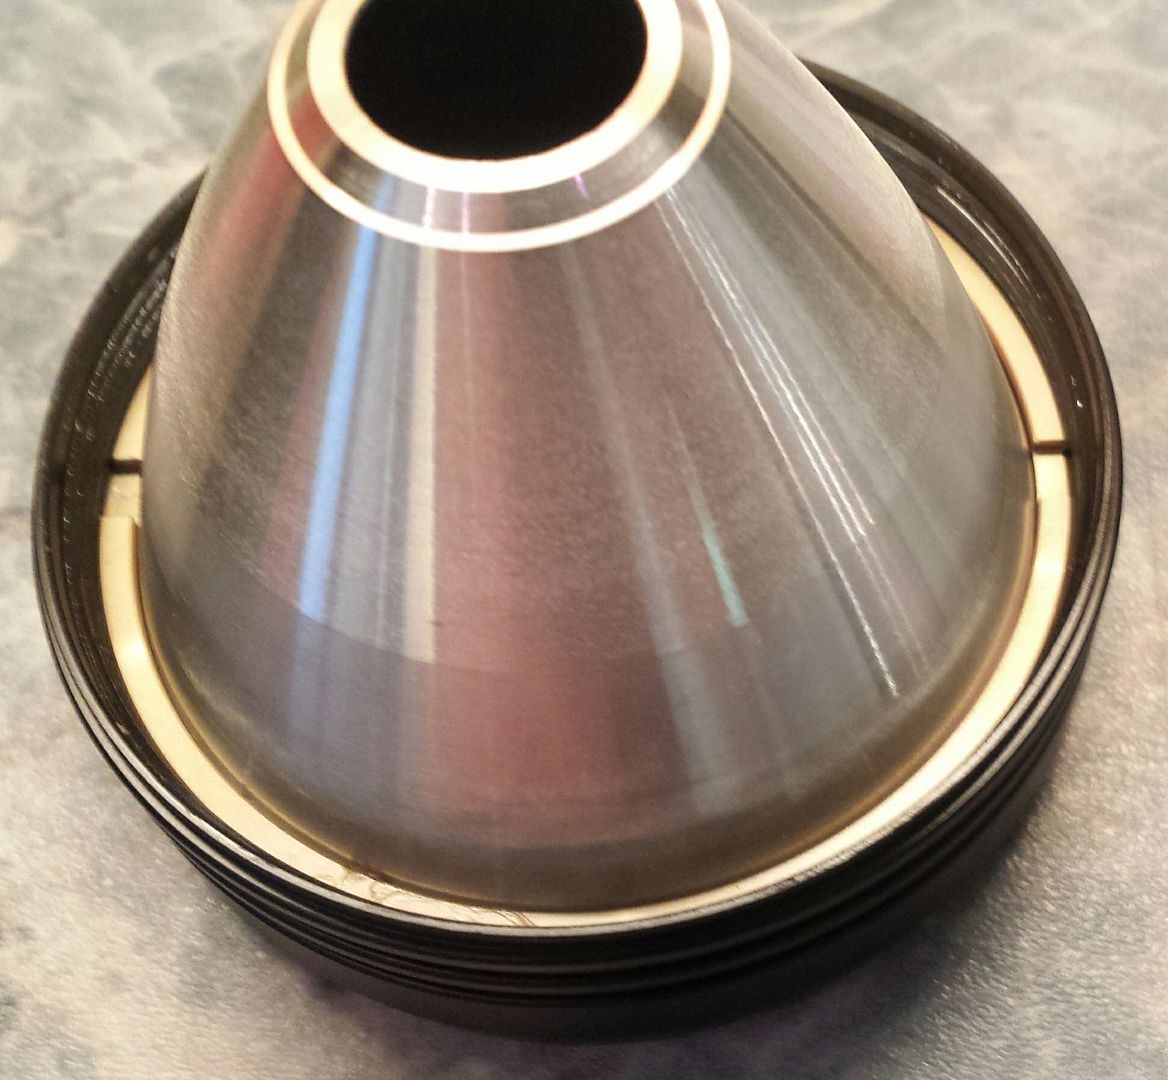
the centering ring is cut to fit
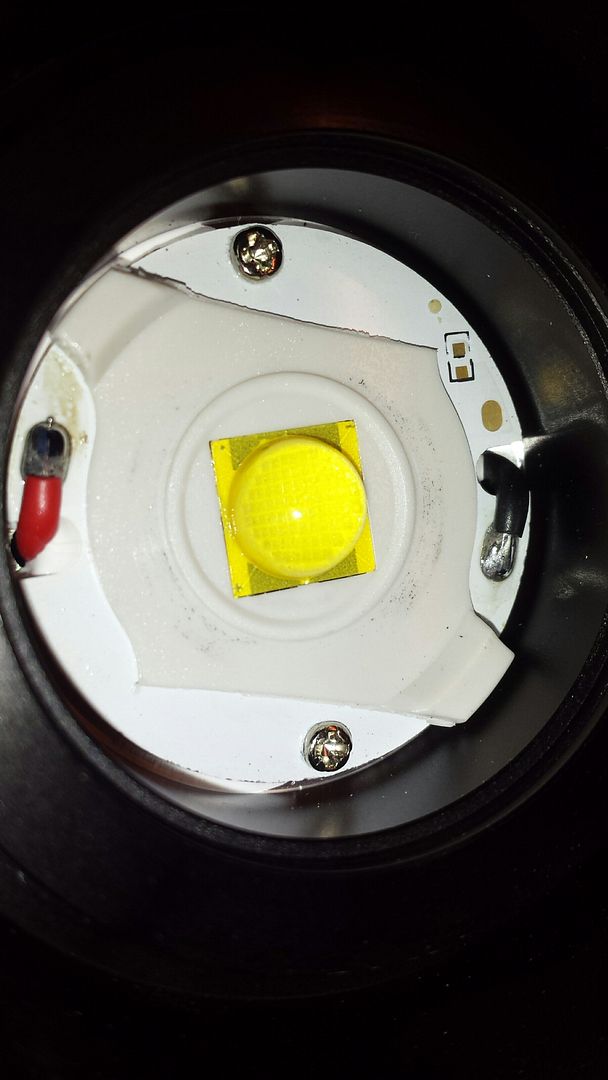
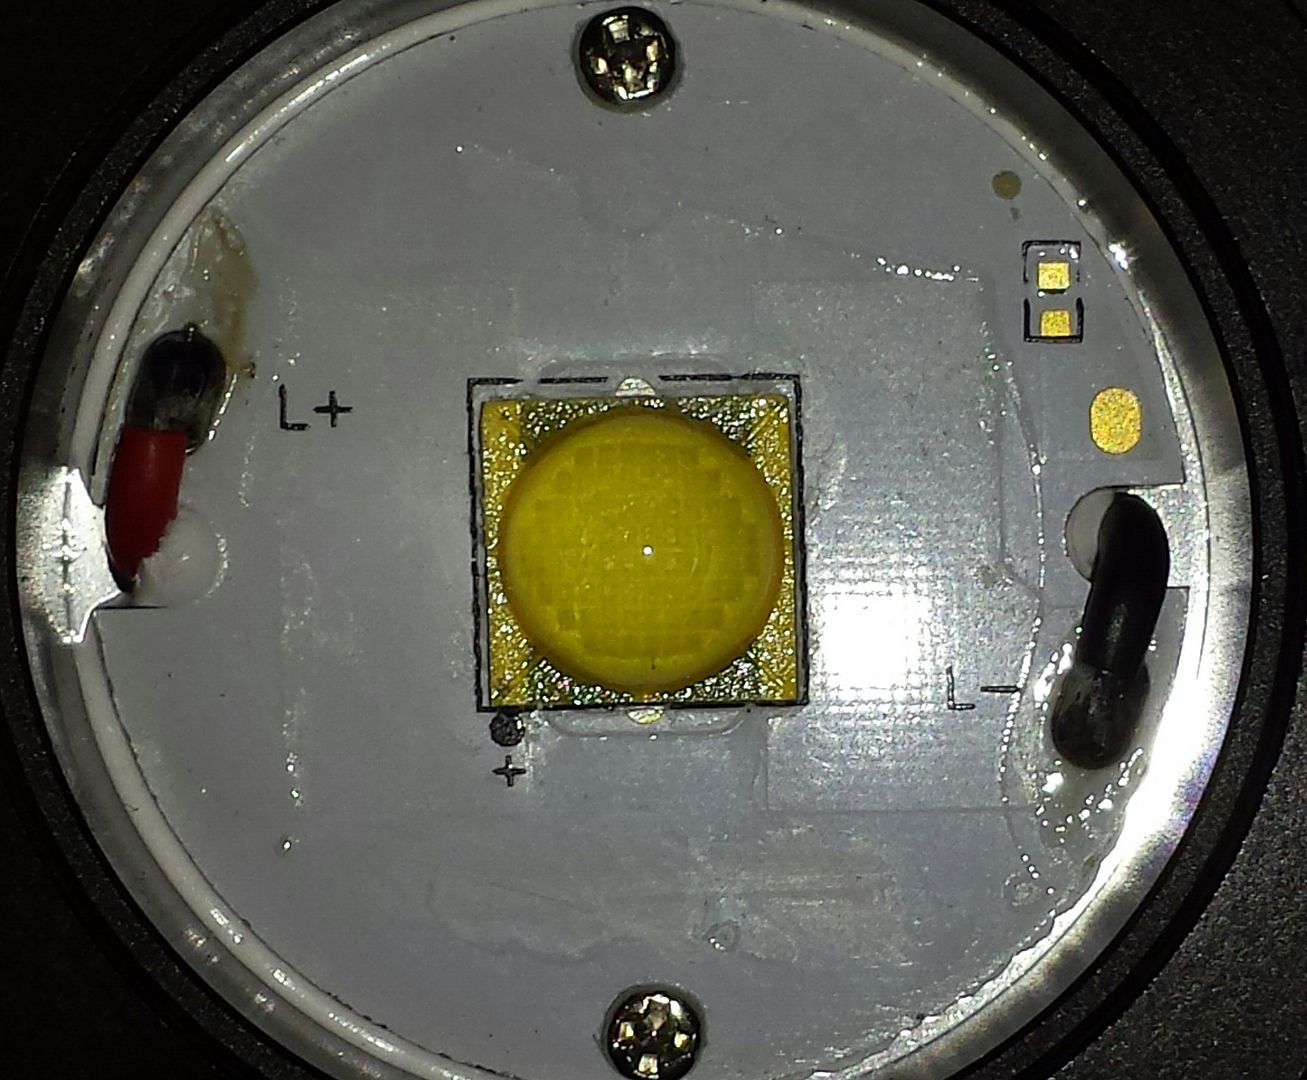
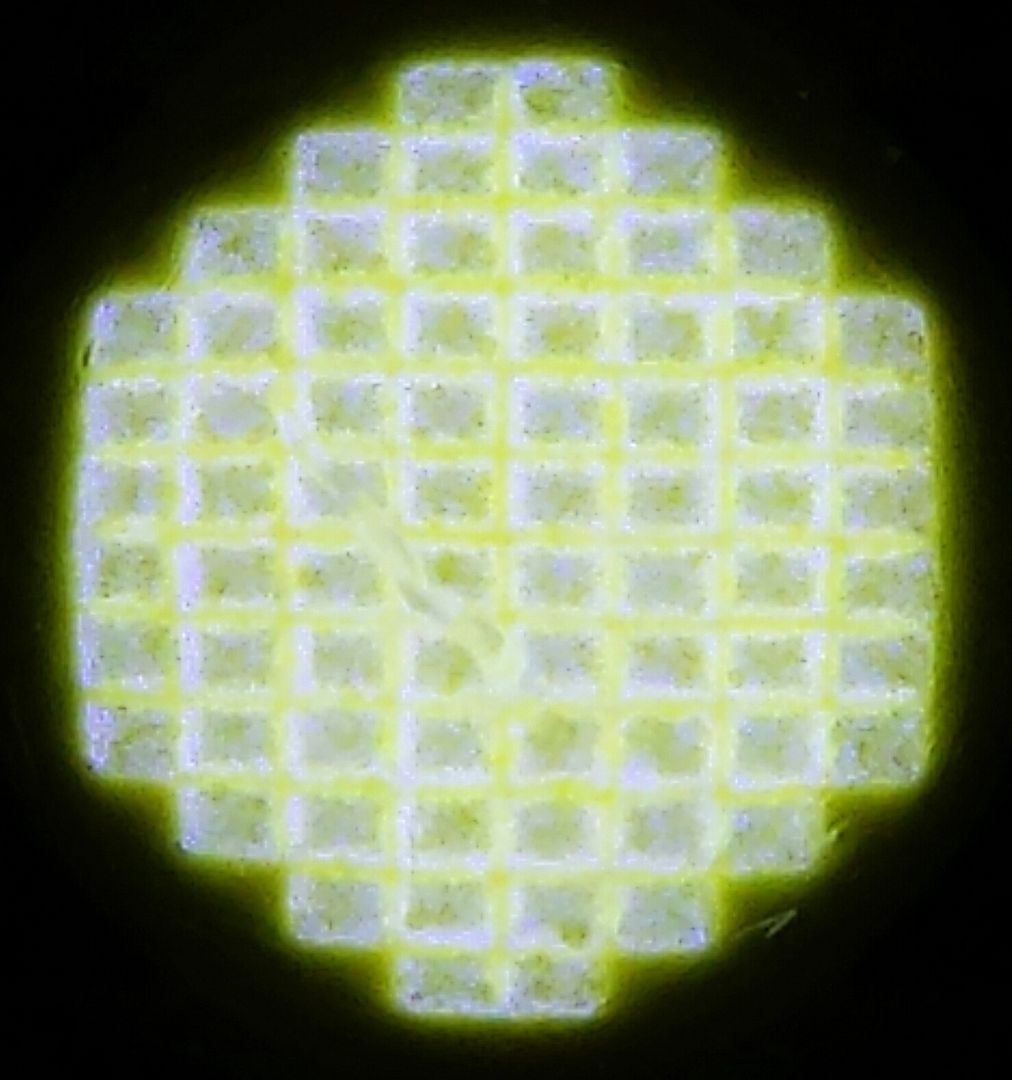
copper! but DTP? i do not reflow…
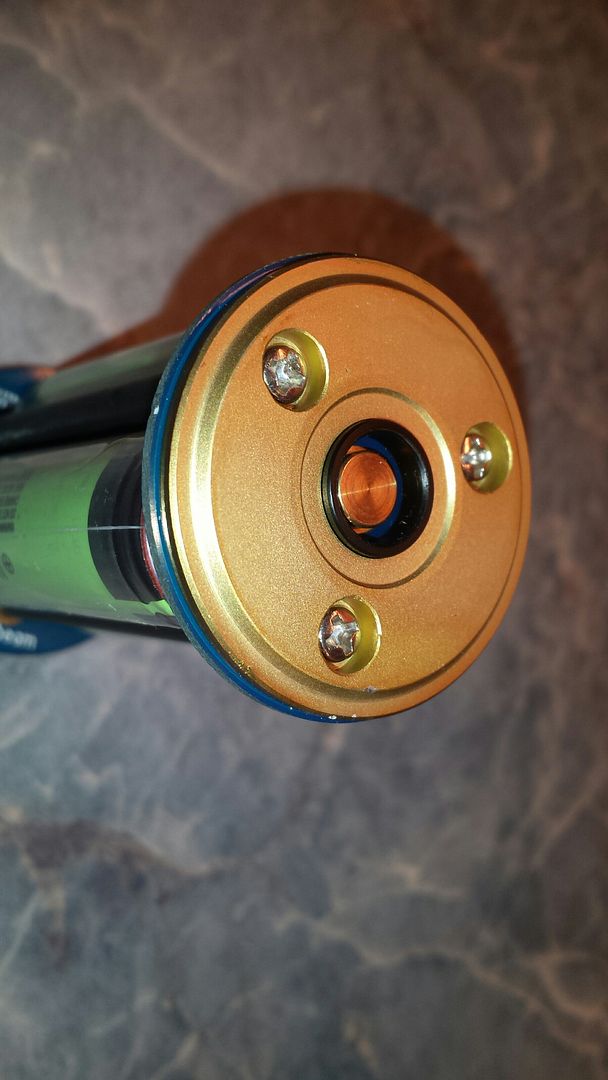
opening the battery tube at the drivers side shows a blank end - which makes mechanical lockout possible…
the backcovr of the driver is held in place by 3 screws - which are glued heavily
screw you screws!
but i got it out…
there it comes!
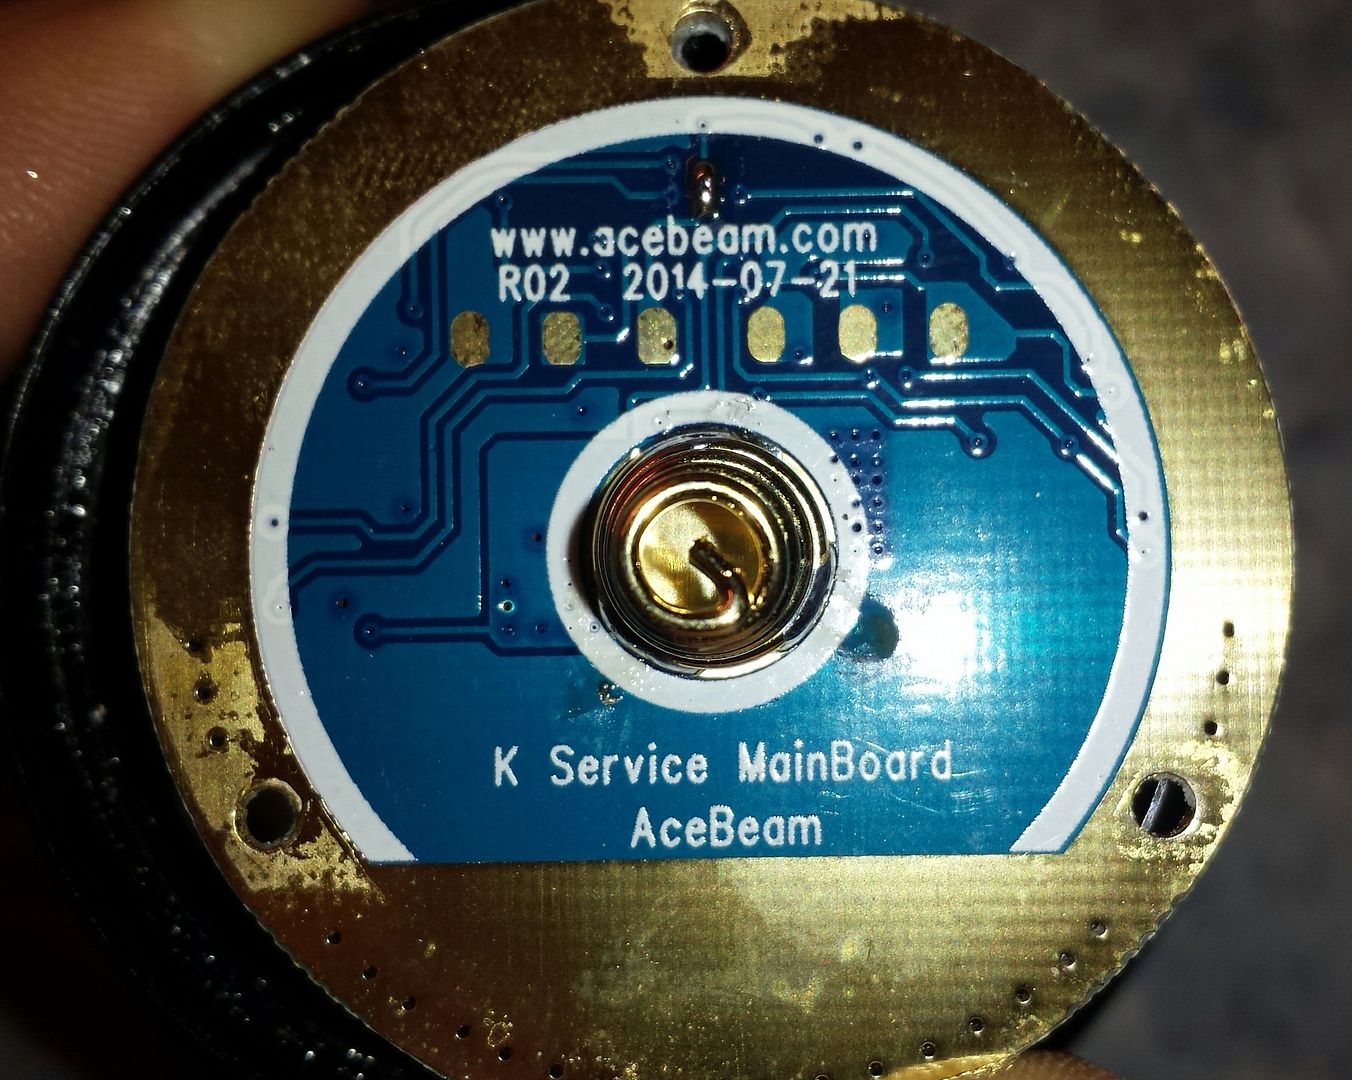
taking away the cover shows that the driver is acebeam
no place for bigger wires
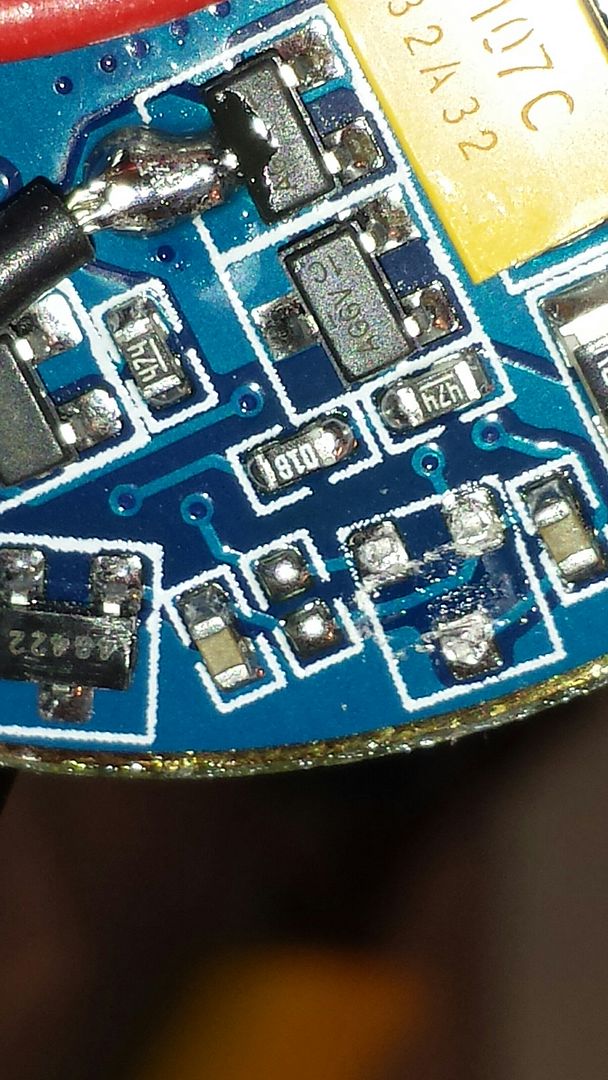
TADAA
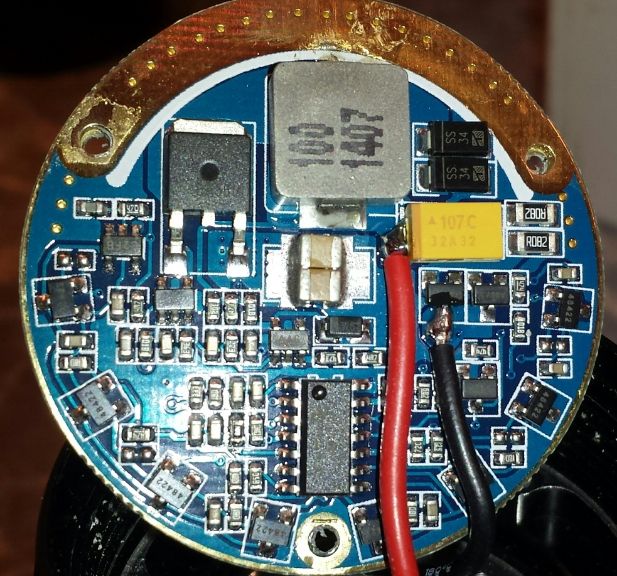
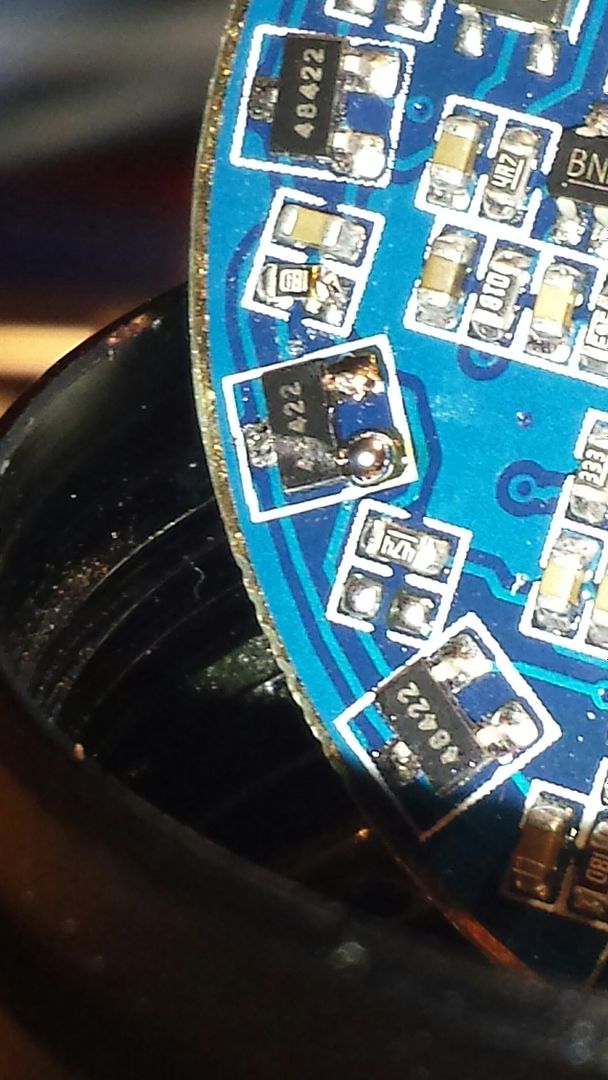
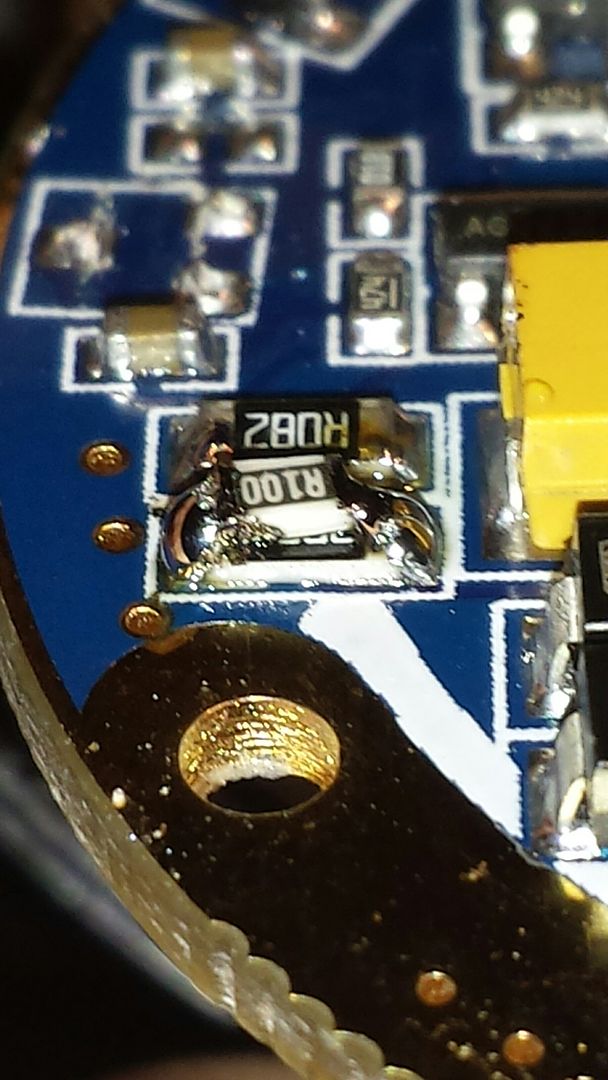
where is the magic done and what can we do to pimp the Amps?
if you need higher Res you may look into this Folder:
weeeeeelll…
putting the driver back in place you should be more careful than i was.
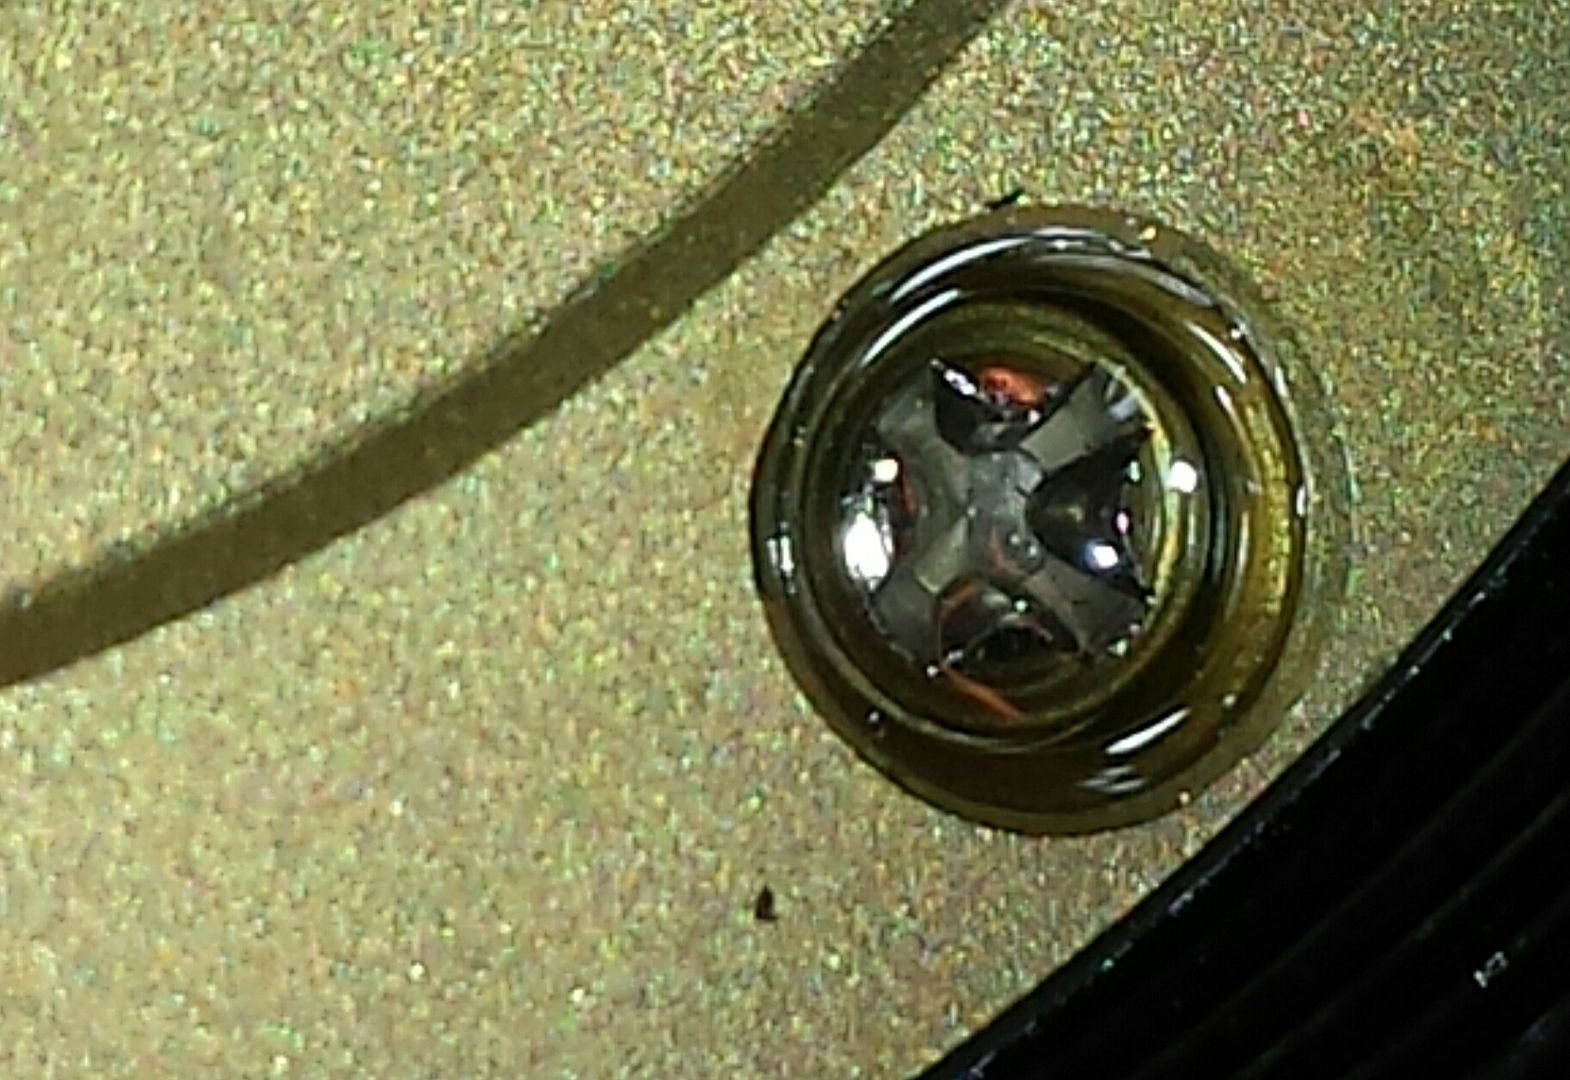
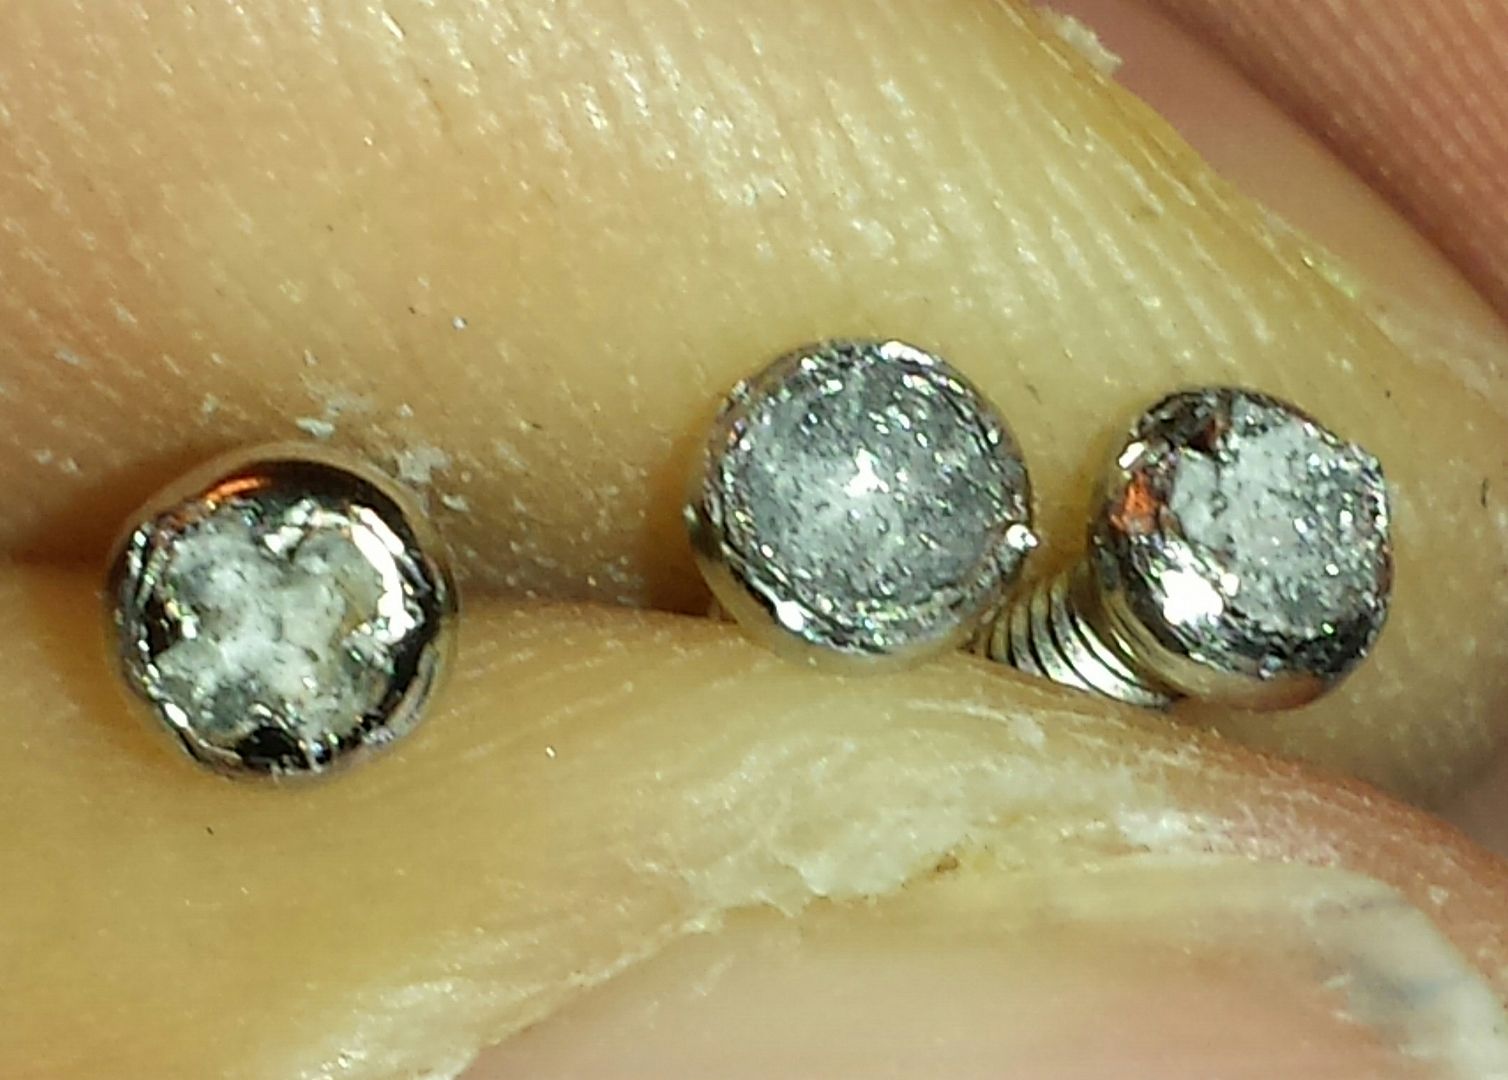
-> that tiiiny basterds are the magnetic position detectors…
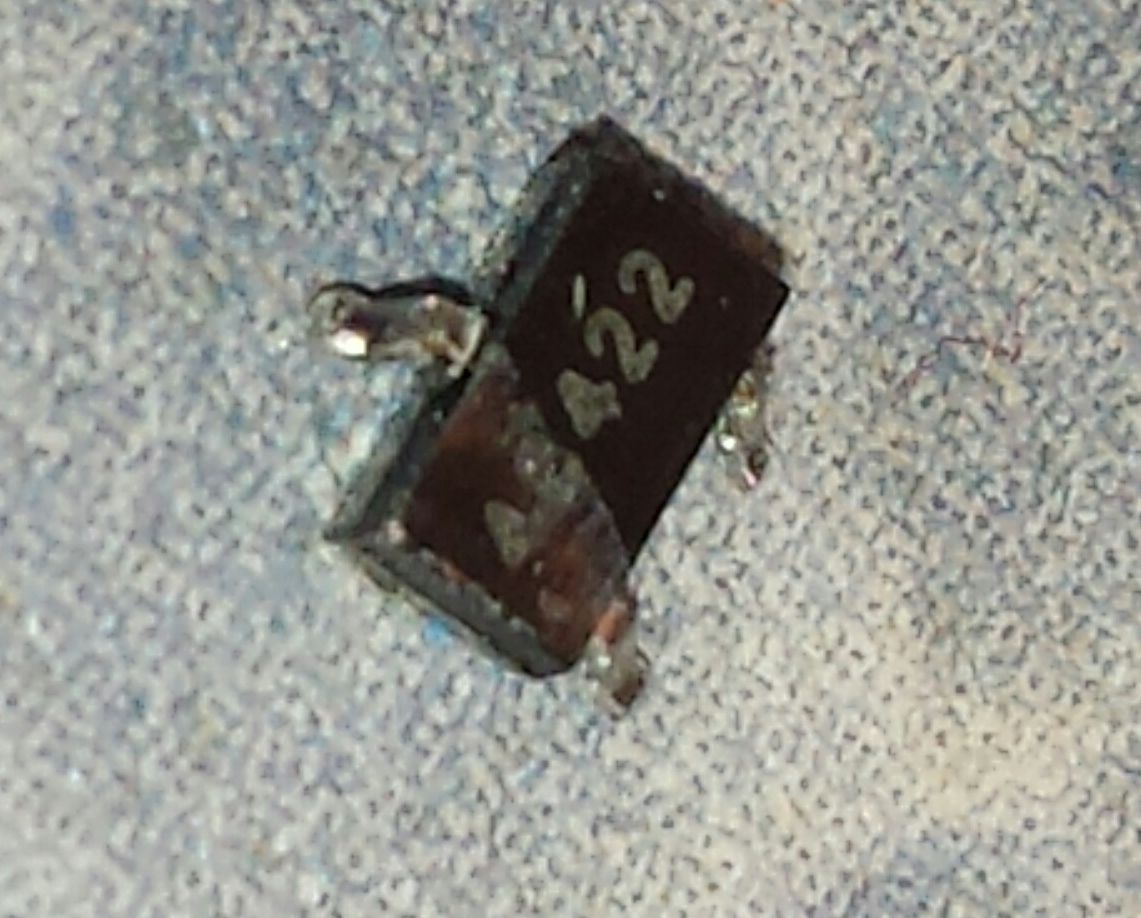
here the one for mode 2 is missing
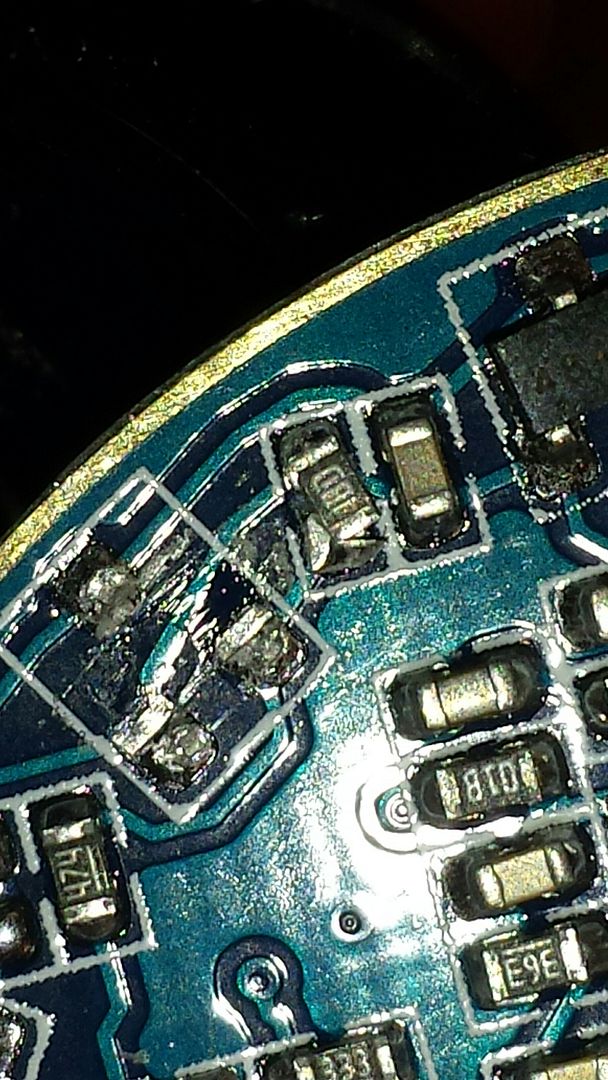
and there belongs “strobe”
I try to solder that the next days…
loosing strobe wouldn’t hurt, but level 2 does!