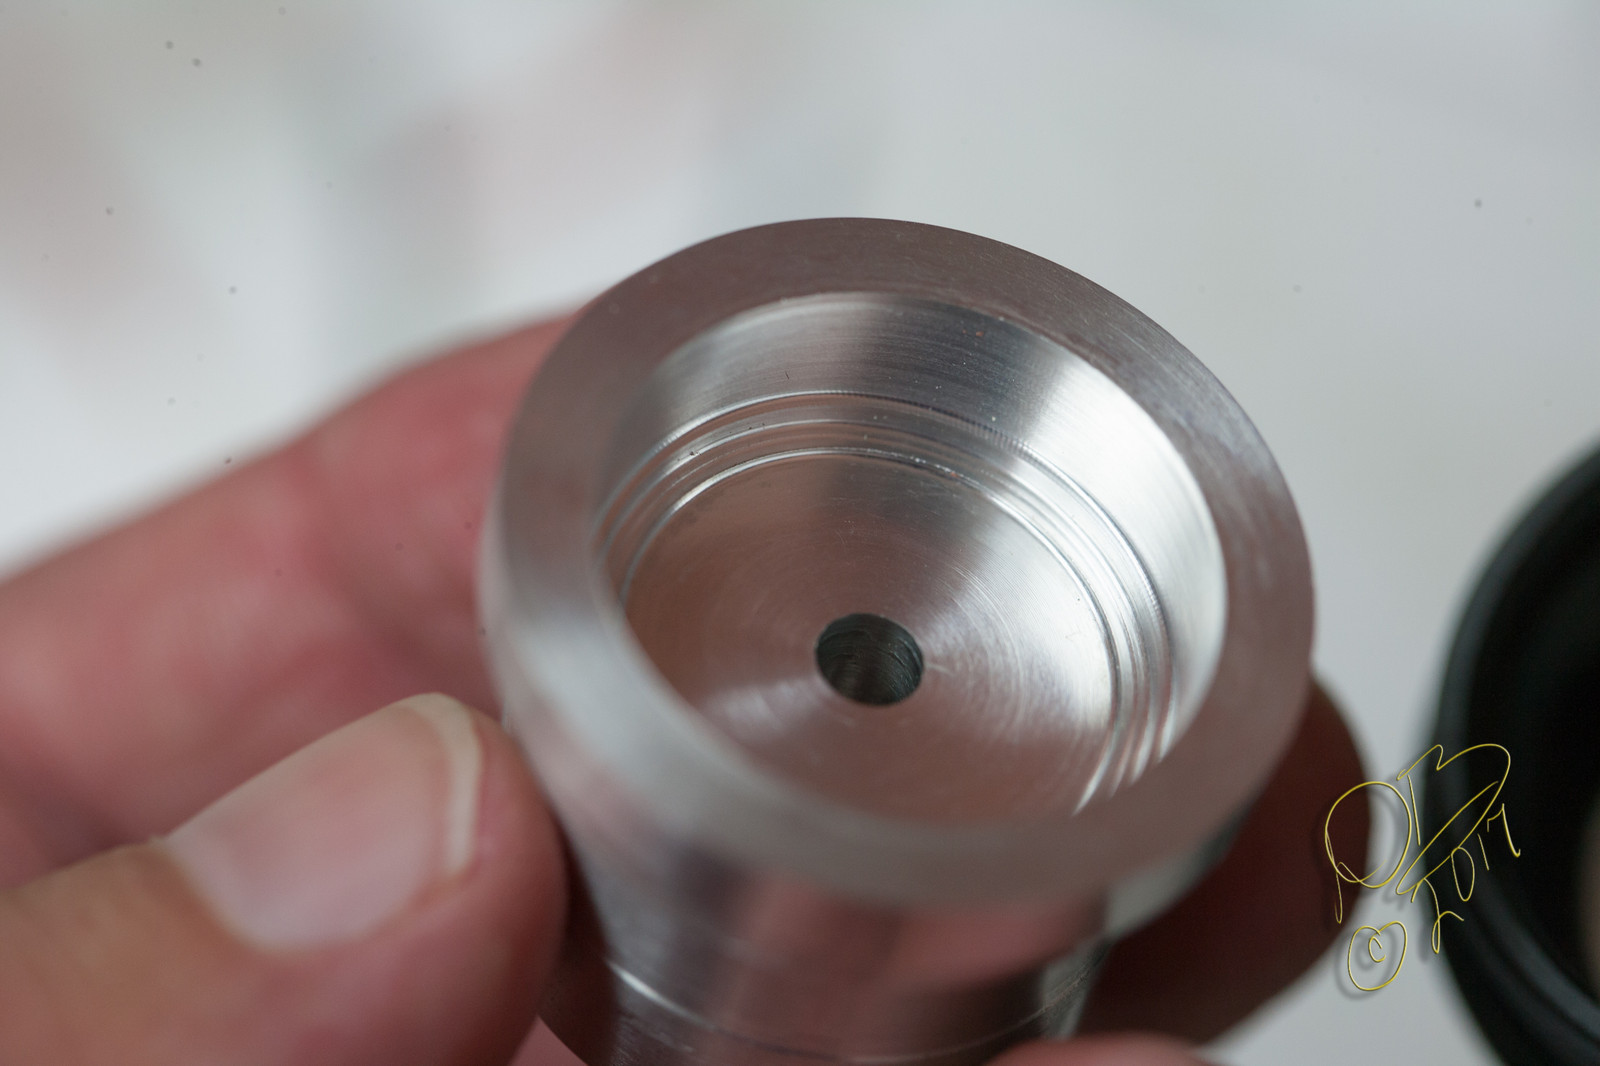
Well, today seemed like a good day to build my second Convoy M1 Quad. So I headed out to the shop and proceeded to carve an aluminum (shocker, right?) heat sink/spacer to fill the head of the new M1 I just got from Simon. At the same time, I’m trying the new Nichia 319 for the first time. I like to fit the heat sink to all the contours inside the head, also allowing the quad optic to seat flush at the top of the sink so it’s fully supported and the sink is up against the glass lens. So that’s how I went about this one…
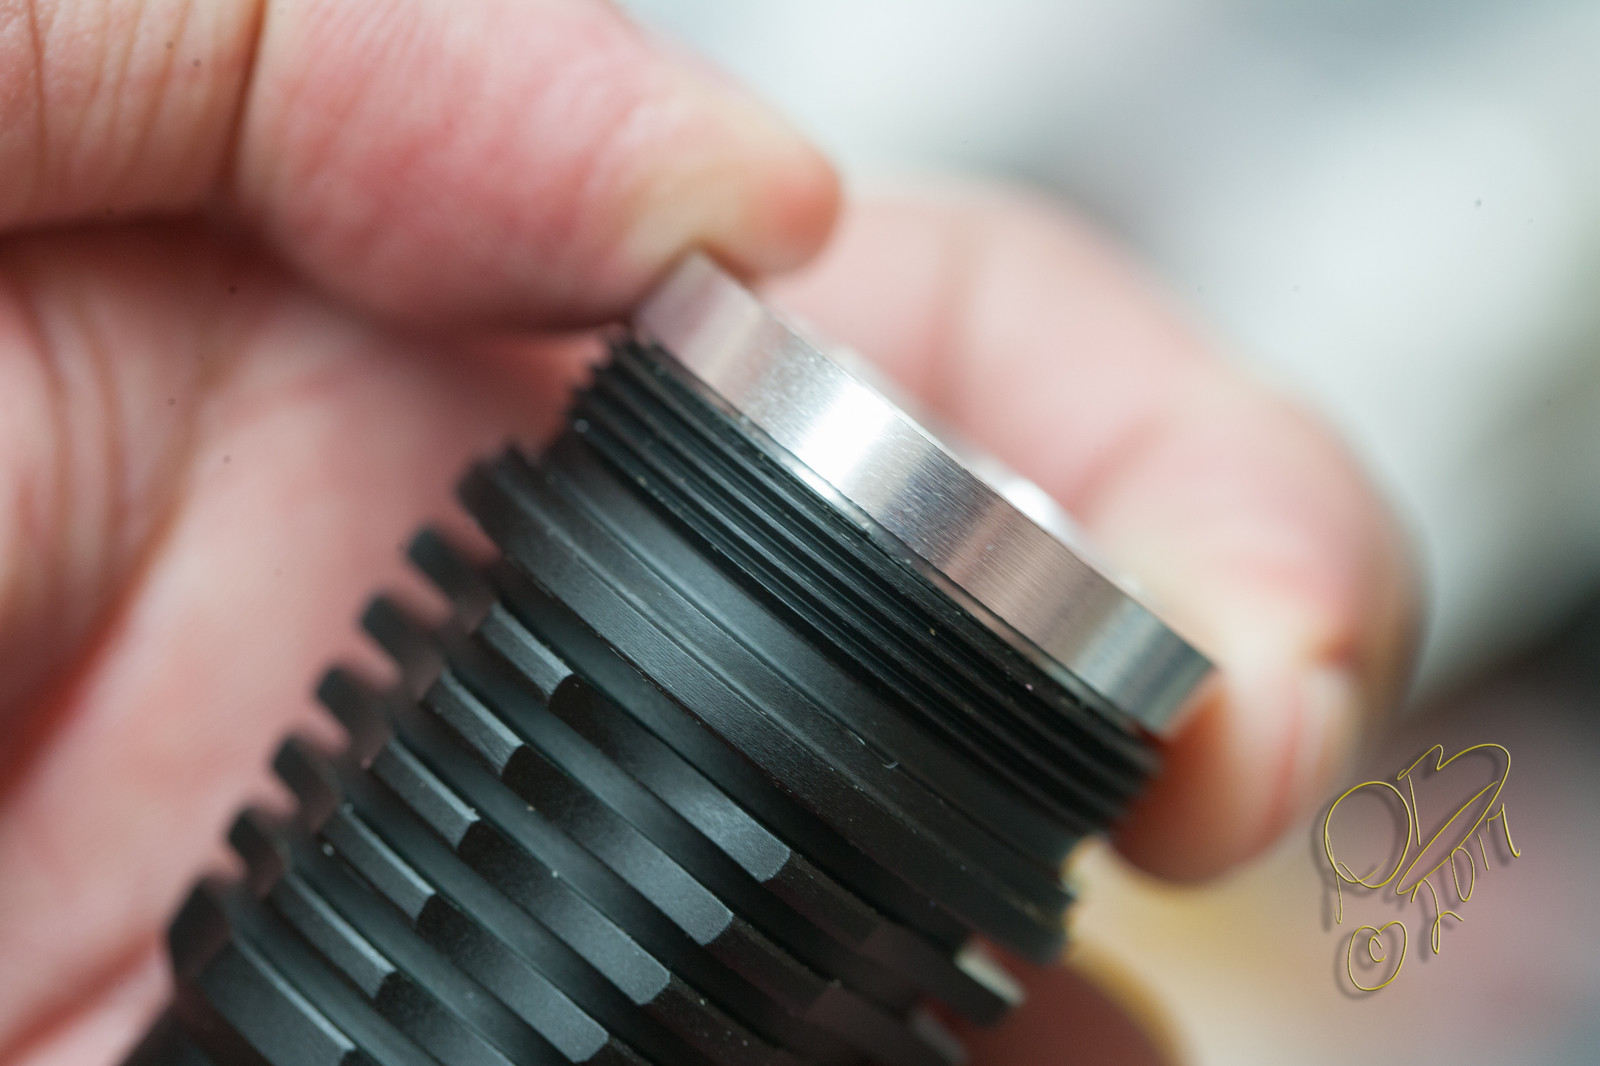
The emitter shelf is cut to fit Richards new quad board, with the walls tapered to clear the TIR’s within the quad optic…
Always an interesting challenge to get all the dimensions right, tapers and all, so that the heat sink mates to all surfaces inside the head. Especially with one arm severely limited! lol! I have a Dr.’s appt. tomorrow and another on the 21st with the surgeon, hoping to get this thing wound up soon, but now I really don’t know when surgery will be done. So here I am, doing what I do.
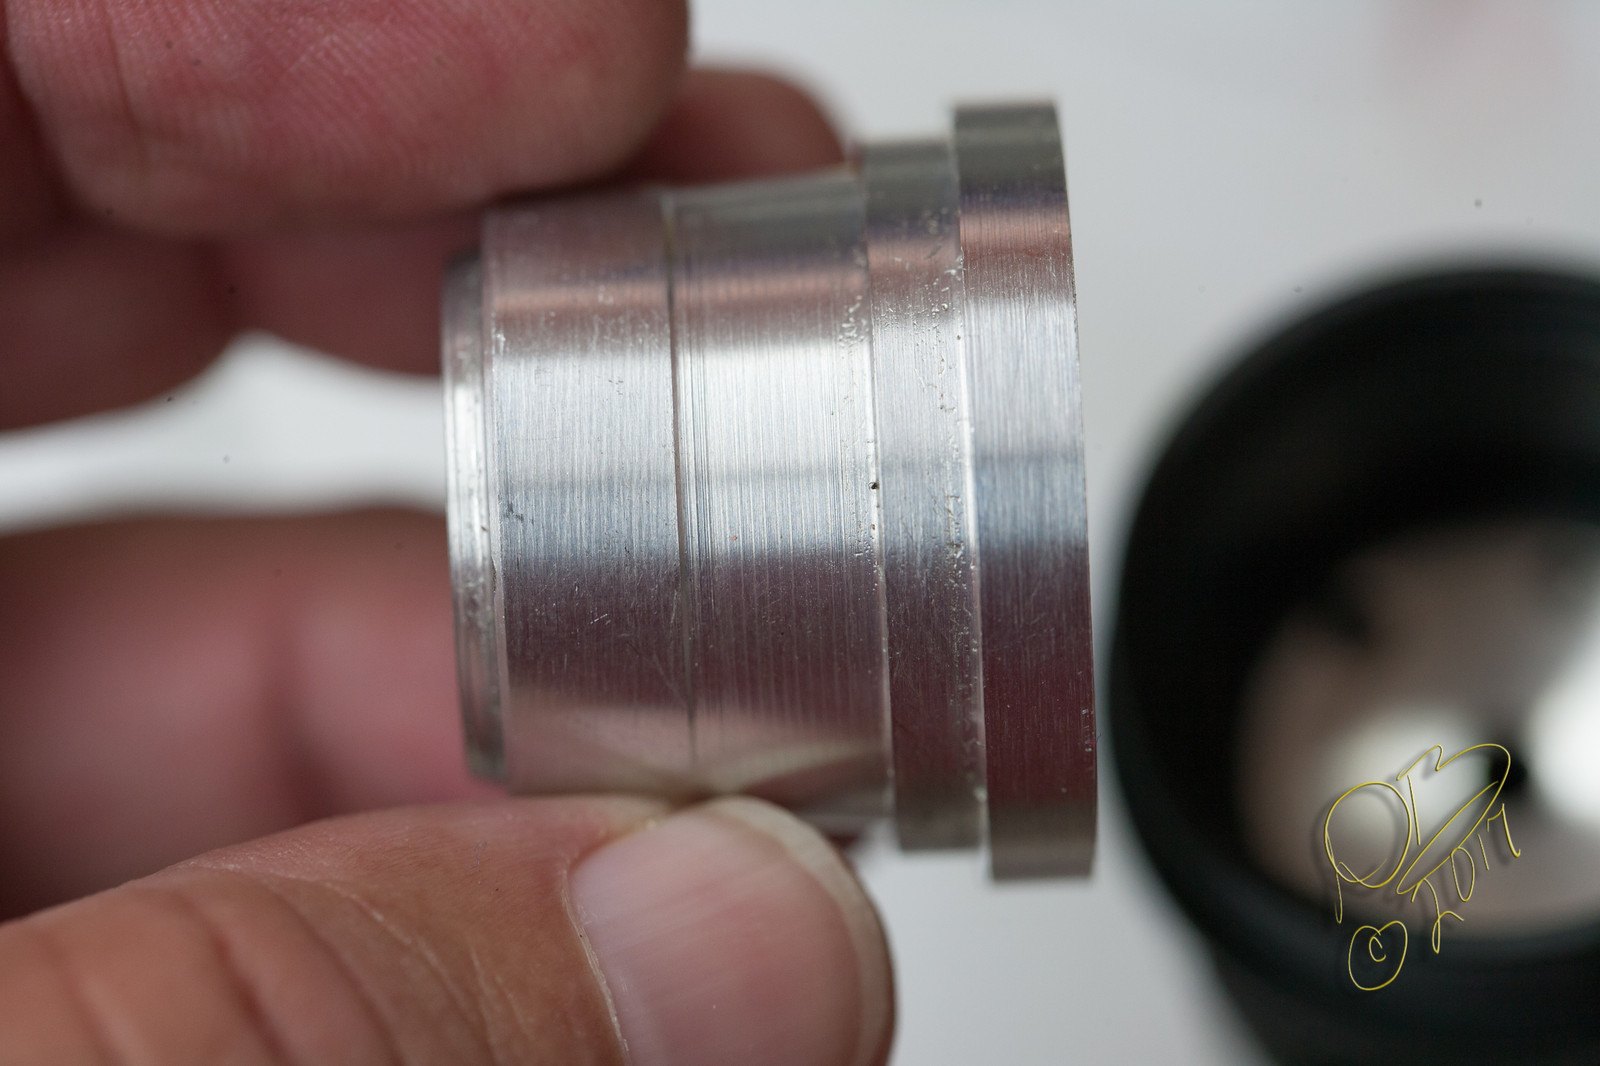
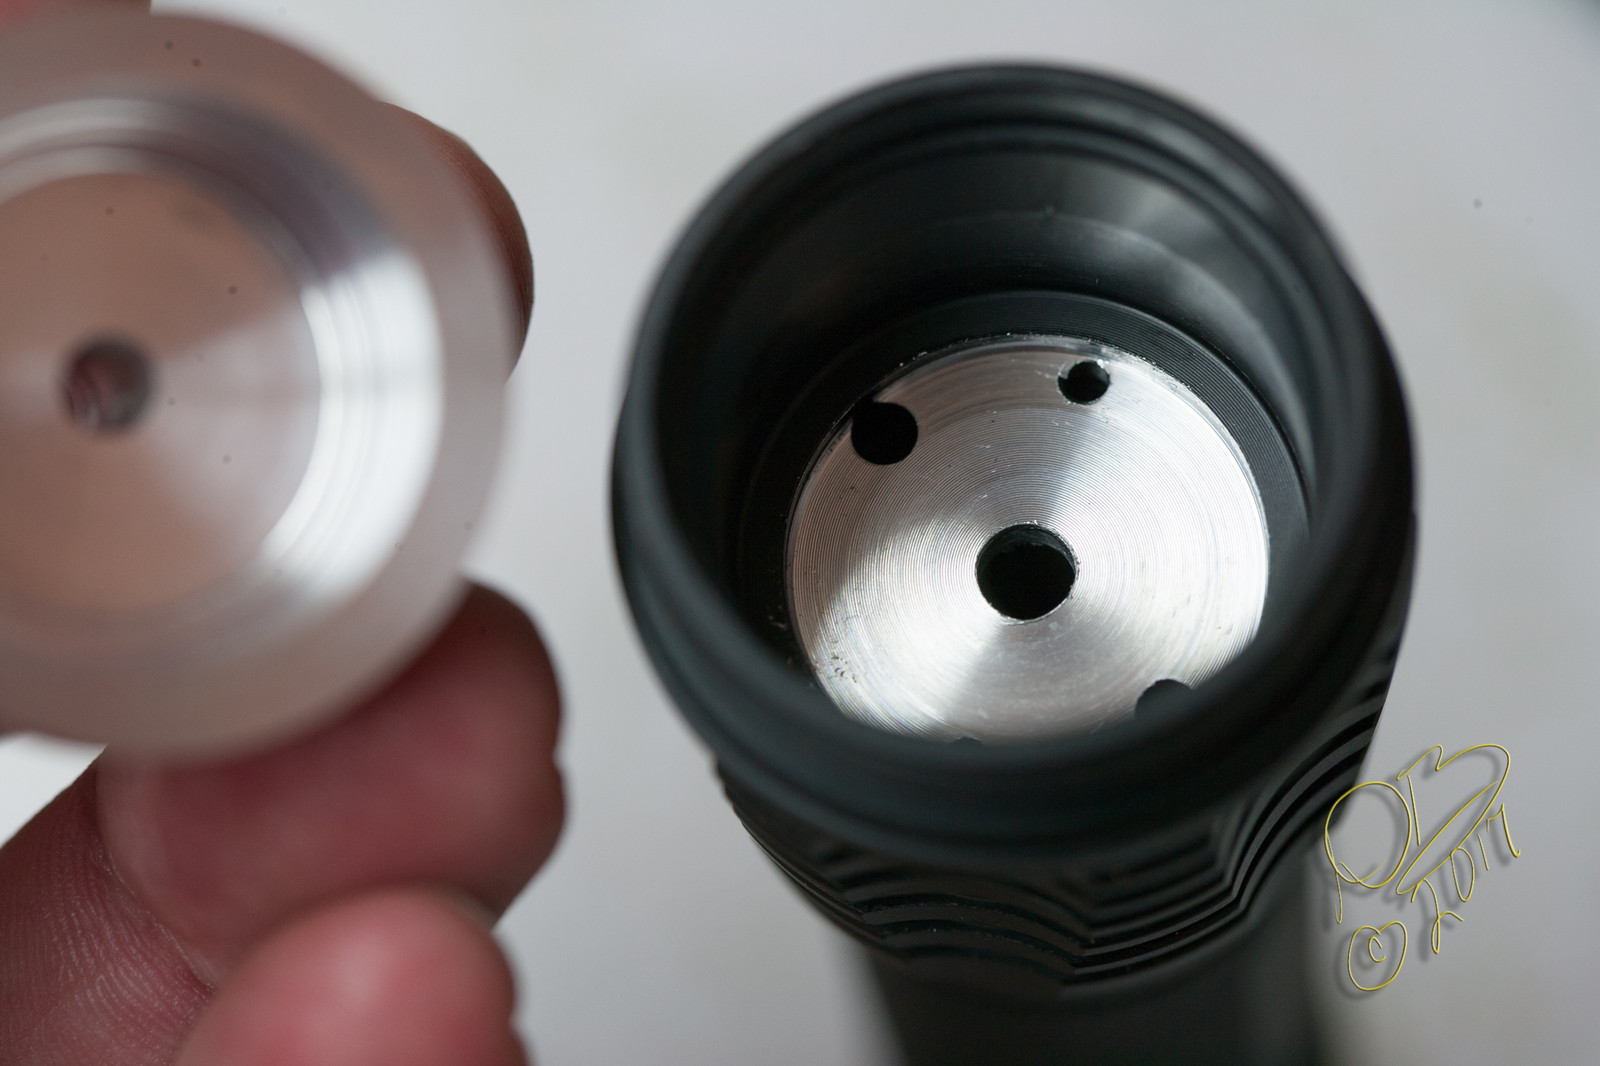
The bottom of the heat sink mates up nicely with the stock emitter shelf…
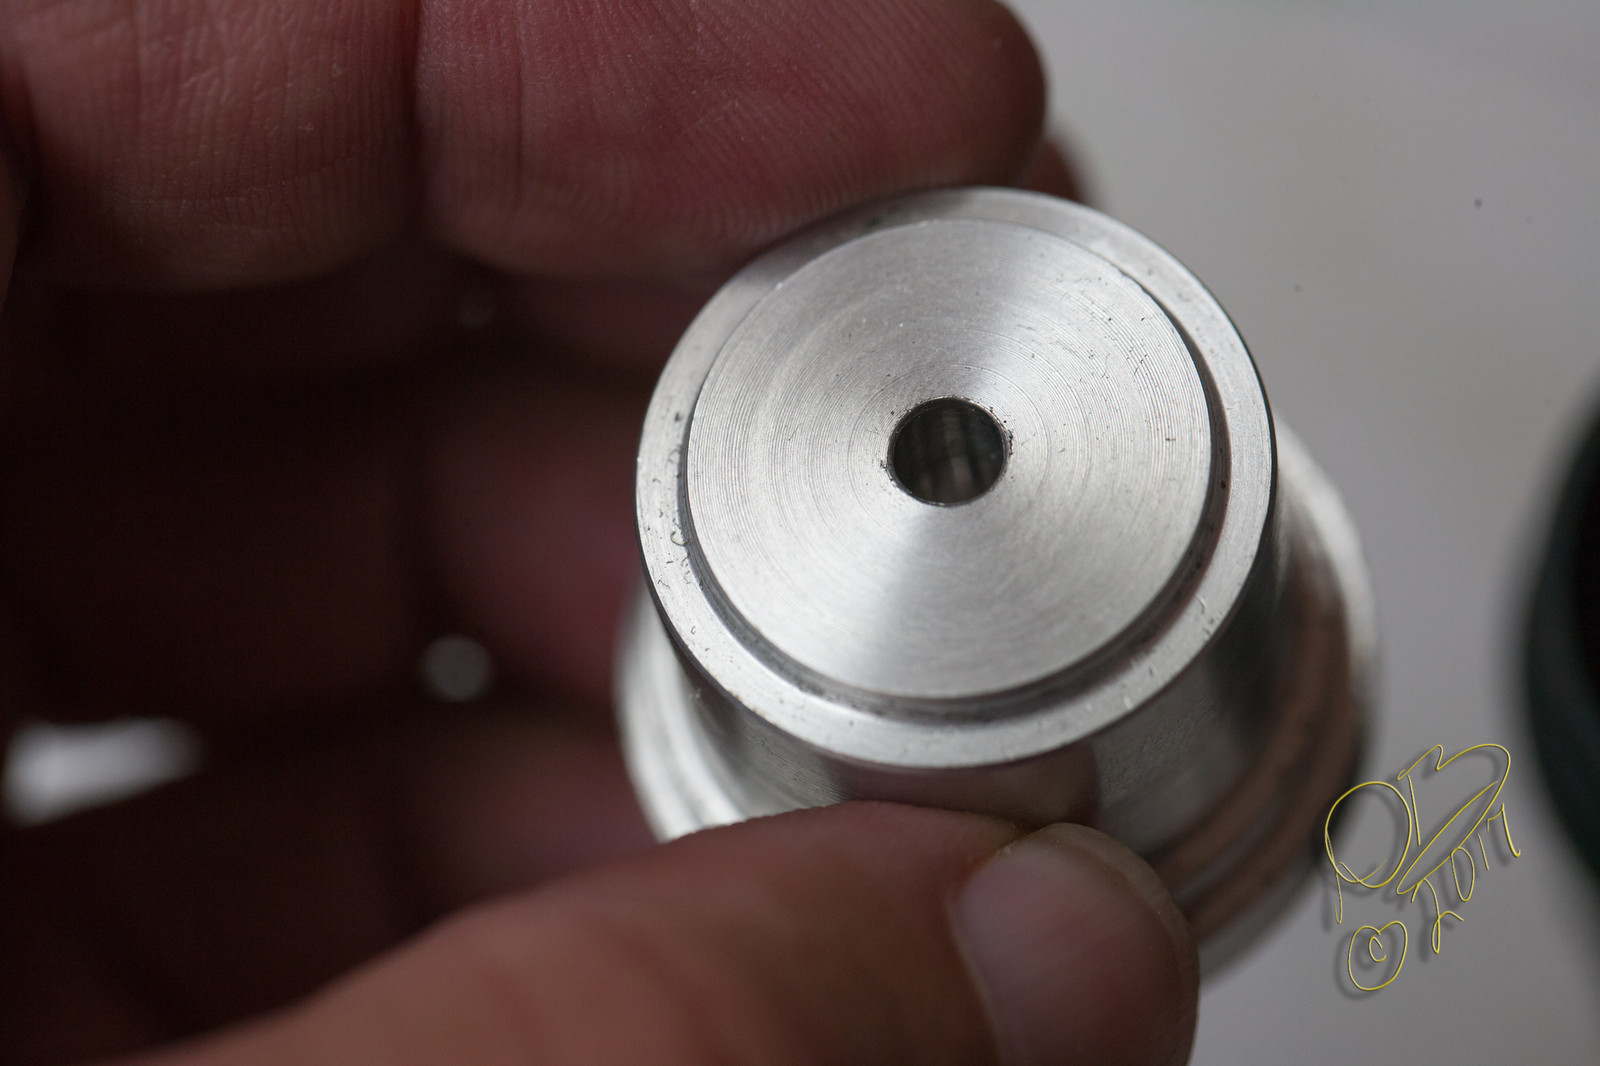
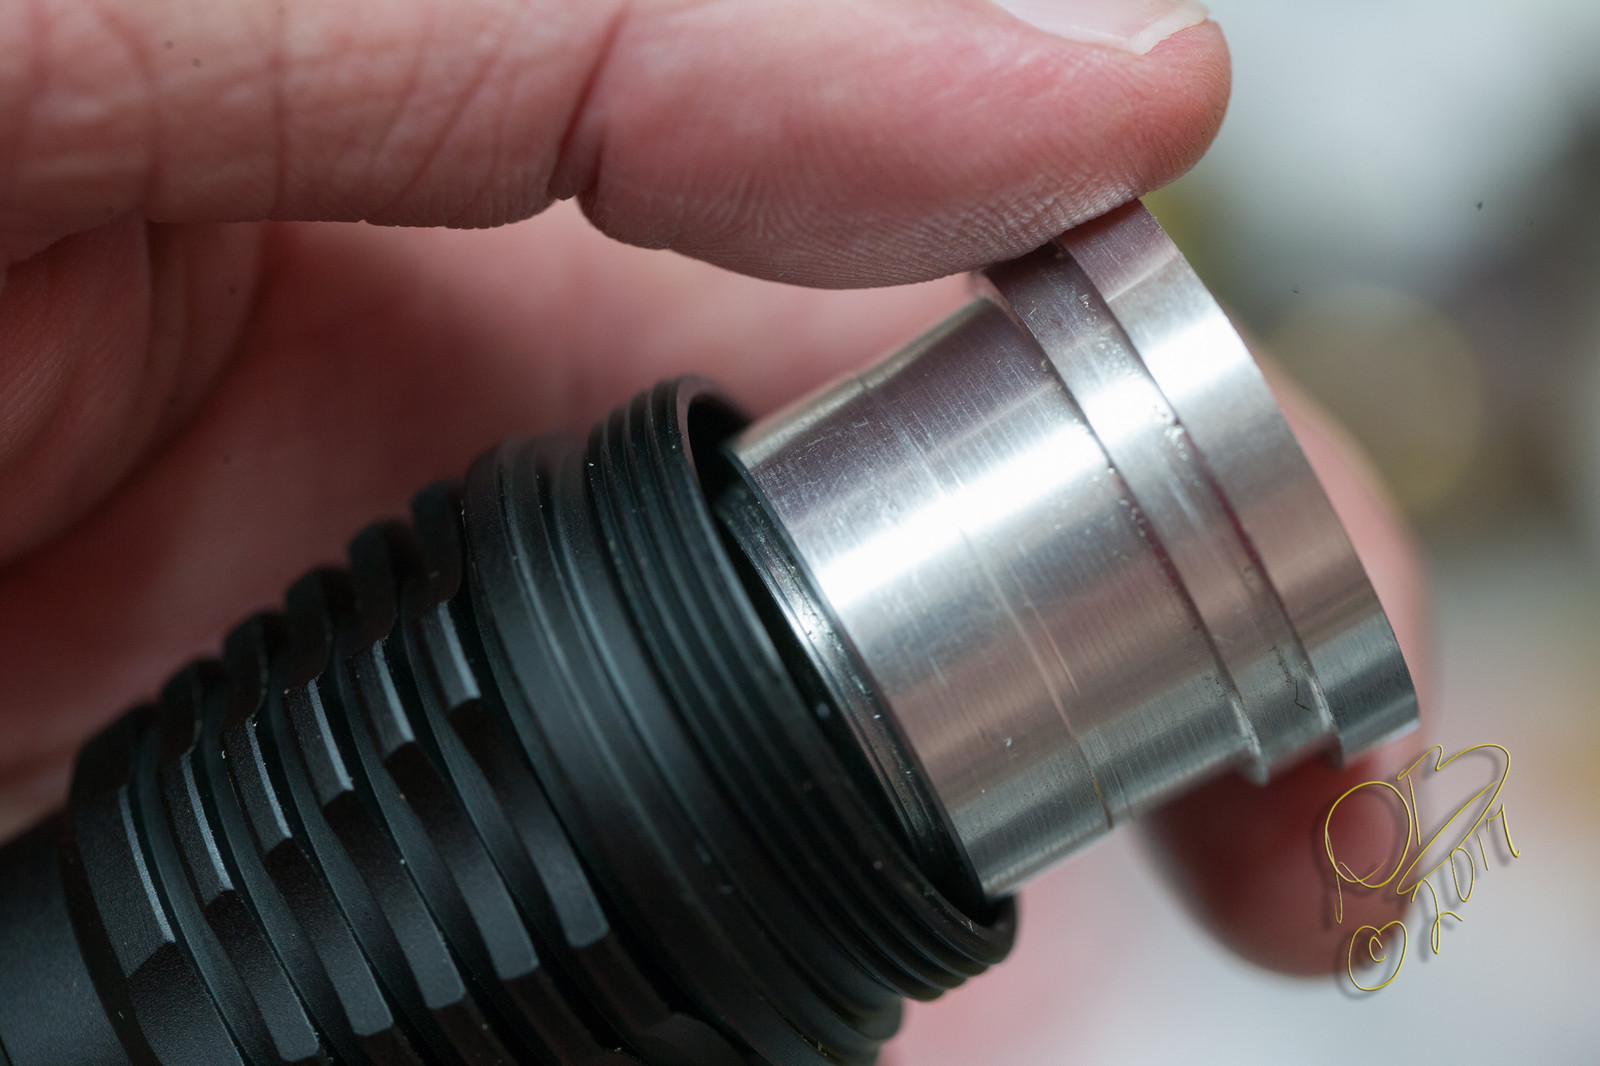
Ended up being a nice fit, quite pleased…
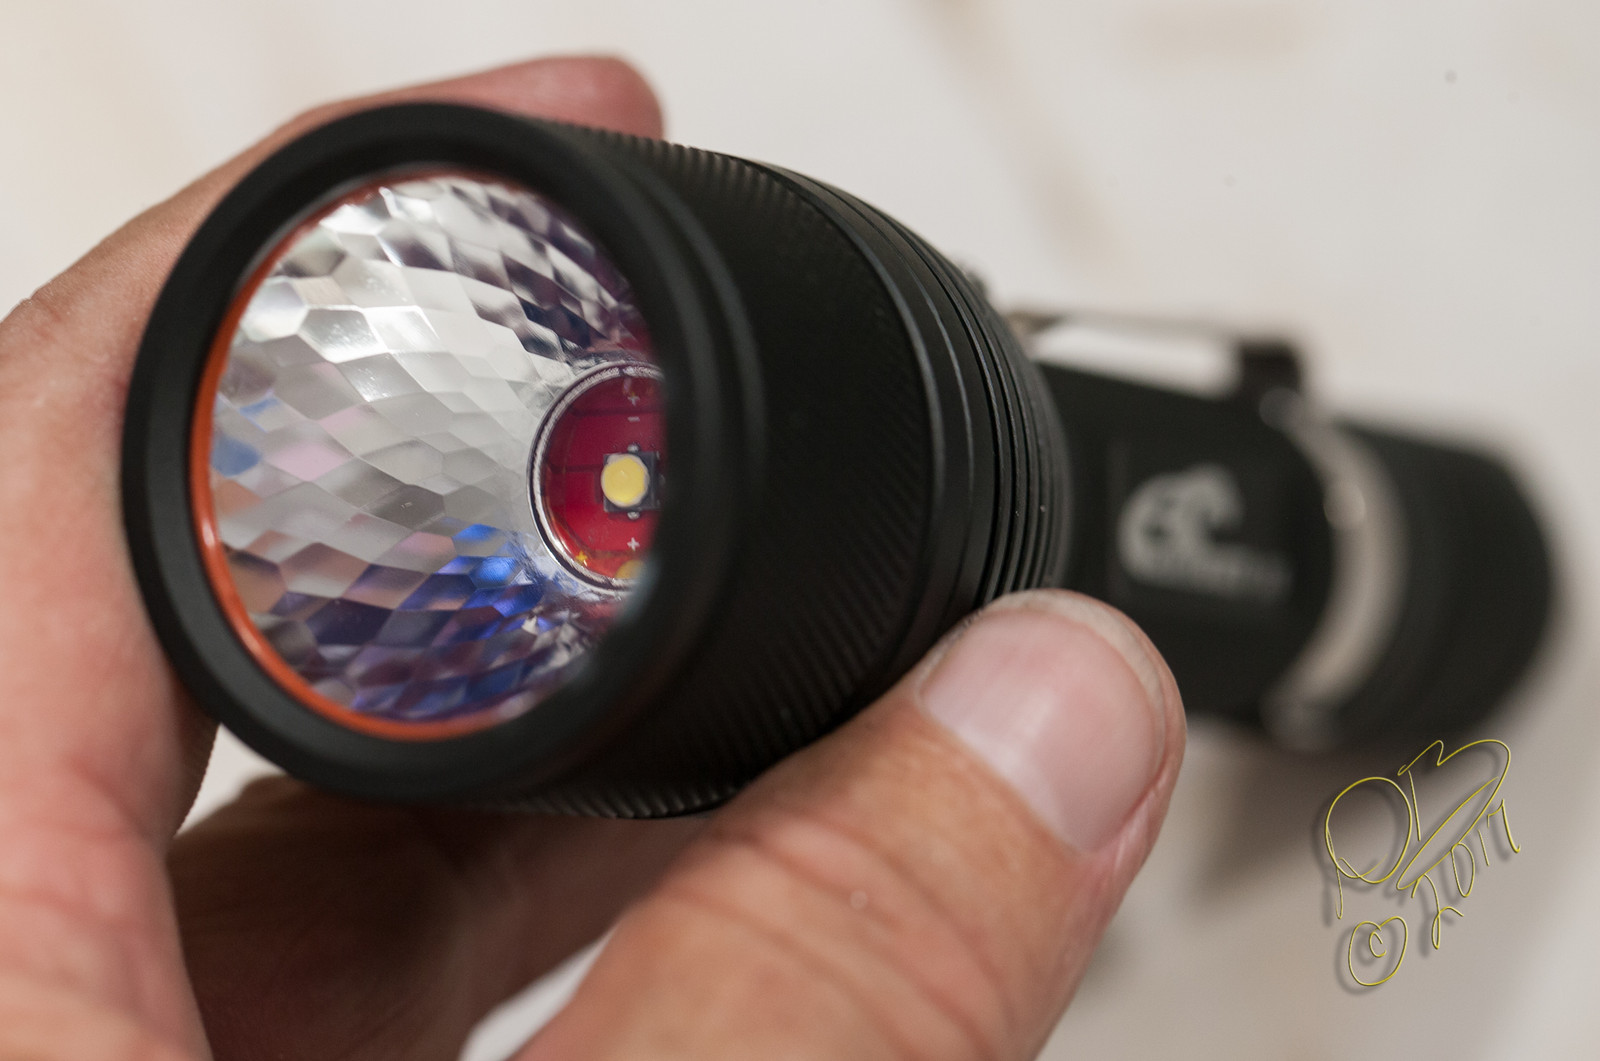
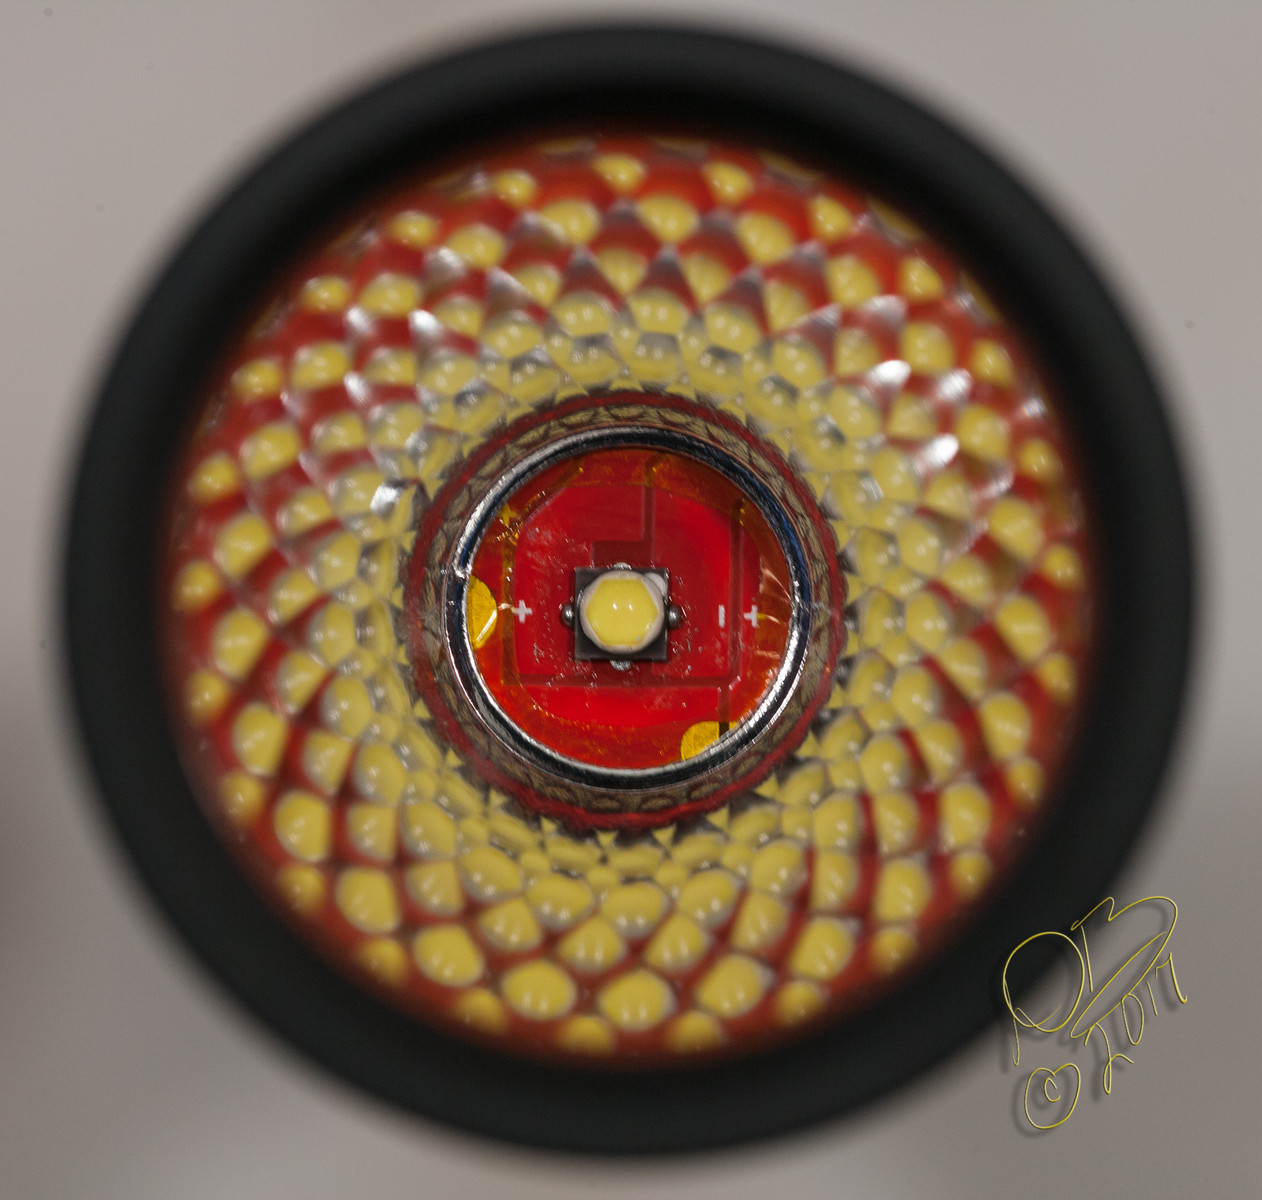
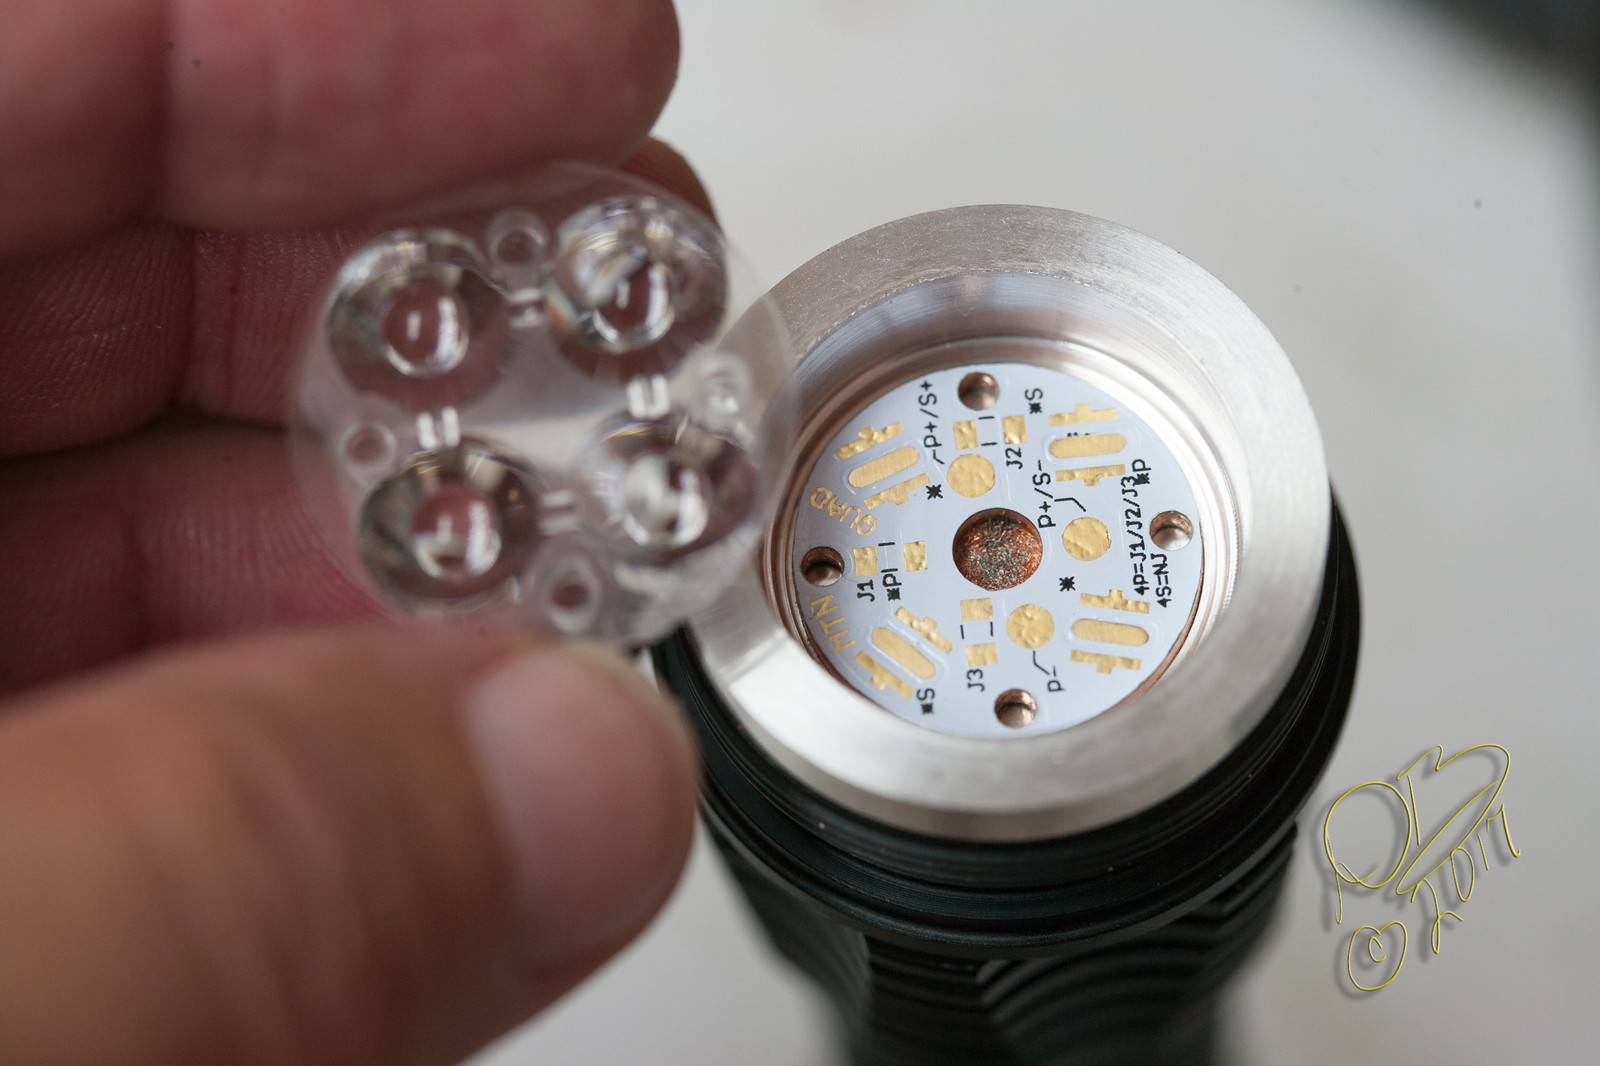
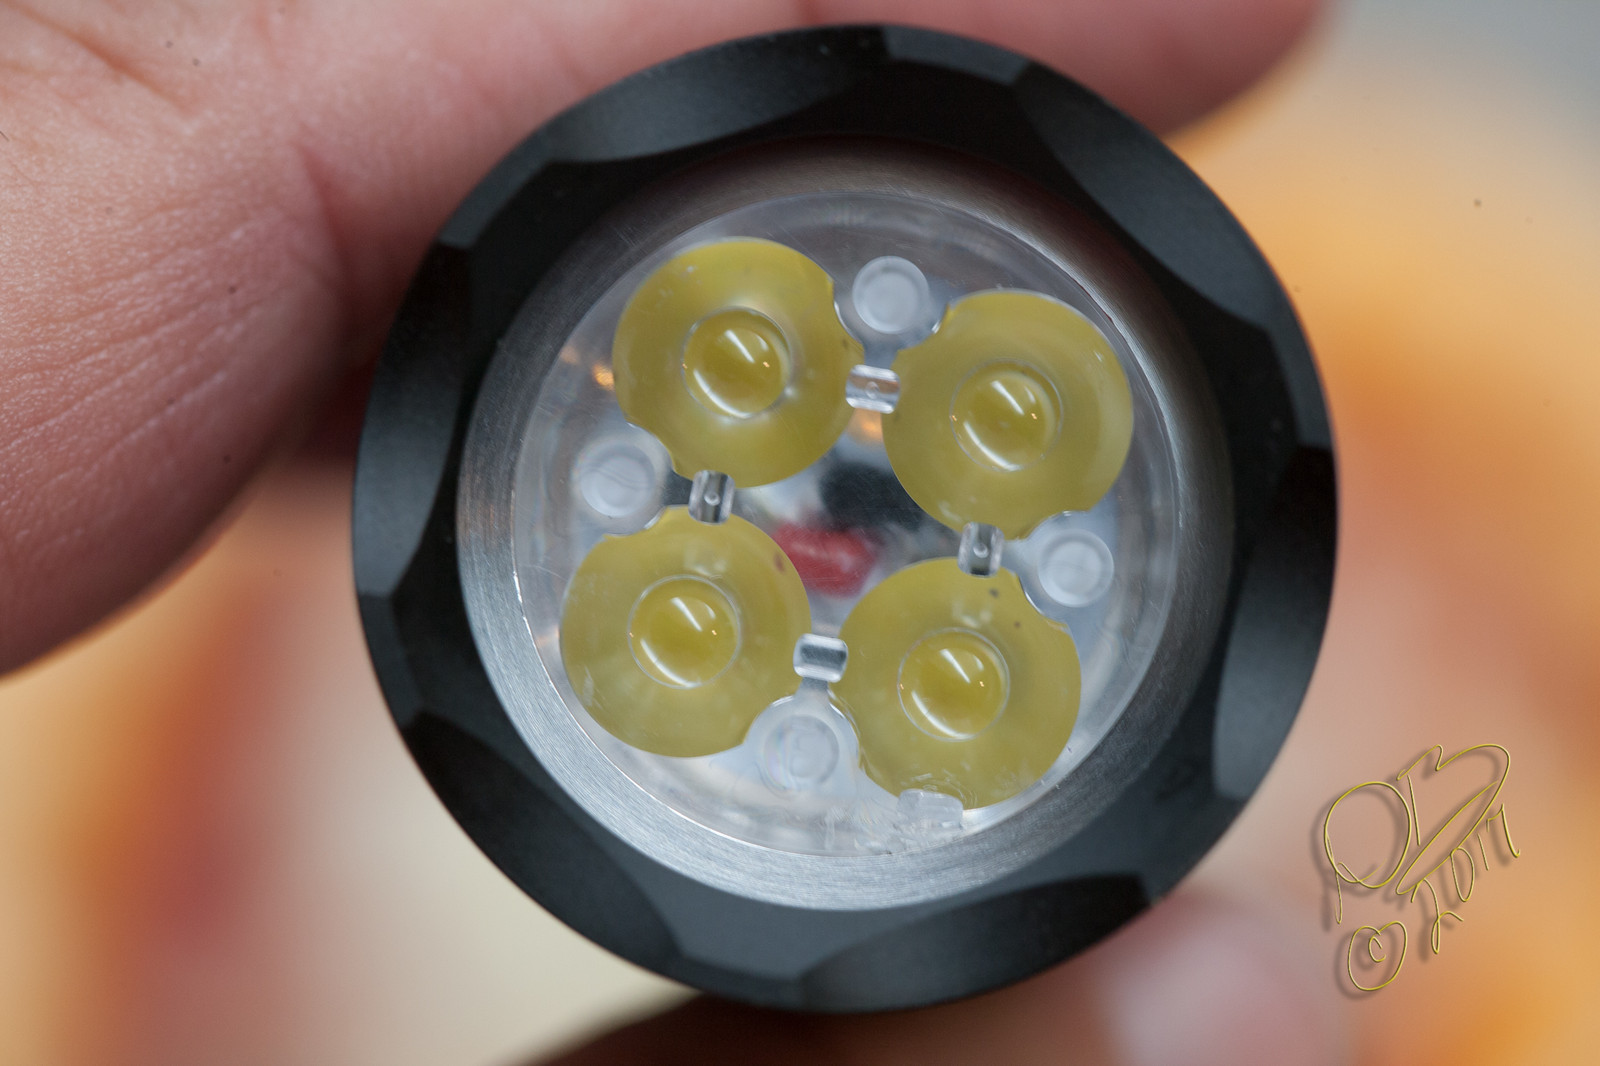
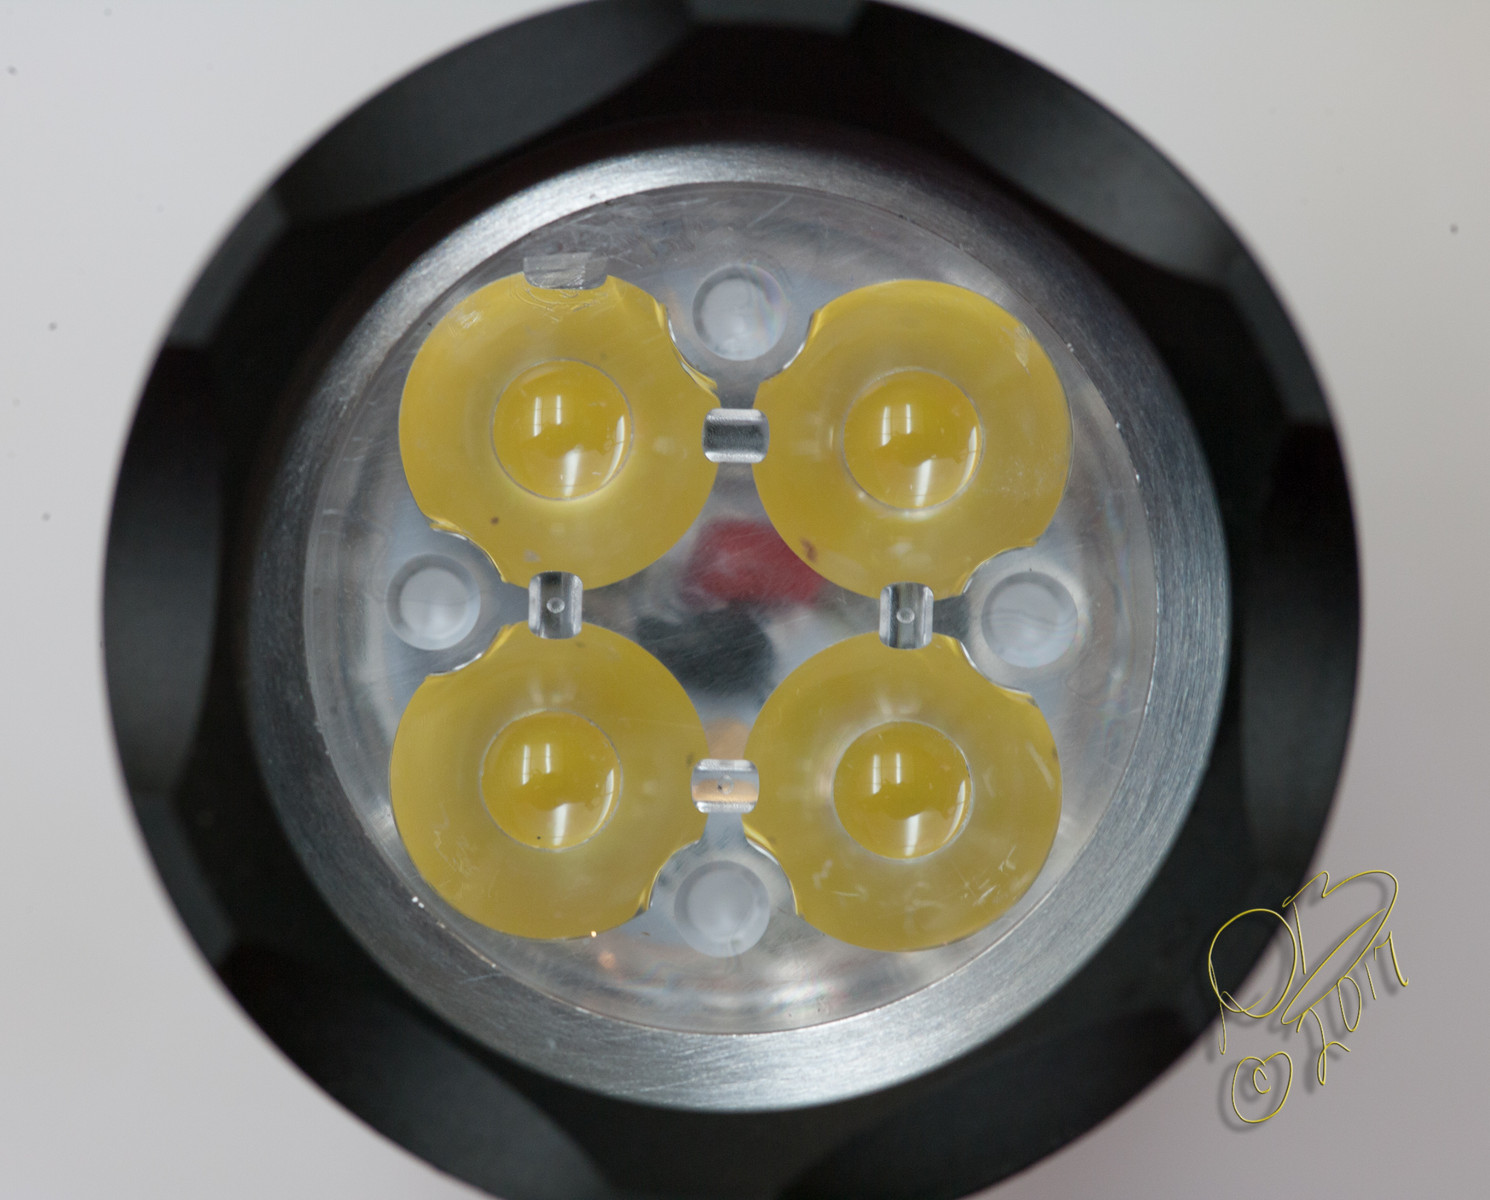
Richards new Quad MCPCB and a Carclo spot optic…
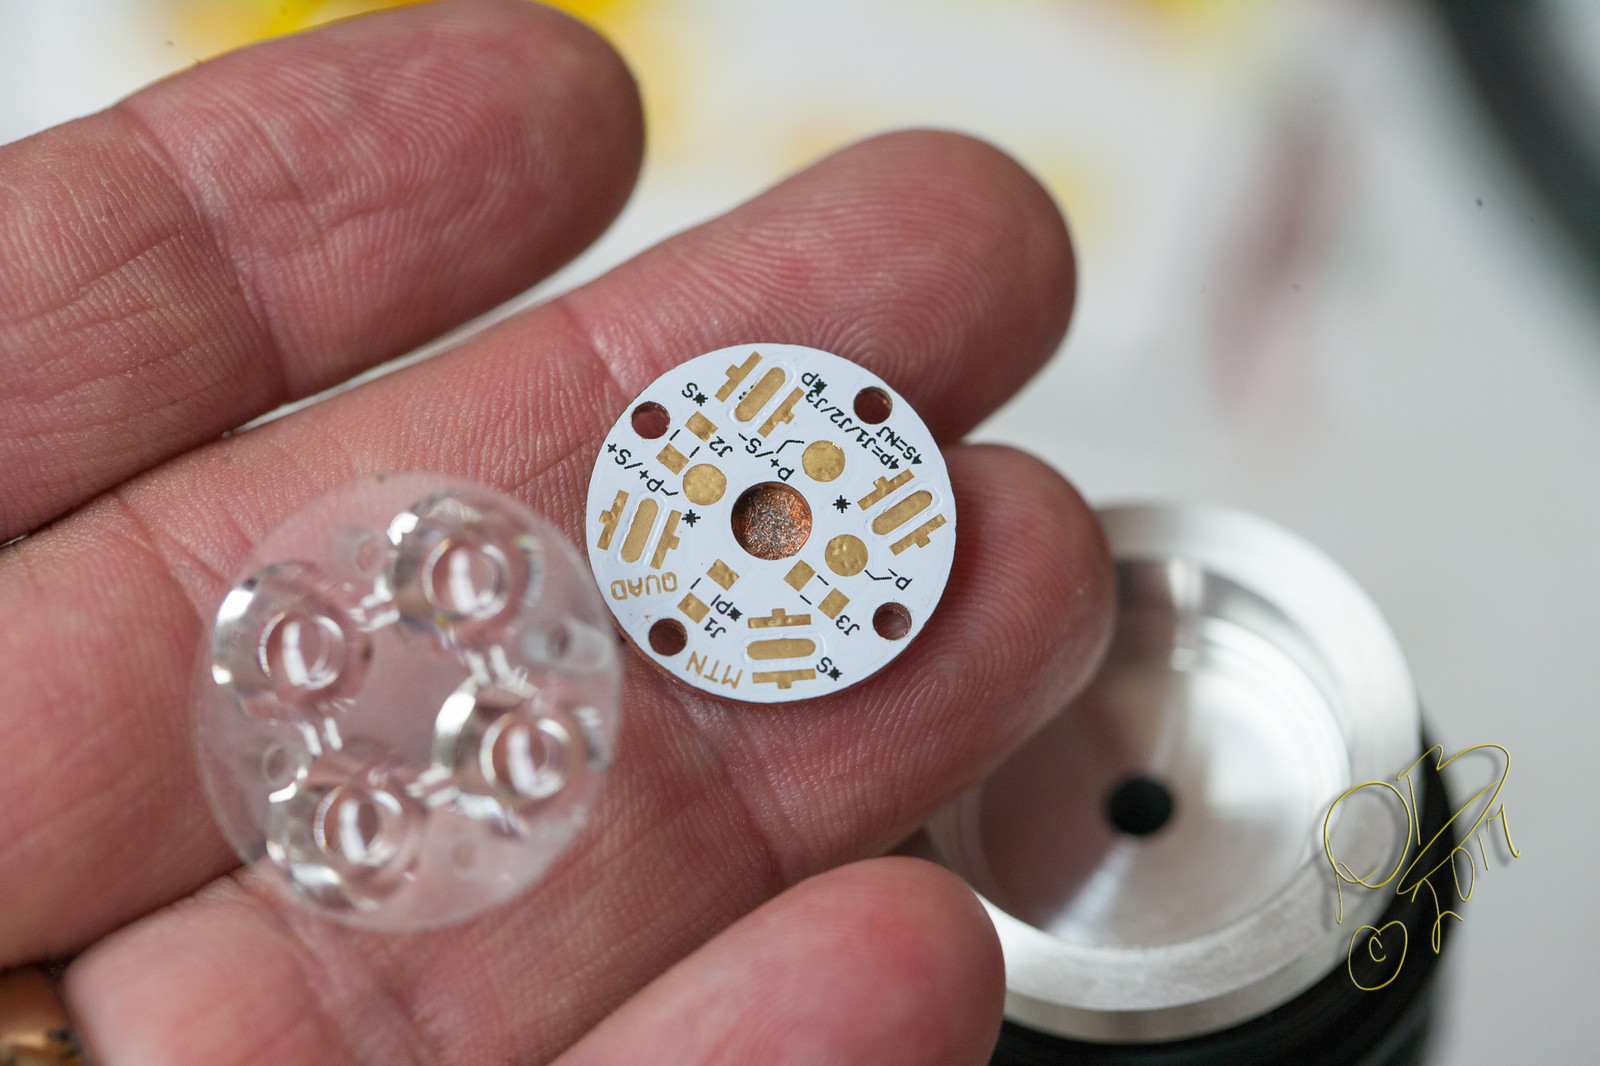
The MCPCB fits snugly into the base of the sink, almost zero play, while the optic fits flush at the top of the sink when the legs are mated to the mcpcb. This allows the glass lens to be pressed into the sealing o-ring with nice uniform pressure. ![]()
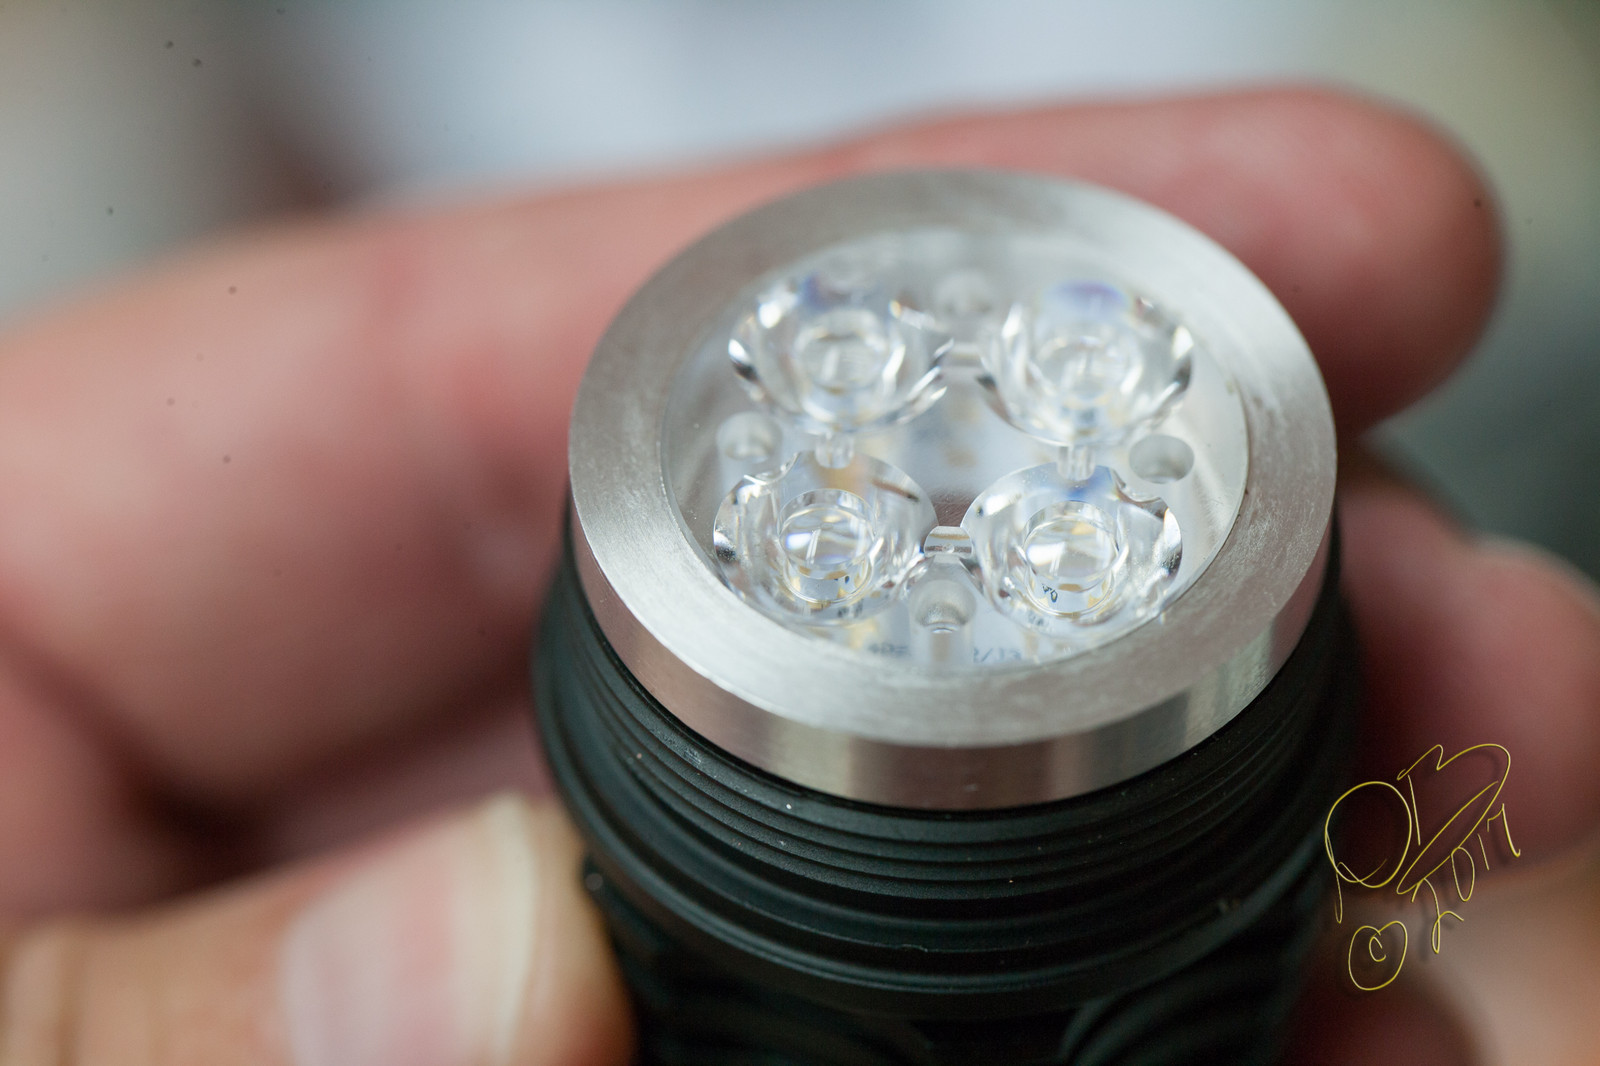
I got it assembled with a freshly built A17DD S-08 driver utilizing the Vishay SiR020DP FET and 20 ga leads. I used Arctic Silver to glue the heat sink into the head so it’s a permanent resident. The mcpcb has Arctic Alumina Thermal Paste so if necessary it can be removed easily for updates. (wasn’t sure how this new Nichia 319 was gonna act. ![]() )
)
I’ll get some pics of the finished light later on (am whipped, arm is fussin at me really good by now)
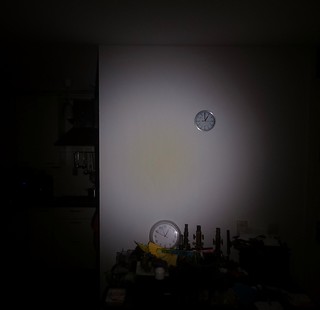
So how does it work, you might ask? Well, it’s a monster! ![]()
With a freshly charged 3000mAh Efest 18650 I get these numbers…
0.005A for 0.69 Lumens
0.02A for 6.486
0.14A for 57.615
0.55A for 230.805
3.21A for 1090.20
9.00A for 2518.5
18.22A for 4591.95
Wasn’t expecting THAT! nearly 4600 lumens from a Convoy M1, WOW! Gotta love it when a plan comes together… ![]()
Assembled and wowing…
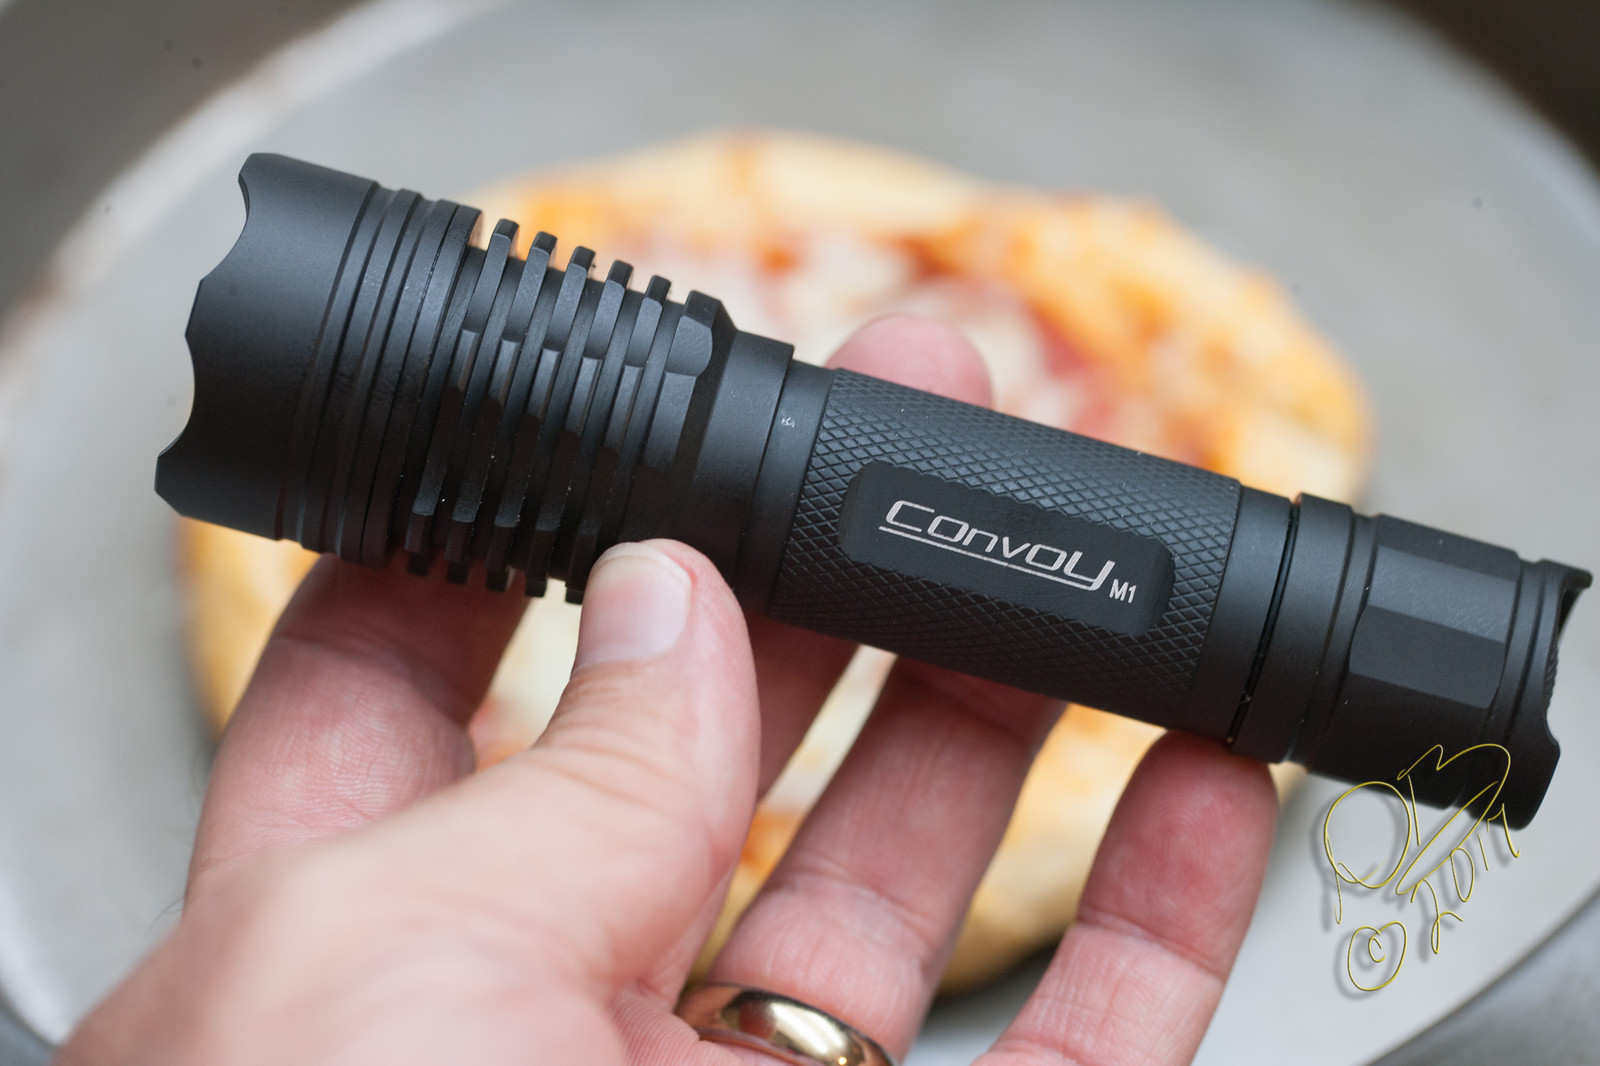
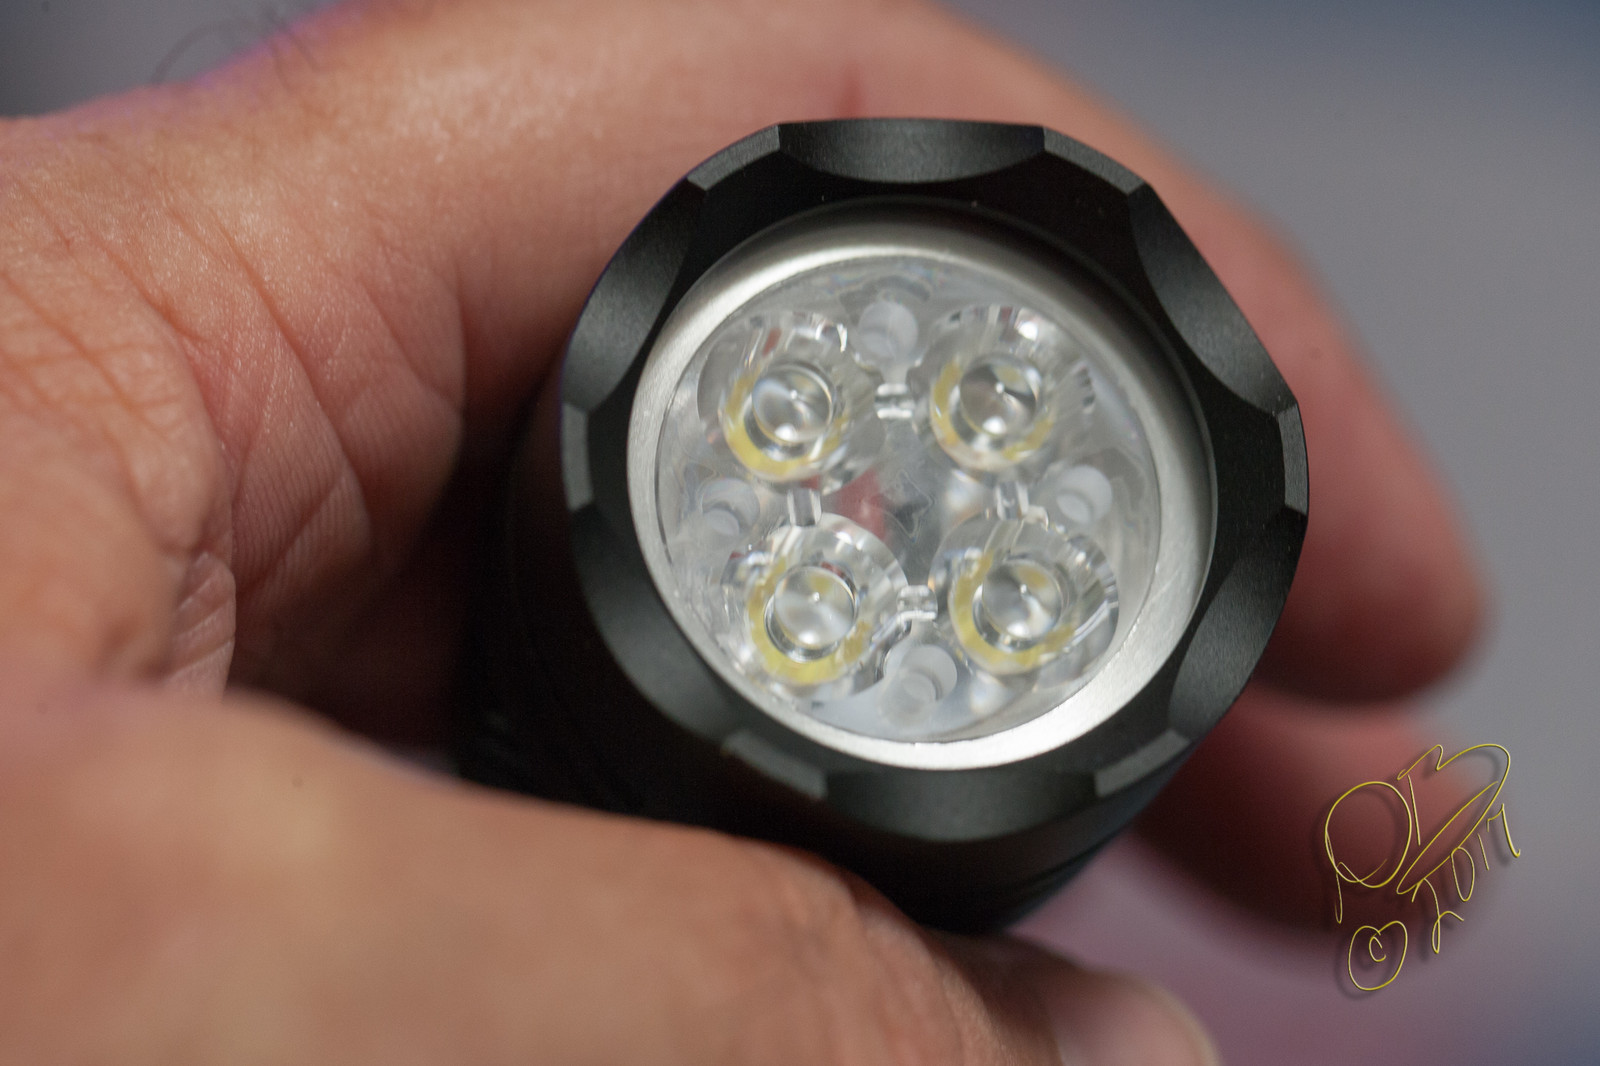
Thanks Simon, excellent little light and a superb finish! And thanks to you too Richard, awesome quad boards and they do indeed work amazingly well with the new Nichia 319, thanks for supplying those as well. ![]() Still thankful to Wight for his work on the orginal FET+1 boards and ToyKeeper for the incredible A6 firmware, love to be able to back into a lesser mode and avoid that 18A hit up on top. So many amazing people on this forum, just love building these little monsters! lol
Still thankful to Wight for his work on the orginal FET+1 boards and ToyKeeper for the incredible A6 firmware, love to be able to back into a lesser mode and avoid that 18A hit up on top. So many amazing people on this forum, just love building these little monsters! lol