I am using a 2D Black Maglite to make a 3up XM-L T6 with a TIR optic. Remember I asked what the 50mm optic I had, was for? Well it isn't XM-L, but it's going to be anyhow.
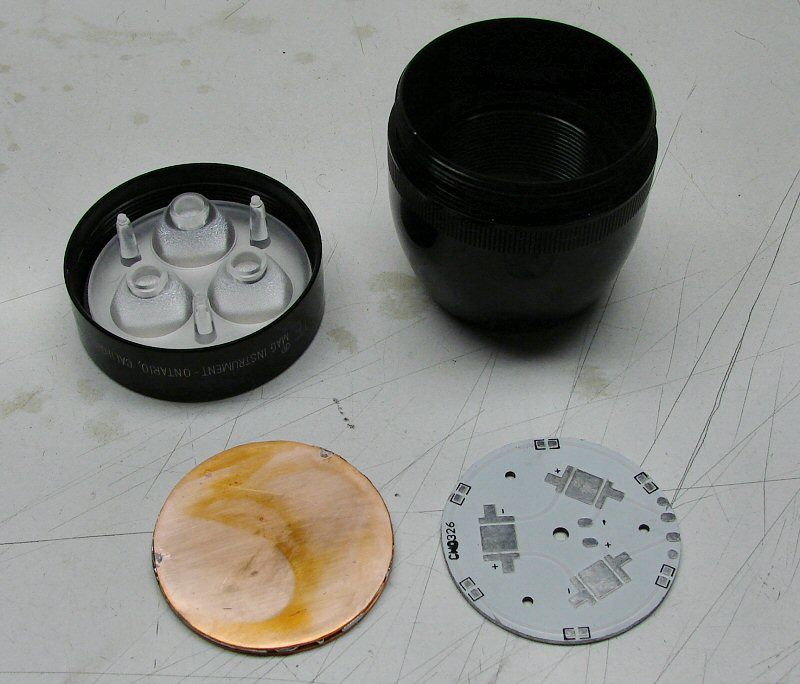
I'm using a 2D Incan Mag and I am going to use the 3up star with copper backing it up. I don't have any solid copper rod, so it's 20ga sheet sandwiched into a 3.something mm plate. I still have to clean up the plate later on. This is "WIP", LOL.
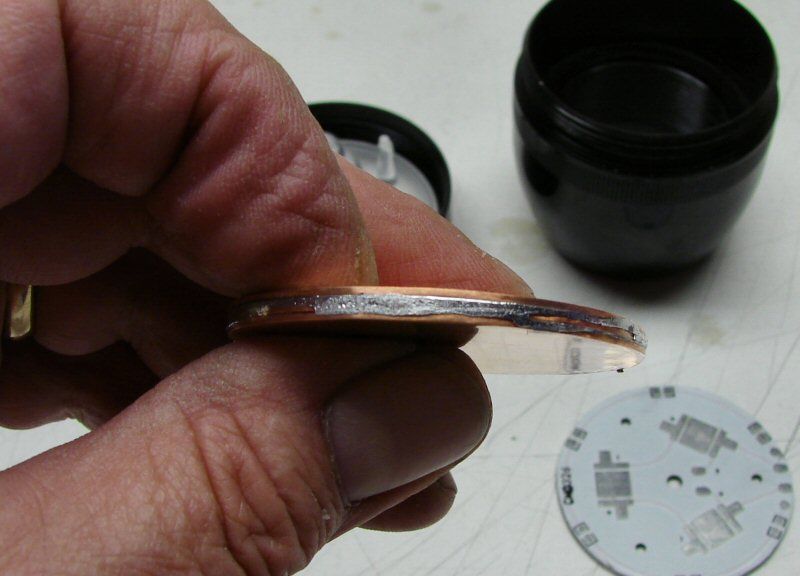
The plate is four pieces soldered together.
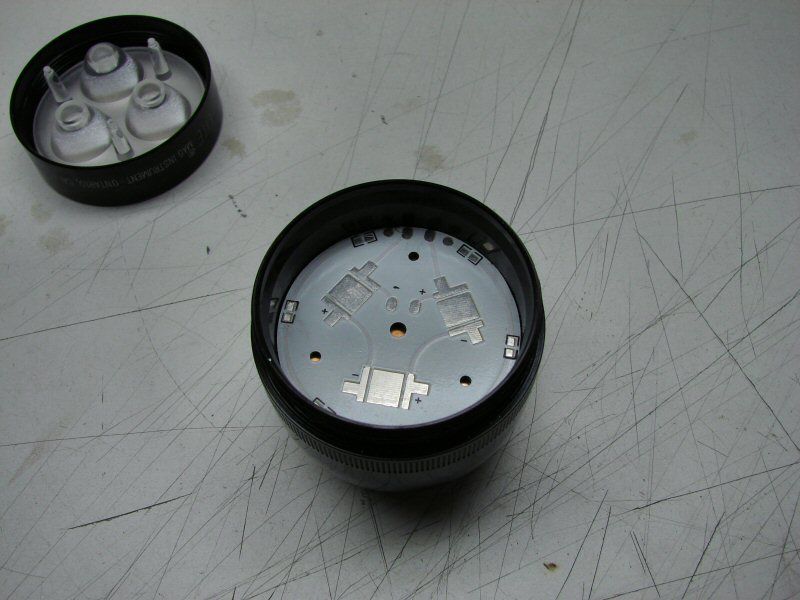
It all sits down on the inner lip in the Mag head. I had to cut down the star to fit the ID of the head.
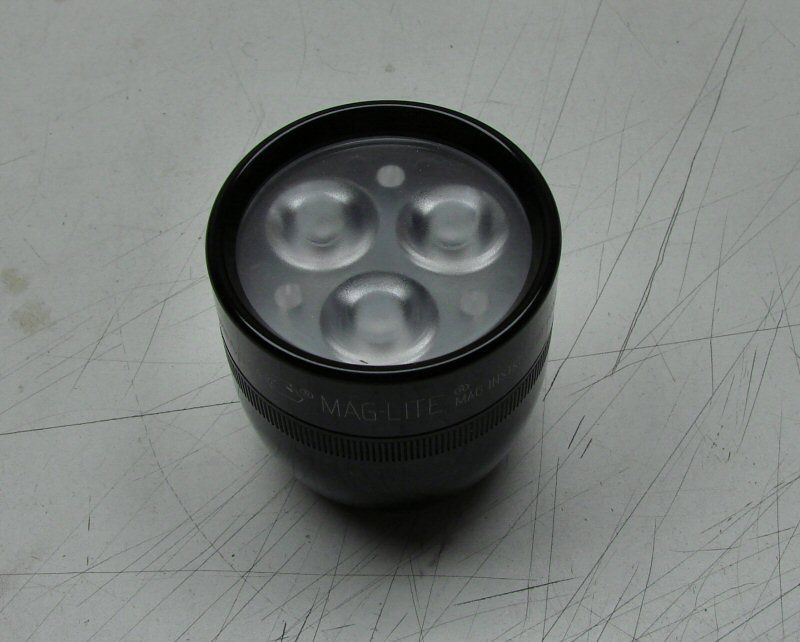
The stack up fits good. I will use a glass lens over top of the optic and I'm not sure yet if I will leave the optic frosted or if I will polish it and make it clear. Once it's together I can see how the beam is and decide.
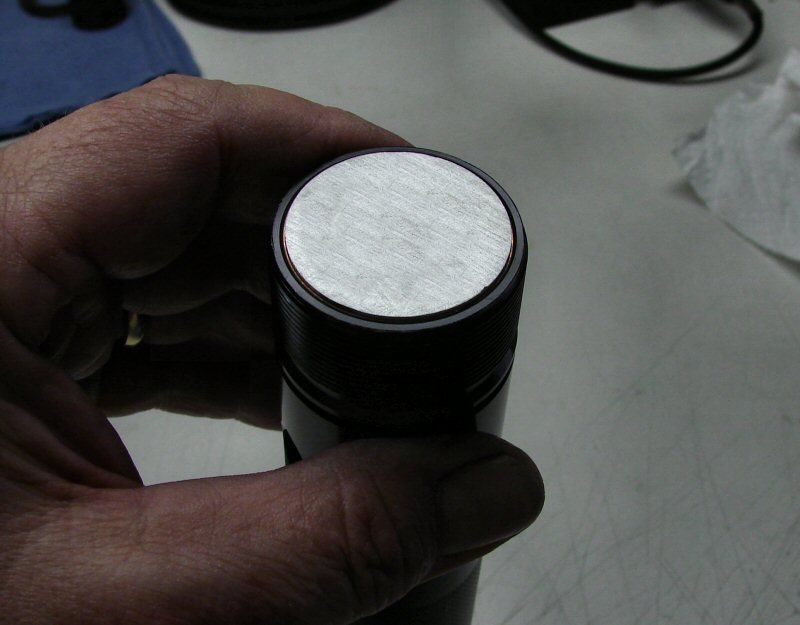
The aluminum heat sink will be screwed to the upper star and copper plates, so it will all be nice and tight.
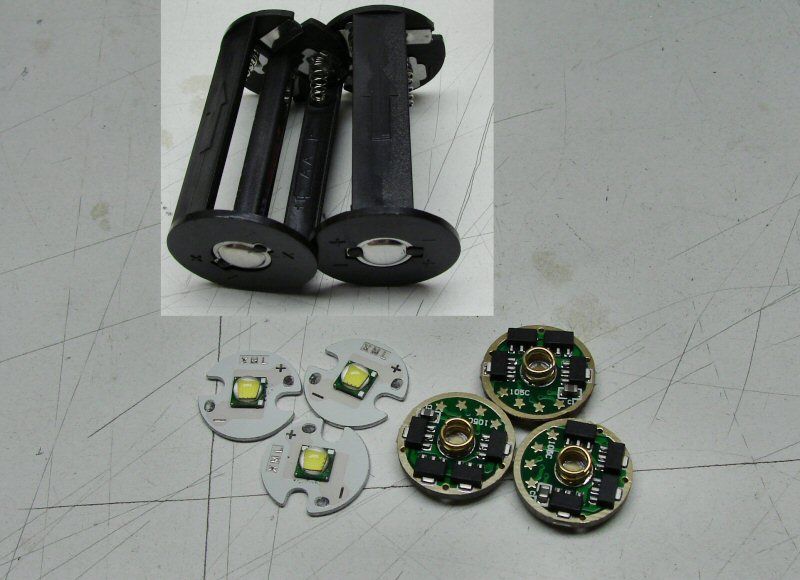
3 - XM-L T6 3C emitters and 3 NANJG drivers, as well as two 4AA holders. I need to bore the body and remake the holders for 4S/2P. I still have lots to do...
Later..........
-----------------------------------------------------------------------------------------------------------
I've gotten a little more done this evening.
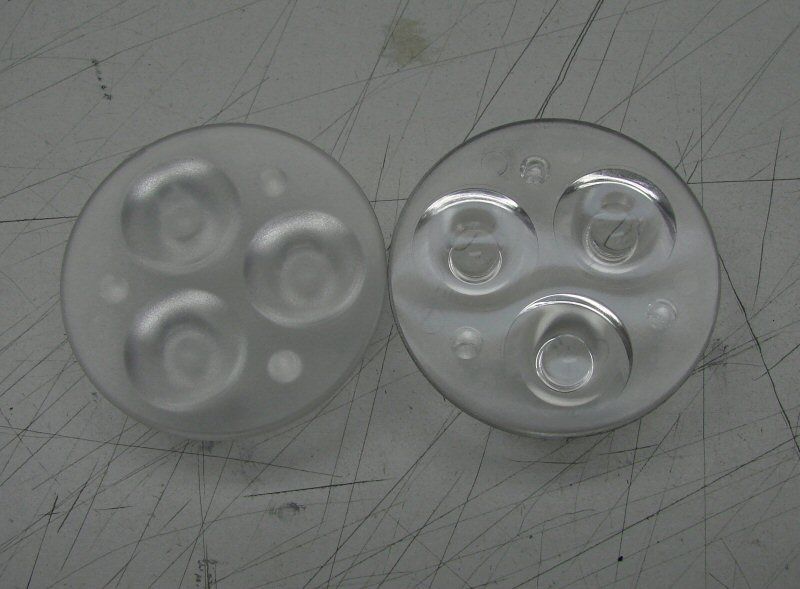
The TIR optic was frosted, but I had two, so I polished one. This way I can see which one works the best. Polishing was done with 1000 grit sandpaper and spit. Yes, spit, for a wet sand. Works better than water. Yes, I cleaned it afterwards... On my pants leg. After that, I used MAAS polish. Came out pretty good.
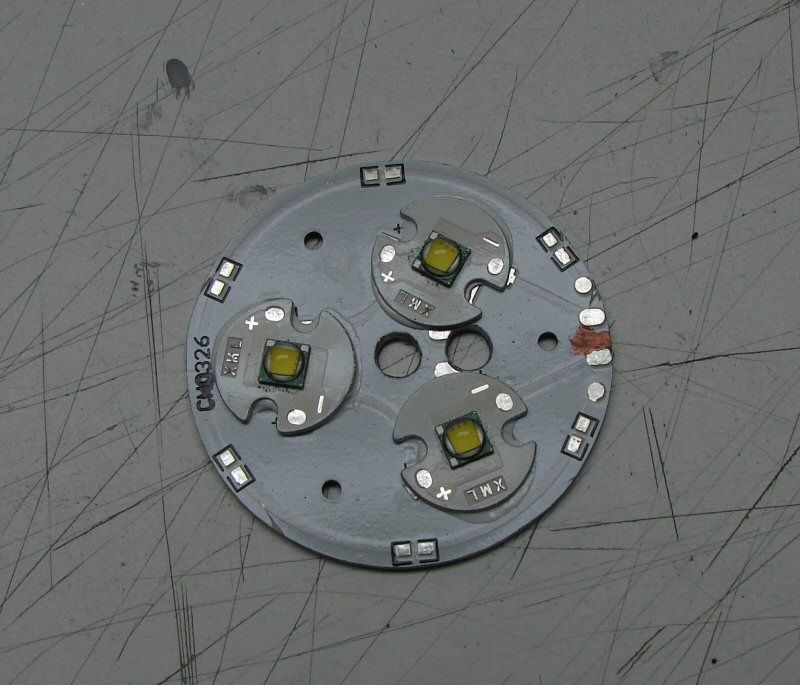
LEDs on the star. They are glued on with AA.
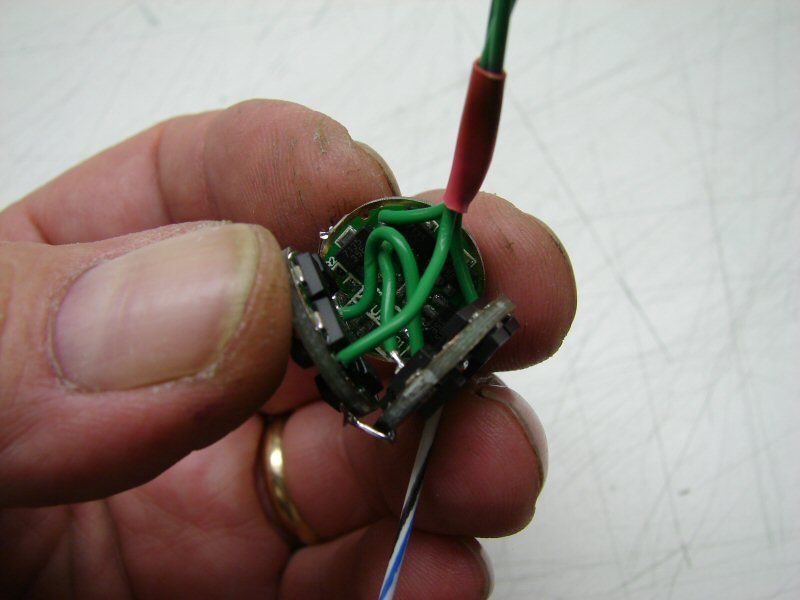
Drivers are wired up.
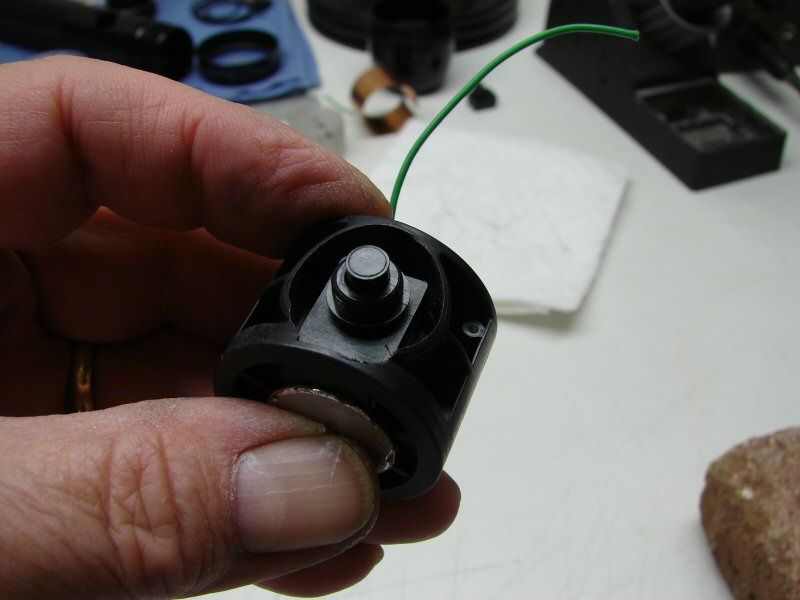
The switch is a combination of a Maglite housing with a Judco 10 amp switch inside it. The Mag shell has to be opened up, to fit the Judco and then a shelf has to be made, for it to set on. The photo below shows that. Now that it's in place, the whole thing will be filled up with epoxy, to hold everything nice and tight.
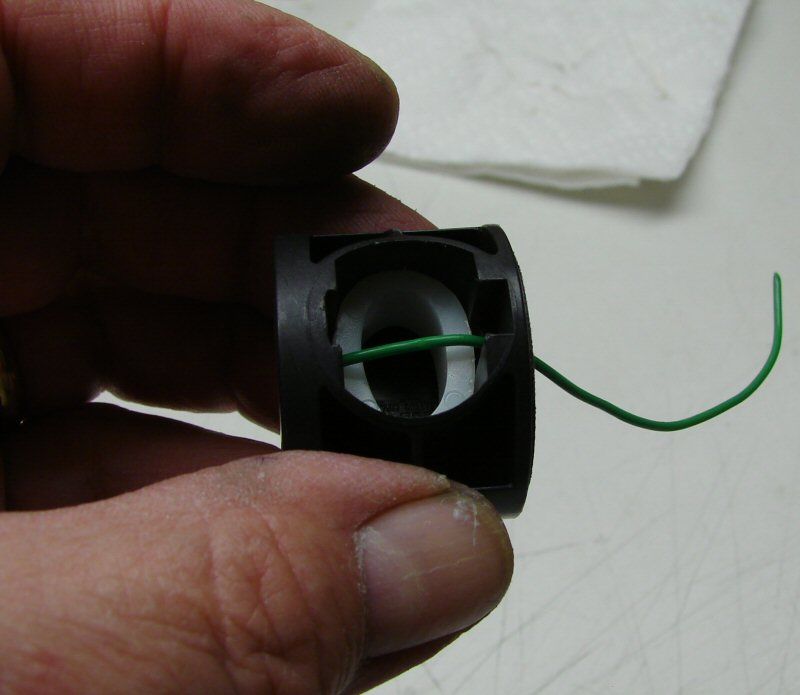
The bottom side shows the plastic bushing. It is a hard bushing and is a squeeze/press fit, to make a shelf for the Judco to set on.
That's it for tonight, time to get some rest...
--------------------------------------------------------------------------------------------------------------
Well, I went ahead and changed the copper heat sink, by adding enough thickness, so I could eliminate the original star. Now it's all copper under the leds.
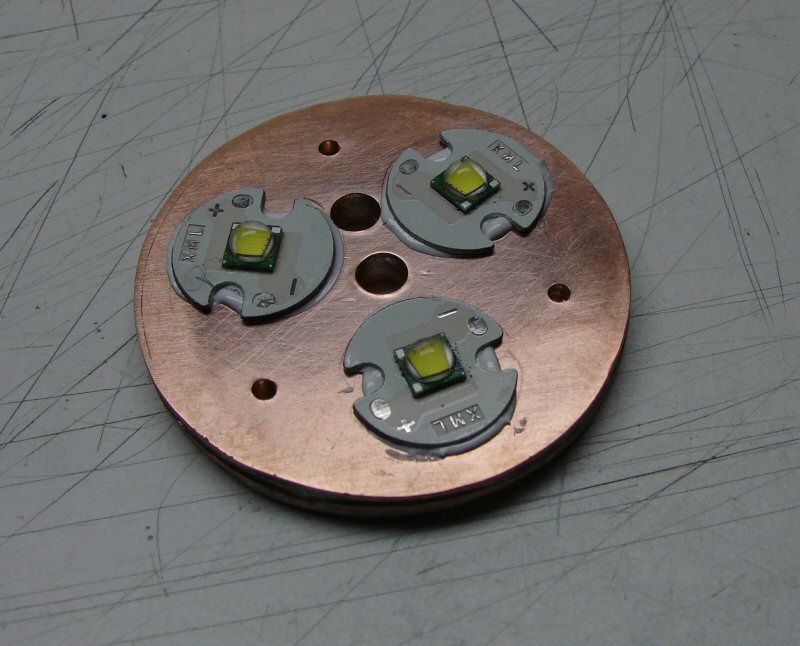
The copper plate weight 2.6 ounces now and the whole heat sink, copper and aluminum, weighs in at 5 ounces.
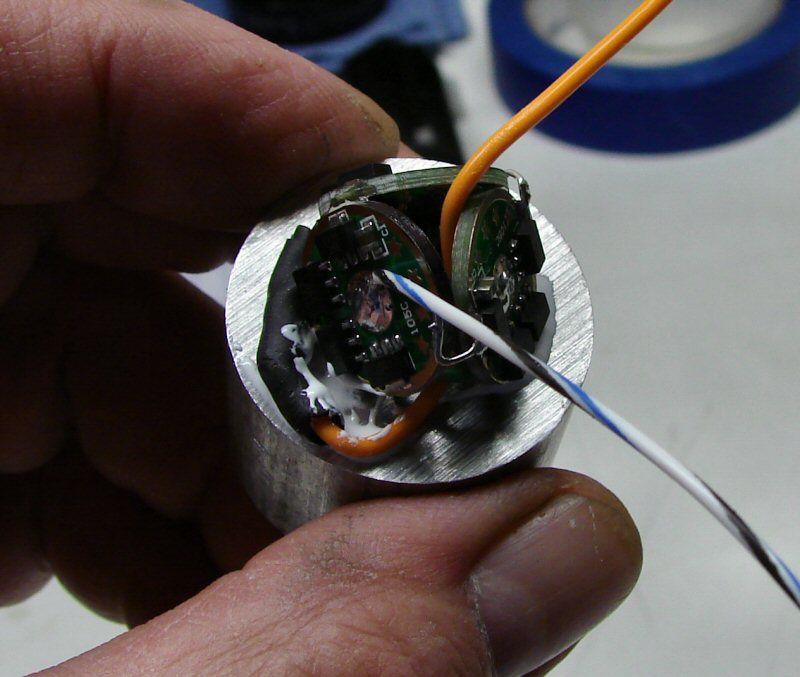
The drivers are mounted to the bottom of the aluminum heat sink.
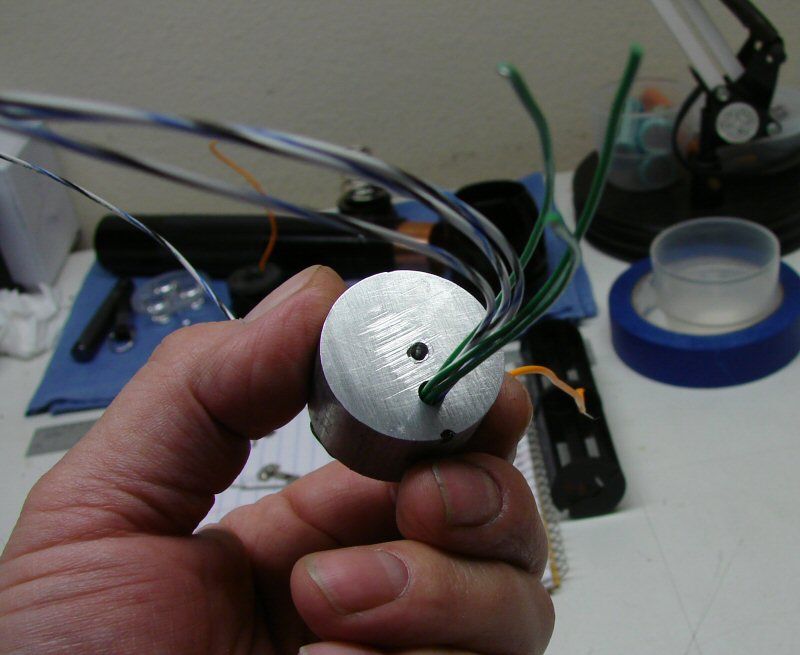
Looks like I got a little wiring to do here...
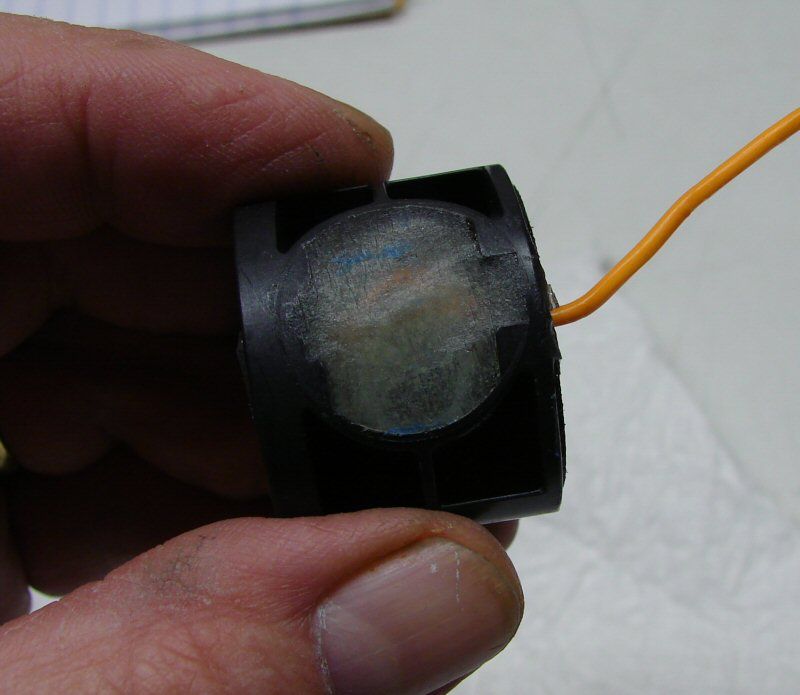
The switch is ready. I used Epoxy to fill in around the Judco switch. It won't move around at all now.
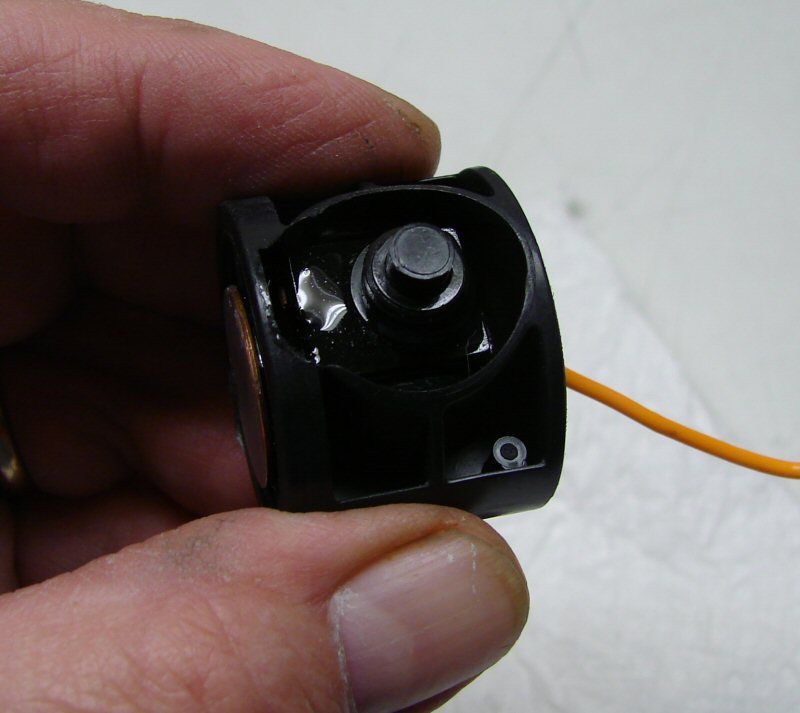
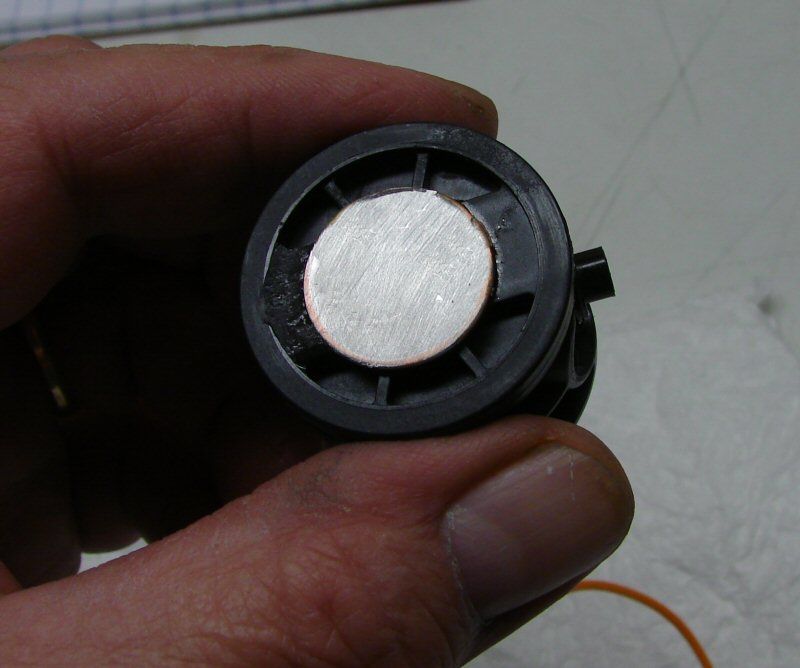
The contact for the batteries is copper, but I coated it with solder, since copper tarnishes very fast and you won't be able to clean the contact. Solder will tarnish too, but it's slower.
That's it for now, more to come, getting close now!
---------------------------------------------------------------------------------------------------------------
Well, I got everything finished up between last night and this morning. It Works!
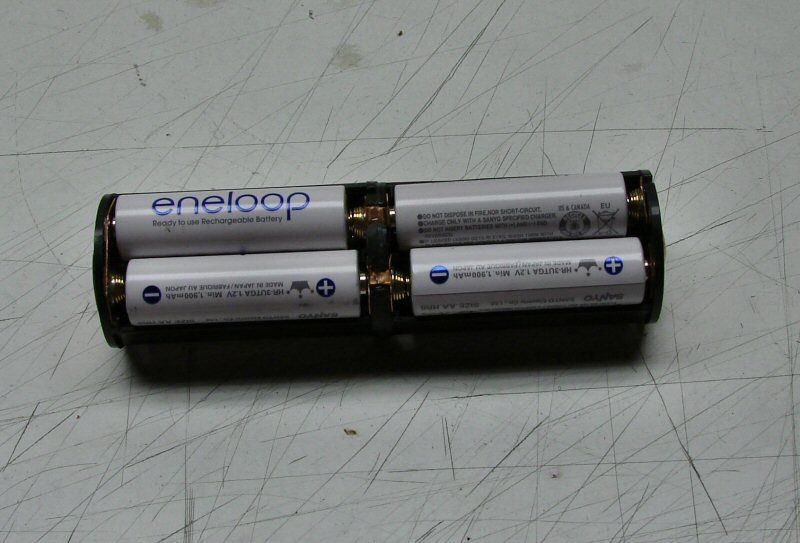
The battery holder is two of the 4 AA holders put together and modified for 4S/2P, with copper contacts.
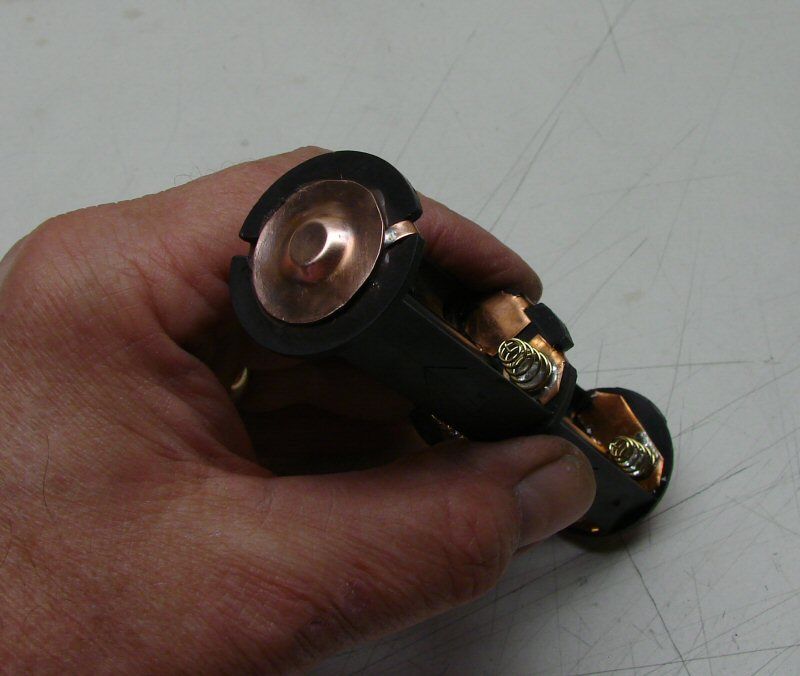
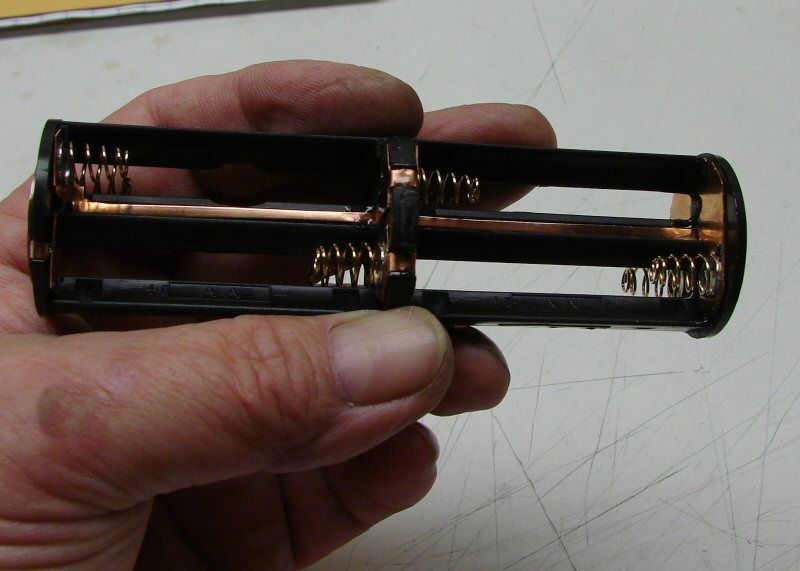
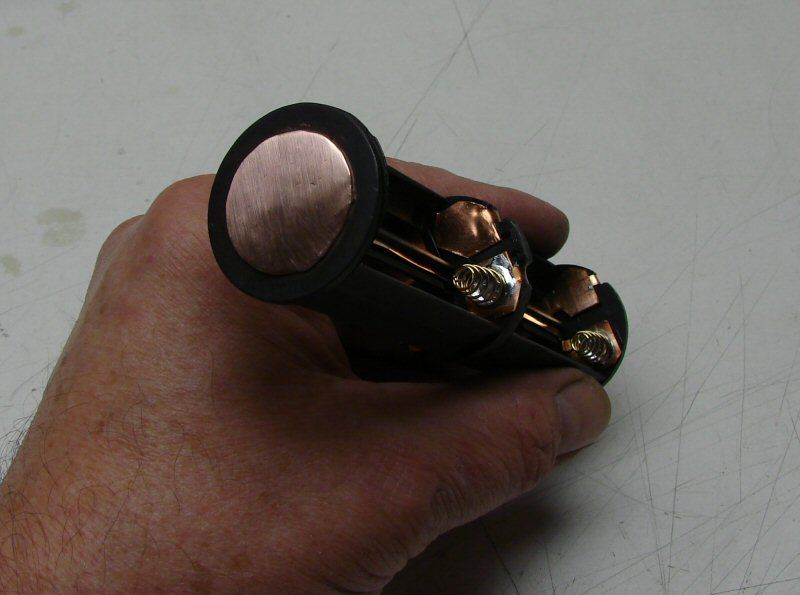
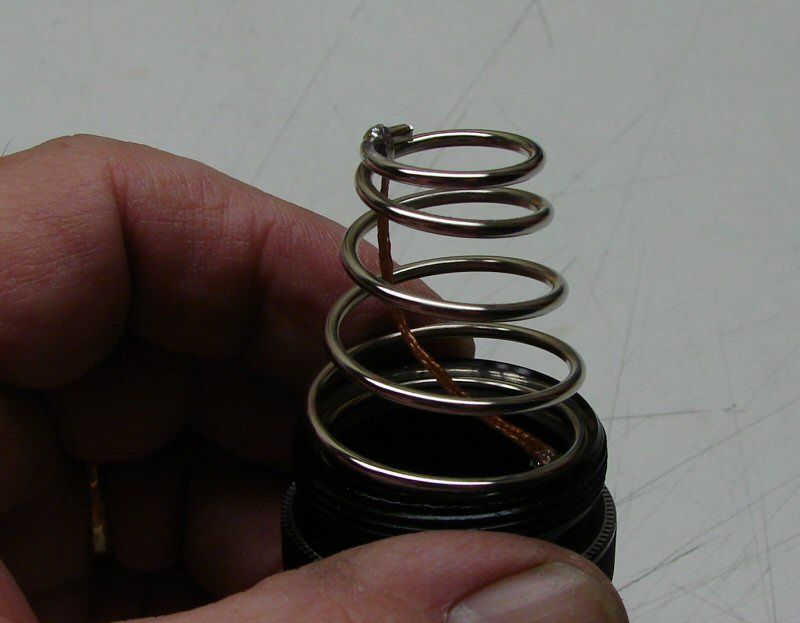
Tail cap spring mod with copper braid.
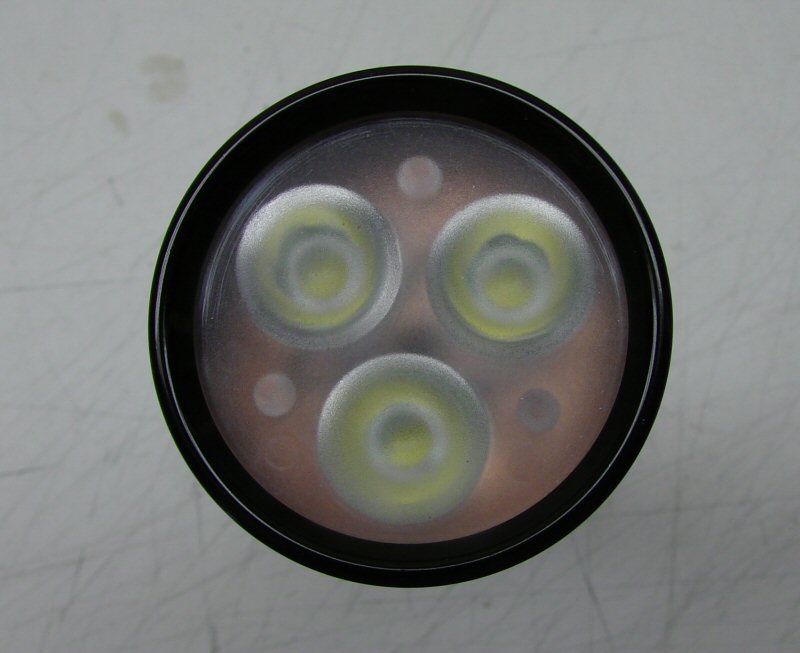
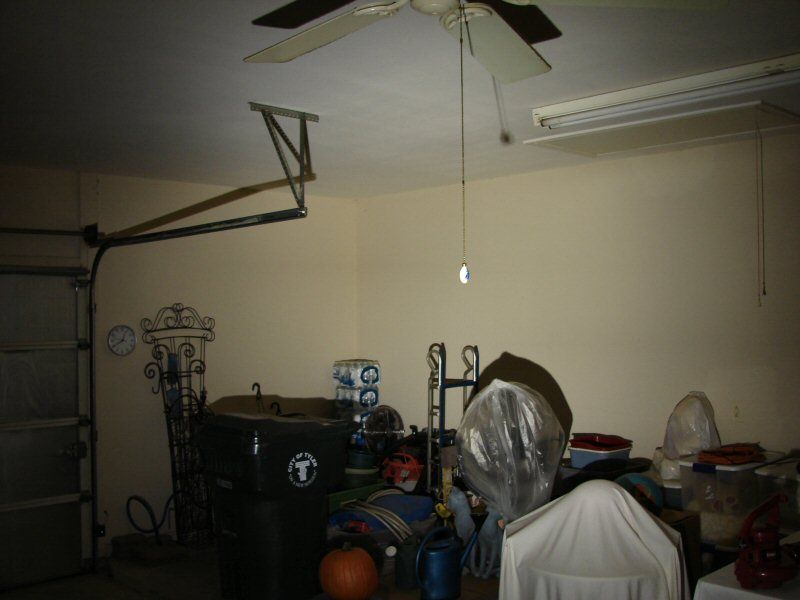
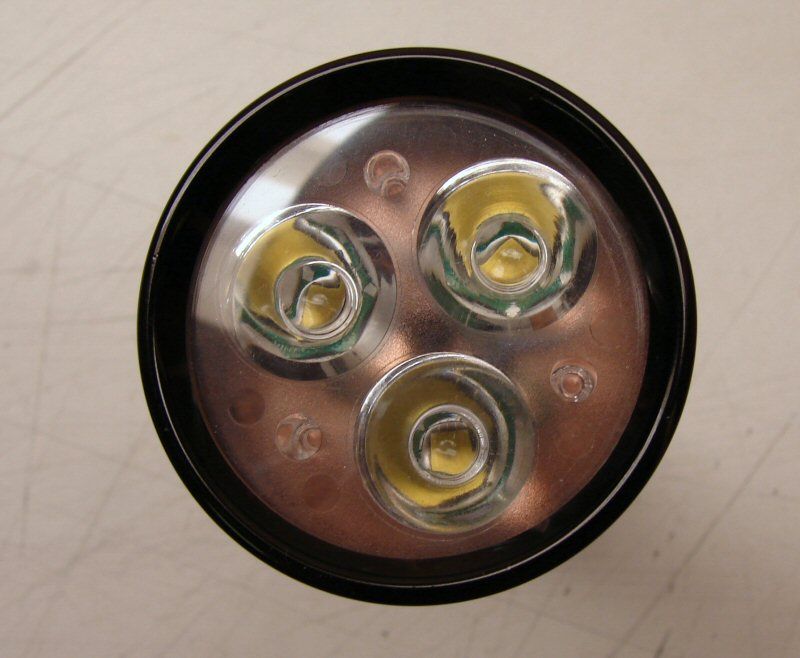
Frosted TIR and the beam. I didn't have the right camera out here, so the shots were not in manual. I just did it to show the difference in frosted and clear.
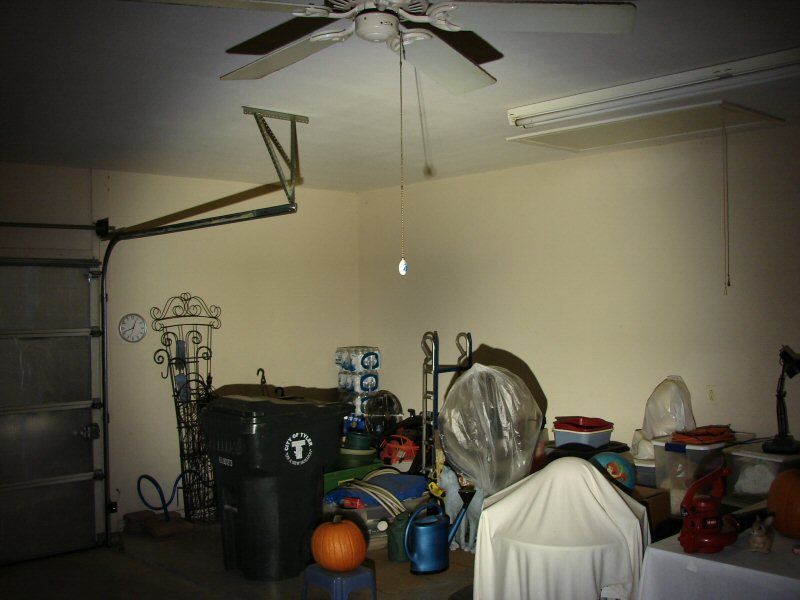
Clear TIR and the beam. I didn't have the right camera out here, so the shots were not in manual. I just did it to show the difference in frosted and clear.
Mouseover

The frosted is first, the clear is on mouseover. The clear has a large dead spot, the frosted does not.
I will be doing some beam shots tonight and I will compare the frosted to the clear.
I still have some cosmetic mods to do... mebbe... but the light works! The master driver is one that E1320 changed the program on, so it's five mode. The battery pack tested to 5.07 volts before I used it.
The amp draw on High was 7.5 amps. It started out at a little over 8 amps on turn on and then settled to 7.5 amps, so it's no mega light for sure. I would imagine it doesn't put out more than 1500 lumens with the frosted TIR and probably about 1600+ lumens with the clear TIR.
It's not a mega light and if you want lumens, then you're better off with a Dry. I just don't want to mislead, I don't care about the lumens, I care about the build and how I did it and that's all.
In 30 seconds, the head was heating up, in 1 minute, the body was heating up, where I had my hand holding the light. In 2 minutes I shut it off. Not too hot to handle, but hotter than I would want to run a light. Obviously the copper heat sink is getting the heat out to the head and body, so it's working as it should. I figure the TIR will be the first thing to melt. The legs of the TIR sit in the copper plate, so the legs will probably warp before anything else does. (If the light is left on high till the batteries run out that is).
Beam shots tonight...

