Making a Copper Star for a led - with photos EDIT: Basically this is just an FYI idea, if anyone is wanting to know a way to make a Copper star.
I have seen the XM-L leds on Copper stars out there, on the internet and I often thought about making my own. I just thought it would be too hard (due to the small size), for me to do. Well, sooner or later I had to try it for myself.
Here are four drawings of what I came up with. This is what I wanted to make and then we will see reality.
The center pad of the led is soldered directly to the star and the outside pads are soldered to isolated copper strips. Kapton tape does the isolation, and here's an explanation of the process:
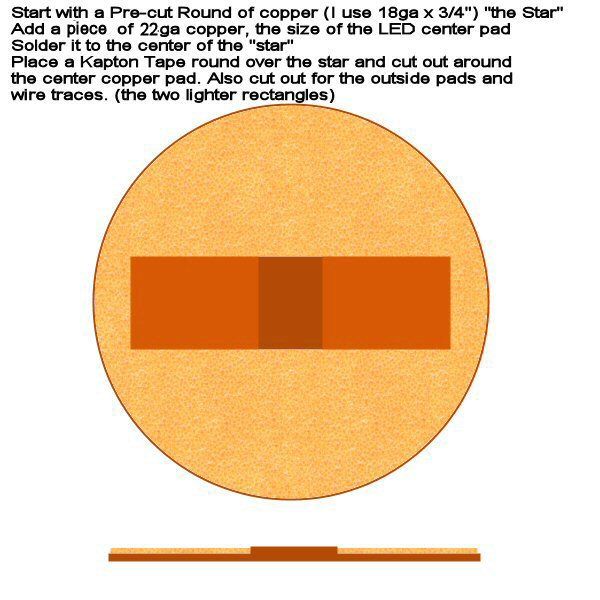
I start with a copper round. This one is 3/4" diameter and 18ga thick. I polish it with 0000 steel wool and clean it with alcohol.
(All the copper has been polished and cleaned in the same manner).
Then I take a piece of 22ga copper sheet, (cut to the size of the led center pad) and I solder it onto the center of the star. What I did was to flow a very thin layer of solder to the sheet. I did that by flowing it on and wiping it off, with a paper towel, so it just leaves a really thin layer. Then I just set the sheet on the star and heat till they flow together.
Next I take a Kapton round and stick it to the star. I use an Exacto blade to cut out around the center pad and to cut the places where the + & - strips will be.
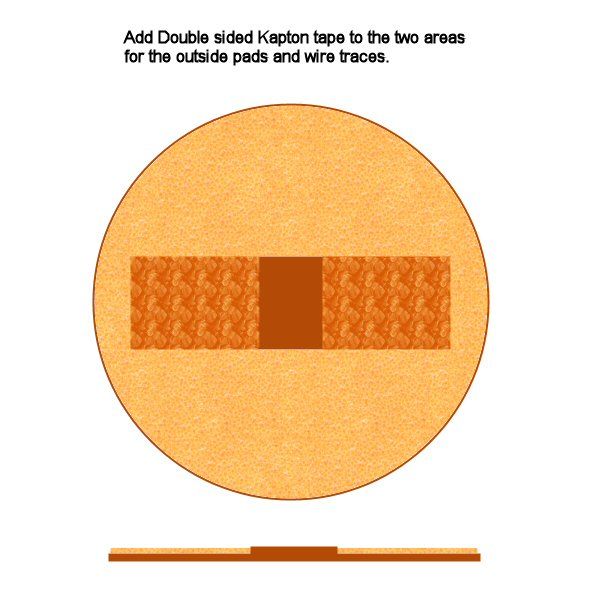
I take some double sided adhesive Kapton tape and put pieces down, where I removed tape on the star. These spots will be where the copper strips go.
I cut two pieces of 24ga Copper and stick them to the double sided tape, making sure of my spacing to the center pad, so that when the led is soldered onto the pads, they line up correctly.
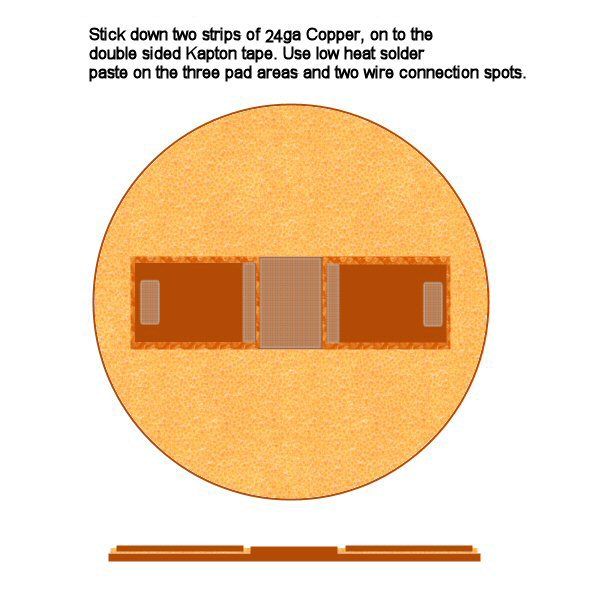
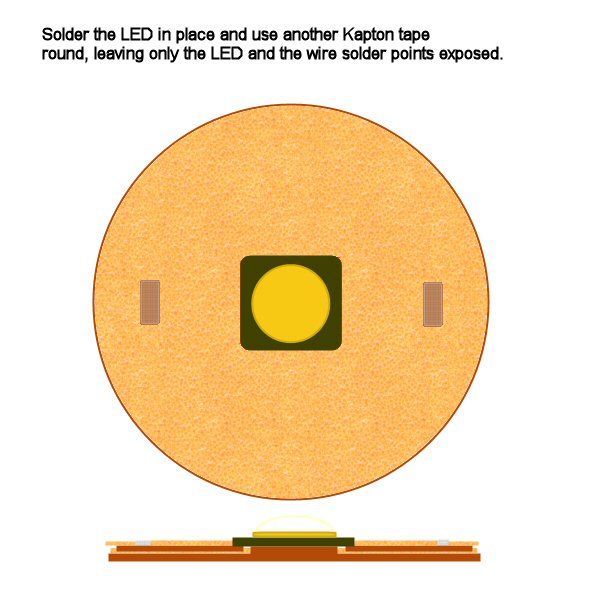
Then I add low heat solder paste to all three pad areas of the star and set the led on the pads. I heat each outer pad, by heating right next to the led on each side. I heat the center pad, by heating from the underside of the star.
I take another piece of Kapton tape (pre-cut round) and cut out a center square opening, the same size as the led.
I stick it on the star and then cut out two spots where I want to solder the wires. Flow solder on them and I'm ready to go!
I have to take a moment and explain why the 24ga and 22ga copper sheet. I use 22ga for the center, because it's 0.005" thicker than the 24ga for the outside strips. That way, the thickness of the double sided tape has been accounted for and overall, the three pads come out to the same height, (or close enough to be called the same height). If all the copper sheet was the same gauge, the outside pads would be higher than the center pad (which is the mistake I did with the very first star) and more solder would be needed to bridge the center pad.
I wanted to know how this whole thing would work. It looks fine, but does it really work and how well does it work? Is it worth the work? For me, it was worth it, just to be able to learn how to do it successfully, but that does not give you any real data does it?
Well I found a very gracious gentleman by the forum name of Match and I asked him if he would test out my very first star, to see if it worked and how well it worked. He did a full test all the way up to five amps for me. I want to sincerely thank match for his generosity and his time. He took the time to hook this star up and test it out completely and I am so appreciative of his work.
Unfortunately Match is out of pocket right now, but here's what he told me in a PM: your led performed within ~10% of mine, only dropping off at > 5 amps. I’d say it’s a winner. I’ll email you the exact details (tested every 200ma up to 6amps) when I can get to my notebook.
When he gives me the details, I will include them here.
Tonight, the Reality: I did a "Down and Dirty" to show you how it goes and it's not exactly like the drawings.
Here's the components:
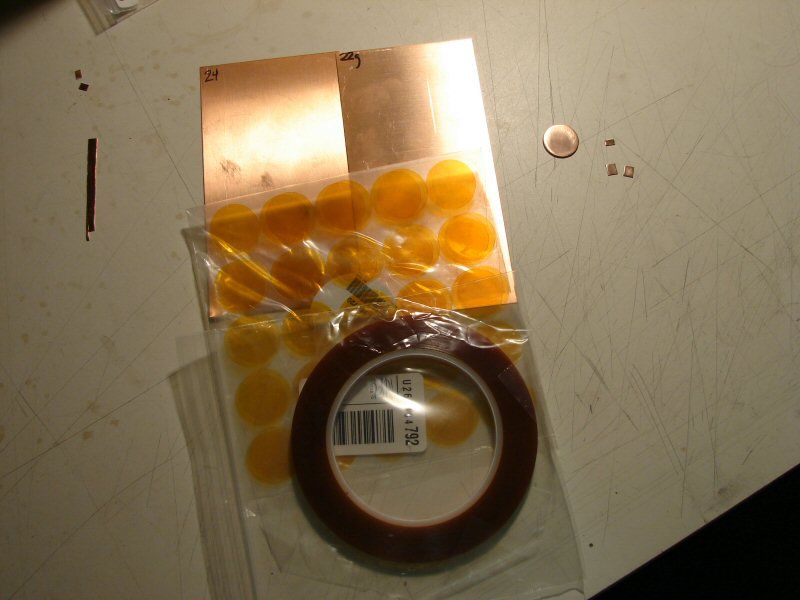
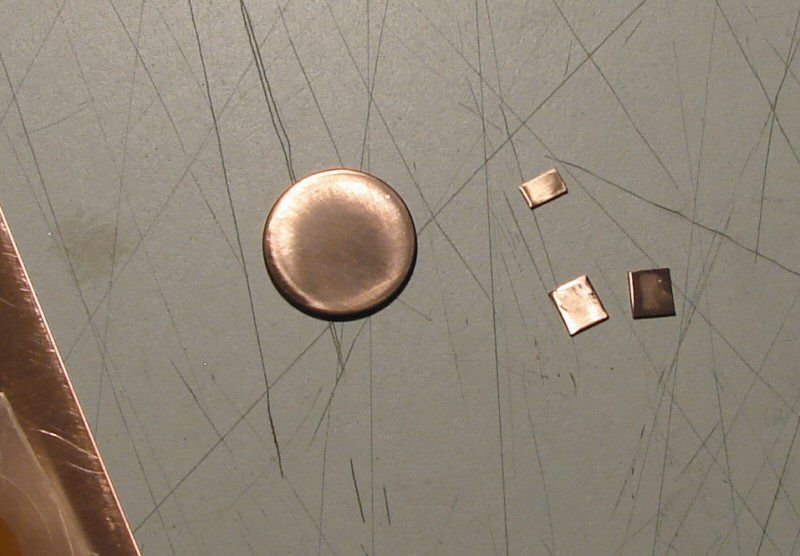
Above, are the sheets of copper, with the Kapton tape. Then there are the star and the three pieces of copper for the pads.
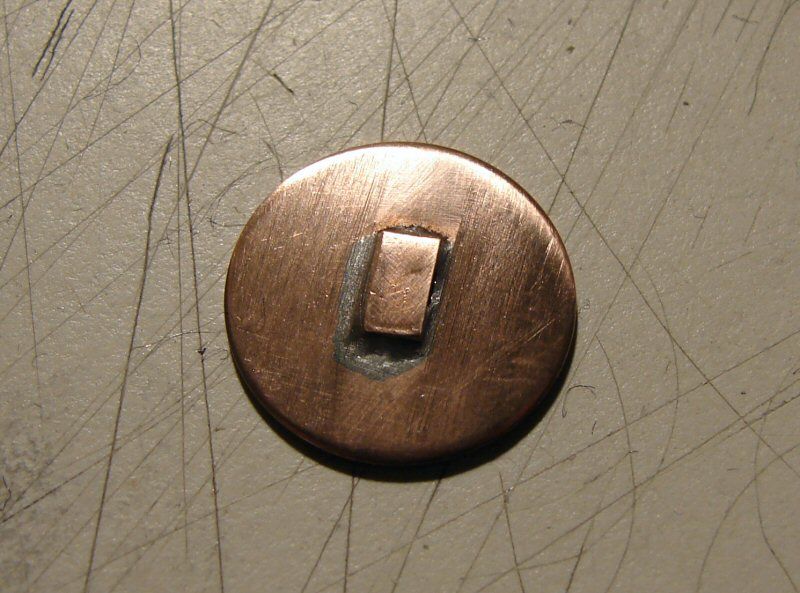
Center pad soldered to the star and some excess solder sanded away.
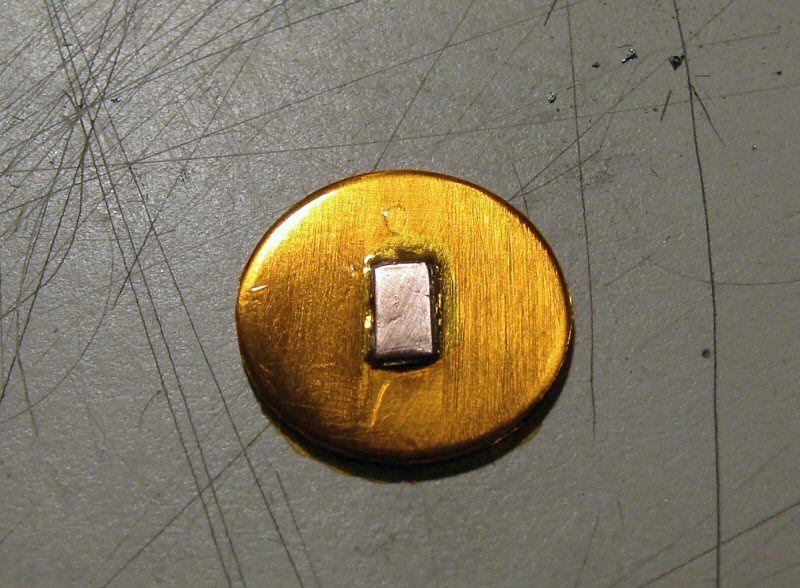
Kapton tape round put on, center is cut away with a New, Sharp, Exacto blade. If you use a dull one, the tape will tear apart.
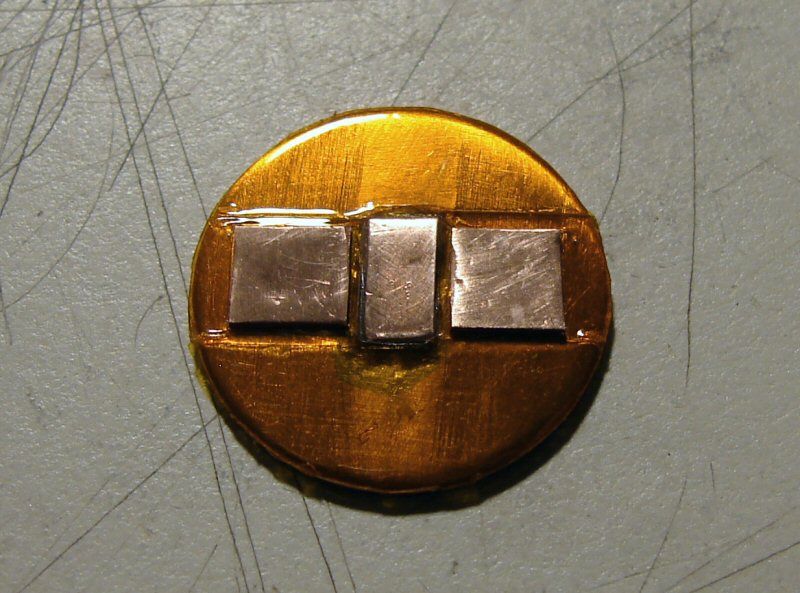
Double sided tape put on and outer pads stuck in place.
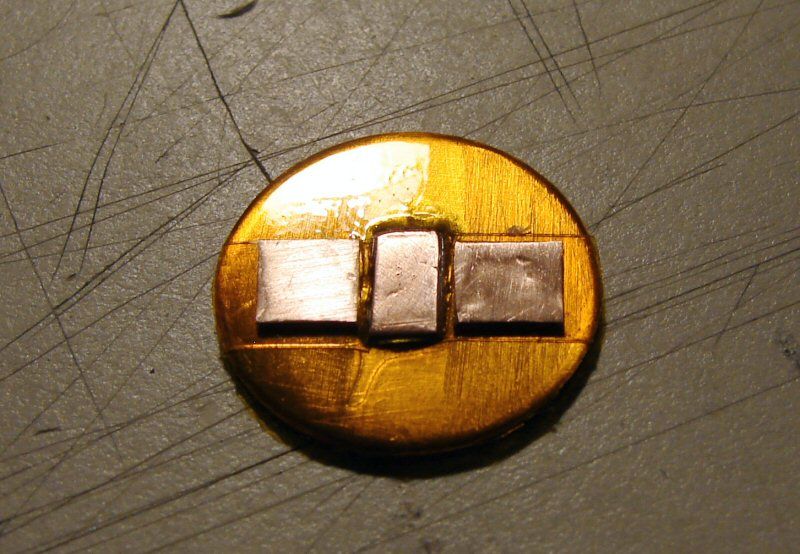
Top Kapton round stuck on and I simply cut around all 3 pads. I don't see the need to do any different. It's functional. As I said, this is just a down & dirty, to show how it's done. I went for quick, not pretty
I do not have an XM-L to put on right now, so I didn't put on any solder paste. I just left the pads bare, till I get some LEDs, which will be delayed due to the hurricane over HK.
Here are the sources for the components:
Stamped Copper rounds - Etsy (search for copper rounds)
Kapton tape (Double Sided Polyimide Tape - 1/4in) - Amazon, but really from
http://www.polyimidetapeonline.com/
Pre-cut Kapton tape Rounds (Film Shape, Round, 1 In, PK 50) - Drillspot
http://www.drillspot.com/adhesives-sealants-and-tape/tapes/film-tape/?spc=Shape%3DRound
Low heat (solder it) solder from Lowes in the plumbing section, but since then I have purchased kester solder paste
http://www.cmlsupply.com/kester-ep-256-syringe.html


