In this thread you can post your builds with LD-2 driver.The goal is to share your experience,problems,lumen/lux numbers after modification/build with LD-2.I think this will be very helpful for all members who want to do something similar with their flashlights.
For start,me first:)
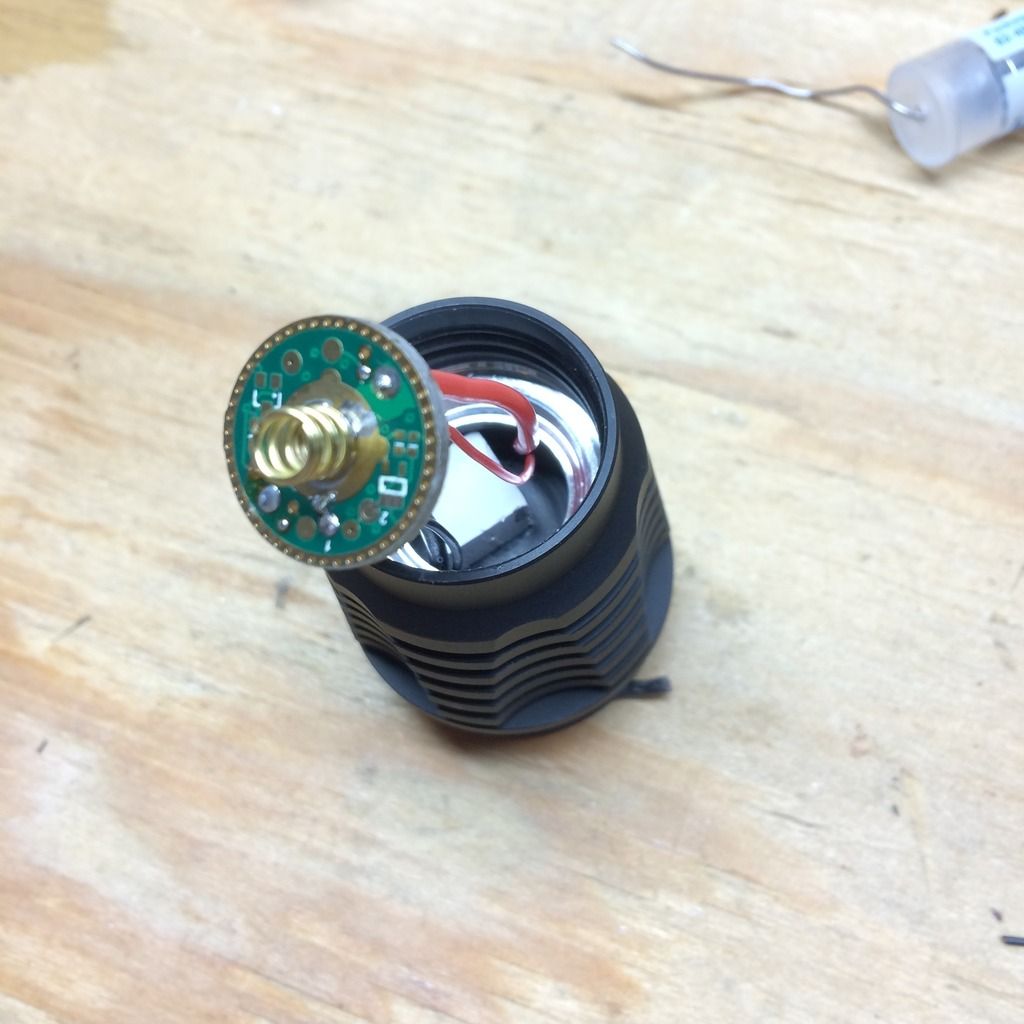
Convoy M1 upgrade
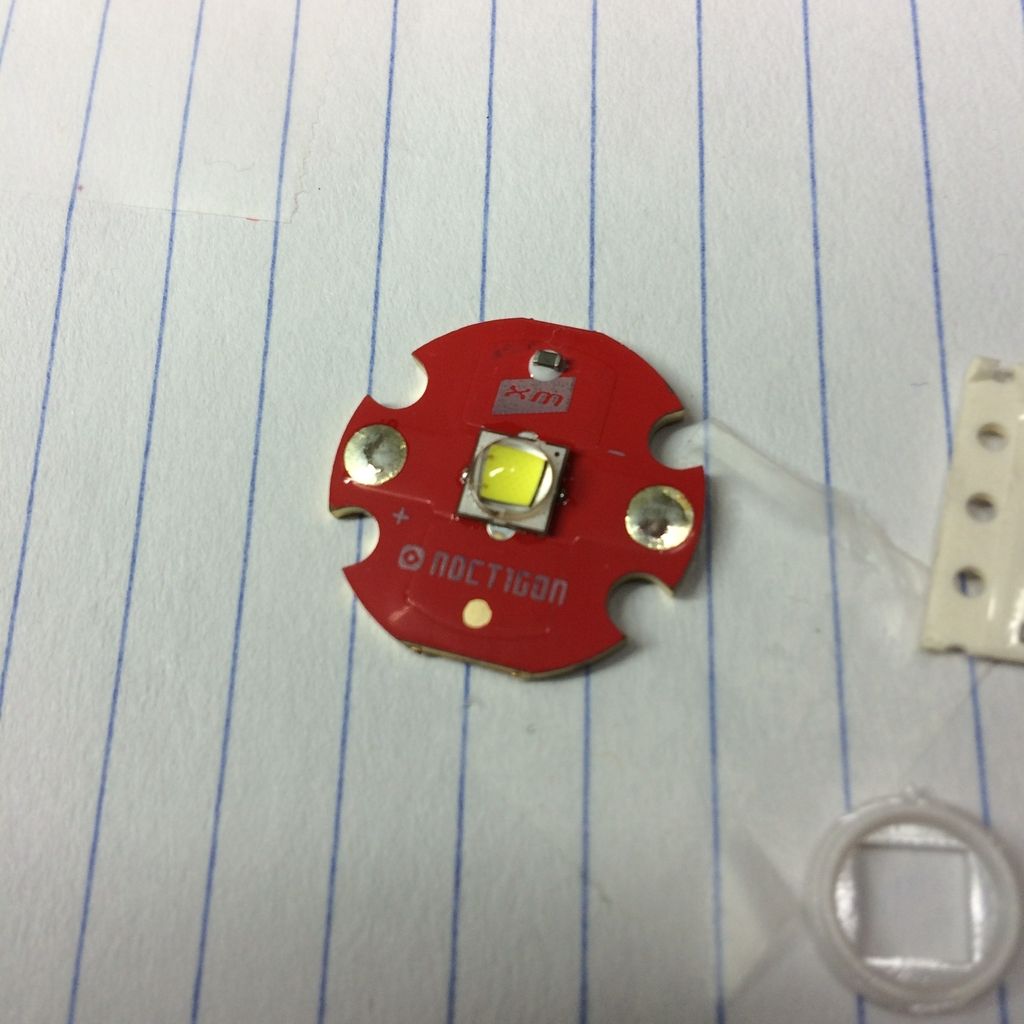
One very simple mod of Convoy M1(old version) which had LD-1 driver. I removed LD-1 and put LD-2 instead.And because I wanted thermal stepdown protection,I glued NTC sensor on noctigon with Arctic alumina(NTC must be isolated from body,so be careful where you put NTC on noctigon,also be sure that there is enough distance from reflector bottom side).After ~15min adhesive was cured,and then I soldered wires to NTC pads.
End result LD-1 vs. LD-2 on high with all other parts(spring,led,wires,LG HE2) identical:
Lumen increase is actually better than expected.
For the end,one more very interesting and useful story:
After modding I put all parts back together,and everything worked nicely,except overtemp. protection - threshold was lower than it should be ~47C(measured both with IR and thermocouple). After some connections checking,I didn't find anything wrong,so only possible problem was bad thermal path.My first suspicion was AS5 under noctigon, which was applied several months ago (I didn't change LED in this mod,only driver);second thing was thermal grease which I used for pill(GD900 I think). First I wanted so check the easier thing,so I just put some more grease on brass pill threads,assembled flashlight and recheck overtemp. threshold - it was ~57C! Spot on. So the problem was too little thermal grease between pill and body. So LD-2 can be used as great diagnostic tool when we talk about thermal performance - if overtemp. protection trips on lower than expected temperature (55-60C should be normal),there is bottleneck in thermal path somewhere.
Nice idea. With the NTC sensor would it be better mounted on the housing? If it was to be mounted on the star instead of gluing it maybe it could be held of center of the solder pad its glued to and solder one side to it?
When are the drivers available or have I missed something.
A very good thermal path would be needed to mount it to the housing I imagine due to the temperature differential. Has anyone done any testing to check this temperature difference as a guide? I know it would depend on materials used but would be good to look at for applications such as this.
The Noctigon mount seems the best option as that is closest to where the heat is generated.
The Noctigon pad is above the thermal pad which leads directly to the copper core and the LED's neutral pad, it is just an elongated direct thermal pad that is mostly covered with soldermask (expect those tiny round pads)
Finished my Convoy M1 non-pill edition with XM-L2 U4. Used 22 gauge pre-soldered wire and qlite spring with no bypass but a 22 gauge bypass in the tailcap. It’s a tight fit with 22 gauge and 30 gauge in through the stock M1 holes in the head. Everything went pretty well but in retrospect I probably wouldn’t put the NTC on bare copper as it appears in the picture, in case of a short. Fortunately I dislodged the ntc during initial soldering and it now sits on top of thermal adhesive rather than bare copper.
The thermal throttling does actually work at about 150F with a series of rapid blinks followed by a step down. One thing I noticed about this configuration is that the MCPCB transfers heat too efficiently to the host. With all the talk about good thermal interfacing and heat transfer/dissipation I find that in this case the whole flashlight gets too hot to hold before it hits the 150F step off. Maybe the pill configuration would be better at keeping heat in the head, but then again maybe it would overheat quicker. I have no way to test this idea. Just a thought.
But back to the driver, everything is working well and this seems to be a very nice option for us. I will say that I don’t recommend installing this driver as your first attempt into flashlight modification/soldering.
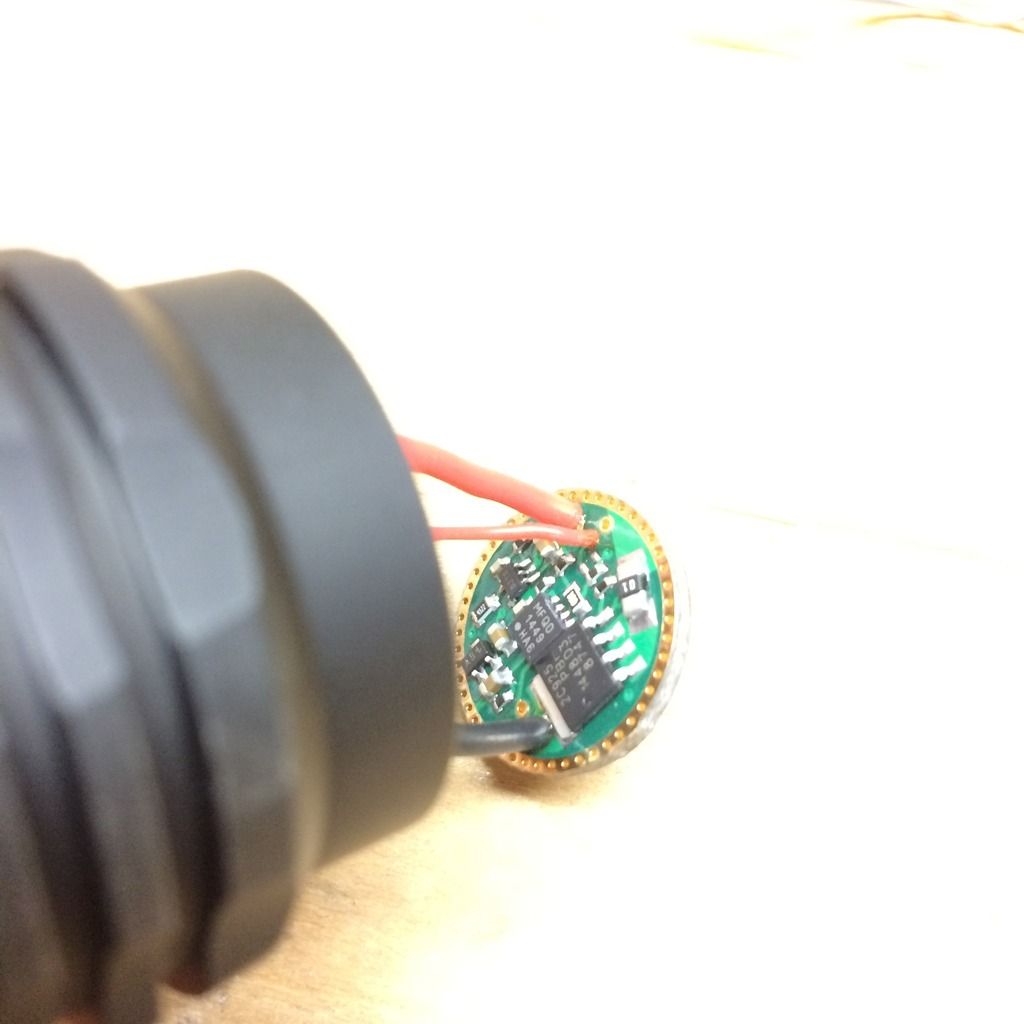
You’re right, it does. Led- is connected to the big drain tab of the FET so it goes to the hole closest. Led+ connects to the spring pad on the bottom and is isolated on the top. Very clear pictures in the info thread op.