For years I was reading about Armytek everywhere. Some people were amazed by their quality, others were more reluctant or had bad experience with their products and customer service. That’s the point where you have to experience the product yourself. I got the chance to get one from Armytek for this review and am finally in the position to form my own opinion.
Today on the menu: Armytek Wizard C2 Pro Nichia
This review is also available in German on my website: SammysHP Blog › Armytek Wizard C2 Pro Nichia
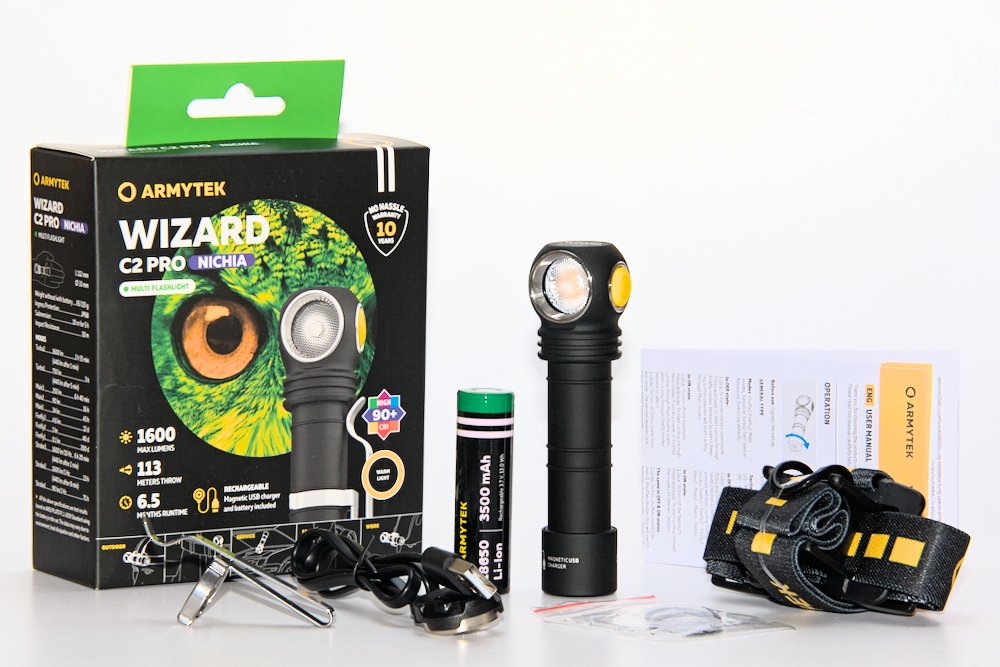
Supplied parts and hardware
- 18650 Li-ion battery with 3500 mAh (3.54 V on delivery)
- Clip
- 2x replacement o-ring
- Magnetic charging cable
- Quick start guide (EN, DE, FR, RU, FI, SE, NO, PL)
The quick start guide contains a QR code that lets you download the full manual as a PDF. Saves paper and most functions are sufficiently explained in the quick start guide.
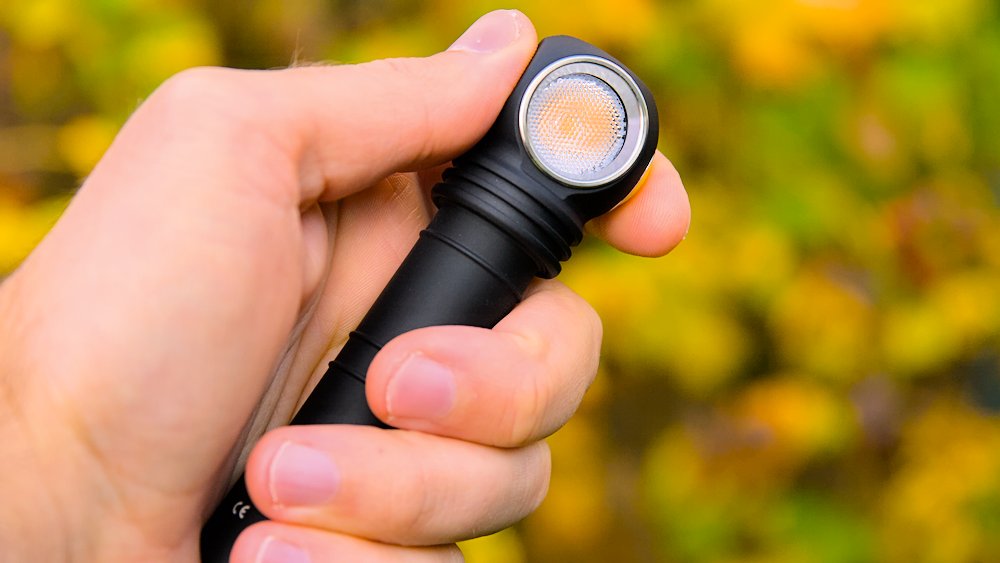
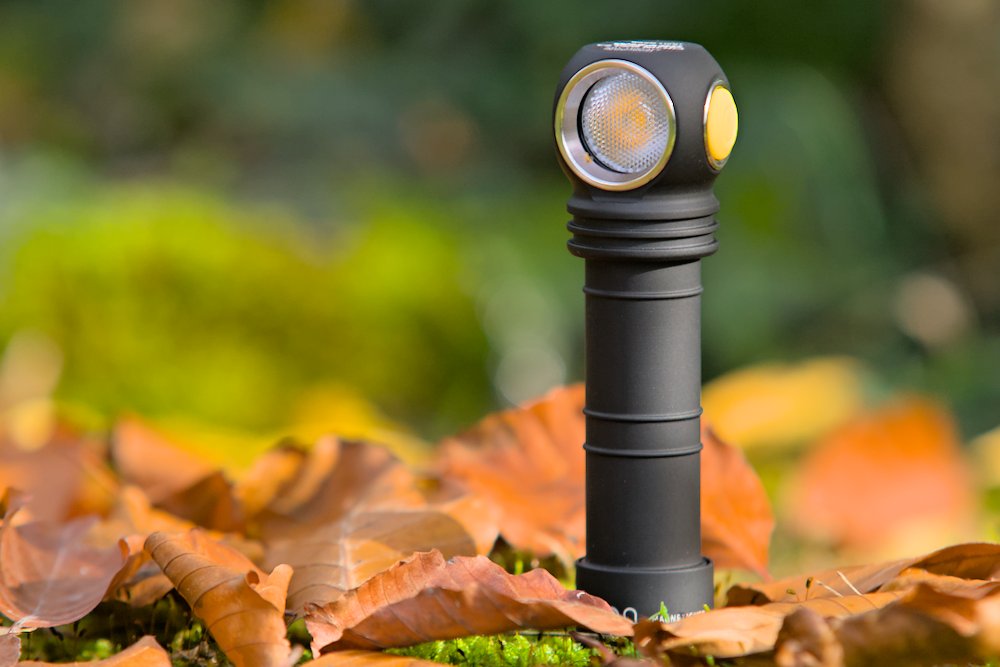
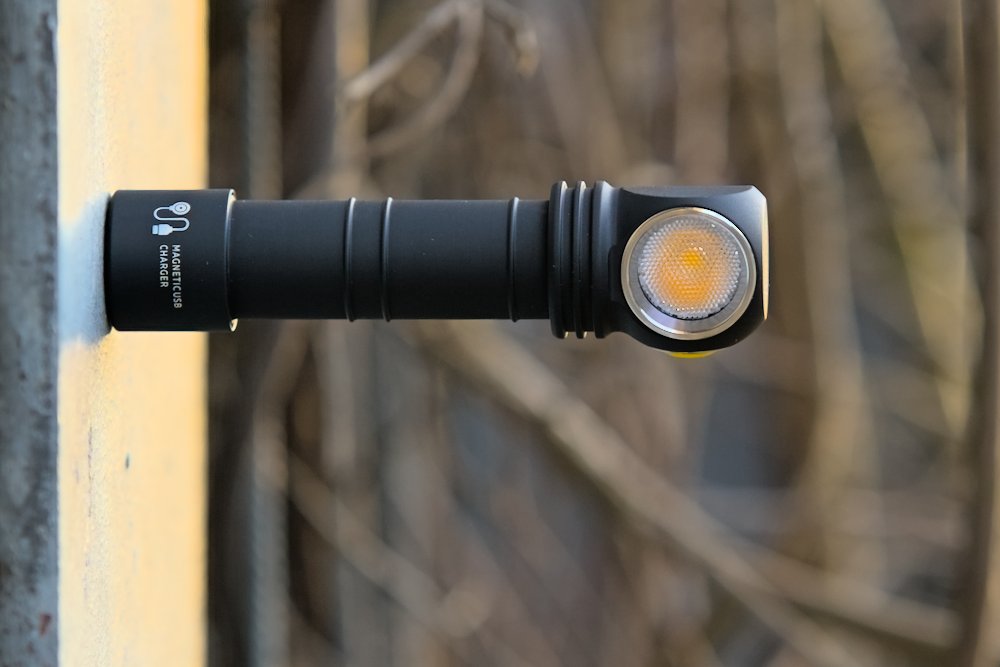
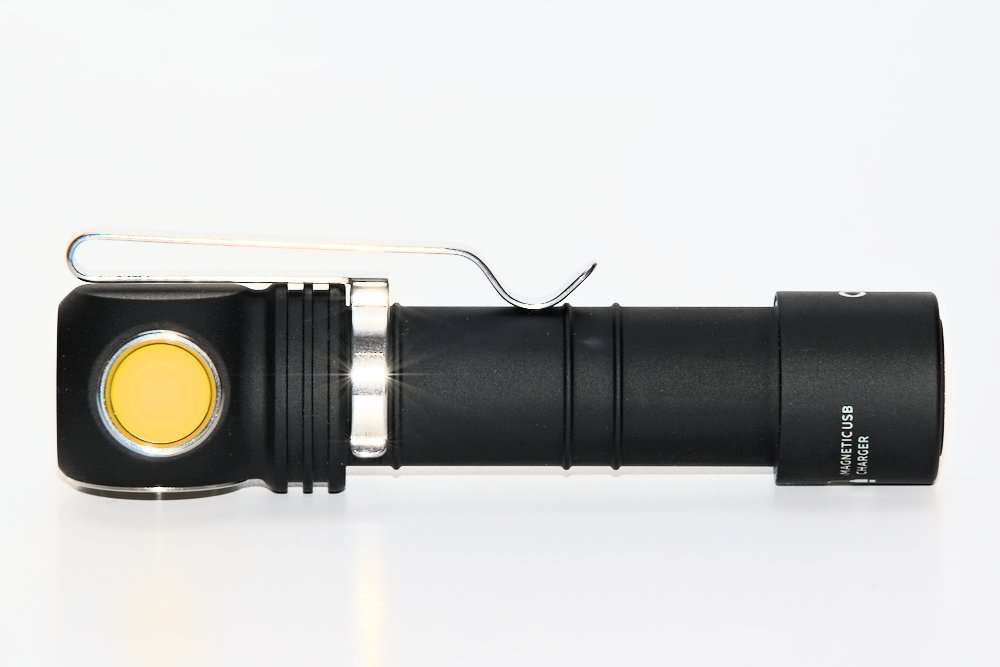
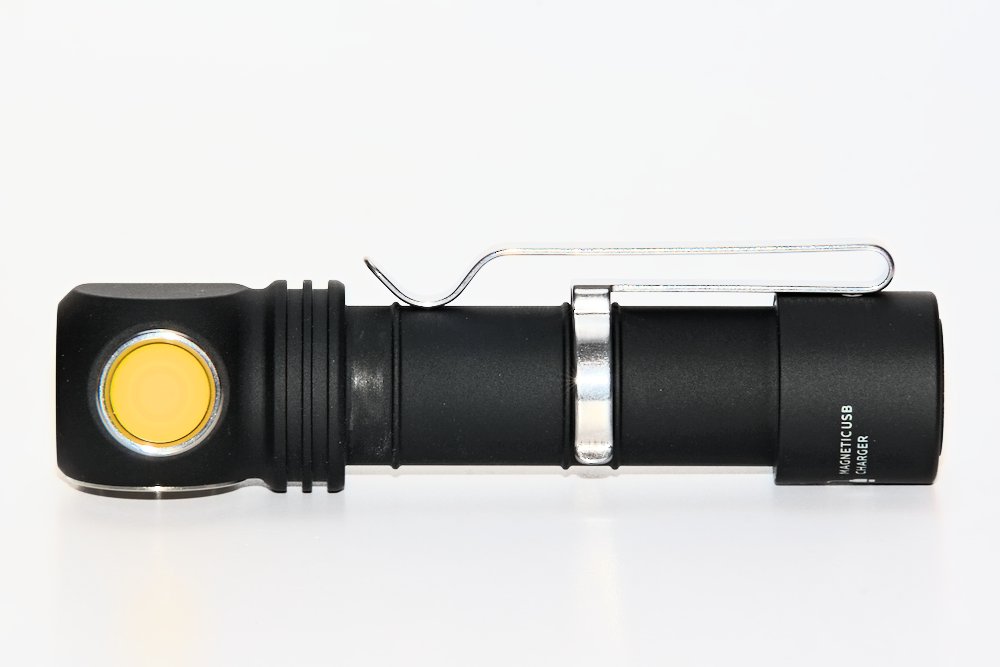
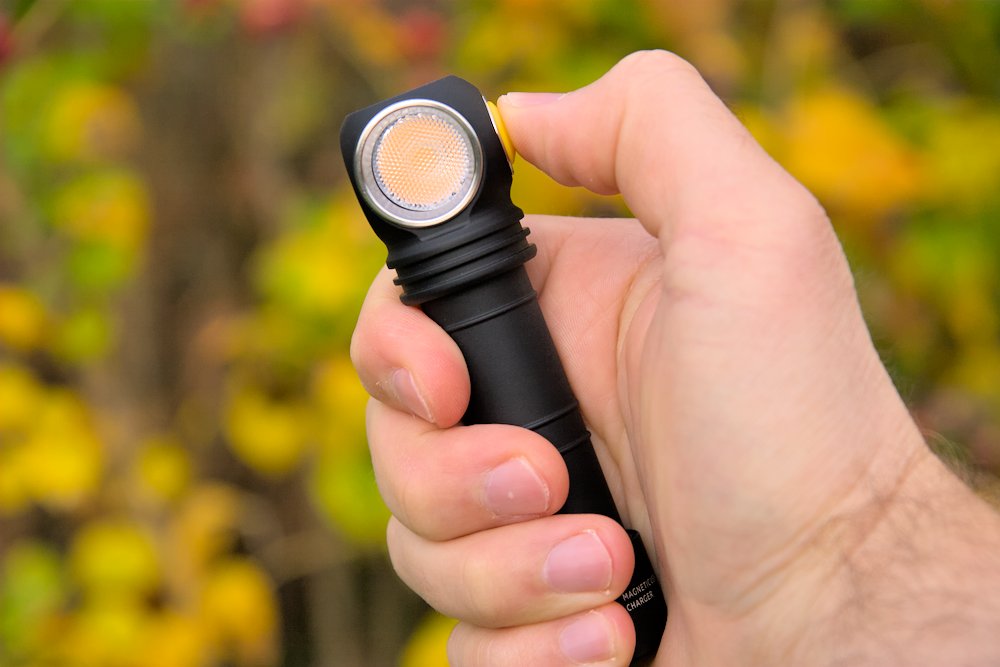
And here it is, my first Armytek flashlight! With so many variants and models over the years, but some design elements stayed the same. The body has a black anodization, but very matt. This allows a secure handling even without knurling, but makes it harder to clean.
- Length: 113 mm
- Diameter: 24.5 – 30 mm
- Weight: 63 g / 112 g with battery
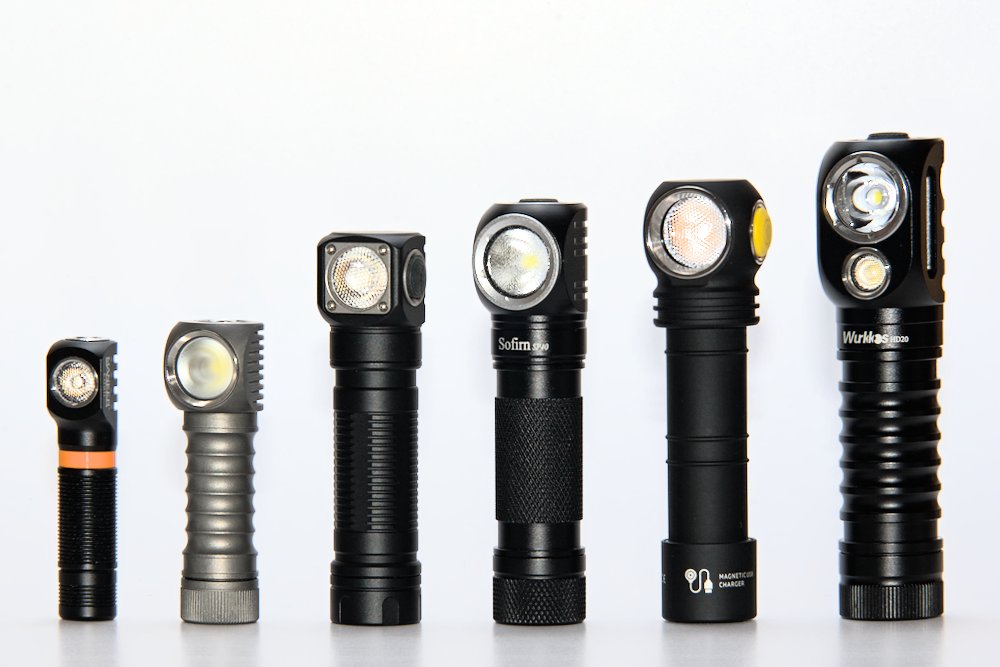
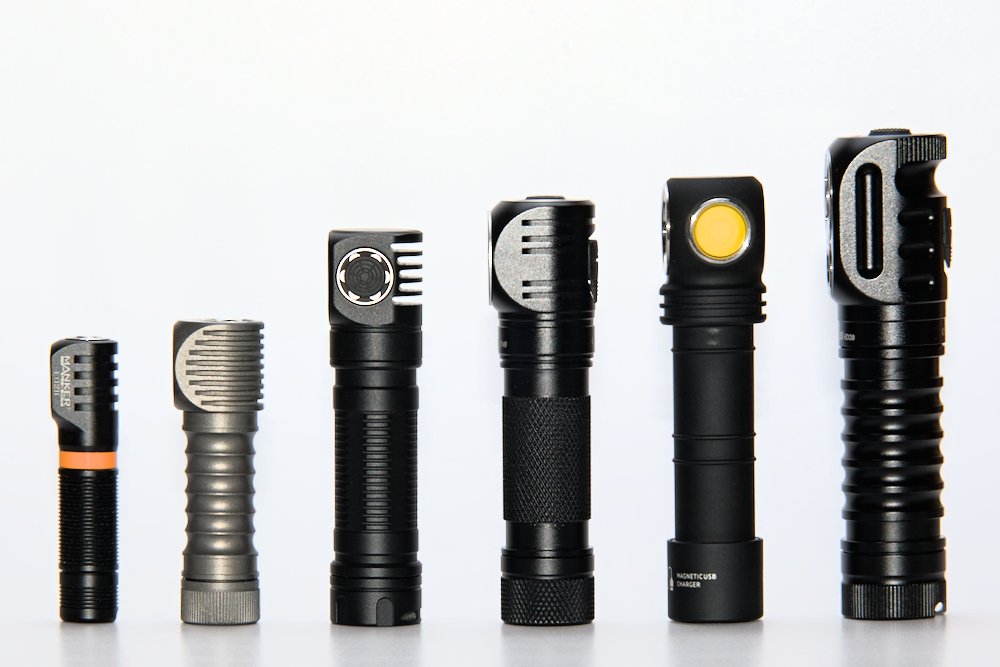
More on the long size for a 18650 headlamp, but relatively light. Here is a comparison with other right angle lights: Manker E02II | ZebraLight H52Fw | Skilhunt H04 | Sofirn SP40 | Armytek Wizard | Wurkkos HD20
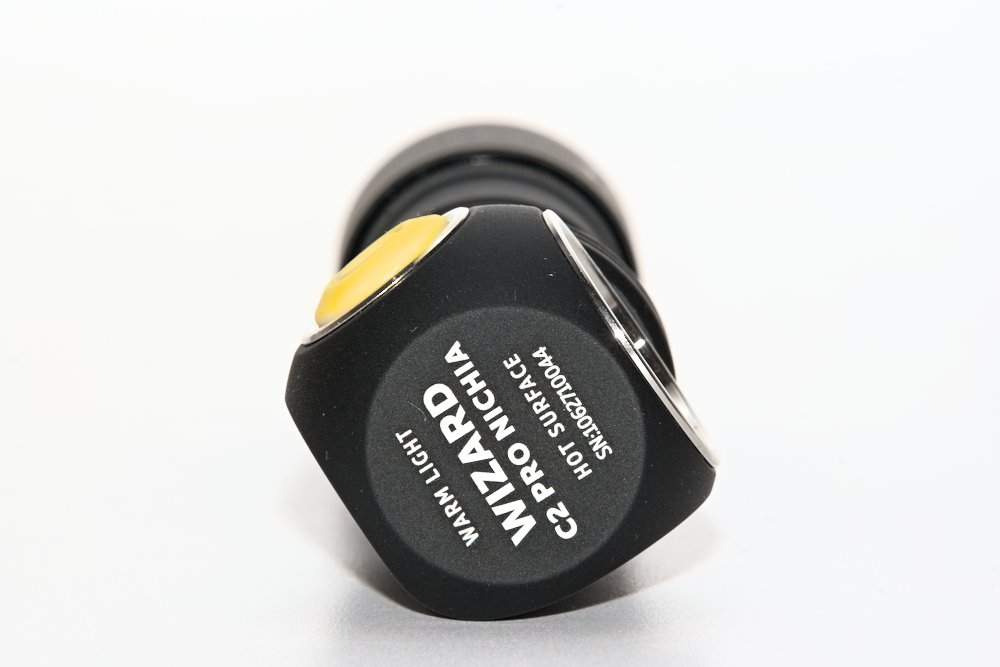
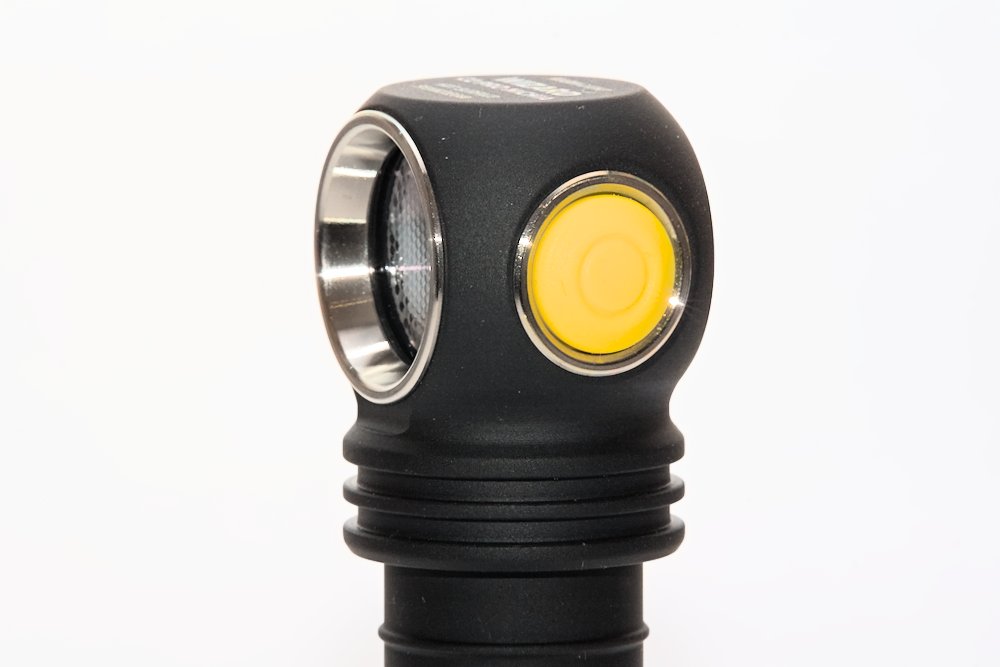
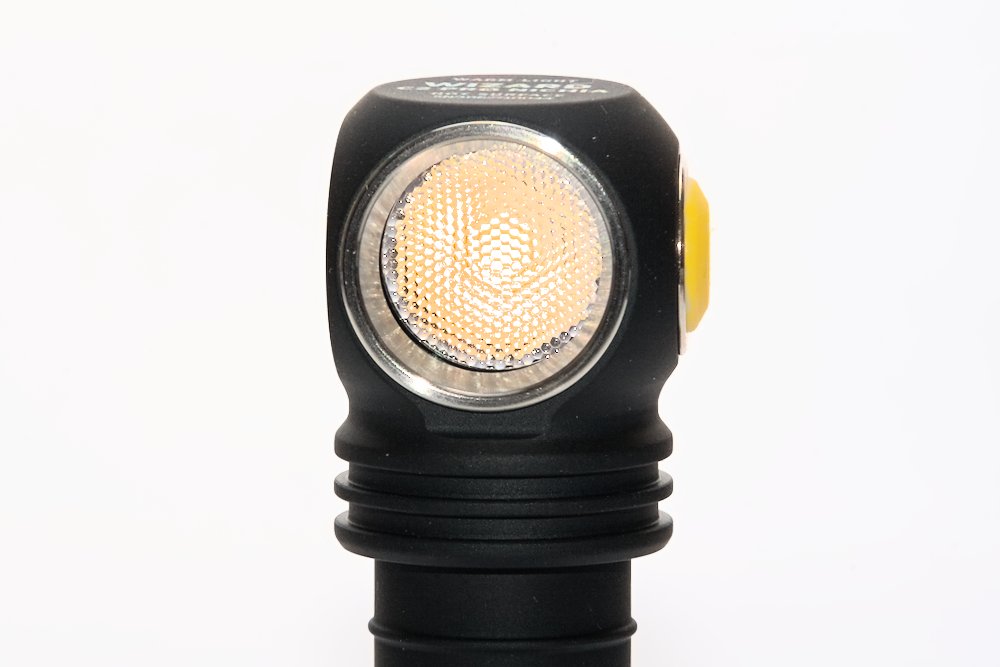
The head has an interesting shape. Not round, not square, slightly rounded here and there. Interesting, but it always rolls over one “edge”.
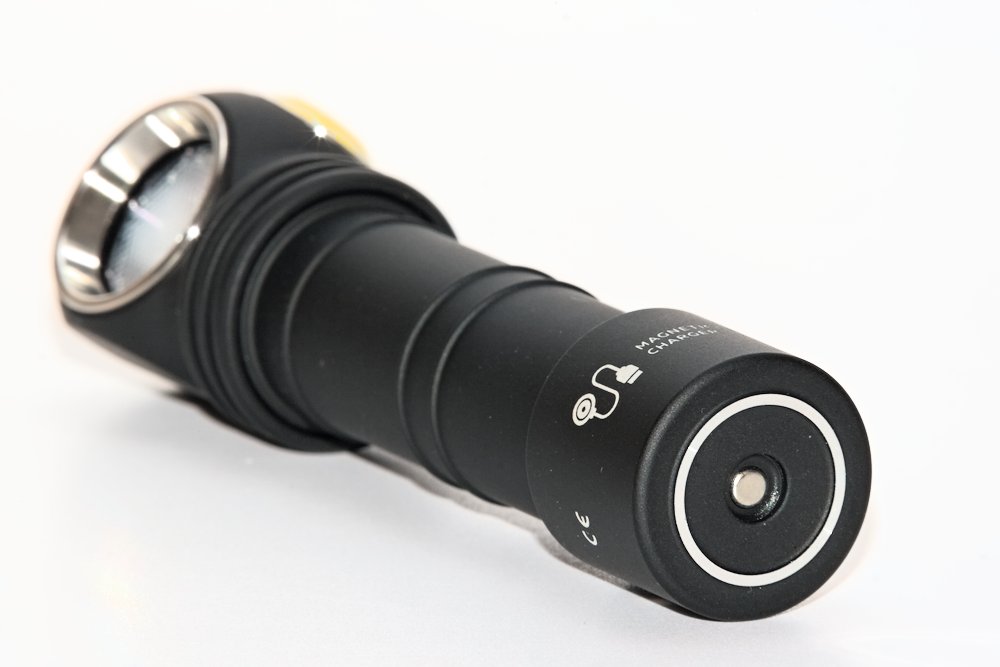
Charging of the battery is possible using the magnetic charging port in the tailcap. Good solution to protect against water and dirt, but it requires the special charging adapter.
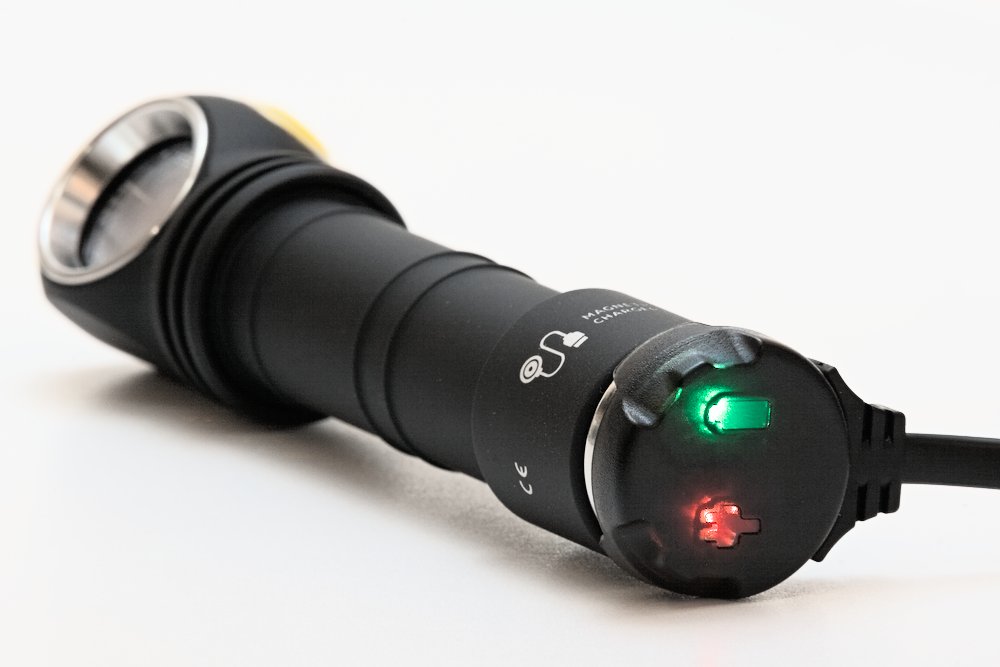
First you have to unscrew the tailcap slightly. Then it’s enough to move the light near the charging adapter and it will snap in place. Perfect! There are two status LEDs in the adapter:
|
Color |
Status |
|---|---|
|
green |
Standby / charging finished |
|
red flashing |
Loosen tailcap |
|
orange flashing |
Voltage too low or dirty contacts |
|
red |
Charging (1 A) |
|
orange |
Charging with reduced power (0.5 A) |
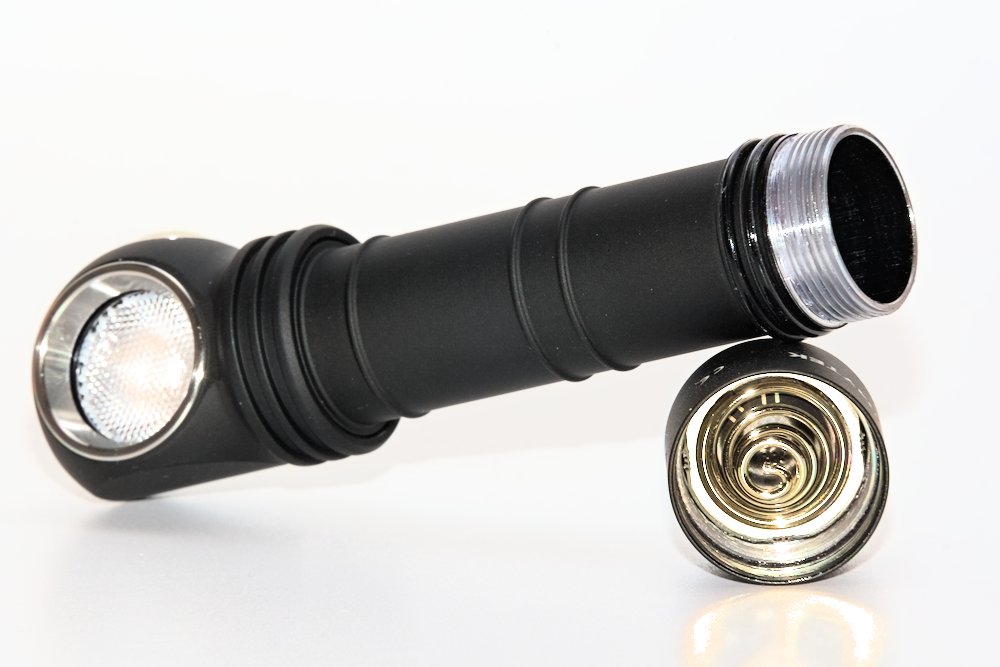
The magnetic tailcap can also be used for attaching the light. The magnet is strong enough to hold the flashlight horizontal safely. There’s no risk for a short: The center contact is recessed, with tightened tailcap both contacts have the same potential and with loosened tailcap there’s also no current.
The tailcap is sealed with two o-rings against water. The flashlight is rated as IPX8. Both sides have strong springs to guarantee a good contact with the battery.
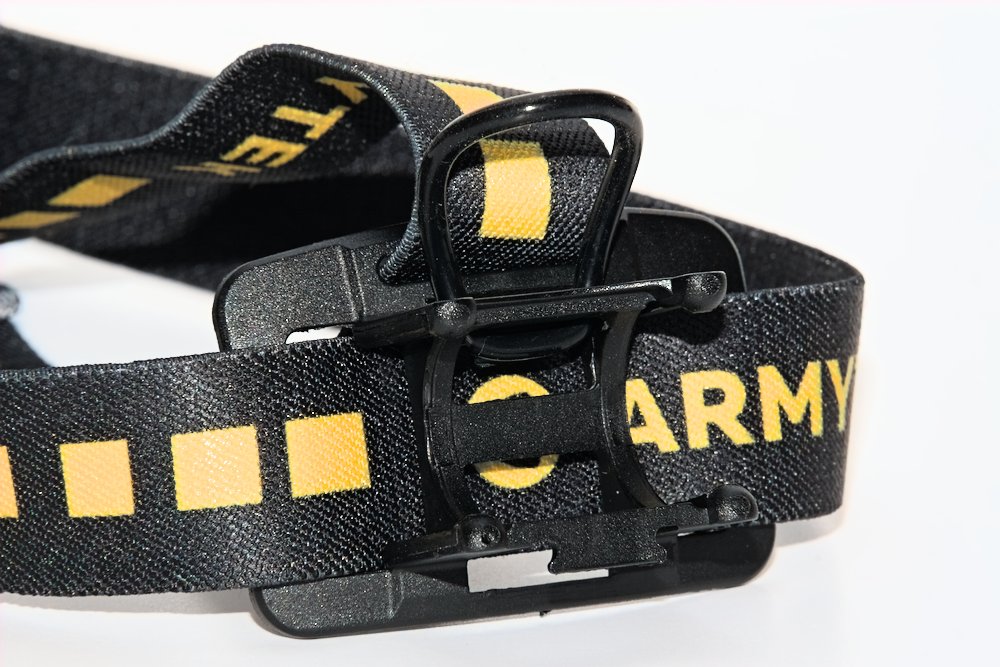
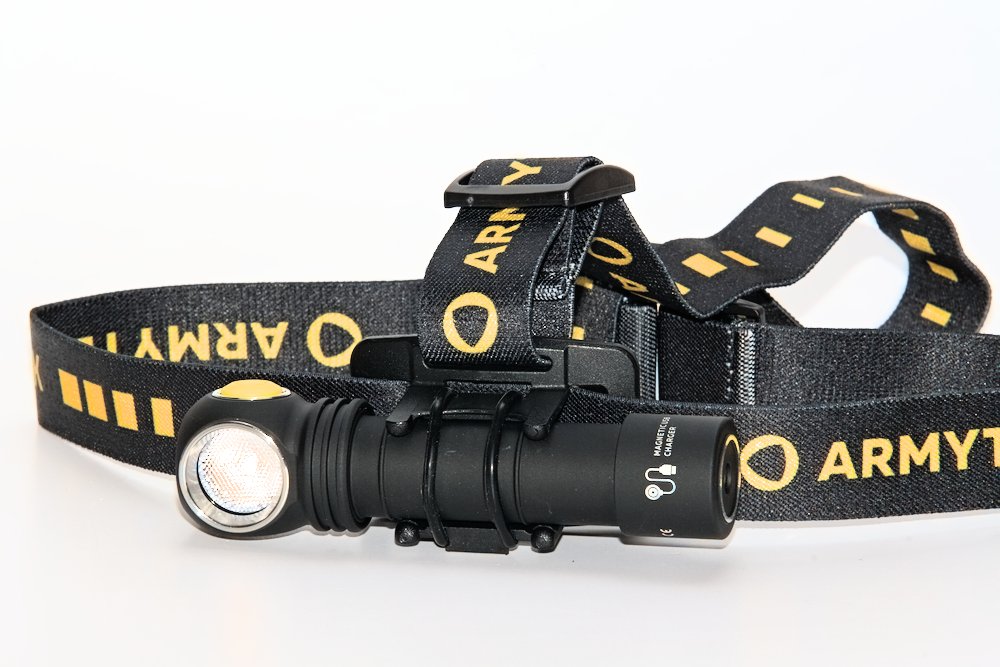
A headlamp must be attached to the head, of course. The Wizard includes a plastic mount with an additional strap over your head. The light is clipped to it and can be secured with an o-ring. For me it feels comfortable, doesn’t move around and stays where you want it to be.
Apart from that you can use the clip for attachment. There are two ways to assemble it, but both are not perfect: In variant 1 the clip is not flush with the battery tube because of the cooling fins. In variant 2 it slightly rubs against the tailcap and the opening is partly covered.
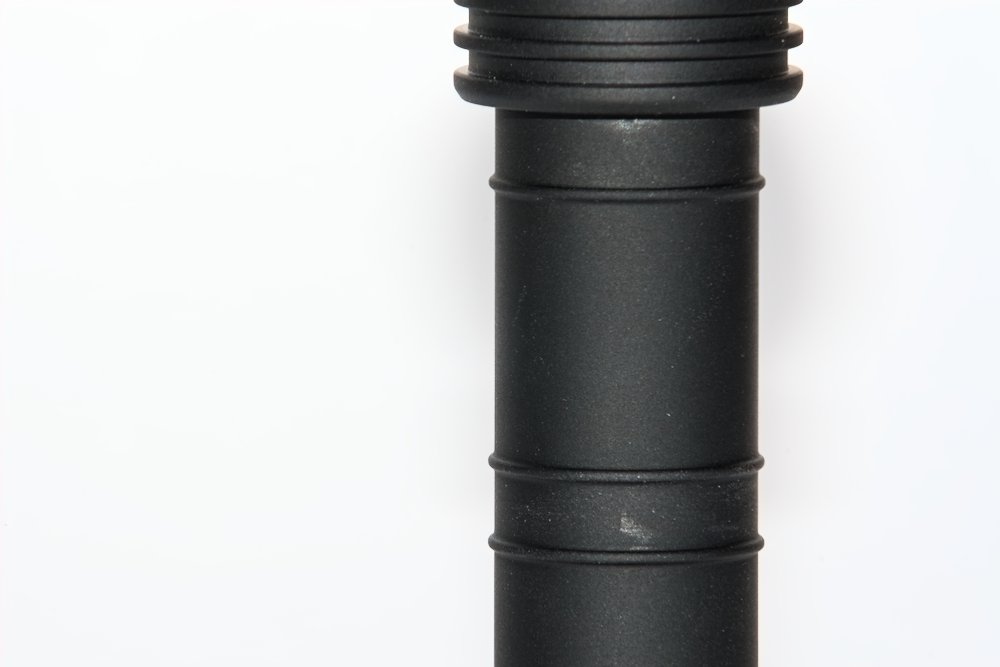
The matt anodization appears to be very sensitive and easy to scratch. Here you can see the marks after the first usage of the clip. But any light will show wear after some time, so it’s not a big issue for me.
The head is glued and the electronics fully potted. Armytek advertises that it will survive drops of 10 m height.
User interface and features
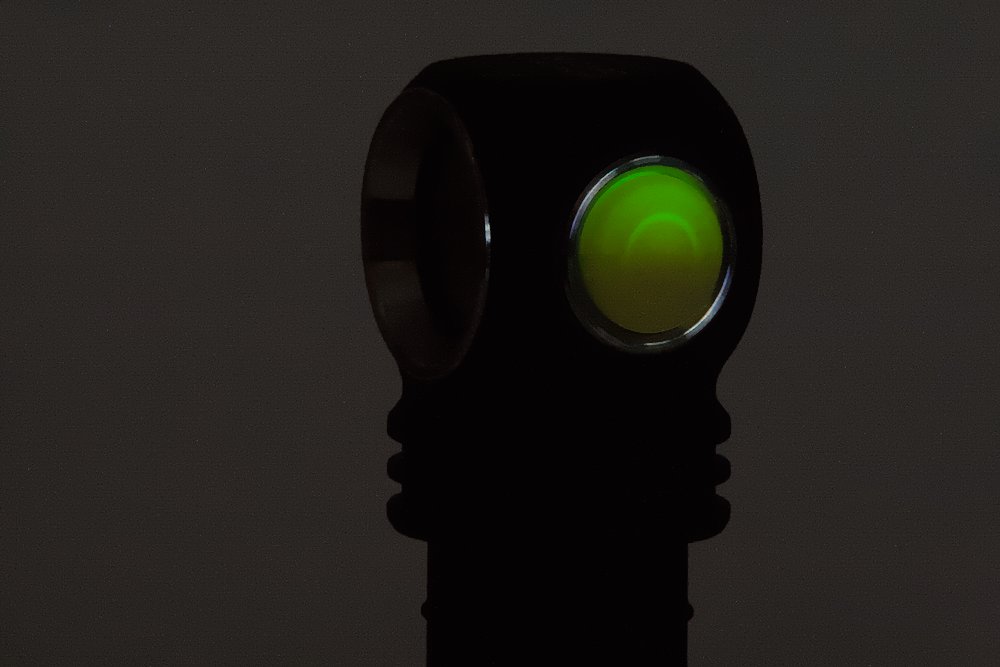
The prominent and colorful part of the flashlight is the electronic switch at the side of the head. It is used to control all functions.
You have the choice between two UIs. In the “general UI” some levels and features like strobe are omitted.
|
State |
Action |
Function |
|---|---|---|
|
Off |
1C |
Turn on (previous mode) |
|
Off |
1H |
|
|
On |
1C |
Turn off |
|
On |
2C |
Turbo (last used turbo in advanced UI) |
|
On |
1H |
|
All features are available in the “advanced UI”. To switch between both UIs, slightly unscrew the tailcap, keep the button pressed, tighten the tailcap and release the button.
|
State |
Action |
Function |
|---|---|---|
|
Off |
1C |
Turn on (previous mode) |
|
Off |
2C |
Turn on (main group) |
|
Off |
3C |
Turn on (turbo group) |
|
Off |
4C |
Turn on (strobe group) |
|
Off |
1H |
|
|
On |
1C |
Turn off |
|
On |
2C |
Switch between firefly and main group |
|
On |
3C |
Turbo group |
|
On |
4C |
Strobe group |
|
On |
1H |
|
The switch includes a backlight that shows the aproximate state of charge when the flashlight is on.
|
Voltage |
Color |
|---|---|
|
> 3.4 V |
green flashing (every five seconds) |
|
3.1 – 3.4 V |
orange flashing (every two seconds) |
|
2.8 – 3.1 V |
red flashing (every second) |
|
2.65 – 2.8 V |
Firefly without switch LED |
|
< 2.65 V |
Flashlight turns off |
When the temperature rises from high power, the switch indicated the temperature.
|
Color |
Temperature |
|---|---|
|
3x orange flashes (every two seconds) |
Warning, flashlight gets warm |
|
3x red flashes (every second) |
Too hot, output will be reduced |
You can configure the switch backlight to blink every five seconds when the flashlight is off. To change the setting, slightly unscrew the tailcap, hold the button pressed, tighten and loosen the tailcap, then release the button.
While it switch is pressed, it lights up red. Feedback in addition to the loud and solid click. The swich is easy to find because of it’s location. It’s also protruding some millimeters, so be careful while carrying it in your pocket. Mechanical lockout is possible.
I’m mostly happy with the usability. Intuitive UI, easy to find switch.
Illumination
Besides a cool white and a warm white version with a Cree XHP50.2 LED the Armytek Wizard C2 Pro is also available with a Nichia 144A LED – slightly less powerful, but higher CRI (>90), 4500 K and slightly rosy. It’s the version I have tested here.
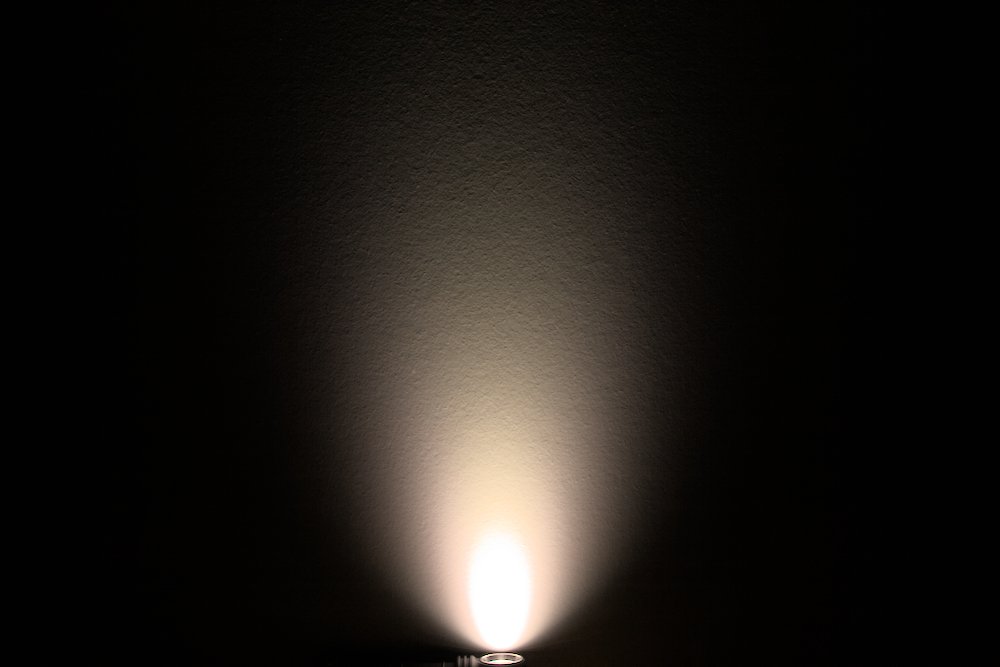
The large LED is further diffused by the pebbled TIR and creates a very floody and even beam. For a headlamp this is ideal because it prevents tunnel vision. Throw is reduced a lot, of course, but in my opinion not required in a headlamp.
Driver and runtime
For the price you can expect a good driver. The Wizard uses a boost driver that is able to keep the output mostly independent of the battery voltage and provides a good efficiency.
|
Mode |
Brightness (from manufacturer) |
Runtime (from manufacturer) |
Current (measured) |
|---|---|---|---|
|
Turbo 2 |
1600/440 lm |
1 min + 2:55 h |
5.7 A |
|
Turbo 1 |
750/440 lm |
5 min + 3 h |
1.9 A |
|
Main 3 |
250 lm |
6:40 h |
0.53 A |
|
Main 2 |
90 lm |
16 h |
0.21 A |
|
Main 1 |
34 lm |
43 h |
0.07 A |
|
Firefly 3 |
4.6 lm |
12 d |
––– |
|
Firefly 2 |
1 lm |
40 d |
––– |
|
Firefly 1 |
0.1 lm |
200 d |
––– |
|
Off |
––– |
––– |
13 µA |
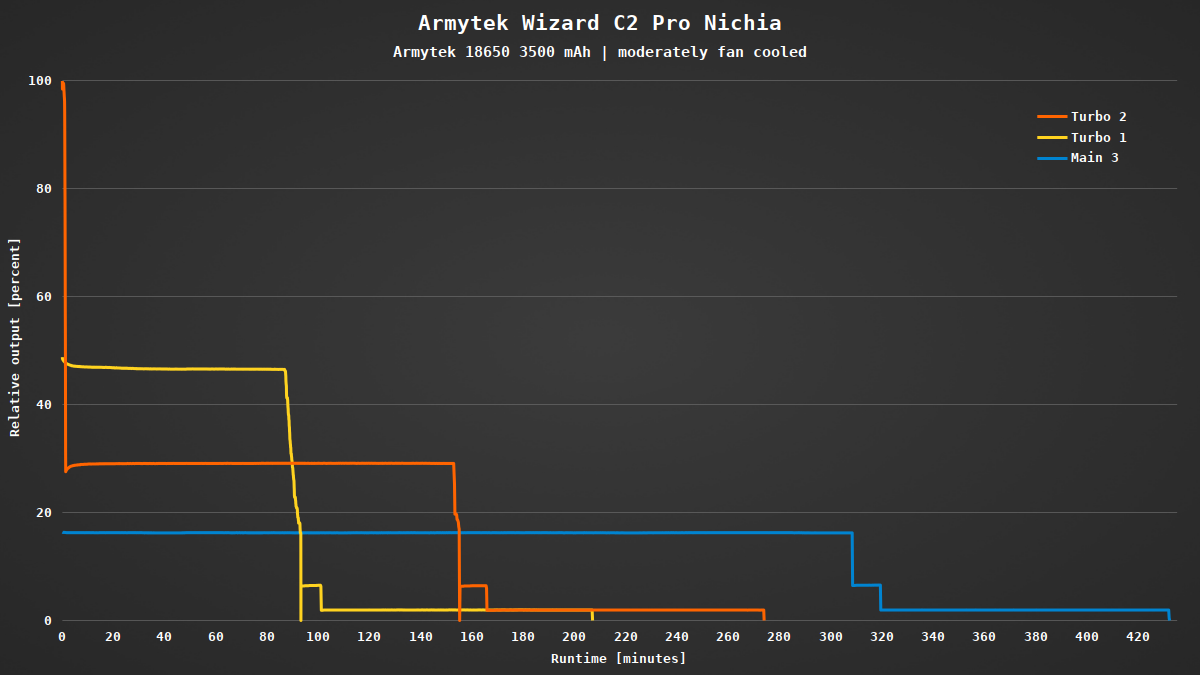
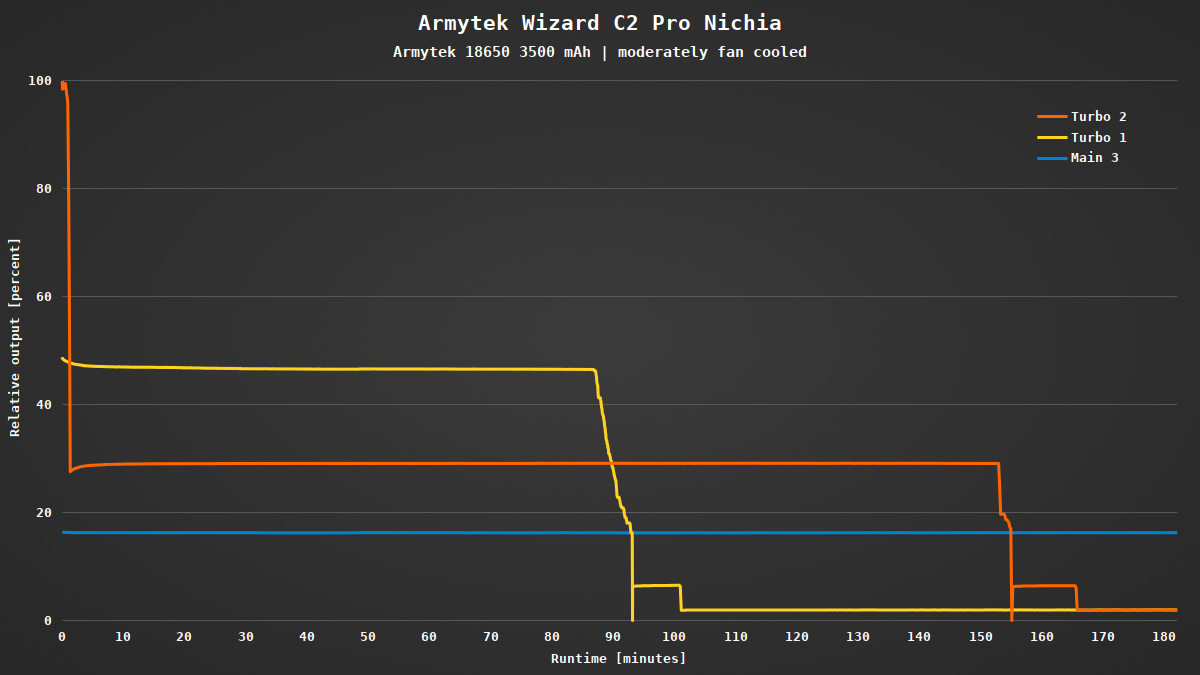
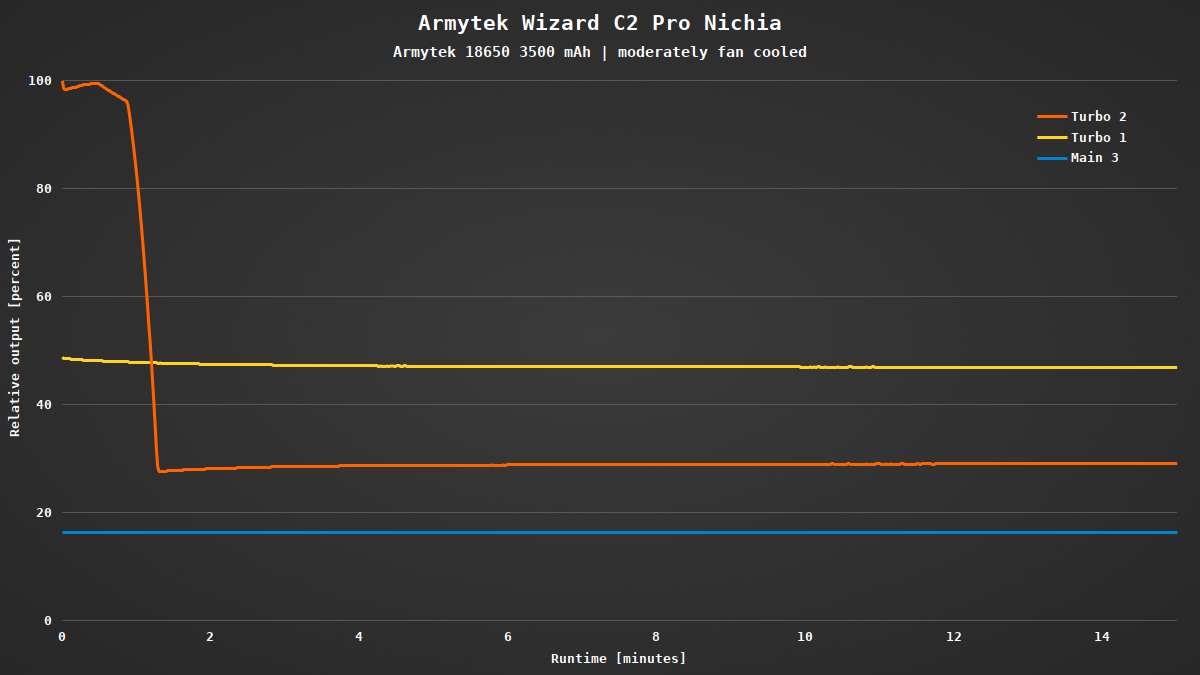
I’m not able to measure the absolute brightness, but because of the very floody beam it feels different than throwy flashlights anyway. The advertised runtime mostly matches my measurements. The output will be reduced when the flashlight reaches about 55 °C. My test of turbo 1 is shorter than advertised because I slightly cooled the light and it didn’t throttle down.
After all tests it was still running at a low firefly level and the battery was at about 2.85 V. So still hours of firefly left.
There’s no PWM, but some levels have very minor ripple. Not visible at all.
Charging runs at either 1 A or 0.5 A depending on the power source. But I noticed that it’s not the usual CC/CV method. Instead the charger starts pulsing at some point. While there are some pulsed charging methods for li-ion batteries, usually they run at several Hz. The Armytek charger turns the output off for some seconds every minute or so. After 3.5 h the battery is fully charged to 4.17 V. Not sure how this charging method affects the battery life.
Btw, the magnetic charging in the tailcap doesn’t contain any magic. The center contact is connected to the negative pole of the battery, the outside with the host. When the tailcap is tightened, the battery tube presses against the tailcap PCB and both contacts have the same potential. When it is loosened, the connection is broken and the body becomes the positive pole for charging.
Conclusion
The Wizard has mostly satisfied my expectations. It appears to be tough, is easy to use, has comfortable magnetic charging and – especially in the Nichia version – has a beautiful beam.
On the other hand the anodization might be less robust. Also the charging method might wear the battery faster than necessary.
Currently you can get the Armytek Wizard C2 Pro in the official Armytek shop with 15% discount by using the code SAMMYSHP15. I’m not sure if it will work in all international stores, just try it out.
