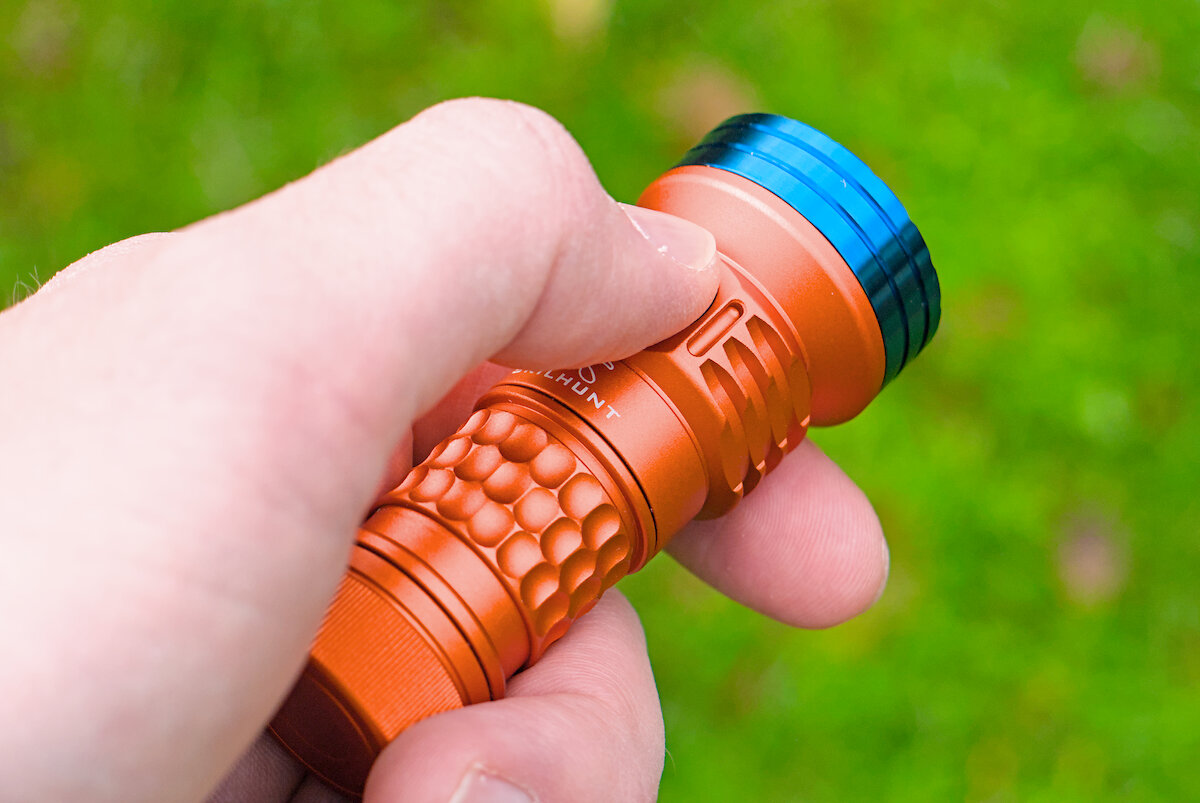
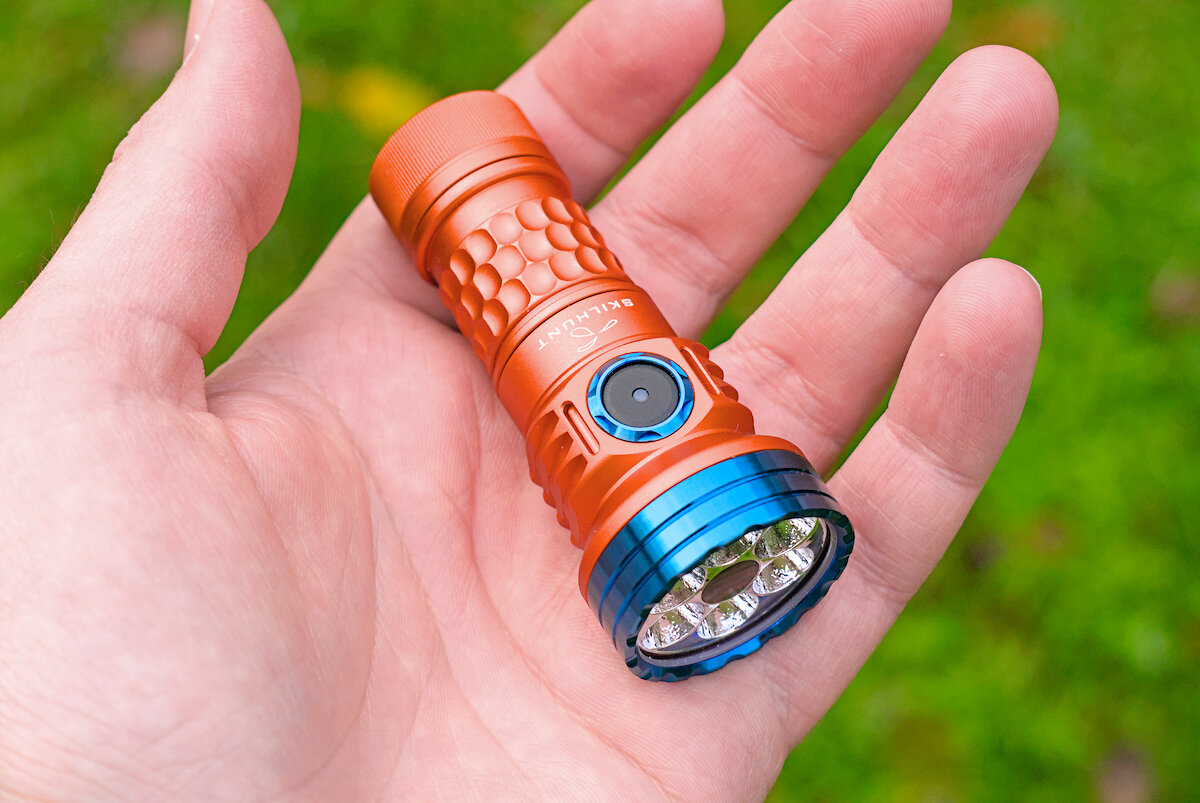
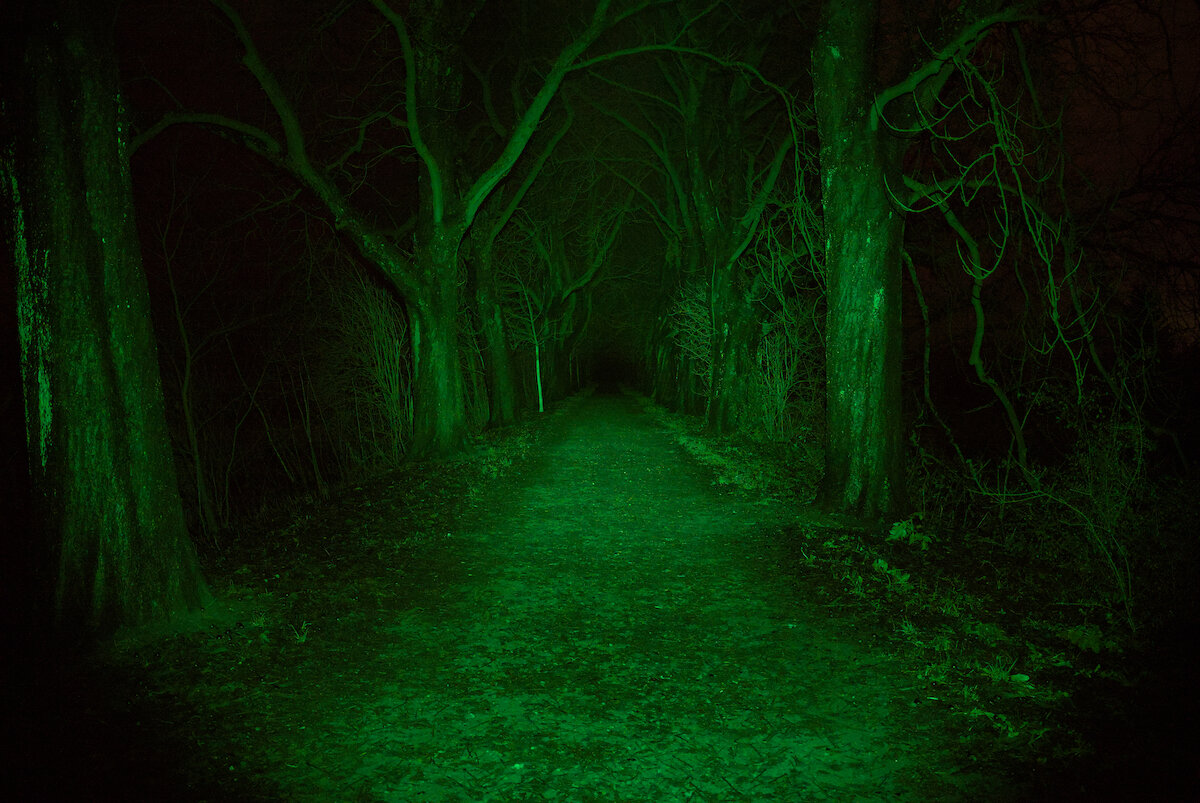
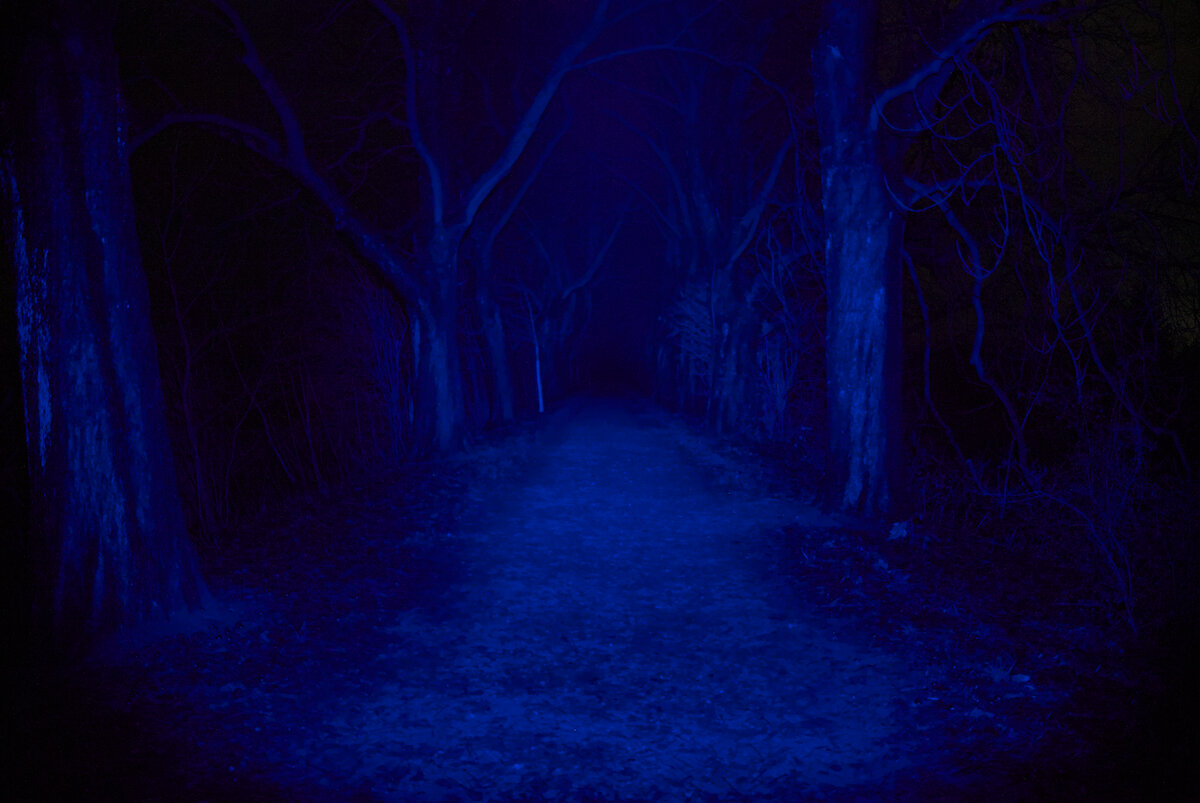
Why only white? We need more colors in our flashlights! That’s why I’m happy to show you the Skilhunt / ESKTE MiX-7, an EDC sized flashlights with additional red, green, blue and UV light.
The flashlight was provided by Skilhunt for this review, without any obligations. Thank you very much!
The review is also available in German on my website: SammysHP Blog › ESKTE (Skilhunt) MiX-7
Skilhunt vs. ESKTE
Skilhunt is in the process of being rebranded to ESKTE, at least they list some flashlight models under both names. New packaging, same content.
According to the manufacturer, ESKTE is the stylized form of “SKT” and this name was also used briefly several years ago. Now try again in a slightly modified form. But whether it’s Skilhunt or ESKTE – this review will be about the product and not the name.
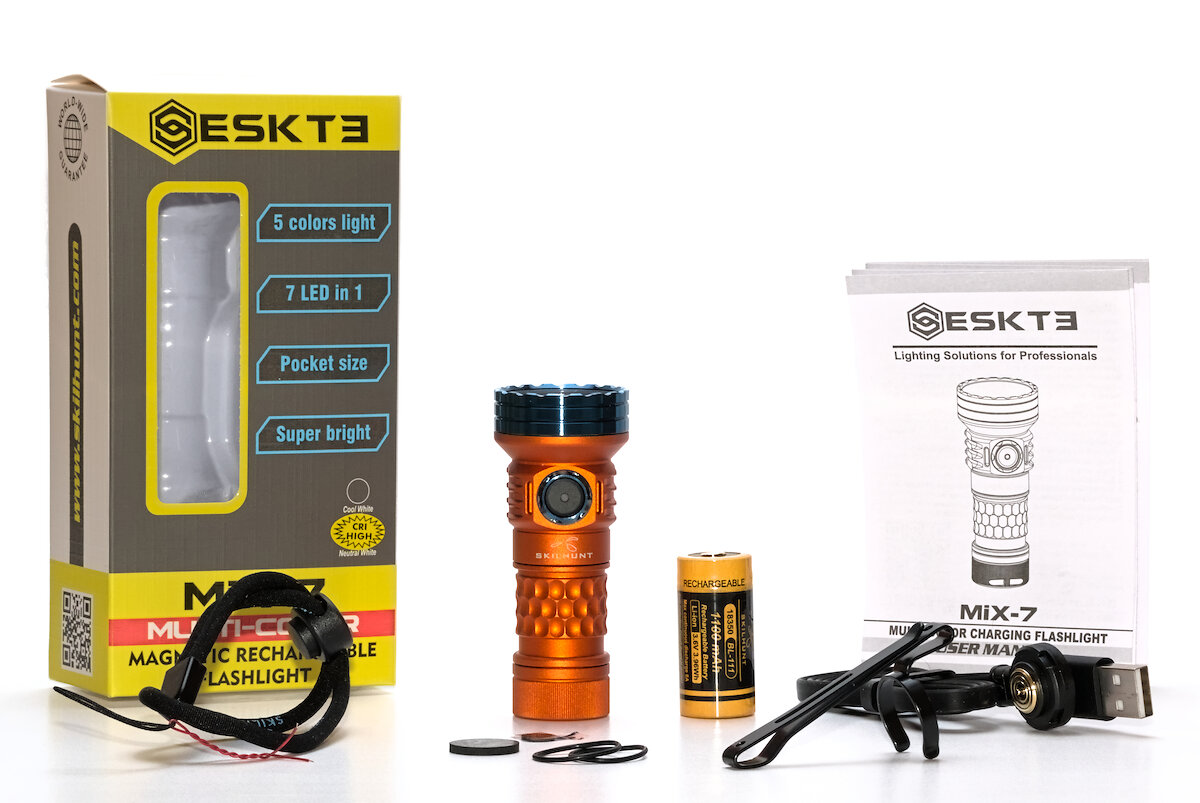
Supplied parts and hardware
When you order the MiX-7, you’ll get it bundled with a battery. But you have the choice between five colors (black, green, orange, blue and MAO/white) and two LEDs (Cree XP-G4 and Nichia 519A).
- “BL-111” 18350 Li-ion battery with 1100 mAh (3.63 V at delivery, protected)
- Lanyard
- “MC-10” magnetic charger
- Dual-way clip
- ZWB2 filter
- Rubber disc to replace the magnet
- 2x replacement o-ring
- Manual (EN, CN, DE, ES, FR, IT, NL, PL, RU)
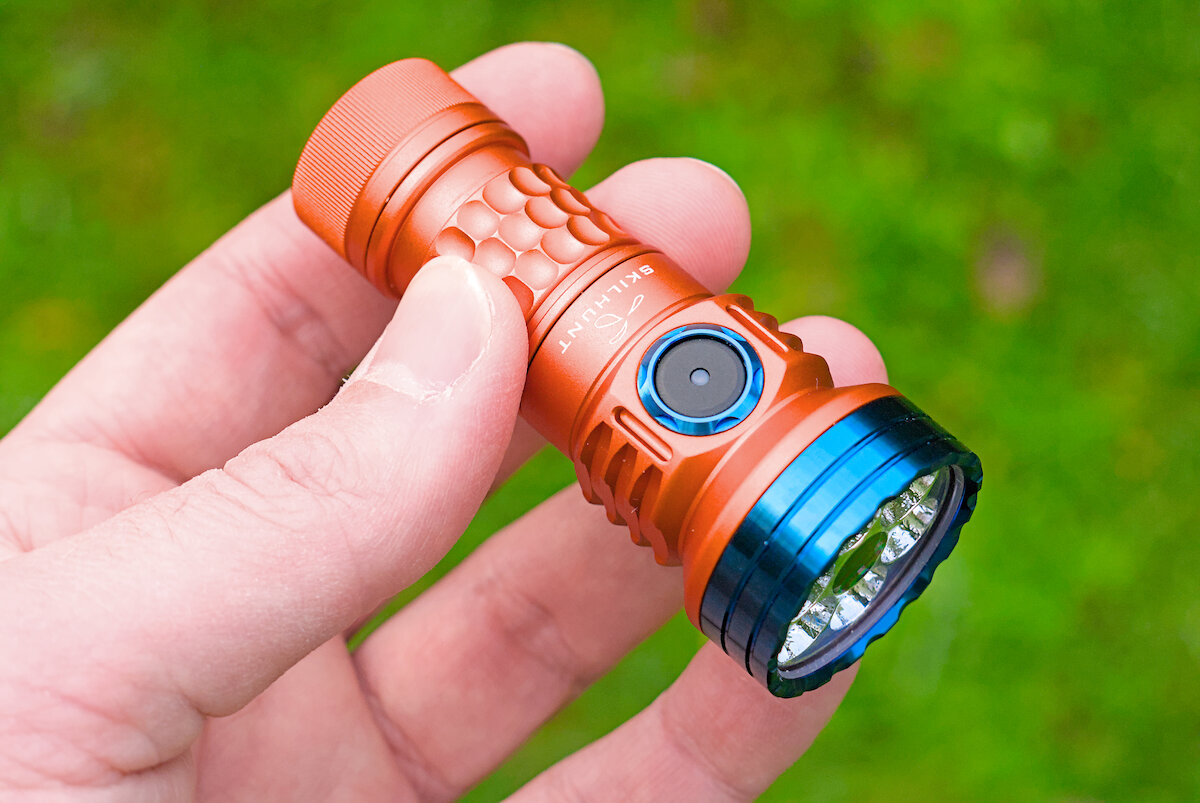
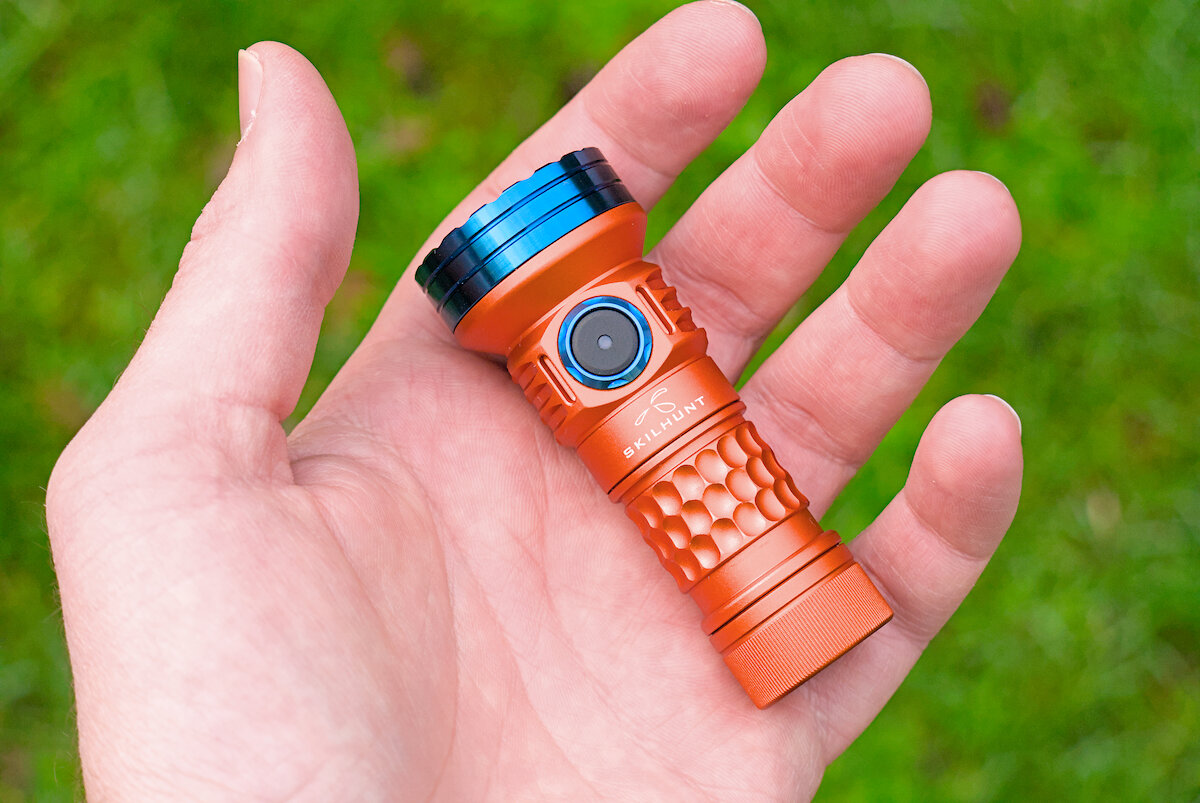
The MiX-7 is surprisingly small!
Length: 79 mm
Diameter (head): 32.5 mm
Diameter (battery tube): 23.5 mm
Weight: 64 g (without battery) + 25 g for the battery
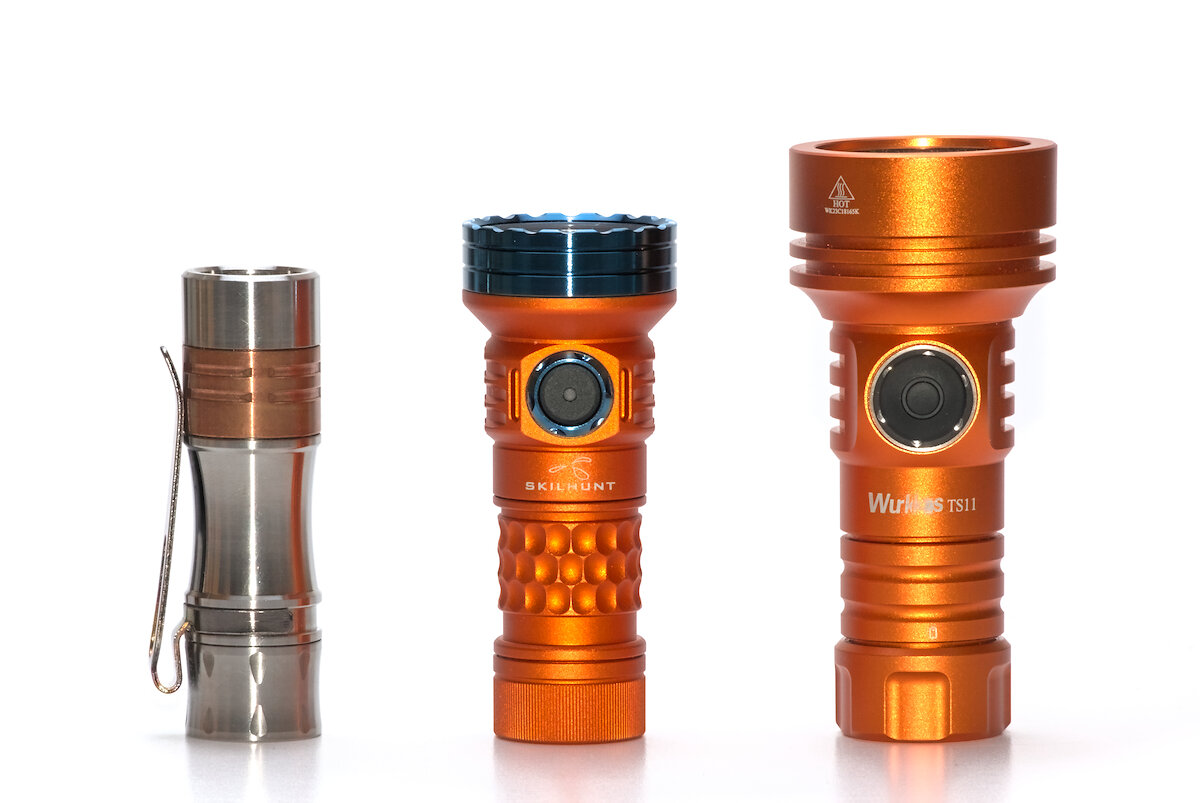
I expected it to have a similar size of the Wurkkos TS11, which also uses a 18350 battery and has a similar shape. But the MiX-7 is smaller.
Wurkkos TS10 | Skilhunt/ESKTE MiX-7 | Wurkkos TS11
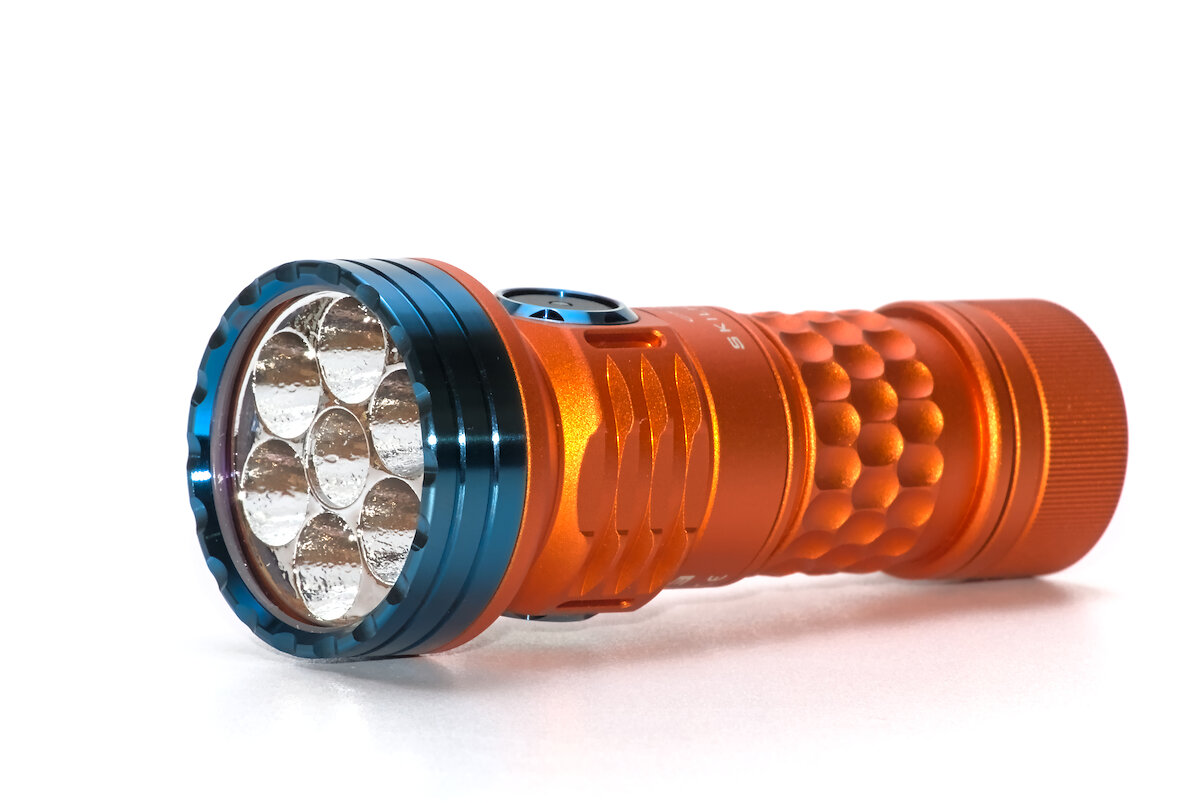
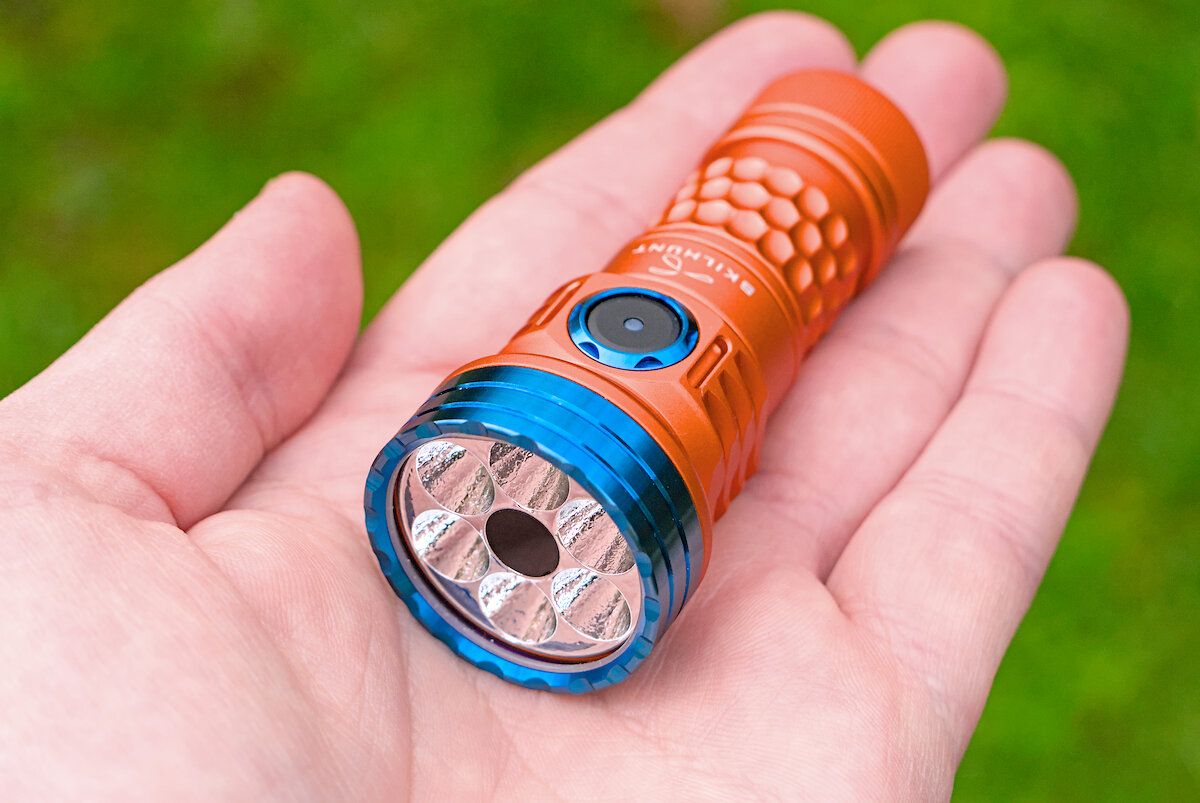
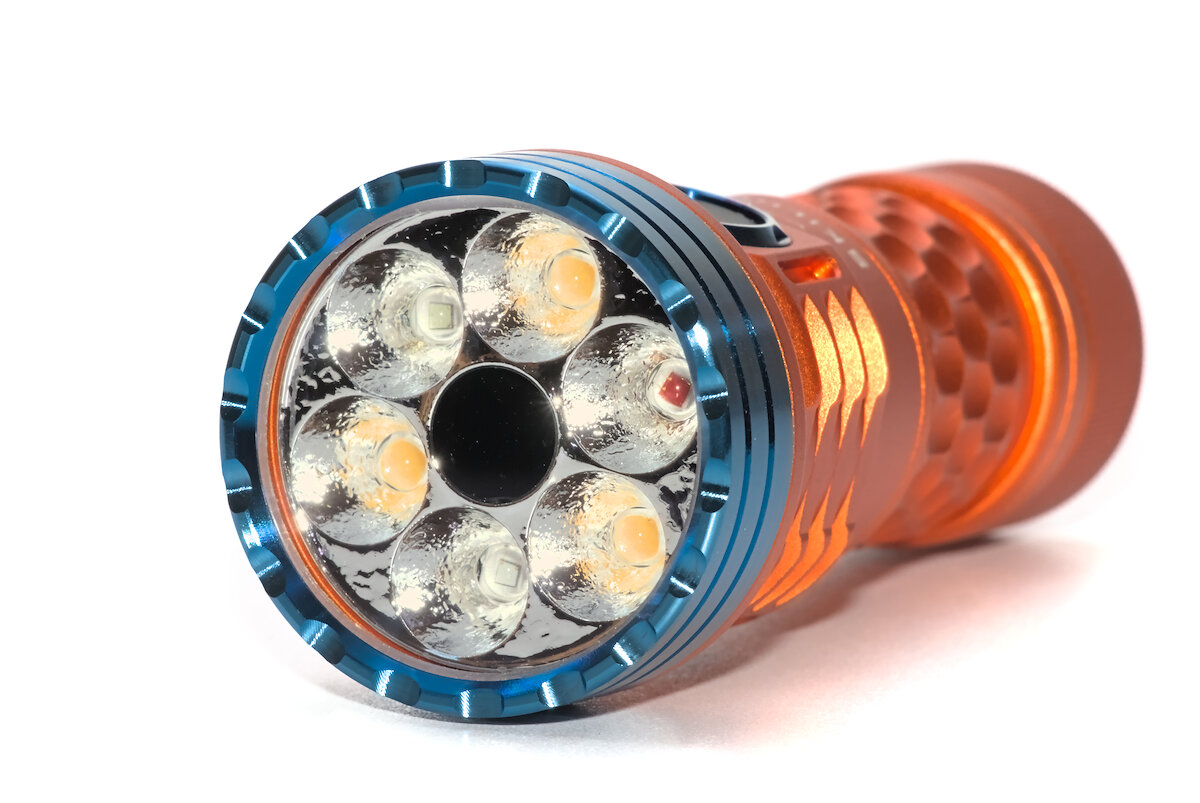
If you are trypophobic, you might want to look away now. Here you’ll get a first impression of the light emitting part of the flashlight: Seven LEDs in small reflectors – MiX-7.
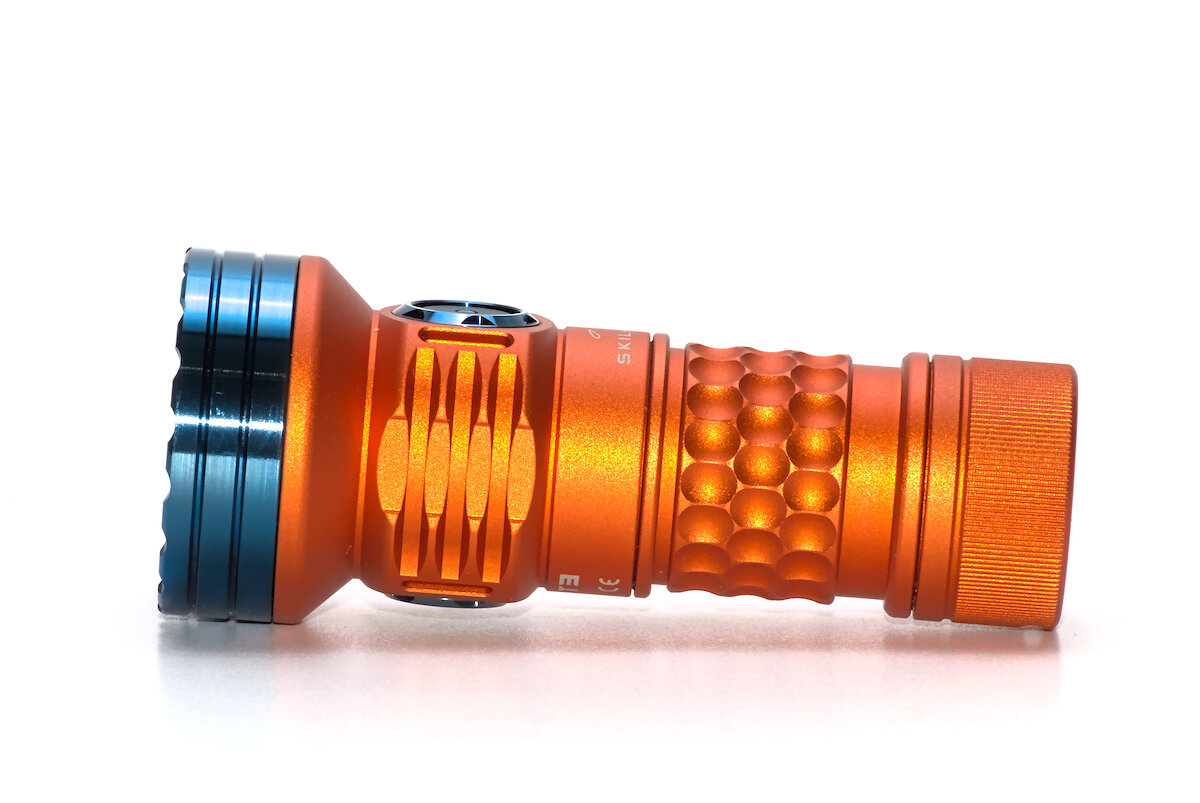
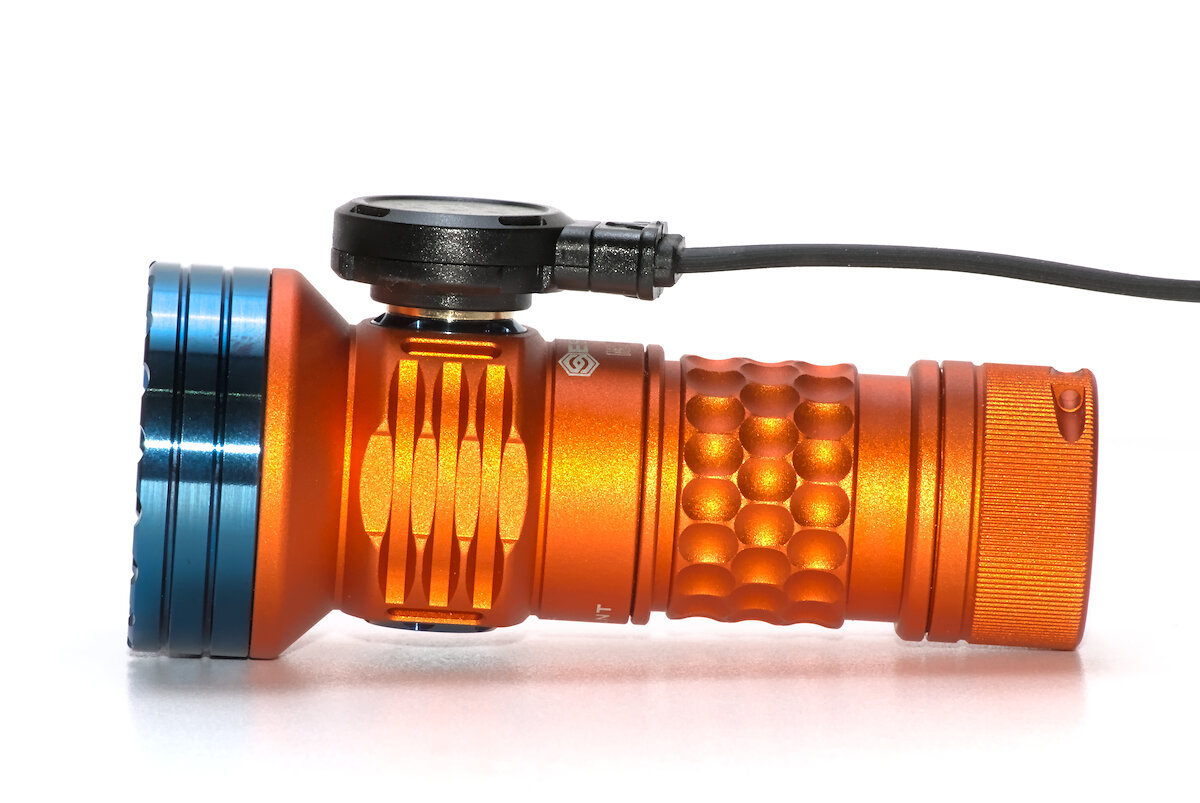
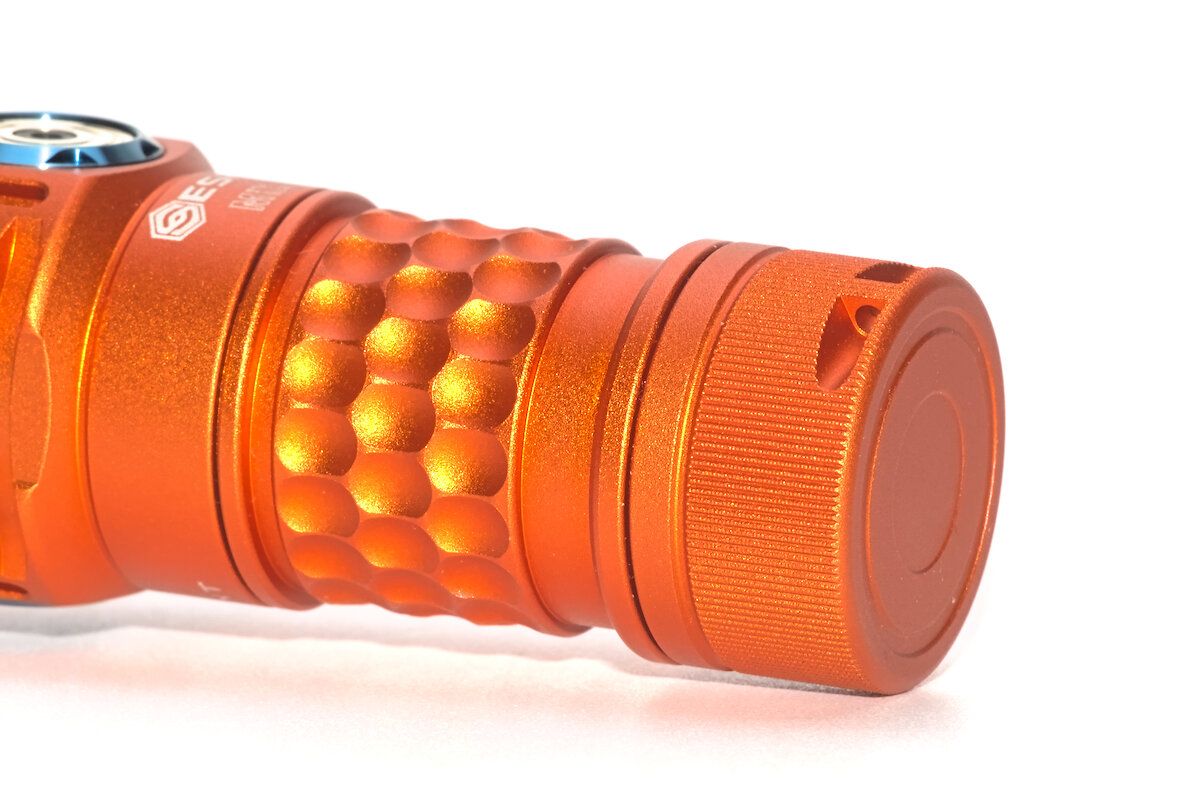
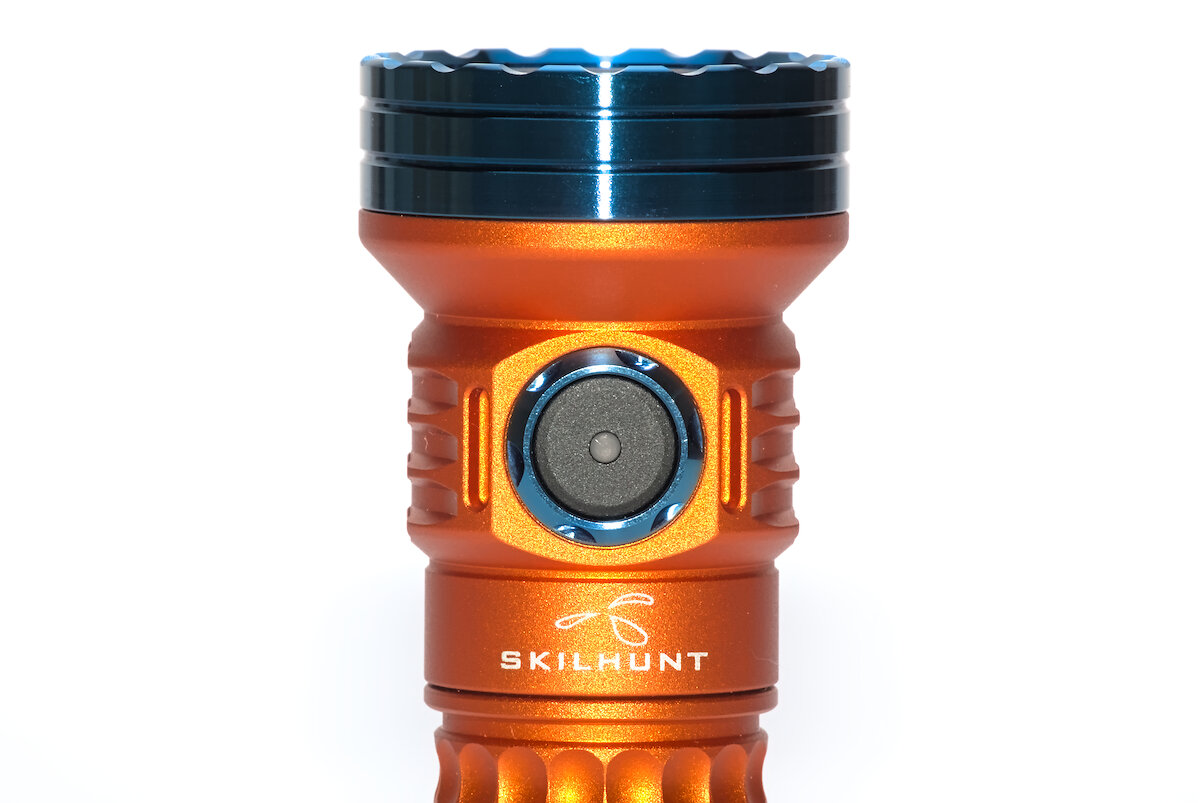
The blue stainless steel bezel with slight crenelation has a beautiful contrast to the orange anodization of the aluminum. At first the texture of the battery tube appears weird, but it is really effective to prevent slipping and it feels nice.
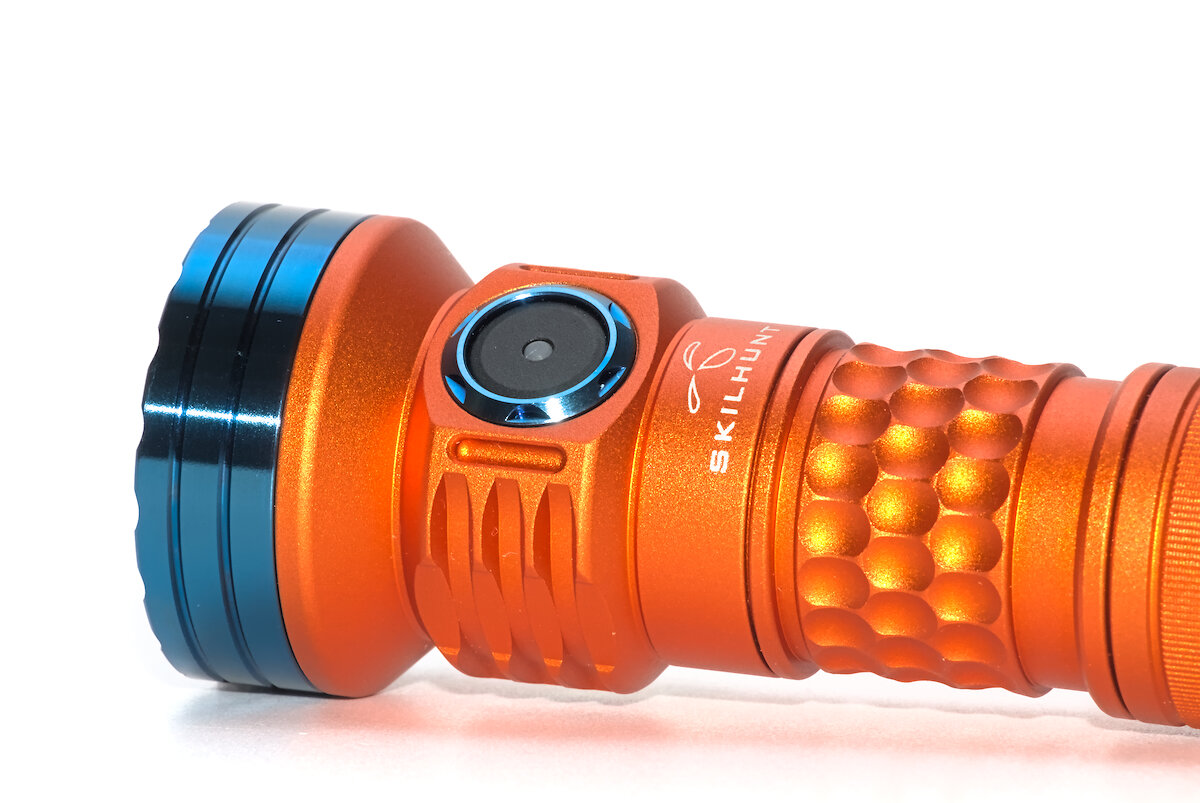
The screwed bezel, which holds the switch in place, is also blue.
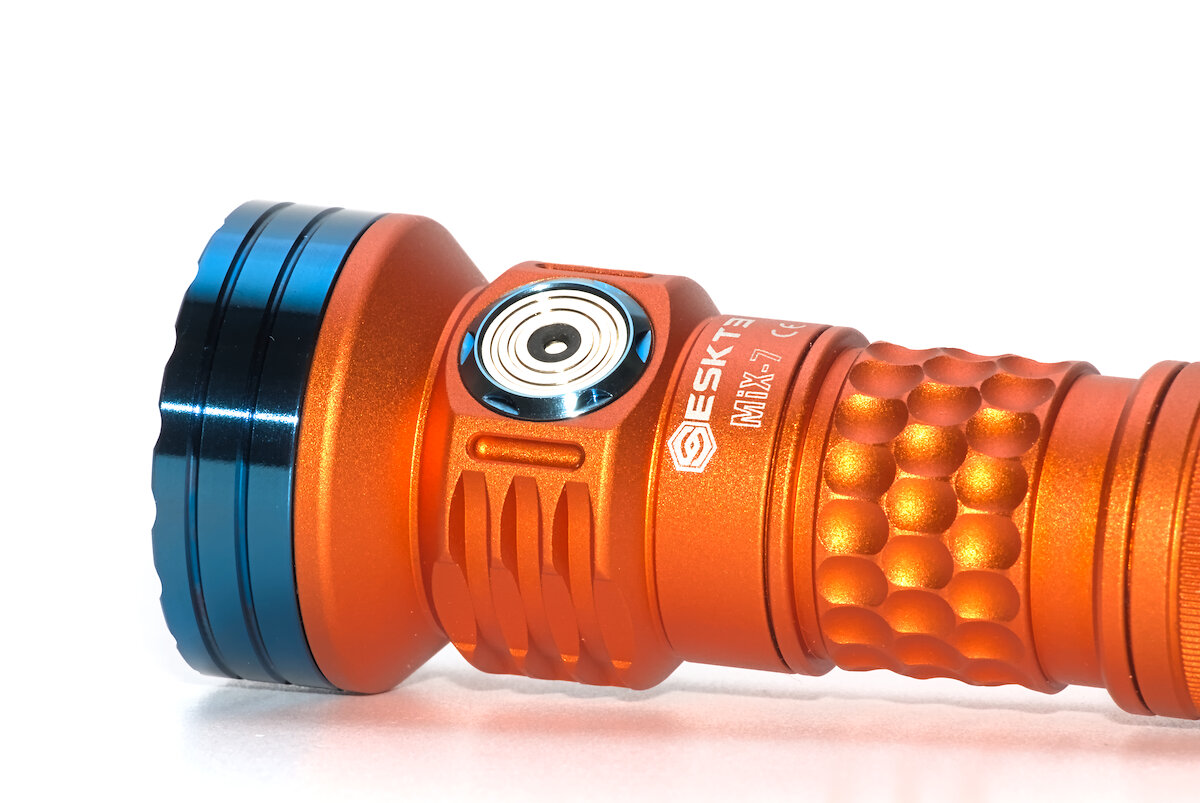
On the opposite site you’ll find the magnetic charging port. It allows you to charge the battery inside the light by using the “MC-10” charging adapter.
During charging a status LED in the charging adapter will light up in red, afterwards blue. The battery will be charged with up to 1 A and charging will be finished after almost two hours. During charging the flashlight can be switched on.
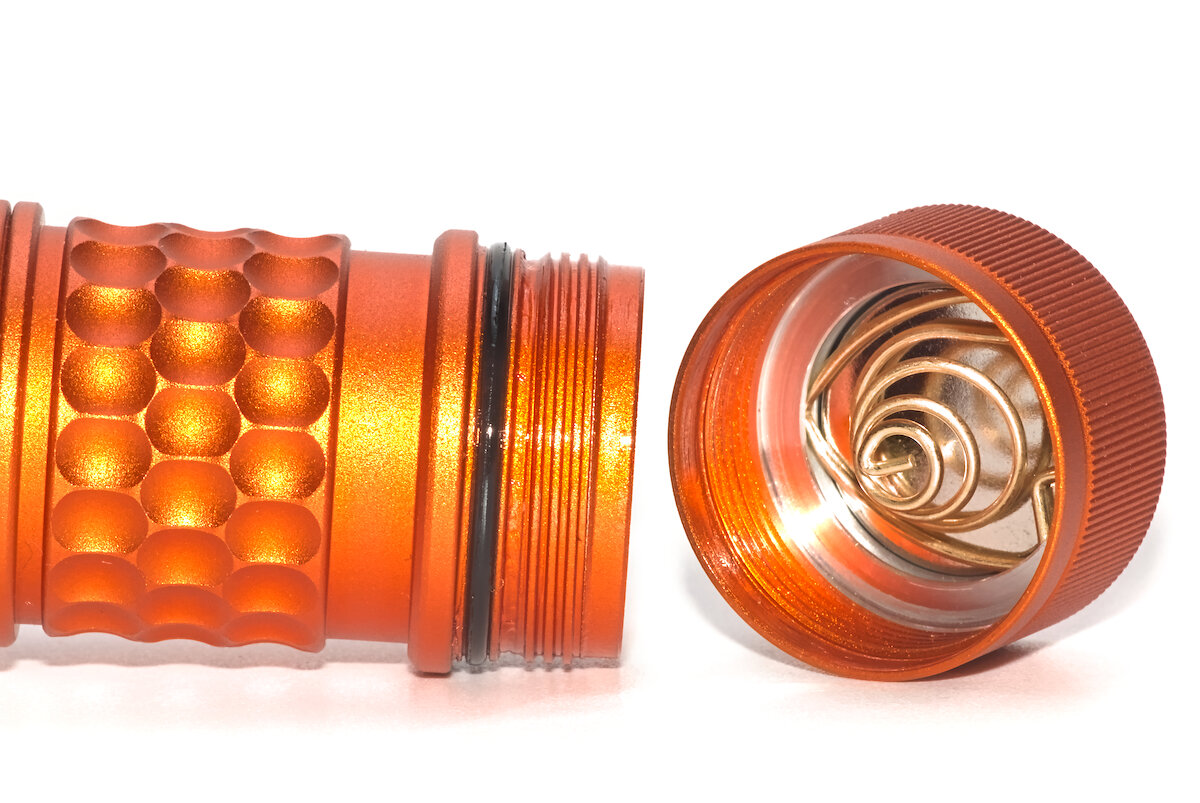
The tailcap has an attachment point for a lanyard. It is kind of “hidden” so that the flashlight will tailstand even with a lanyard attached. The tailcap also includes a magnet that will hold the flashlight securely in any orientation. If you like, you can easily remove the magnet and replace it with the included rubber disc. A fine knurling makes it easier to twist the tailcap.
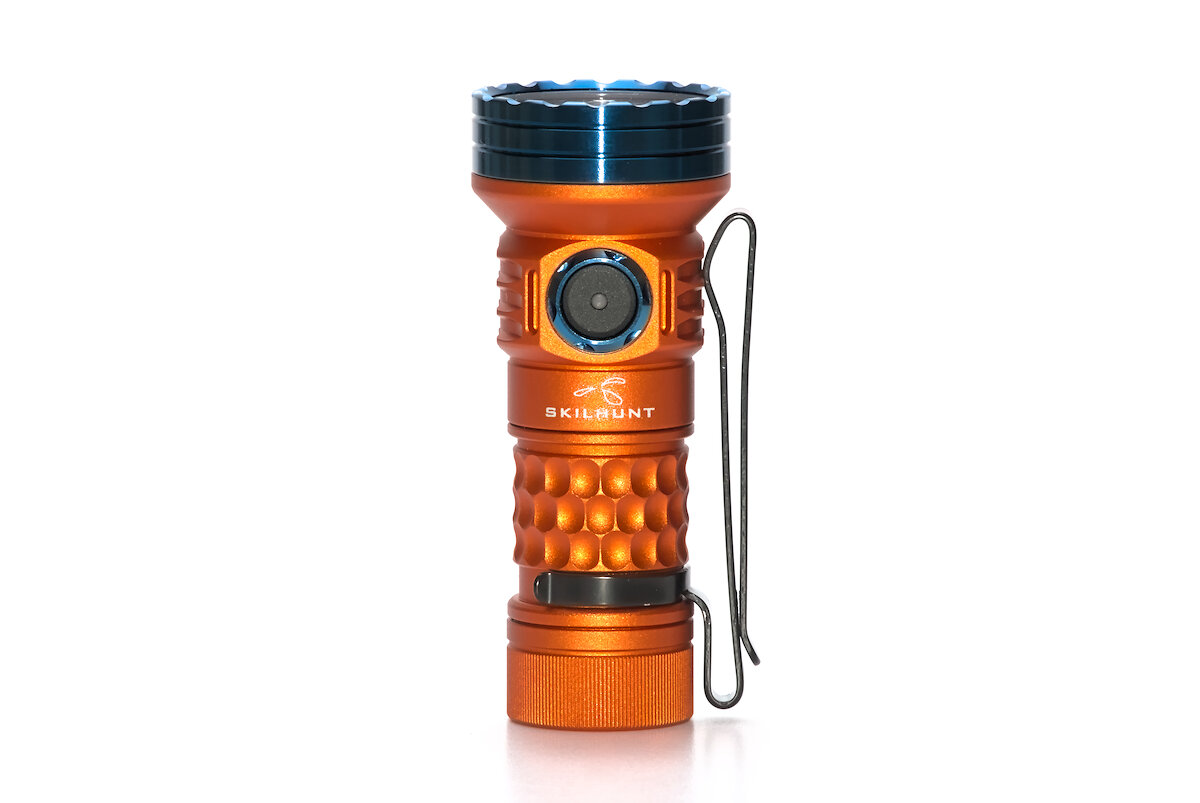
On a flat surface the MiX-7 tends to roll away because all contact areas are round. The clip can prevent this. The sides of the head are flattened to make space for the clip. Due to its dual-way nature it can be use in multiple directions.
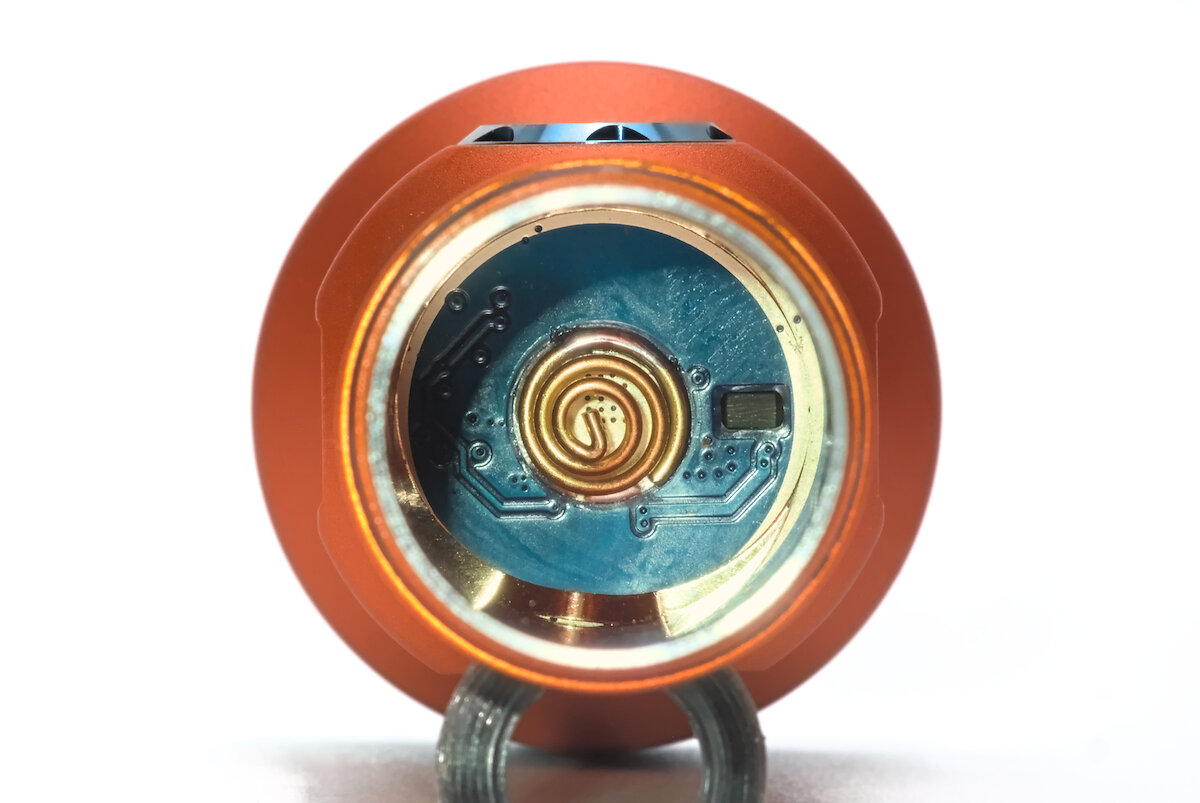
If you look into the battery tube, you’ll see the spring on the driver. In my case you will also see a part of the spring ring that connects the battery tube with the head. Unfortunately it has slipped during assembly and now sticks out a tiny bit (bottom of the image). For now it will stay like this because head and tube are glued very well and I wasn’t able to unscrew them.
By design the MiX-7 will be used with a 18350 Li-ion battery. It supports flat as well as button top batteries, protected and unprotected. Officially there’s no longer tube for 18650 batteries, but I noticed that the tailcap of the H04 fits perfectly. So I assume that the tube can be replaced with a H04 tube as well.
Here you can see the spring in the tailcap holding the magnet. To remove it, just unhook the spring with a pointy object. Then replace the magnet with the rubber disc to fill in the space.
The MiX-7 is rated as IPX8 and impact resistance up to 1 m. Except for the slipped spring ring, the manufacturing quality is excellent, just as I expected from Skilhunt. The bezel has a few sharp edges, but otherwise the body feels very nice and comfortable.
User interface and features
The flashlight is controlled via an electronic switch at the head of the light. It’s made of matt, hard plastic and is slightly recessed in the bezel. When pressing it, you’ll feel and hear a distinct click, no matter where you press it. Feels really great!
On the other hand it is hard to locate it by touch, because the head has four flat sides. Especially the charging port feels almost the same. A good way to press the switch reliably without finding it: Hold the light firmly in your hand and press your fist together. If you have the clip attached, it will also help finding the switch.
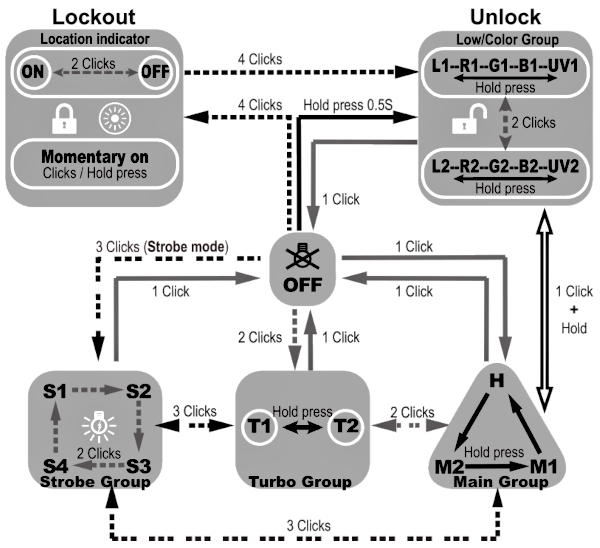
The UI is what we are used from Skilhunt: Groups for low, middle and high brightness and another one for blink modes. Each group has multiple levels, long or double clicks will switch between them. Each sub level is memorized per group.
| State | Action | Function |
|---|---|---|
| Off | 1C | Turn on (last used in H/M1/M2) |
| Off | 2C | Turn on (last used in T1/T2) |
| Off | 3C | Turn on (last used in S1/S2/S3/S4) |
| Off | 4C | Lockout |
| Off | 1H | Turn on (last used in L1/L2) |
| L1/L2 | 1C | Turn off |
| L1/L2 | 2C | Switch between L1/L2 |
| L1/L2 | 1H | Switch colors (W/R/G/B/UV) |
| L1/L2 | 2H | Go to last used in H/M1/M2 |
| H/M1/M2 | 1C | Turn off |
| H/M1/M2 | 2C | Go to last used in T1/T2 |
| H/M1/M2 | 3C | Go to last used in S1/S2/S3/S4 |
| H/M1/M2 | 1H | Switch between M2 → M1 → H |
| H/M1/M2 | 2H | Go to last used in L1/L2 |
| T1/T2 | 1C | Turn off |
| T1/T2 | 2C | Go to last used in H/M1/M2 |
| T1/T2 | 3C | Go to last used in S1/S2/S3/S4 |
| T1/T2 | 1H | Switch between T1/T2 |
| S1/S2/S3 | 1C | Turn off |
| S1/S2/S3 | 2C | Switch between S1 → S2 → S3 → S4 |
| S1/S2/S3 | 3C | Go to last used in T1/T2/H/M1/M2 |
| Lockout | 2C | Turn button indicator on or off |
| Lockout | 4C | Unlock and turn on in L1 |
| Lockout | Hold | Momentary L1 |
There are four blinking modes available in the strobe group: normal white strobe (alternating between 15 Hz and 6 Hz), RGB party strobe, red beacon (1 Hz) and a type of SOS (more of an S-O-S) in red.
In lockout, the button flashes red. Of course, this increases power consumption. The indicator can be switched off and on with 2C. Holding the button gives you momentary access to the L1 level. You can also lockout the light mechanically by loosening the tailcap.
To support the additional colors, Skilhunt had to modify the UI slightly. The colors were integrated into the L1/L2 group and can be switched by a long button press. To switch between L1 and L2 you have to double press. This video shows the speed of changing colors:
The UI might be unsuitable for light painting purposes. A review focused on this topic can be found here.
After turning on the flashlight, an indicator LED in the switch shows the approximate state of charge of the battery for five seconds. On very low voltage, the indicator will blink in red as long as the light is turned on.
| Color | State of charge |
|---|---|
| Blue | 80% ~ 100% |
| Blue blinking | 50% ~ 80% |
| Red | 20% ~ 50% |
| Red blinking | < 20% |
Even with so many LEDs, the MiX-7 is a really compact EDC flashlight. The head might be a bit too thick to comfortably carry it in your pants pockets, but it fits very well in a jacket.
It’s just the right size to not feel too small.
Illumination
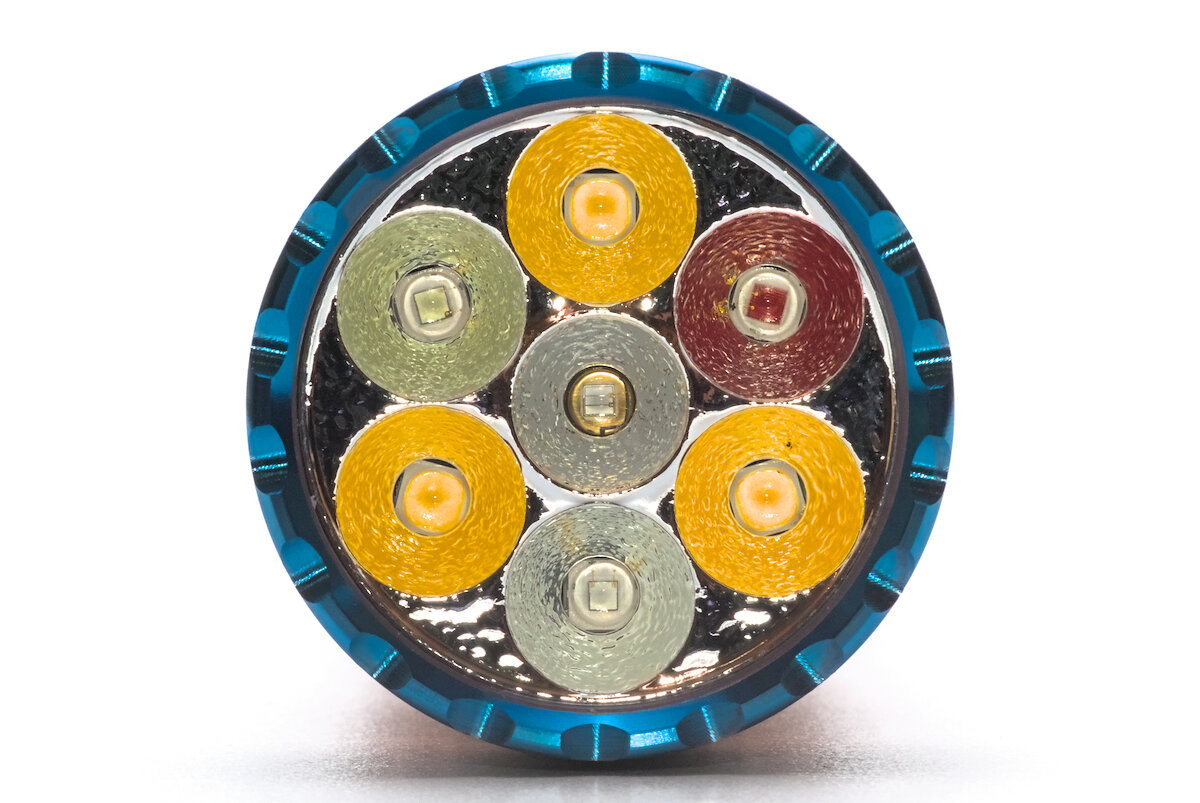
MiX-7 – the name already gives you a clue what to expect from this flashlight. It has seven LEDs, arranged in a circle of six little reflectors and one in the middle.
The three white LEDs are distributed at the outside, with red, green and blue between them. The UV LED is located in the center. Unfortunately not all LEDs are aligned perfectly with the reflectors, but with these small reflectors you won’t notice it that much in practice.
- Cree XP-G4 (cool white, 6500 K) or Nichia 519A (neutral white, 4500 K, high CRI)
- Cree XP-E2 red (625 nm)
- Cree XP-E2 green (525 nm)
- Cree XP-E2 blue (455 nm)
- Seoul Z5 UV (365 nm)
For the white LEDs you can choose between cool and neutral white. Of course I have chosen the neutral white Nichia 519A because of its better tint and higher CRI (at the cost of slightly less brightness).
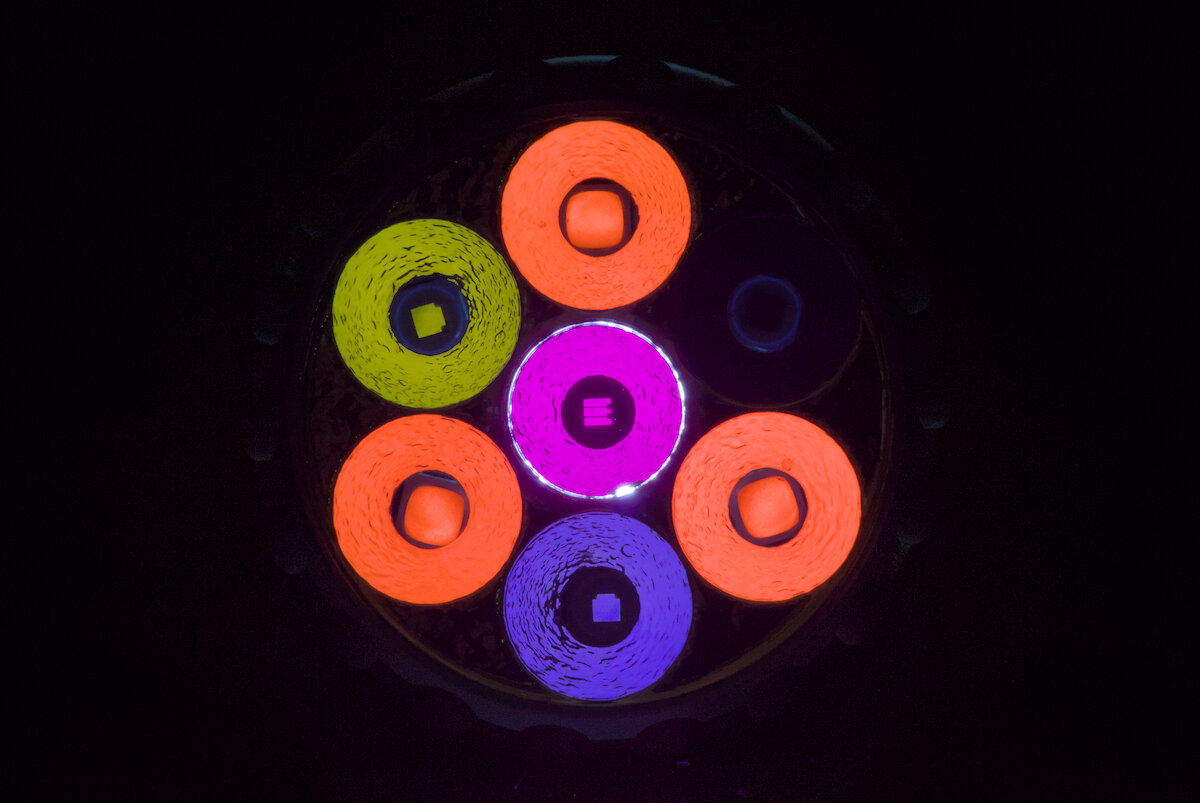
Many inexpensive UV flashlights use UV LEDs with a high amount of visible light. You’ll see that as a purple glow when using it, making the actual fluorescent colors hard to see. Even while the MiX-7 has a very good UV LED, it still has some visible light. To eliminate it, Skilhunt includes a ZWB2 filter. Due to a patent it is impossible to sell UV lights with an integrated filter, you have to assemble it yourself.
This is pretty easy, though. Just unscrew the bezel, take off the glass lens, install the filter in the little recessed area of the center reflector, then put everything back together. If you don’t care for the visible light, just omit the filter (which also filters out about 15% of the UV light).
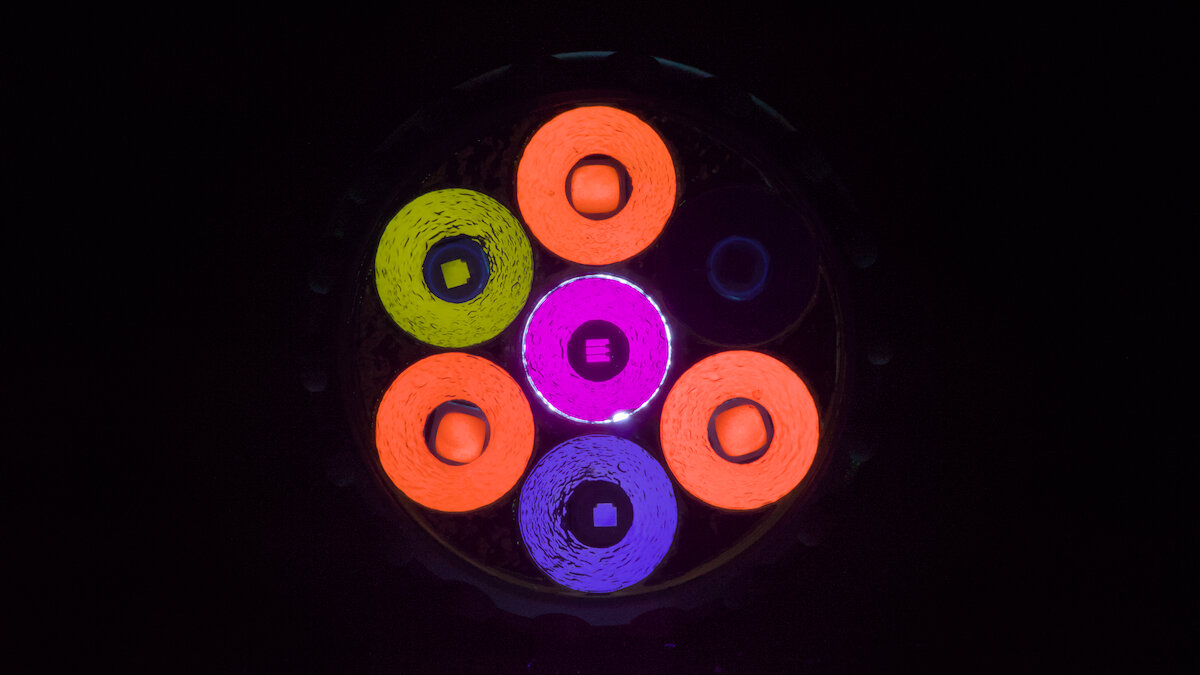
This photo is entirely illuminated by the UV LED. The red LED stays dark because it doesn’t have a phosphor layer.
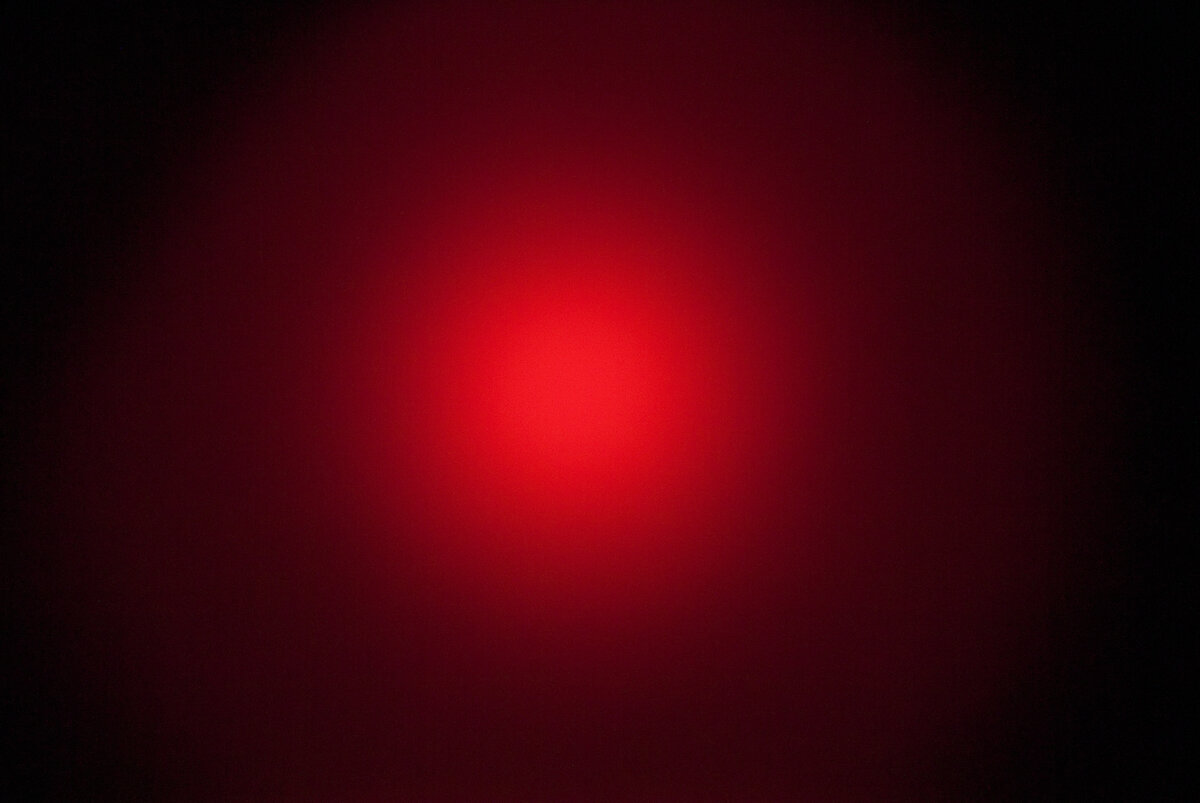
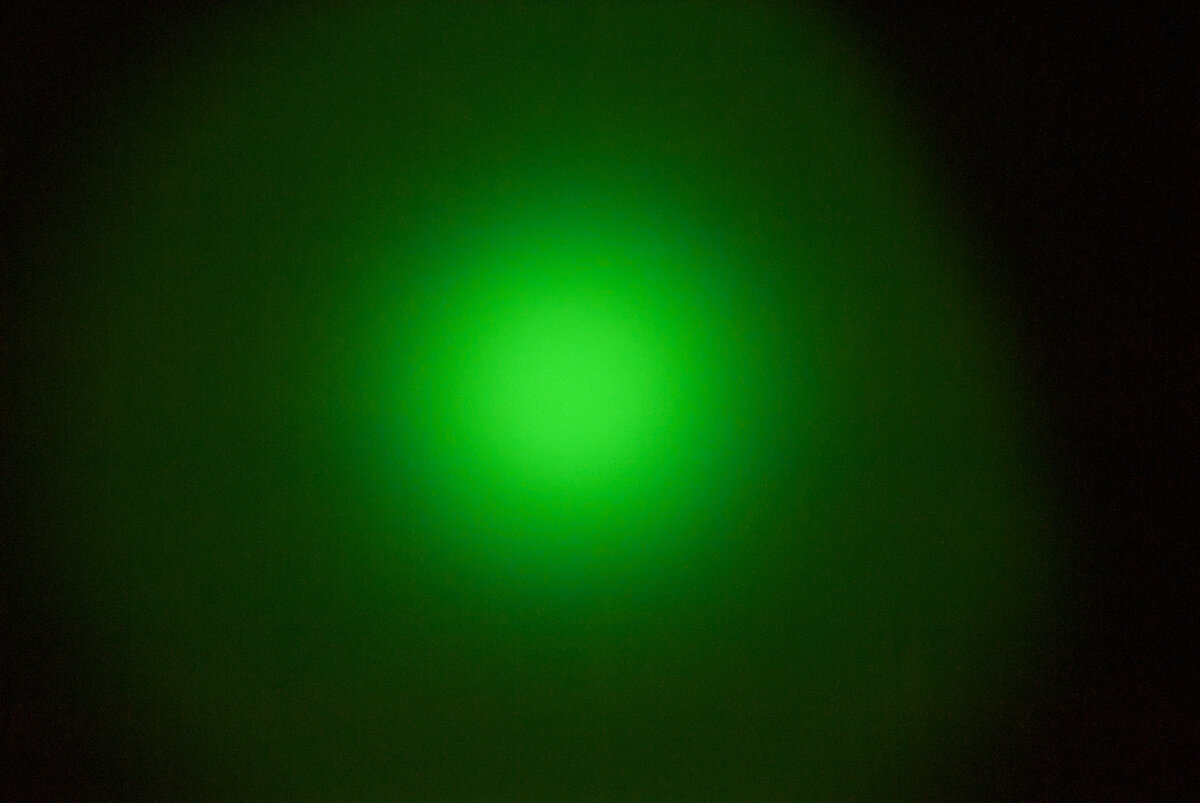
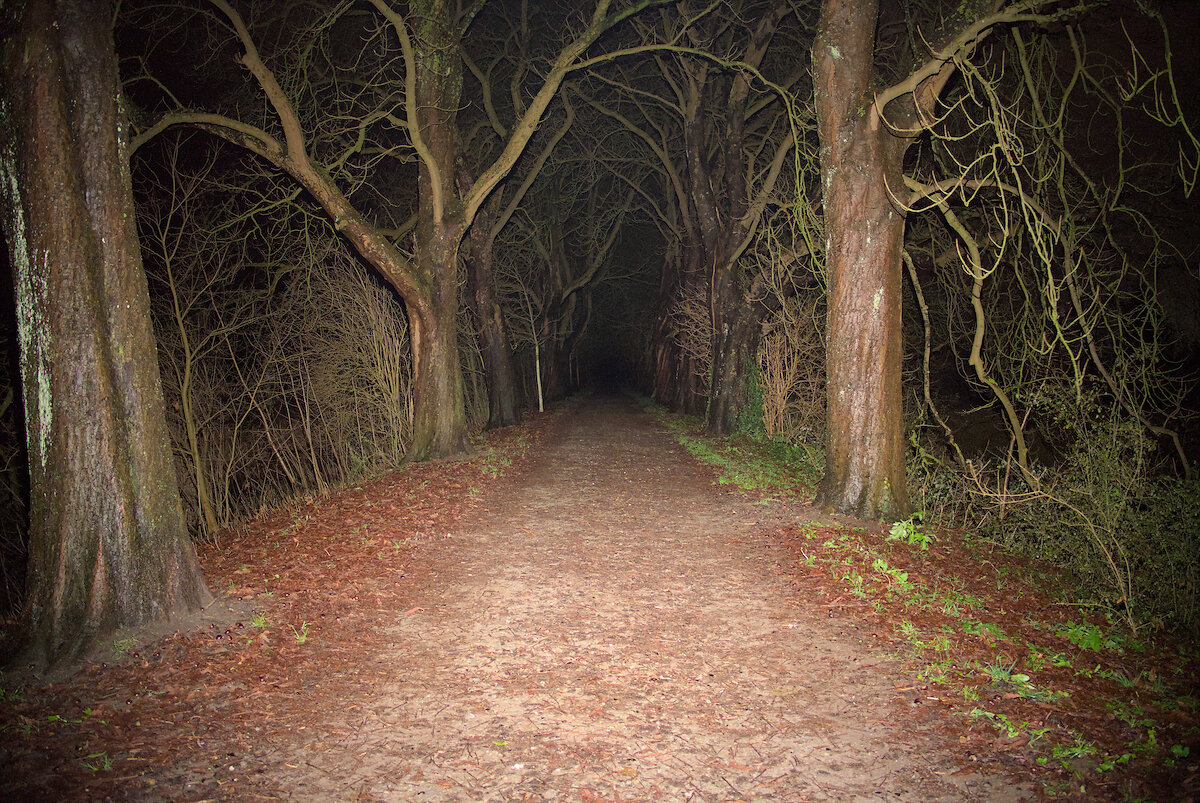
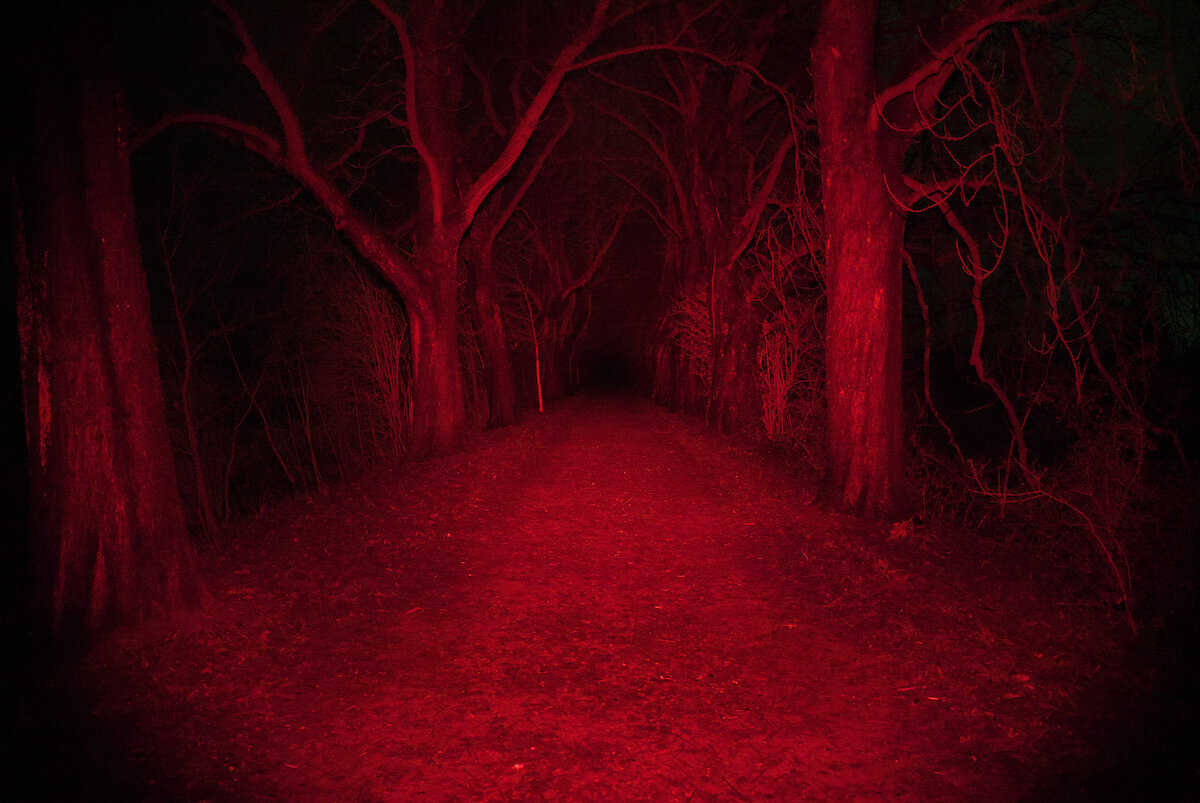
The beam is very floody. That’s not surprising with these small reflectors. The three white LEDs create a wide, very smooth beam. The colors have a slightly more concentrated spot. You can see the alignment issues in the spill, especially at the green LED.
You won’t win any prices with the throw. The MiX-7 is mostly suited for indoor applications.
Driver and runtime
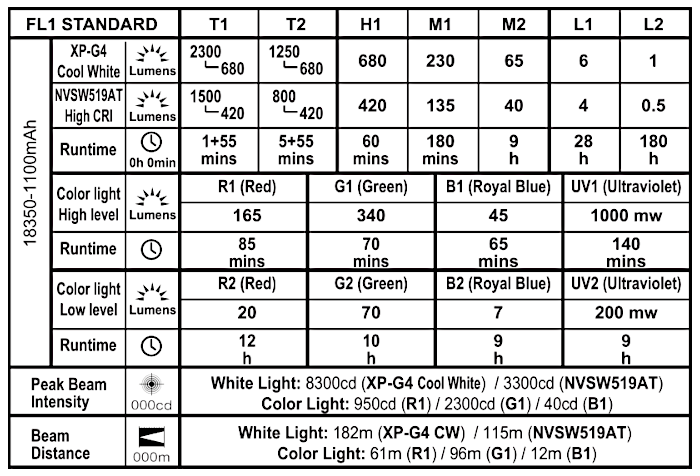
The white channel has seven levels of brightness, while the colored LEDs have only two. With all these modes it was easier for me to copy the nice table from the manual:
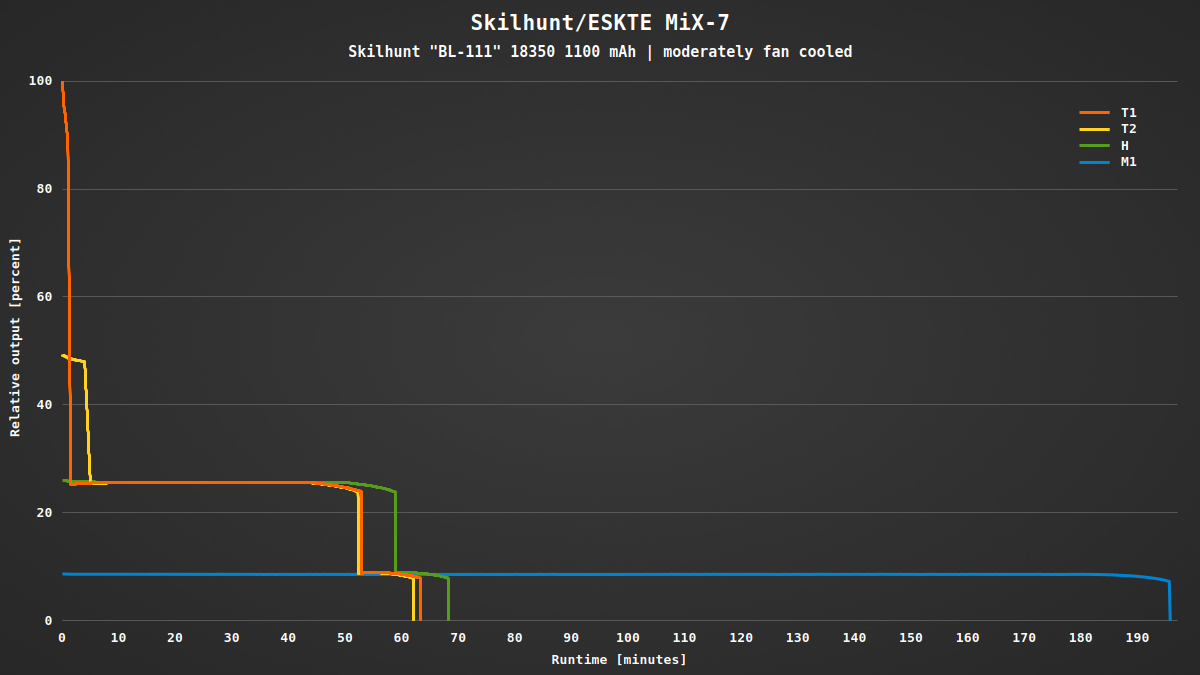
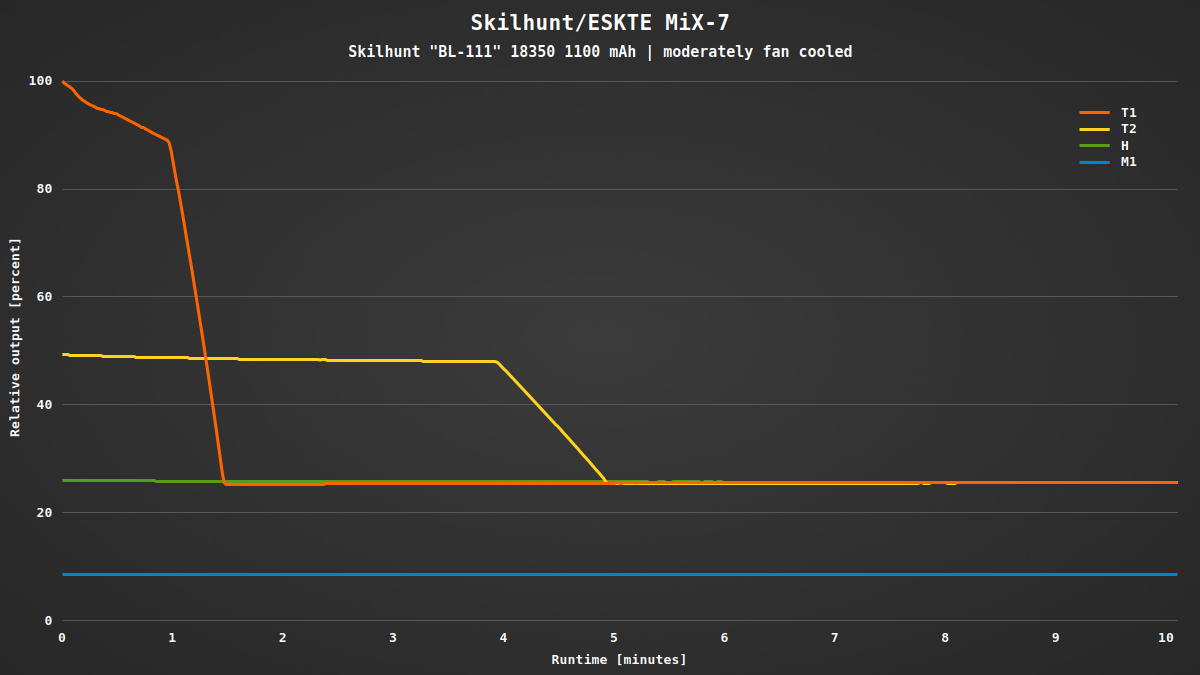
I was able to confirm the runtimes, at least for the higher levels that I had tested. You can see the great regulation with flat output. The two turbo modes have a timed stepdown. Temperature regulation isn’t mentioned in the manual, but it says that you shouldn’t run turbo prolonged in hot environments. In my test the flashlight reached 40 °C in T1.
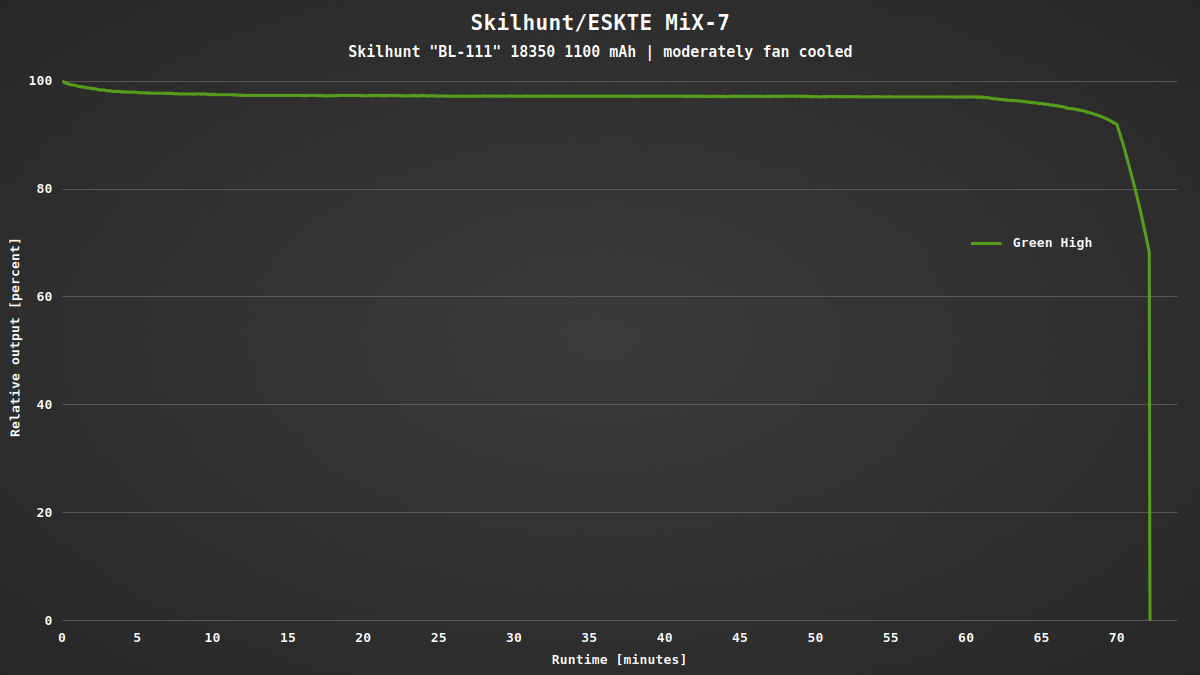
The color channels are regulated as well, here for example the green channel. The temperature reached 30 °C at maximum.
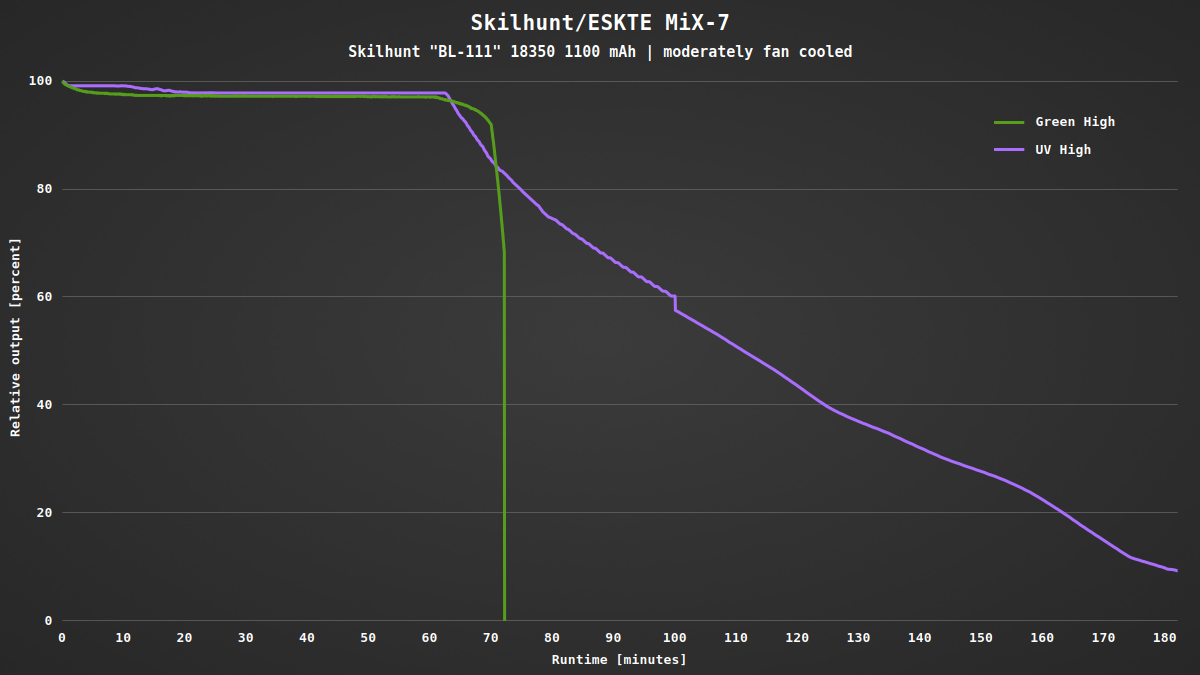
One exception of the regulation is the UV LED. For the first hour its output is perfectly constant. But then it isn’t able to maintain the brightness anymore due to the high forward voltage of the UV LED. Thus the output is slowly reduced. At the end of my three hour runtime test the battery voltage was still at 3.3 V.
The current was measured with a clamp meter immediately after turning on the light with a full battery.
| Mode | White | Red | Green | Blue | UV |
|---|---|---|---|---|---|
| T1 | 5750 mA | ||||
| T2 | 2080 mA | ||||
| H | 980 mA | ||||
| M1 | 320 mA | ||||
| M2 | 130 mA | ||||
| L1 | 60 mA | 673 mA | 841 mA | 867 mA | 520 mA |
| L2 | 20 mA | 91 mA | 105 mA | 110 mA | 125 mA |
| Off | 60 µA |
I couldn’t see any PWM with my oscilloscope, the constant current driver does its job very well. When the battery voltage reaches 3.00 V, the status LED in the switch starts to constantly blink red while the light is turned on. At 2.80 V the flashlight turns itself off to protect the battery from deep discharge.
Conclusion
Seven LEDs in five colors, in a very compact flashlight. The Nichia 519A LEDs are just beautiful with their high CRI and lovely tint. Red, green and blue are less interesting to me, but the UV light comes in very handy. This paired with the great driver and magnetic charging make the MiX-7 almost perfect.
It’s hard to say anything negative about it. I’d like to see more brightness levels for the color channels and maybe the possibility to mix them. Sometimes it can be annoying that the colors were integrated together with the white channel into the low group.
Overall I’m very satisfied with the MiX-7, even at my high expectations I had for this flashlight. If you want a flashlight with multiple colors, you should definitely try the MiX-7.
